How To Replace a Drive Belt
Overview
Save on costly mechanic bills by replacing your own drive belt. You can find the right belt and service parts for your vehicle by using the My Garage tab at the top of this web page. All you need to do is punch in your rego and state or search by make, model and year. Once this is completed you will be suggested the right products to suit/fit your vehicle while searching our site.
Belt Types- V-type - Sits in the deep v-shaped groove of the pulley wheel, contacting the sides of the groove
- Serpentine – Flat with a number of grooves running lengthwise which run in reverse of the grooves on the outer edge of the pulley wheel. The grooves increase the contact surface area to prevent the belt from slipping as it rotates.
Steps
Loosen Tension And Remove Belt
Locate the adjustment fastener and loosen it. This is usually on the alternator mounting or on a separate pulley wheel. Move the adjusting mechanism in far enough to allow you to remove the belt. Some vehicles use an automatic spring tension system. In that case, pull the tensioning device back so that you can remove the belt.
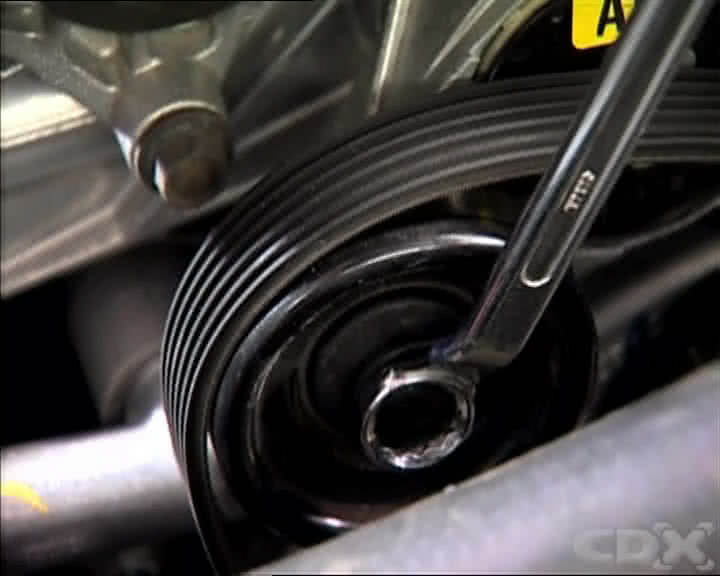
Inspect Drive And Drive Pulleys
Check the drive and pulley wheels. Look for cracks and other forms of damage. Check that there is no sideways movement indicating worn bearings, and spin the pulley wheels by hand to check that the bearings are rotating freely.
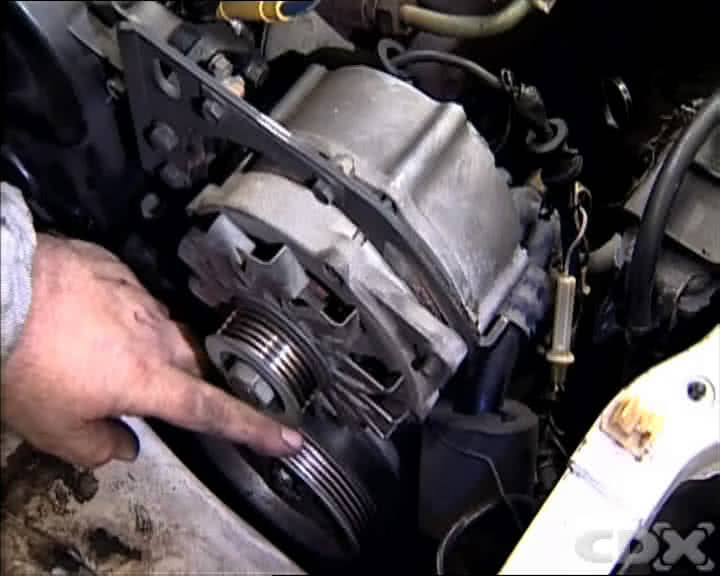
Select Correct Replacement Belt
Obtain the correct size and type of replacement belt specified in the manual, and compare it with the belt you have just removed. They should be very similar, although the old belt may have stretched in use.
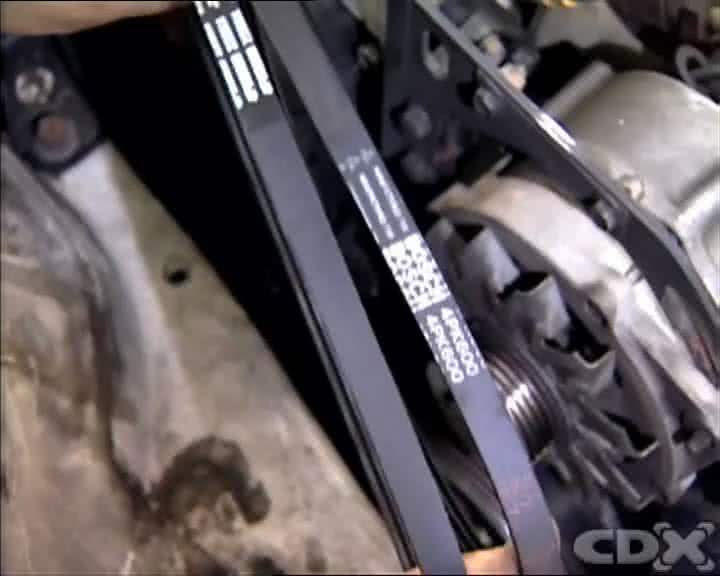
Install New Belt
Install the new belt from Supercheap Auto, making sure that it is properly seated in the V-shape groove.
If the belt is a Serpentine type, then make sure that it is the correct width and squarely aligned in the pulley grooves. If this is not correctly aligned, the belt will be thrown off the pulley wheels
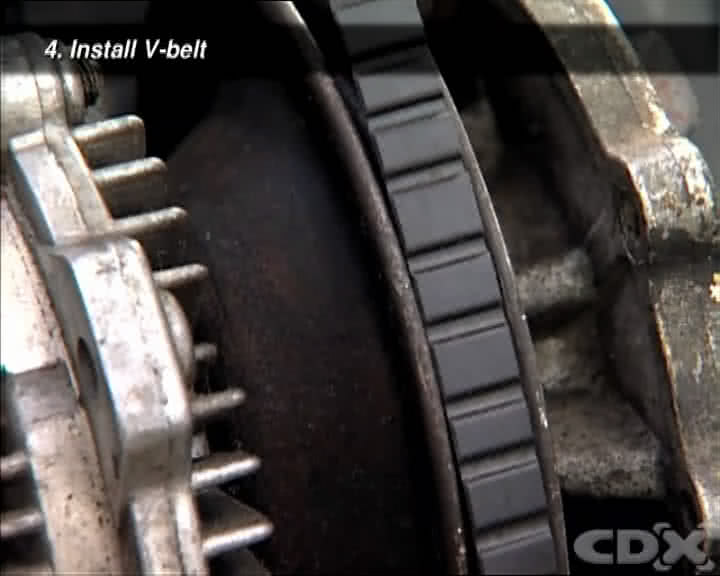

Correctly Tension New Belt
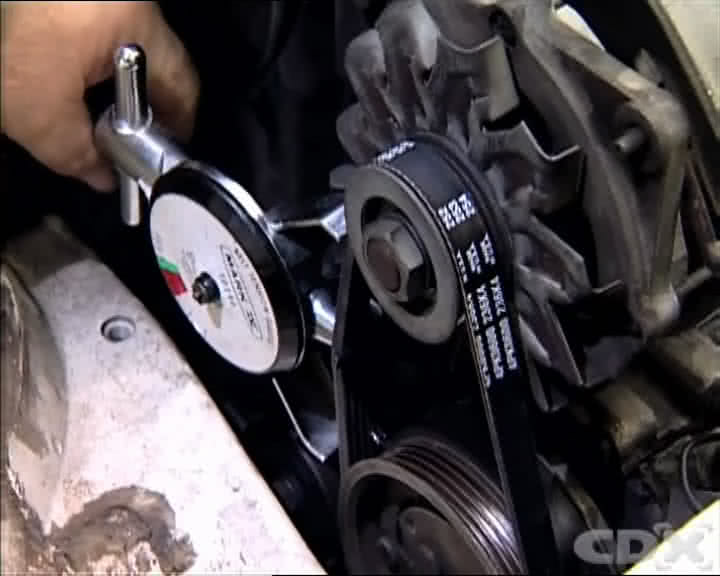
Tension the belt using a spanner and a pry bar, and then check it with a tension gauge.
NOTE: Some vehicles have an automatic spring tensioning system which saves you the time of adjusting the tension manually. Make sure you check the vehicle workshop manual before commencing the procedure.
Start The Engine
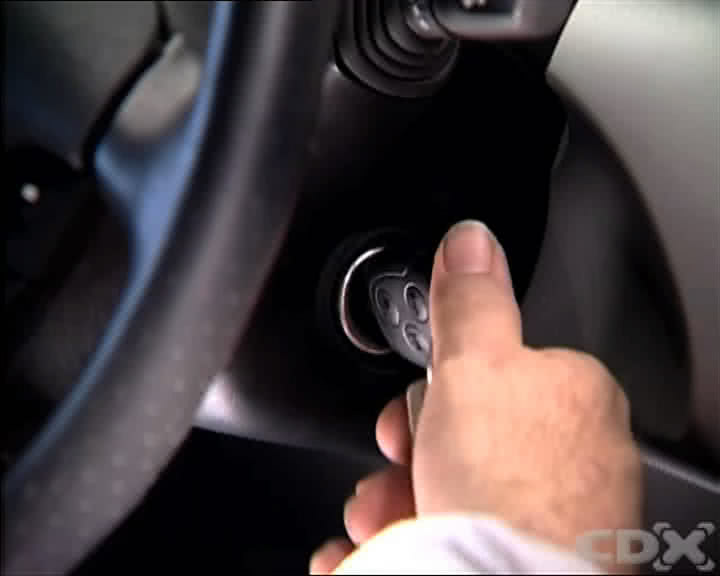
Start the engine, and observe the belt to make sure that it is properly seated and operating correctly. Stop the engine again, and recheck the tension.
*Important information* - Click here to read more about our How-To terms and conditions.