How To Check and Adjust a Drive Belt
Overview
Checking and adjusting a drive belt is simple if you know what you are looking for. You can find the right belt and service parts for your vehicle by using the My Garage tab at the top of this web page. All you need to do is punch in your rego and state or search by make, model and year. Once this is completed you will be suggested the right products to suit/fit your vehicle while searching our site. Here is some advice to help you get started and top up your mechanical knowledge.
Belt types
- V-type - Sits in the deep v-shaped groove of the pulley wheel, contacting the sides of the groove
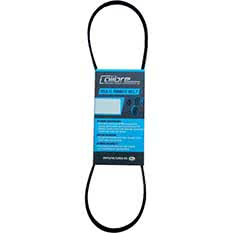
- Serpentine – Flat with a number of grooves running lengthwise which run in reverse of the grooves on the outer edge of the pulley wheel. The grooves increase the contact surface area to prevent the belt from slipping as it rotates.
Steps
Check The Condition
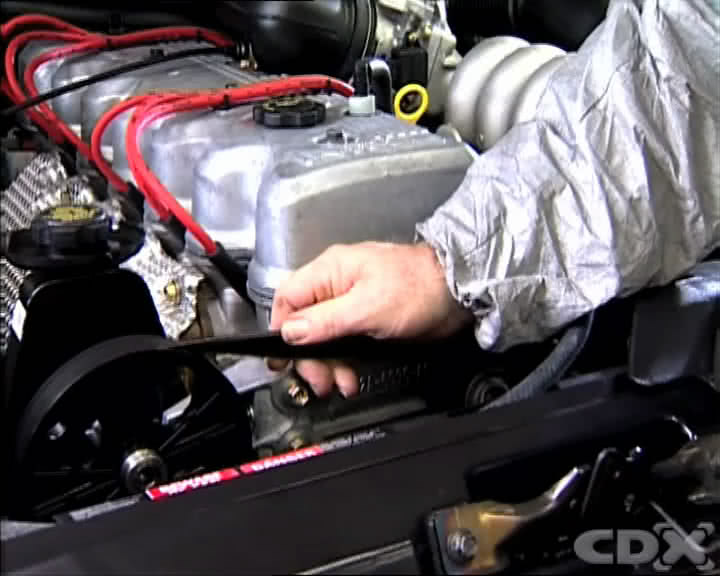
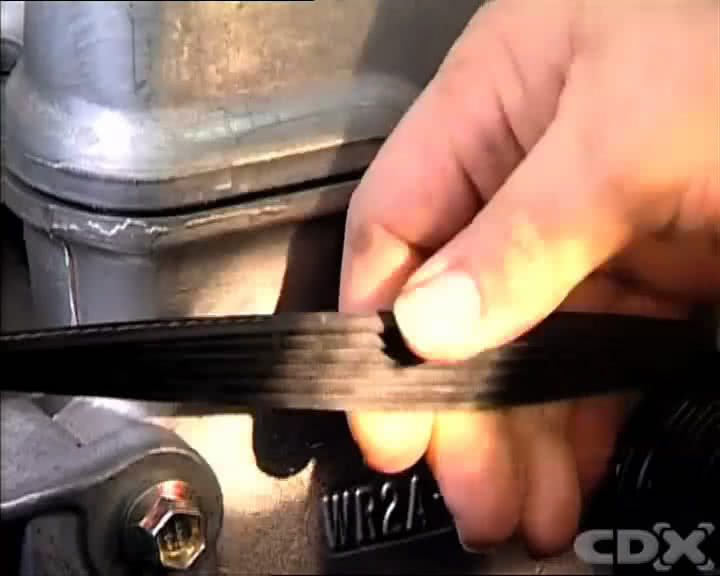
To check the condition of the belt twist it so you can see the ribs on the Serpentine belt or V on the V-type belt. With your flash light slowly check along the length of the belt for damage or wear and tear. If the belt is shows any of the following signs, it will need to be replaced.
Cracks – Cracks in a belt indicate it could fail at any time and requires replacing
Oil-soaked – When the belt had been soaked in oil it will not grip properly on the pulleys and could slip, depending on the extent of the damage the belt may need replacing. If the belt does not have too much oil on it, rub a graphic stick along the surface of the belt to replace grip
Glazed – Glazing is shininess on the belt surface from contact with the pulley, which causes squealing whilst driving. Glazing can be caused by two key things:
- Old and worn belt: Glazing can be caused by “bottoming-out” and requires replacement
- Relatively new belt: Glazing indicated the belt is not tight enough and requires tightening
- Squealing: Rub belt dressing along the belt to restore grip
Torn or split – Torn or split belts require immediate replacement
“Bottoming-out” – Bottoming-out occurs when a V-belt become worn and the bottom of the V makes contact with the bottom of the pulley groove. This prevents the belt sides from making contact with the sides of the pulley groove resulting in reduced friction and slippage. In this circumstance the belt should be replace immediately.
If the belt needs replacing do not proceed any further. You can either replace the drive belt yourself, or book your vehicle into your local mechanic to have it replaced.
Check Tension
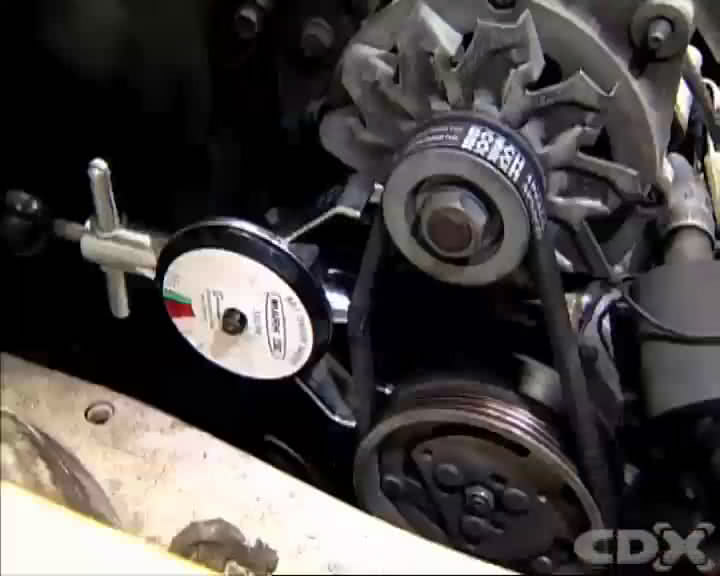
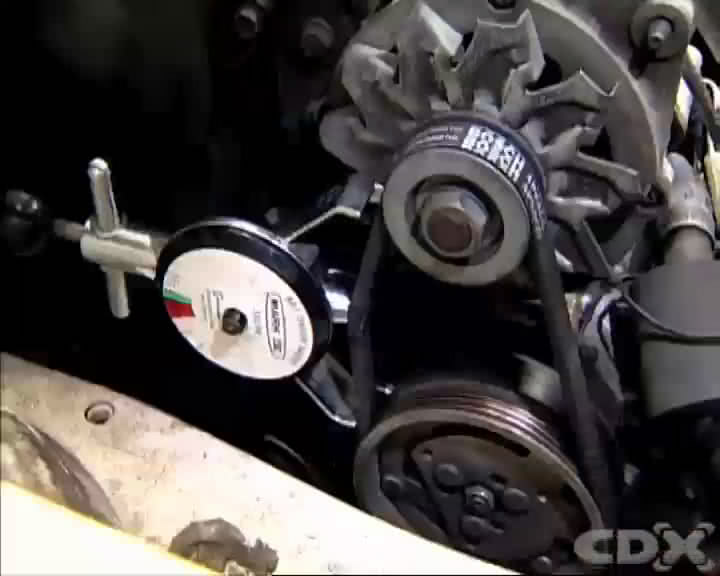
To check your drive belt’s tension attach the tension gauge to the longest belt span and pull it to measure the tension. Check your reading against the specification in your owner’s manual. If the tension reading matches the suggested reading in your owner’s manual and the belt is not damaged then you do not need to proceed any further.
Adjust Tension
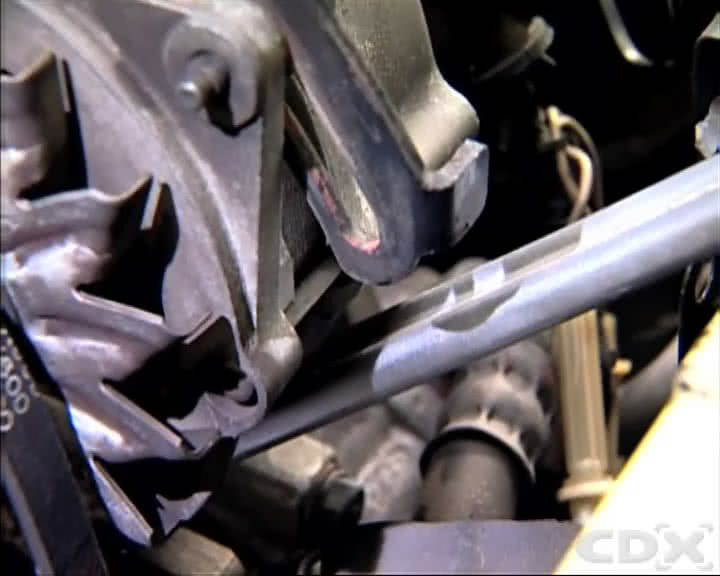
Selecting the correct spanner, loosen the tension adjustment fastener. This is normally located on the alternator mounting or a separate idler pulley wheel. Using your pry bar as a lever, apply tension on the belt. To do this, loosen the adjustment fastener and wedge the pry bar between the alternator and a solid part of the engine. Then pull in the direction that will apply tension to the belt and tighten the adjustment fastener.
Some vehicles have an automatic spring tensioning system which saves you the time of adjusting the tension manually. Make sure you check the vehicle workshop manual before commencing the procedure.
Recheck Tension
Once you have adjusted the belt tension you should recheck the tension again with the gauge. If the belt has too much tension you should loosen the fastener and adjust until it is the correct tension as specified in the workshop manual. Once you have secured it recheck the belt tension again.
Start The Engine!
Turn on your engine and inspect the belt to ensure it is seated properly and operating to full capacity. After one minute, stop the engine and recheck the tension of the belt. If the tension is correct you have now successfully checked your belt tension. If it requires more adjustment, repeat steps 3-5.
*Important information* - Click here to read more about our How-To terms and conditions.
