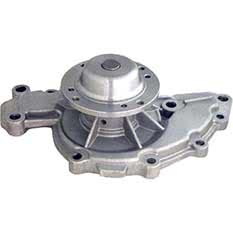
How To Remove a Serpentine Belt
Overview
Save on costly mechanic bills by replacing your own drive belt. You can find the right belt and service parts for your vehicle by using the My Garage tab at the top of this web page. All you need to do is punch in your rego and state or search by make, model and year. Once this is completed you will be suggested the right products to suit/fit your vehicle while searching our site.
The 8 Piece Serpentine Belt Tool Set from ToolPRO makes changing a serpentine belt a simple task, even on the trickiest of vehicles. Here’s how it’s done. The kit contains three crows foot attachments, and three sockets in sizes 13, 14 and 15 millimetres -all of which can be attached straight onto the end of the lever bar. There is also an extension which fits onto the lever bar - and features a 1/2" inch drive on the end for different types of tensioners.
Steps
Locate Belt
Locate the belt tensioner on the front of the engine, and determine the size of the fixture needed to loosen it.
Some vehicles may have a simple three eighth square hole where the lever bar can be inserted directly, or a 1/2" inch square hole where the extension bar can be used.
Remove Parts
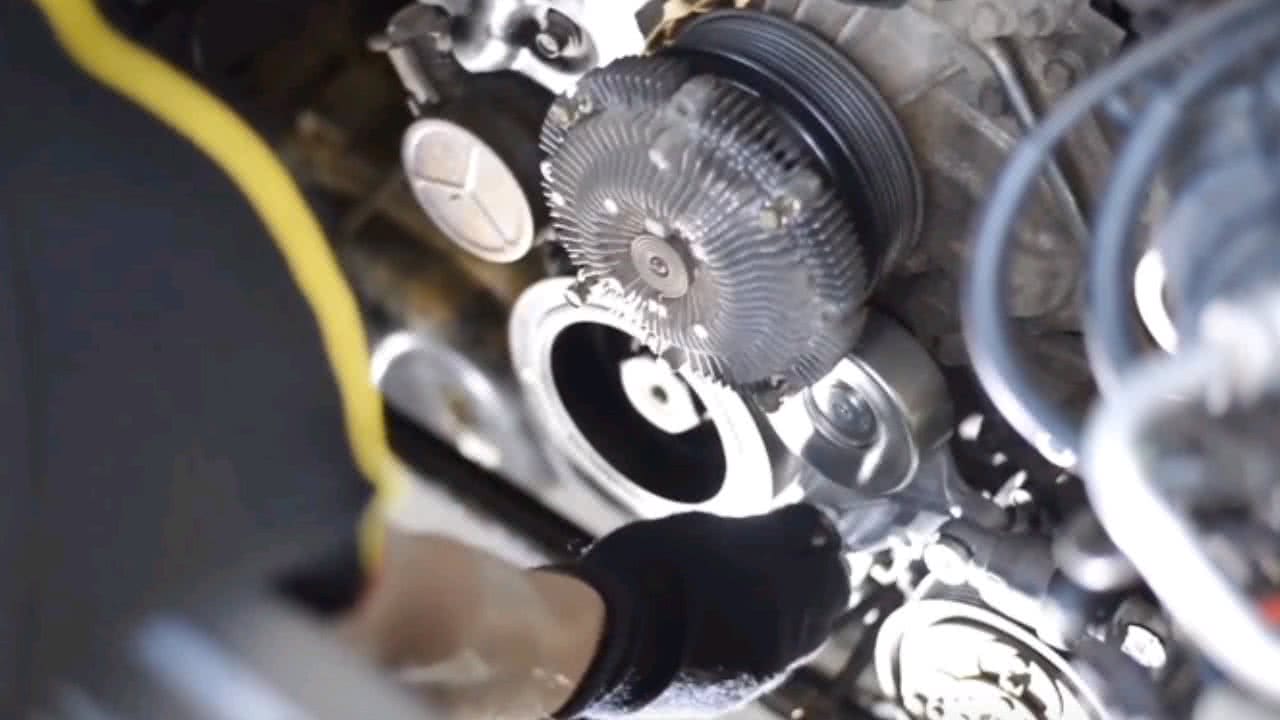
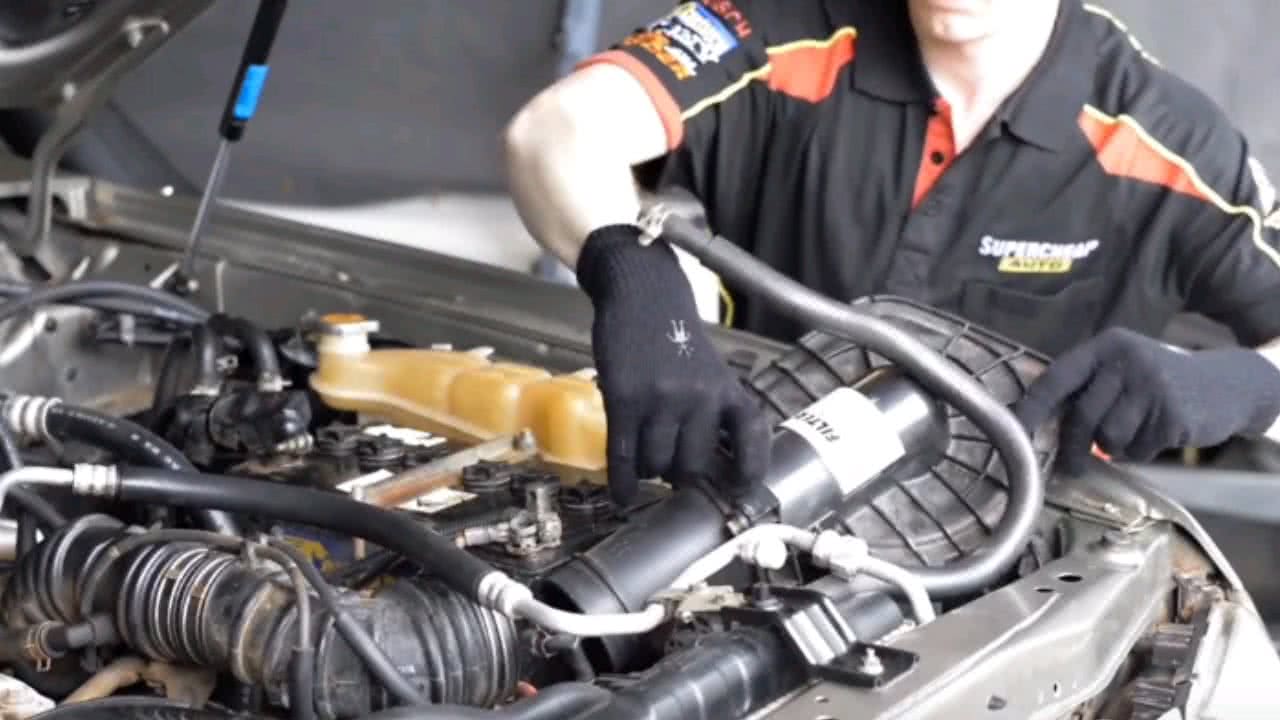
Remove any parts around the engine which may get in the way while changing the belt, such as the radiator shroud, intake hoses or engine cover plates.
Before removing the belt, ensure you have a diagram on hand showing the route the belt takes through the pulleys.
Loosen Tensioner
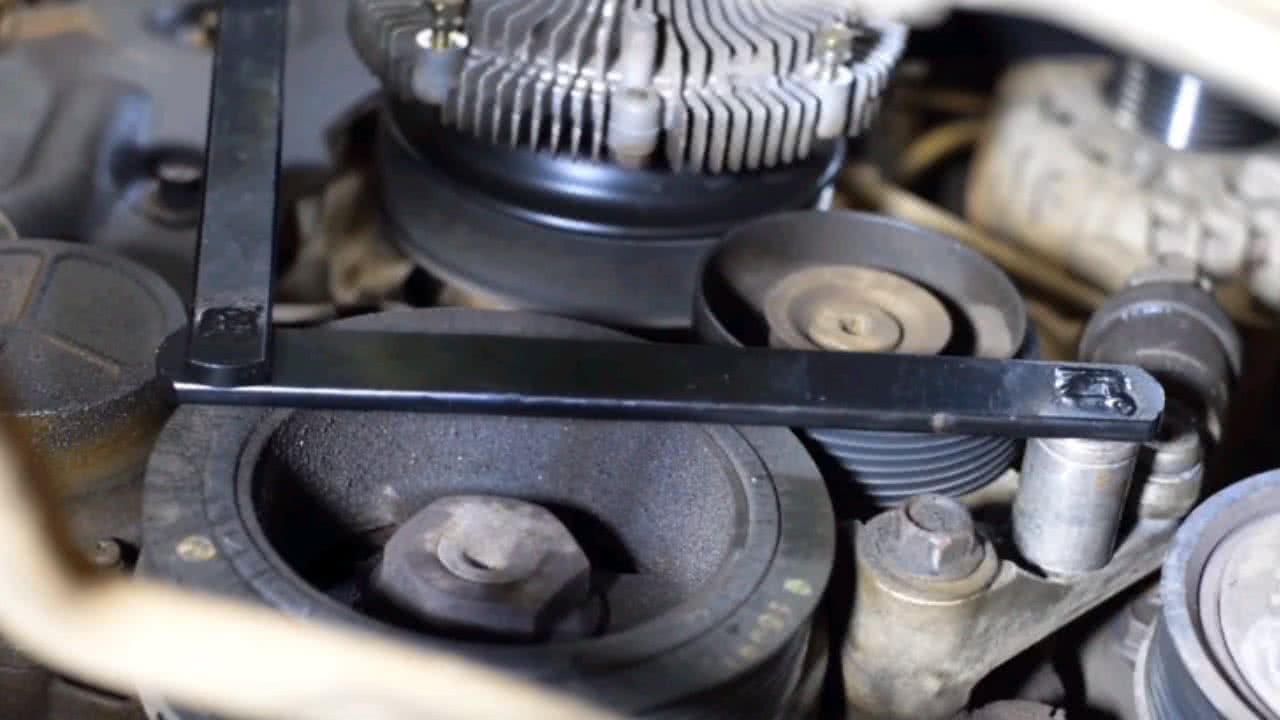
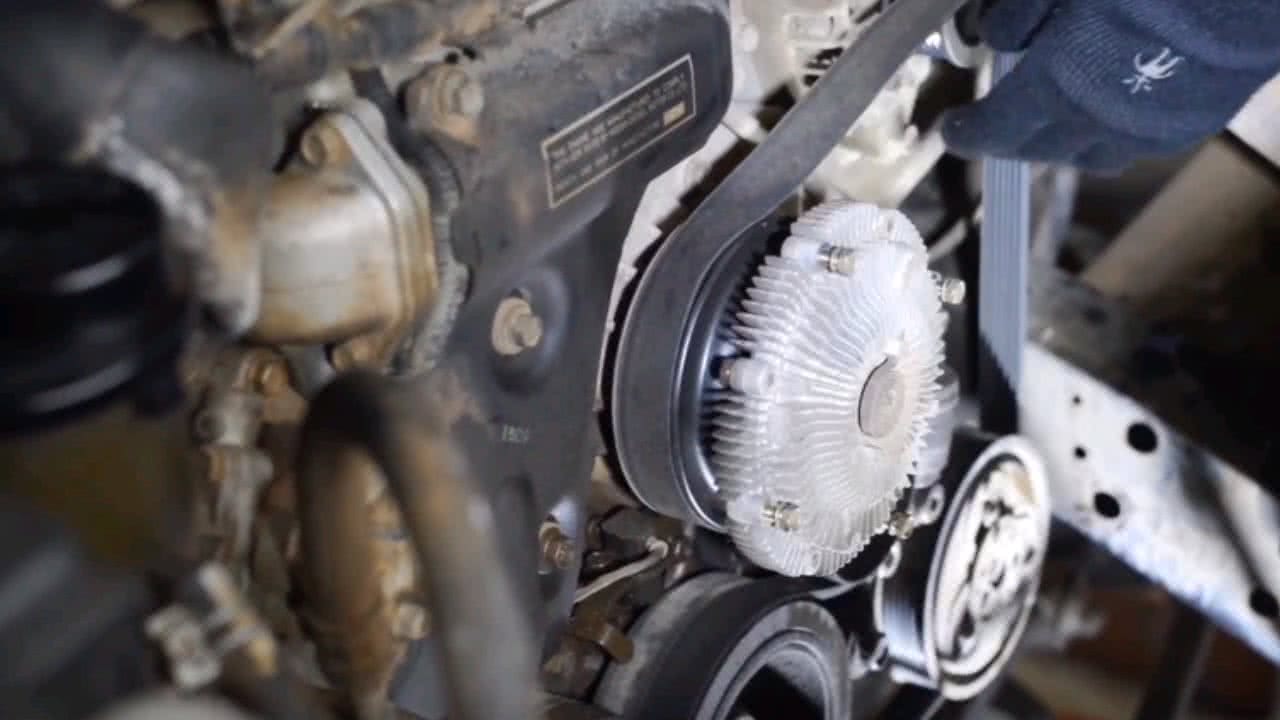
Removing the belt is as simple as attaching the serpentine belt tool to the tensioner, using the appropriate socket or crows foot piece and applying leverage to loosen the tensioner.
Following the diagram, slip the belt over each pulley.
Placing the belt over the final pulley may require some effort, so make the last pulley one that is easily accessible.
Apply Enough Leverage
Now apply leverage to the serpentine belt tool once again, to provide enough slack in the belt to complete the process.
Once the belt is in place, release the tensioner and check each pulley to ensure that the belt is sitting properly and replace any parts removed during the job.
*Important information* - Click here to read more about our How-To terms and conditions.
