How To Install a 4WD Awning
Overview
What is the best shelter for camping?
Shade for a beachside lunch stop is one of many things you’ll love about your awning.
Deploy it quickly if some rain approaches, roll your swag under it for a guaranteed dry night sleep, even attach optional side walls and bunker down in REALLY stormy weather. Plus, its one of the cheapest mods you can choose, and the easiest to install!
Which awning should I choose?
First of all, you’ll need some roof bars, a cage or tray installed on your vehicle for mounting. Awnings come in a variety of lengths, so measure up where you’d like to fit yours, and pick a suitable size.
How do you mount an awning?
It's easy and we'll go through the steps, below. But first, some pointers.
- Ask for a hand to hold the awning in place to help line it up
- Measure the length of your roof line to ensure the length of the awning is suitable
- Awnings also have a bunch of accessories to suit; LED lighting, tents, walls and mesh floors
Items
Steps
Choose Your Awning
Choose an awning that suits the length of your vehicle, the size of your roof rack and the area of shade you require. There are many types including side, rear and wrap-around awnings to choose from.
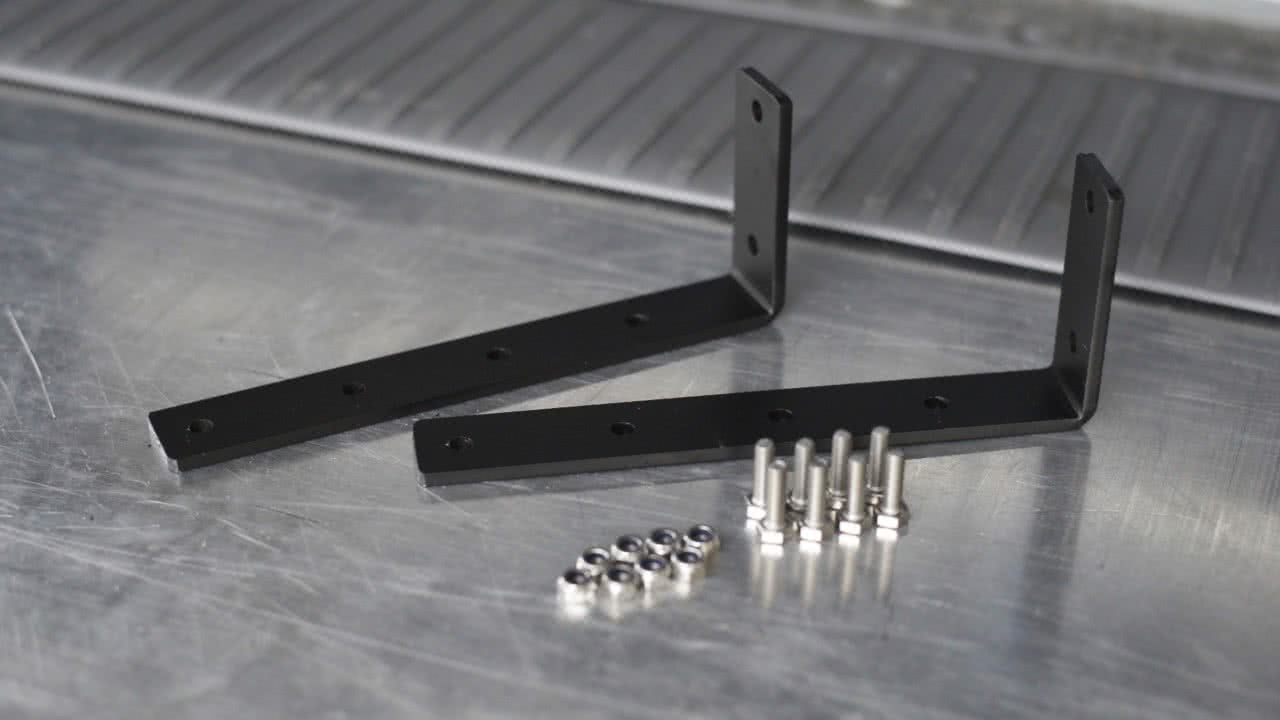
Determine the Mounts You Require
Most awnings come with a mounting kit including L brackets, bolts and nuts. This kit mounts to existing roof bar channels and uses bolts to hold the L bracket upright; providing a surface to mount the awning to. This will work with most roof racks and bars, although optional mounts are often available specific to your roof rack brand.
If you have a ROLA Titan roof rack, then rola have designed Titan awning mounts to suit their tray and most awnings for ease of installation
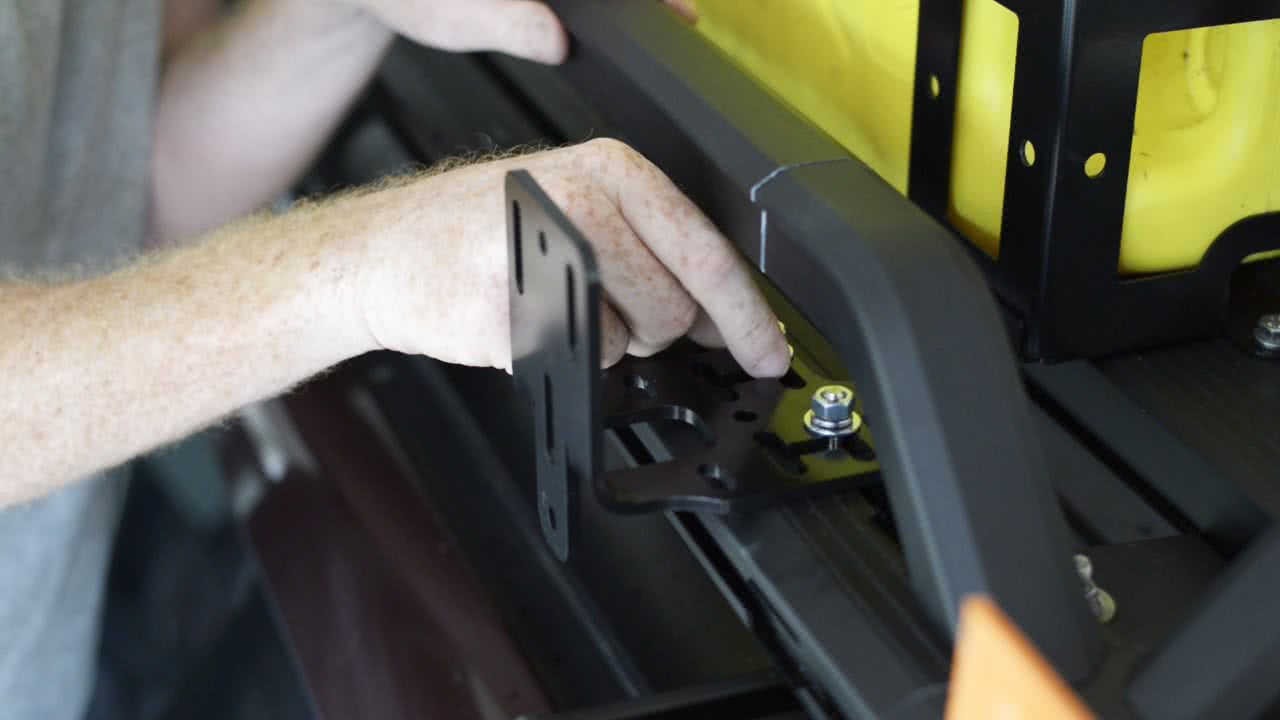
Mount Your Brackets to the Vehicle
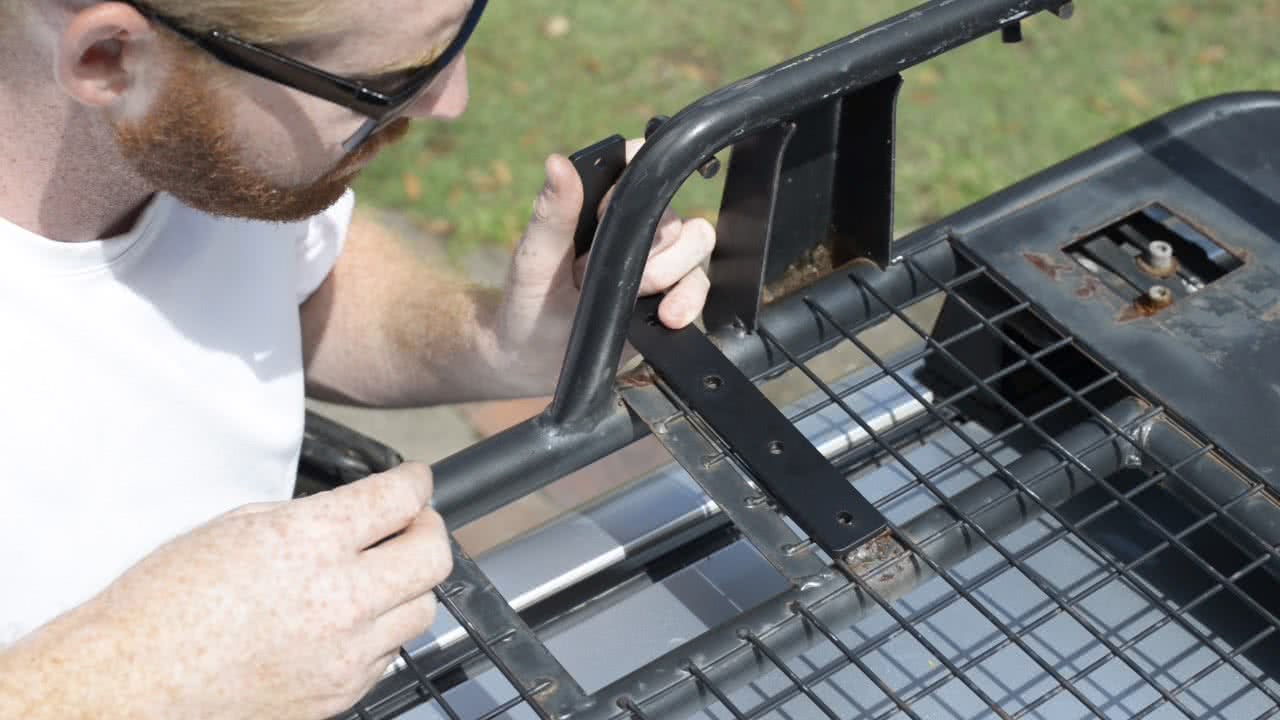
First mount the awning brackets to your roof rack, as far apart as possible.
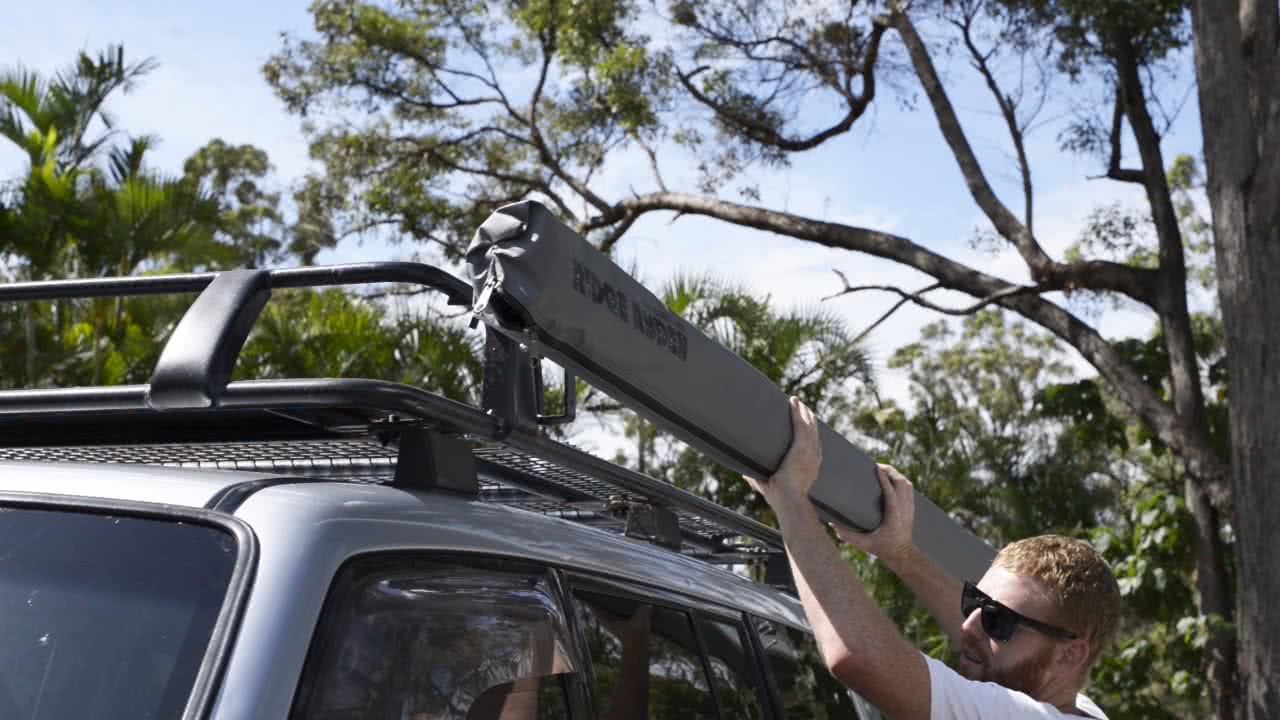
Lift the awning to the roof rack and ensure that the brackets are as far towards the ends of the awning as possible
Loosely fit your Awning to the Brackets
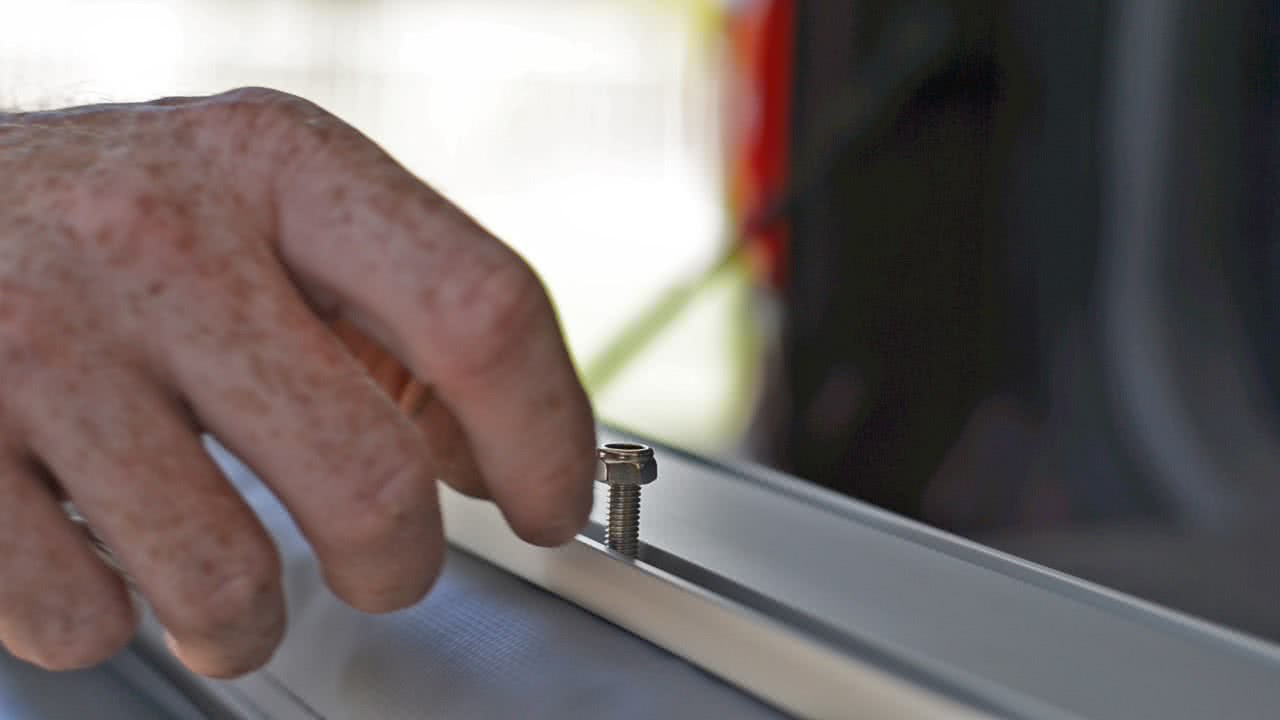
With the awning laid on its front, slide the 20 millimetre bolts into the channel along the back of the awning. Now raise the awning to the brackets and align the bolts with the brackets, sliding them through the holes. The nylon nuts can now be wound on a couple of turns to hold the awning in place.
Position your Awning
Slide the awning forward or backwards until you are happy with the position, ensuring that the ends have enough support on the bracket.
Tighten All Bolts
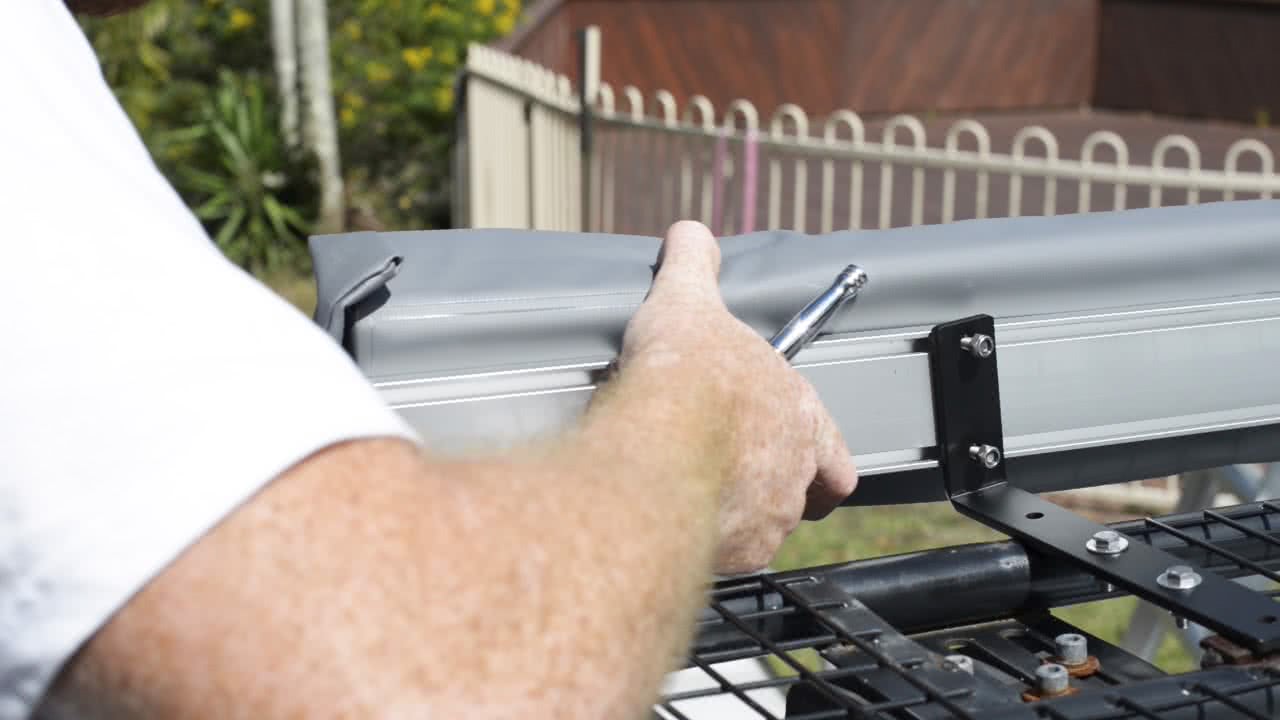
The last thing left to do is to tighten the nuts onto the bracket and your awning is ready to roll.
Accessorize and Enjoy
With it all bolted up, surely you’re excited to set it up? Here’s a few tricks and accessories to get you started!
- Your awning will free stand, but when there’s a bit of a breeze around make sure you peg it down
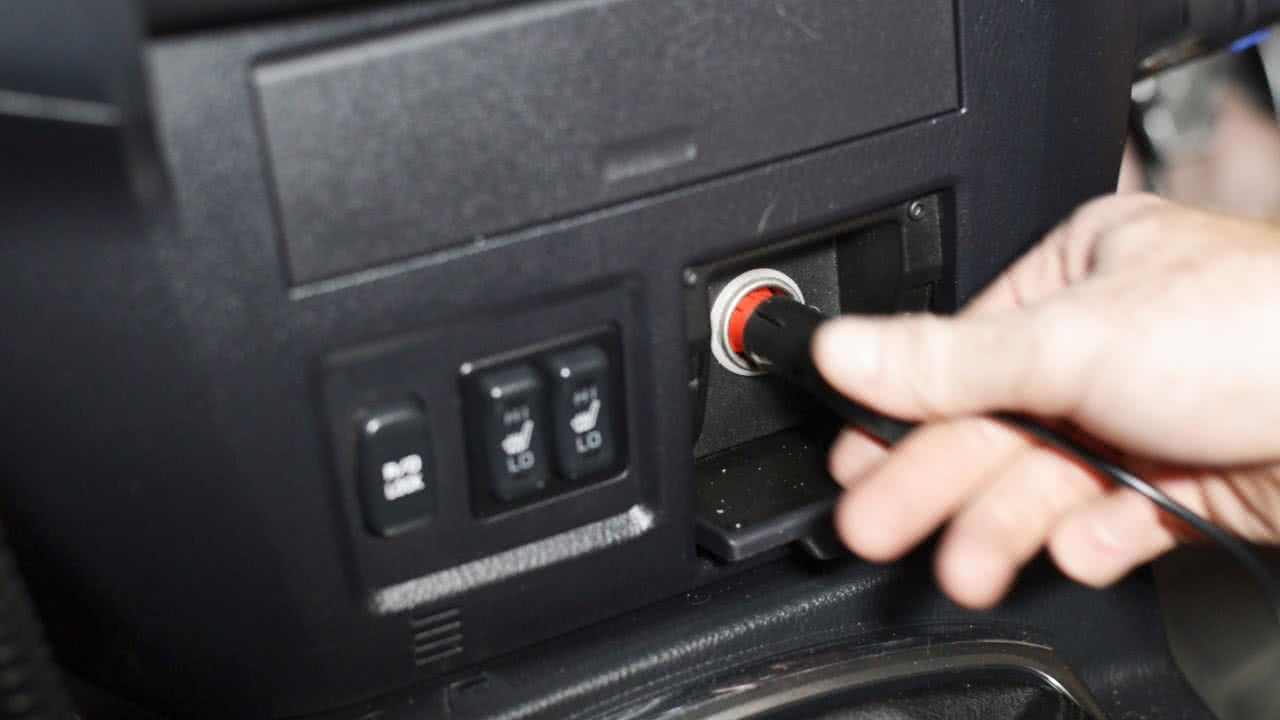
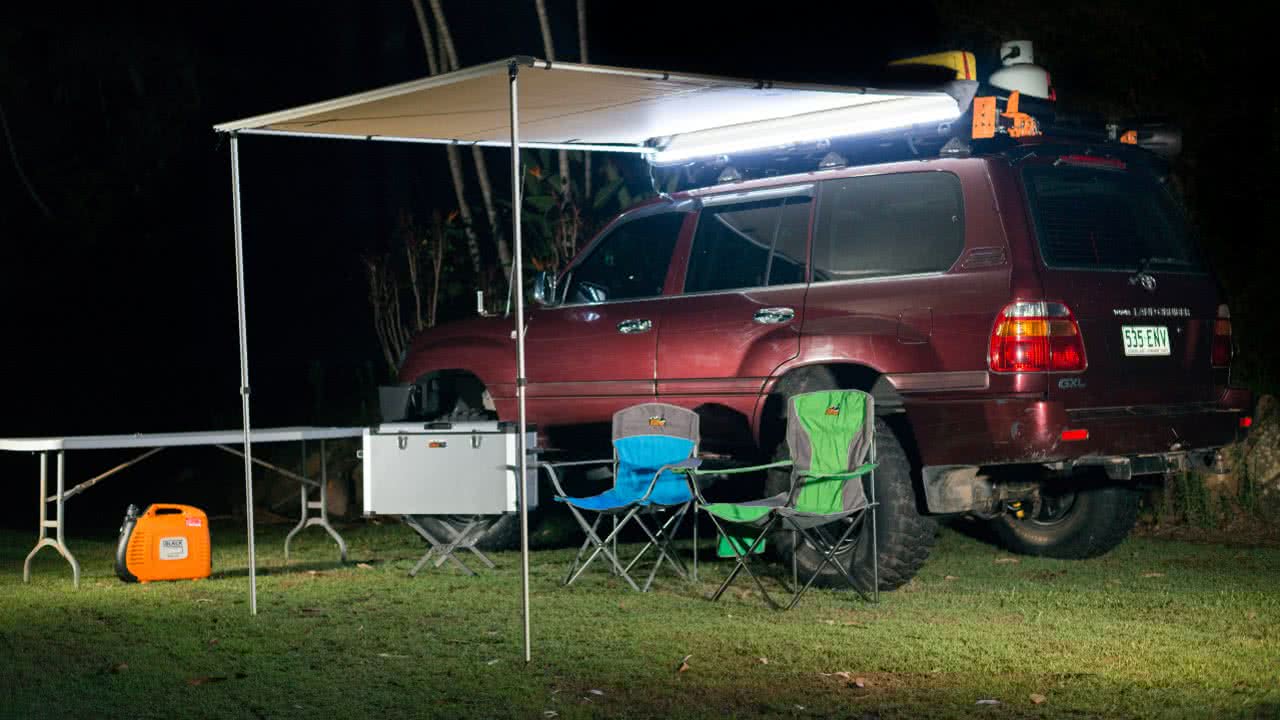
- Your awning provides a great space to fit a light for night use. Grab yourself a strip light kit and you’ll have plenty of light for the campsite cook up.
- If you roll your awning up wet, pull it out again when the sun shines and let it dry. Storing a wet awning will see it go mouldy
Most 4WD enthusiasts would list their awning as one of the best mods they’ve done. Make it a priority on your to-do list and get the most out of your next 4WD adventure.
*Important information* - Click here to read more about our How-To terms and conditions.