How To Setup an Awning
Overview
Keeping out of the sun and rain when you’re enjoying the outdoors doesn’t have to mean setting up a tarp with a tangled web of ropes and poles.
Taking shelter under a Ridge Ryder 4WD awning is a quick and painless task.
Here's how!
Steps
Roll Out
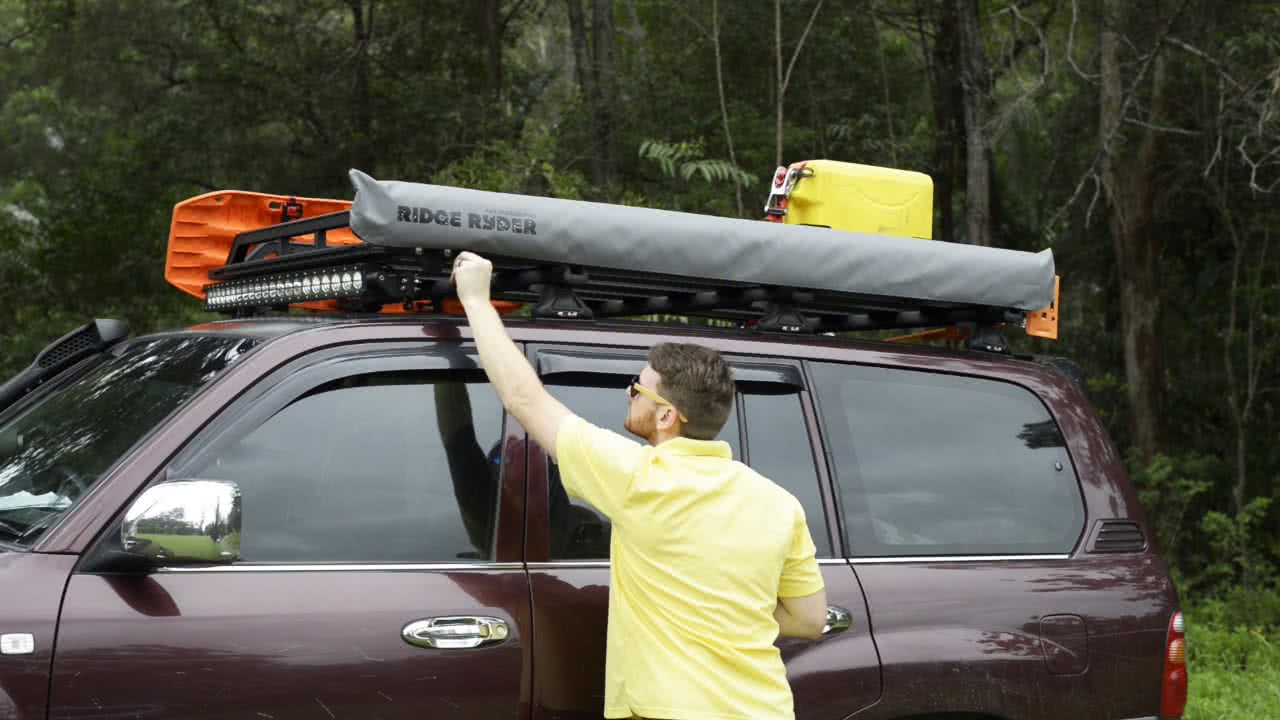
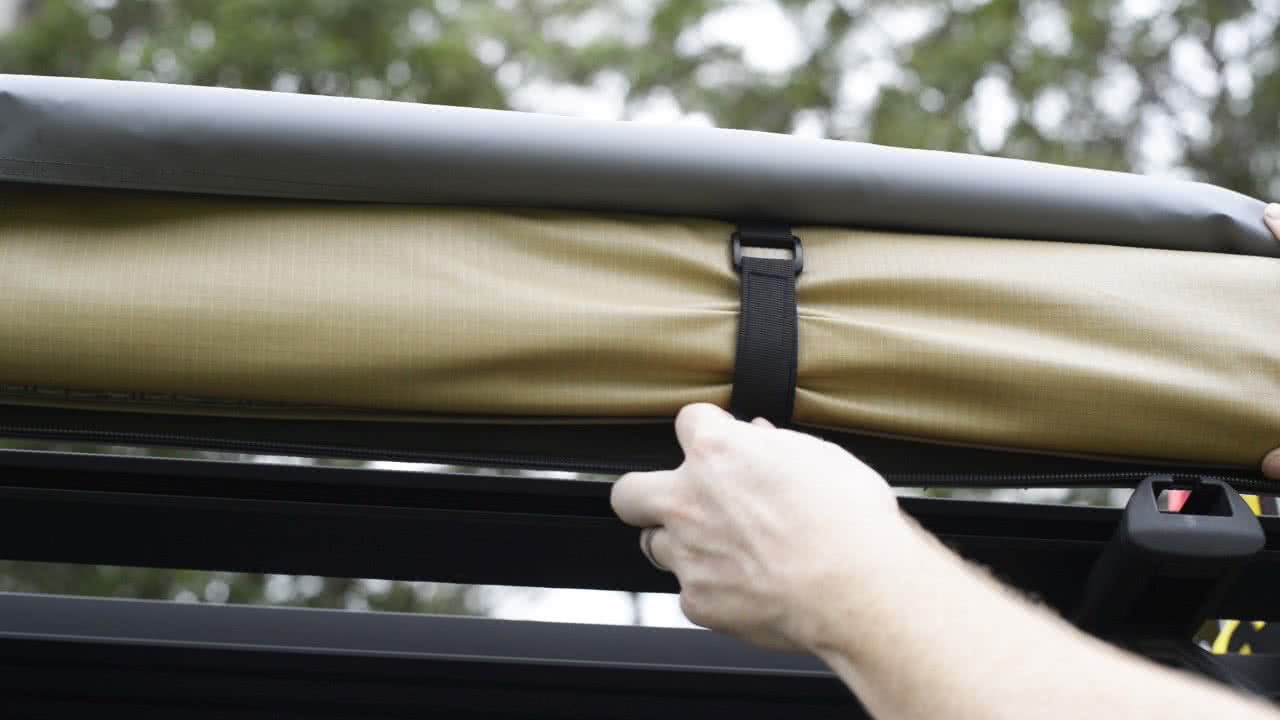
The heavy duty zipper keeps the weather and dust off your awning when not in use, just open up the zipper, release the 3 Velcro straps and your awning is ready to roll out.
Setting up your awning is easy to do on your own. Lifting up the awning and swinging out the side support poles will make the task much easier.
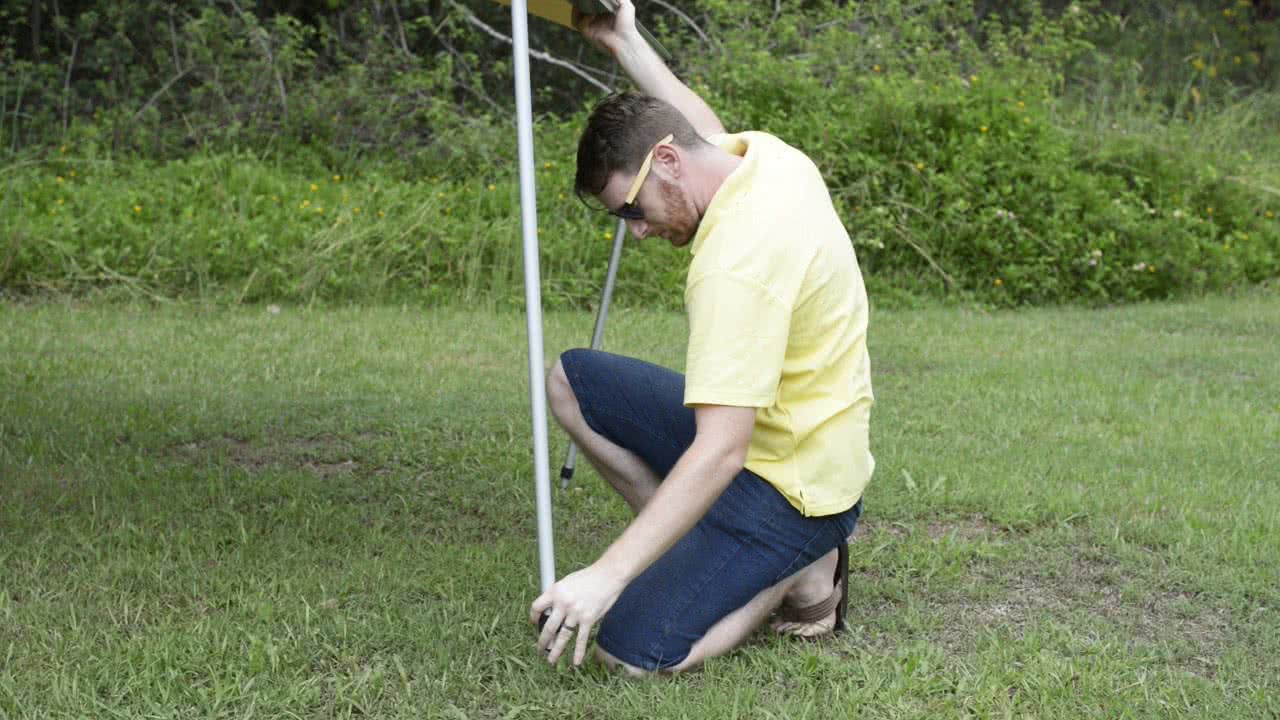
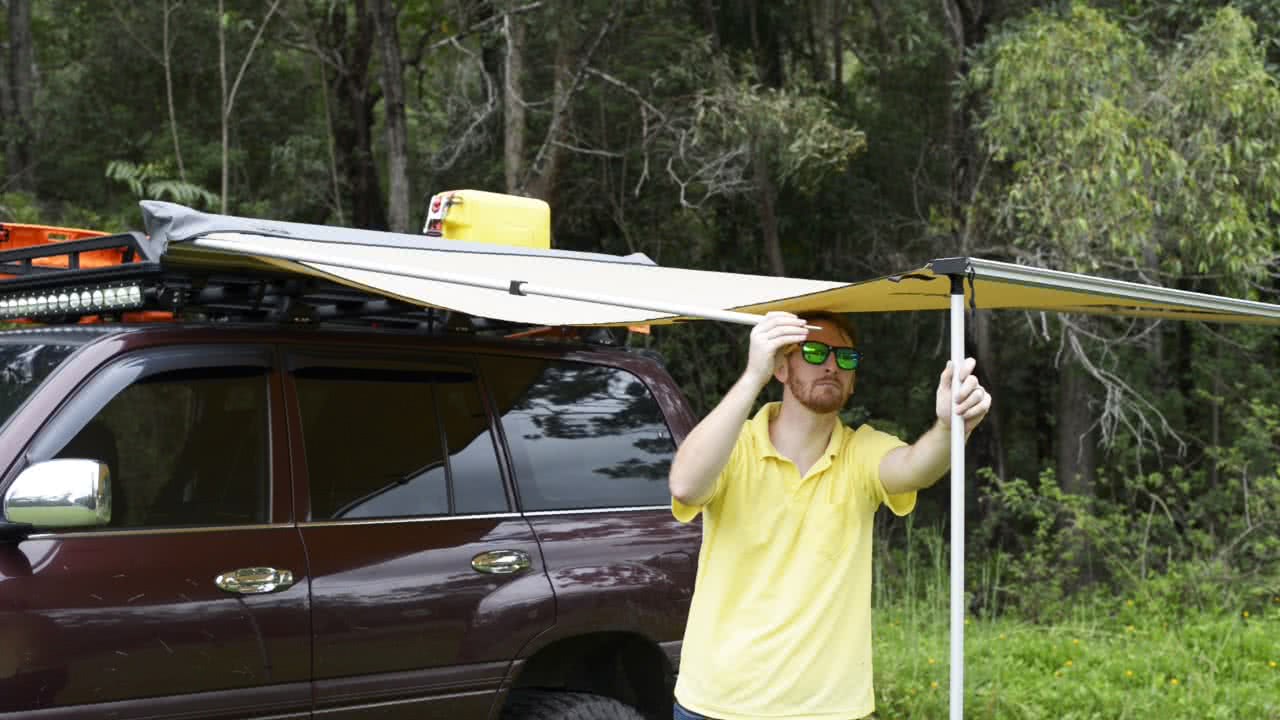
With the awning full extended, drop the legs down from the end channel, raise them to the desired height, and lock them in position using a simple twist motion.
Drop Down Legs
With the awning full extended, drop the legs down from the end channel, raise them to the desired height, and lock them in position using a simple twist motion.
Side Supports
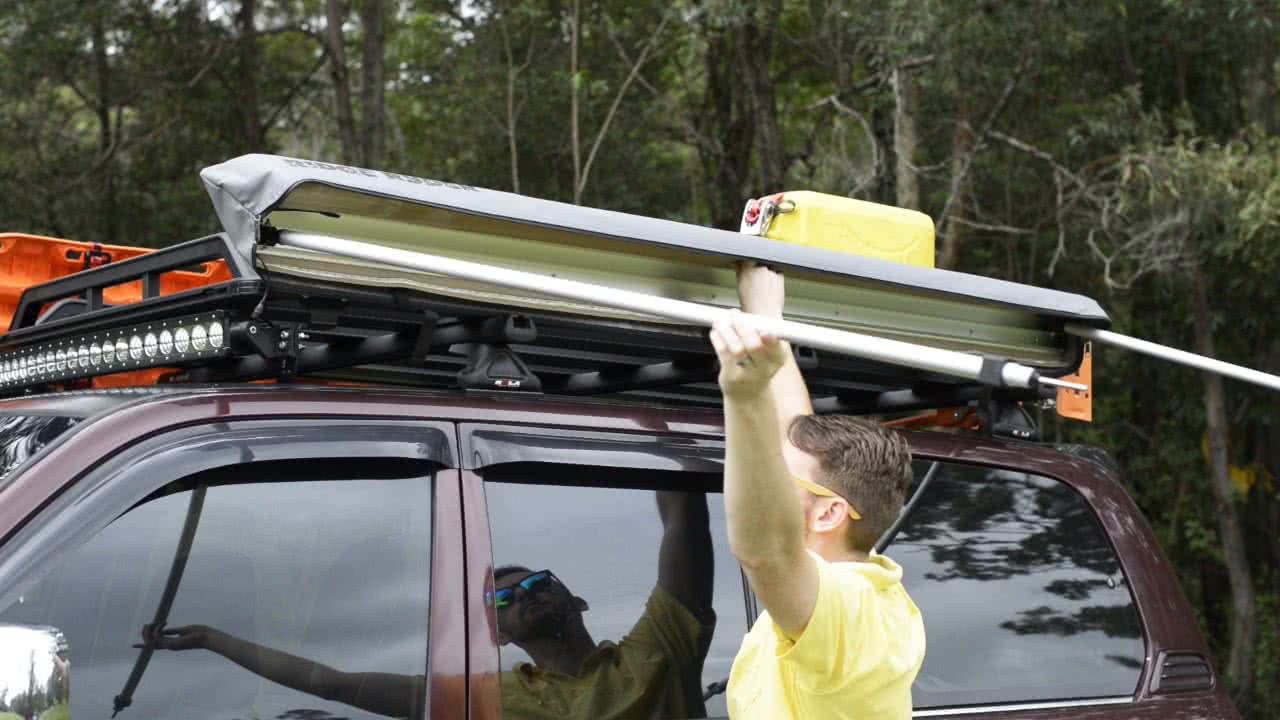
Now; while supporting the end of the awning with one hand, extend the side support and guide the pin through the hole in the aluminium channel.
Just as with the legs, a quick twisting motion will lock them into place, and the awning will now free stand.
Tension
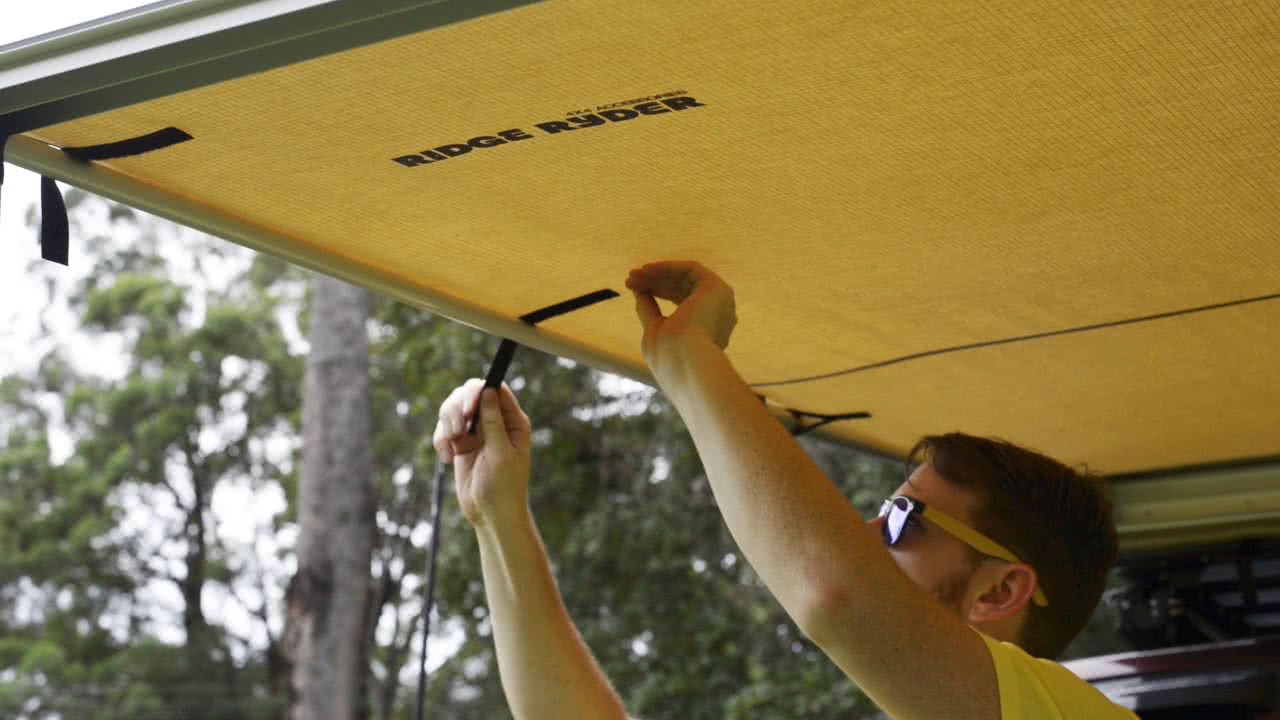
To tension the canvas and prevent it from flapping or pooling water, wrap the Velcro straps around the side supports and pull them tight.
At this point, pegging your awning down using the guy ropes will ensure that it doesn’t lift up and sustain damage in a gust of wind.

More Information
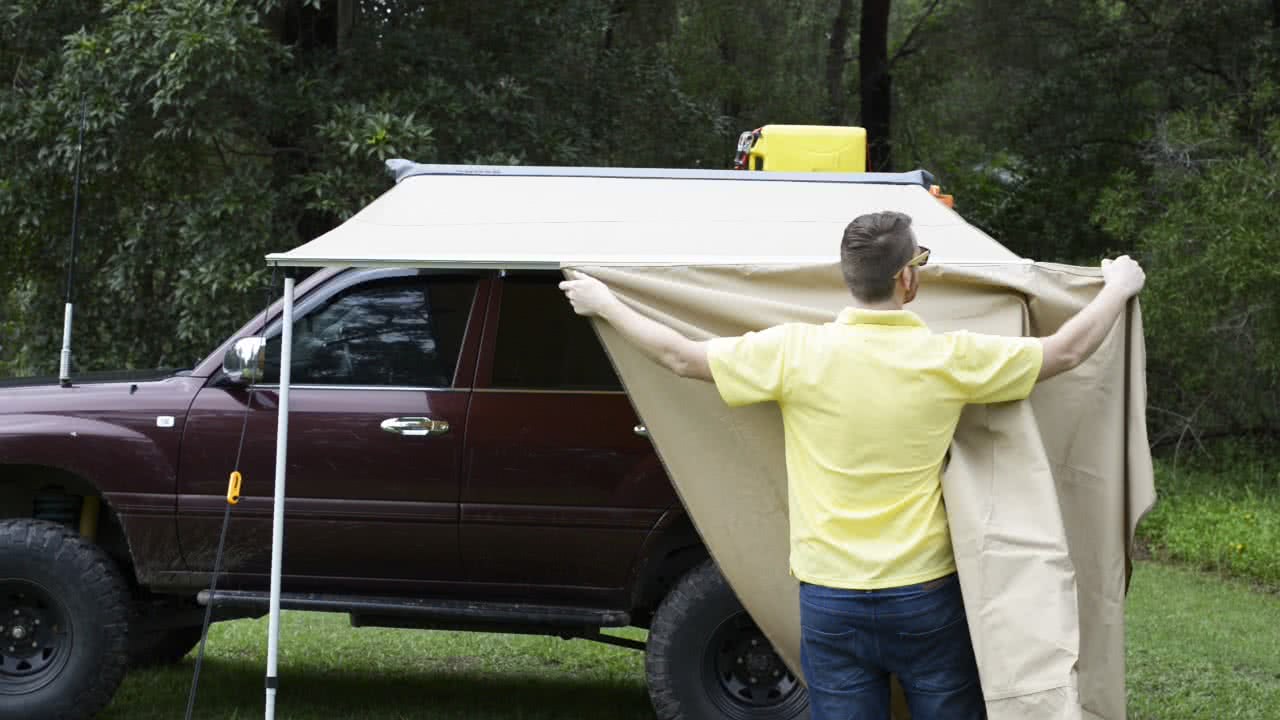
For extra protection, there are awning side wall kits to suit each awning. The side wall kit simply slides through the rope channel on the end of your awning.
The side wall extension can either be pegged straight to the ground for enclosed protection, or supported upright using poles bought separately for extra shade.
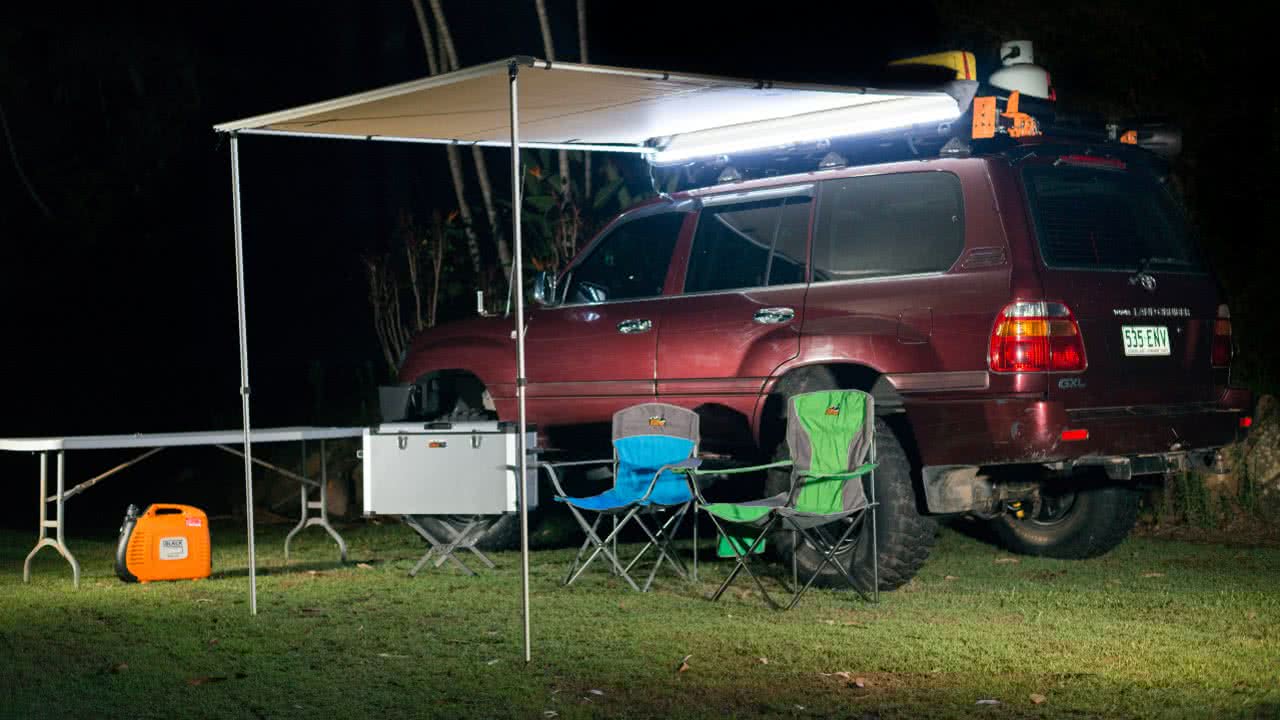
Your Ridge Ryder awning is just as simple to pack away. Just make sure it is clean and dry before storing for a long period, and you’ll have a reliable source of shelter for years to come.
*Important information* - Click here to read more about our How-To terms and conditions.