This Review & How To Guide is brought to you by Sparky's On The Loose
Easy to mount and operate, 4WD awnings are designed to fit onto the sides of most roof racks or canopy frames and store neatly in a PVC bag for immediate use upon arrival to your camping spot of choice. In this quick installation guide and review, Curtis from Sparky's On The Loose installs two Ridge Ryder awnings on his ute, and then takes a look at their features at the campsite.
The larger of the two awnings is the Ridge Ryder 2.5 x 2.5 metre awning, which he will be mounting on the side of his vehicle and using along with a great LED lighting strip that is purpose built to suit the dimensions of the awning. The smaller of the two awnings is 1.4 x 2 metres and will fit handily on the back of his ute’s canopy.
Check out this Kings Awning vs Ridge Ryder Awning Review by Rugged Life.
Learn how to setup your awning easily here.
Learn more about campsite lighting solutions.

What's Included with the Ridge Ryder Awnings?
Before Curtis mounts his Ridge Ryder awnings, he takes a look at what comes included. Each awning comes with a little installation kit in a handy bag. The large awning’s kit includes 3 heavy duty mounting brackets and the required nuts and bolts to mount it to most roof racks, canopies and other suitable points, on practically any 4x4. Alongside the mounting hardware, the bag also contains a couple of tent pegs and the tensioning straps for use at your chosen campsite.
The smaller awning comes with a similar kit that features two right-angle brackets and two flat brackets, which allow for a wide range of mounting methods. They are also made from the same heavy duty metal as the brackets in the larger awning. It also comes with the required pegs and straps to secure your awning where you need it.
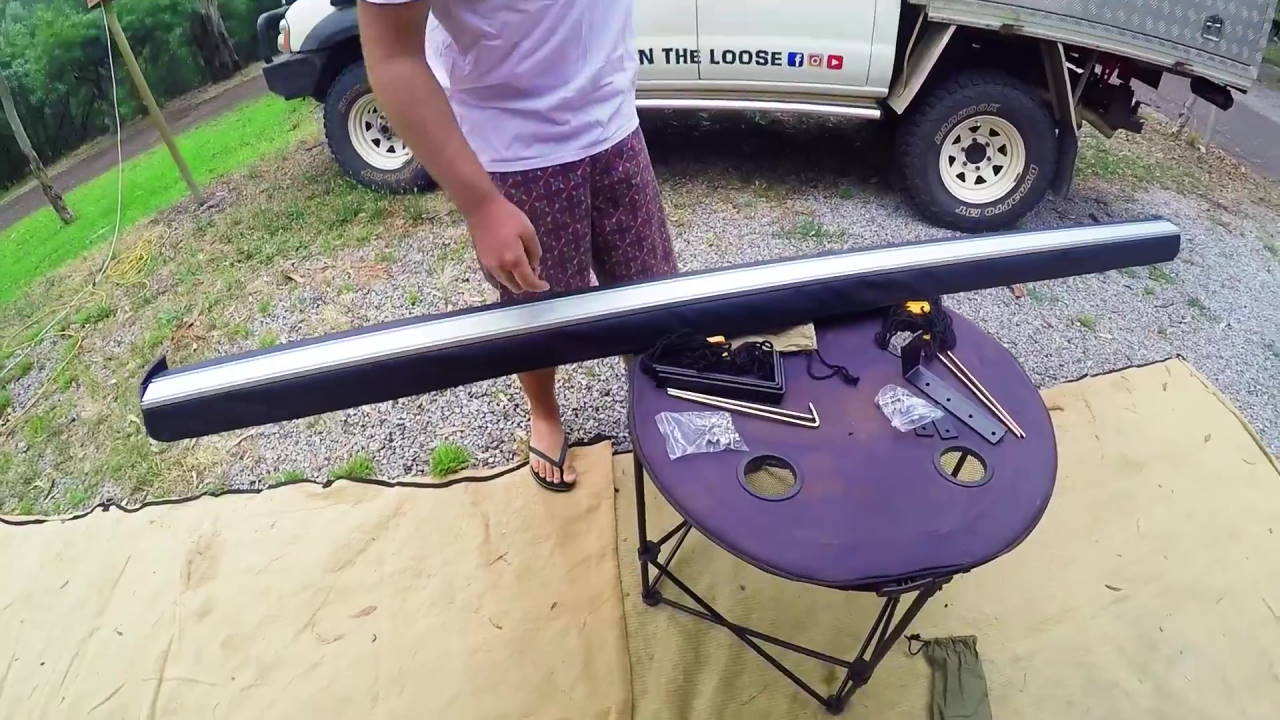
Mounting the Ridge Ryder Awnings - Side Awning
Curtis explains that the included brackets will let you mount your awning to the side of your vehicle in a variety of ways, whether to your roof rack, or elsewhere. In his case, he will mount the awning to the aluminium canopy he has on the back of his ute thanks to some existing bolt holes, and suitable spacing. It’s important to use as many of the included brackets as possible, and to space them out as evenly as is practical in order to eliminate as much flex as you can. The included bolts will slide into purpose-built rails on the roof rack which lets you adjust your mounting position with ease.
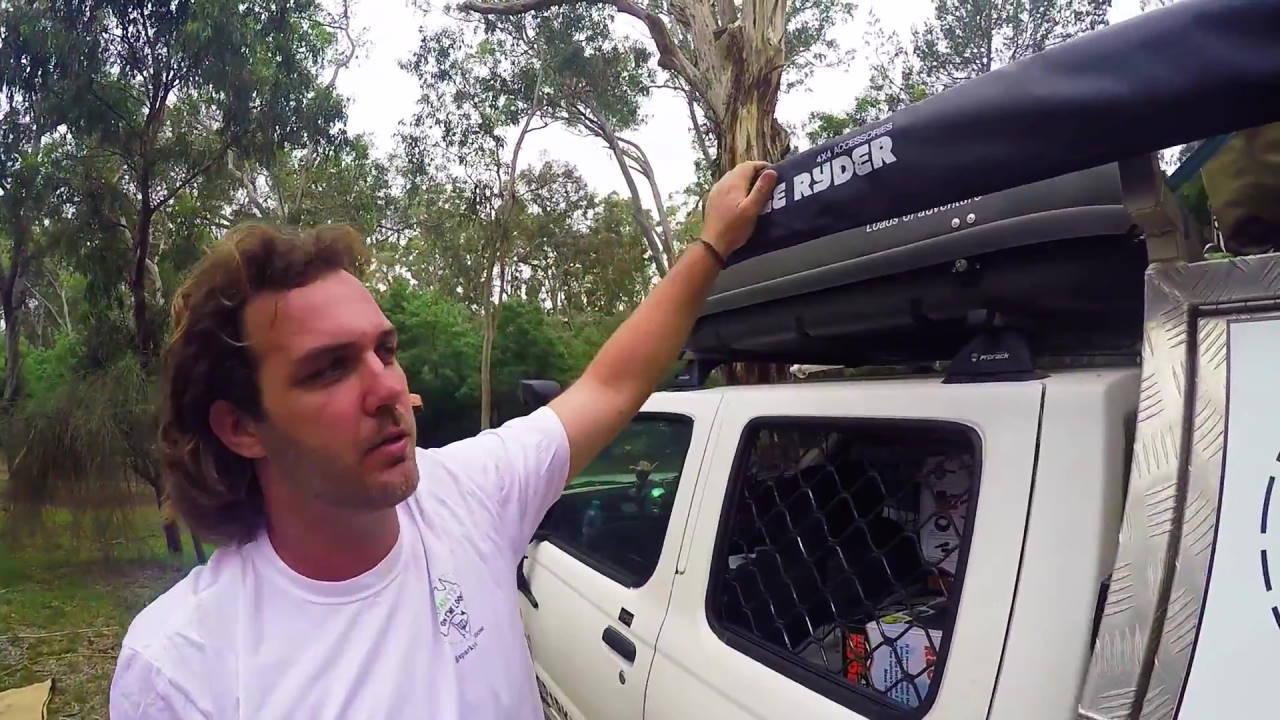
If you are mounting the awning to your roof rack, then simply bolt the brackets in place using the method recommended by your rack manufacturer, and then slide two bolts for each bracket into the rails on the rack, and position them ready to mount up to your installed brackets. If you are mounting the awning on a canopy or frame then you may need to drill some holes. Make sure that you measure out and pre drill these to ensure they are correctly spaced, and properly aligned. As mentioned, Curtis mounts his awning on his canopy, using only two of the brackets, but thanks to the sturdy design of the awning, and proper bracket spacing it should pose no problems.
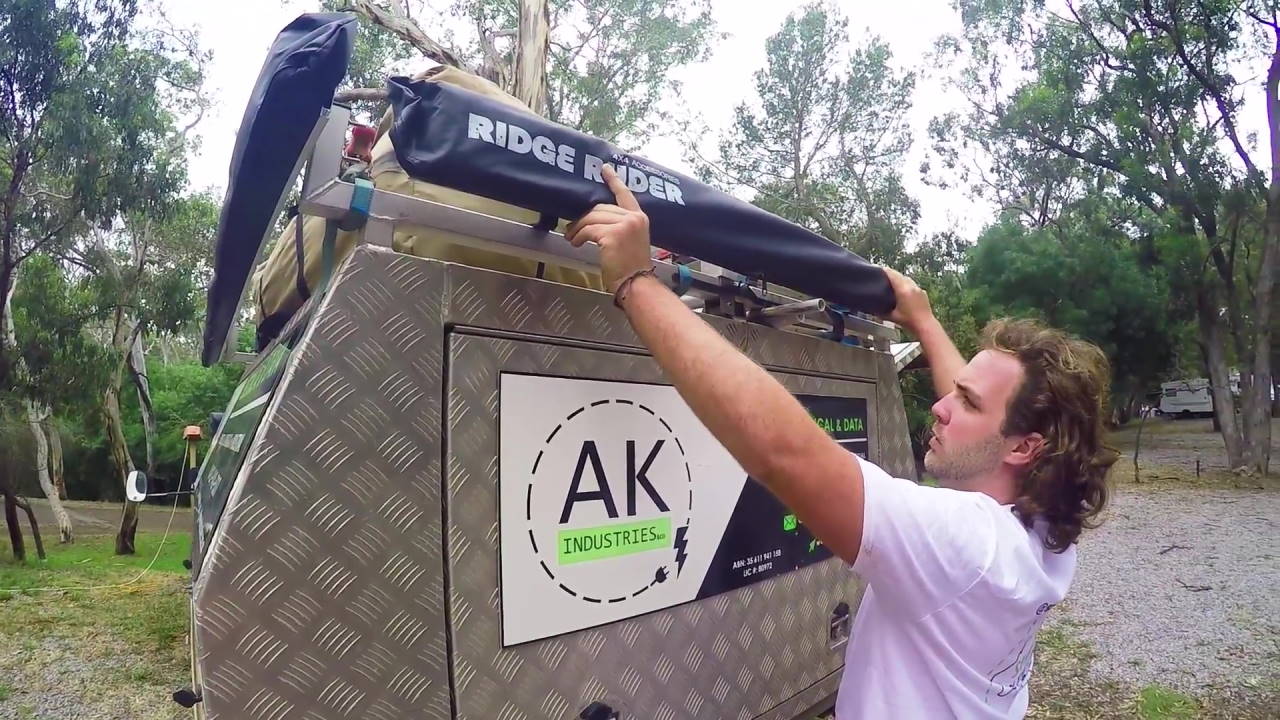
Mounting the Ridge Ryder Awnings - Rear Awning
The rear of Curtis’ vehicle doesn’t have existing bolt holes, nor any vertical mounting points for him to use the flat brackets. He cuts down the right angle brackets in order to fit his chosen mounting location, and then measures out and pre drills appropriate holes in order to securely mount the awning.
Note: If you are modifying the brackets, make sure that you leave sufficient material and multiple bolt holes in order to provide a proper mounting surface. Also be sure to paint any exposed metal so that it doesn’t oxidise when exposed to the elements.
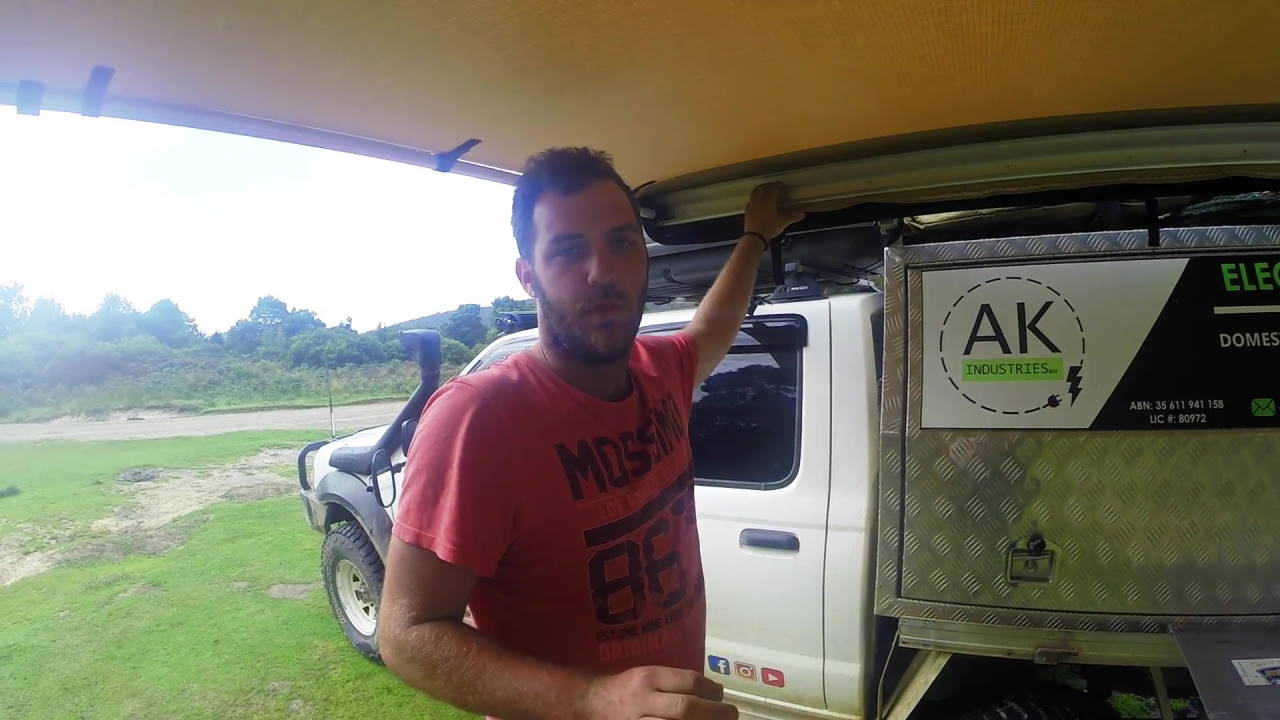
Adding LED Lighting to your Ridge Ryder Awning
One of the great things about Ridge Ryder awnings is their versatility. Besides floors, mesh and opaque walls and tent attachments, there are LED lighting strips available that can completely transform your camping experience. The Ridge Ryder LED light strip runs of your 12volt accessory port and slides into the purpose-built groove that runs the entire length of the awning, just beneath the awning bag. This means that you can run your lighting with or without your awning actually being set up - adding a reliable and most importantly, safe lighting option in pretty much any circumstances.
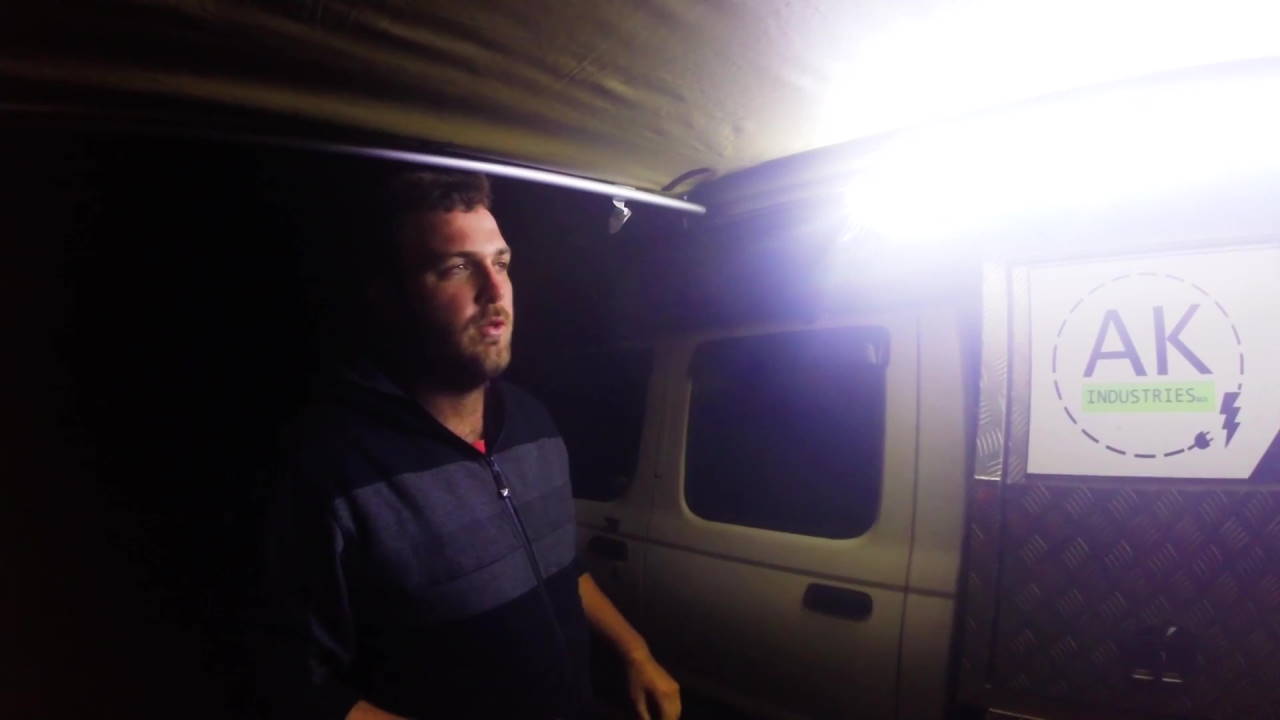
At night, the LED light strip provides bright light that can be dimmed to suit your mood, or simply switched off from the lighting unit itself - saving you having to fiddle around with plugs. When you aren’t using your lighting, the cable for your LED light strip can be rolled up and stowed in with the awning in its zip-up bag which lets you leave the lighting in place when travelling.
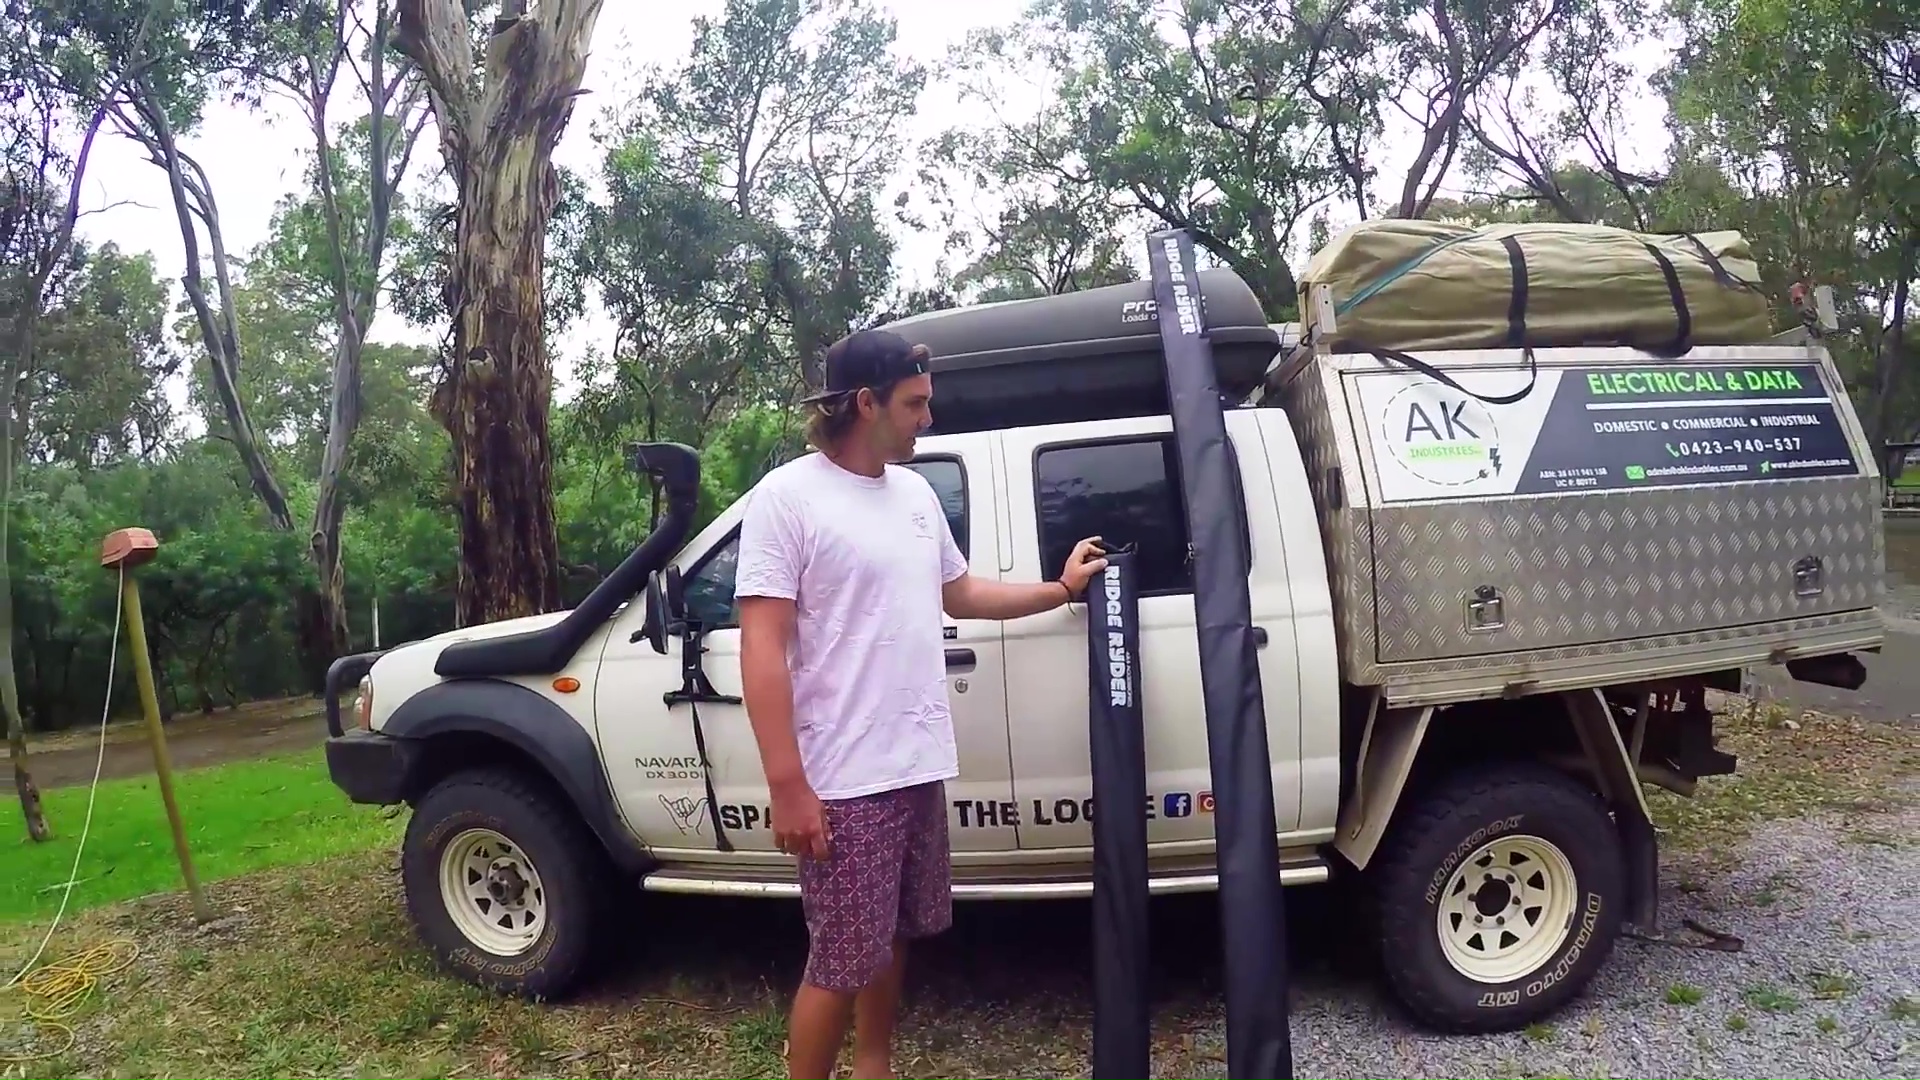
Packing up your awning is a simple job - again, easy enough to do solo and making a Ridge Ryder awning a great option no matter how many people you are sharing your campsite with. Ridge Ryder awnings and all of the great accessories that you need to truly transform your 4x4 into the perfect campsite are available exclusively at Supercheap auto, so check out the full range and outfit your vehicle for any adventure you might ever want to tackle.

This video was brought to you by Sparky's On The Loose.
Check out their YouTube Channel Here for more great tips and guides!
SCA does not make any endorsements, or representation as to the accuracy of the advice given or practices shown in any third party content, nor does it accept responsibility or liability.
*Important information* - Click here to read more about our How-To terms and conditions.