How to Bring Back That Showroom Shine
Overview
So you’ve just washed your car - and since you followed our handy how-to video, you’ve done a phenomenal job of it.
But there’s still more that you can do to protect your paintwork and give it that showroom shine with the help of a useful few car care products. The next thing to do after cleaning your car is to remove any bugs, tar or other stubborn stuff that refused to come unstuck during the wash. After that we’ll give the paint a thorough polishing to remove any swirls or light scratches in your clear coat, and finally we’re going to give it a wax, to protect and preserve all your hard work.
This is the second part in a 3 part series, click the links below to learn more about the other parts.
Learn More: How To Wash A Car The Right Way - Click Here.
Learn More: How To Maintain a Glossy Showroom Shine - Click Here.
Items
Steps
Clean Surface
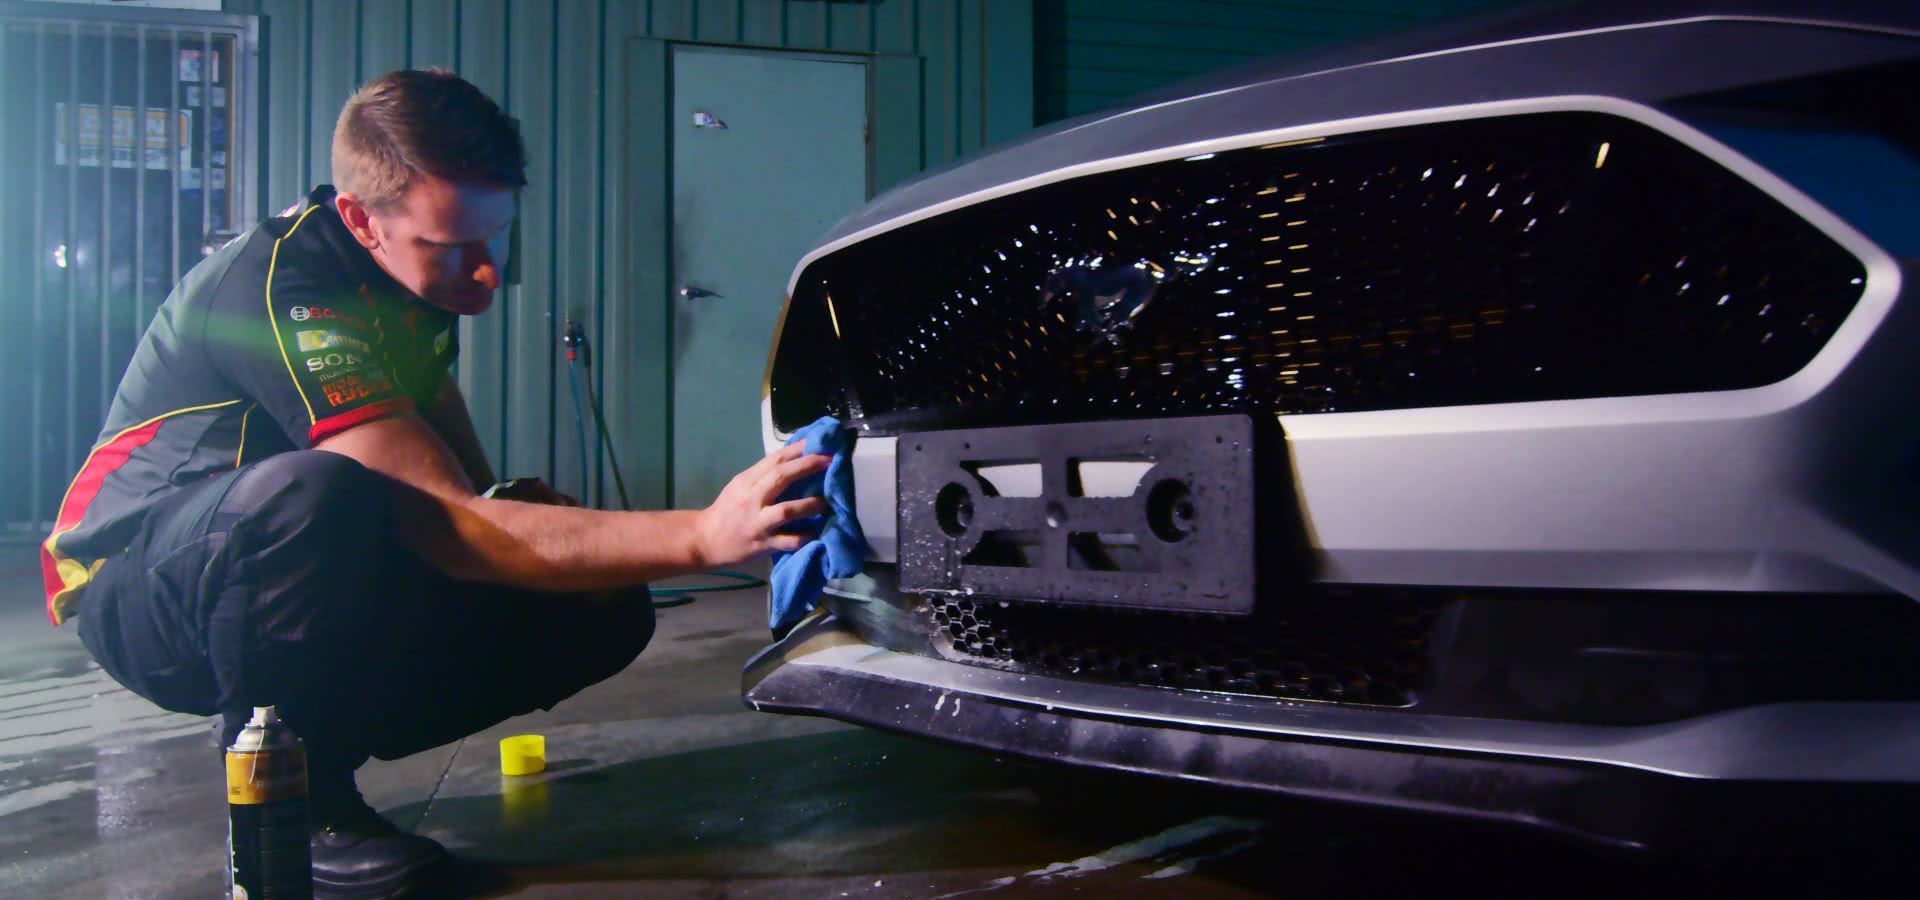
First things first - getting rid of tar, bugs, sap, pollen and other really sticky stuff. You’ll need some bug and tar remover, a clay bar and lubricant - which you can get as a kit, and a few microfibre towels.
Make sure the surface of your car is clean, dry and cool to the touch, then apply a small amount of bug and tar remover to affected areas and work it in with a microfibre cloth.
Give the product around thirty seconds to dissolve contaminants, then remove the residue with a clean microfibre cloth.
Clay Bar
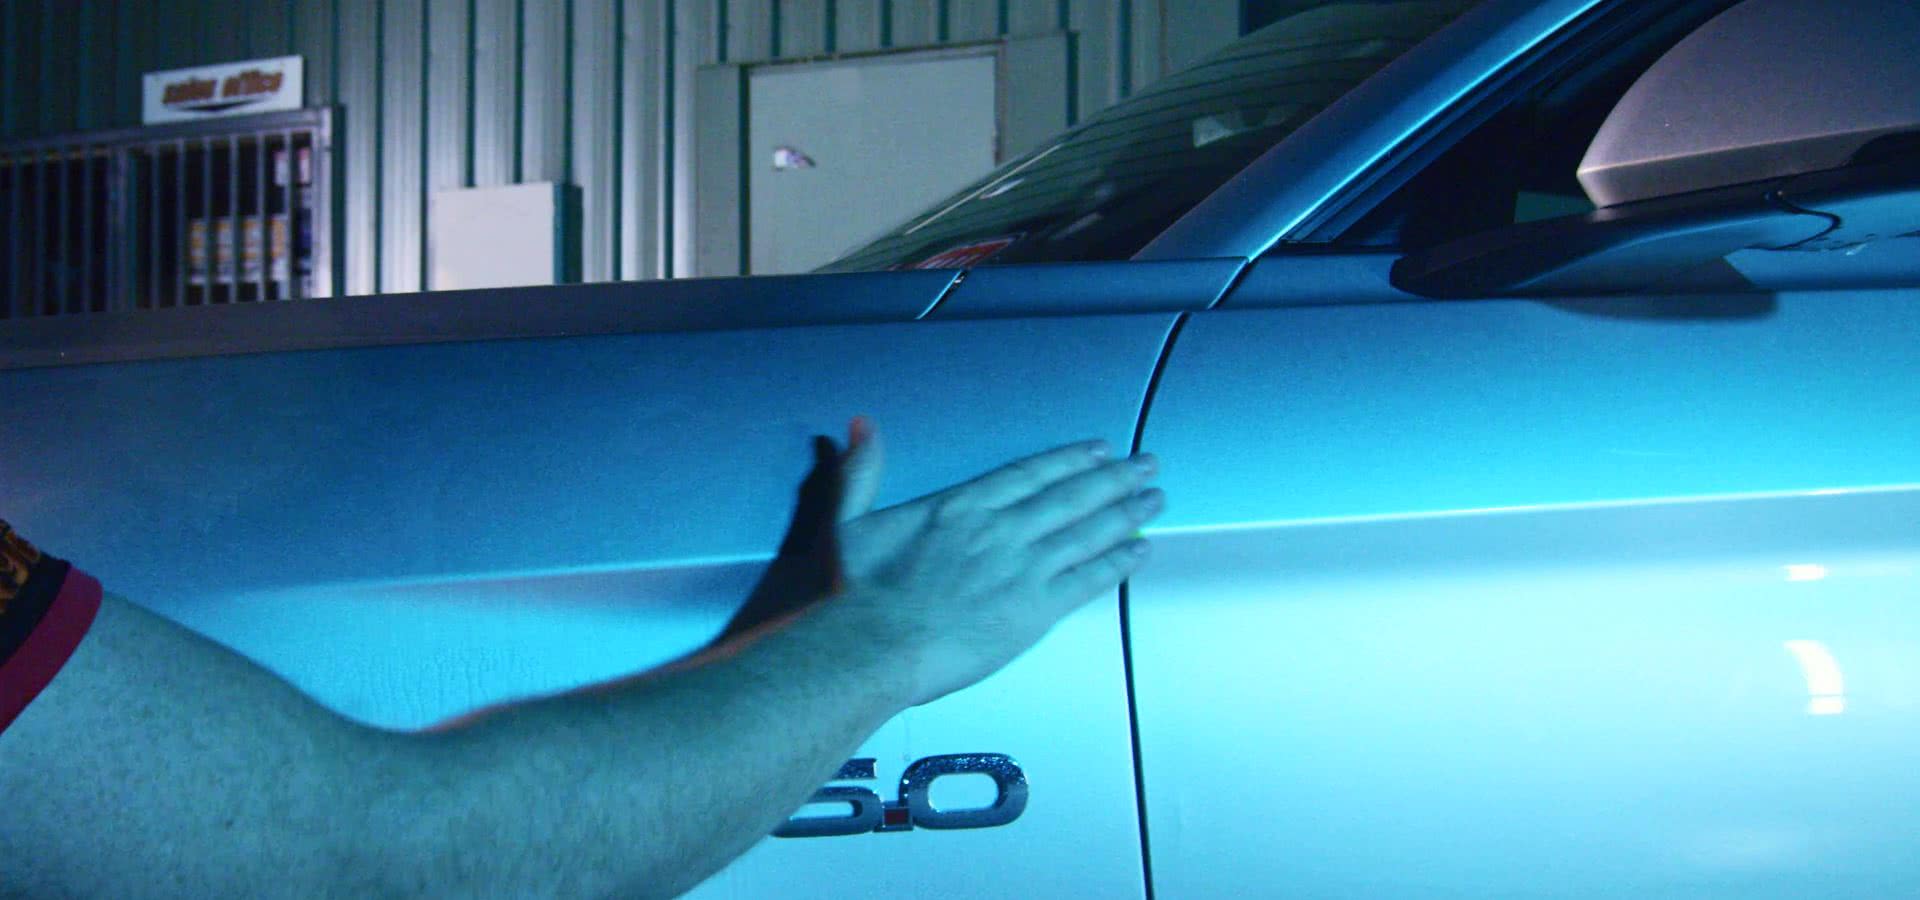
Now you’ll want to break off a decent sized chunk of your clay, and knead it into a nice flat surface to work with.
Lubricate an area around a metre square with either the lubricant that came with your clay kit or a detailer spray, and then rub the clay over the panel in long linear motions.
You won’t need to press too hard, and you should feel the clay begin to pick up and remove contaminants as you work.
Fold your clay into itself, and knead it back into shape between each section, and dispose of it if you drop it on the ground in order to prevent any grit or other particles from scratching your paint.
Once you complete a section, and the clay glides over your paintwork with no resistance, then give it a wipe down with a clean microfibre cloth and move on until the whole car is done.
Applying Polish by Hand
Following a bug and tar or clay bar treatment, your car’s paint must have a wax applied to ensure that it’s protected and to give it a longer lasting shine.
We’ll get onto that shortly, but first let’s polish it to ensure it's ready for wax.
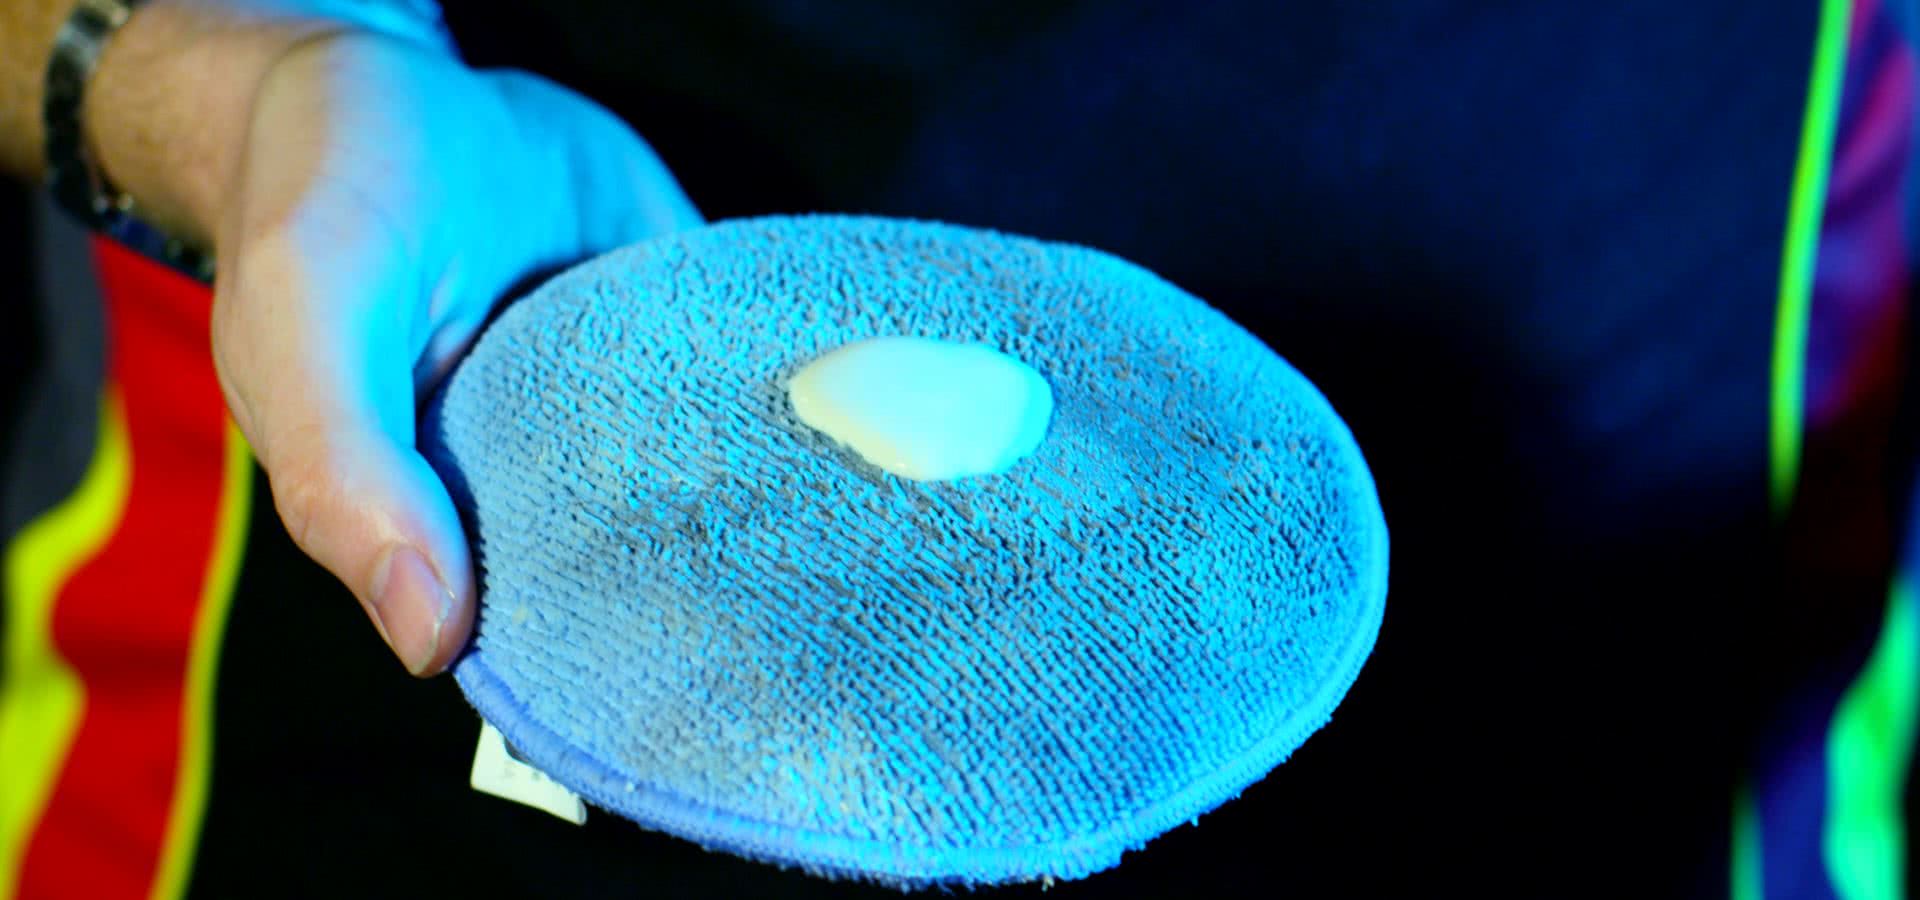
You’ll need a good quality polish, a clean microfibre cloth and either a simple applicator pad to rub your polish in by hand, or an electric buffer.
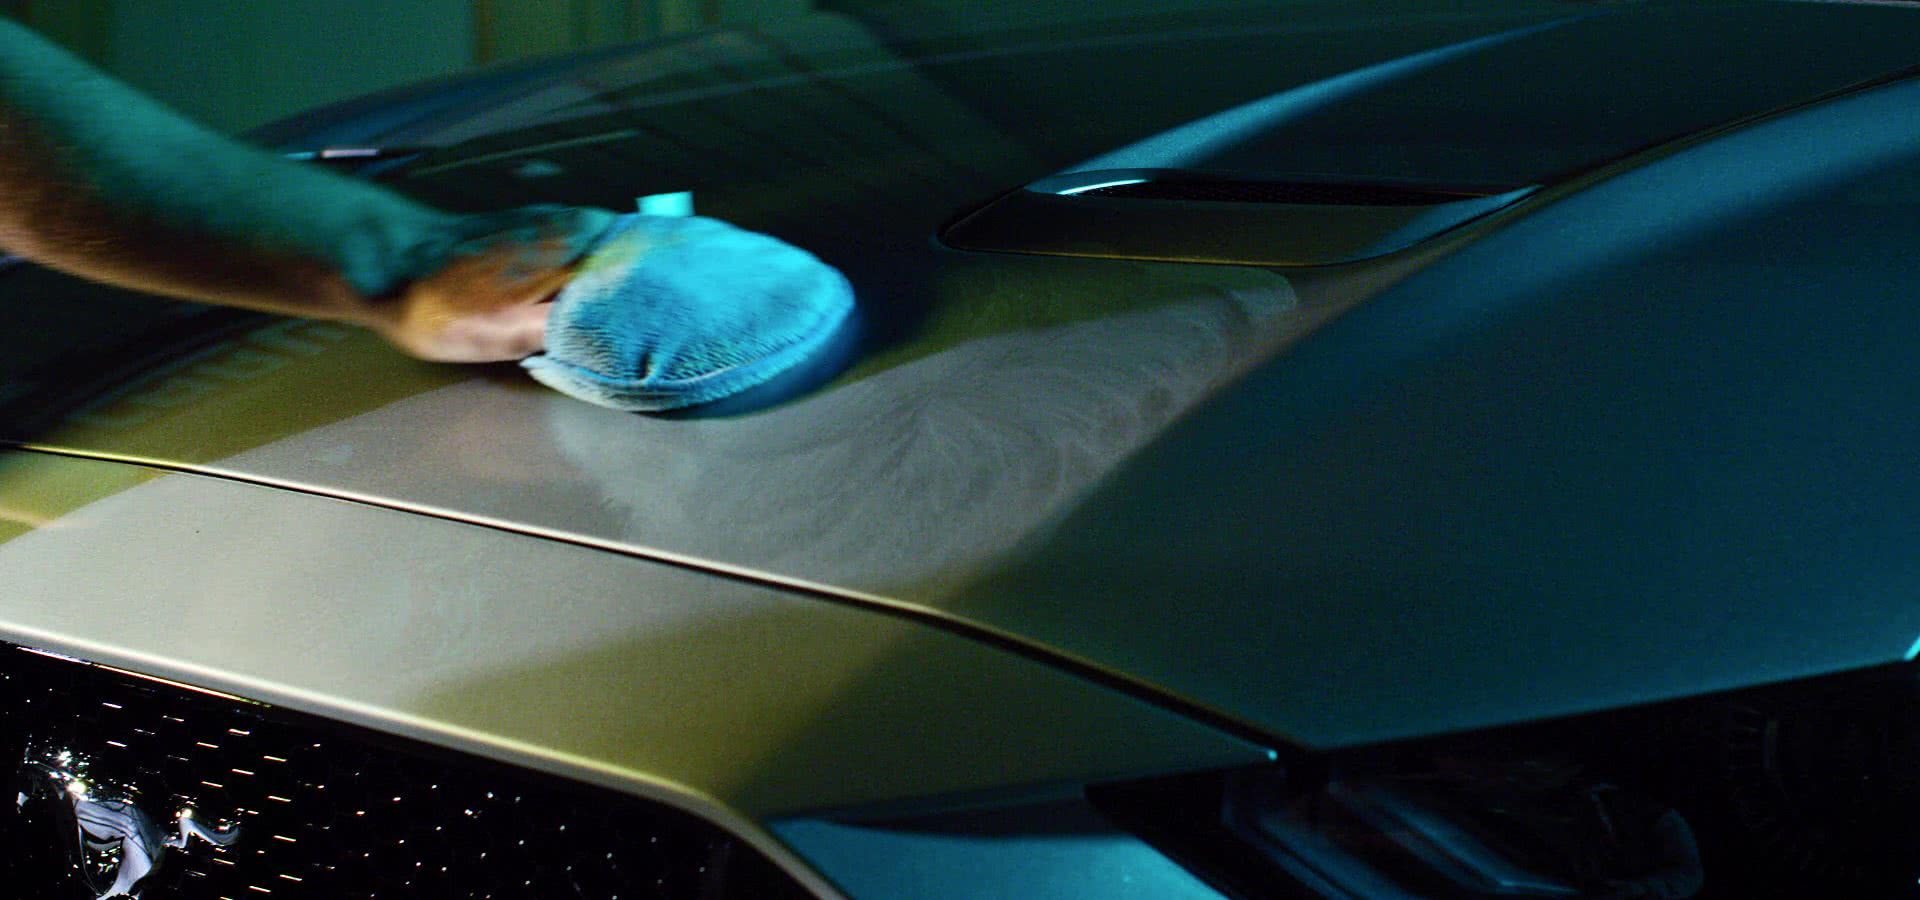
To do it by hand, you simply apply a small ammount of polish to the pad, rub the polish into your paintwork in circular motions and with a moderate amount of pressure, and then buff the area to remove any residue using your microfibre cloth.
An electric buffer is a little more involved, but only until you get comfortable with the technique.
Applying Polish by Electric Buffer
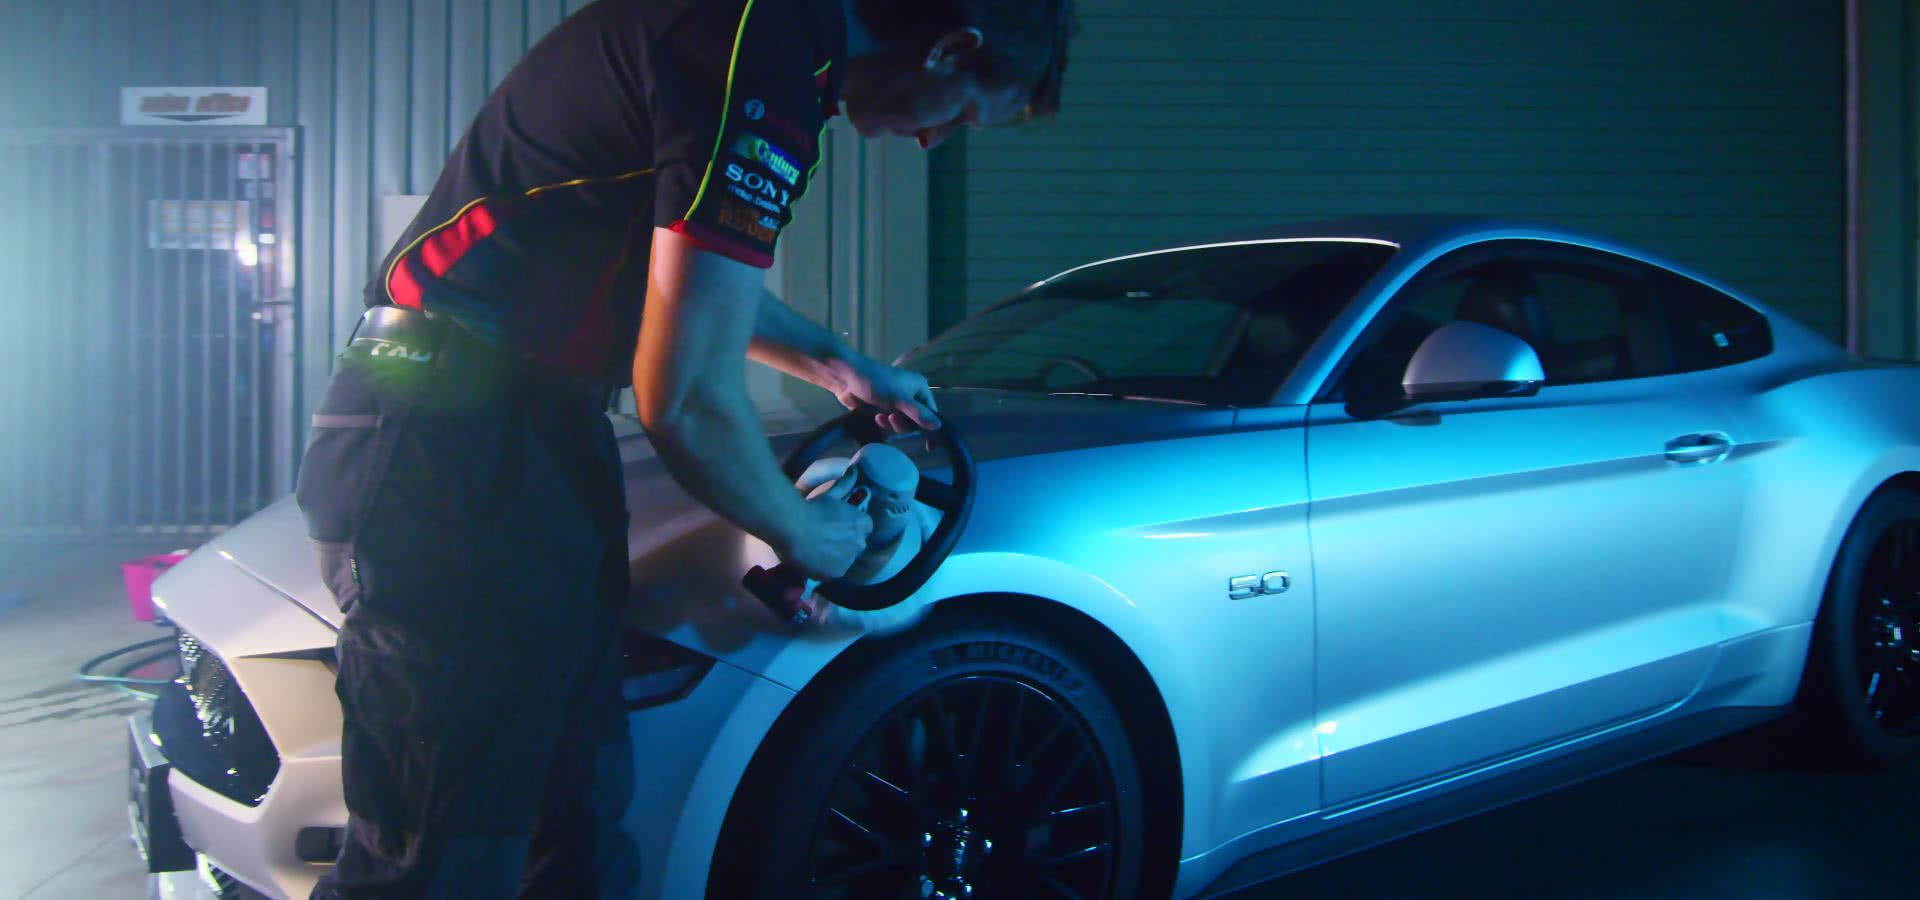
There are two different types of buffer - the first is the the rotary buffer. It’s designed to heavily cut the surface paint so it’s great for eliminating swirls, scratches and paint defects but is more prone to causing paint damage if you mess up.
The other type is the random orbital buffer. It varies the point of contact to minimise the risk of damage, but because it’s a little more forgiving, this type of buffer is only suited for removing light paint swirls and blemishes.
Whichever type of buffer you use, you’ll want to apply a dab of polish to the applicator pad and then spread the polish around the panel you’re working on before switching the buffer on.
A little trick, to ensure you run less risk of burning through your clear coat, is to add a quick spray of detailer to your applicator pad. It’ll act as a lubricant, and make the polishing process a little smoother.
Work on one small area at a time, taking extra care to avoid contact with rubber, vinyl and other non-painted or porous surfaces.
Move your buffer in gentle overlapping motions - up and down and side to side as you go. Buffers only need light pressure to work, so you don’t need to use more than a light touch
Removing Polish
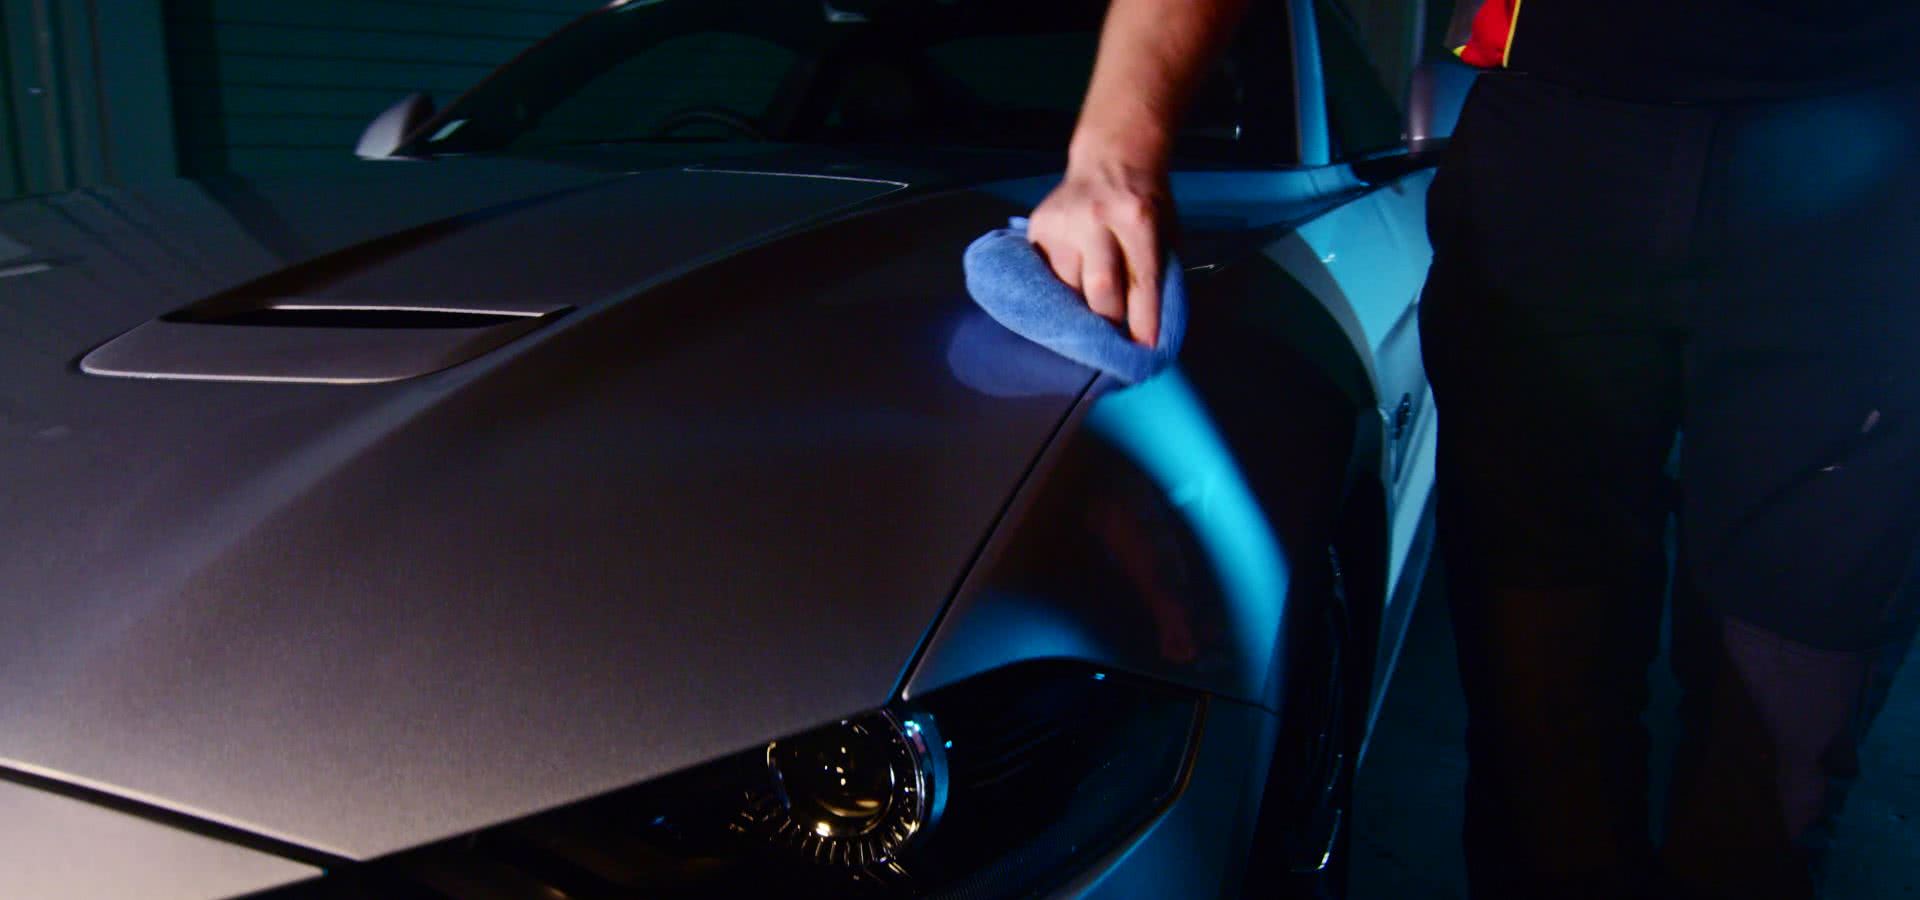
Once the polish begins to dry or run clear, then wipe down the panel with a microfibre cloth to remove any residue.
Once you’re happy with each section, then move onto the next until the whole car is polished up and ready for the last part of the process - a protective wax coating.
Wax On
For the final step, you’ll need some protective wax, an applicator pad, and you guessed it - a microfibre cloth.
Since we promised ourselves we wouldn’t make any karate related jokes and you probably aren’t training for a tournament, it’s recommended that you use a cream or liquid wax, if you want a quick and easy job of it.
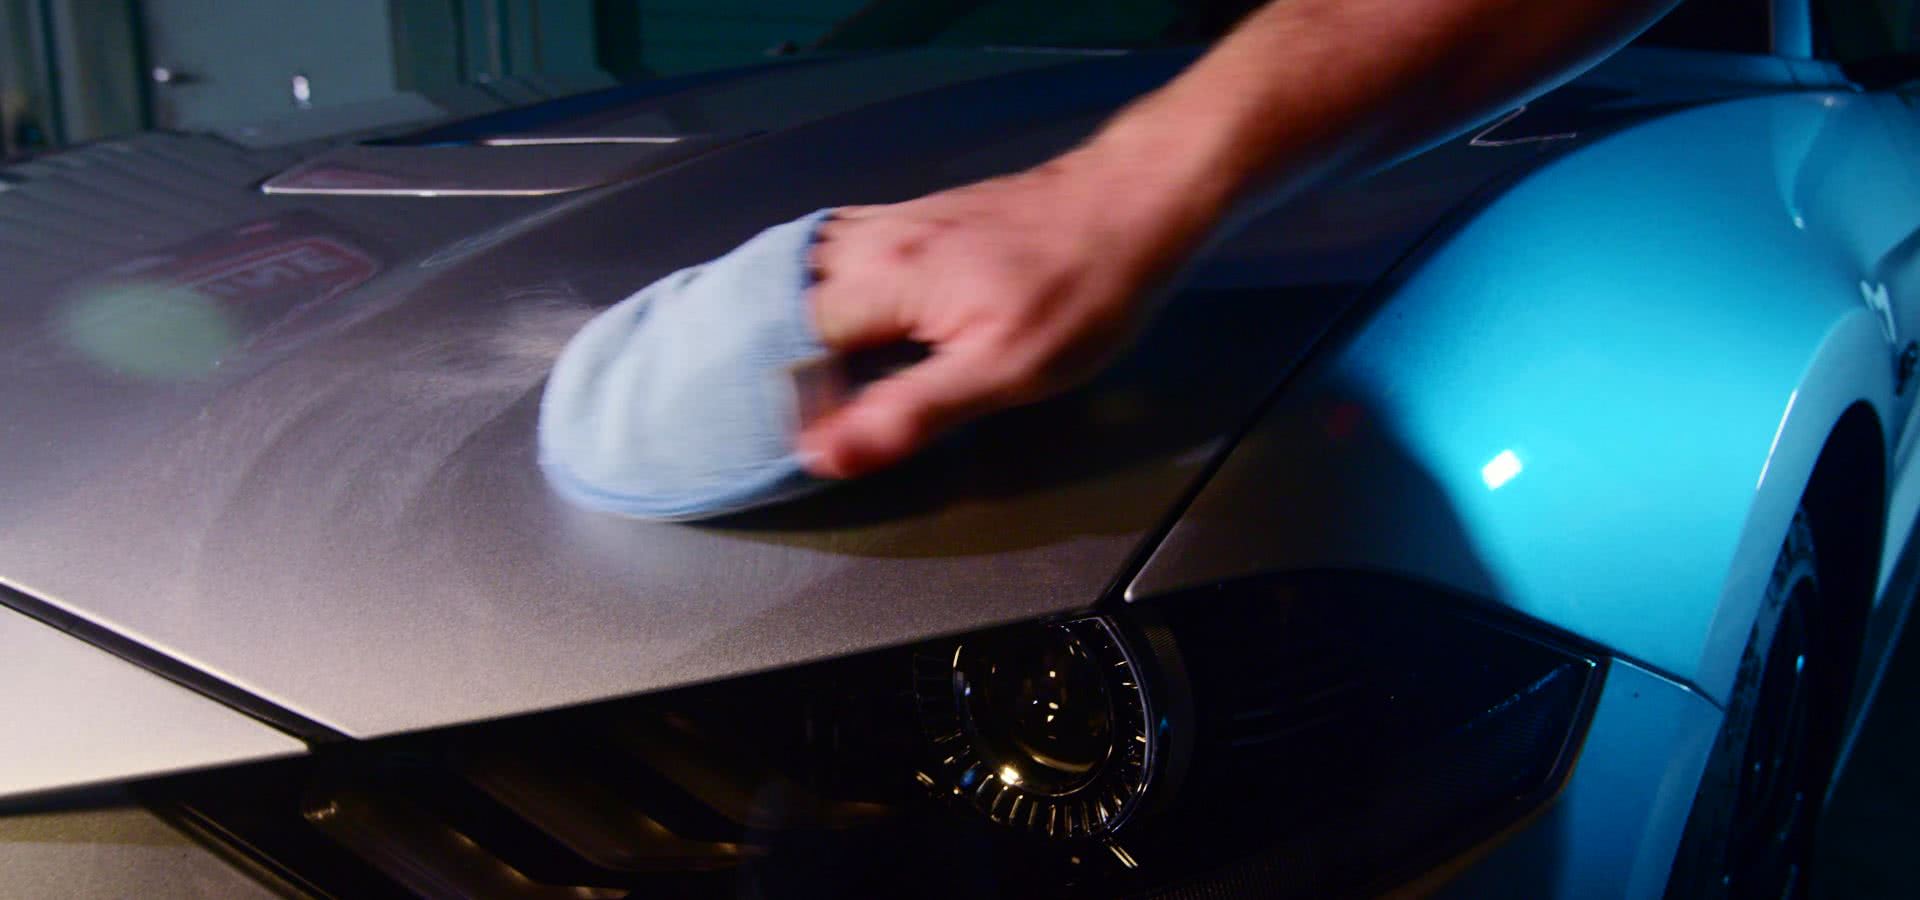
Start by dispensing a small amount of your wax onto a foam applicator pad. You don’t want to put on too much at a time as excessive buildup can become cloudy and be a pain to buff out.
Apply the wax in circular motions to a small section of the car at a time, and avoiding all of the same surfaces as you did when you were polishing - vinyl, rubber, unpainted plastic and the like.
Wax Off
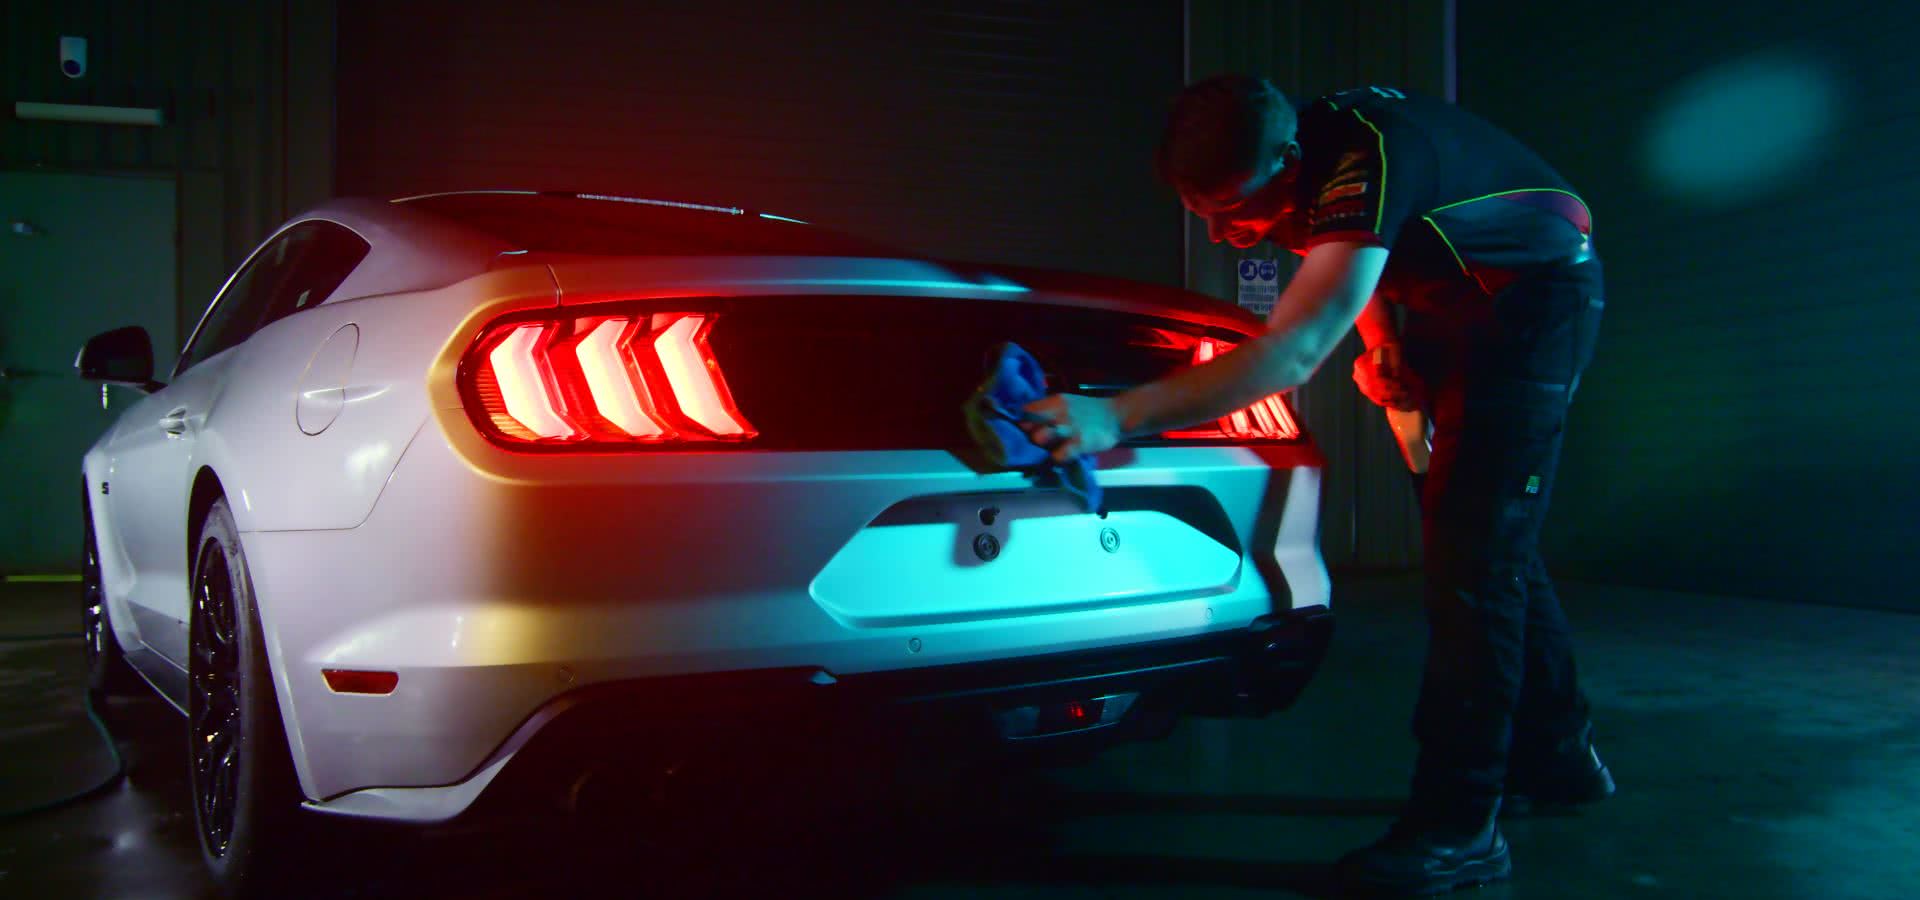
Once you’ve rubbed the wax into each area, give each section a wipe down with your microfibre cloth to clean off any residue.
Make sure that you take care of any wax that might have worked its way into panel gaps and the like too.
Repeat the process until you’ve waxed the whole car.
And there you have it, your car’s paint job should now be looking top notch.
Now if only there was a way that you could keep it looking so good, but without all that hard work…
Oh wait, that’s right - there totally is!
Check out the next guide, where we’ll show you how to maintain your car’s gorgeous, showroom shine in between cleans, polishes and waxing jobs.
What's Next: How To Maintain A Glossy Showroom Shine - Click Here.
Tips
A pre-polish wash is essential to remove dirt and contaminants that could scratch the paint during polishing.
Follow up your polishing with the application of a wax. It will give your car a deep, longer lasting shine.
Polish is designed for the paint finish on your car, and can damage the more delicate areas such as vinyl and rubber. Make sure you keep the polish away from these areas.
*Important information* - Click here to read more about our How-To terms and conditions.