How To Apply Ceramic Coating
Overview
What is Mothers CMX?
Mothers CMX automotive ceramic coating is a super-hydrophobic protective coating designed to repel water and dirt from your vehicles paint surface. It's also referred to as nano, quartz or SiO2 (Silicon Dioxide) technology; it is used by professional automotive detailers and hard-core car enthusiasts to give a deep glossy shine with ultra long-lasting durability.
In the past, applying a Ceramic coating has been expensive and out of reach for domestic home use. Now they've made it simple, just spray on and wipe off with a game-changing SiO2 and TiO2 (Titanium Dioxide) blend. We've written up a quick how-to apply guide to get the best results for a glossy finish and a long-lasting shine.
The following steps are listed to give the best result possible for most vehicles. If your paintwork is new or in great condition, you may not need to clay or correct your paintwork before applying.
Learn more about Ceramic Coatings
Is DIY Ceramic Coating Worth It?
Ceramic coating is not only a great way to keep that glossy look for longer, it also provides a layer of protection to your vehicles paint work. If you have basic automotive detailing skills (i.e. you’ve washed your car before) then this product could save you hundreds of dollars getting it professionally applied.
Learn More: How To Wash Your Car The Right Way
Learn More: How To Bring Back That Showroom Shine
Learn More: How To Maintain a Glossy Showroom Shine
Items
Steps
Wash Car
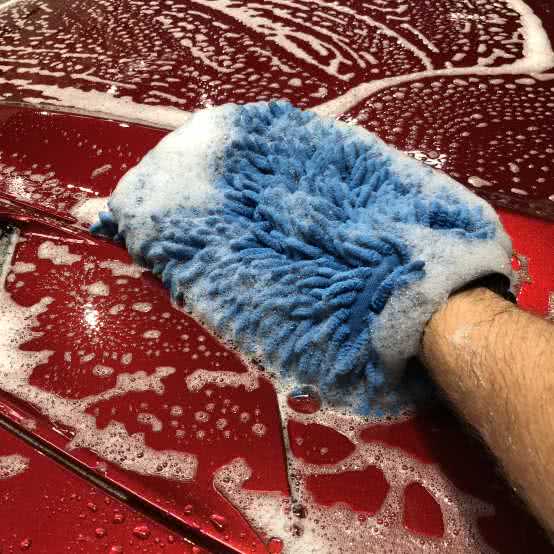
Using the two bucket wash method, wash and rinse your vehicle to ensure all of the dirt and grime has been removed from the vehicles paint surface.
If you want to learn the best way to wash your vehicle from top to bottom, wheels to glass, check out this awesome guide to washing your car the right way
Clay Bar
Now the surface is free of dirt and grime. Next, we need to remove any stubborn contaminants using a clay bar or speed clay product. Break off a decent-sized chunk of your clay, and knead it into a nice flat surface to work with.
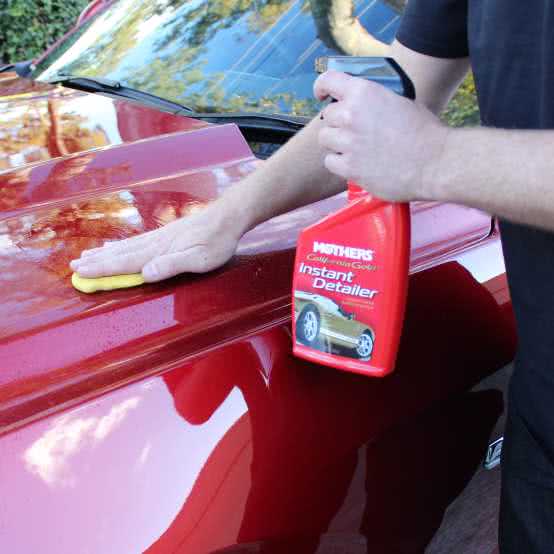
Lubricate an area around a metre square with either the lubricant that came with your clay kit or a detailer spray and then rub the clay over the panel in long linear motions. You won't need to press too hard, and you should feel the clay begin to pick up and remove contaminants as you work.
Fold your clay into itself, and knead it back into shape between each section, and dispose of it if you drop it on the ground to prevent any grit or other particles from scratching your paint. Once you complete a section, and the clay glides over your paintwork with no resistance, then wipe it down with a clean microfibre cloth and move on until the whole car is done.
Paint Correction
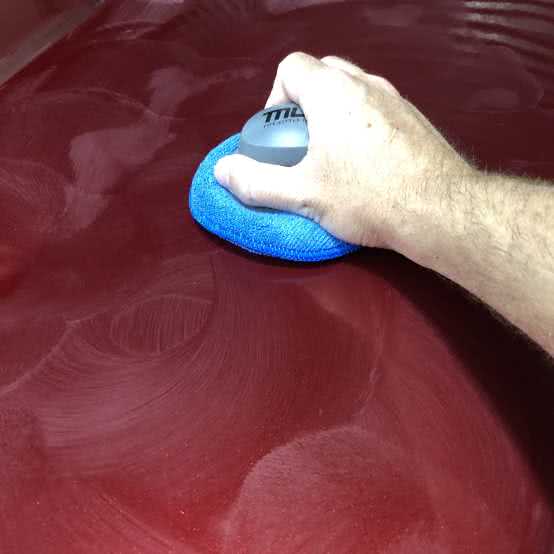
Now the surface has been deep cleaned from dirt, grime and contaminants, we can now look at scratches, swirls and faded paint. We're looking to correct the paint to a smooth surface for the ceramic coating to bond with and give that deep glass-like finish.
Using rubbing compounds, scratch removers or a decent polish, work the paint till you're happy with the finish you're after. This process can take some time, but it'll be worth the result once your paintwork is as smooth as glass.
Here's a guide to correcting paint surfaces for a more detailed process.
Clean Surface
Once you're happy with the surface and it's smooth as glass, we can now prepare the surface for the ceramic coating.
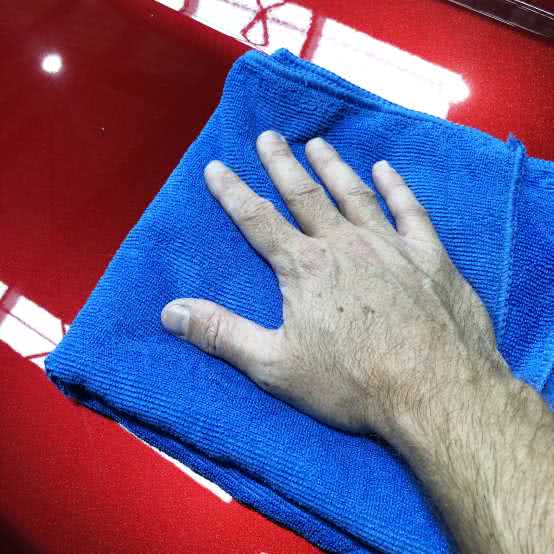
Using Isopropyl Alcohol and a clean microfibre cloth, wipe down each section to make sure the surface is free of any polish, waxes, oils or contaminants.
This ensures the ceramic coating bonds to the surface without an issue.
Apply Ceramic Coating
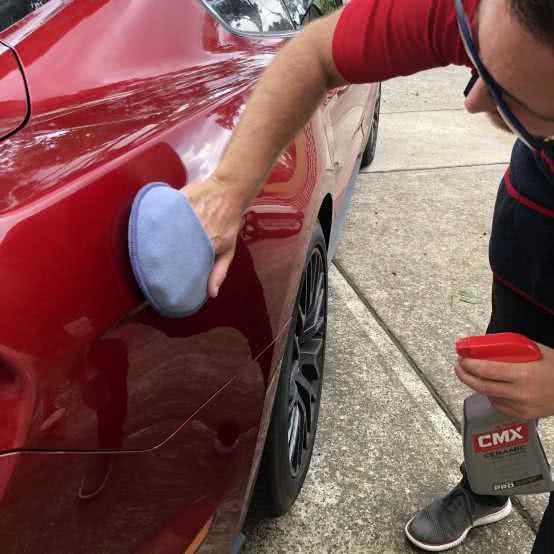
Ensure the panel is cool to touch and clear of dust. Working in small sections, lightly spray the Mothers CMX Ceramic Coating onto the surface.
Using a soft, clean microfibre cloth or applicator, spread out the product evenly across the surface until it disappears. Wait 10 or so minutes for the ceramic coating to bond with the surface.
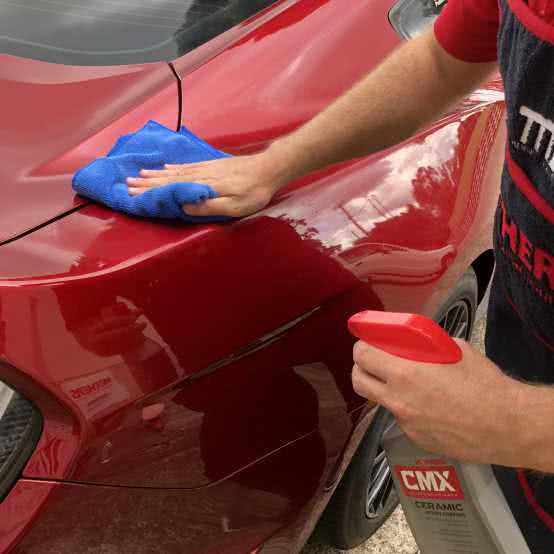
Wipe Off
Using a separate microfibre cloth, thoroughly buff the surface until perfectly clean and clear. Try not to use a saturated cloth or towel to ensure an even clean surface.
Additional layers can be applied for increased durability, depth and protection. Allow 24 hours between coats for the Ceramic Coating to be appropriately layered. The more layers you apply, the more protection and longer the ceramic coating will last.
Watch Water Glide
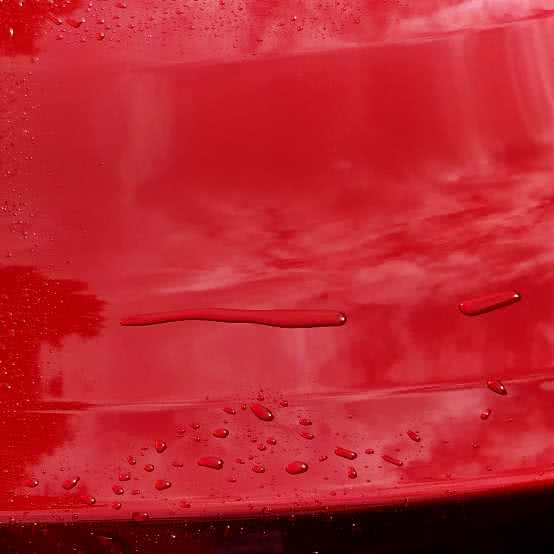
Now that you've applied 1 or more layers and waited 24 hours between each of them, and your paintwork is looking smooth as glass with a deep glossy finish, you can test your new ceramic coating and see the magic happen before your eyes.
Simply just spray the treated areas with water and you'll see a water beading effect and the water will slide off.
*Important information* - Click here to read more about our How-To terms and conditions.