A drill press is the perfect piece of workshop equipment when drilling at a precise speed, angle or depth is imperative to your project. But getting the best result takes a little understanding.
Here's how it's done.
Tip 1 - Safety
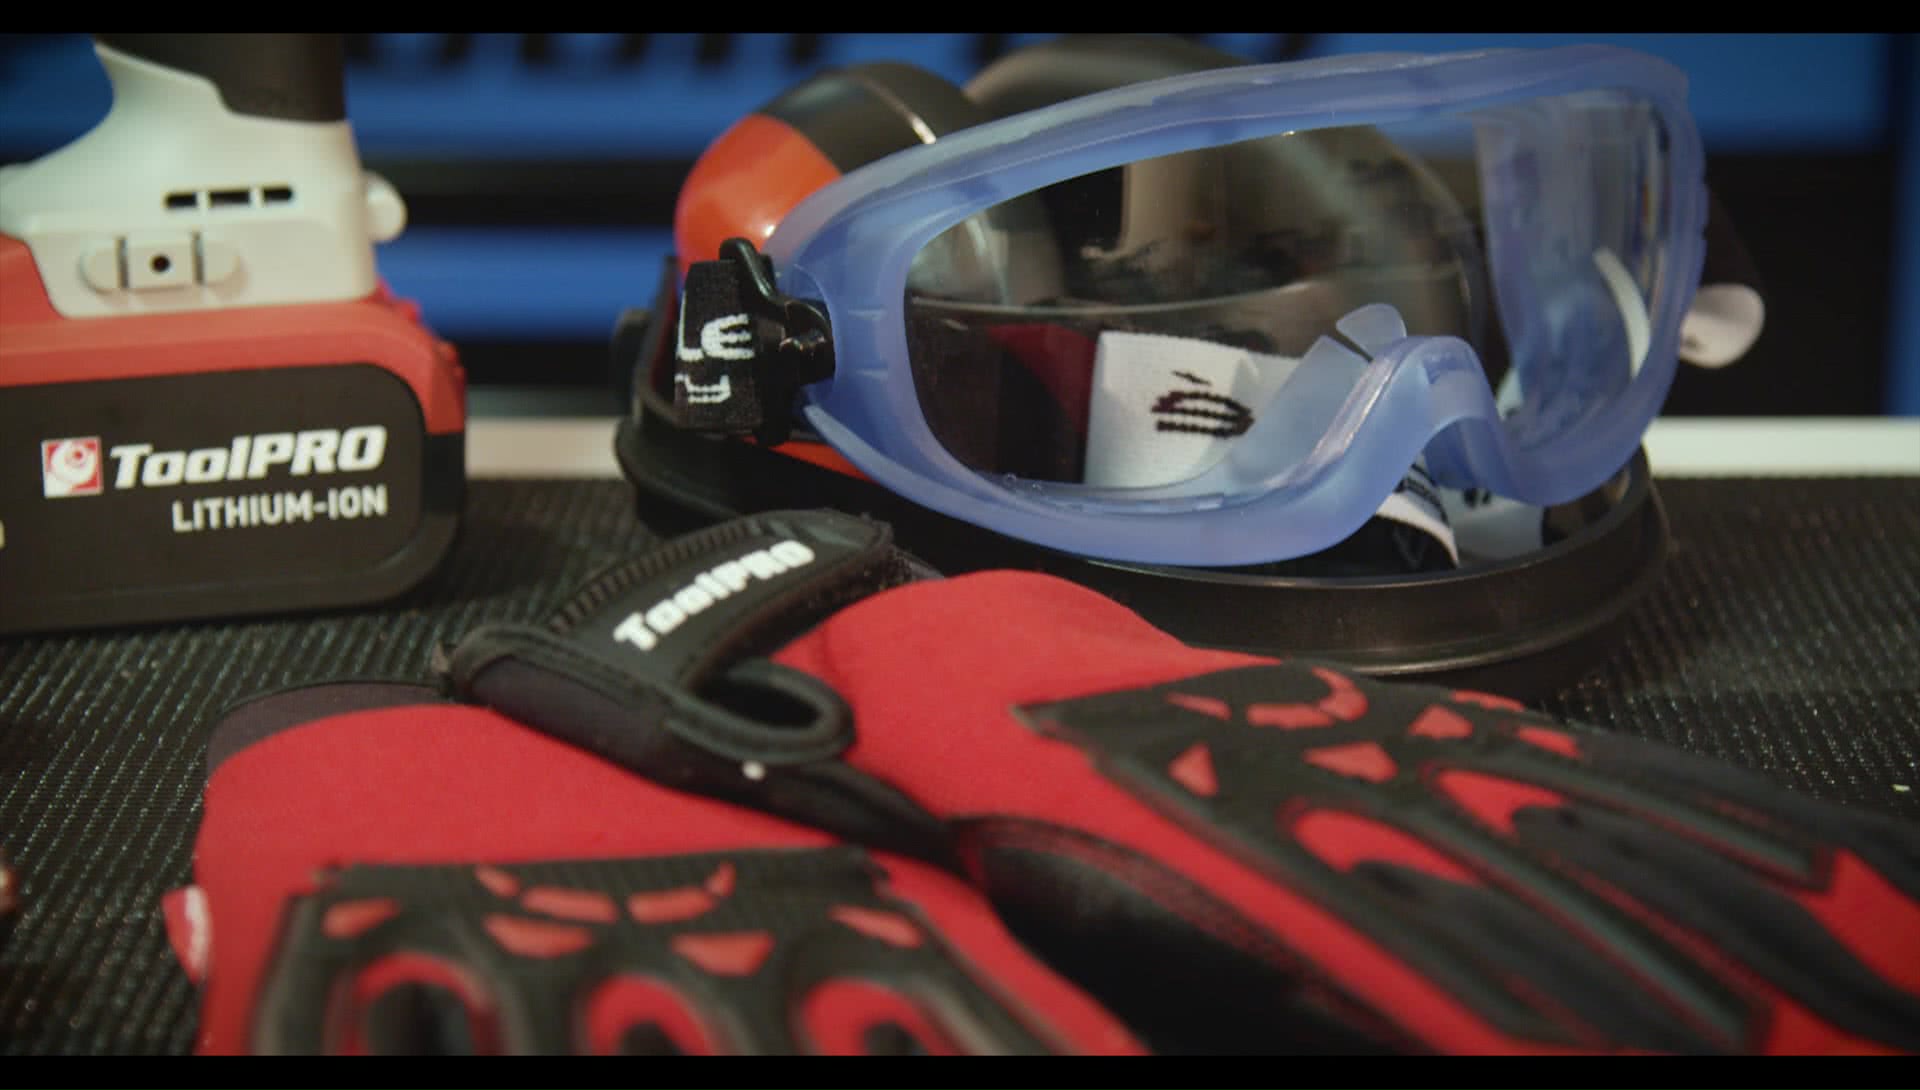
Before you start, you'll need safety equipment:
- A decent pair of gloves
- Clear eye protection
- Ear protection
Tip 2 - Drill Bit
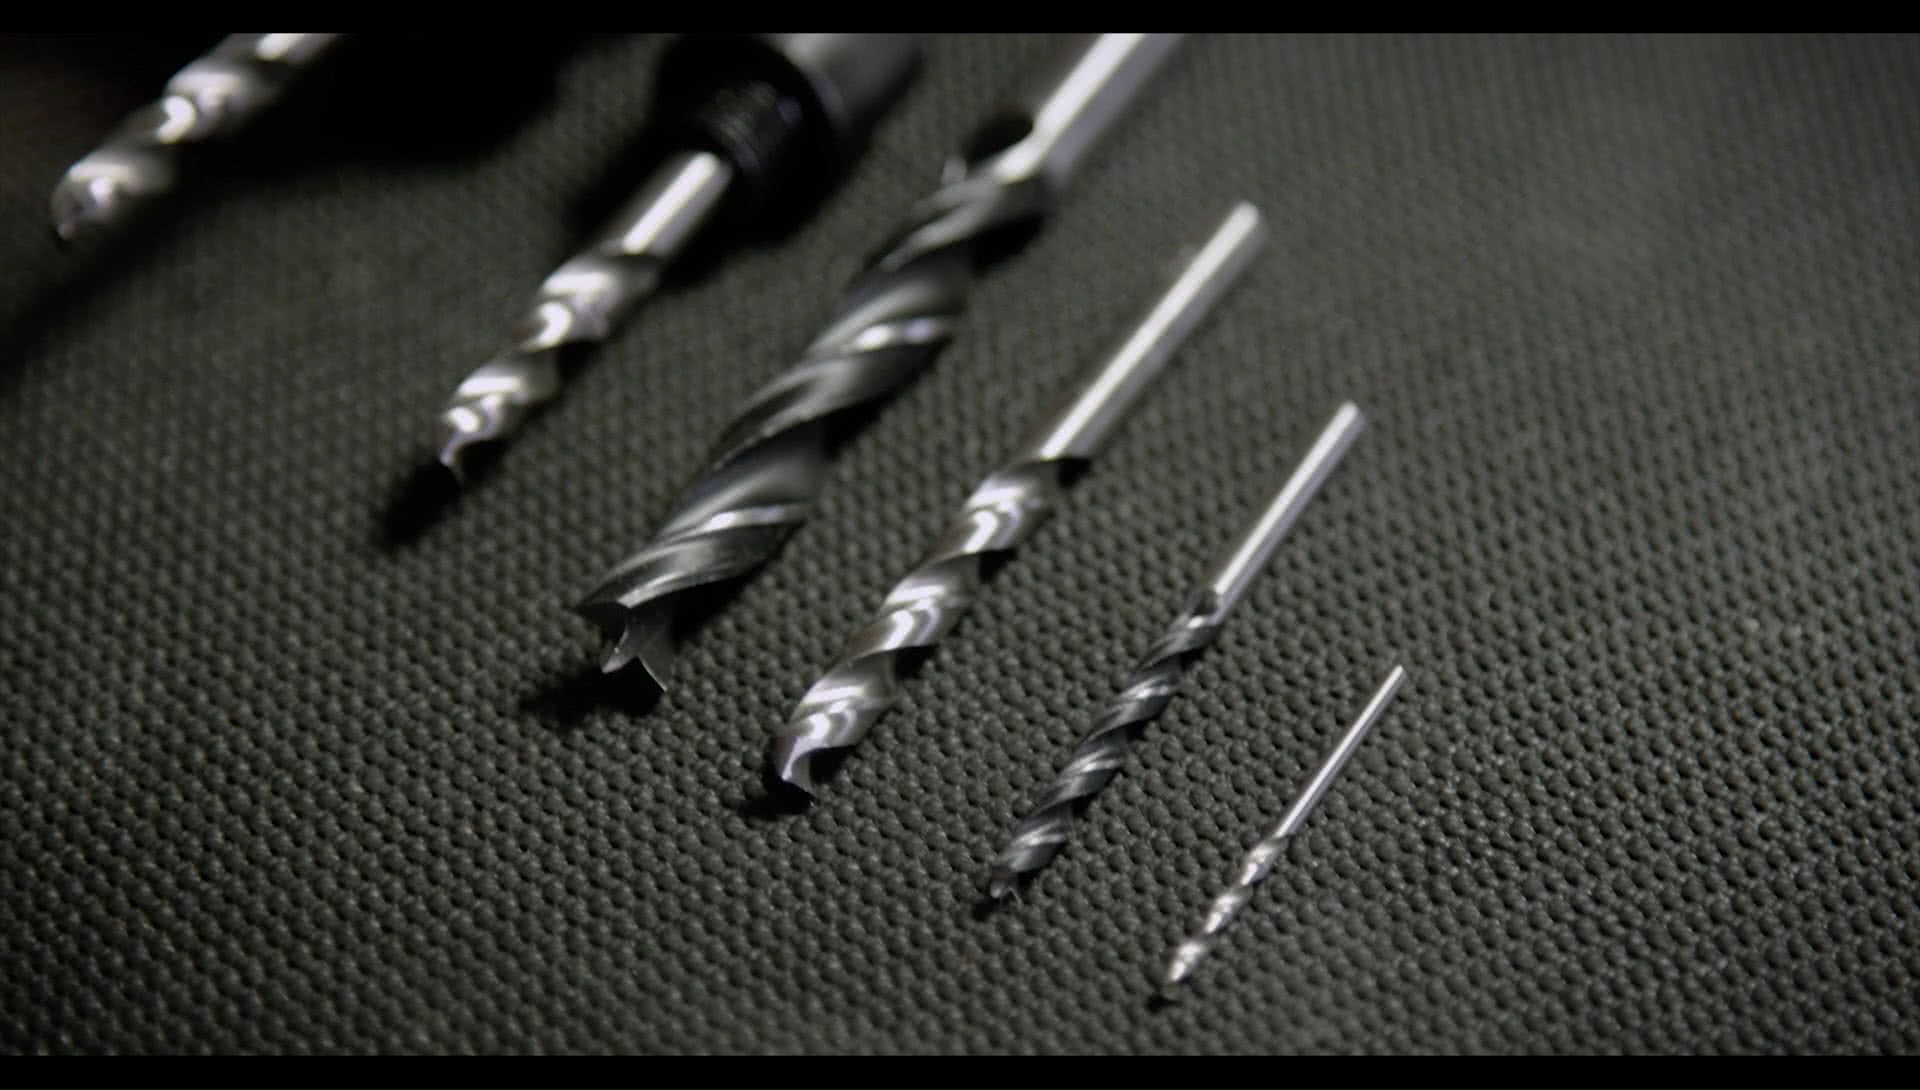
With your drill press set up and secured to the work bench, choose the correct type of drill bit for the material you are working on.
The only material not suitable for use in a drill press is masonry. For everything else, follow a speed guide to determine the correct RPM for your project.
Tip 3 - Speed
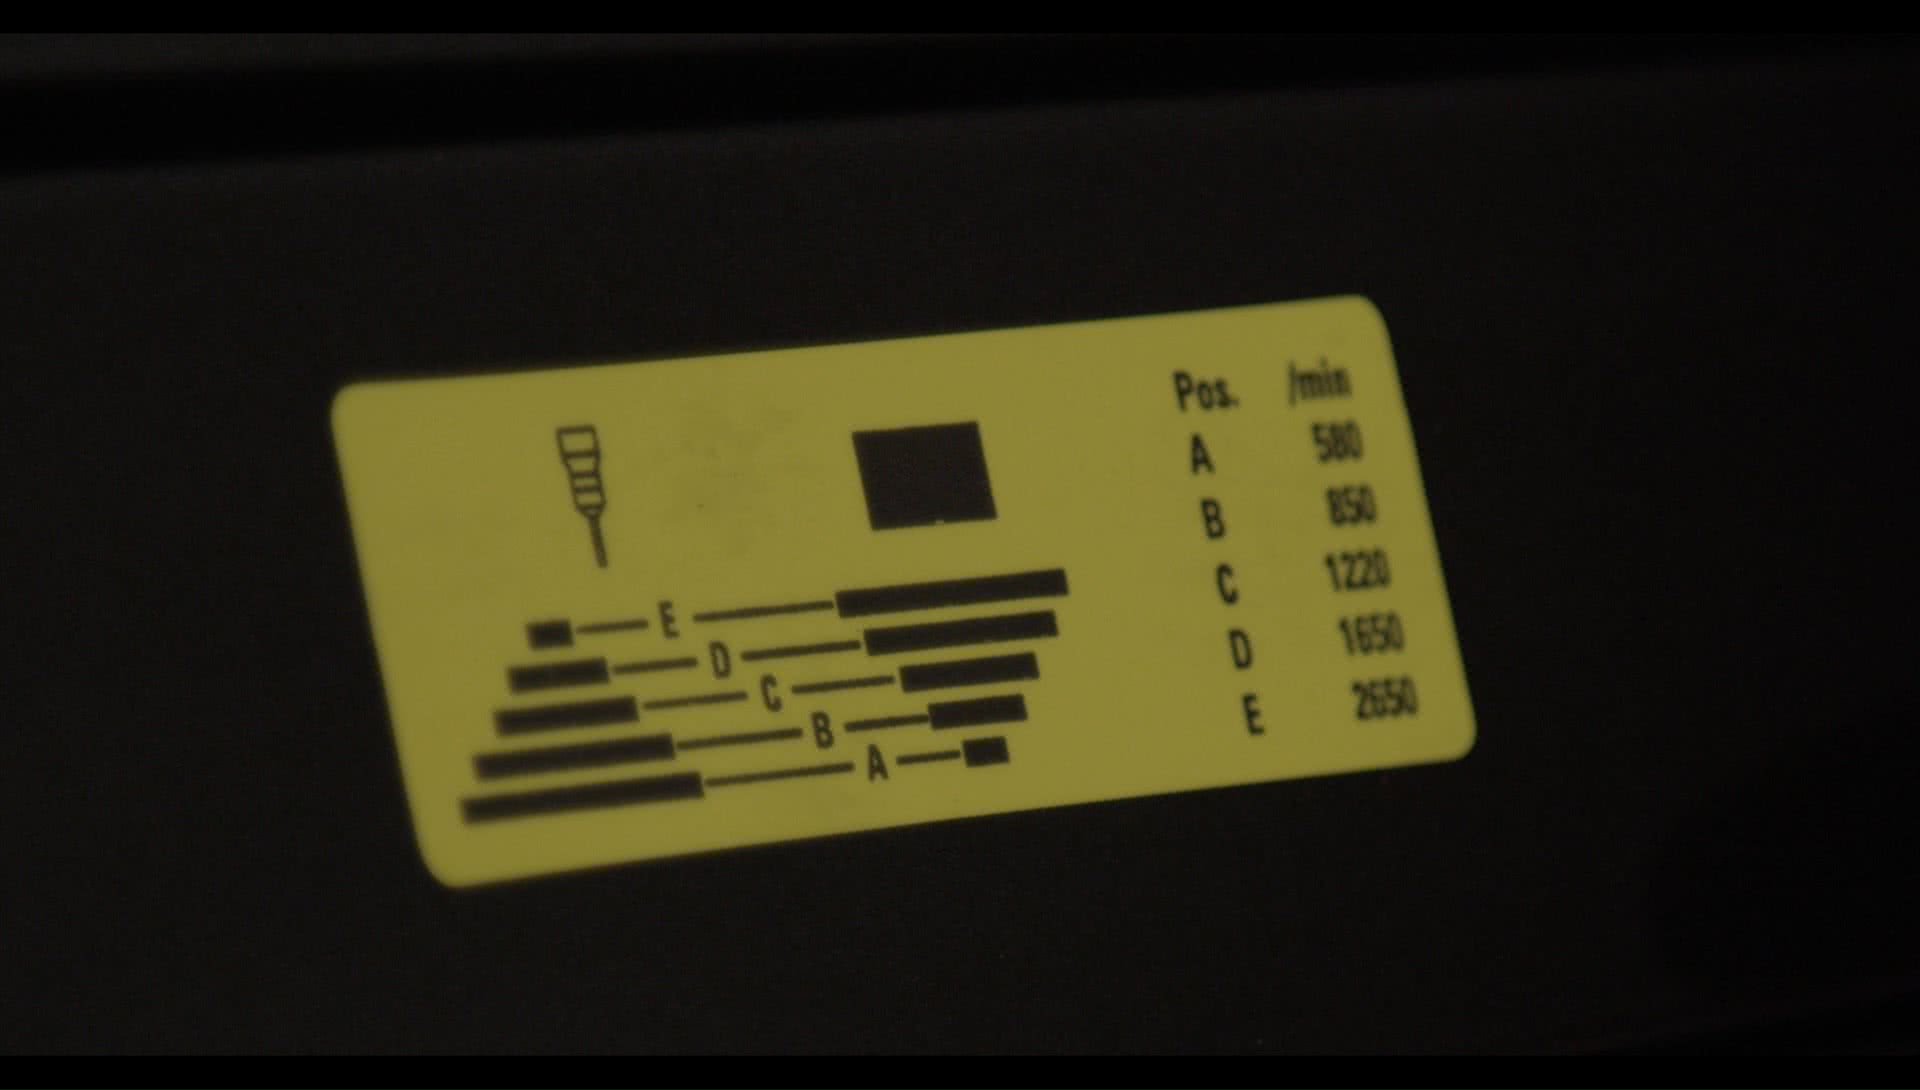
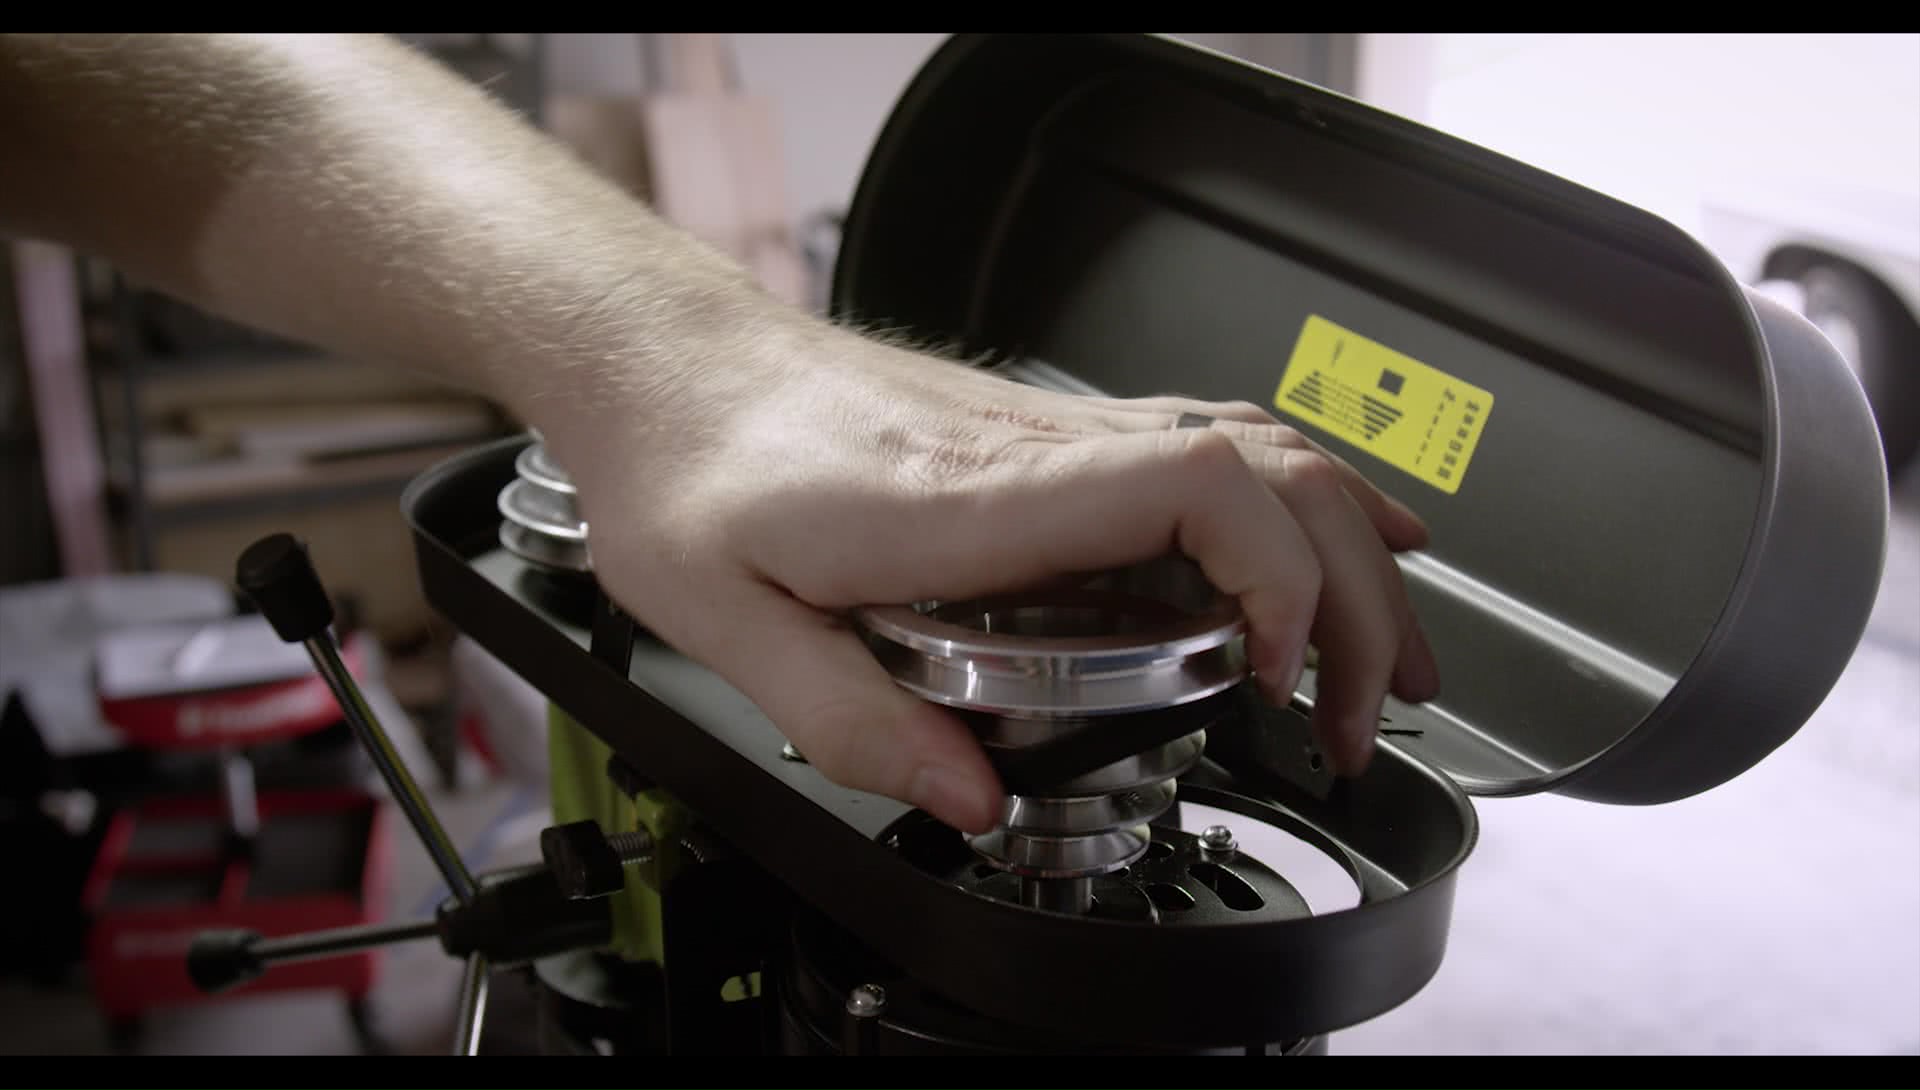
On most drill presses; adjusting the drill speed is done by changing the belt position.
To change the belt position on this Rockwell drill press; open up the belt cover, loosen the tension adjuster screw on the side of the machine, undo the two motor securing bolts, and pull the motor towards the front of the drill press to slacken the belt.
The fastest speed has the belt located on the top pulleys, while the slowest speed sees it located at the bottom.
Once the belt is in position and tightened up, close the cover firmly and it’s time to set the work table.
Tip 4 - Table Setup
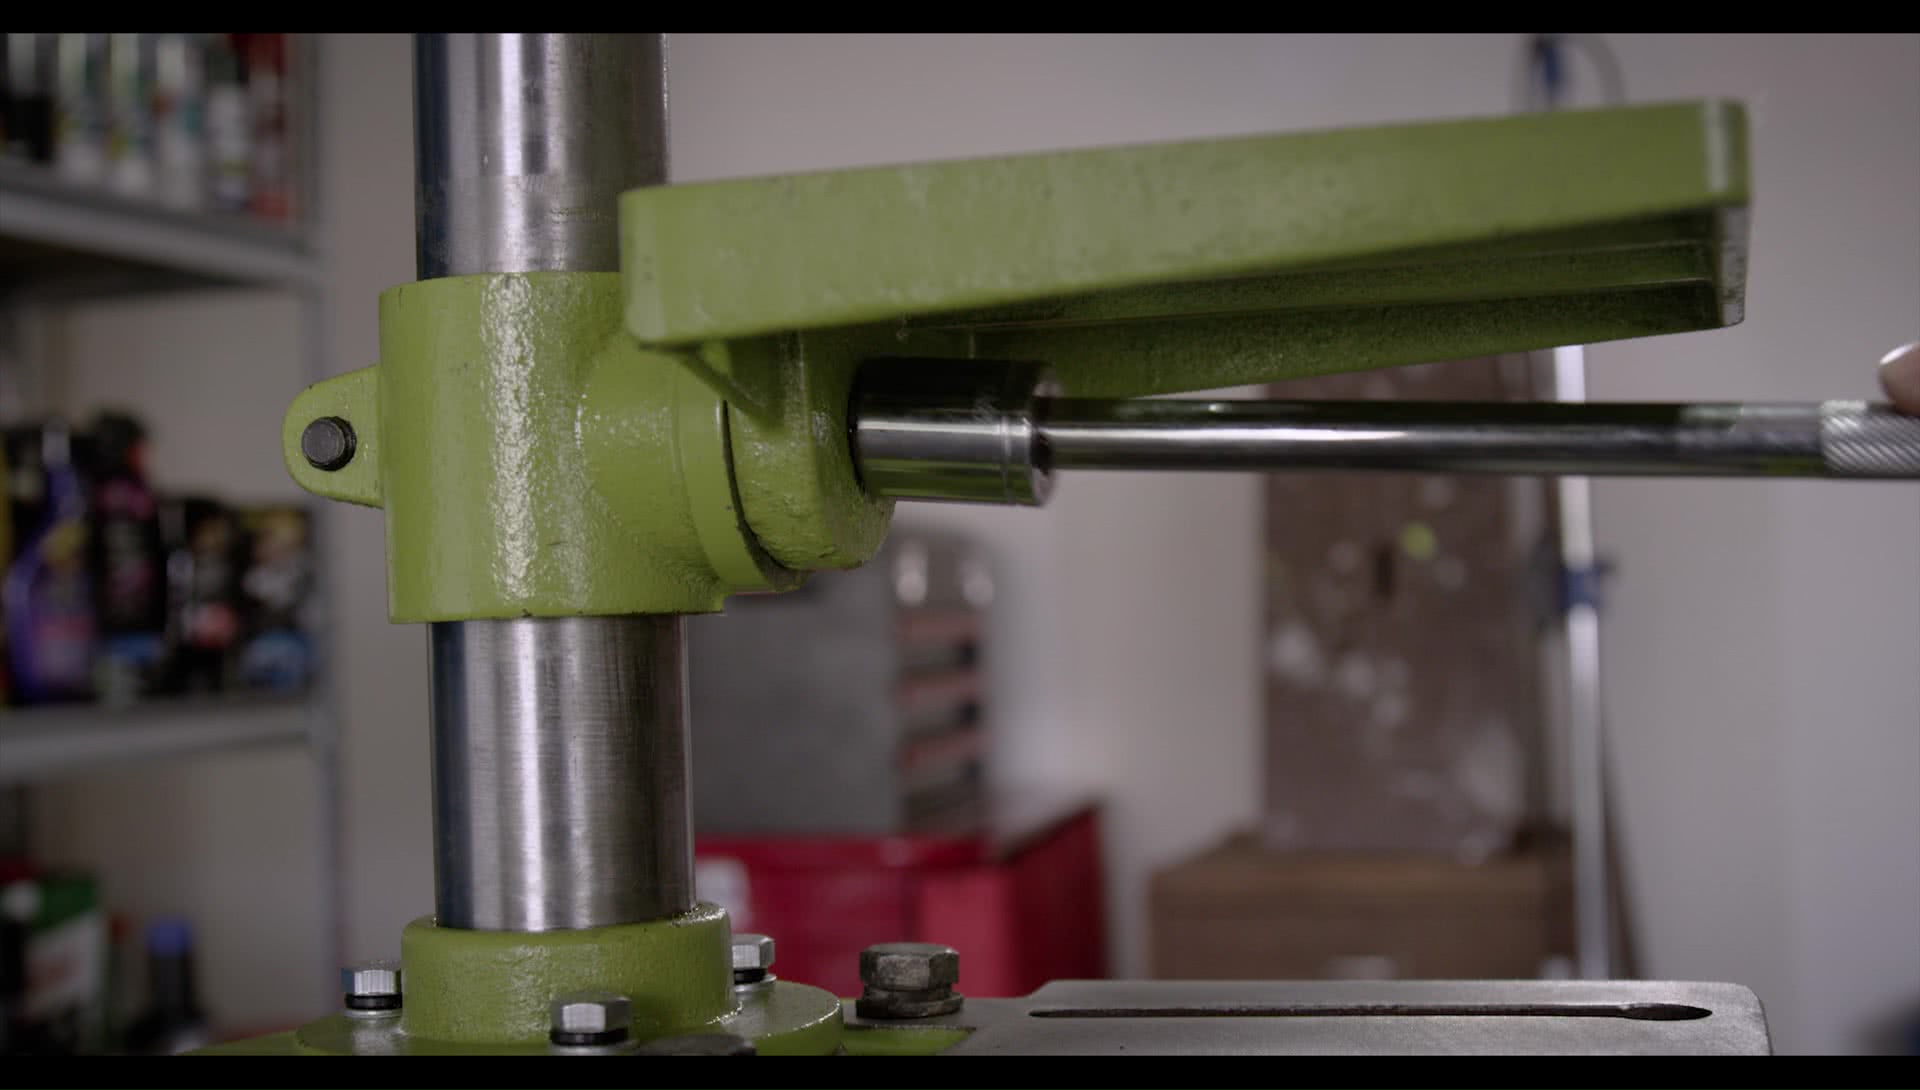
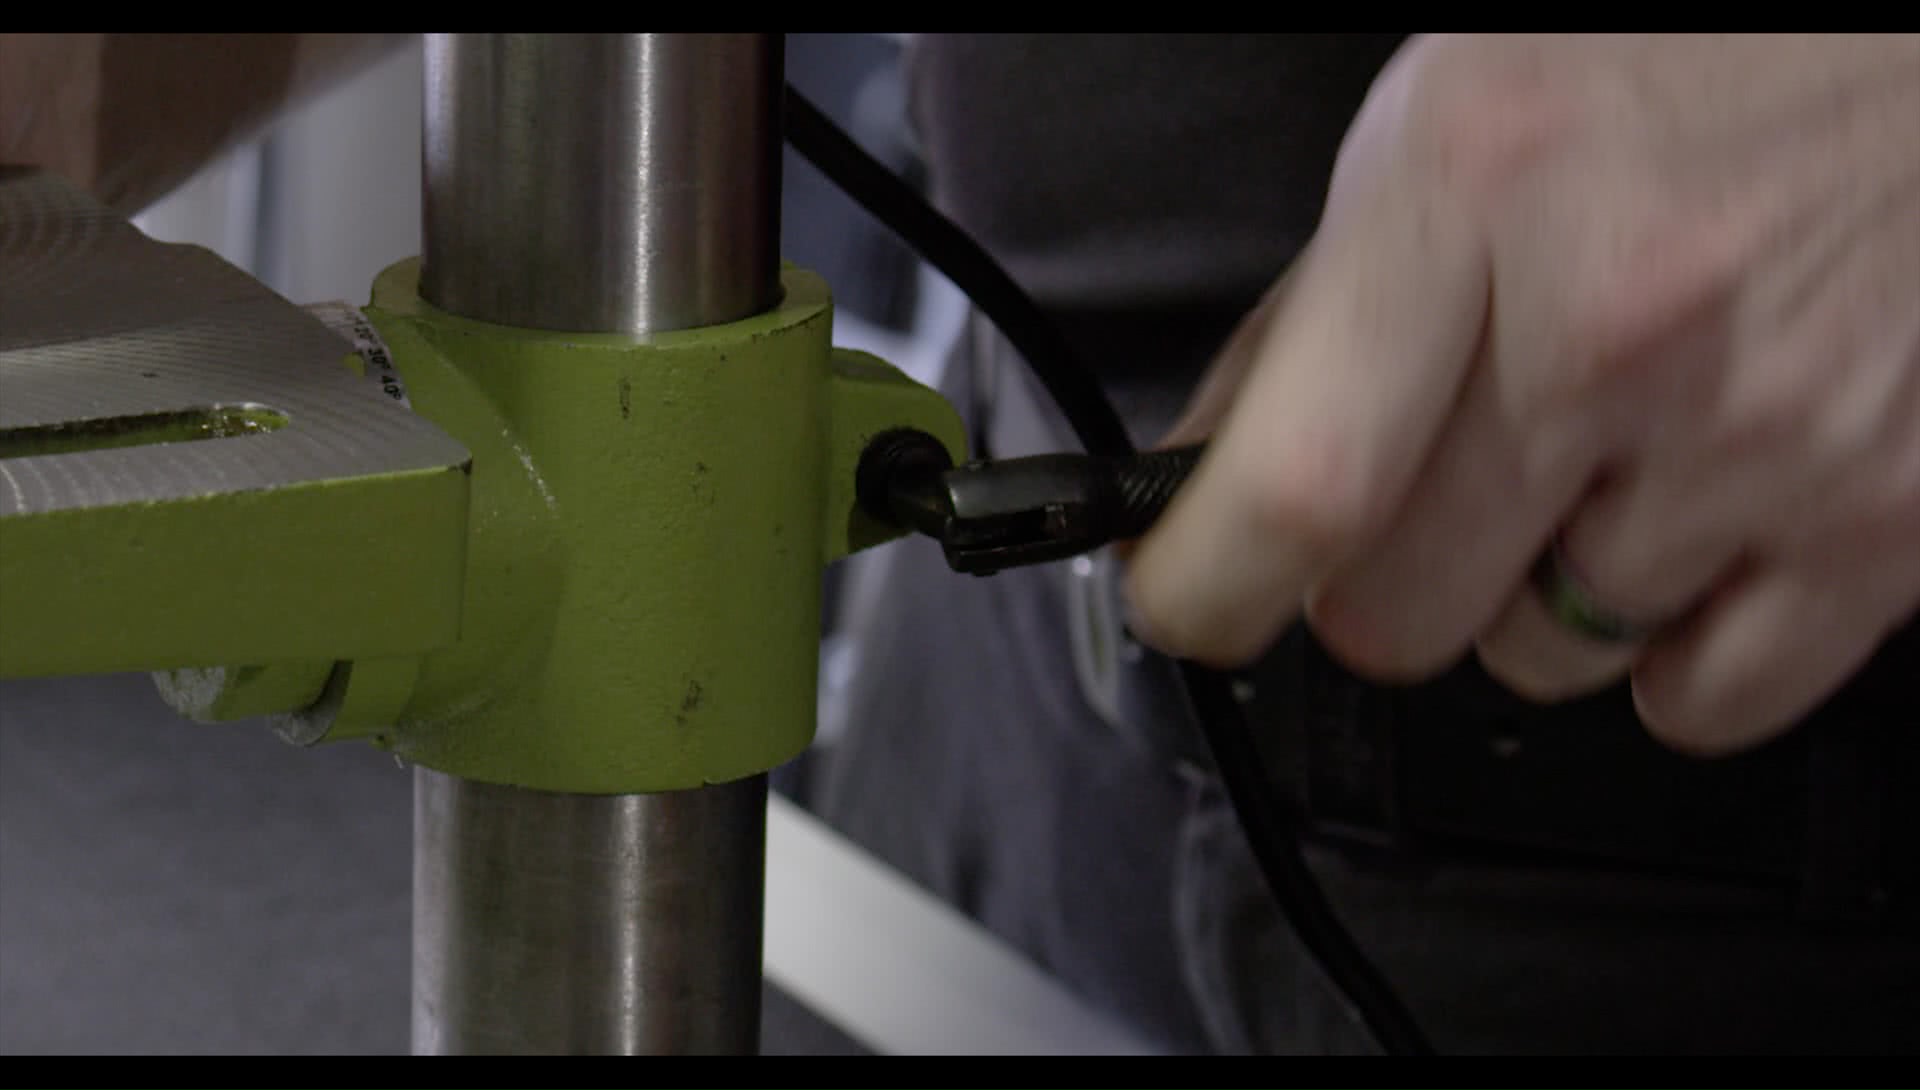
If you want to drill a perfectly straight hole, check the angle of the table using the attached guide.
For a straight hole it must be on zero degrees, however it is adjustable 45 degrees either way – allowing you to drill accurate holes on an angle.
Setting the work table angle is done by loosening the securing bolt underneath – and rotating the table to the desired angle - before tightening the securing bolt once again.
Clamp the piece to be drilled onto the table, unlock the lever on the rear of the table, raise it until it nearly touches the drill bit – and lock the table in place.
Tip 5 - Precautions
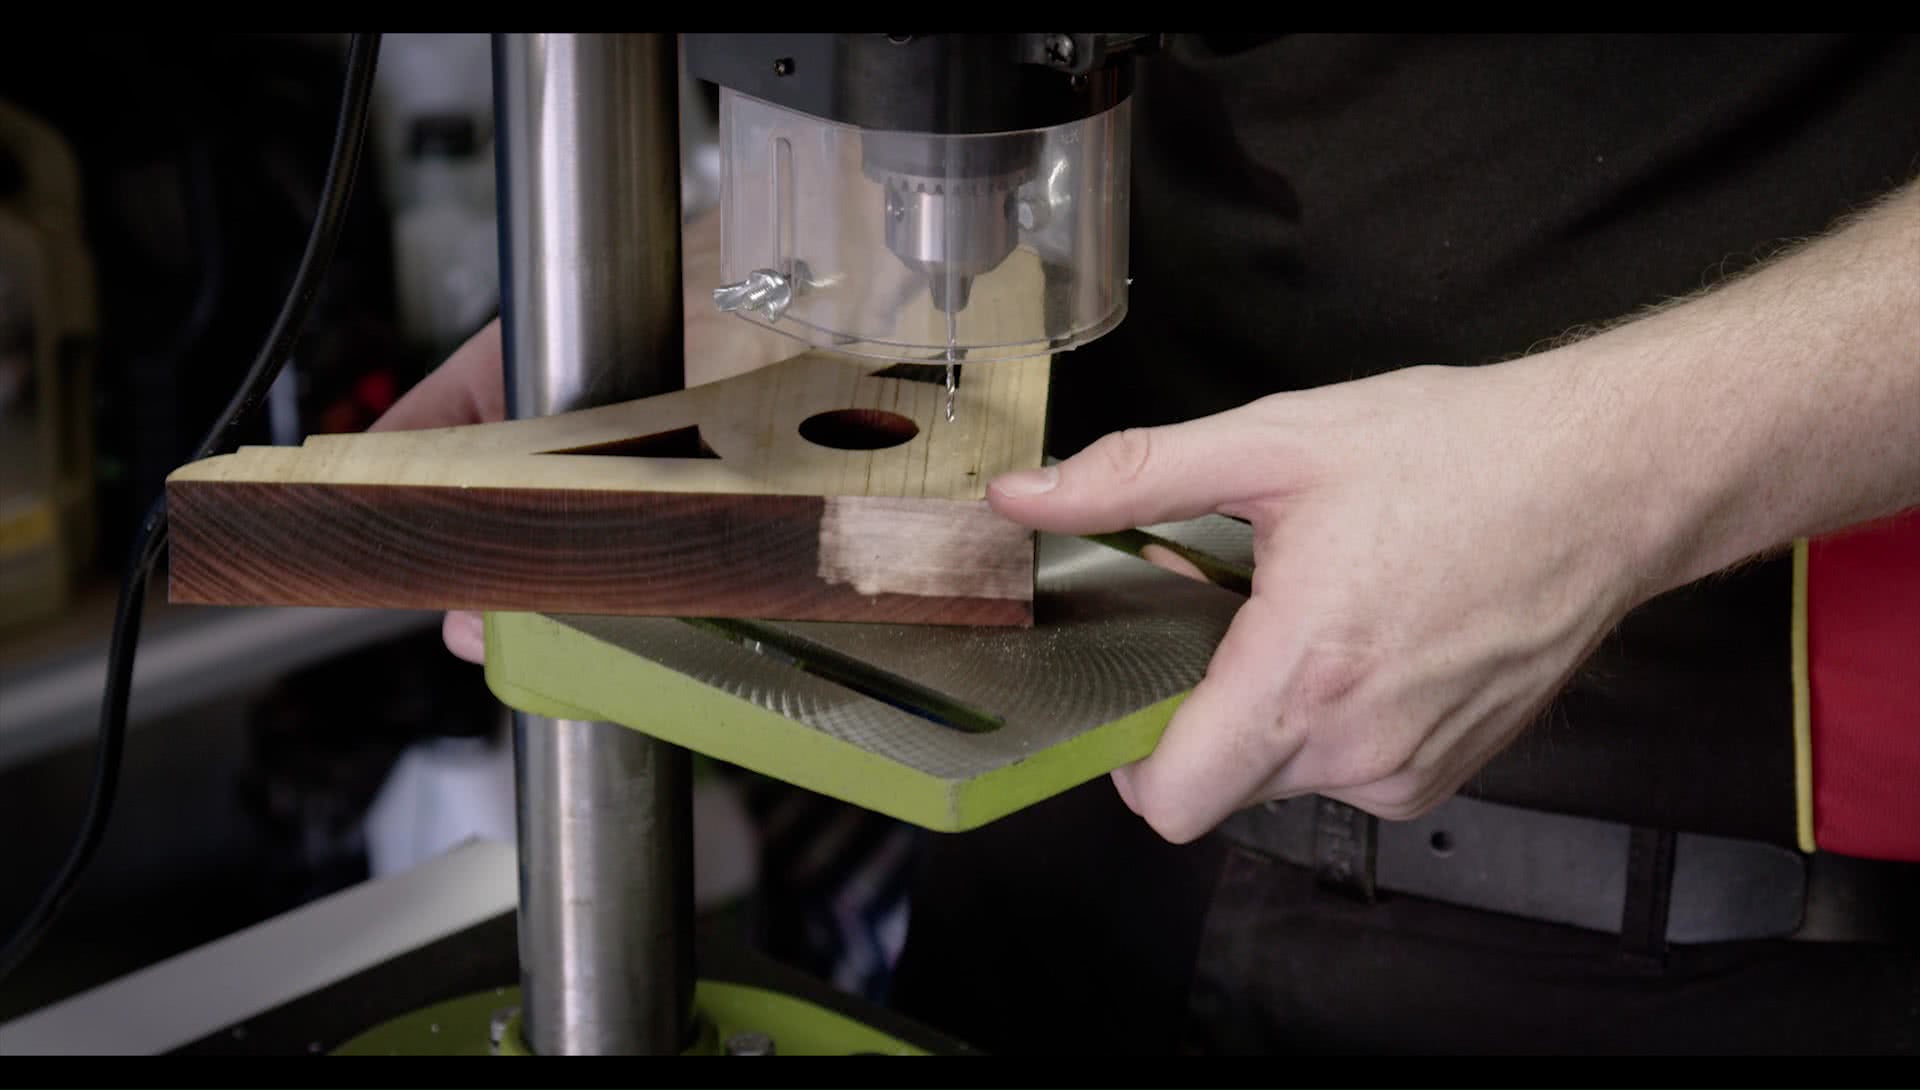
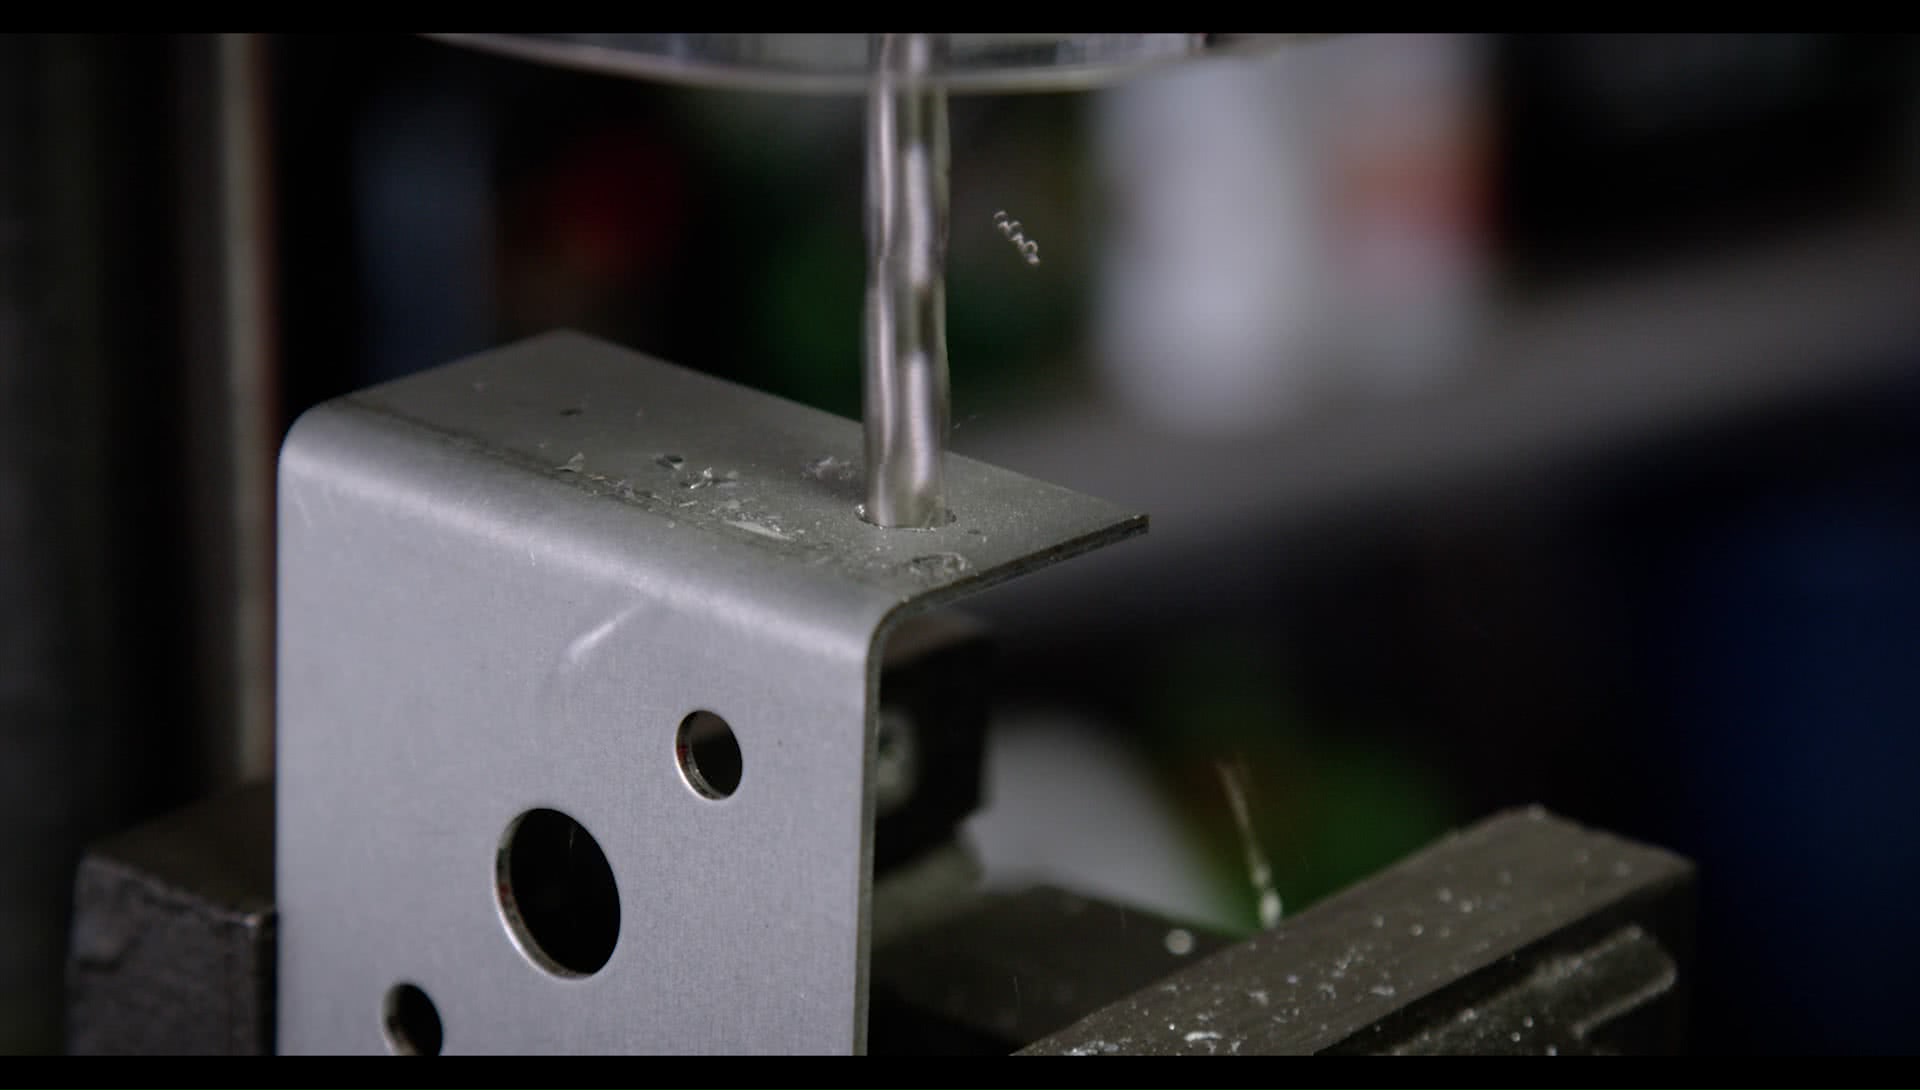
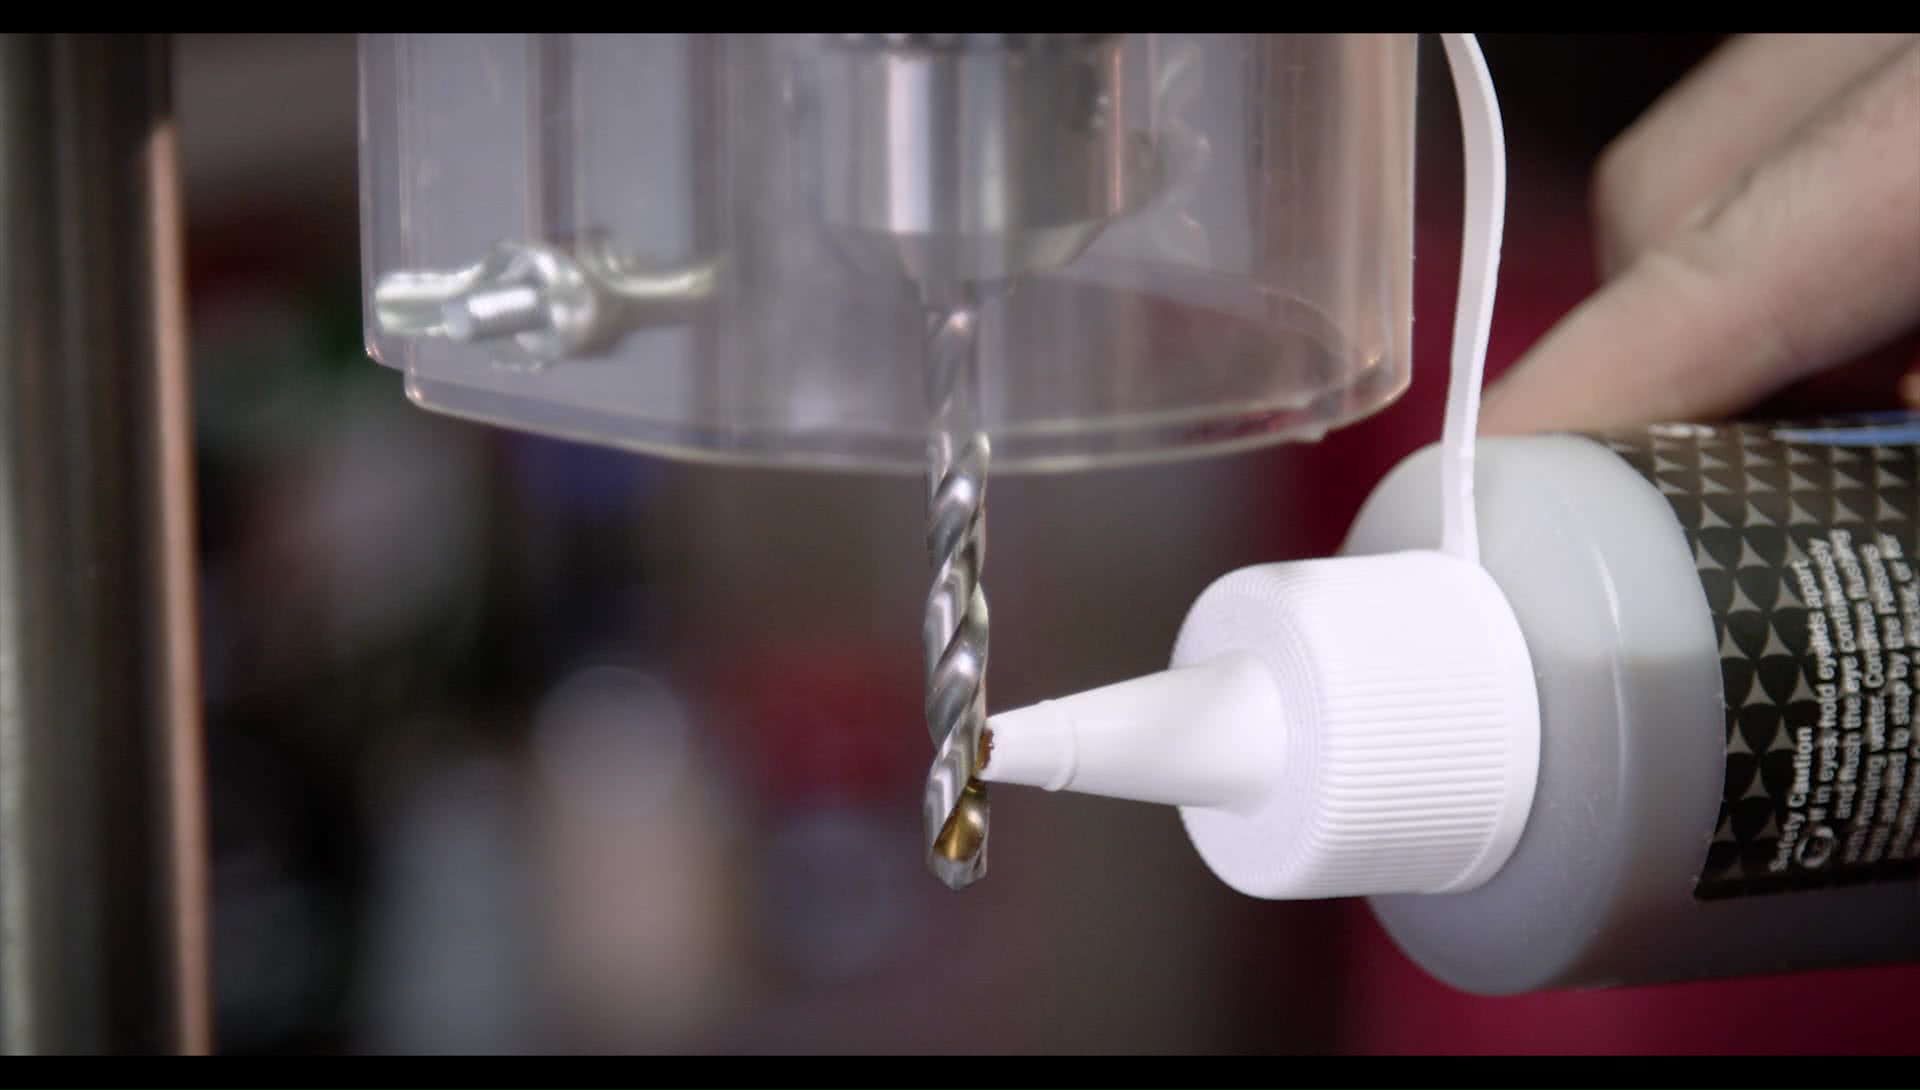
From here you can switch on the drill press and pull down on the handle to slowly plunge into the material.
If you are working on a rather thick piece, it a good idea to withdraw the drill a few times to clear swarf from the hole.
For hard metals such as steel, stainless steel or iron – using a few drops of cutting fluid on the area will prolong the life of the drill bit - and help to keep the area cool.
Tip 6 - Depth
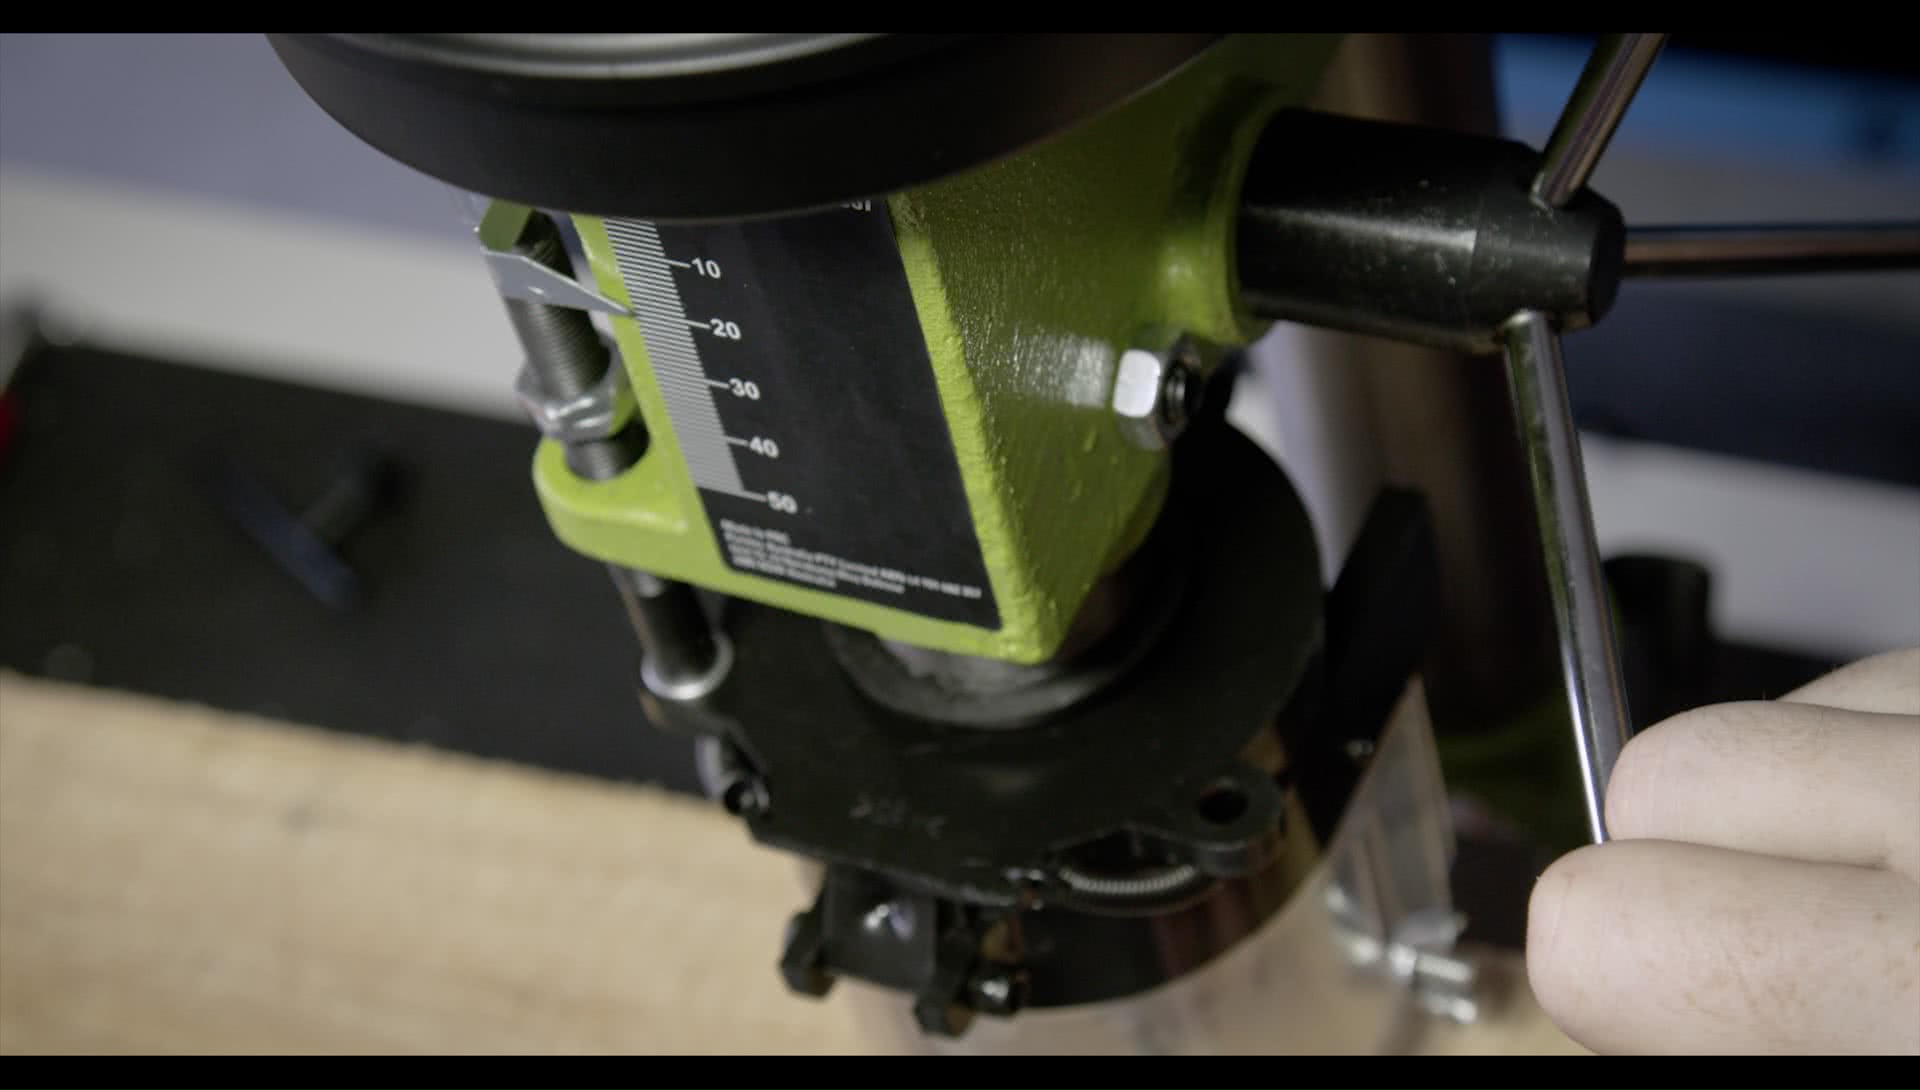
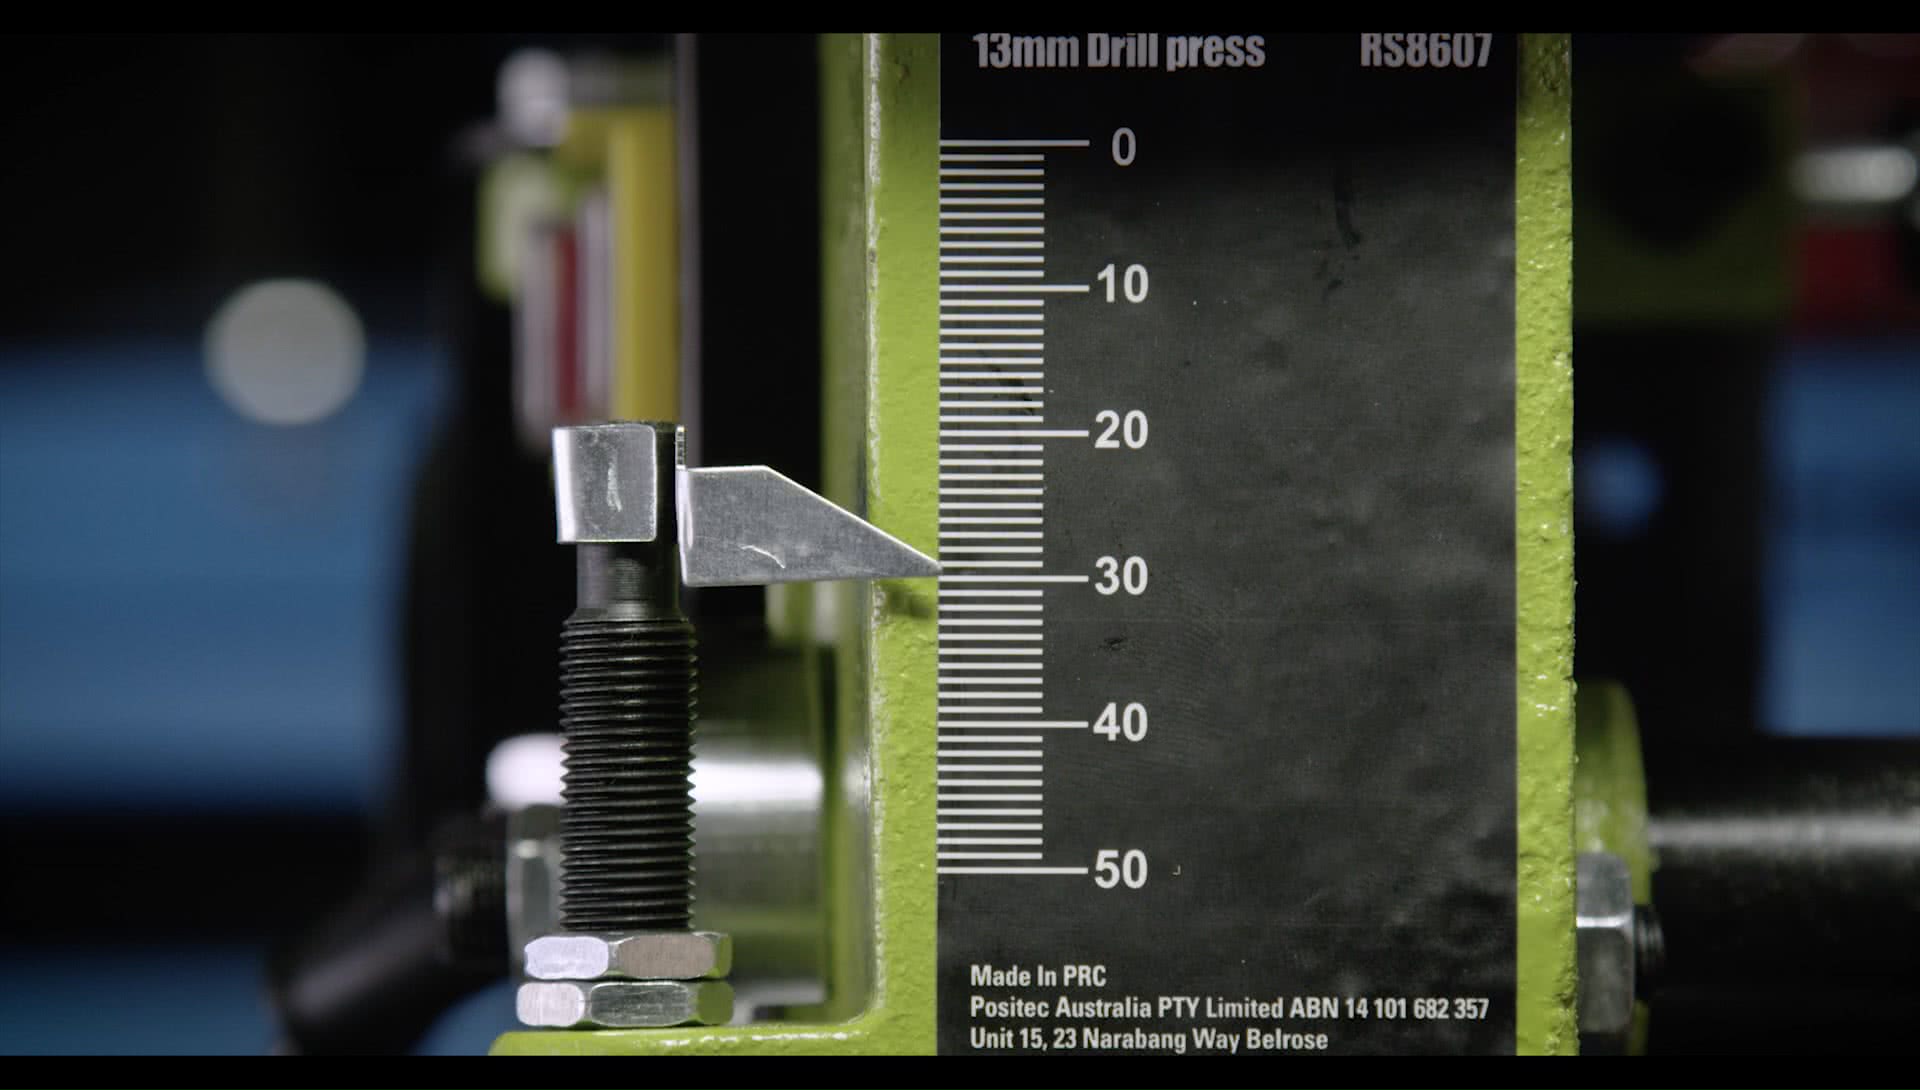
If your project requires one or a number of holes to be drilled to a very specific depth, you will find the depth gauge on the side of the drill press to be a lifesaver.
The drill press can either be operated by eye; stopping when the depth gauge reaches the desired measurement – or the locking nuts can be set to the desired depth – ensuring the drill bit won’t go any deeper.
Uses for your drill press go beyond drilling simply holes, with the drill press you have a powerful bench mounted tool that can take the pain out of a huge range of tasks.
*Important information* - Click here to read more about our How-To terms and conditions.