Valve lapping is an essential part of an engine rebuild, and must be performed even when installing new valves – to match them to the head.
It may sound like a complex task, but valve lapping is actually very easy.
Here's how it's done.
Step 1 - Remove the Valves from Head
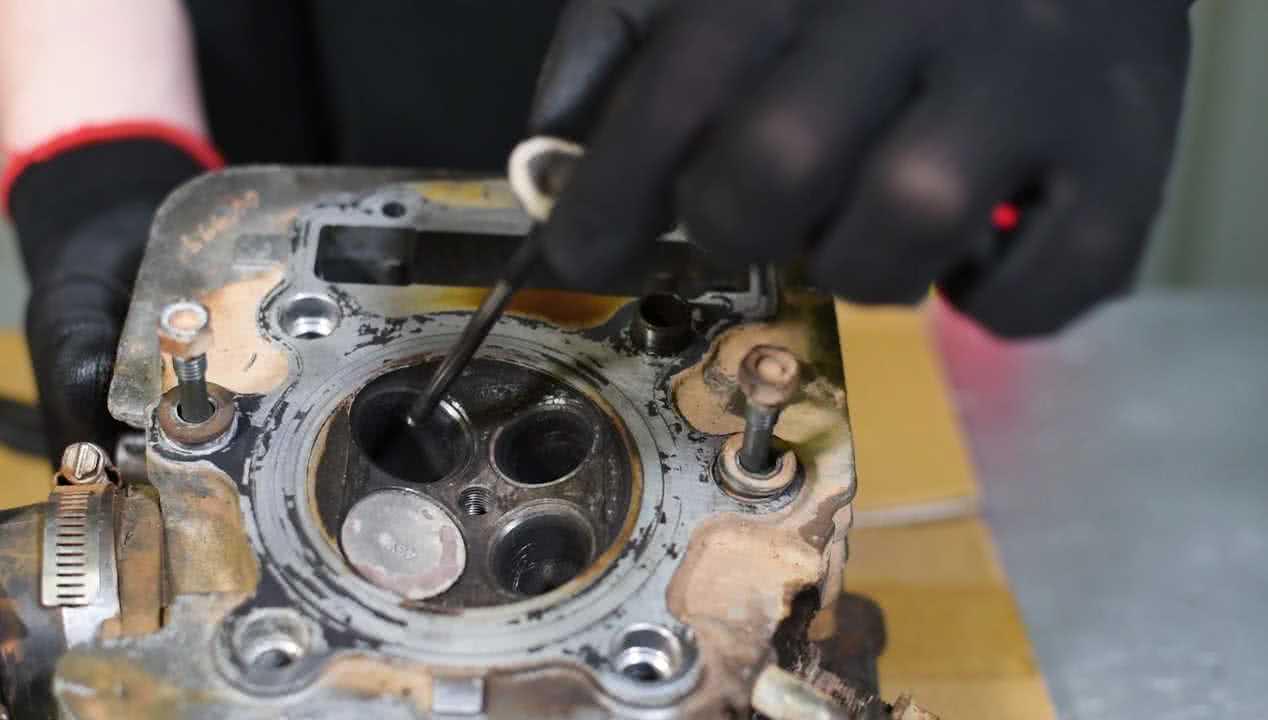
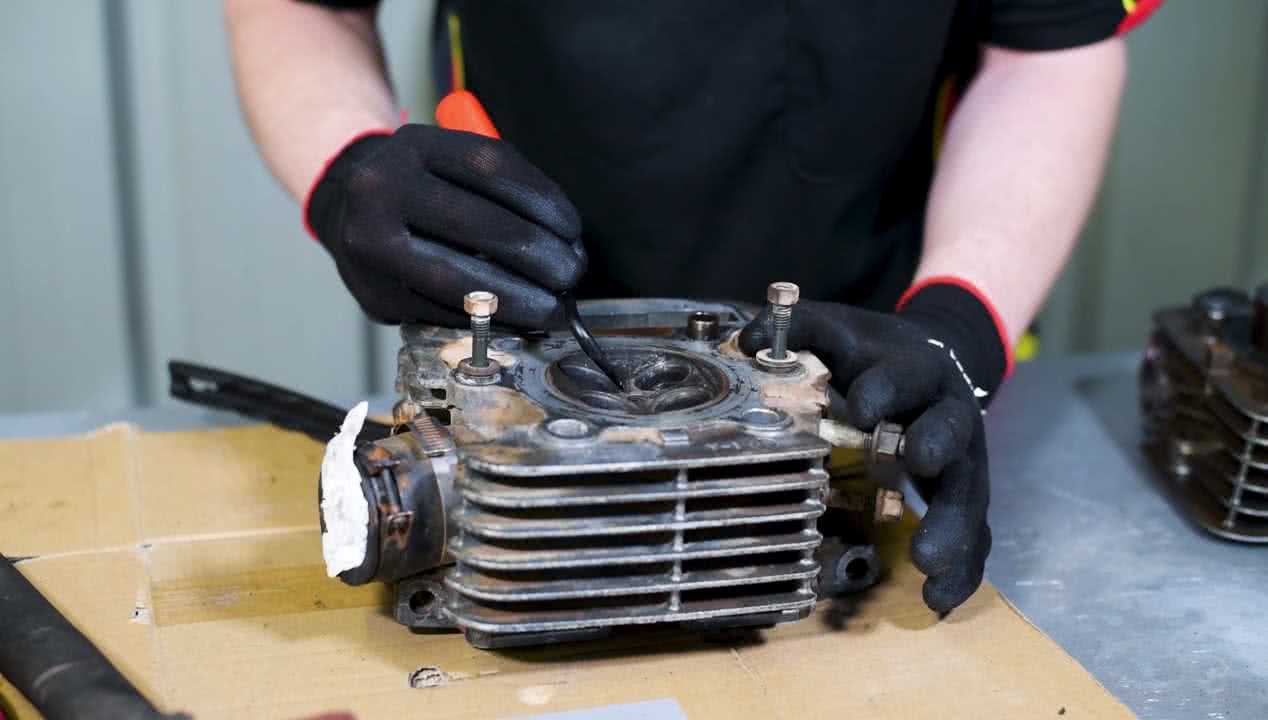
Begin by removing the valves from the head, and take the chance to remove any carbon deposits with a brass wire brush.
Whether the valve seats require a re-grind depends on the condition of the head, but in this case – new valves will be installed and lapped to create a perfect seal.
There are two valve lapping tools in the ToolPRO valve lapper set, with four suction cups to suit a variety of valve sizes.
Step 2 - Insert Valve
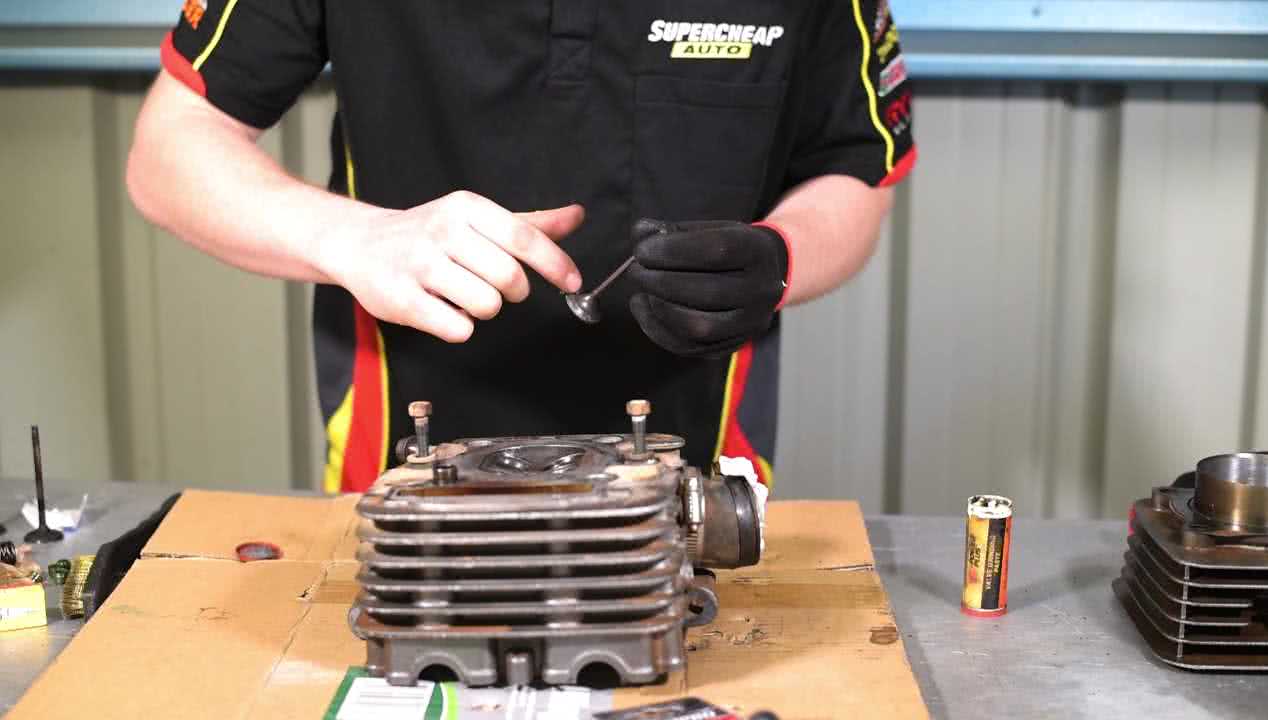
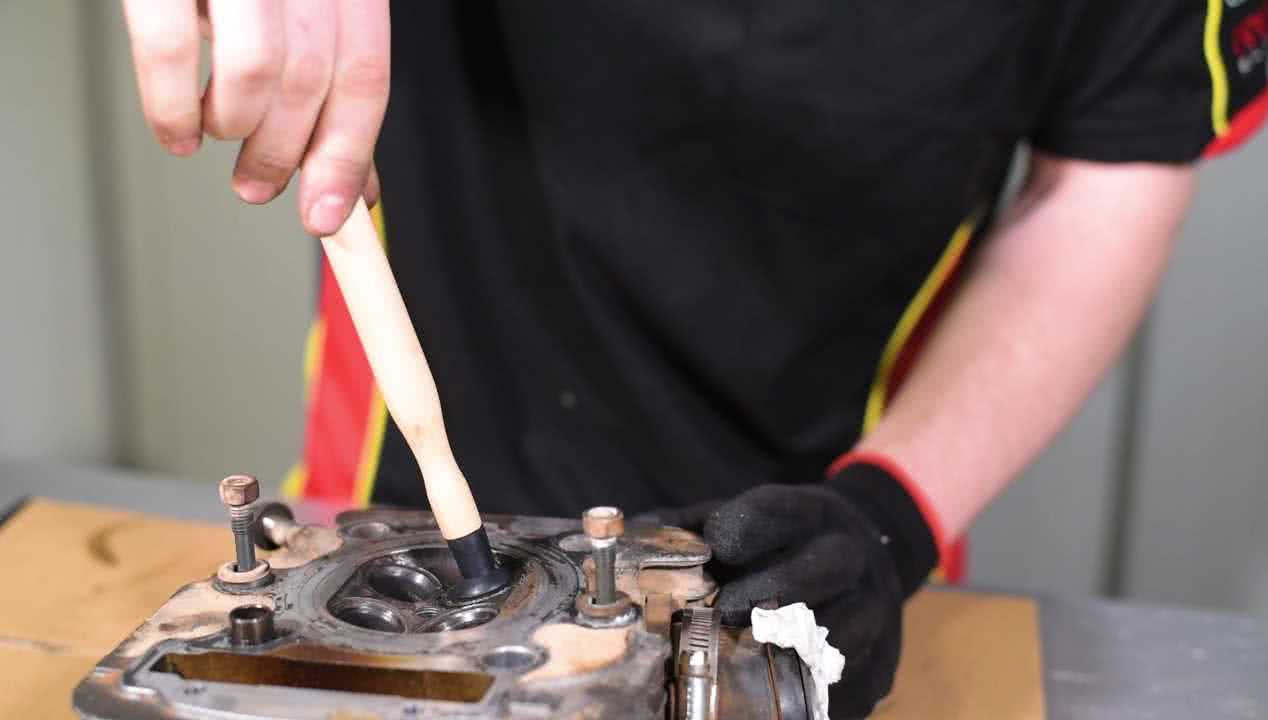
Ensure the valve and seat are as clean as possible before applying a small amount of grinding paste to the face of the valve.
Insert this valve into the port which it belongs and press the appropriate suction cup onto the head of the valve – a little water or a dab of grease may help it stick if you’re having trouble.
Step 3 - Identify the Tone Changes
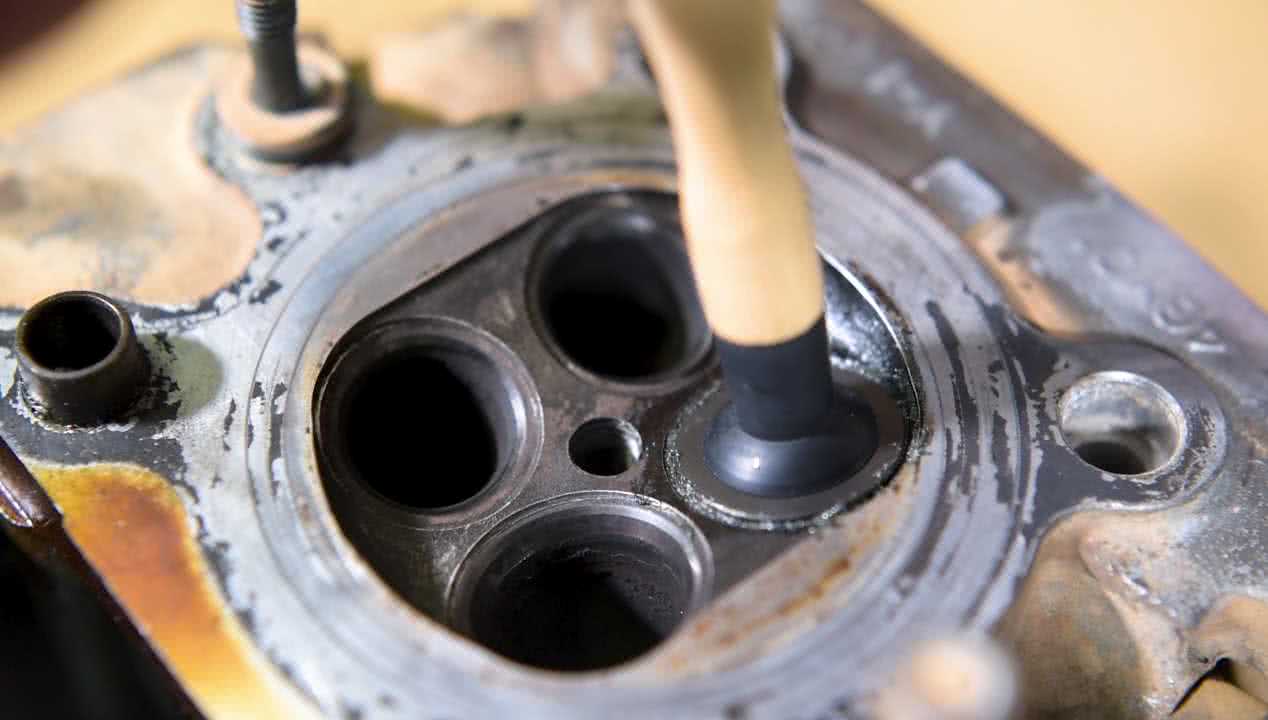
Now simply rotate the lapper by rubbing it between your hands, and listen for the change in tone from a gritty grinding sound, to a smooth sound.
When the tone changes, lift the valve and distribute the paste around the face of the valve again.
Step 4 - Identify Which Port the Valve has Lapped
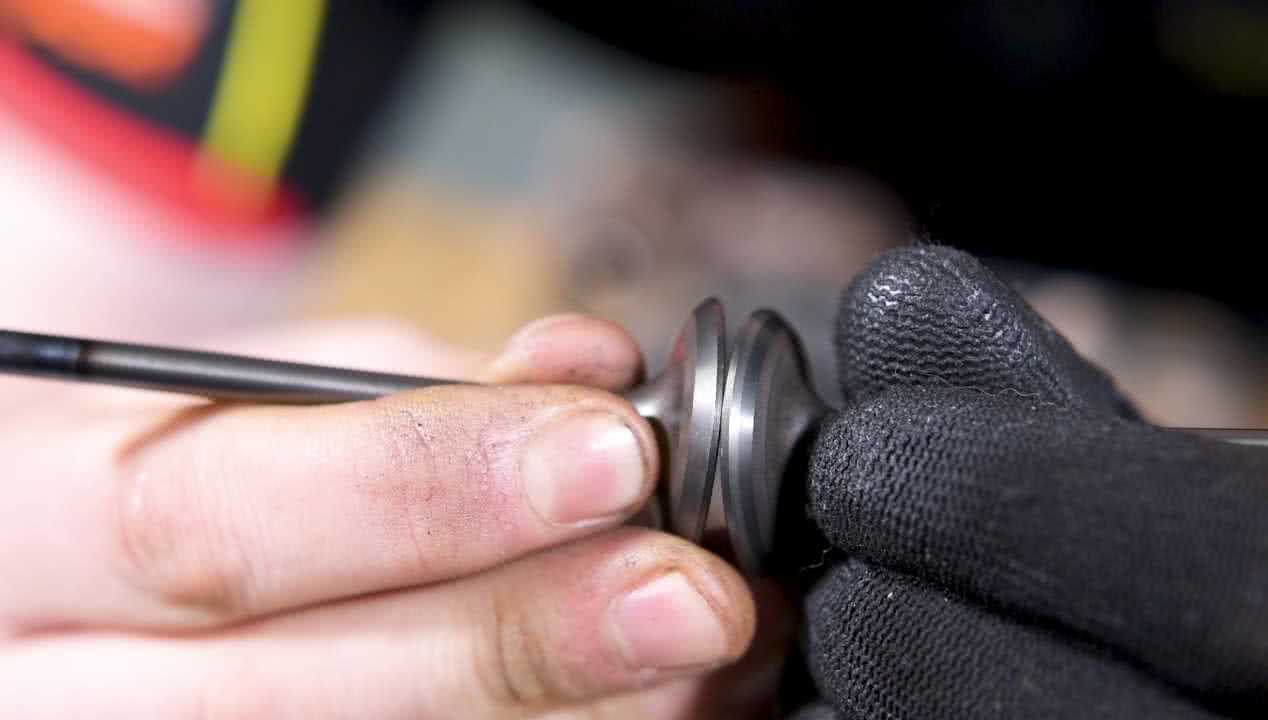
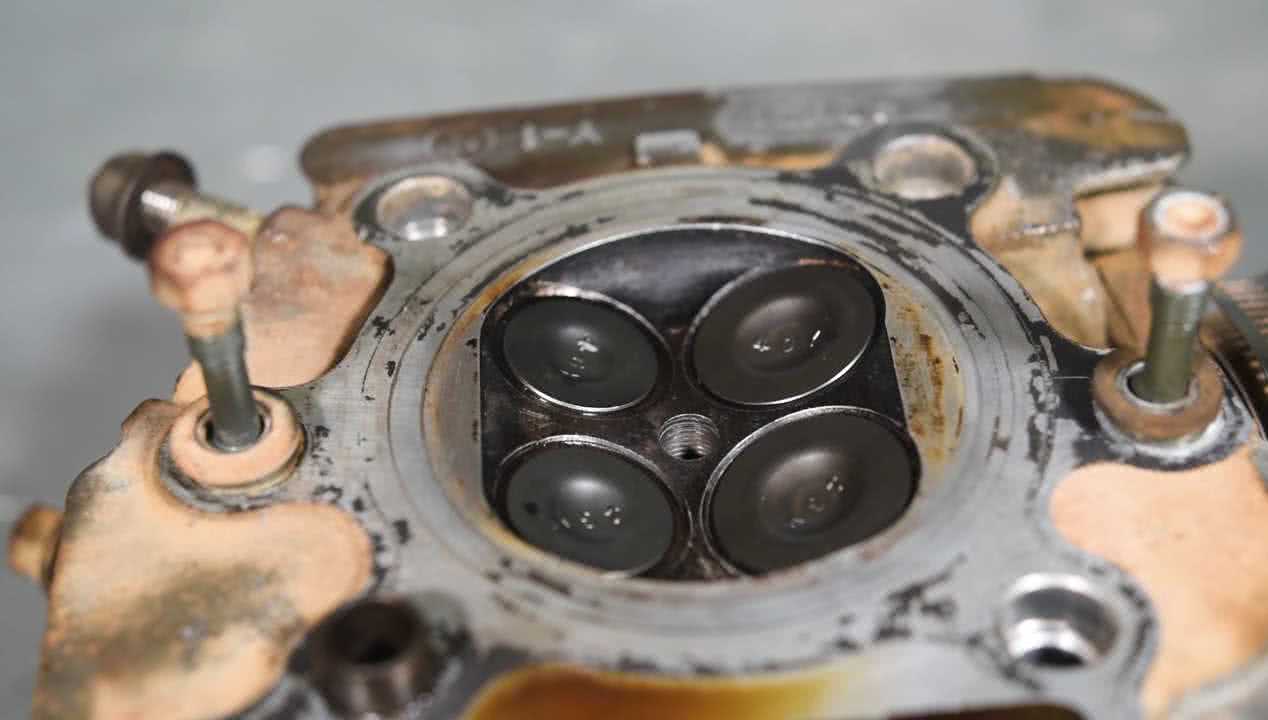
Continue doing this until the valve face and seat are evenly bright and shiny with no evidence of dull patches.
Make sure you take steps to identify which valve is lapped to which port - then clean each valve and the head thoroughly, install the valve assemblies – and you’re one step closer to a rebuilt engine.
*Important information* - Click here to read more about our How-To terms and conditions.