How To Change Vehicle Coolant
Overview
Importance of Coolant Change Intervals
Your coolant endures a rigorous cycle, absorbing extreme heat in the engine, shedding it in the radiator, and then returning to the engine to do it all over again. Through this process, it gradually loses its protective qualities—anti-corrosion, anti-boil, and anti-freeze properties all degrade. The coolant can also become acidic over time, which can corrode the engine from within. Further to that, dirt and debris accumulated as your engine ages can cause blockages, risking overheating. Auto manufacturers have carefully calculated coolant change intervals to counteract these effects. If you stick to what the service schedule recommends; you’ll get years of reliable service from your cooling system.
Choosing the Right Coolant
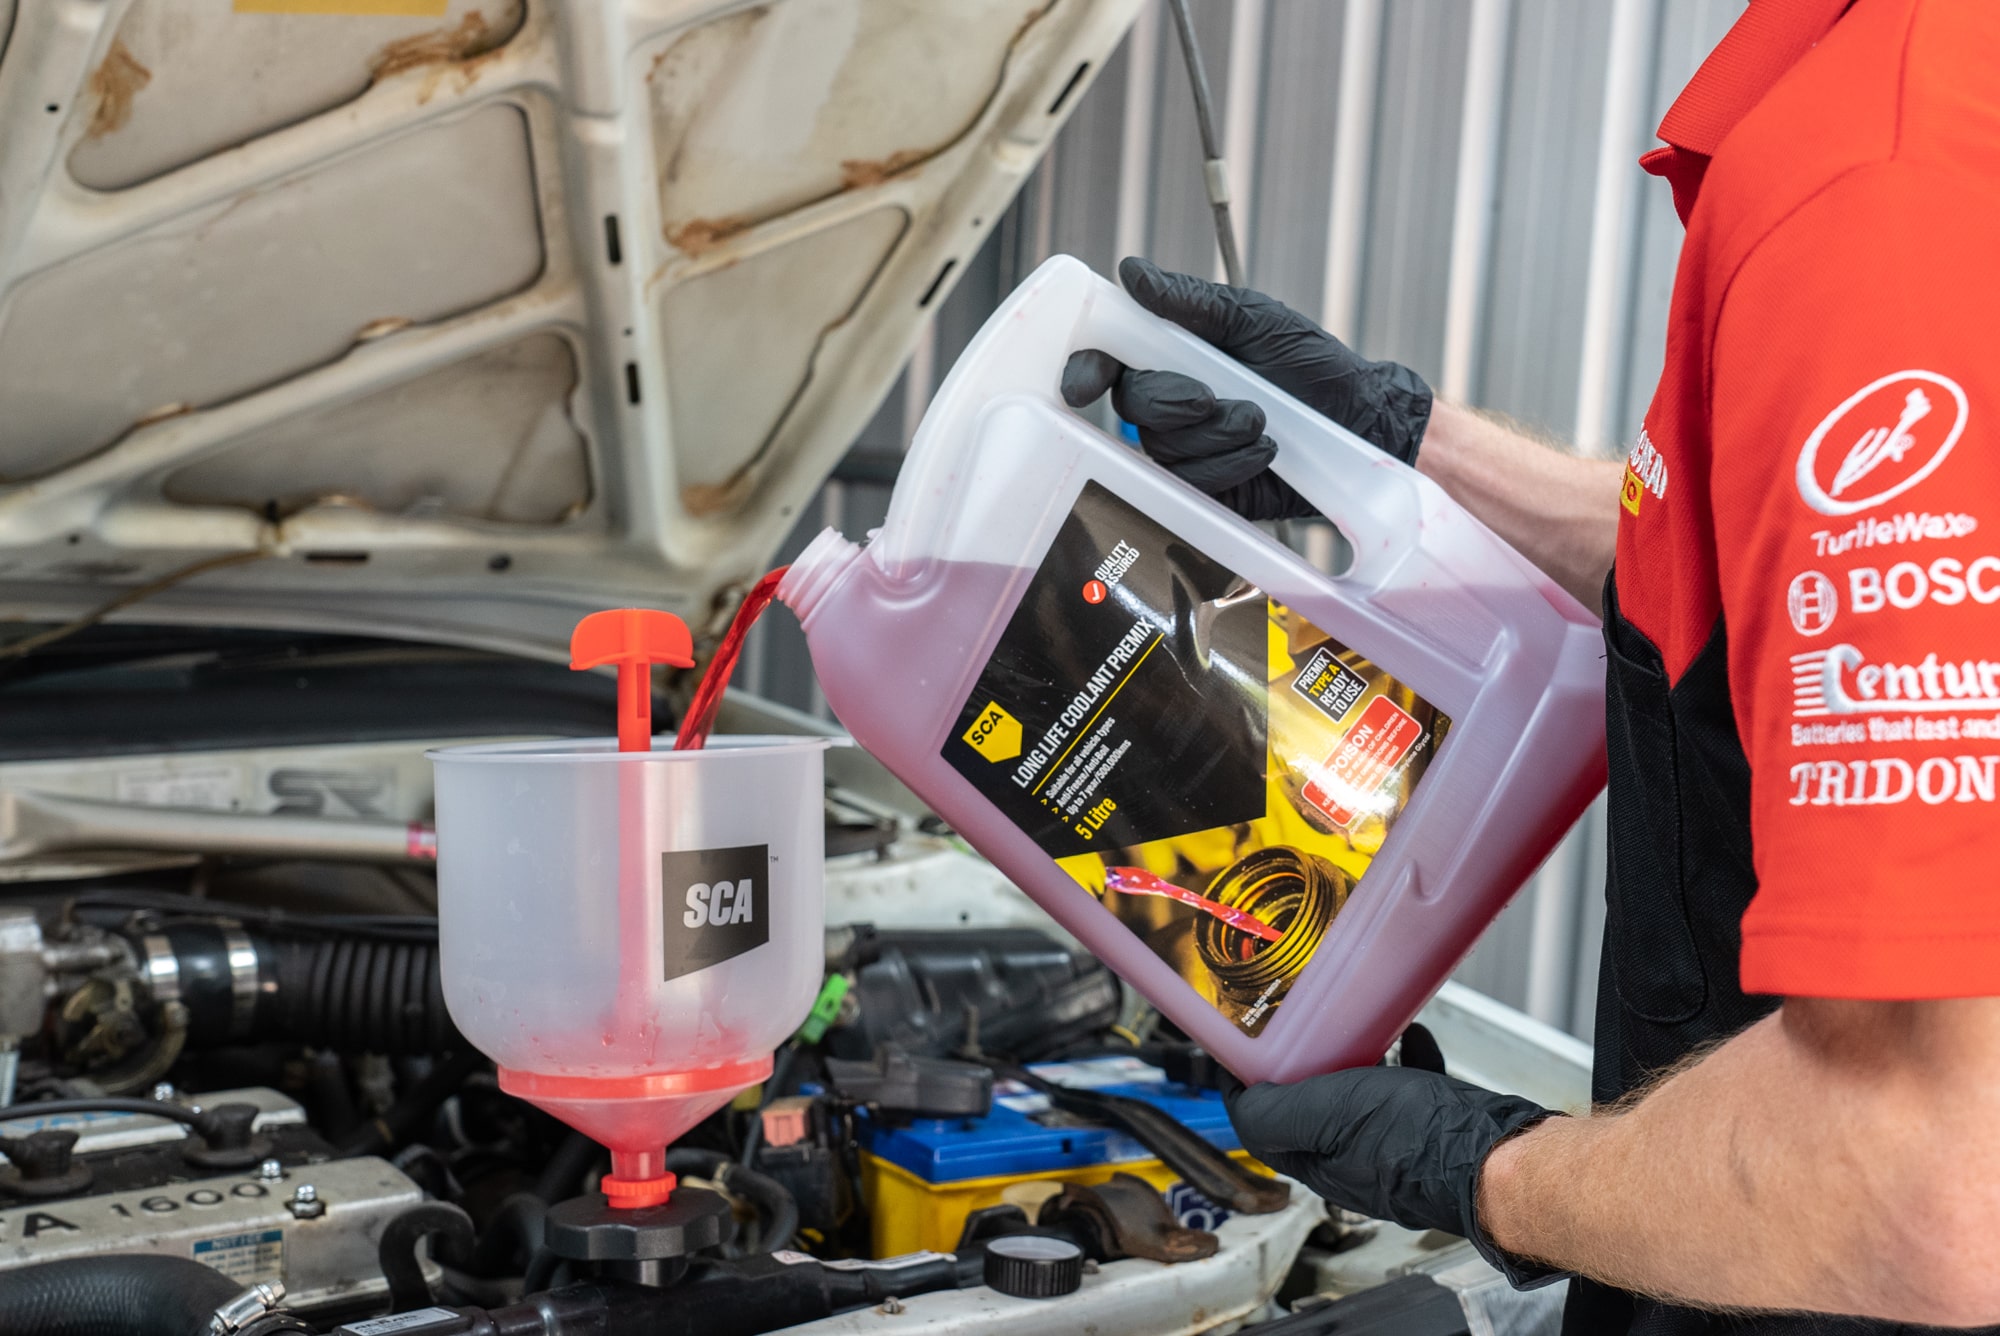
Using the correct coolant for your car is crucial. Manufacturers specify a particular type of coolant because its additives are designed to be compatible with the materials inside your engine. Using the wrong type of coolant can cause failure over time. Even when you’re just topping up, different coolant types should never be mixed. Fortunately, it’s super easy to choose the right coolant with the Supercheap Auto My Garage feature. Simply enter your registration number and you’ll be presented with the correct type and amount of coolant for your car.
How to Check and Top Up Coolant
A coolant level check and top up should generally be done once a month. Poke your head under the bonnet and locate the coolant reservoir. You’ll easily be able to see the level by eye. If it sits anywhere from the half to full mark, you’re all good! If it needs a top up; check out our full DIY guide here
Common Signs of a Failing Cooling System
Most cooling systems tend to go largely ignored until trouble strikes, but vigilance can prevent being stranded with an overheated engine. Key indicators of a malfunctioning cooling system include increased coolant consumption—if you're refilling coolant more frequently, it may suggest a leak. Visible coolant under the vehicle is a clear sign of trouble.
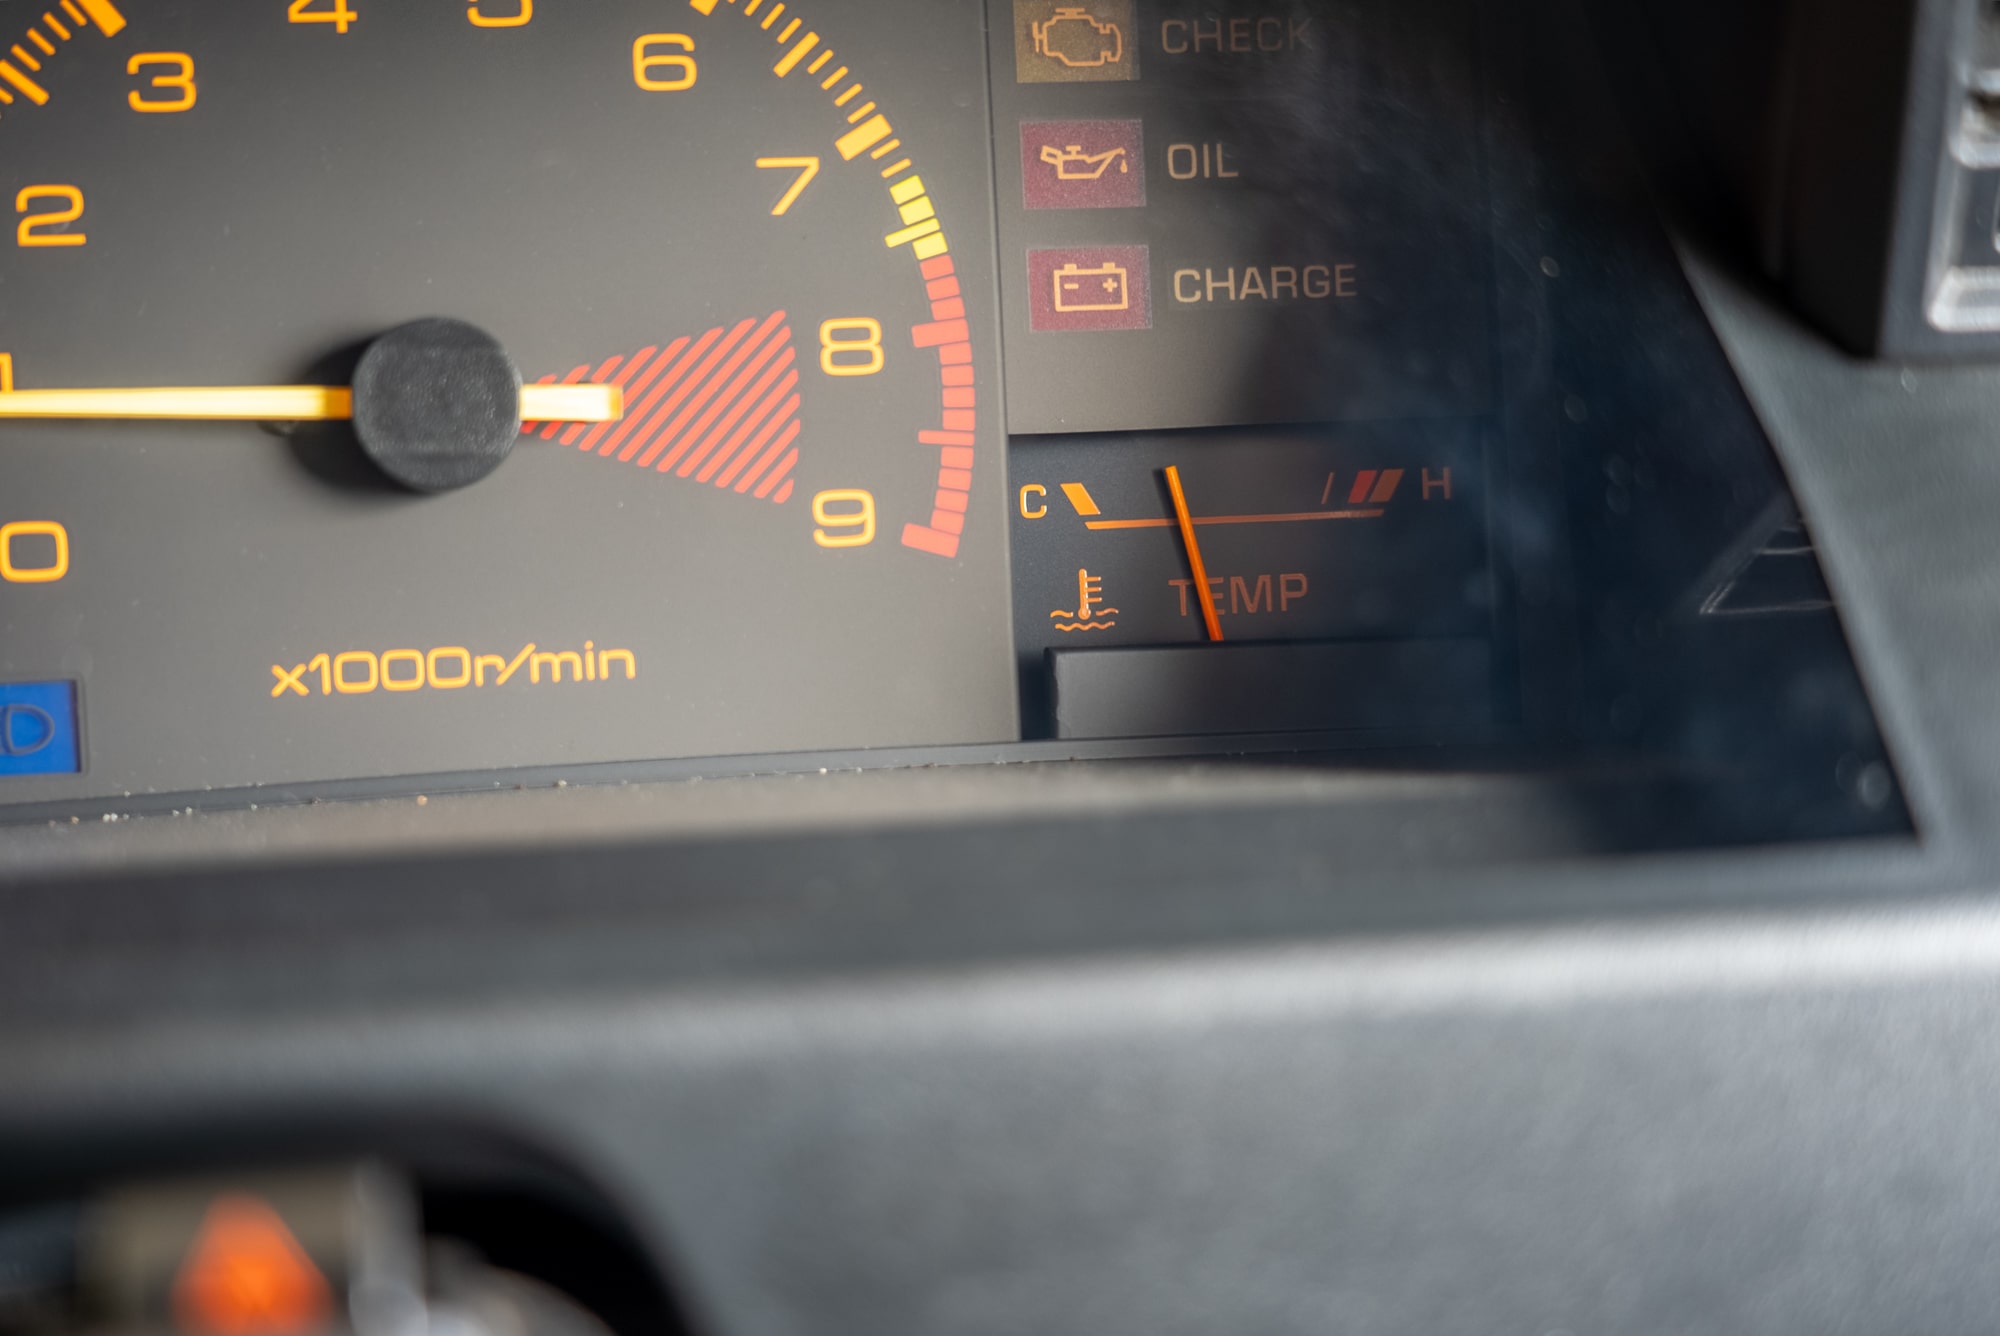
Audible bubbling sounds from the engine after shutdown can point to overheating or a leak. A malfunctioning heater, which relies on engine coolant, may also signal system issues. Additionally, your temperature gauge running significantly hotter or colder than normal may be cause for concern.
Items
- Gloves – coolant is toxic and disposable is best for a coolant change
- Safety Glasses – to protect your eyes from splashes
- Cooling System Flush – if your coolant looks very dirty, you might like to grab a few bottles
- Drain Pan – make sure it’s big enough to catch all of the coolant
- Coolant – use the Supercheap Auto My Garage feature to find the correct one
- Funnel – a specific coolant filling funnel will make the job much easier
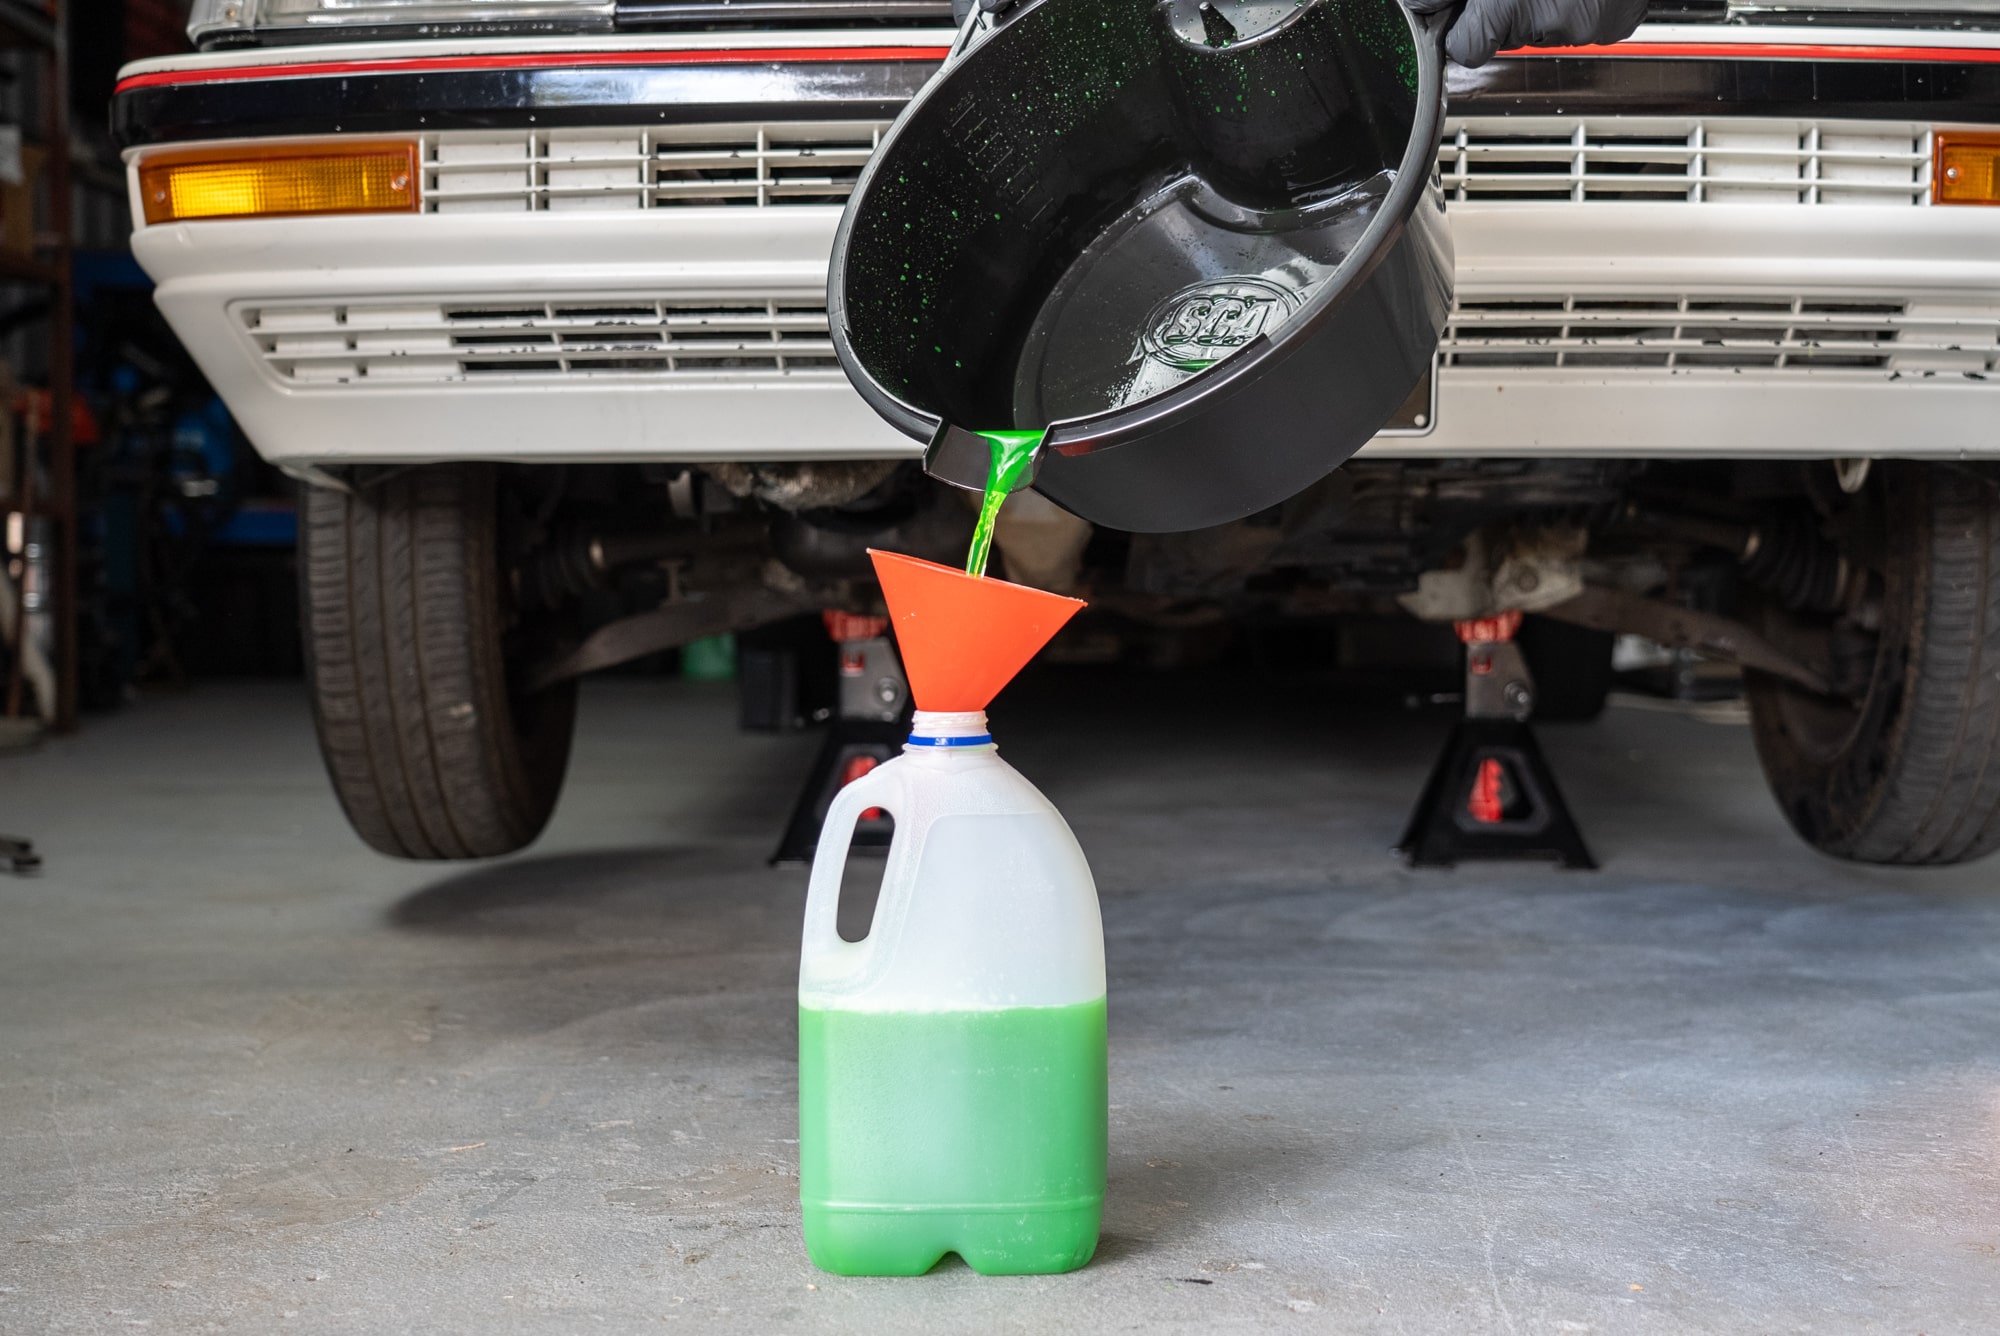
- Empty Container – something to store all of the drained coolant and flush water ready for disposal
- Thread sealant – used to re-seal the block drain plug if your vehicle has one
- Service manual – specific to your vehicle
- Hand tools – Sockets, spanners, screwdrivers, and pliers will do the trick
- Suction gun – not a requirement but it’s very hand to extract coolant from the recovery bottle
- Jack & Axle stands – if your car is not too low and your radiator drain is easy to access; you may not need these
Steps
Step 1: Prepare the vehicle
Engage your handbrake and shift into gear or park. Then turn your heater to max; for newer cars with electronic controls, you might need to switch on the ignition to activate the heater tap. Keep the heater on during the job to ensure the heater core is properly drained, flushed, and refilled.
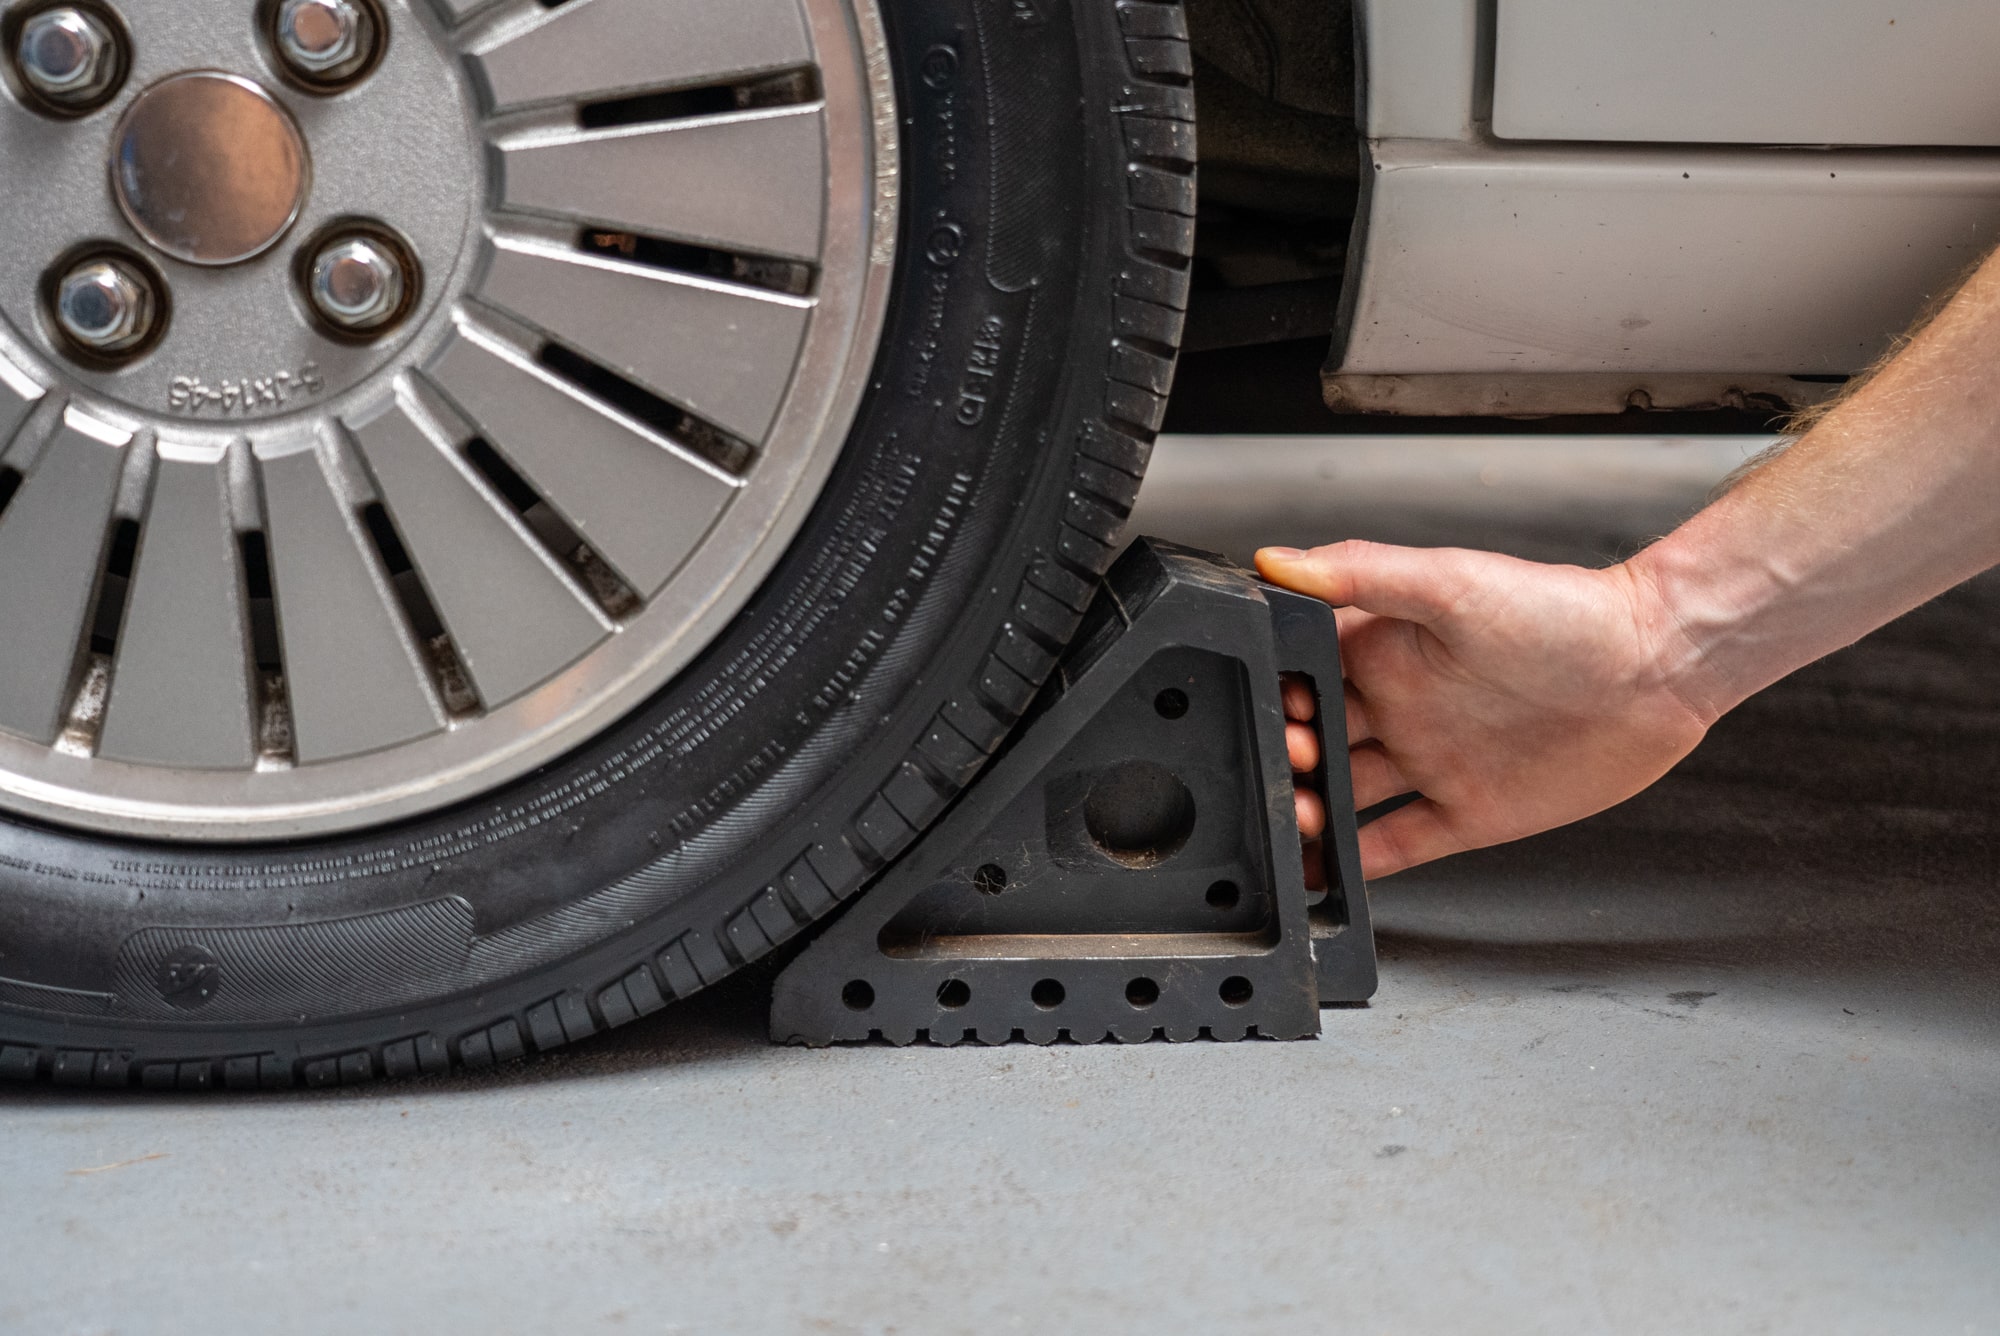
Now chock the wheels and if needed; raise the vehicle onto axle stands.
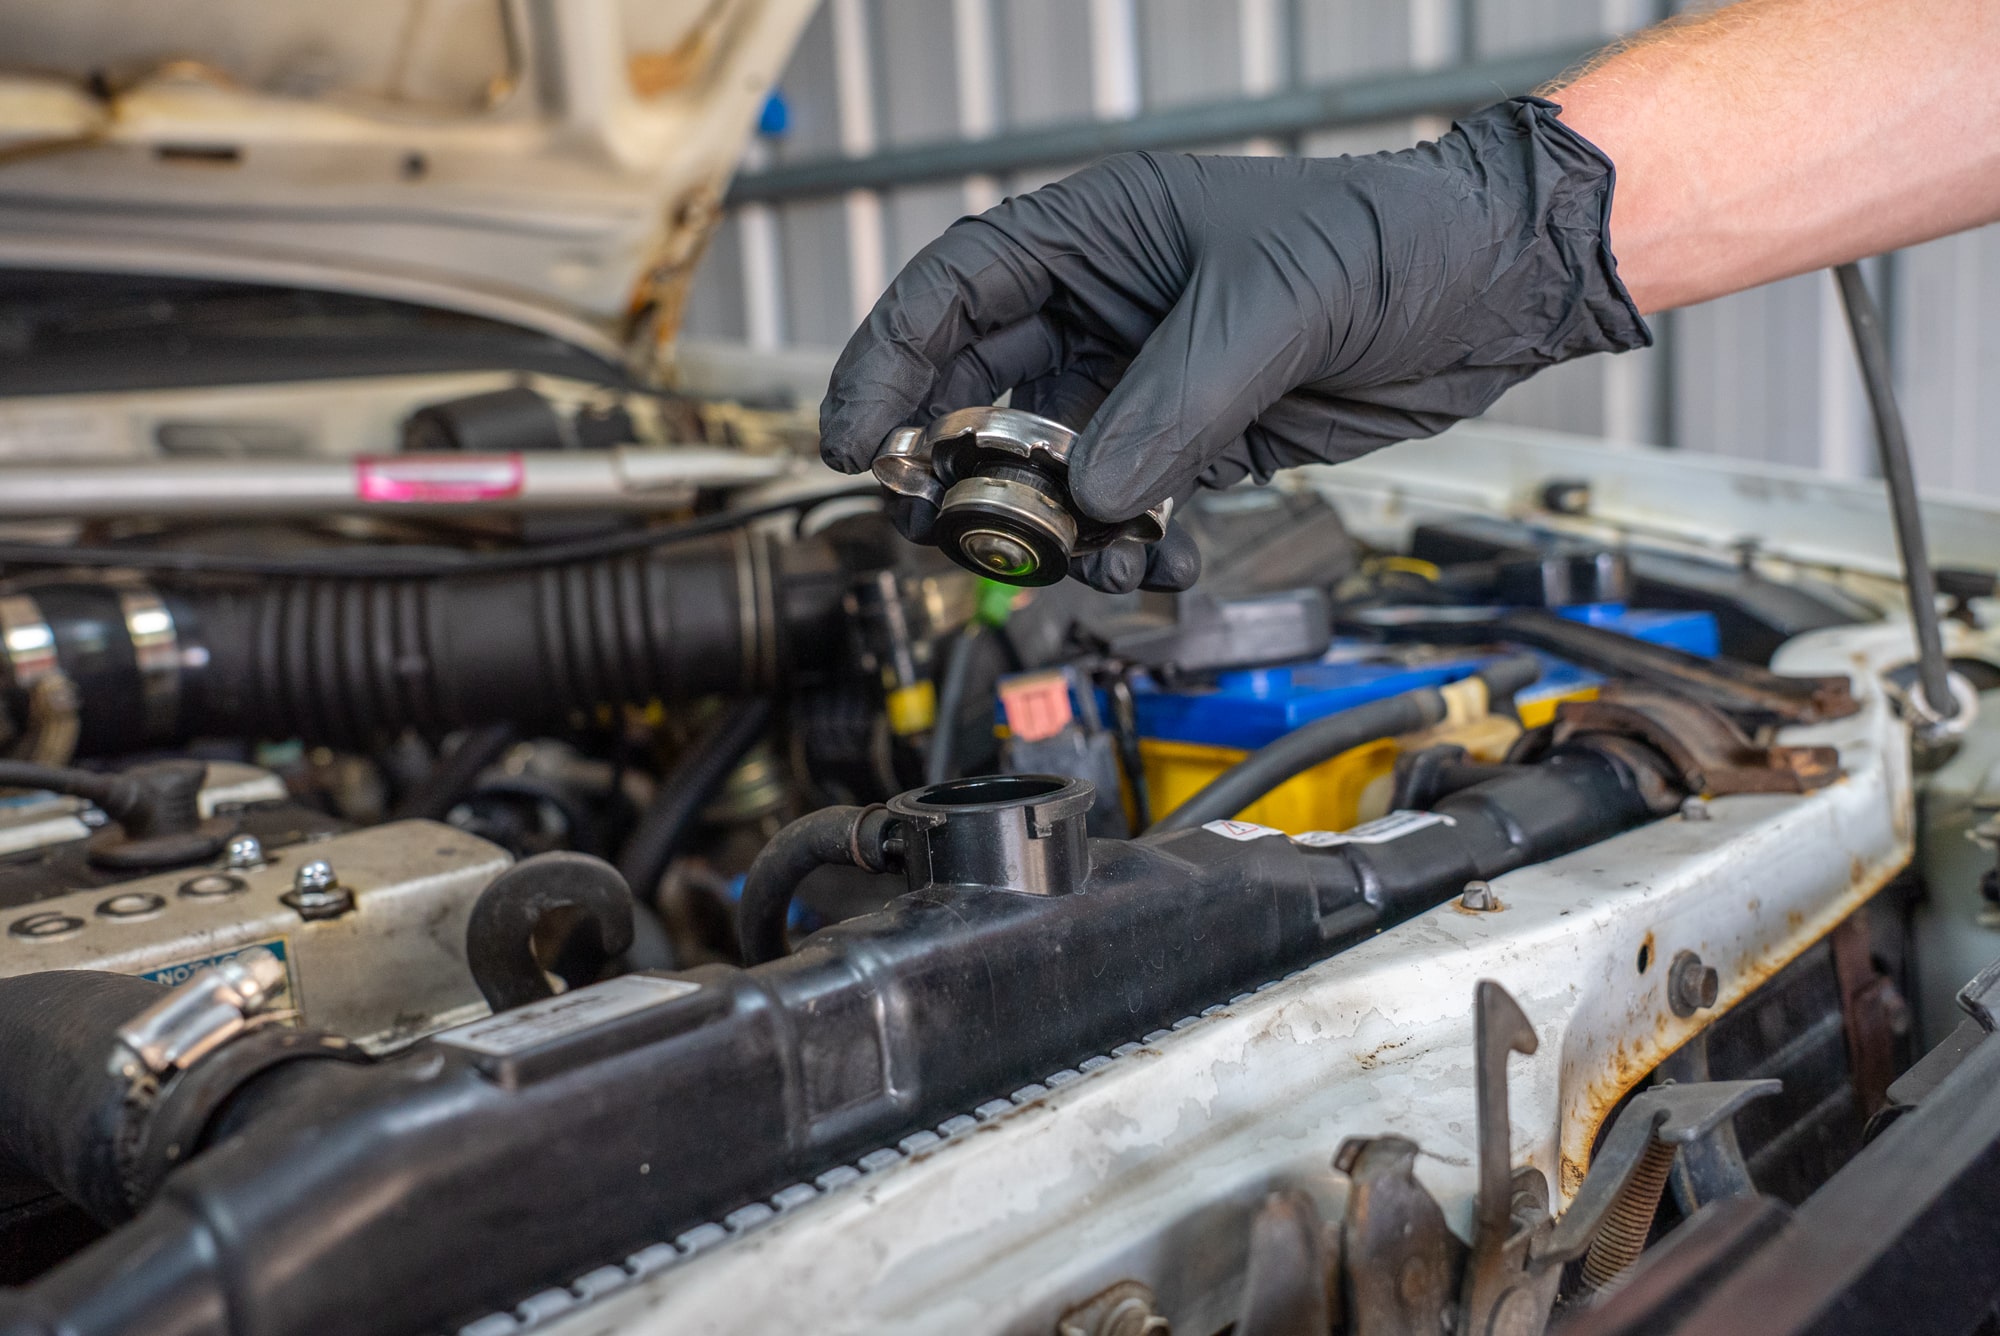
Under the bonnet locate the coolant pressure cap, which might be on the radiator or a separate tank. If in doubt, consult your vehicle's manual. Only remove the cap when the engine is cold to avoid injury. If it's warm, wait for it to cool down first.
Step 2: How to Drain Coolant
Slide underneath the car and search the bottom of the radiator for the drain plug. If in doubt, a flick through your service manual will tell you how to drain coolant.
Some vehicles do not have a drain plug. In this case you can loosen the hose clamp and slip the bottom hose off the radiator. Be ready for ALL the coolant at once.
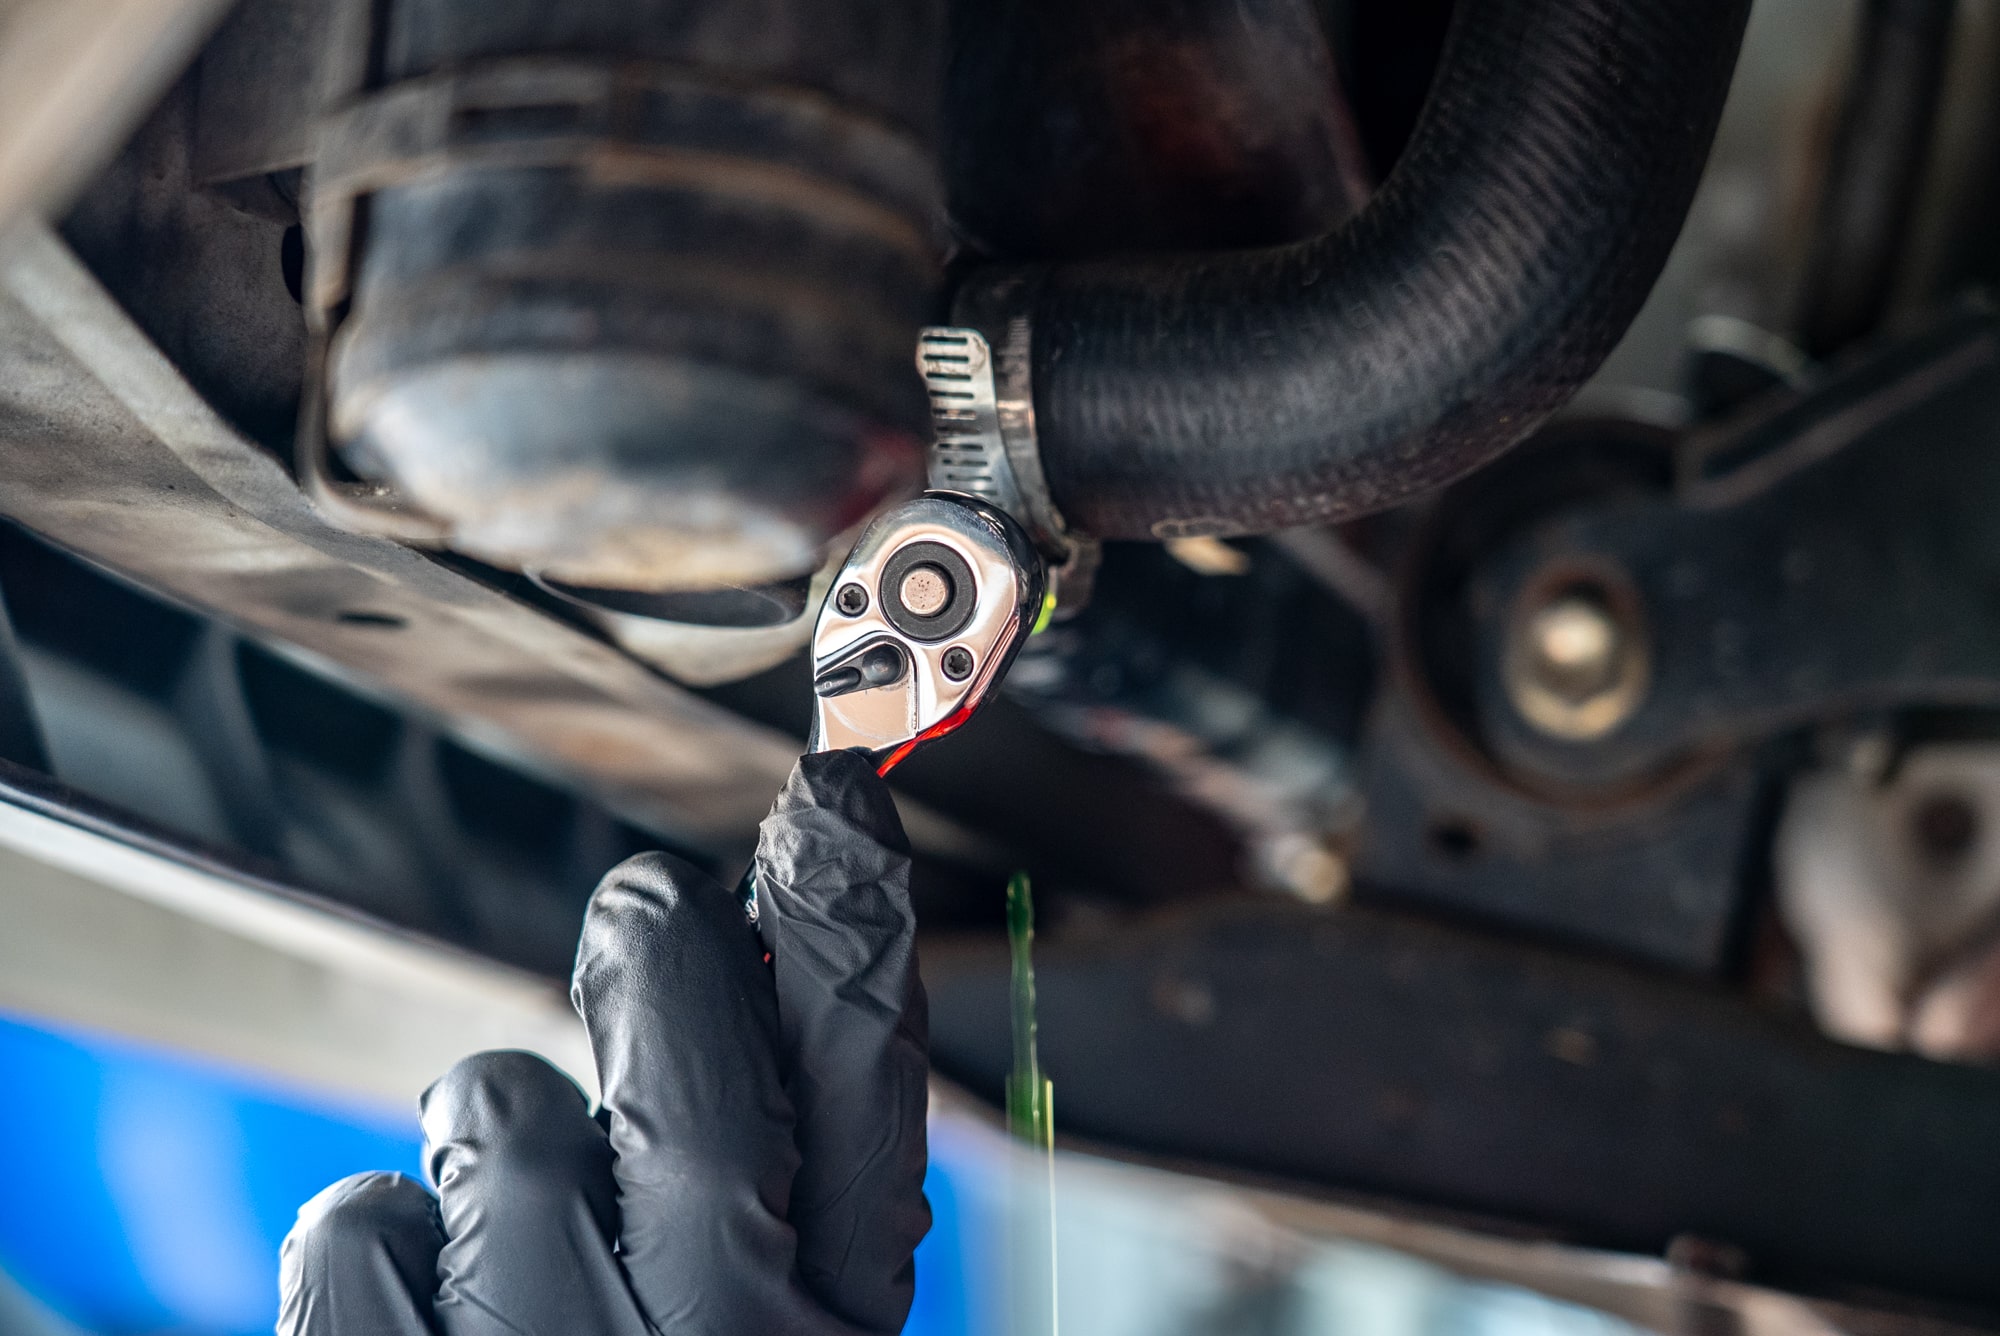
If you’re removing a bung; the flow is usually a little more controlled.
Once the coolant flow has reduced to a drip, replace the bung or radiator hose.
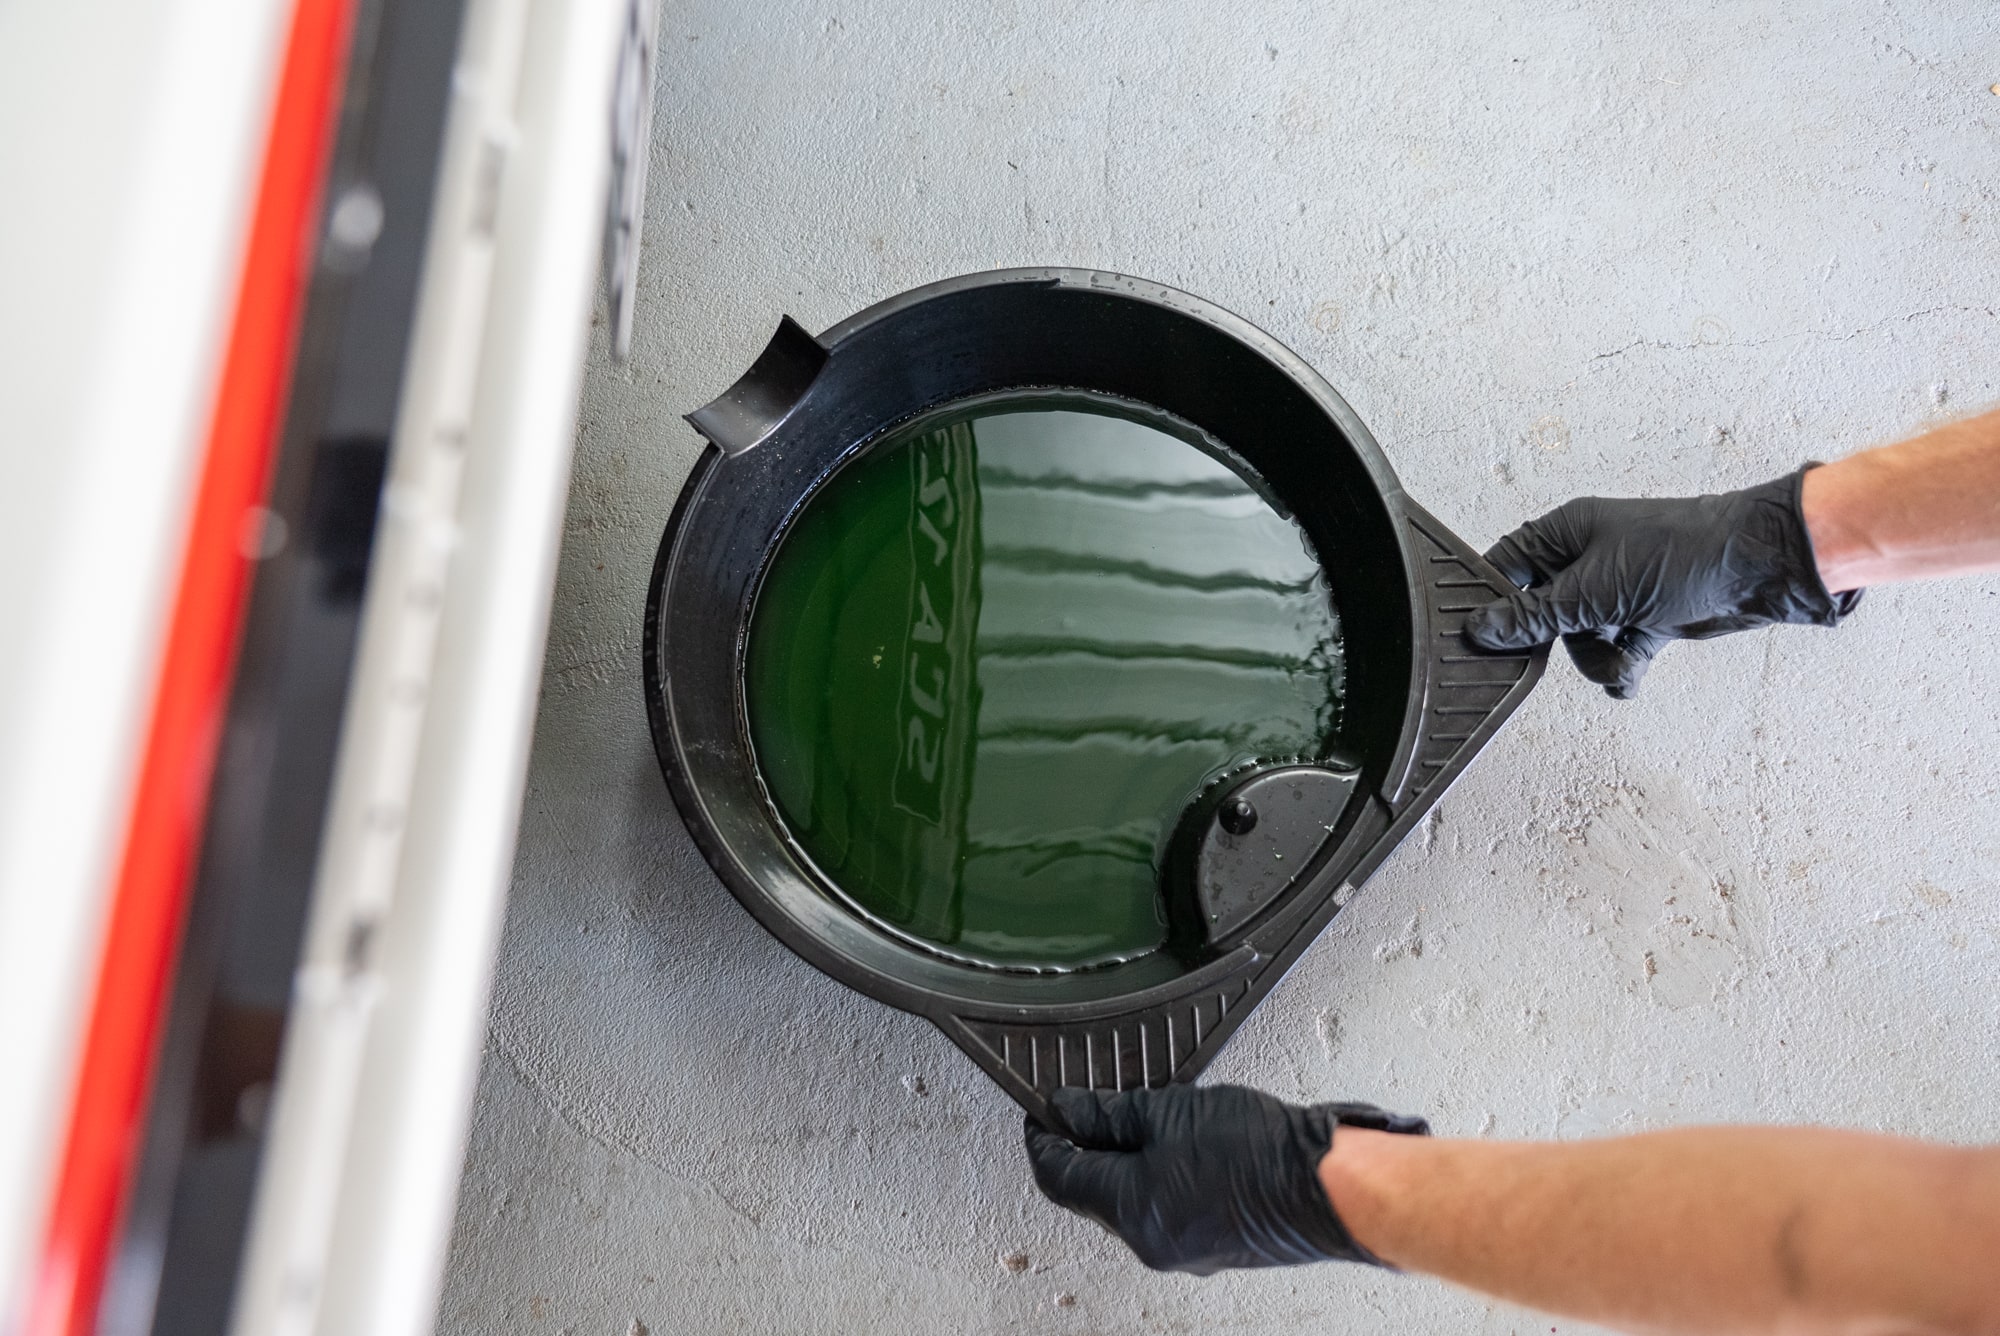
Step 3: How to Flush the Radiator
Fit your coolant filling funnel into the radiator or pressure tank (make sure it’s not the coolant recovery tank) and empty the entire bottle of cooling system flush. Top the cooling system all the way to full, then start the engine.
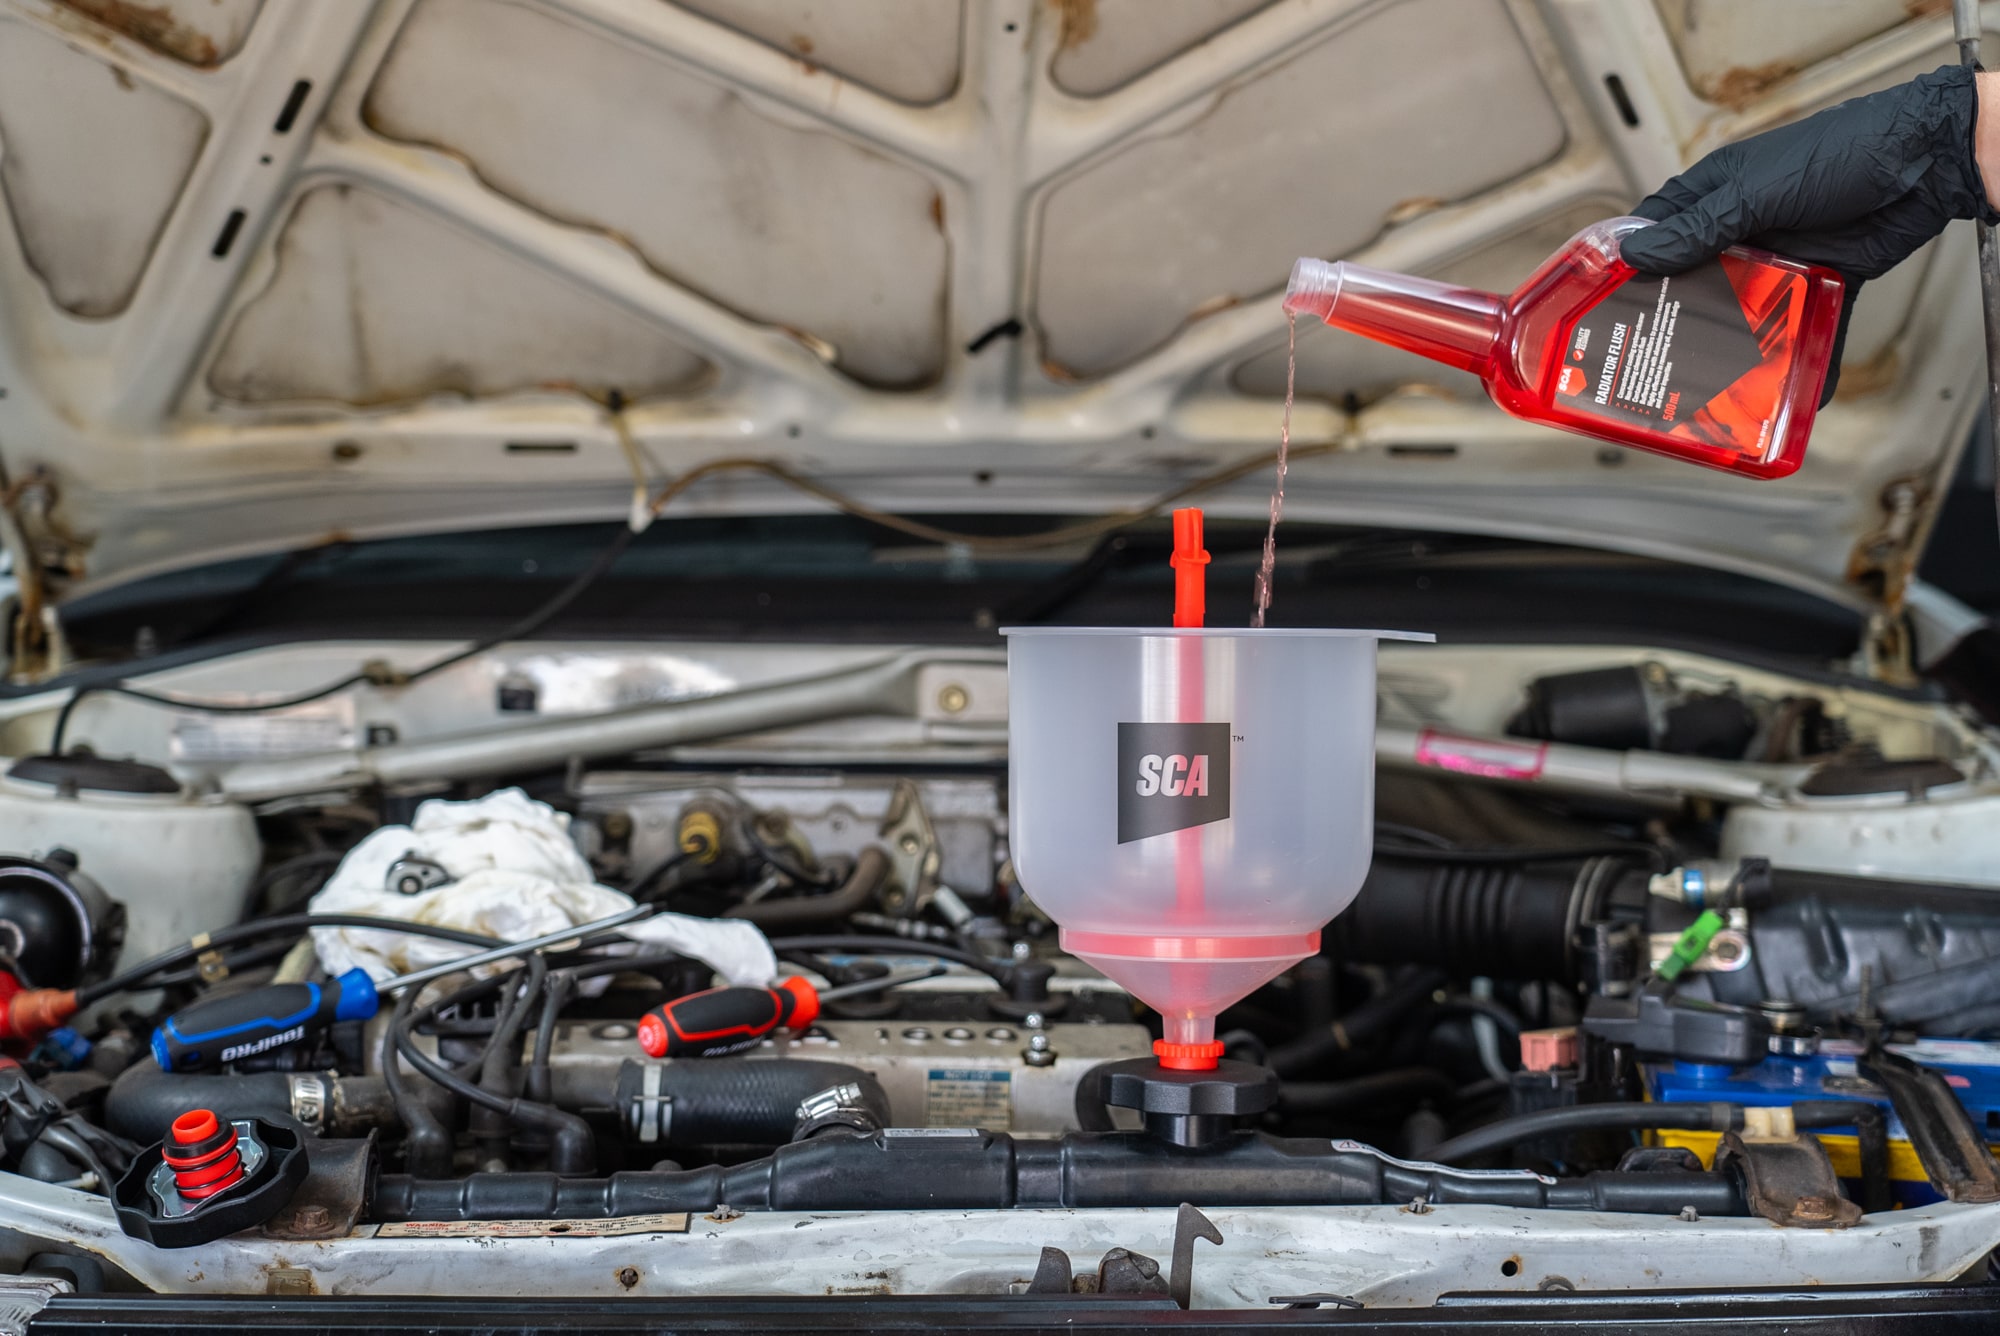
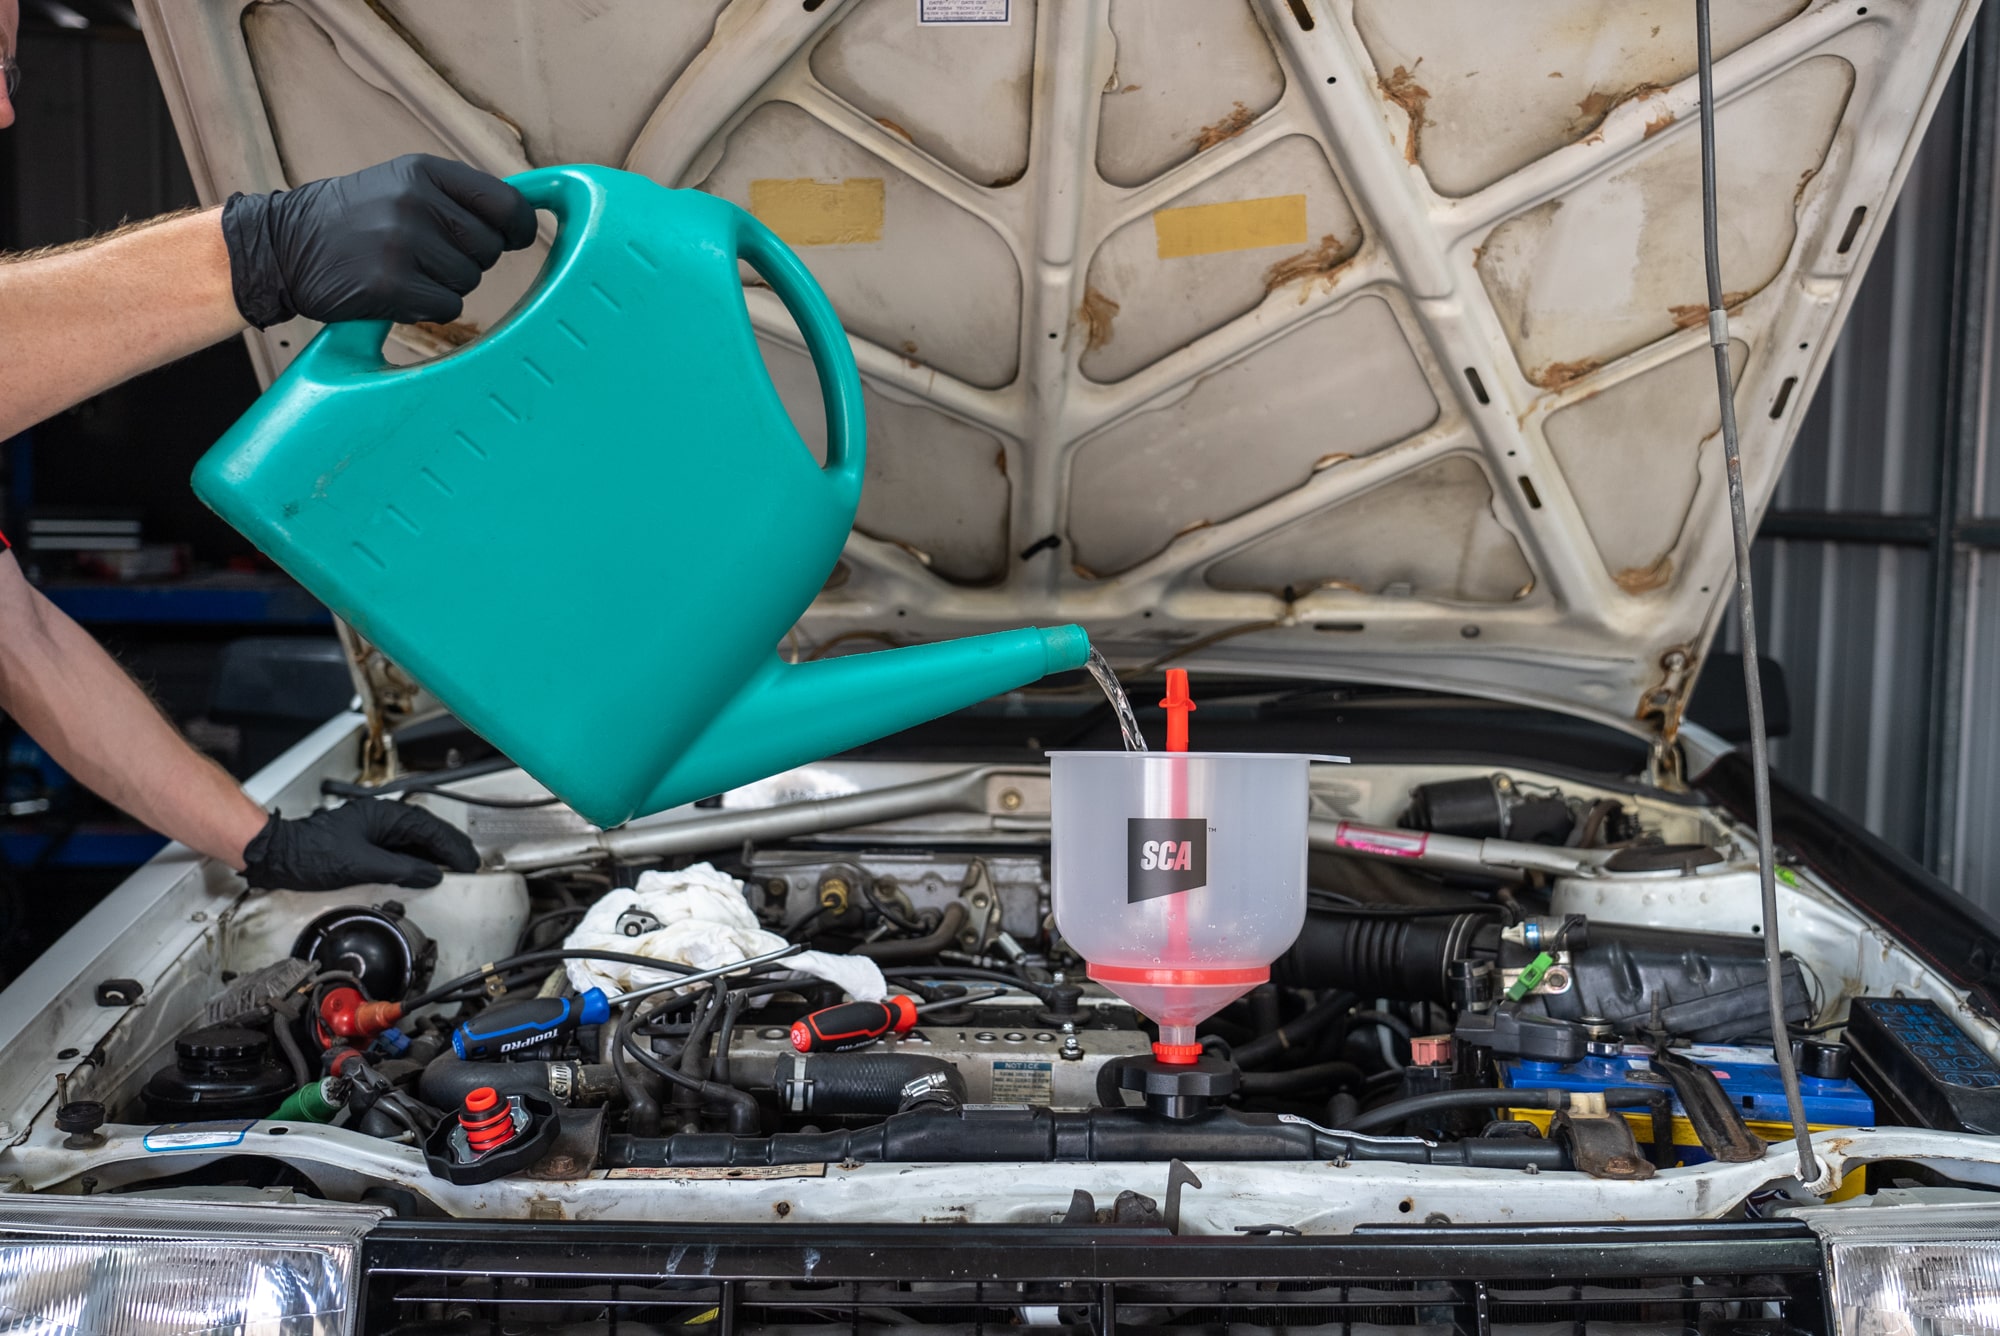
Step 4: Drain Your Cooling System
Once the cooling system flush is done, wait for the vehicle to cool and drain it following the method used in step one. If the flush comes out SUPER dirty, feel free to repeat using fresh water; or use cooling system flush if you feel it’s required. Just make sure the engine reaches operating temperature each time.
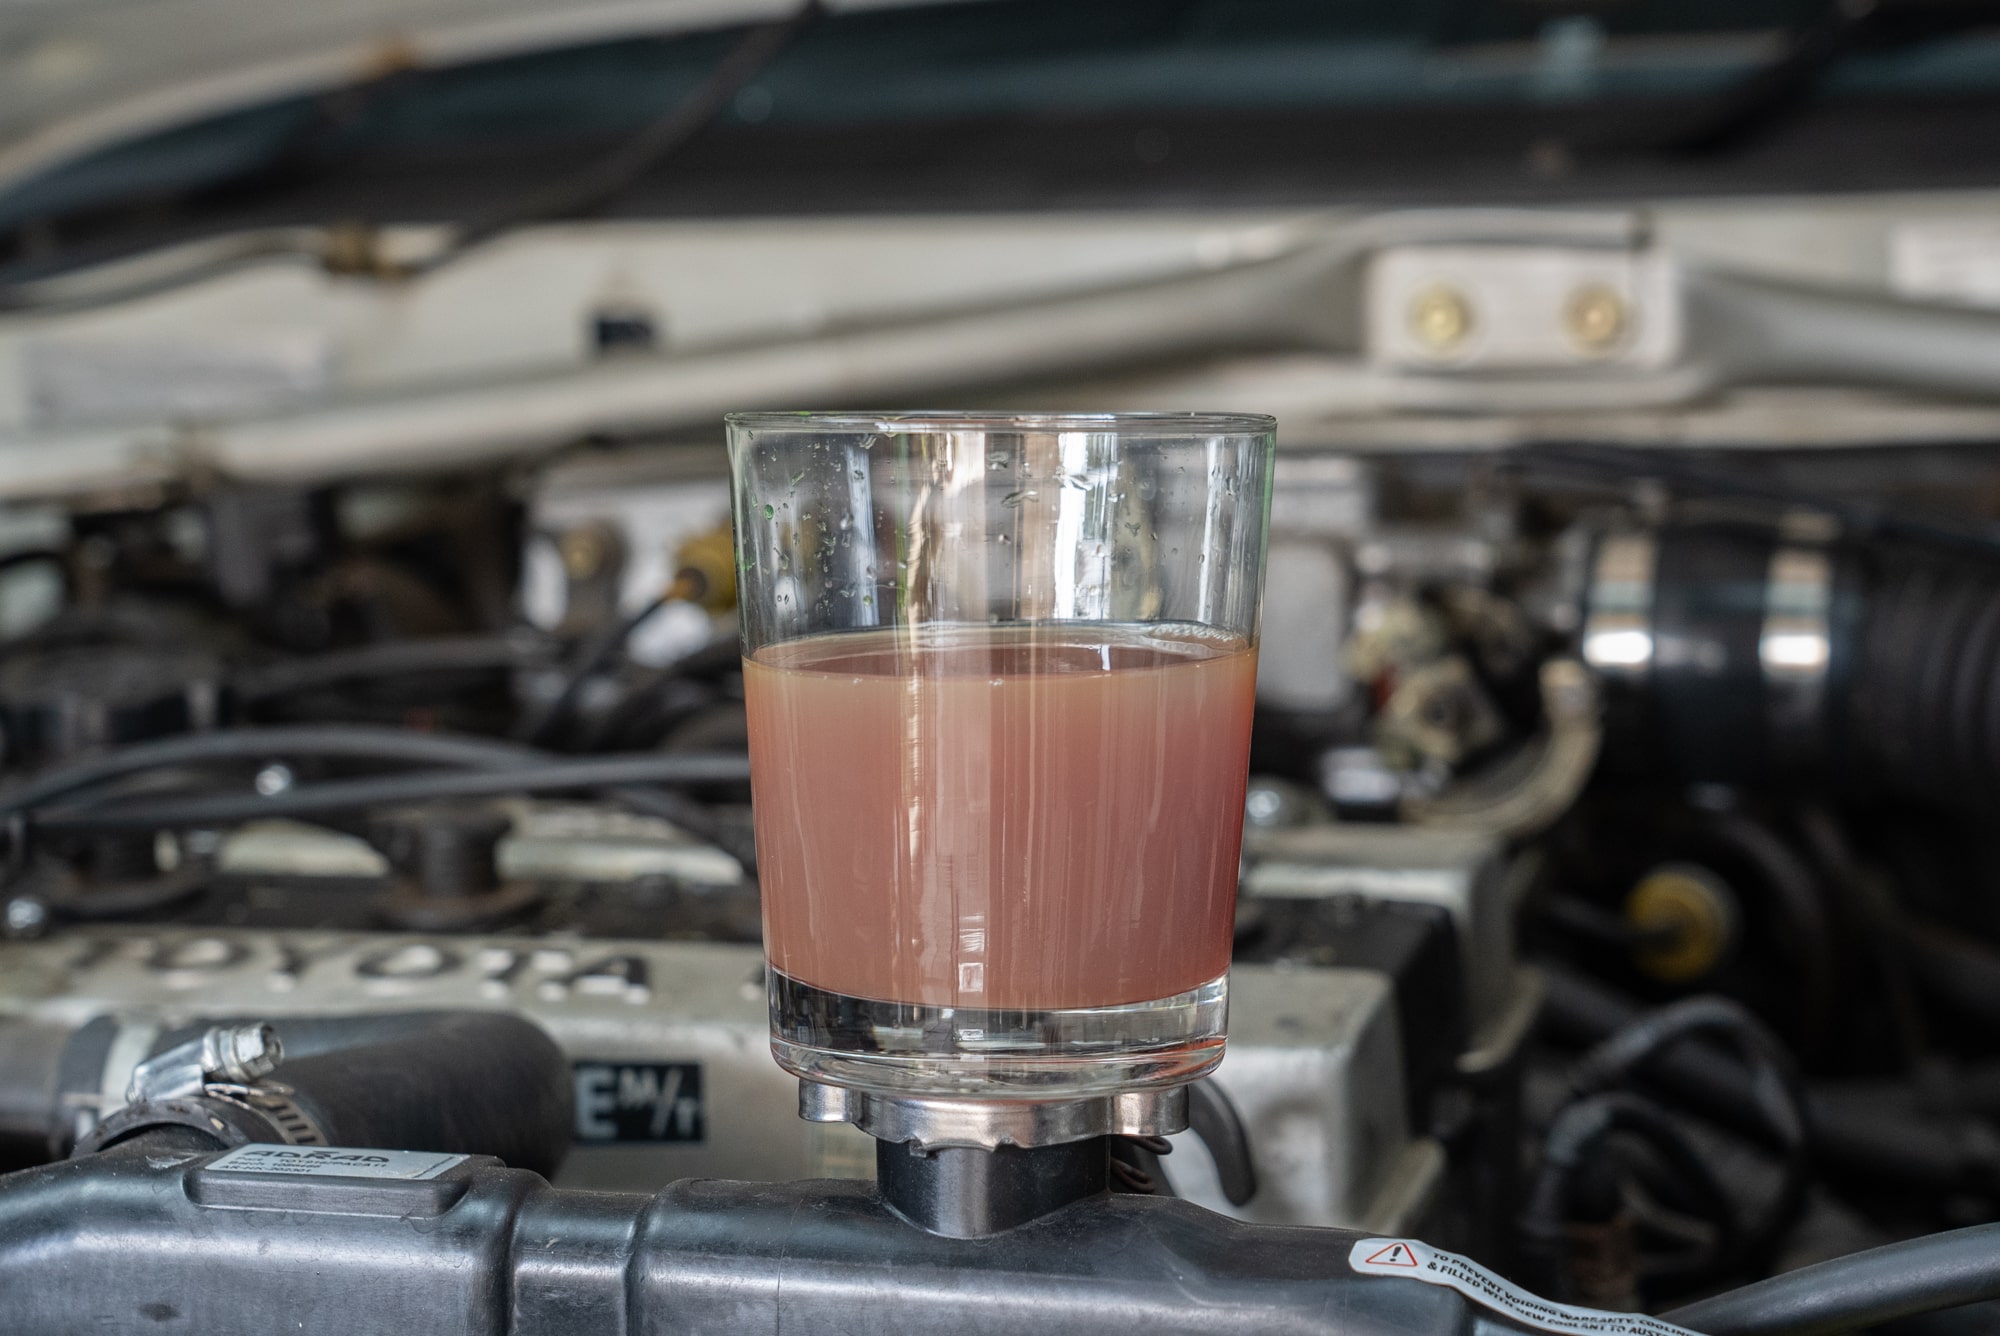
Step 5: Extract Remaining Coolant
Draining the radiator alone won’t get all the coolant out. Use a suction gun to empty the coolant reservoir and, for a total system drain, you might need to drain the block. Check your workshop manual to see if your car has one and where it’s located. Removing this can be a little messy, so be ready with a few containers.
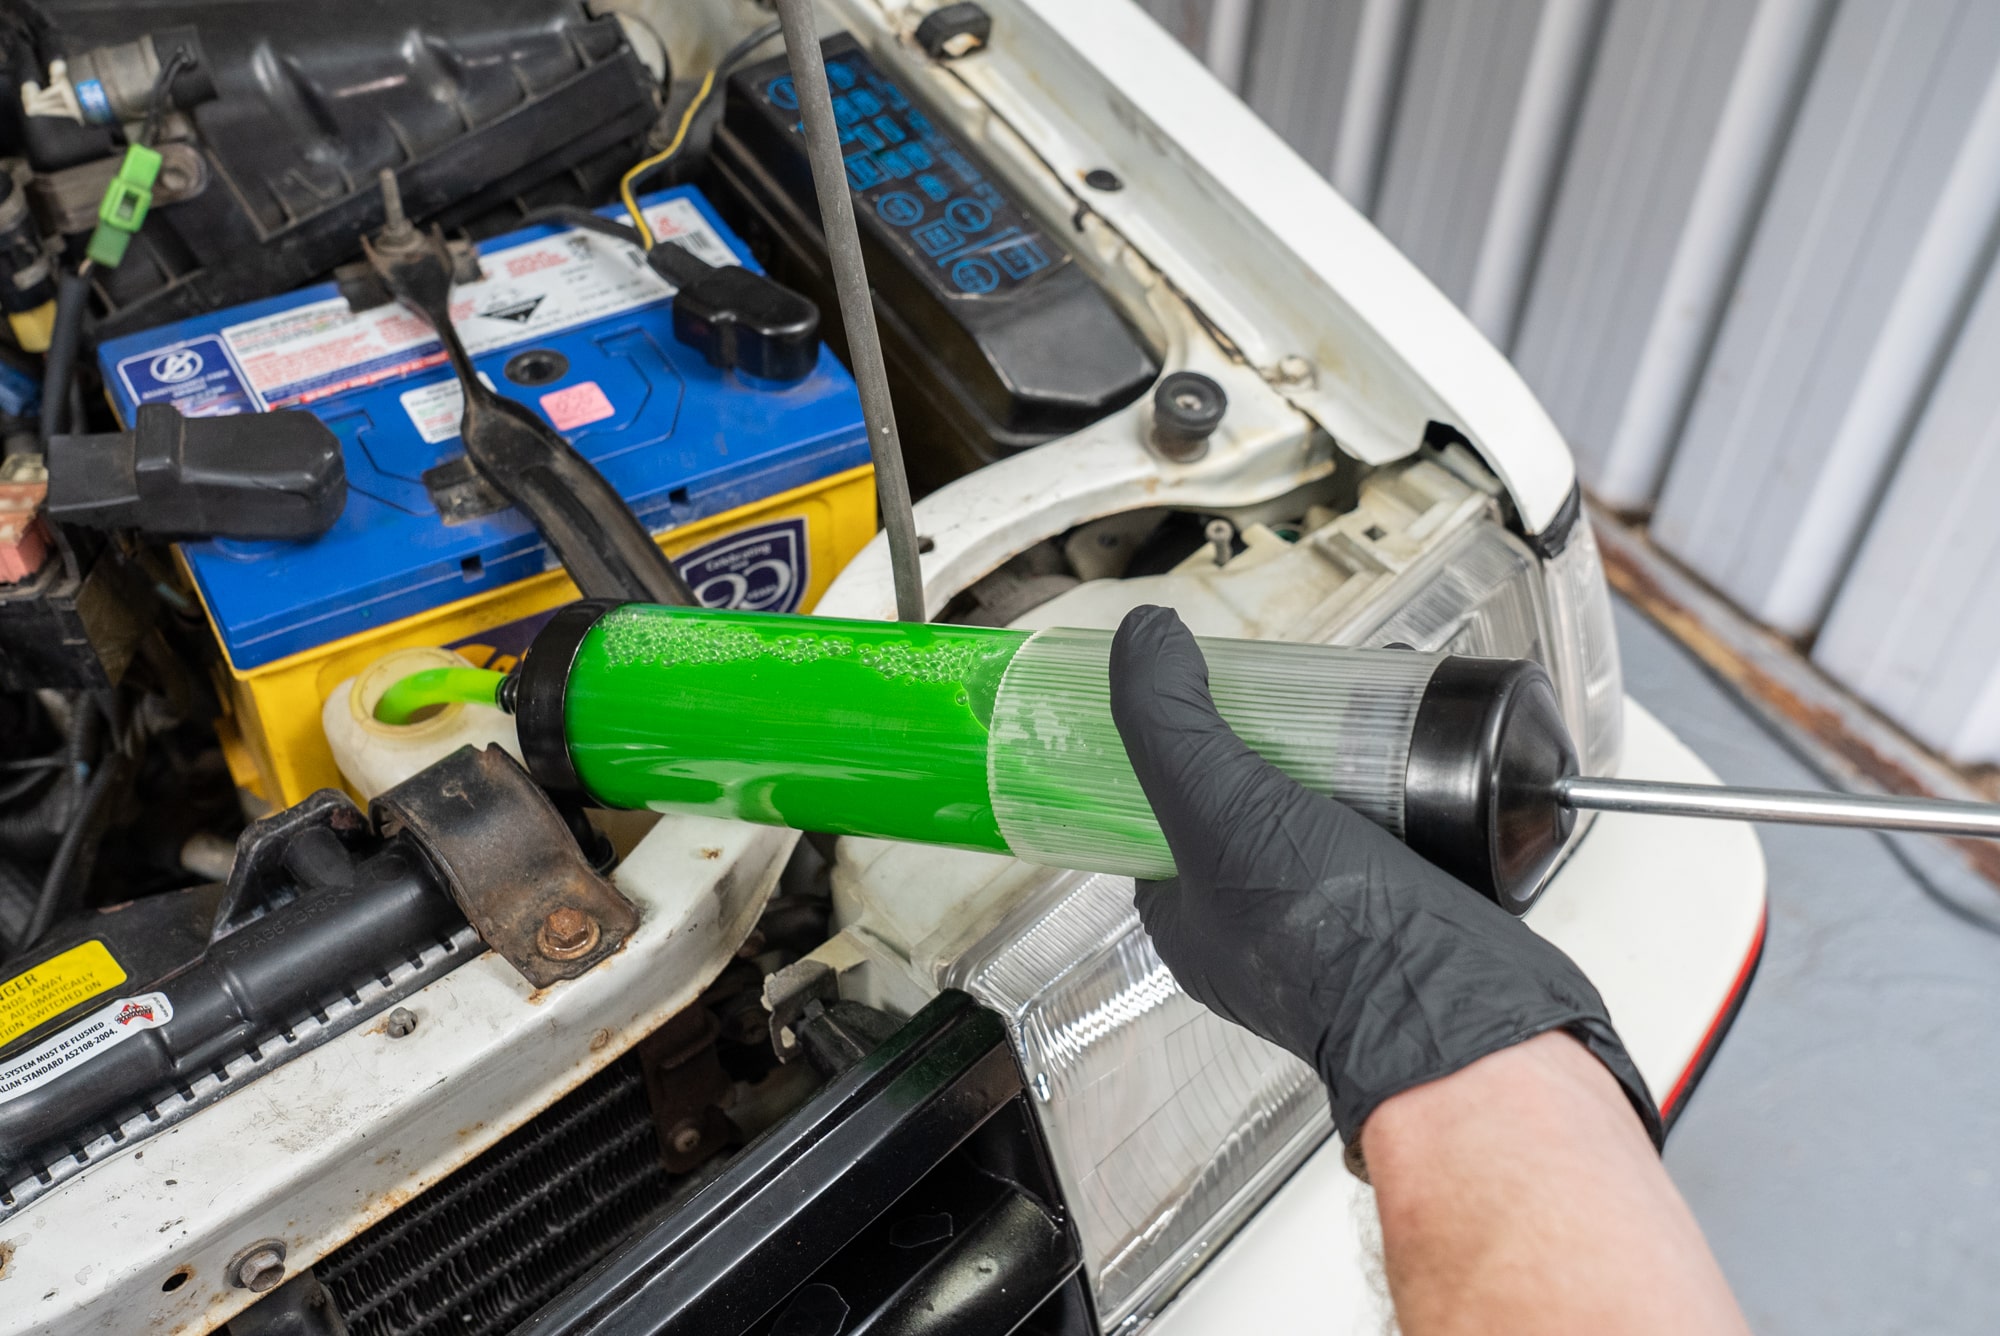
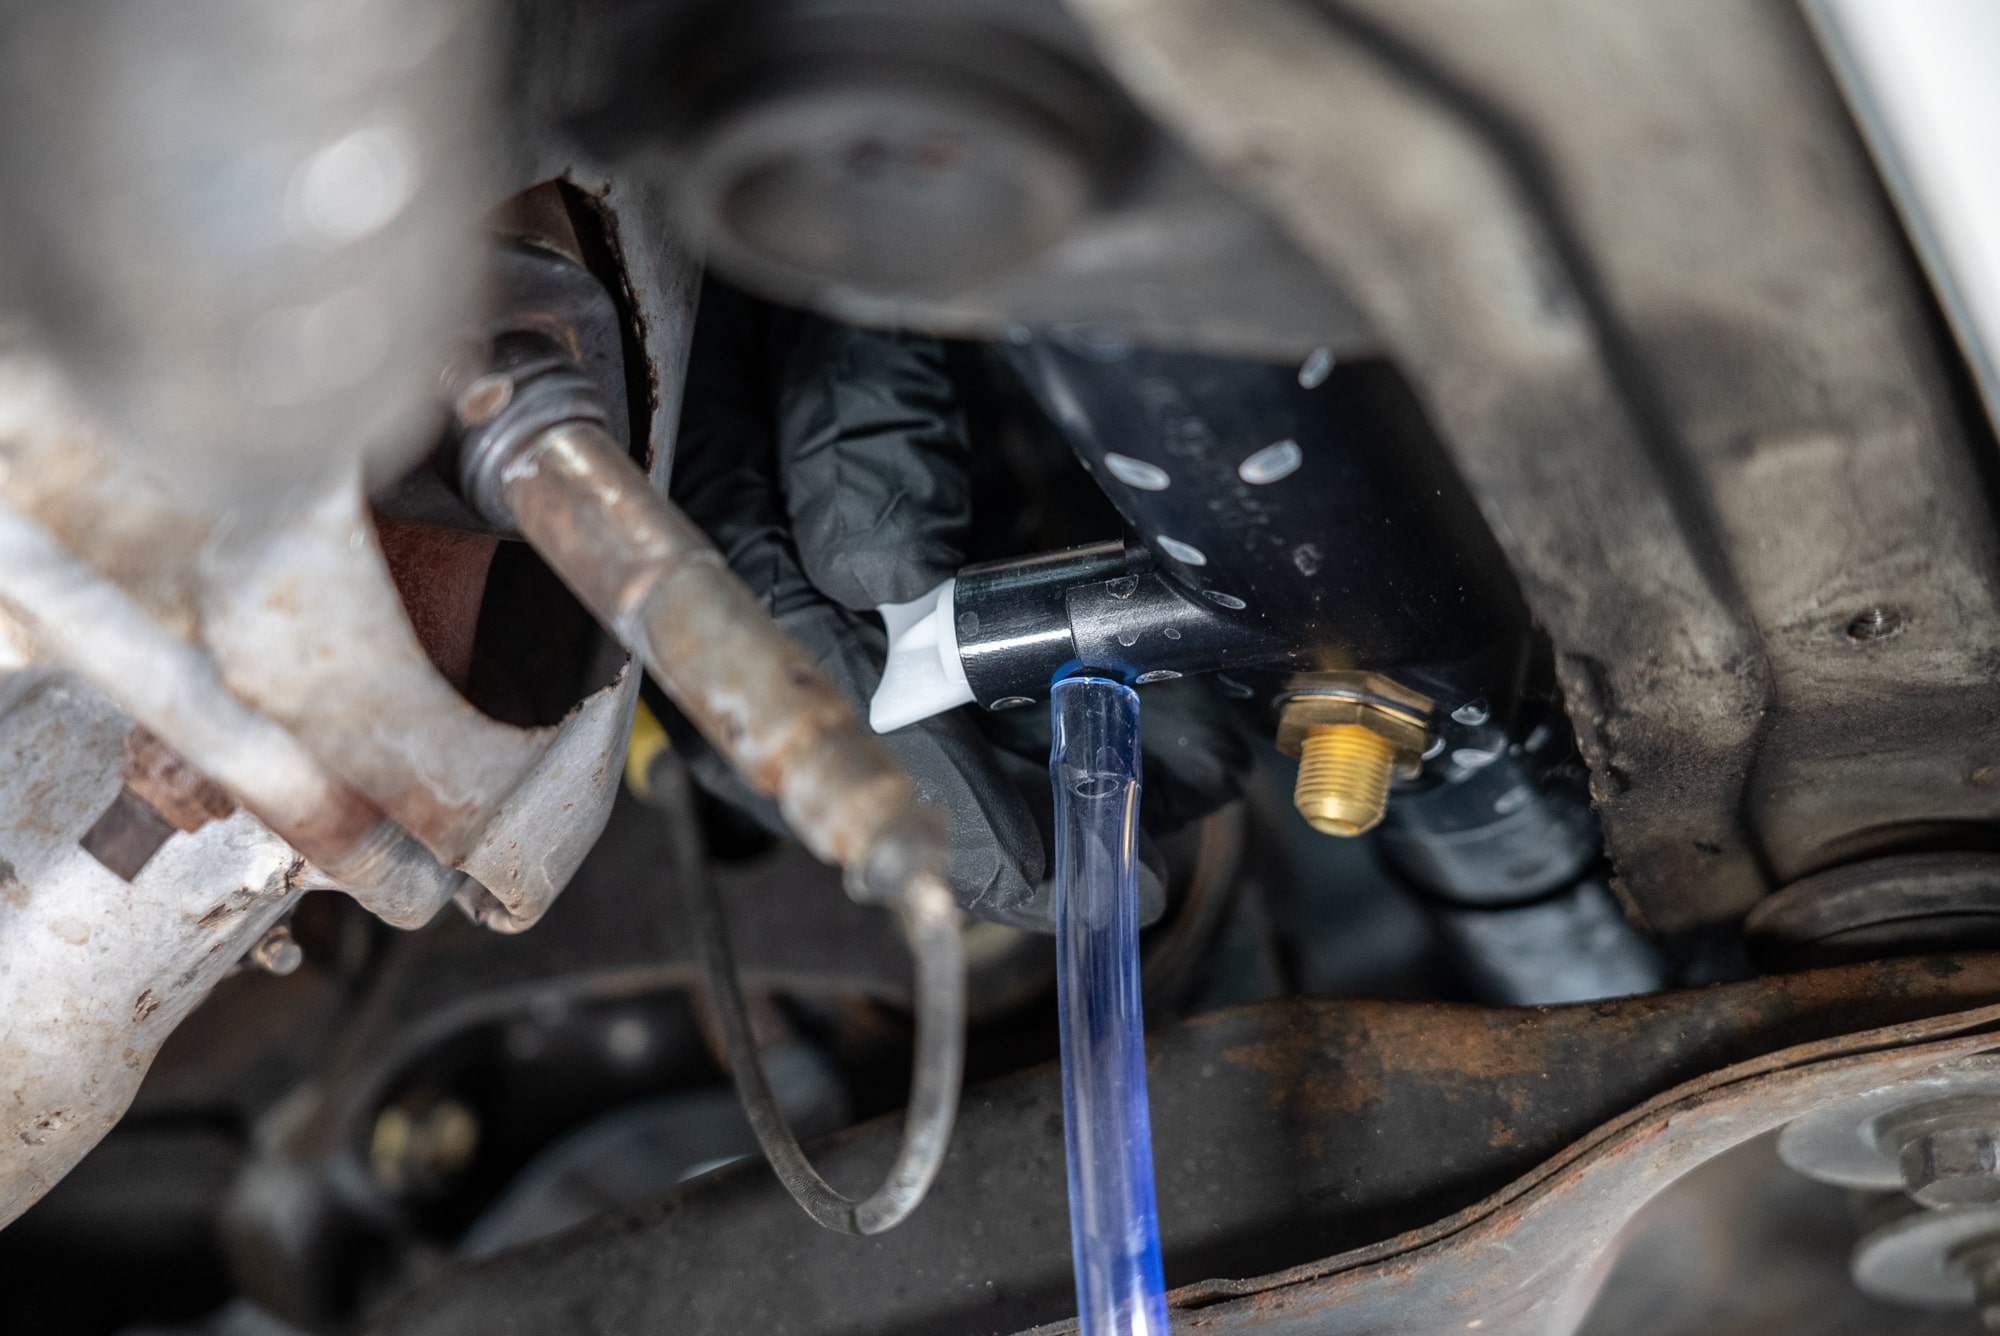
Apply some thread sealant to the plug and tighten it with a torque wrench to finish up.
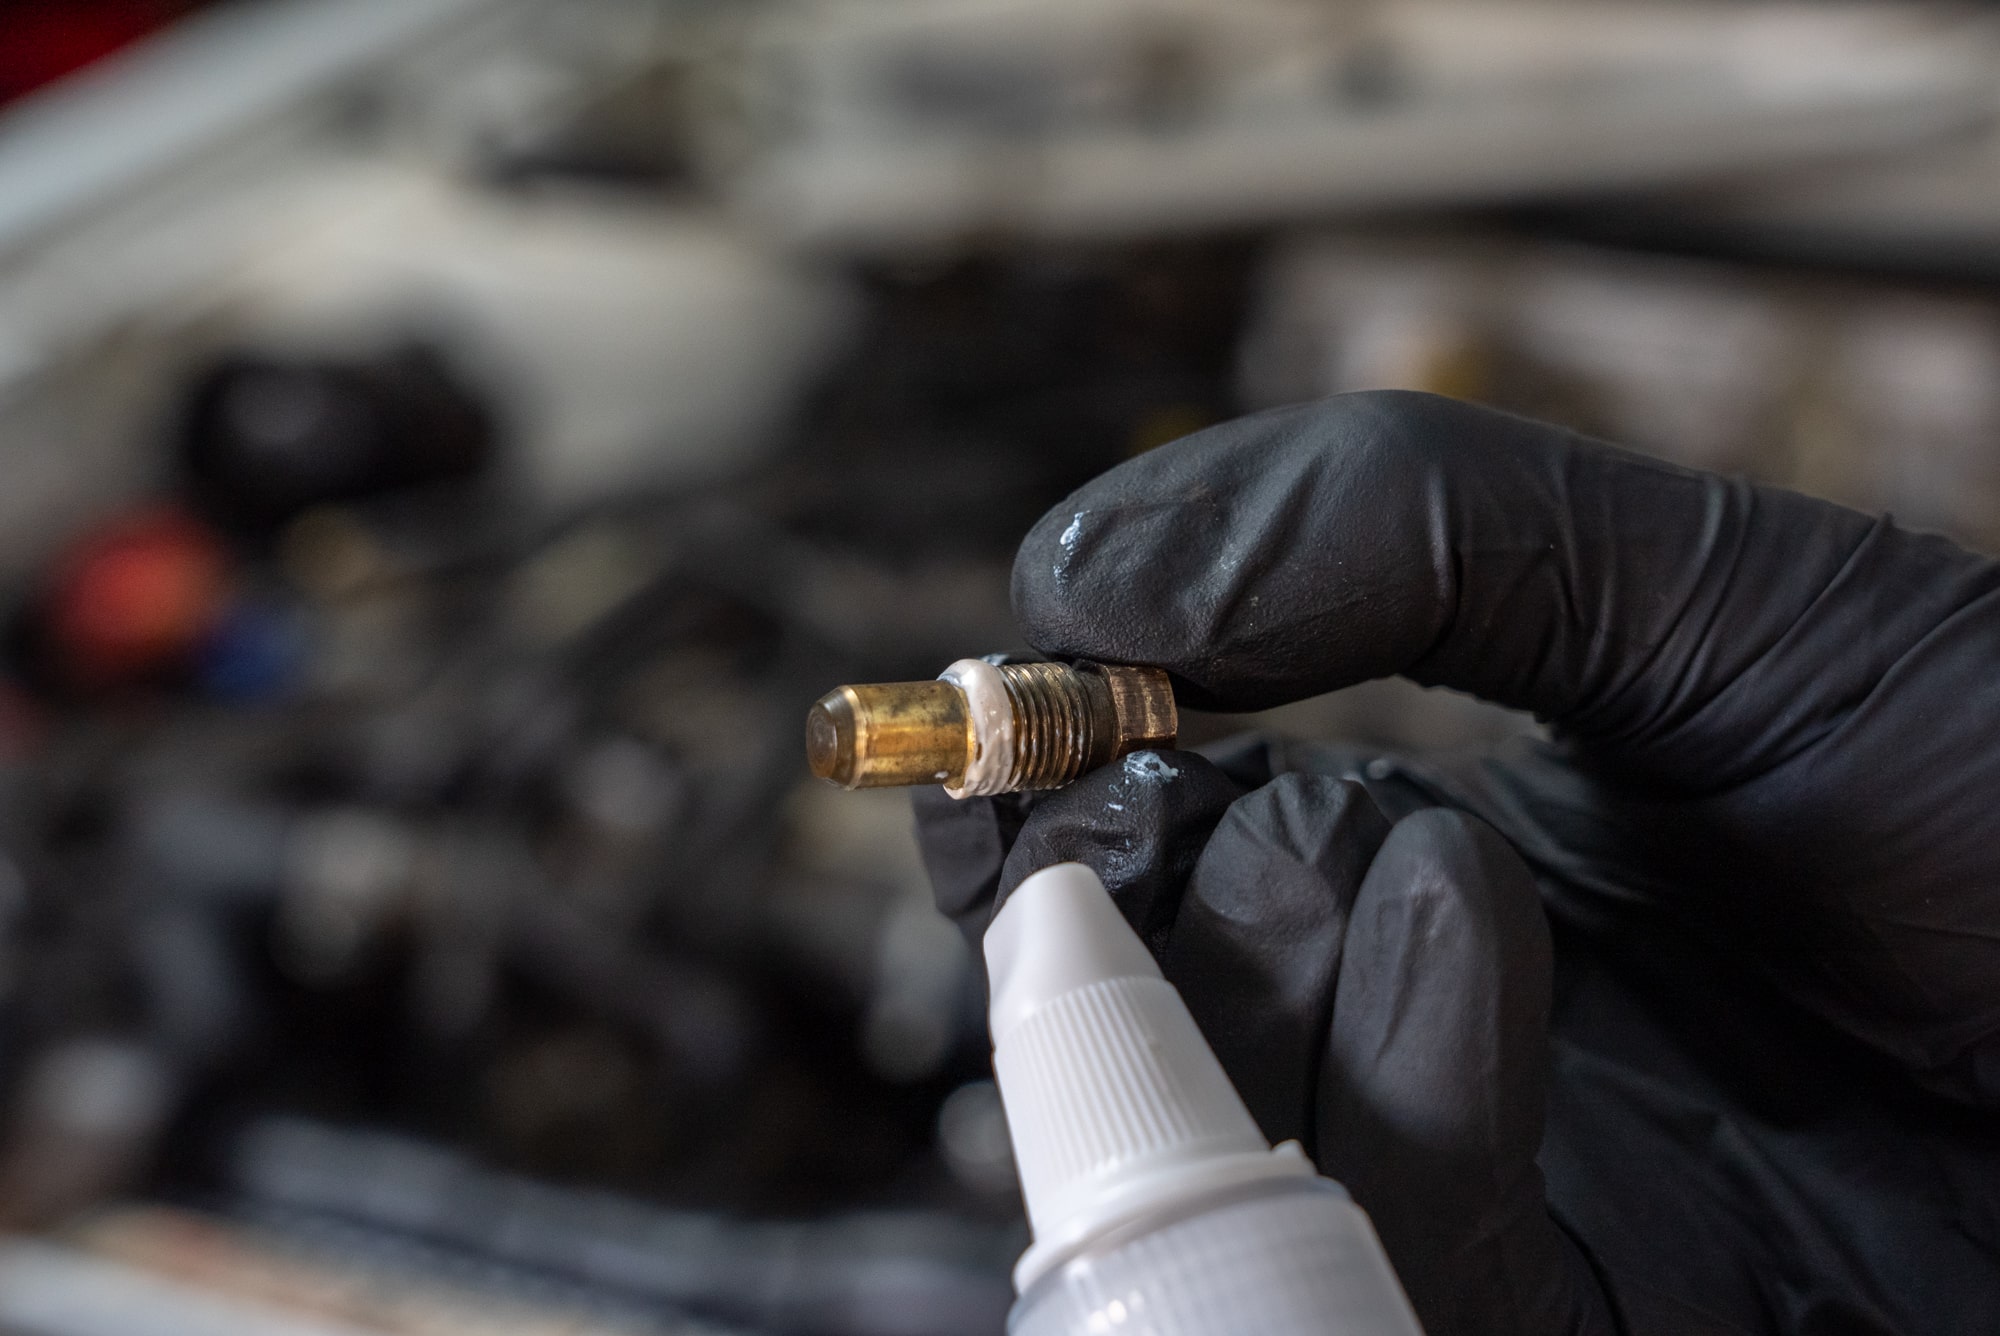
Step 6: How to add coolant to a car
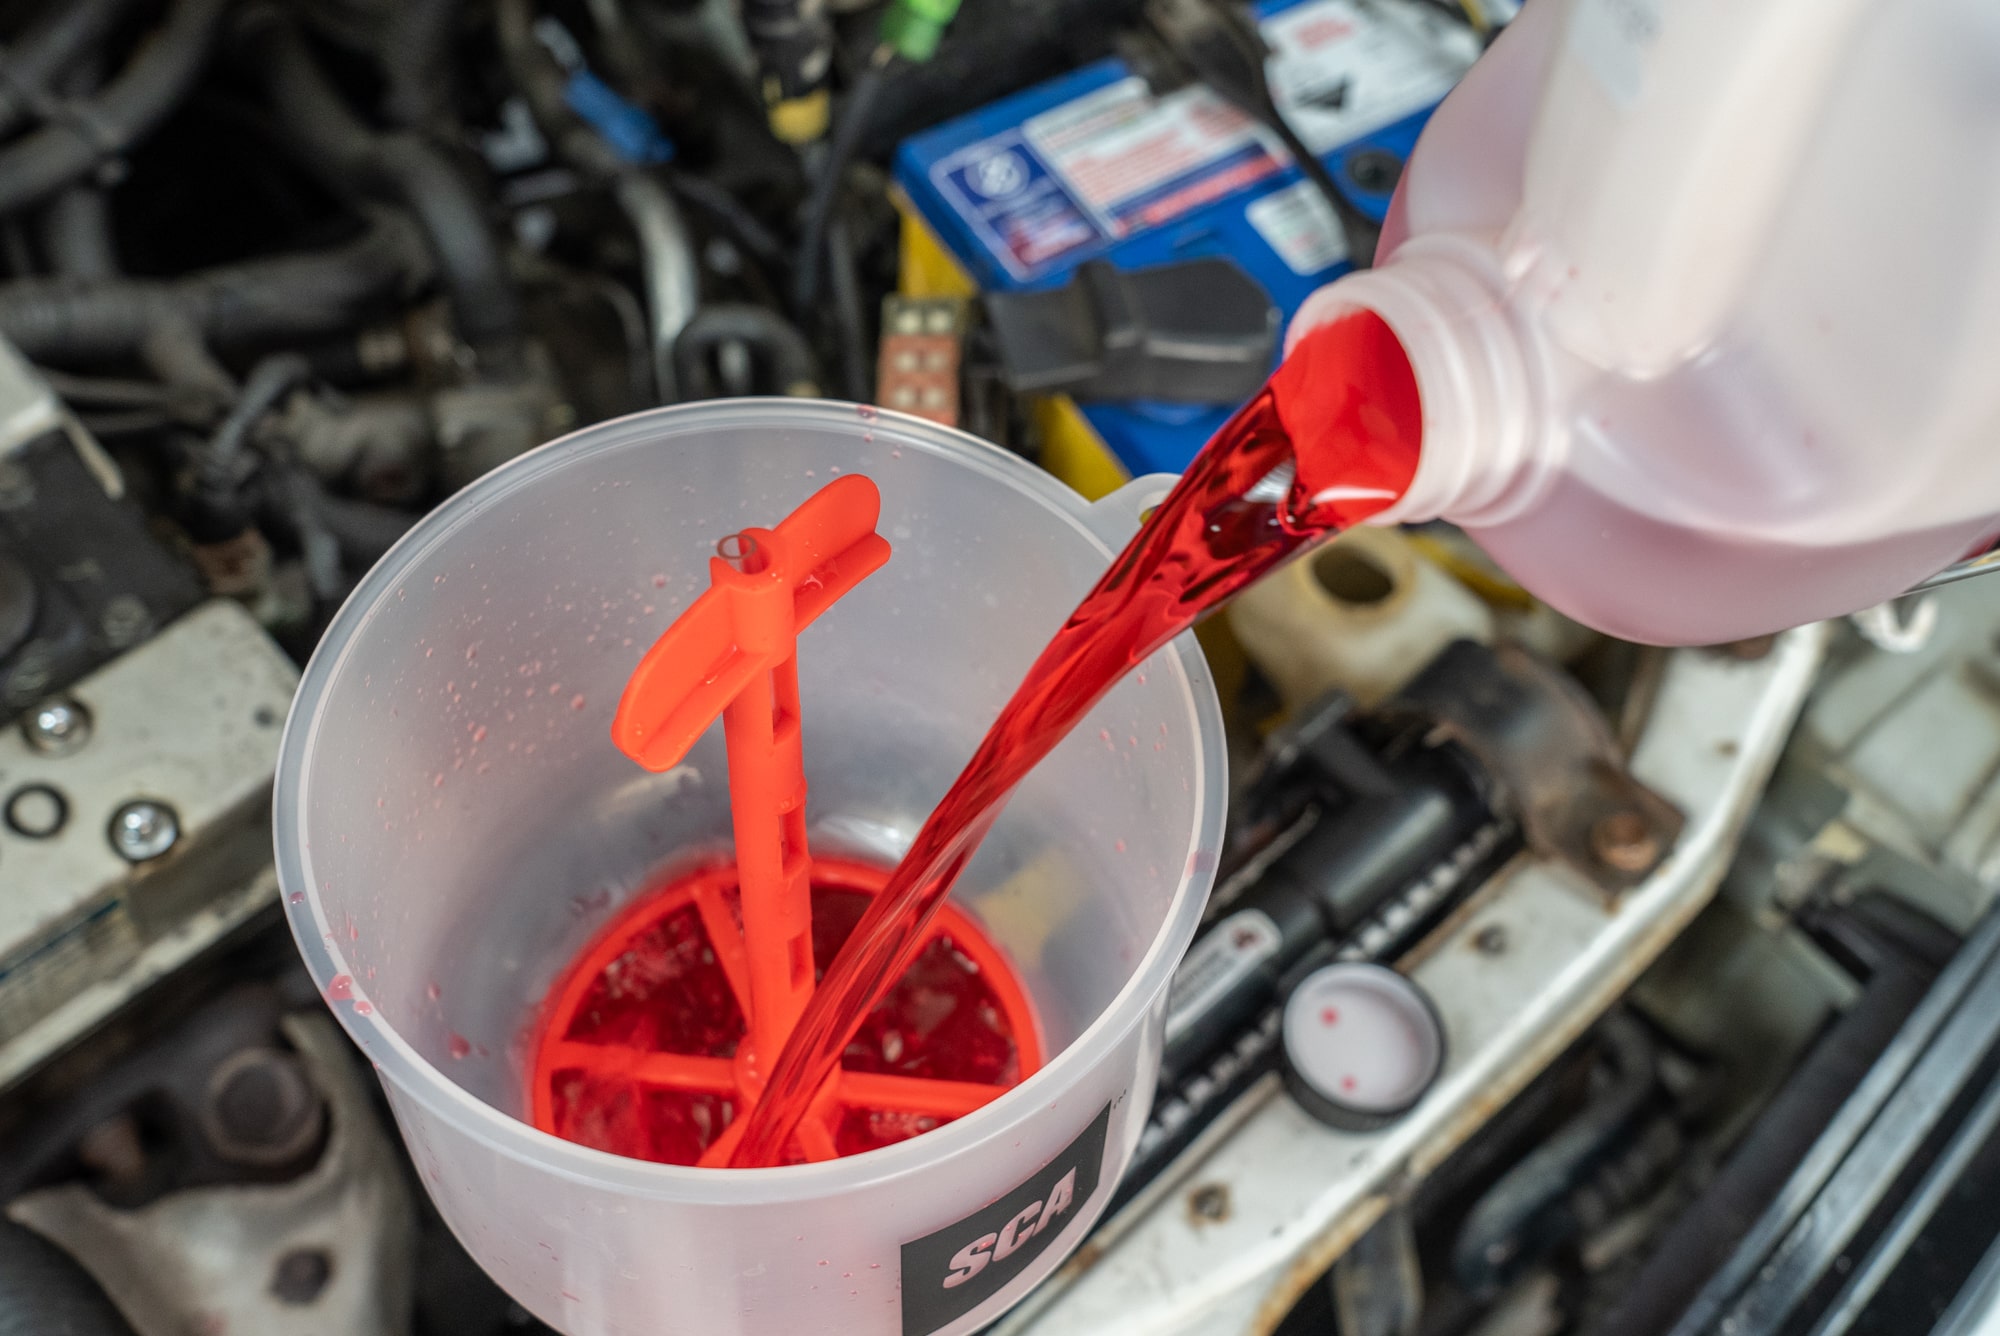
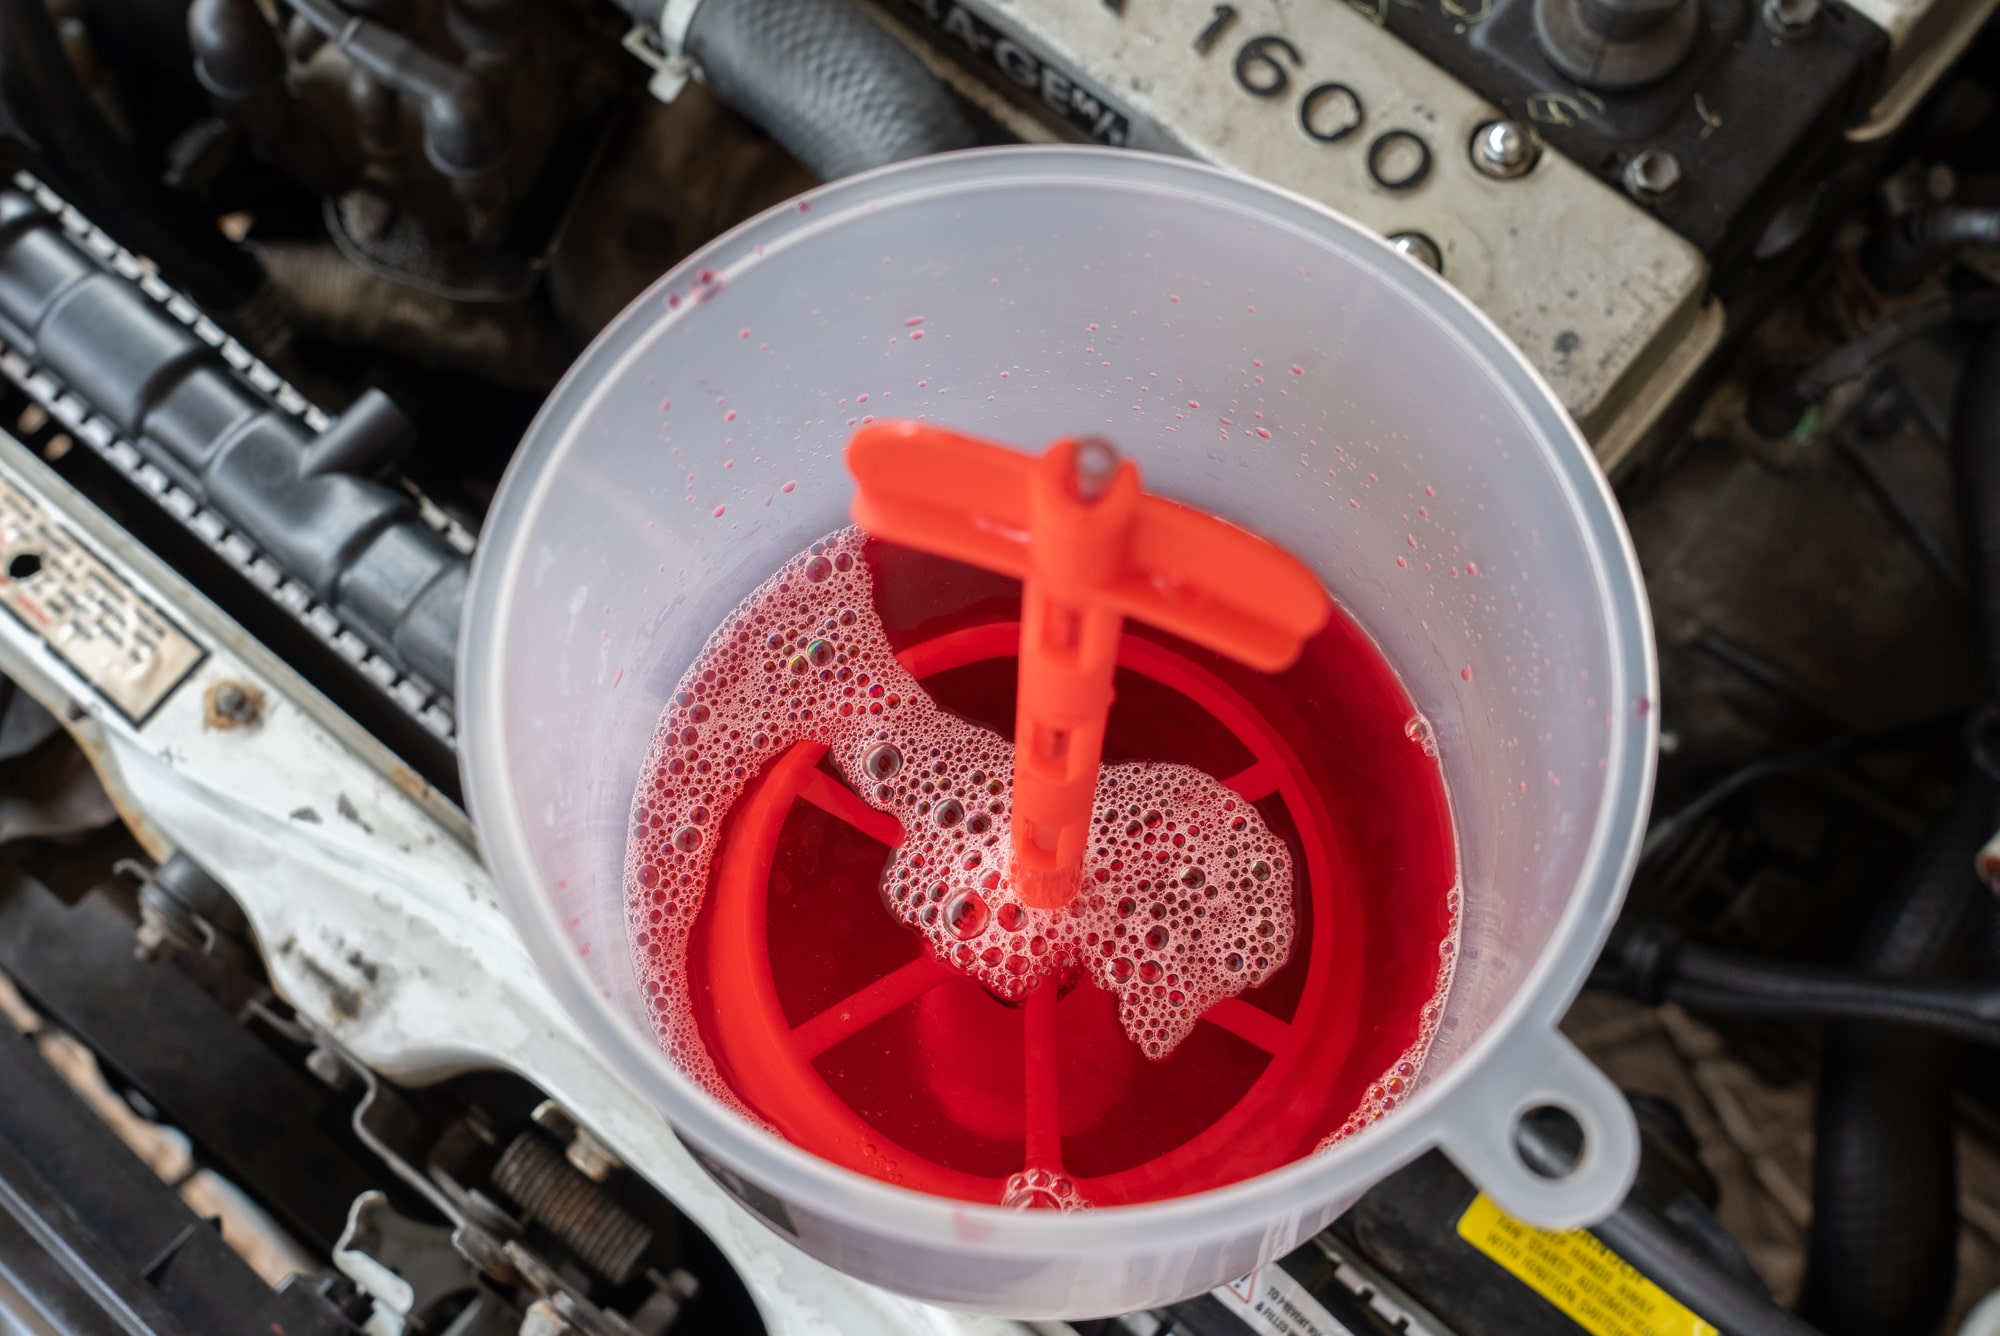
With your coolant filling funnel placed in the radiator or pressure tank, pour the coolant and take note of how much you’ve poured. If it’s full before you’ve poured the recommended amount; there’s air in the system which must be expelled or ‘bled’.
Step 7: How to Bleed a Cooling System
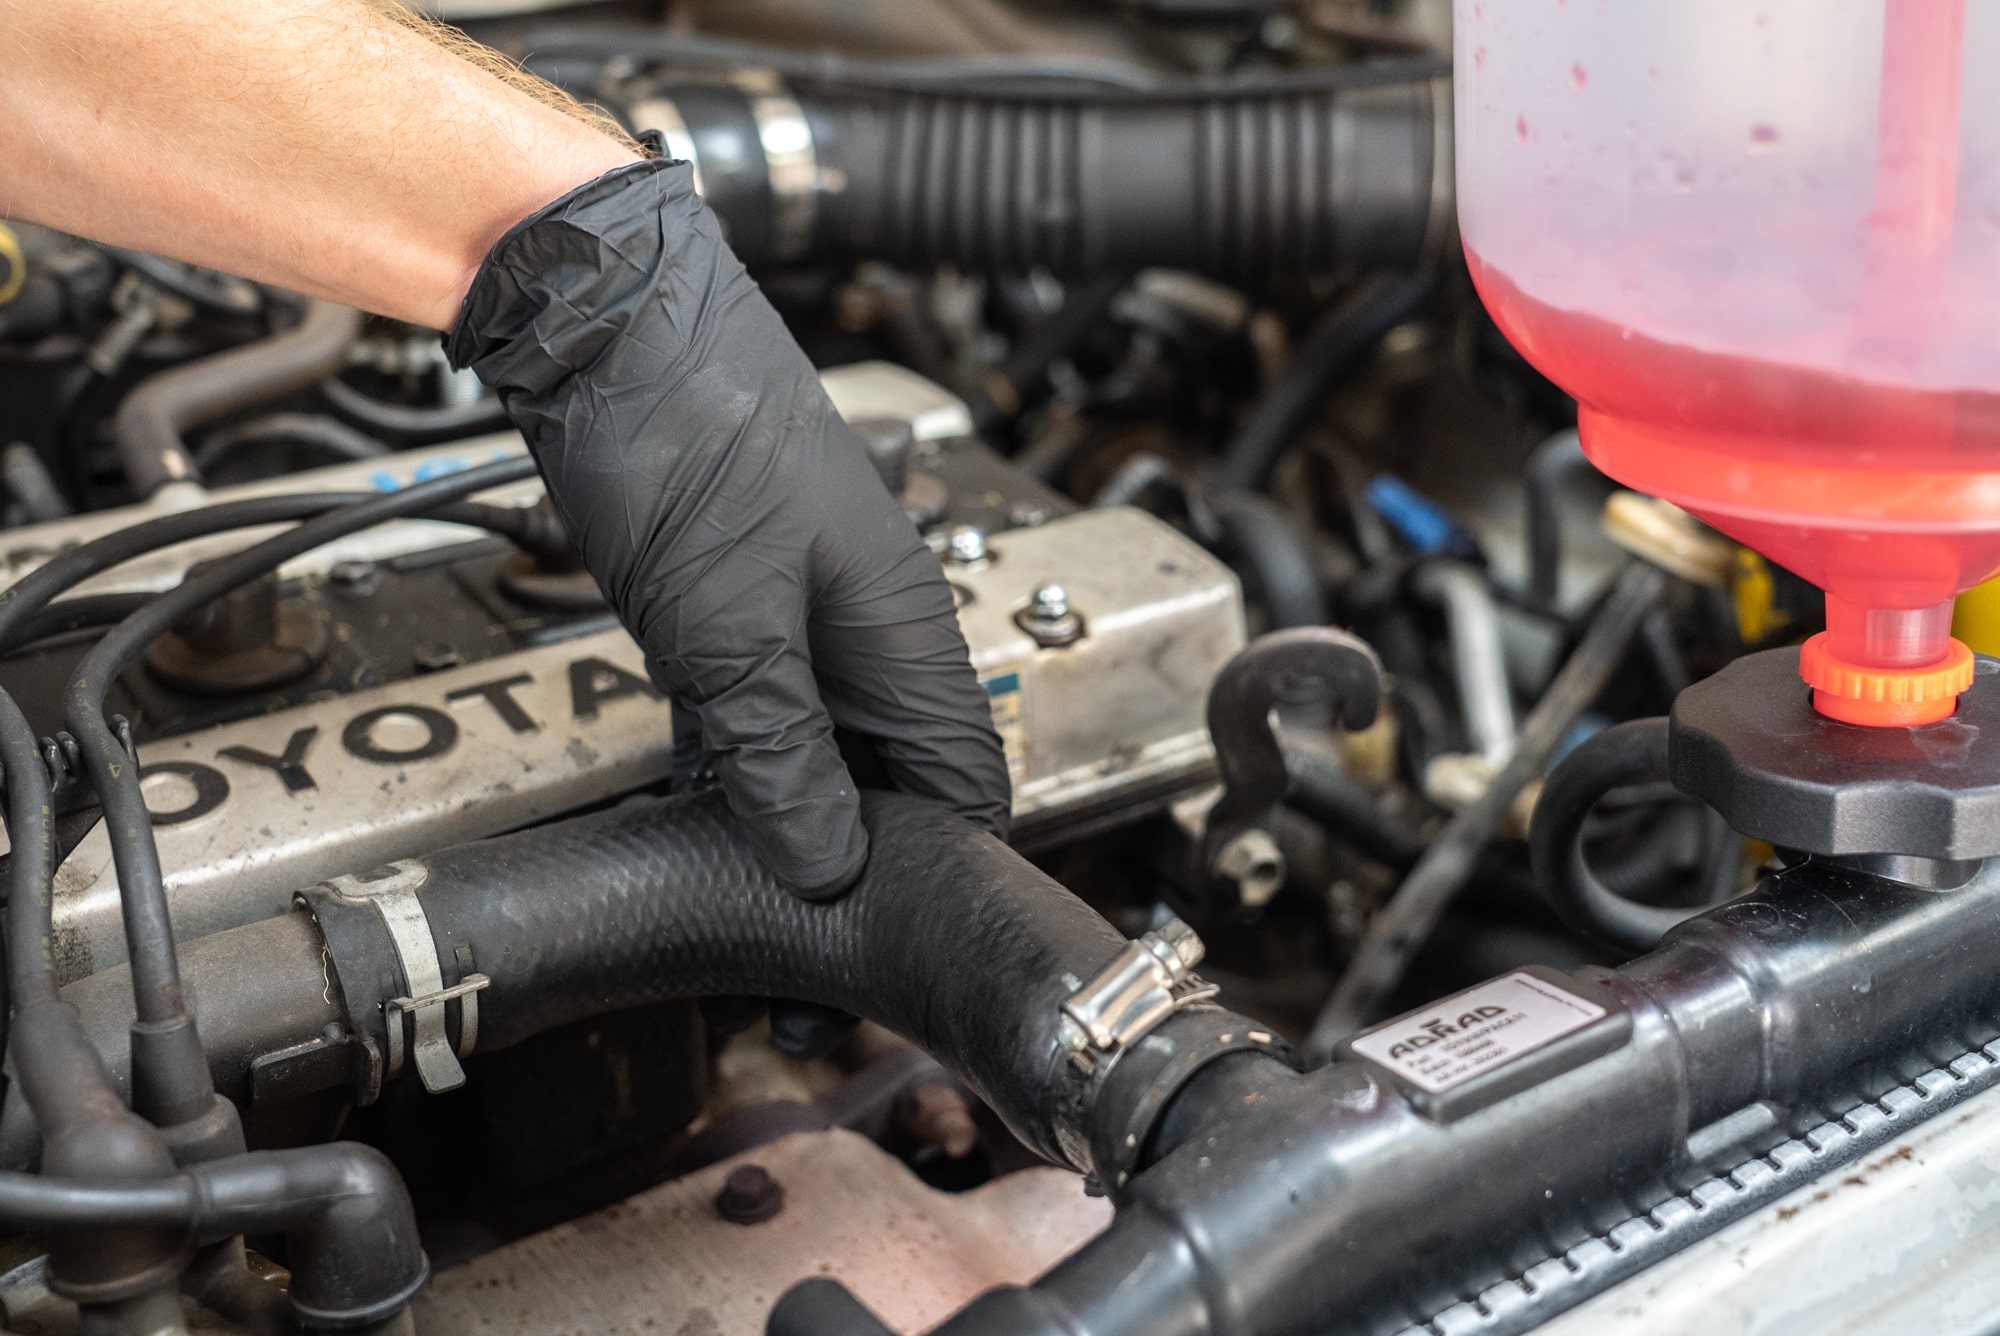
Squeezing your top radiator hose a couple of times will remove some of the air, but to purge it completely; you must run the engine. The moment it starts you will see some bubbles expelled, but but the engine must reach operating temperature to fully bleed the system. Keep topping up the funnel until you reach the recommended fill amount.
Tips
Safety & Environment
How to dispose of coolant safely in Australia? Engine coolant is hazardous, so it's crucial to avoid skin contact by using gloves and safety glasses during handling. Wash any splashes off your skin immediately using fresh water. Where you dispose of the coolant can vary with your location. Usually your council recycling facility, local workshop, or recycling centre will take it, so long as it’s in a sealed container. Always refer to your local government's guidelines for the proper disposal method to ensure environmental safety.
Some vehicle models have drain plugs on the side of the engine block – refer to a workshop manual for your vehicle to check if these need to be opened whilst draining the coolant.
How often should I replace my vehicle’s coolant?
When considering how often to replace your vehicle’s coolant, it’s essential to check what the manufacturer recommends in your owners manual. For an older car your coolant may require replacement every 50,000 to 100,000 kilometres or every 2 to 5 years. Modern cars with advanced long-life coolants might only need a change every 160,000 kilometres. Regular inspections for coolant level and quality, such as changes in color or the presence of particles, are also crucial in determining if an earlier replacement might be needed to keep your engine running smoothly.
Can I mix different types of coolant in my vehicle?
In short, no. Mixing different types and colors of coolant can lead to serious issues. Each type of coolant has unique chemical additives designed for specific engine materials and conditions. Mixing them can cause reactions that degrade the coolant's protective properties, leading to corrosion, scale buildup, and reduced effectiveness. This can clog the cooling system, reduce its ability to regulate engine temperatures, and potentially lead to engine damage. Always use the coolant type specified by your vehicle's manufacturer and avoid mixing colors, which often indicate different formulations, to ensure the longevity and efficient operation of your car's engine.
Why is it essential to leave the radiator cap off when running the engine after a coolant refill?
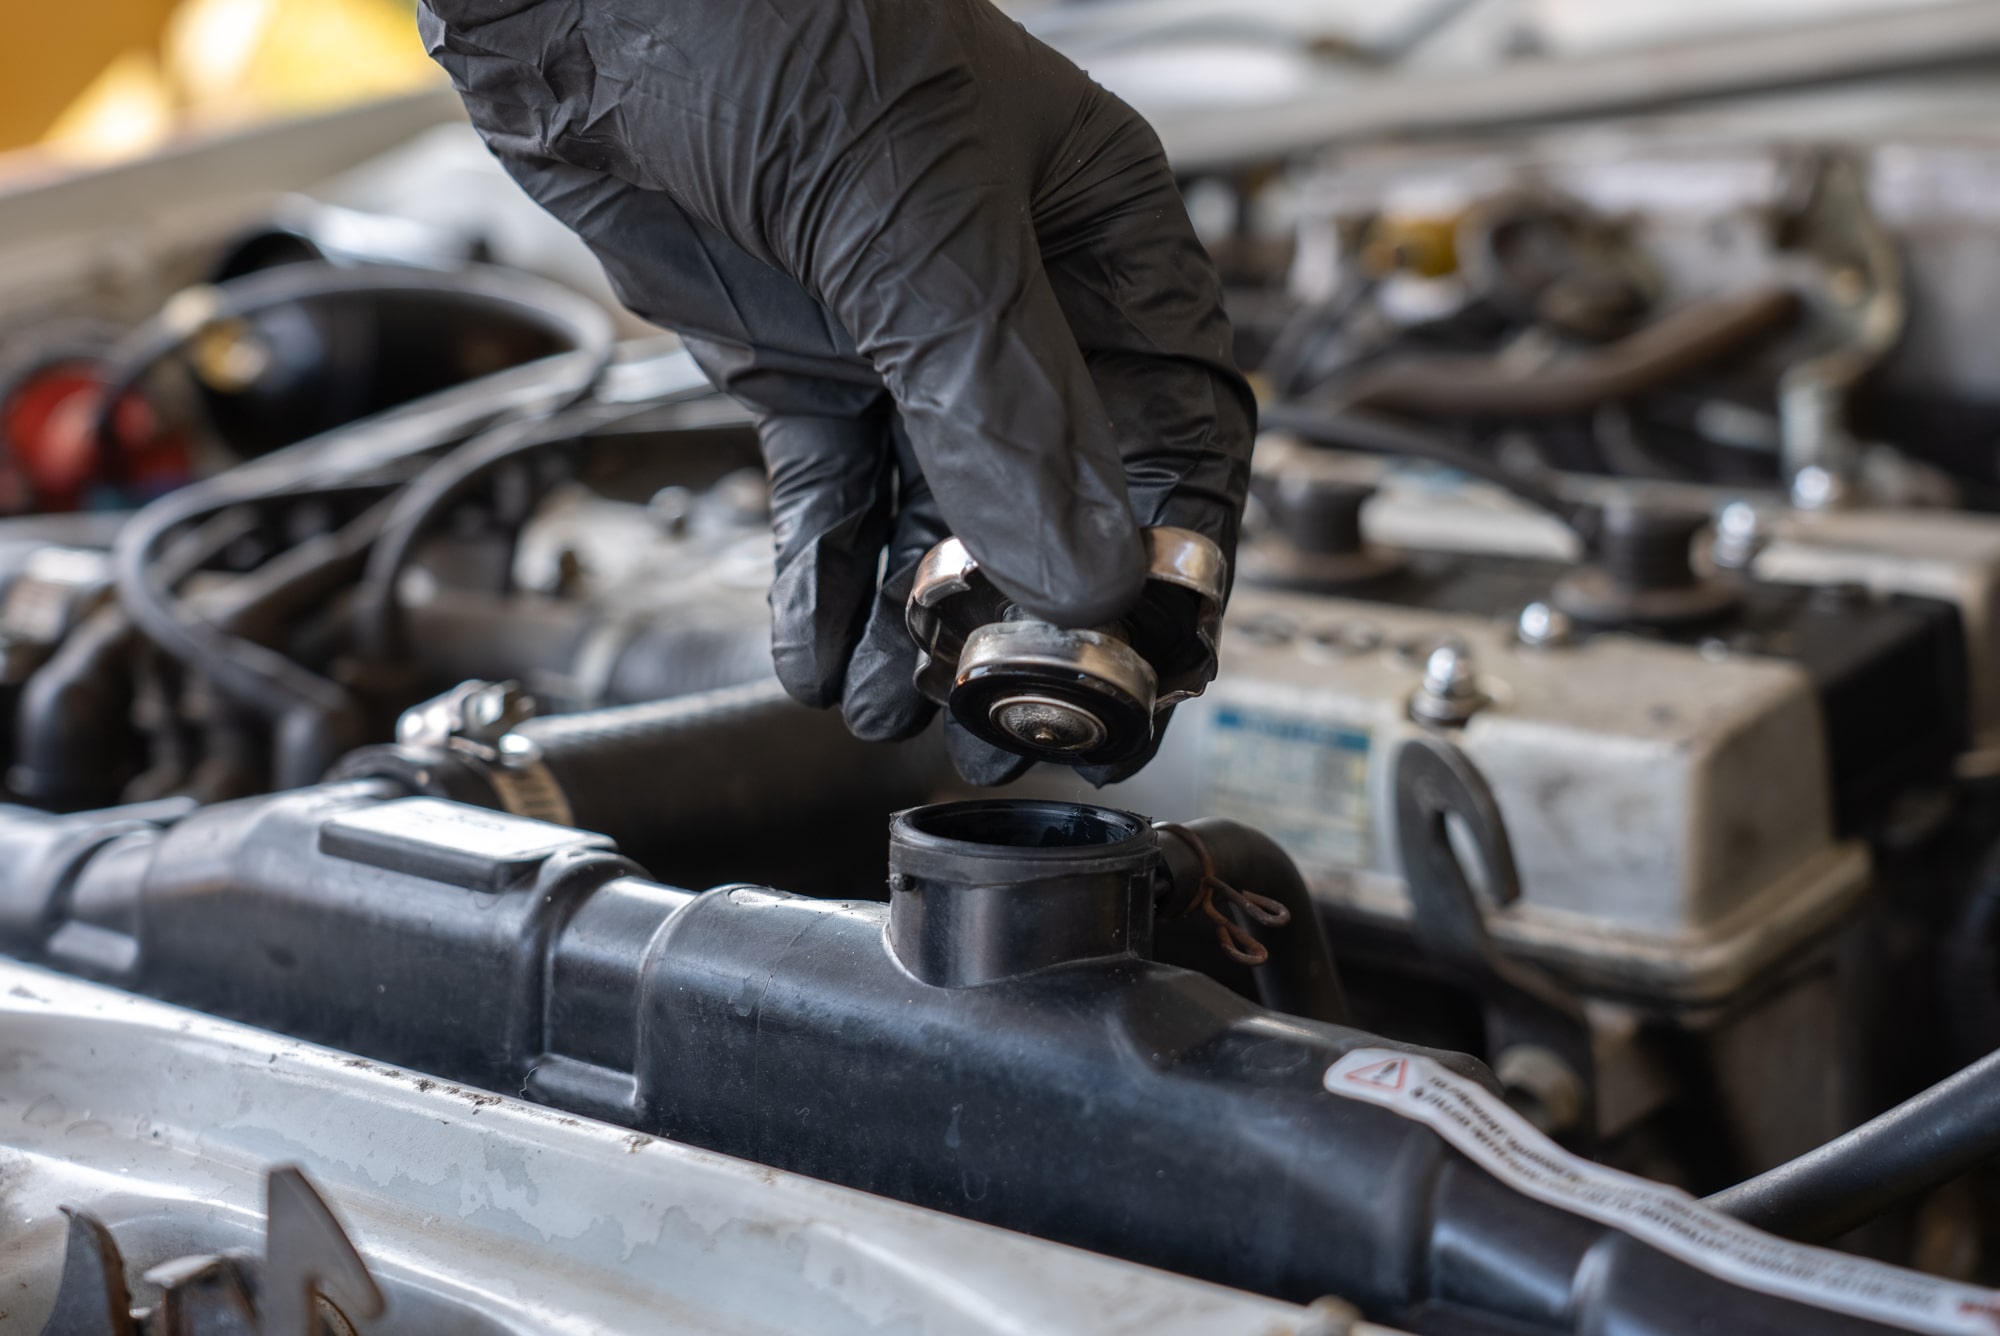
Leaving the radiator cap off after changing the coolant is crucial for bleeding air from the system. It allows air pockets, which can cause overheating, to escape as the coolant circulates and the engine reaches operating temperature. By observing the coolant level during this process, you can ensure the system is fully purged of air and topped up accurately. Once the engine is warmed up and any air is expelled, you can safely secure the radiator cap, allowing the system to pressurize and function correctly.
Are there any additional steps required for draining the coolant in specific vehicle models?
The coolant changing process will always vary a little between each vehicle. Some cars have specific bleed valves that need to be opened to ensure all air is expelled from the system. Many cars will have an engine block drain, the location of which is usually different. Hybrid vehicles can even have separate cooling systems for the battery pack and electronics. It's essential to follow the owner's manual or a service guide for your specific vehicle to complete the job safely, efficiently and without damage to your vehicle.
*Important information* - Click here to read more about our DIY Advice Terms and Conditions.