How to Install a UHF Radio
Overview
A CB radio is the perfect solution for communications on the go. Handhelds are easy and reliable, but for the ultimate range and feature set; you’ll want to install something more permanent. In this article we’ll show you how to install a CB radio in your vehicle including mounting, wiring, and testing.
Items
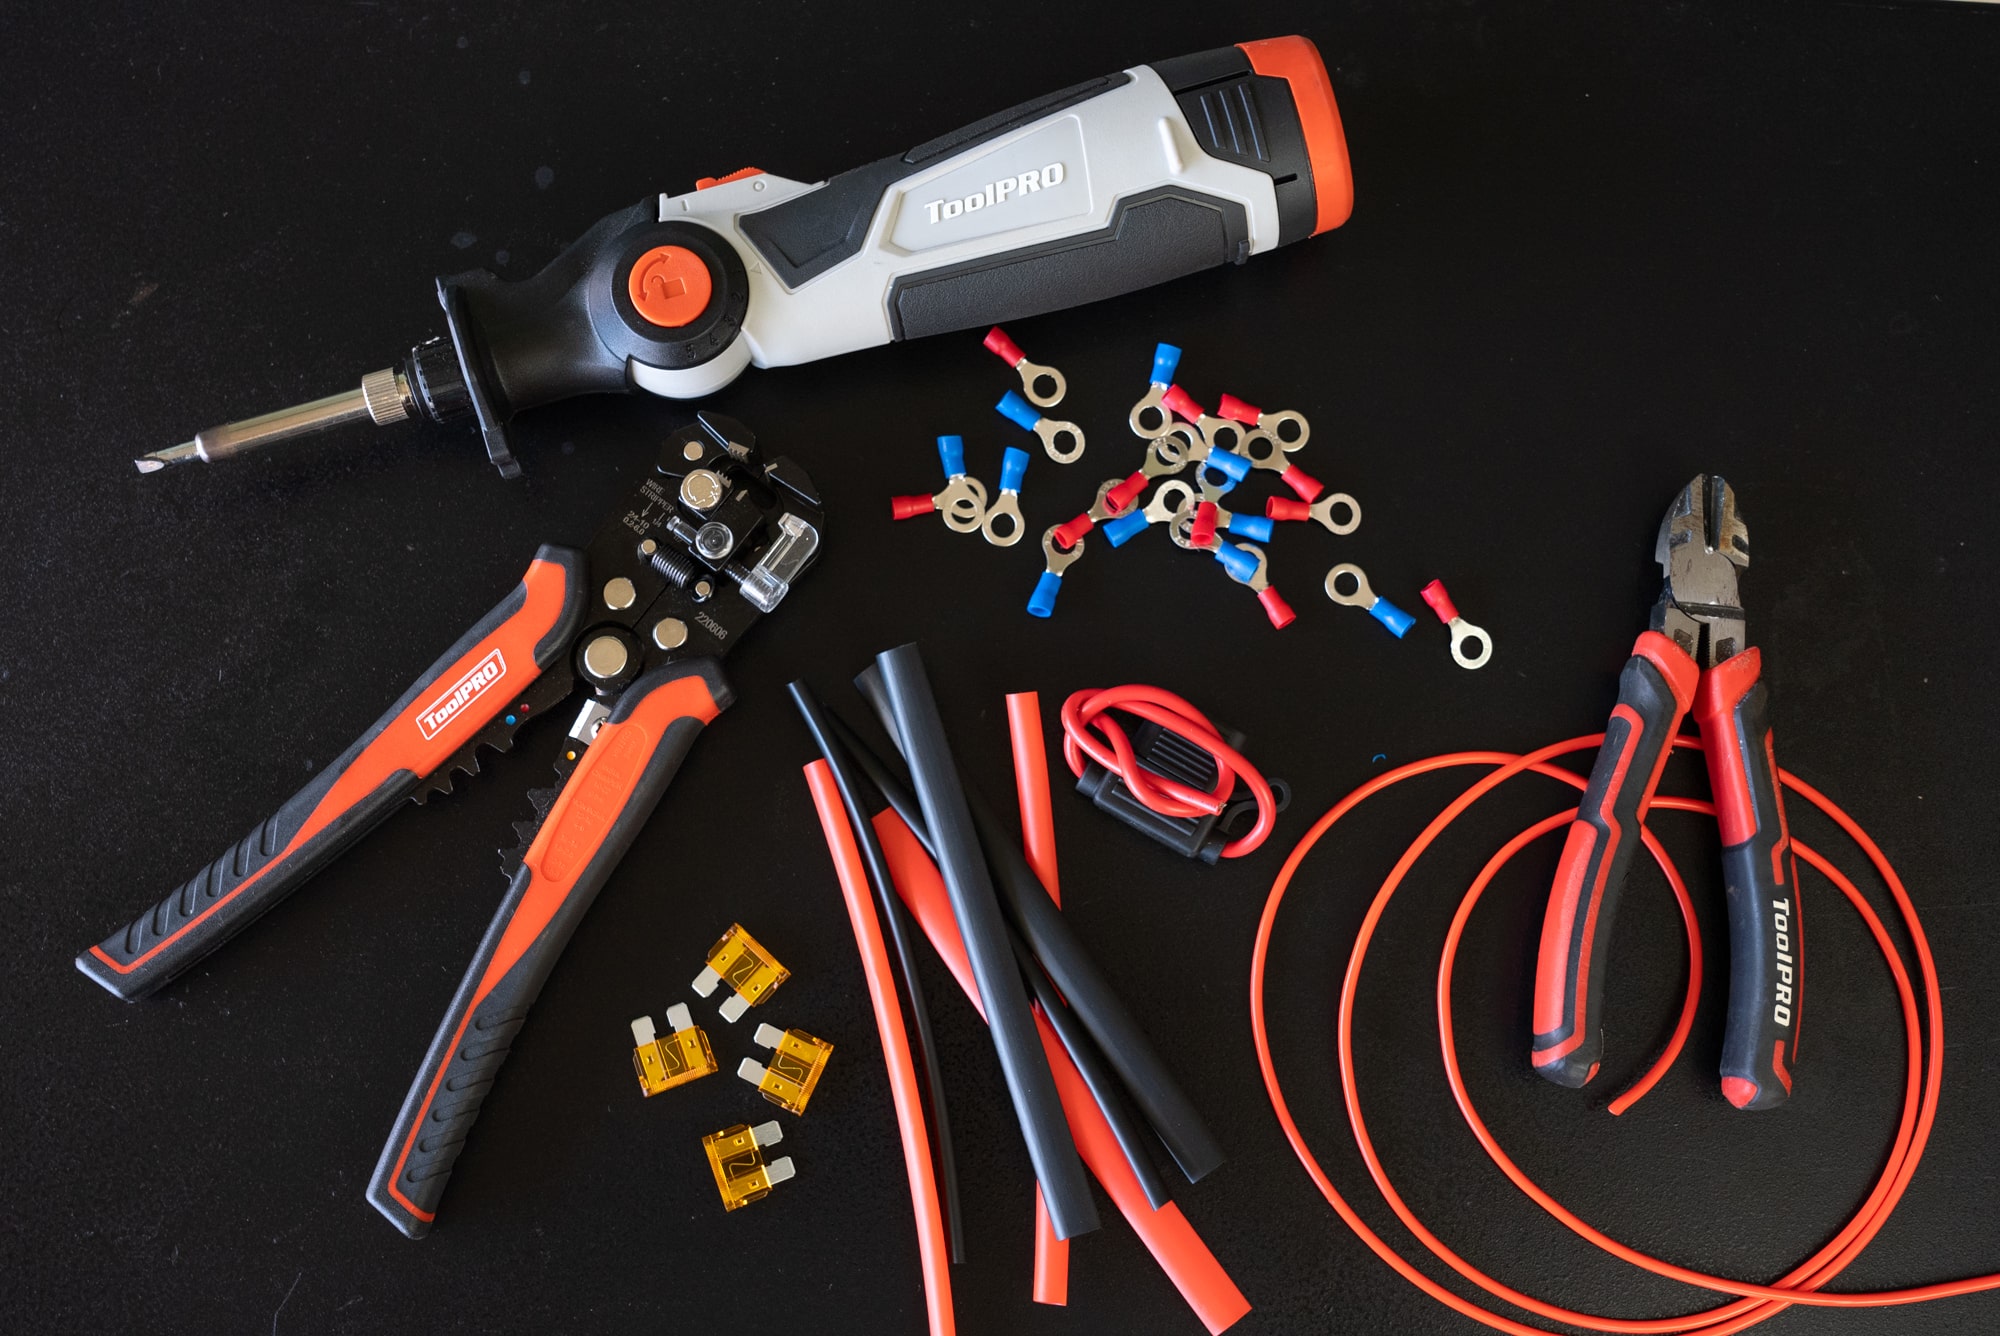
- Safety Glasses
- Gloves
- Soldering iron
- Wire strippers
- Wire cutters
- Trim removers
- Screwdrivers
- Electrical test lamp
- A drill
- Sockets and spanners
- Electrical tape
- Cable ties
- Corrugated tubing
- Ten amp wire
- Fuse holder
- 5 amp fuses
- Ring terminals
- Heat shrink
- A bullbar or guard antenna mount
- Small screws
- UHF radio
- UHF radio antenna
Safety
Tools
Parts
Steps
How to Install a CB Radio
- Mount the handpiece
We’ll begin our UHF radio installation by mounting the radio and handpiece. The handpiece should be mounted within easy reach of the driver, but make sure it won’t get knocked around while you operate the vehicle. With that decided, the handpiece can be fixed in place with double sided tape or drilled and screwed for a more permanent installation. - Mount the radio unit
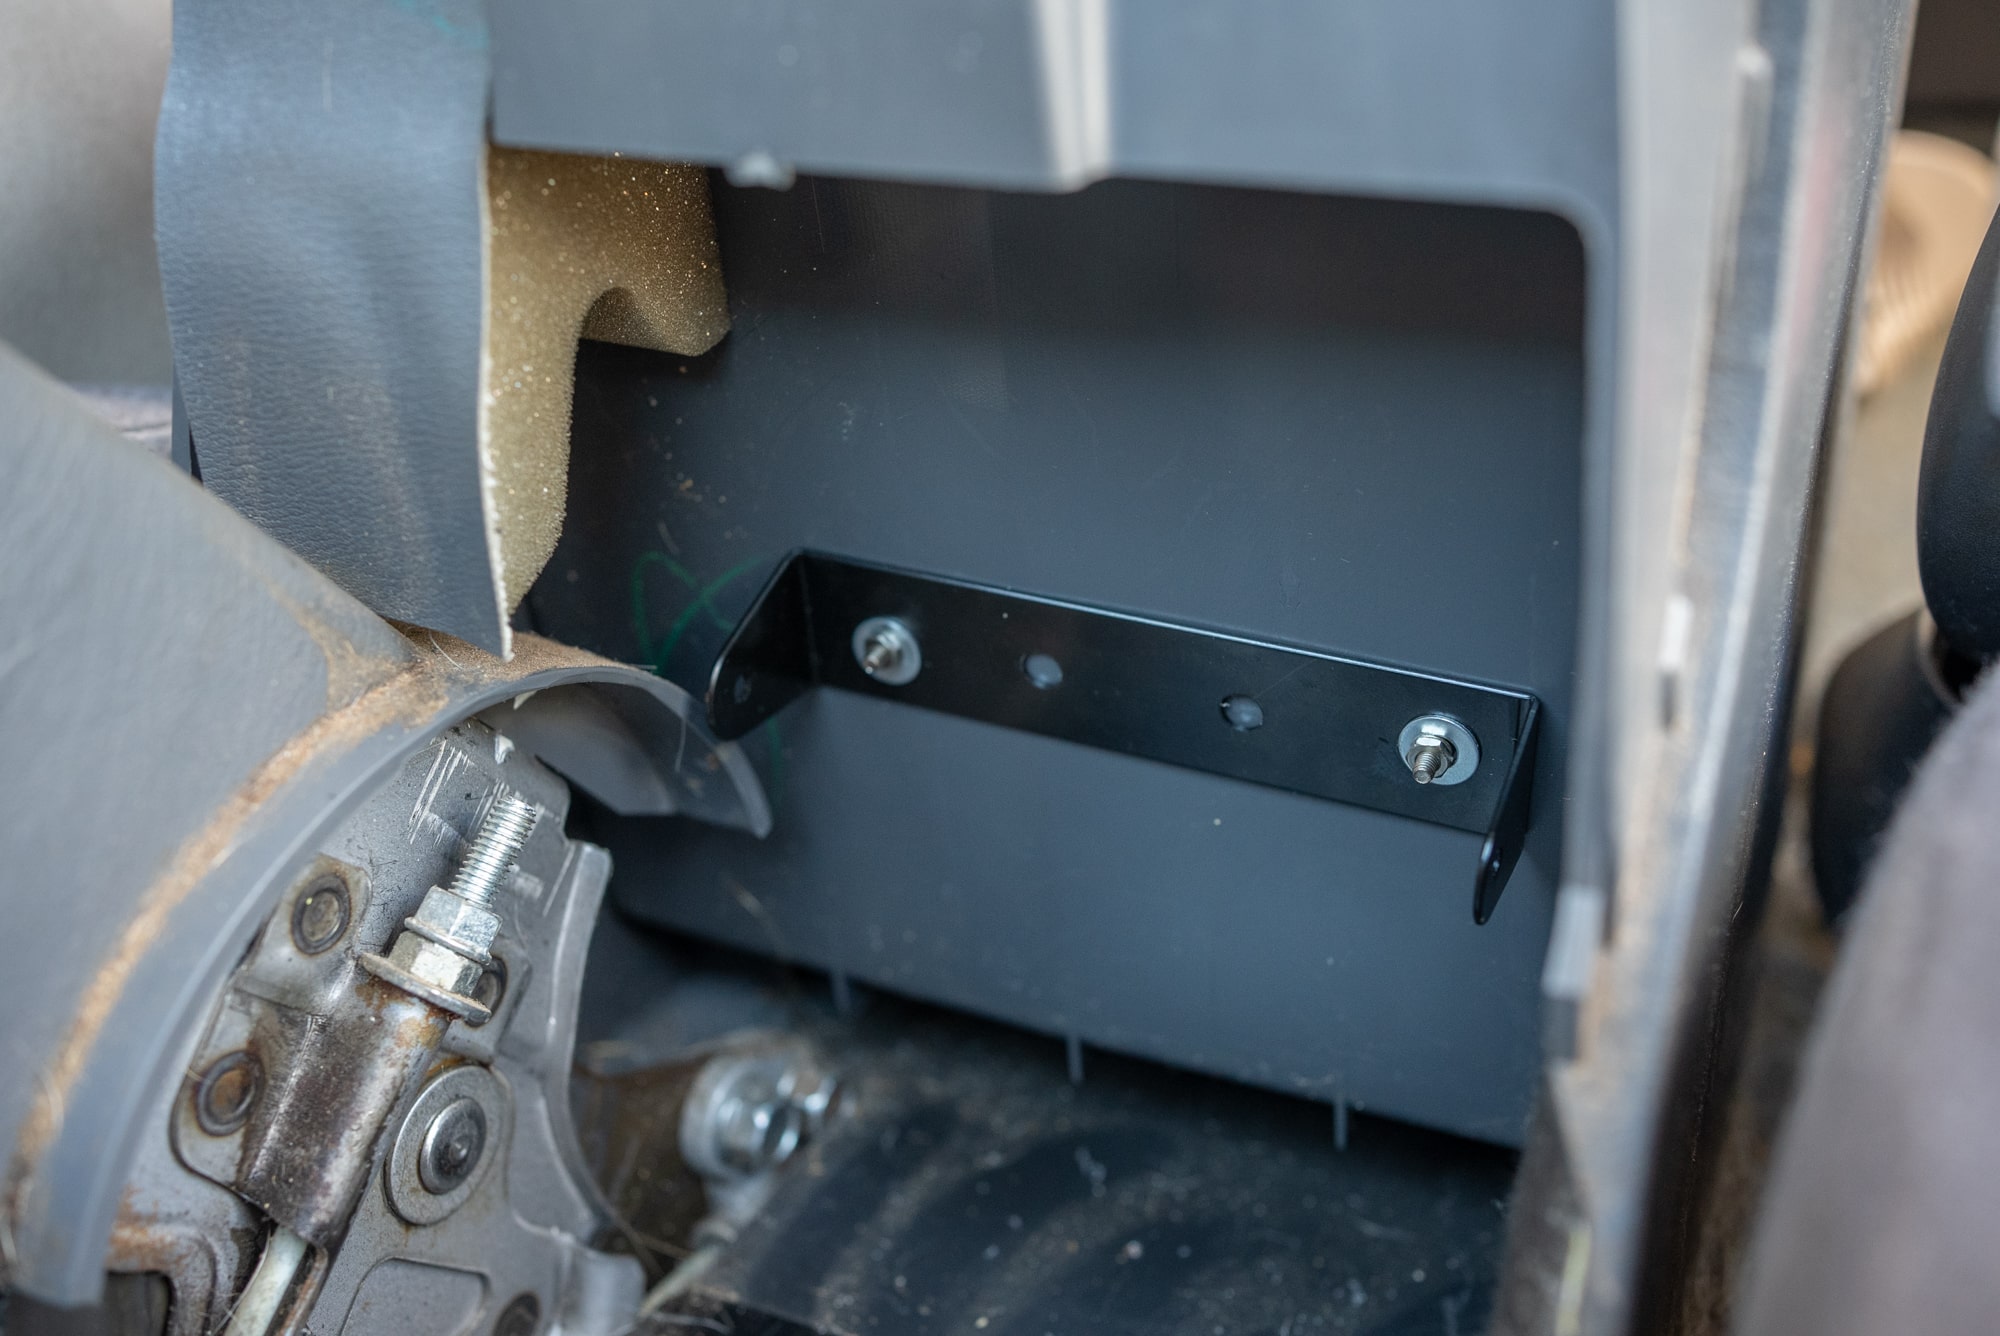
For a discreet UHF radio installation, you might try under the steering wheel, behind a kick panel, or under the centre console. Wherever you choose, ensure there will be enough clearance to fit the antenna plug, power cable, and handpiece lead to the radio after it’s mounted.
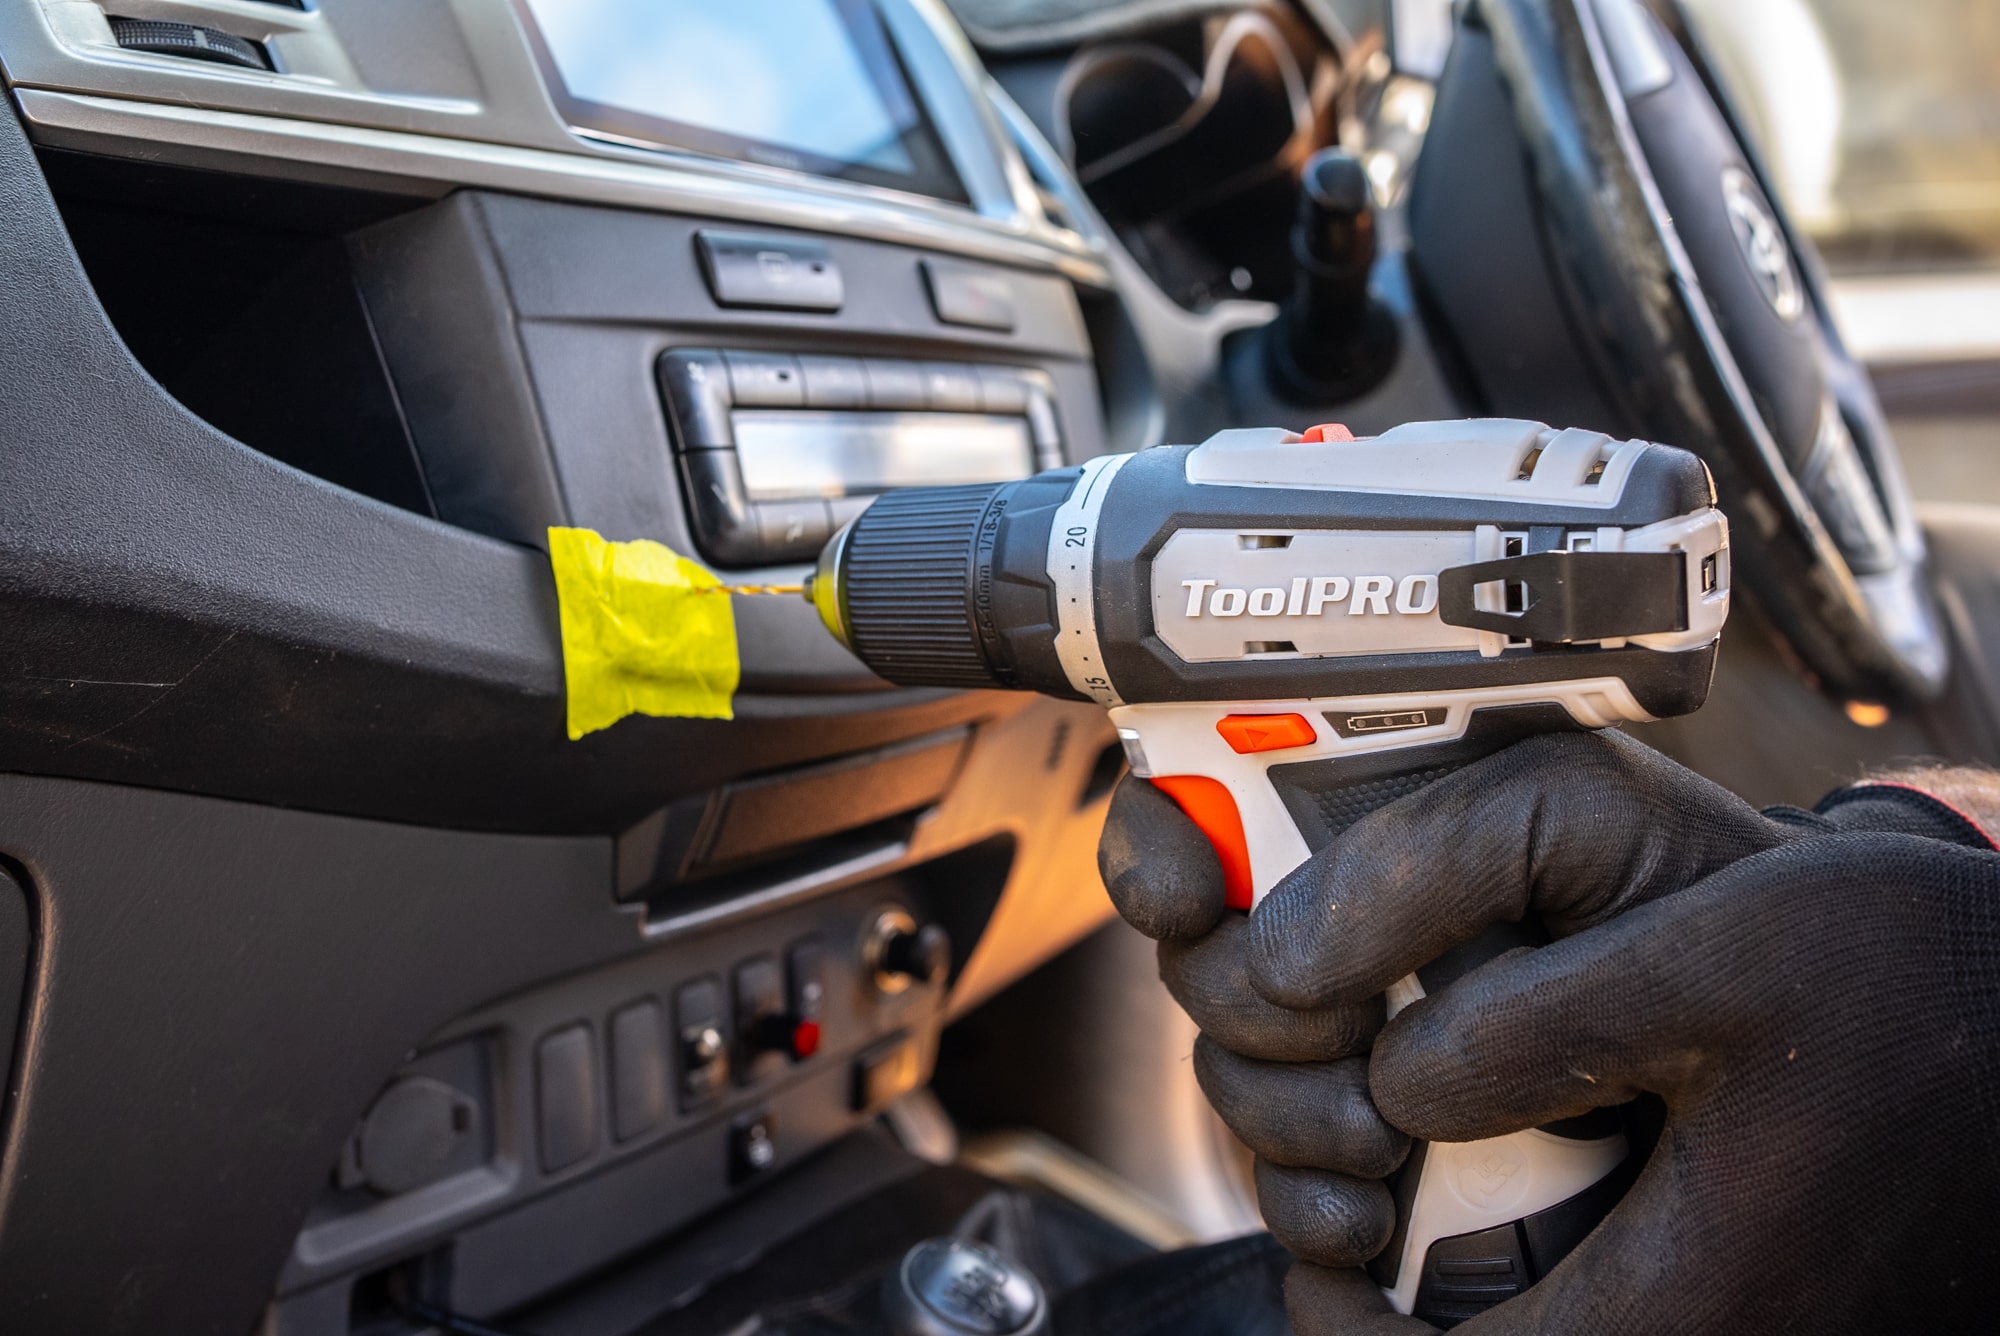
Mark the holes on your radio mounting bracket. Drill them carefully, and fix the bracket with screws or pop rivets. Don’t fit the radio to the mount yet. - Mount the antenna
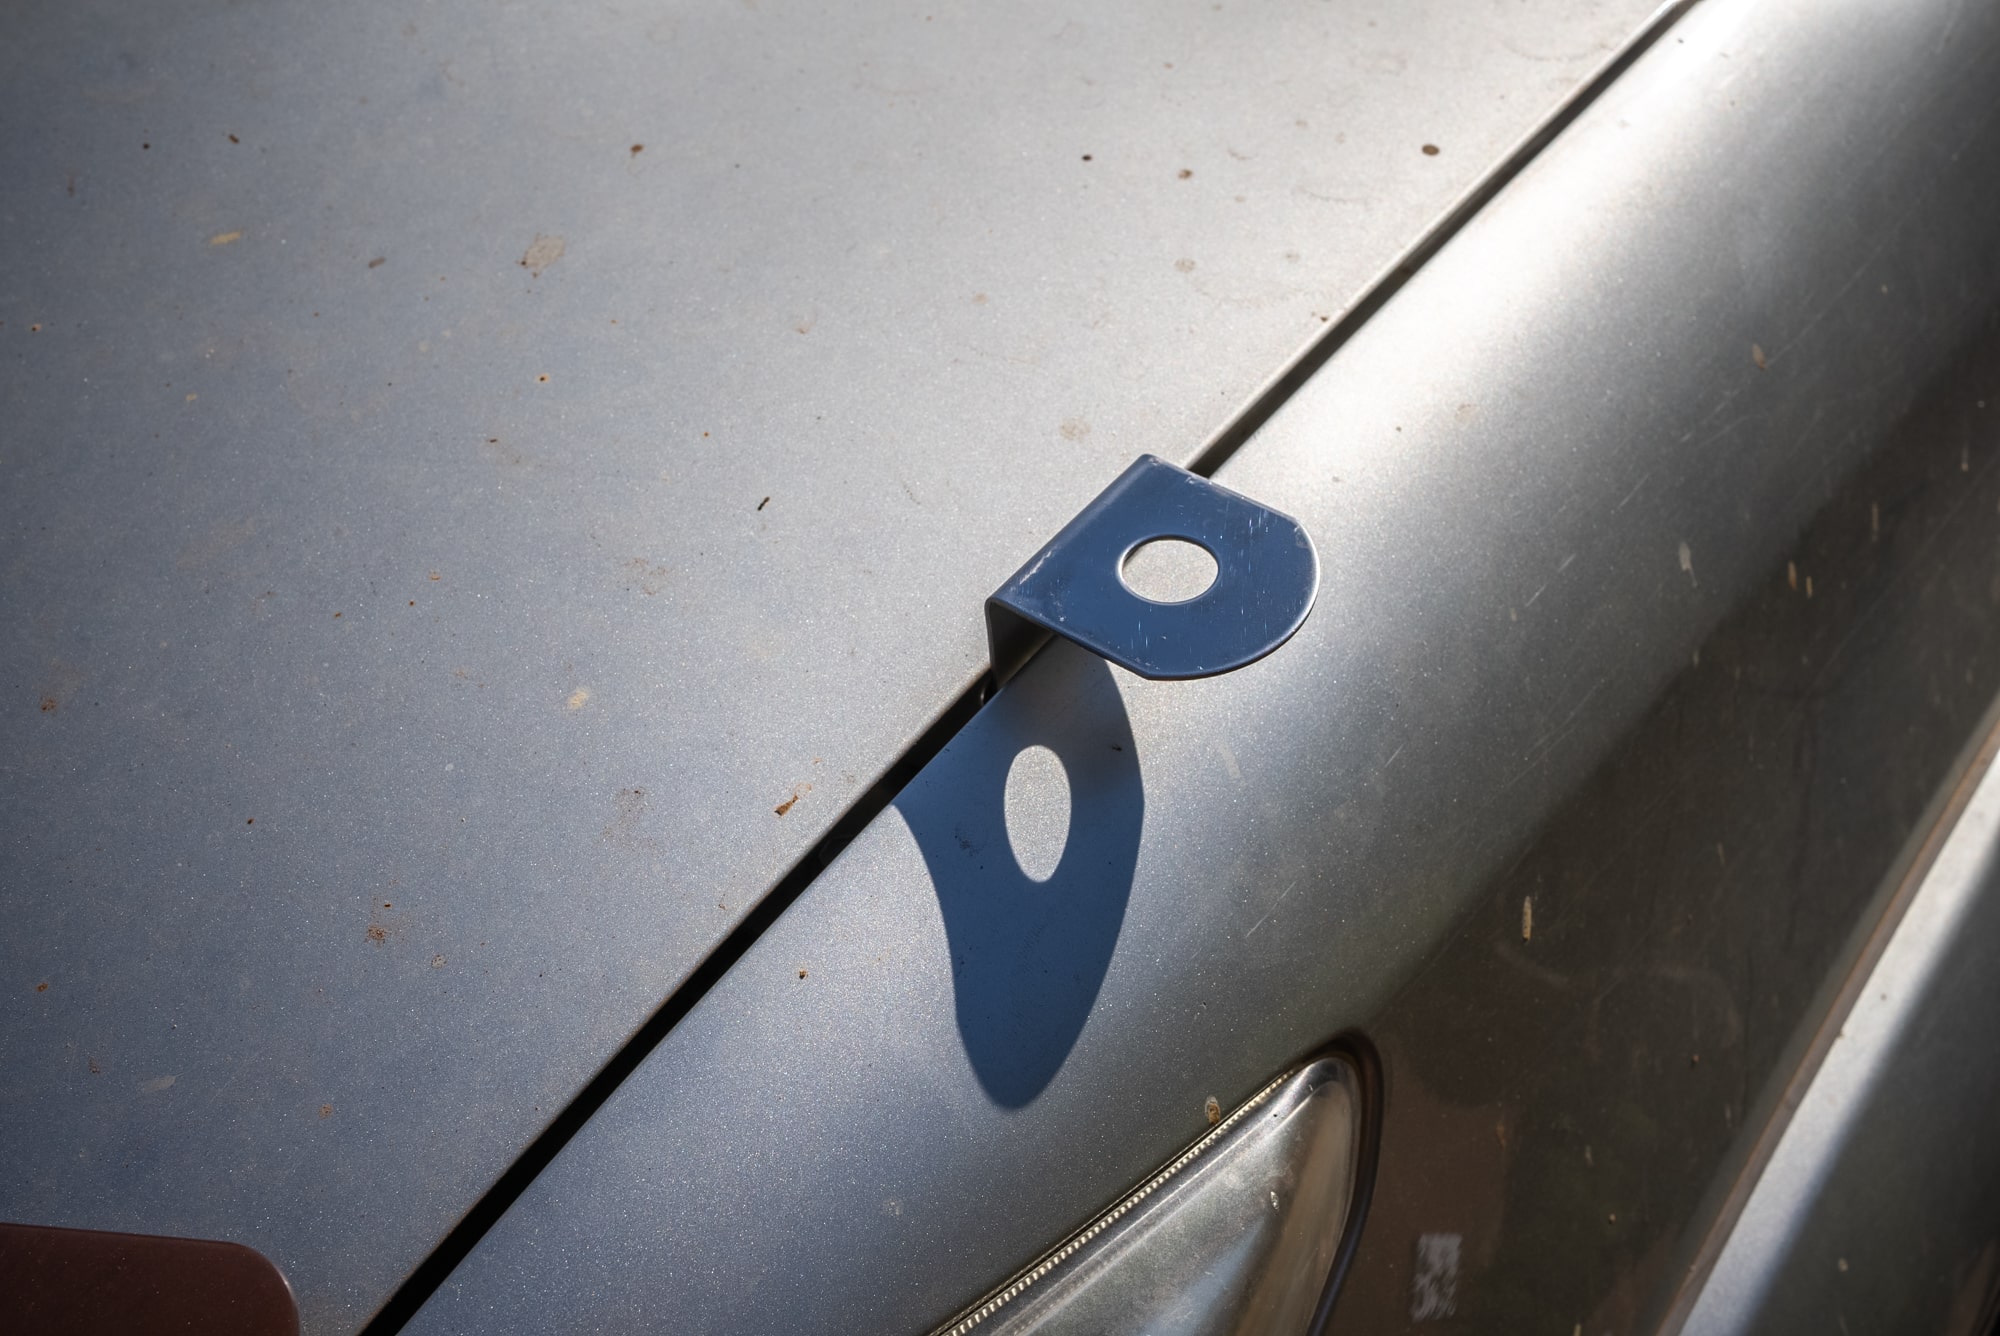
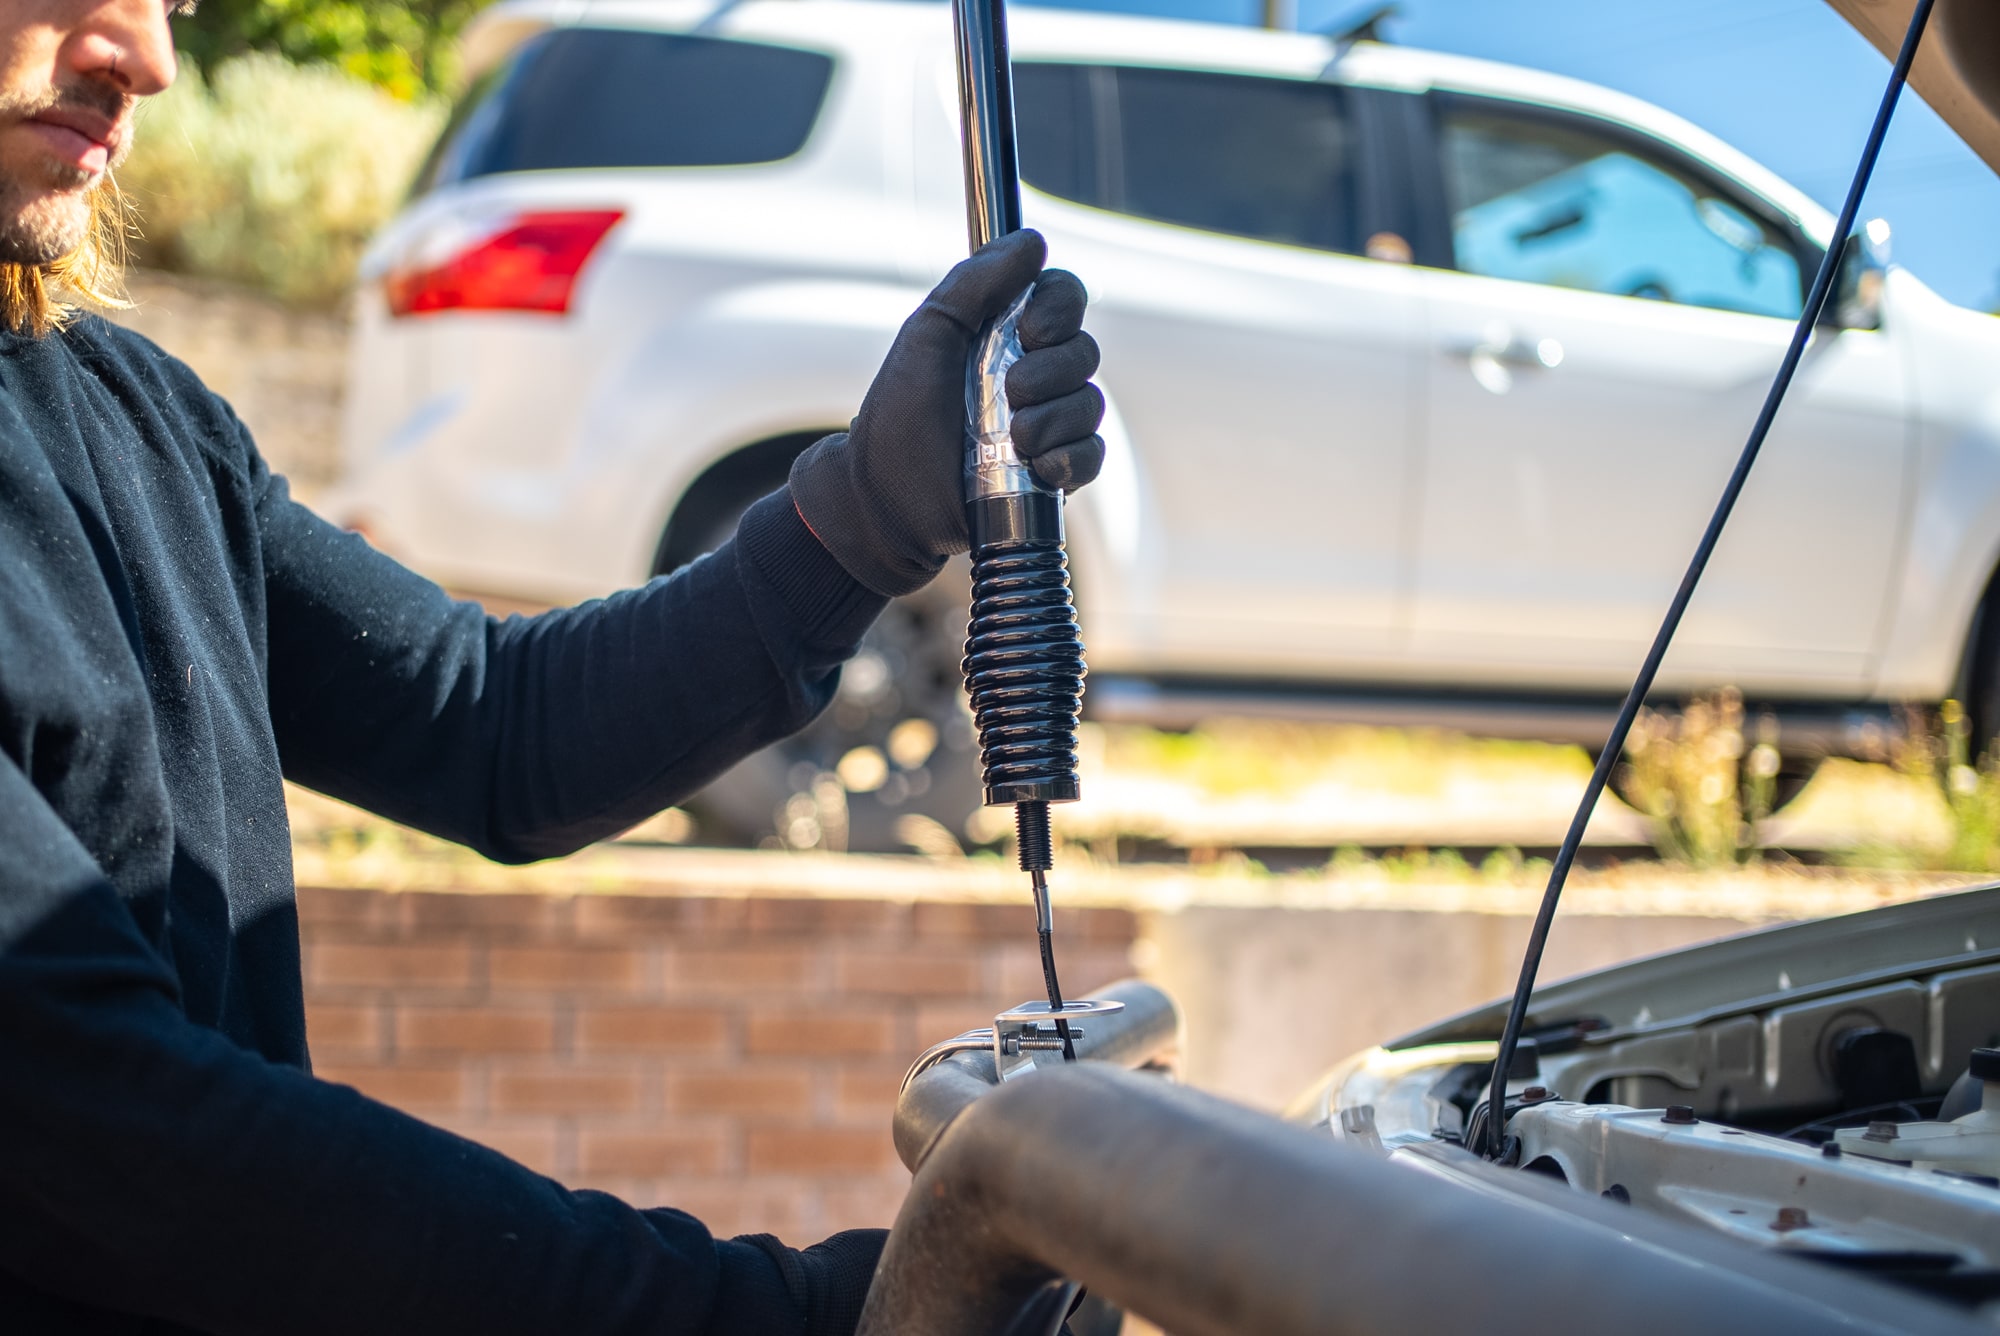
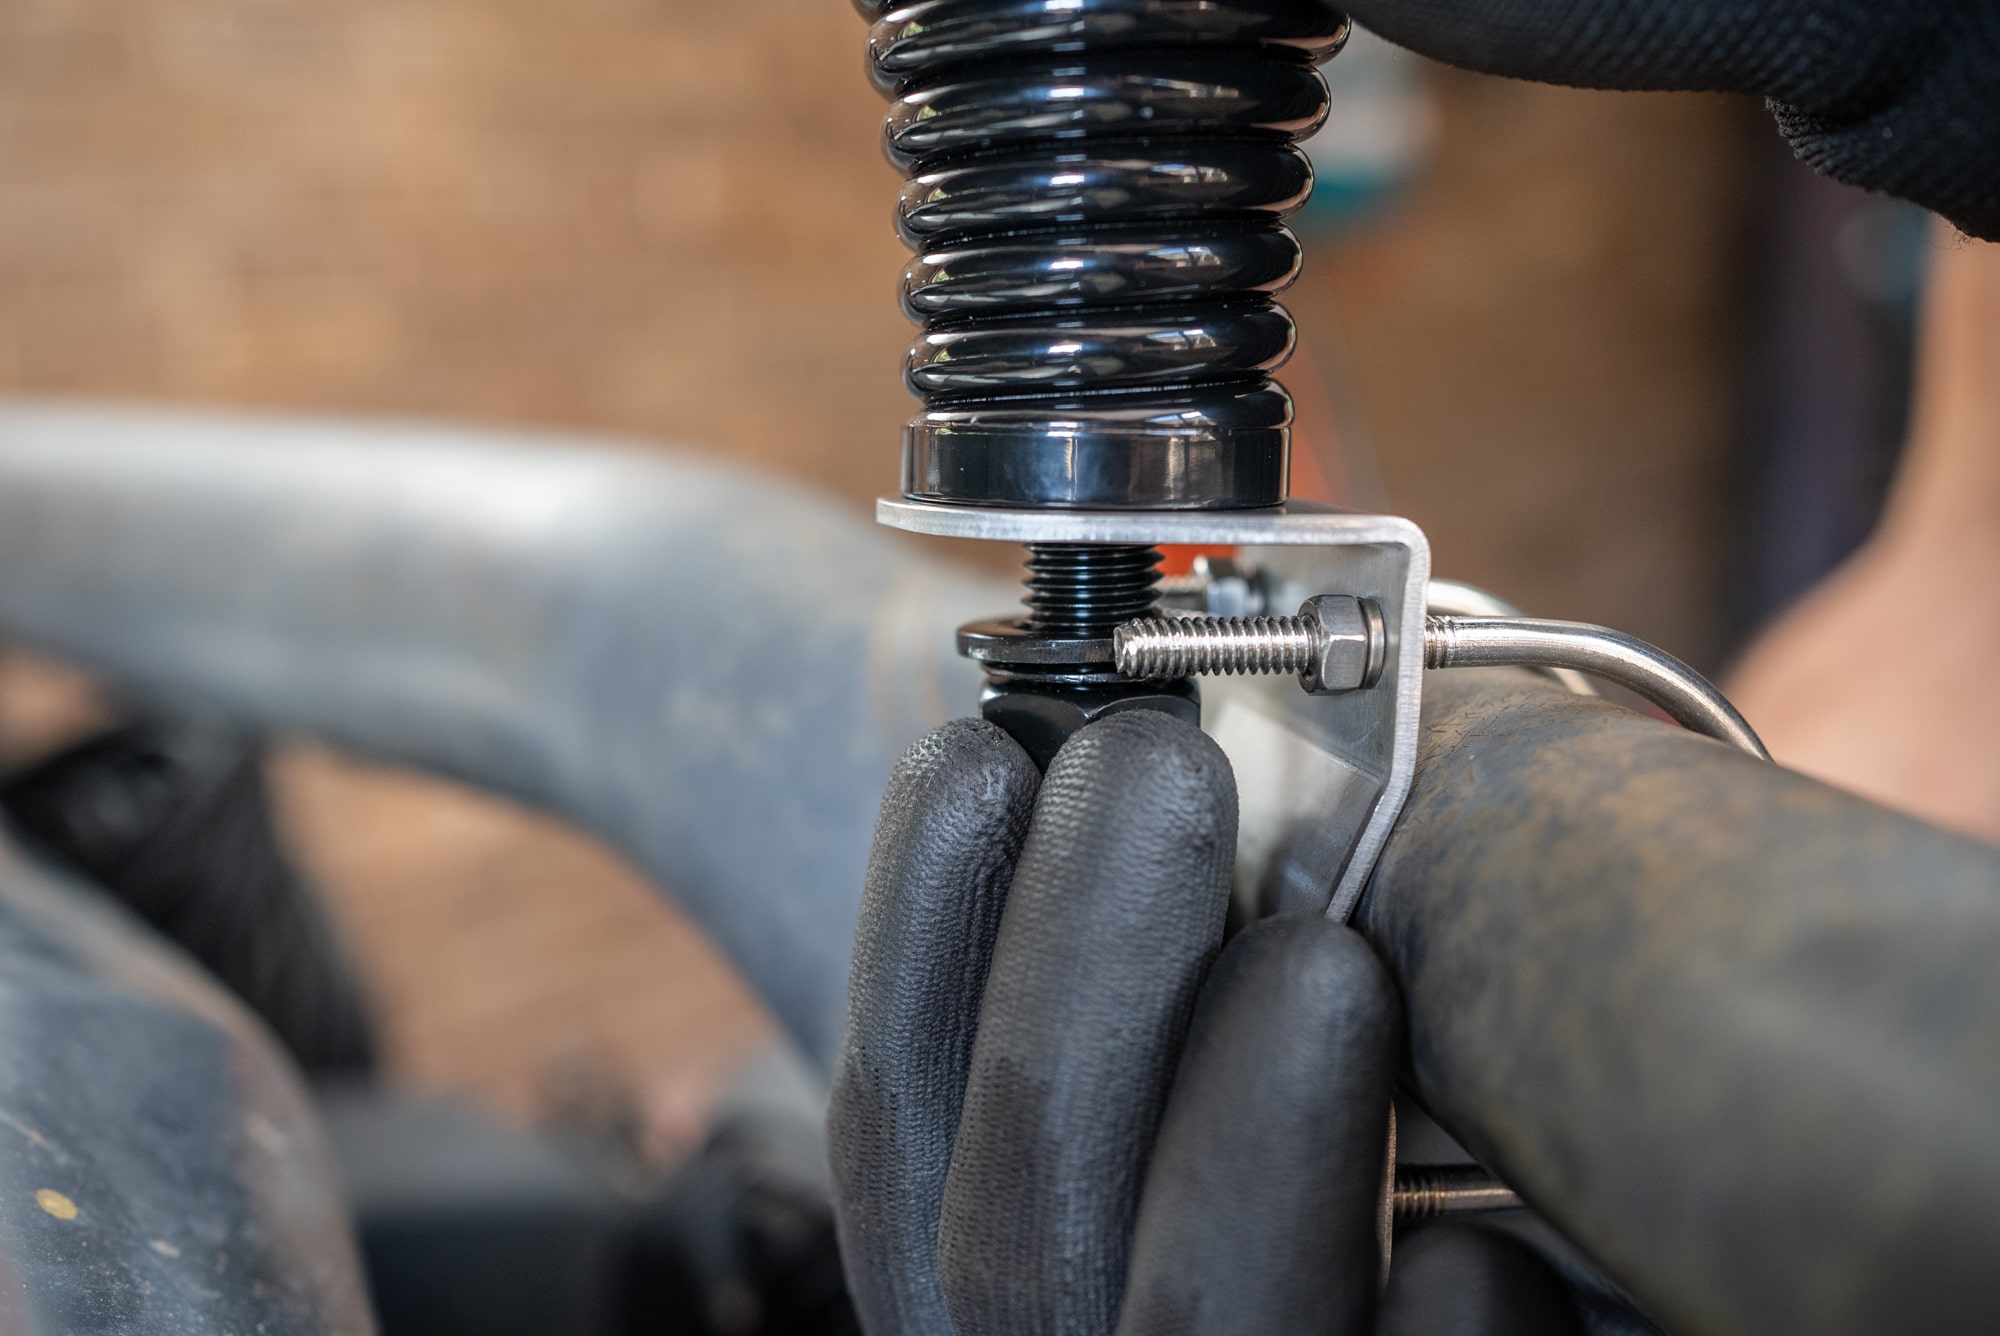
To begin a CB radio antenna installation you’ll need something to fix the antenna to. If you have a bullbar, you may have a mount welded onto the bar. If not, you can purchase a bullbar mounting clamp. If you don’t have an antenna, grab an antenna guard mount instead.
All of these options have a large hole through the middle. Feed the antenna cable through this, then slip the large nut over the cable and fasten the antenna in place.
How to Install a UHF Radio Wiring Loom
- Antenna wiring
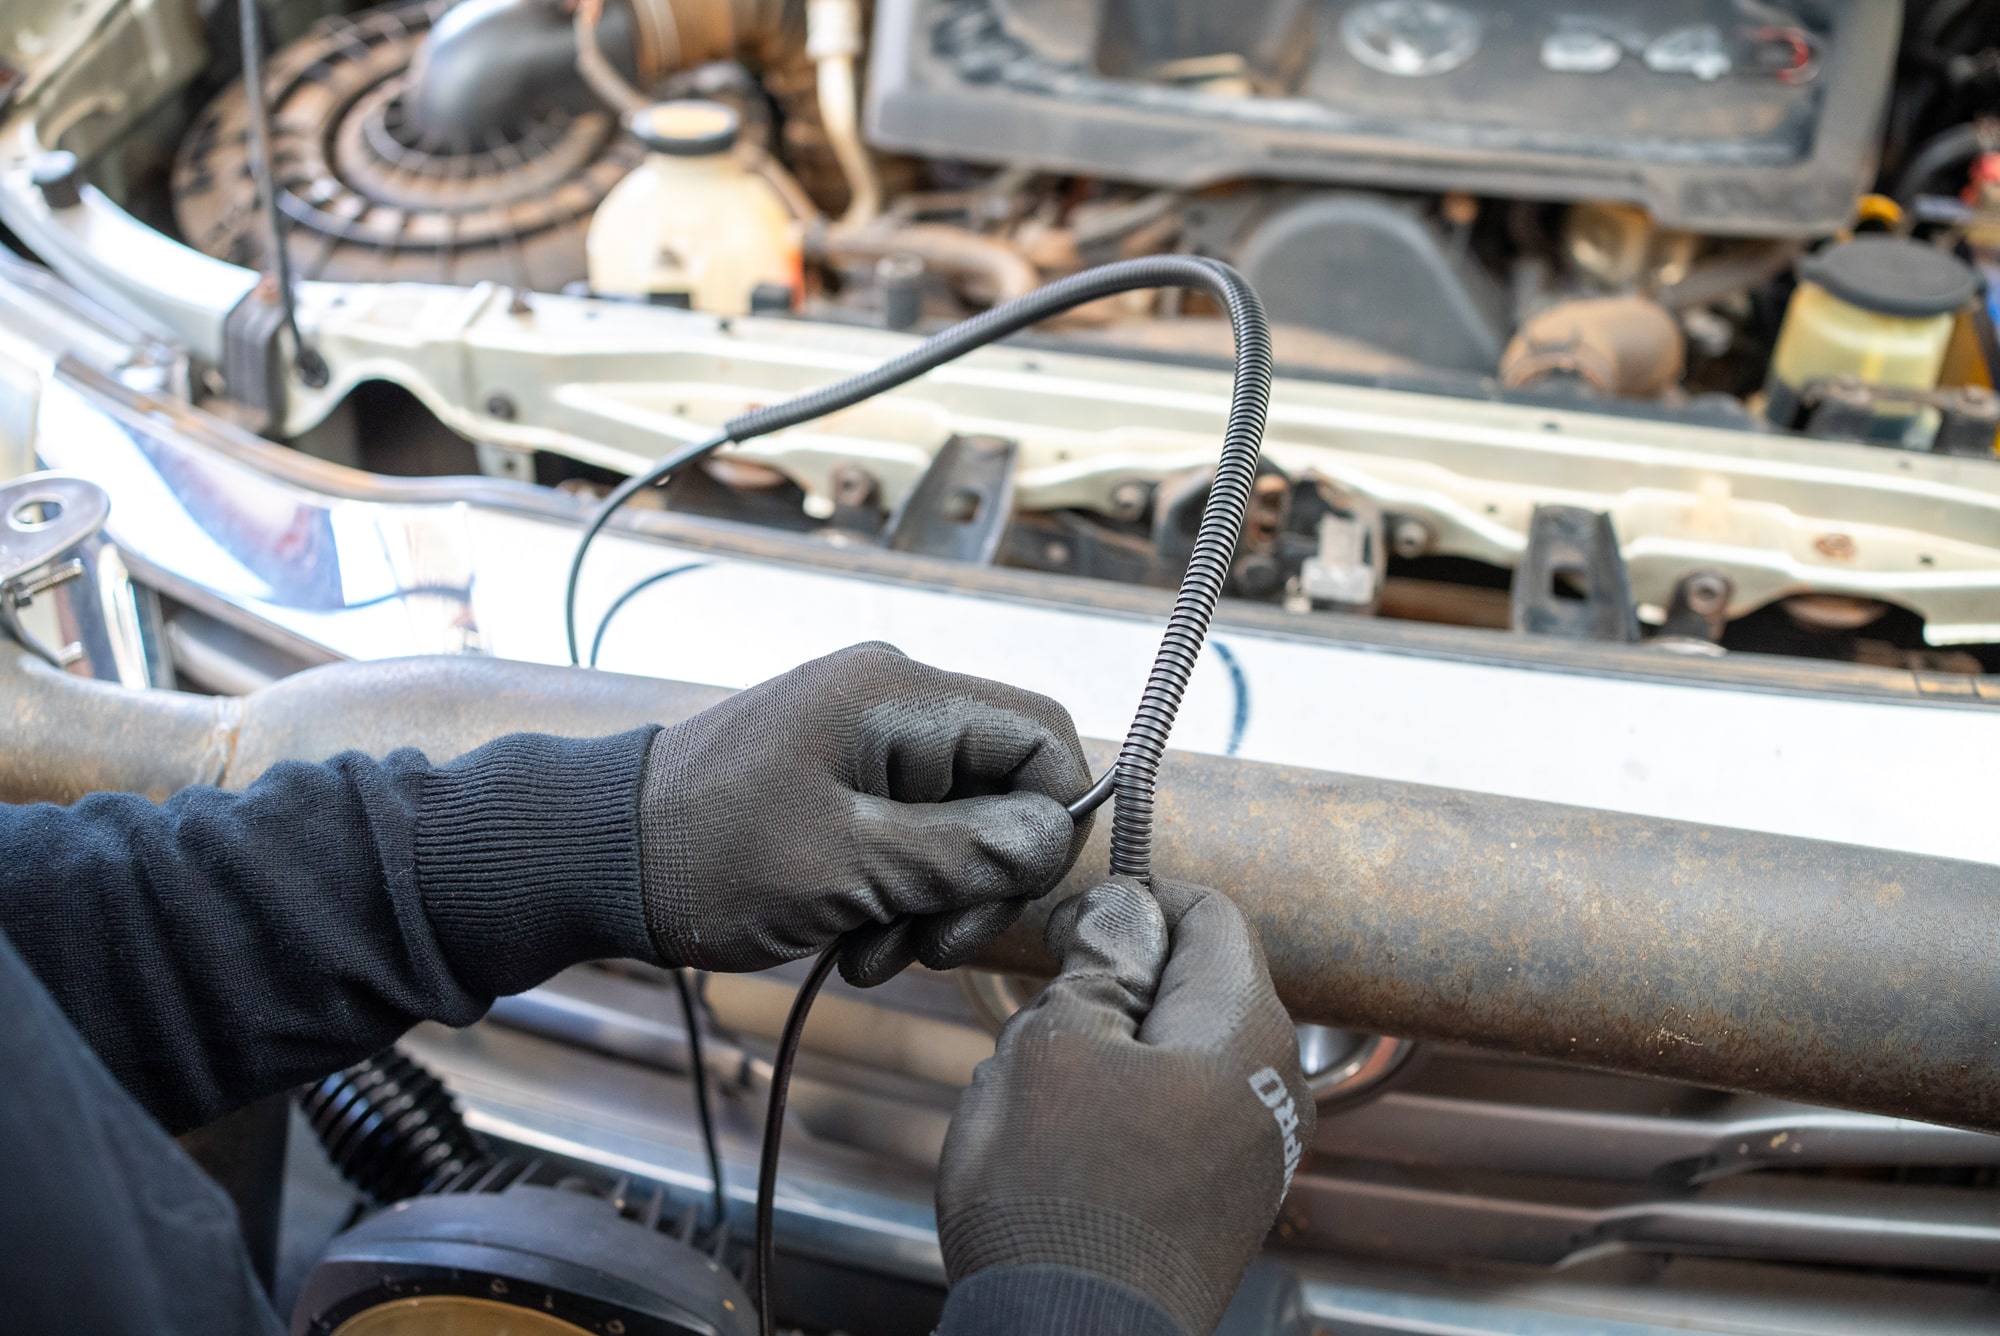
Complete your CB radio antenna installation by fitting a couple of metres of corrugated tubing to the antenna cable. Feed it through the cars grille and route the cable around the edge of the engine bay towards an accessible grommet. Use plenty of cable ties to secure it as you go, and keep it clear of any moving or hot parts. - Power wiring
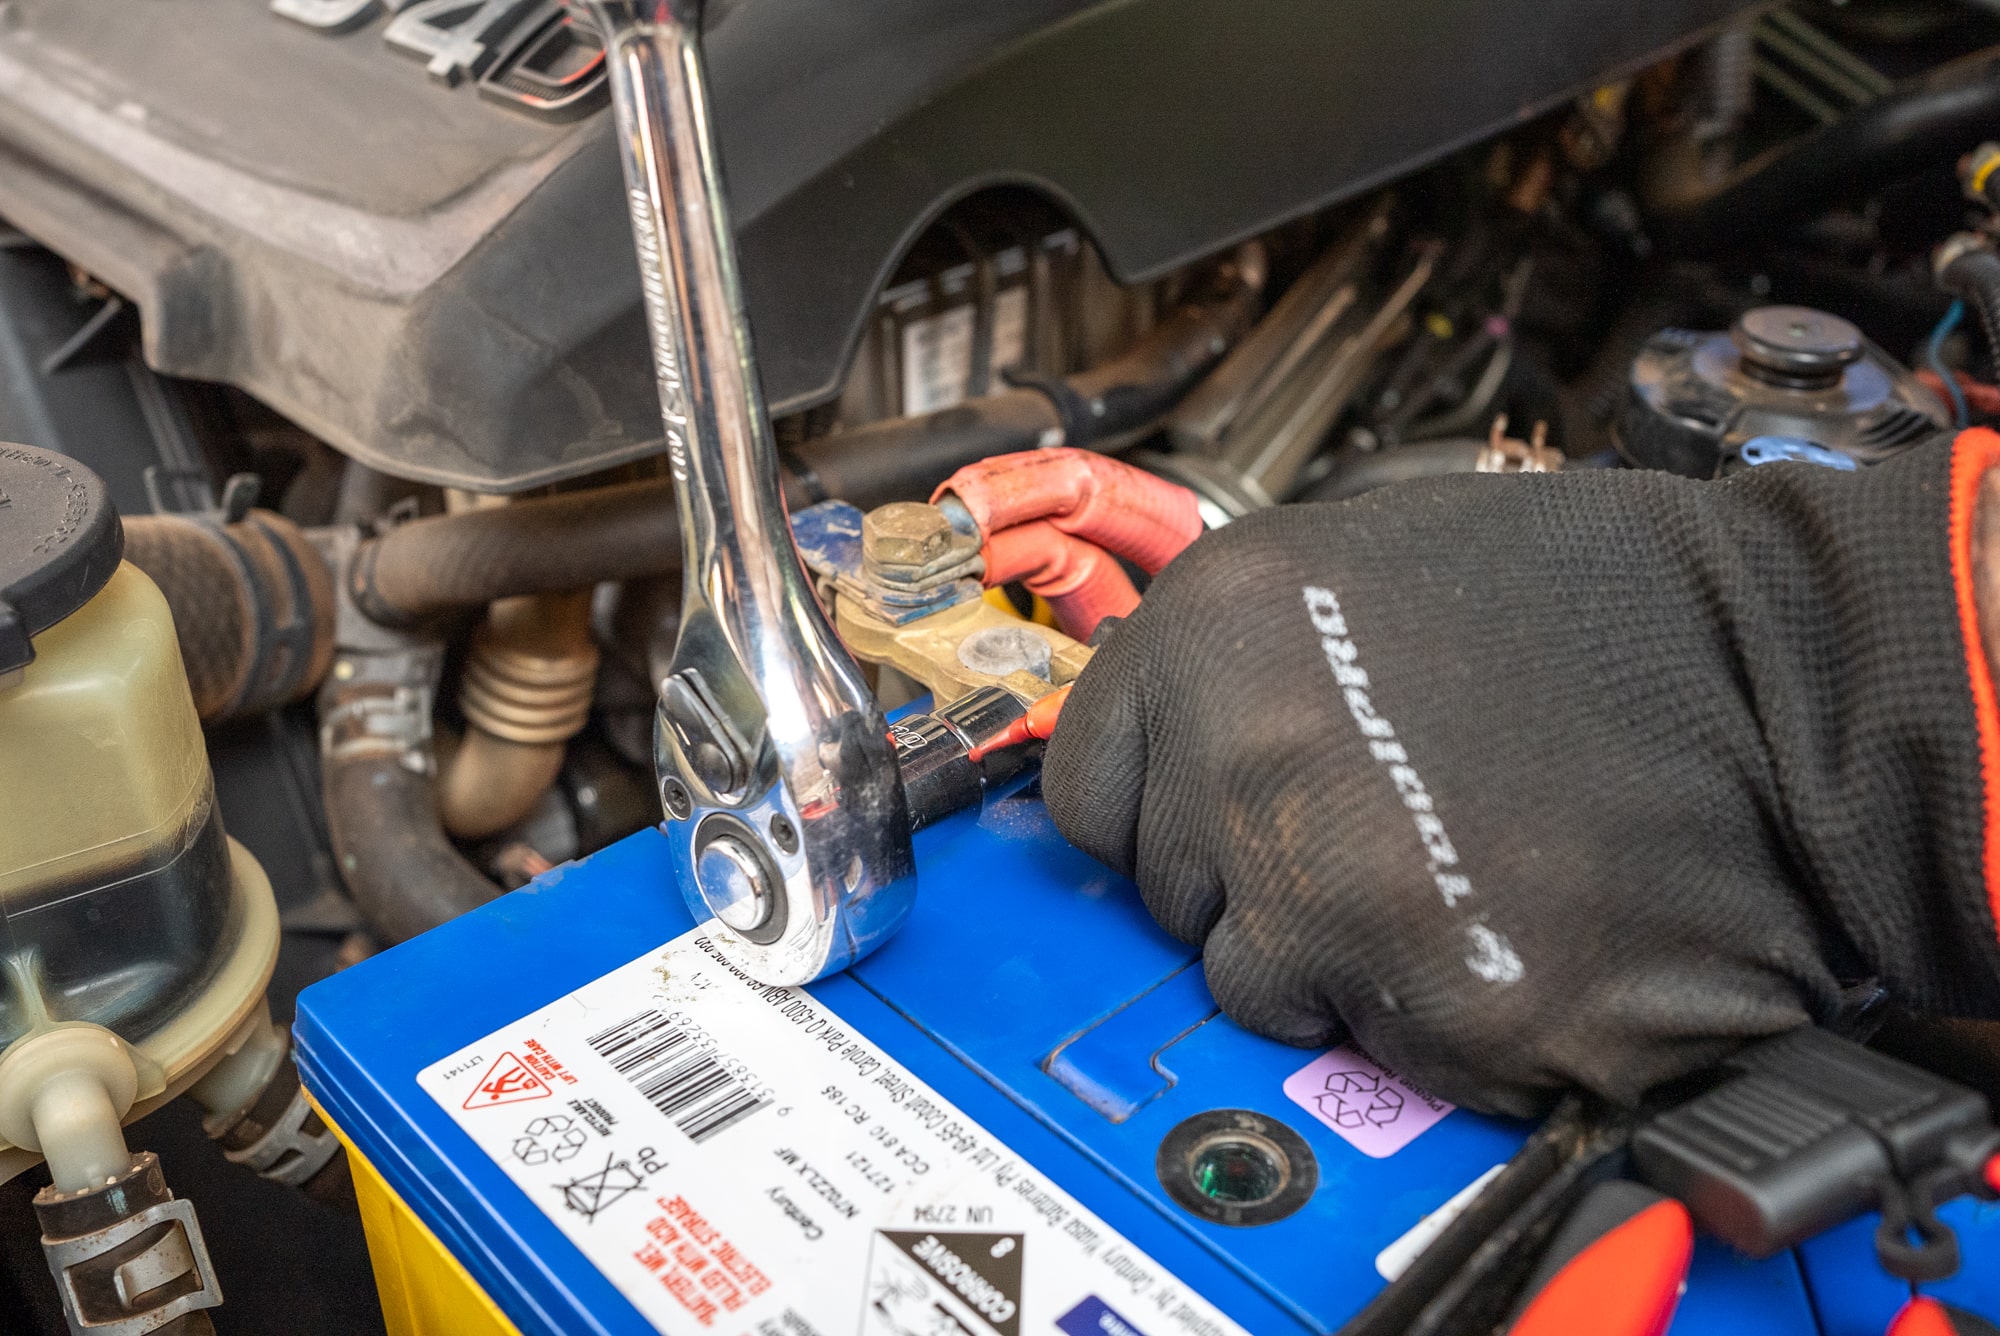
We’ll grab power for your UHF radio installation from the battery, so Grab that fuse holder and crimp a ring terminal onto one end. Solder the other end onto your ten amp wire, and apply a little heat shrink to the join.
If you need a little more guidance on wire joining; check out our DIY guide HERE
Leave the fuse out for the time being, then you can attach that ring terminal to your battery, wrap the power wire in conduit; and route the power wire towards an accessible grommet. Preferably a different one to your antenna. - Piercing The Grommet
You can cut the corrugated tubing here, it doesn’t need to go through the grommet. If access is easy, you can slit the grommet with a knife. If this isn’t working, a stiff piece of wire like a coat hanger may come in handy. Use lots of electrical tape to fasten a good length of your cable to the wire, and plenty around the tip to protect it.
Then poke the wire through and pull from the other side. A squirt of silicone spray will make this much easier. Whichever method you choose, be SUPER careful not to damage existing wires around the grommet. Ideally, form a drip loop in the wire to prevent water running where it shouldn't, and seal off around the grommet hole. - Connect your radio
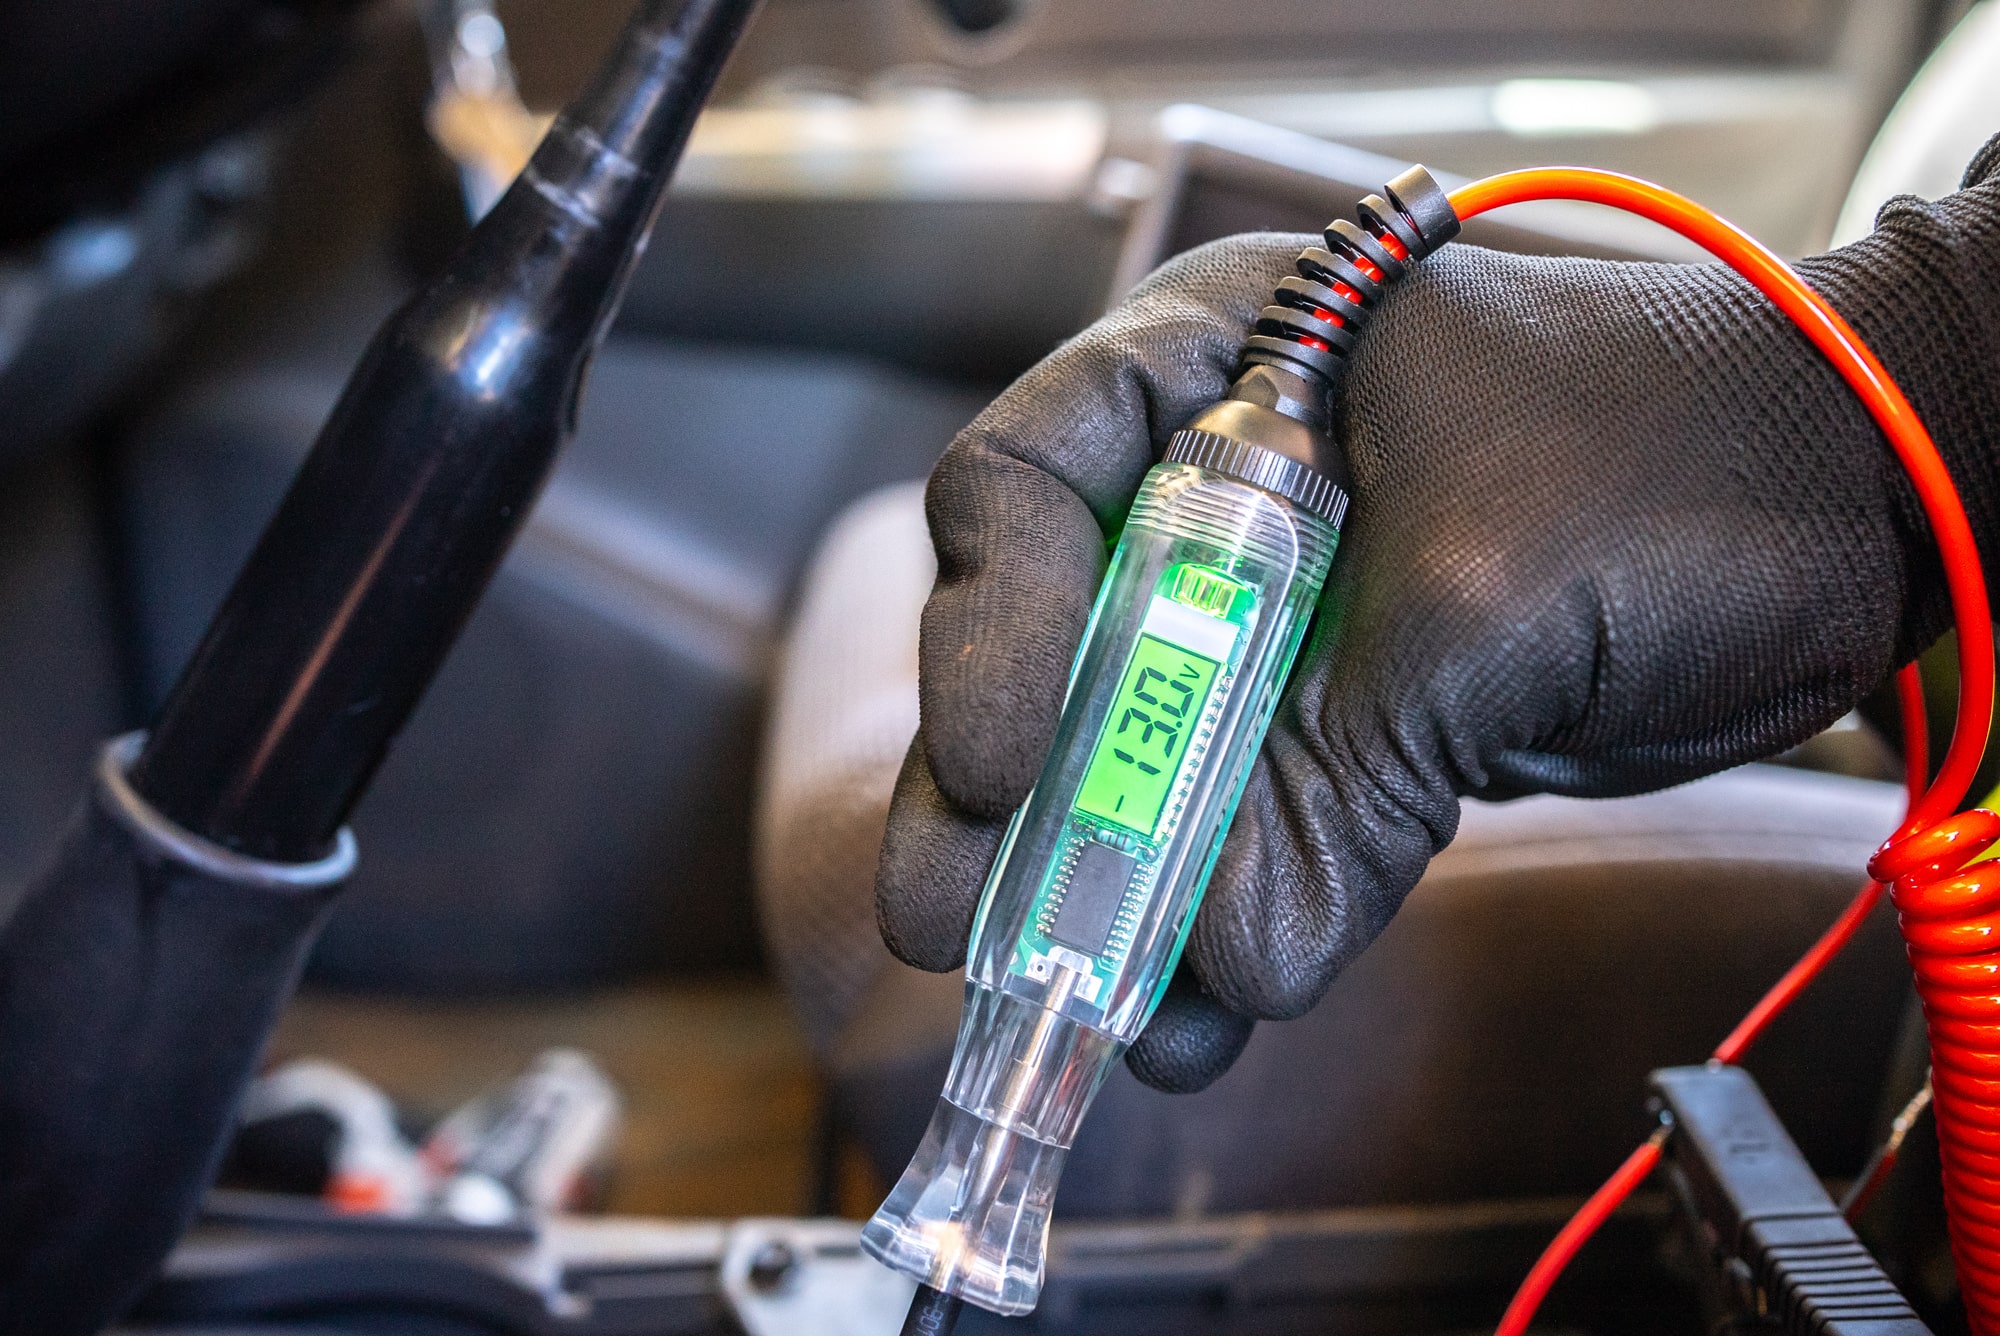
Since you installed a fuse at the battery; you can cut the fuse from the supplied cable, slip a bit of heat shrink over the wire; and solder the plug end onto your new power cable. To locate a suitable earth for your radio you can pop a fuse in, clamp your test lamp onto the freshly soldered join; and probe a few bolts and metal surfaces until your test lamp illuminates.
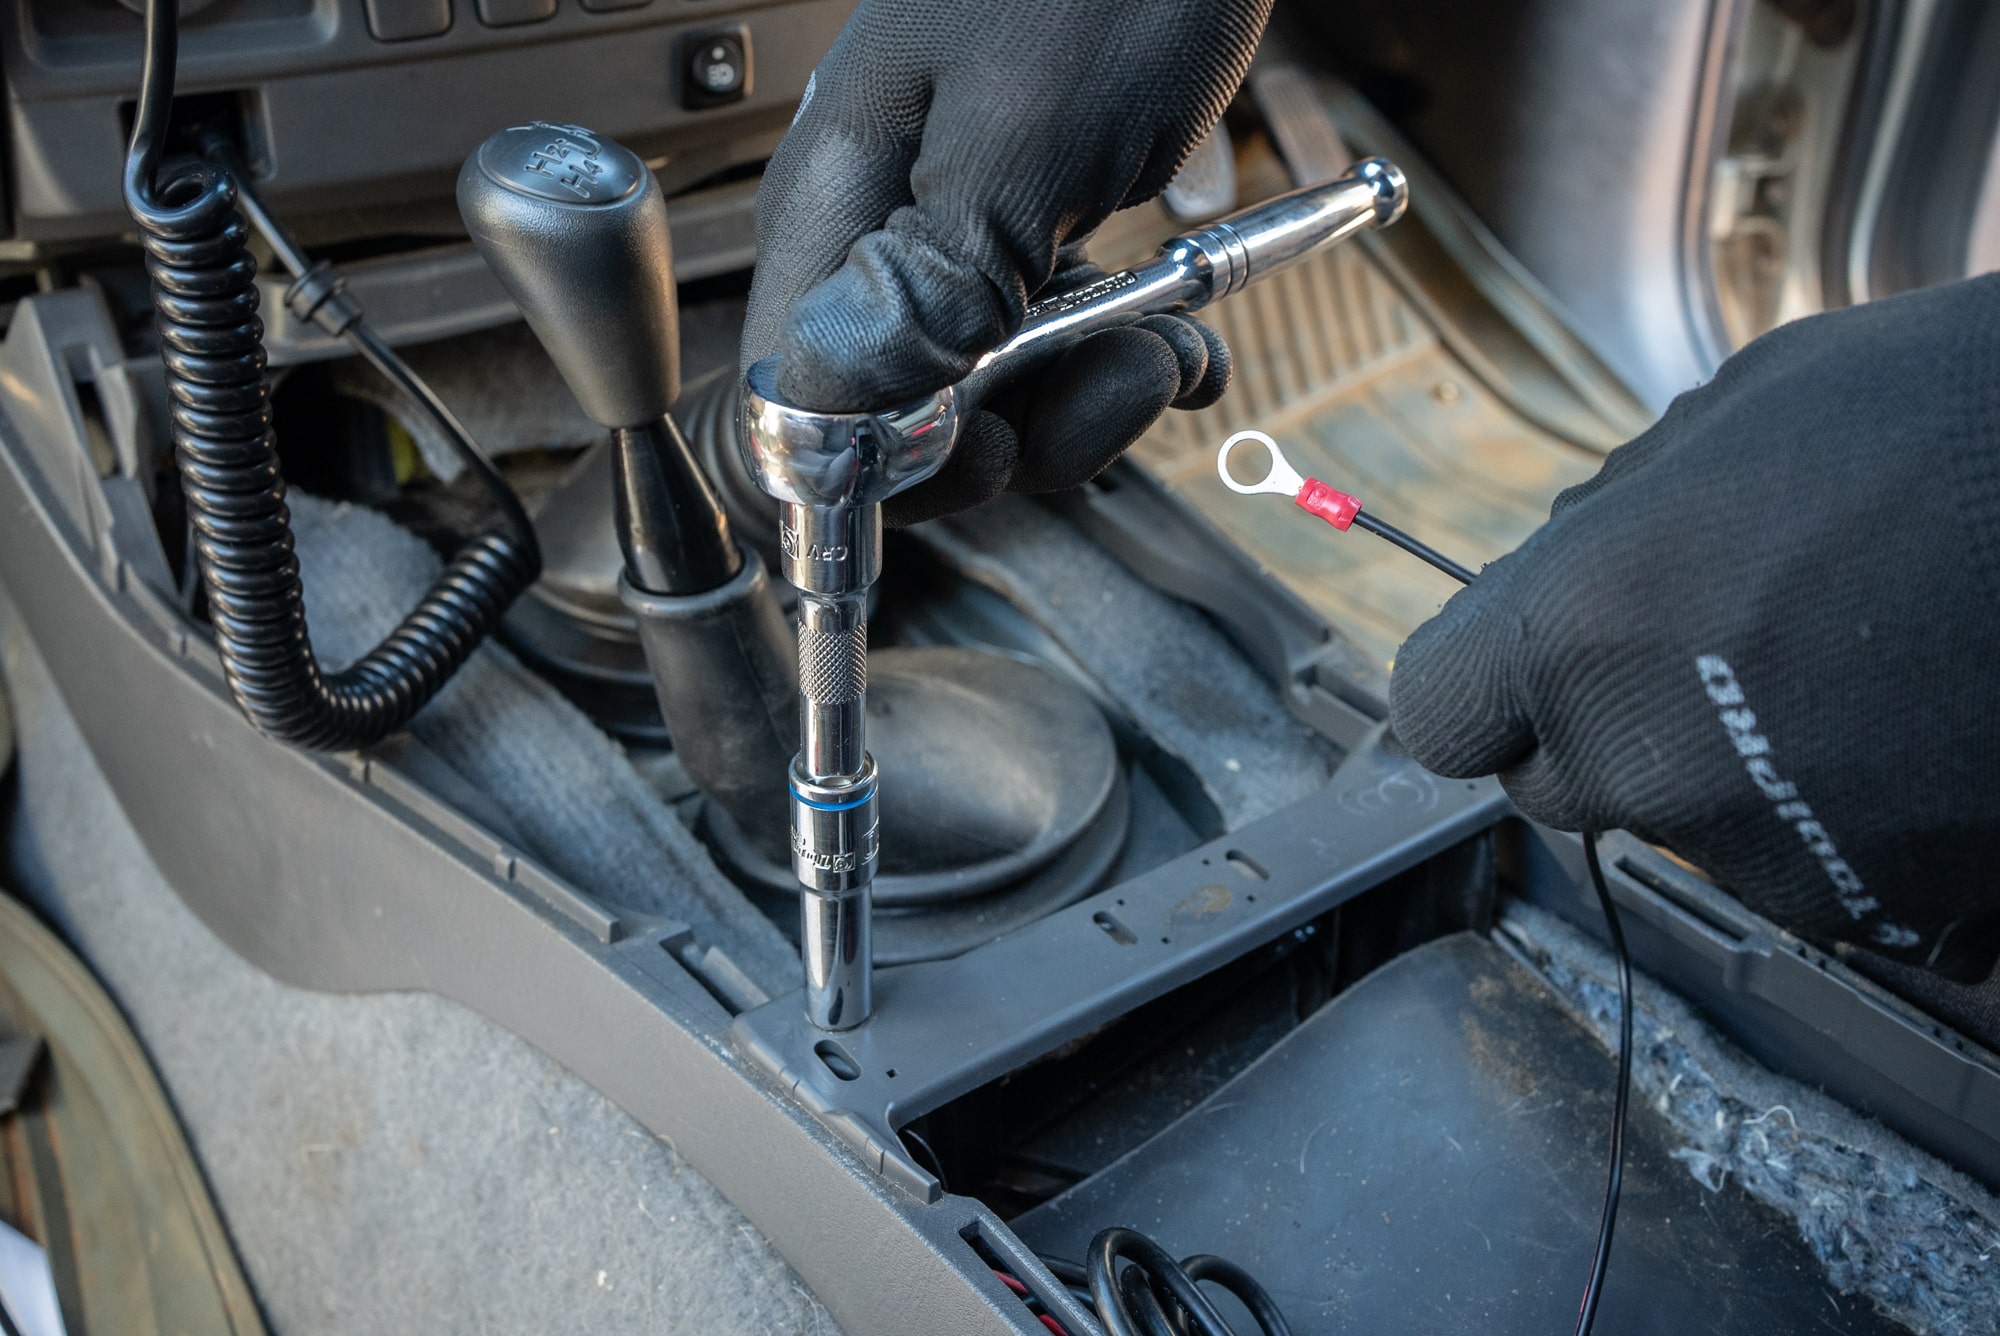
Remove that fuse once again while you finish off by fitting a ring terminal to the earth lead; and fixing this to your earth point. Don’t forget to melt that heat shrink to protect the solder joint before replacing the fuse.
Testing your UHF Radio Installation
Plug in your antenna, power, and handpiece; then power up your radio. Flick straight over to channel forty which is the highway channel. You can find more detail about channel designations on our website.
Now hold the ‘push to talk’ button on the side of the radio and ask for a radio check. If your install has gone well, and there’s somebody in range; you should receive a confirmation.
If not, you can always grab a friend with a handheld for a bit of a chat in the shed. Or on the beach, or up that hill, or on a boat, or in the desert….
Tips
From the beach to the desert, a solid CB radio installation will keep you in contact with mates and fellow highway travelers. But don’t stop there! Once your UHF radio is installed, check out our handy DIY video on how to use a UHF radio to master simple rules, courtesies, and tips for effective communication.
*Important information* - Click here to read more about our How-To terms and conditions.