How To Install A Reverse Camera
Overview
A good rear view camera can save your bumper, your mailbox, maybe even a life! From fitting the camera to wiring it up and mounting the screen, this DIY guide will have you driving safer and more confidently in no time. Continue reading to learn more about installing a reverse camera.
Items
Steps
Mounting the reverse camera
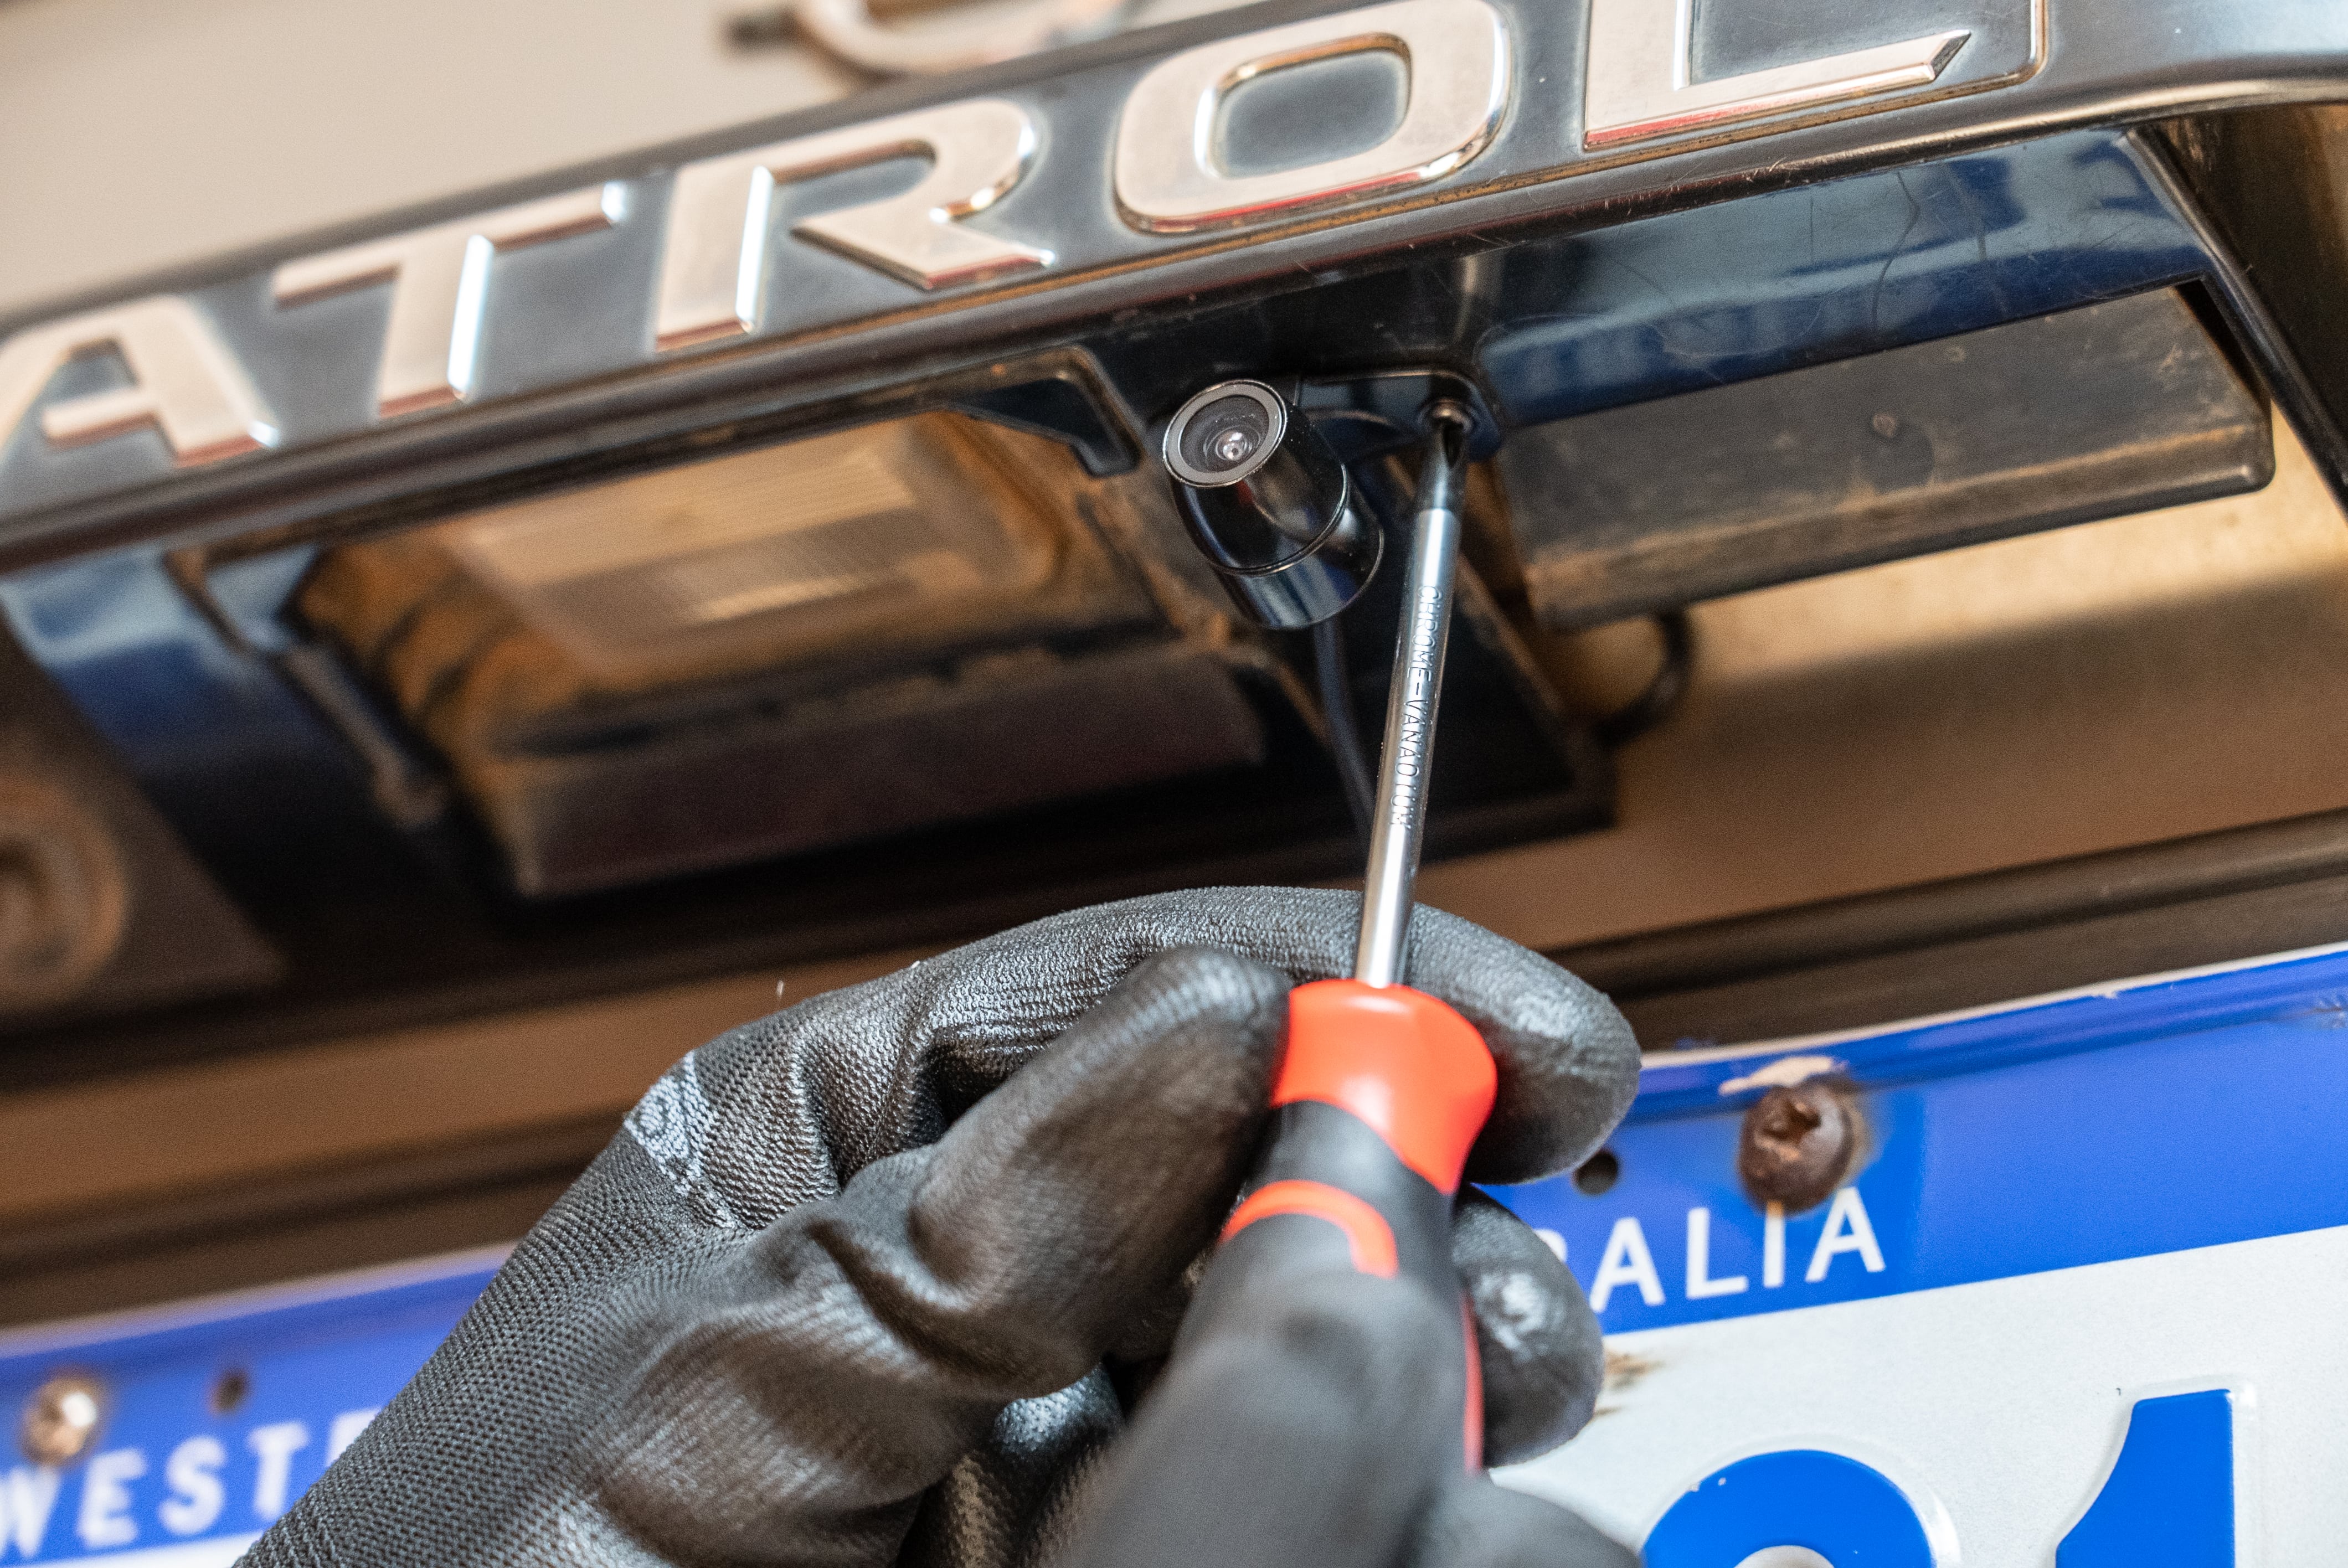
Start down the back of your car and look for a flat surface to mount your rear view camera as close to the centre of the vehicle as possible. Wipe the area with wax and grease remover or methylated spirits, then stick the camera in place.
For most purposes the tape will be enough, but if you’re comfortable drilling holes in your car; the included screws can be used for extra security.
Locate a reverse light pickup
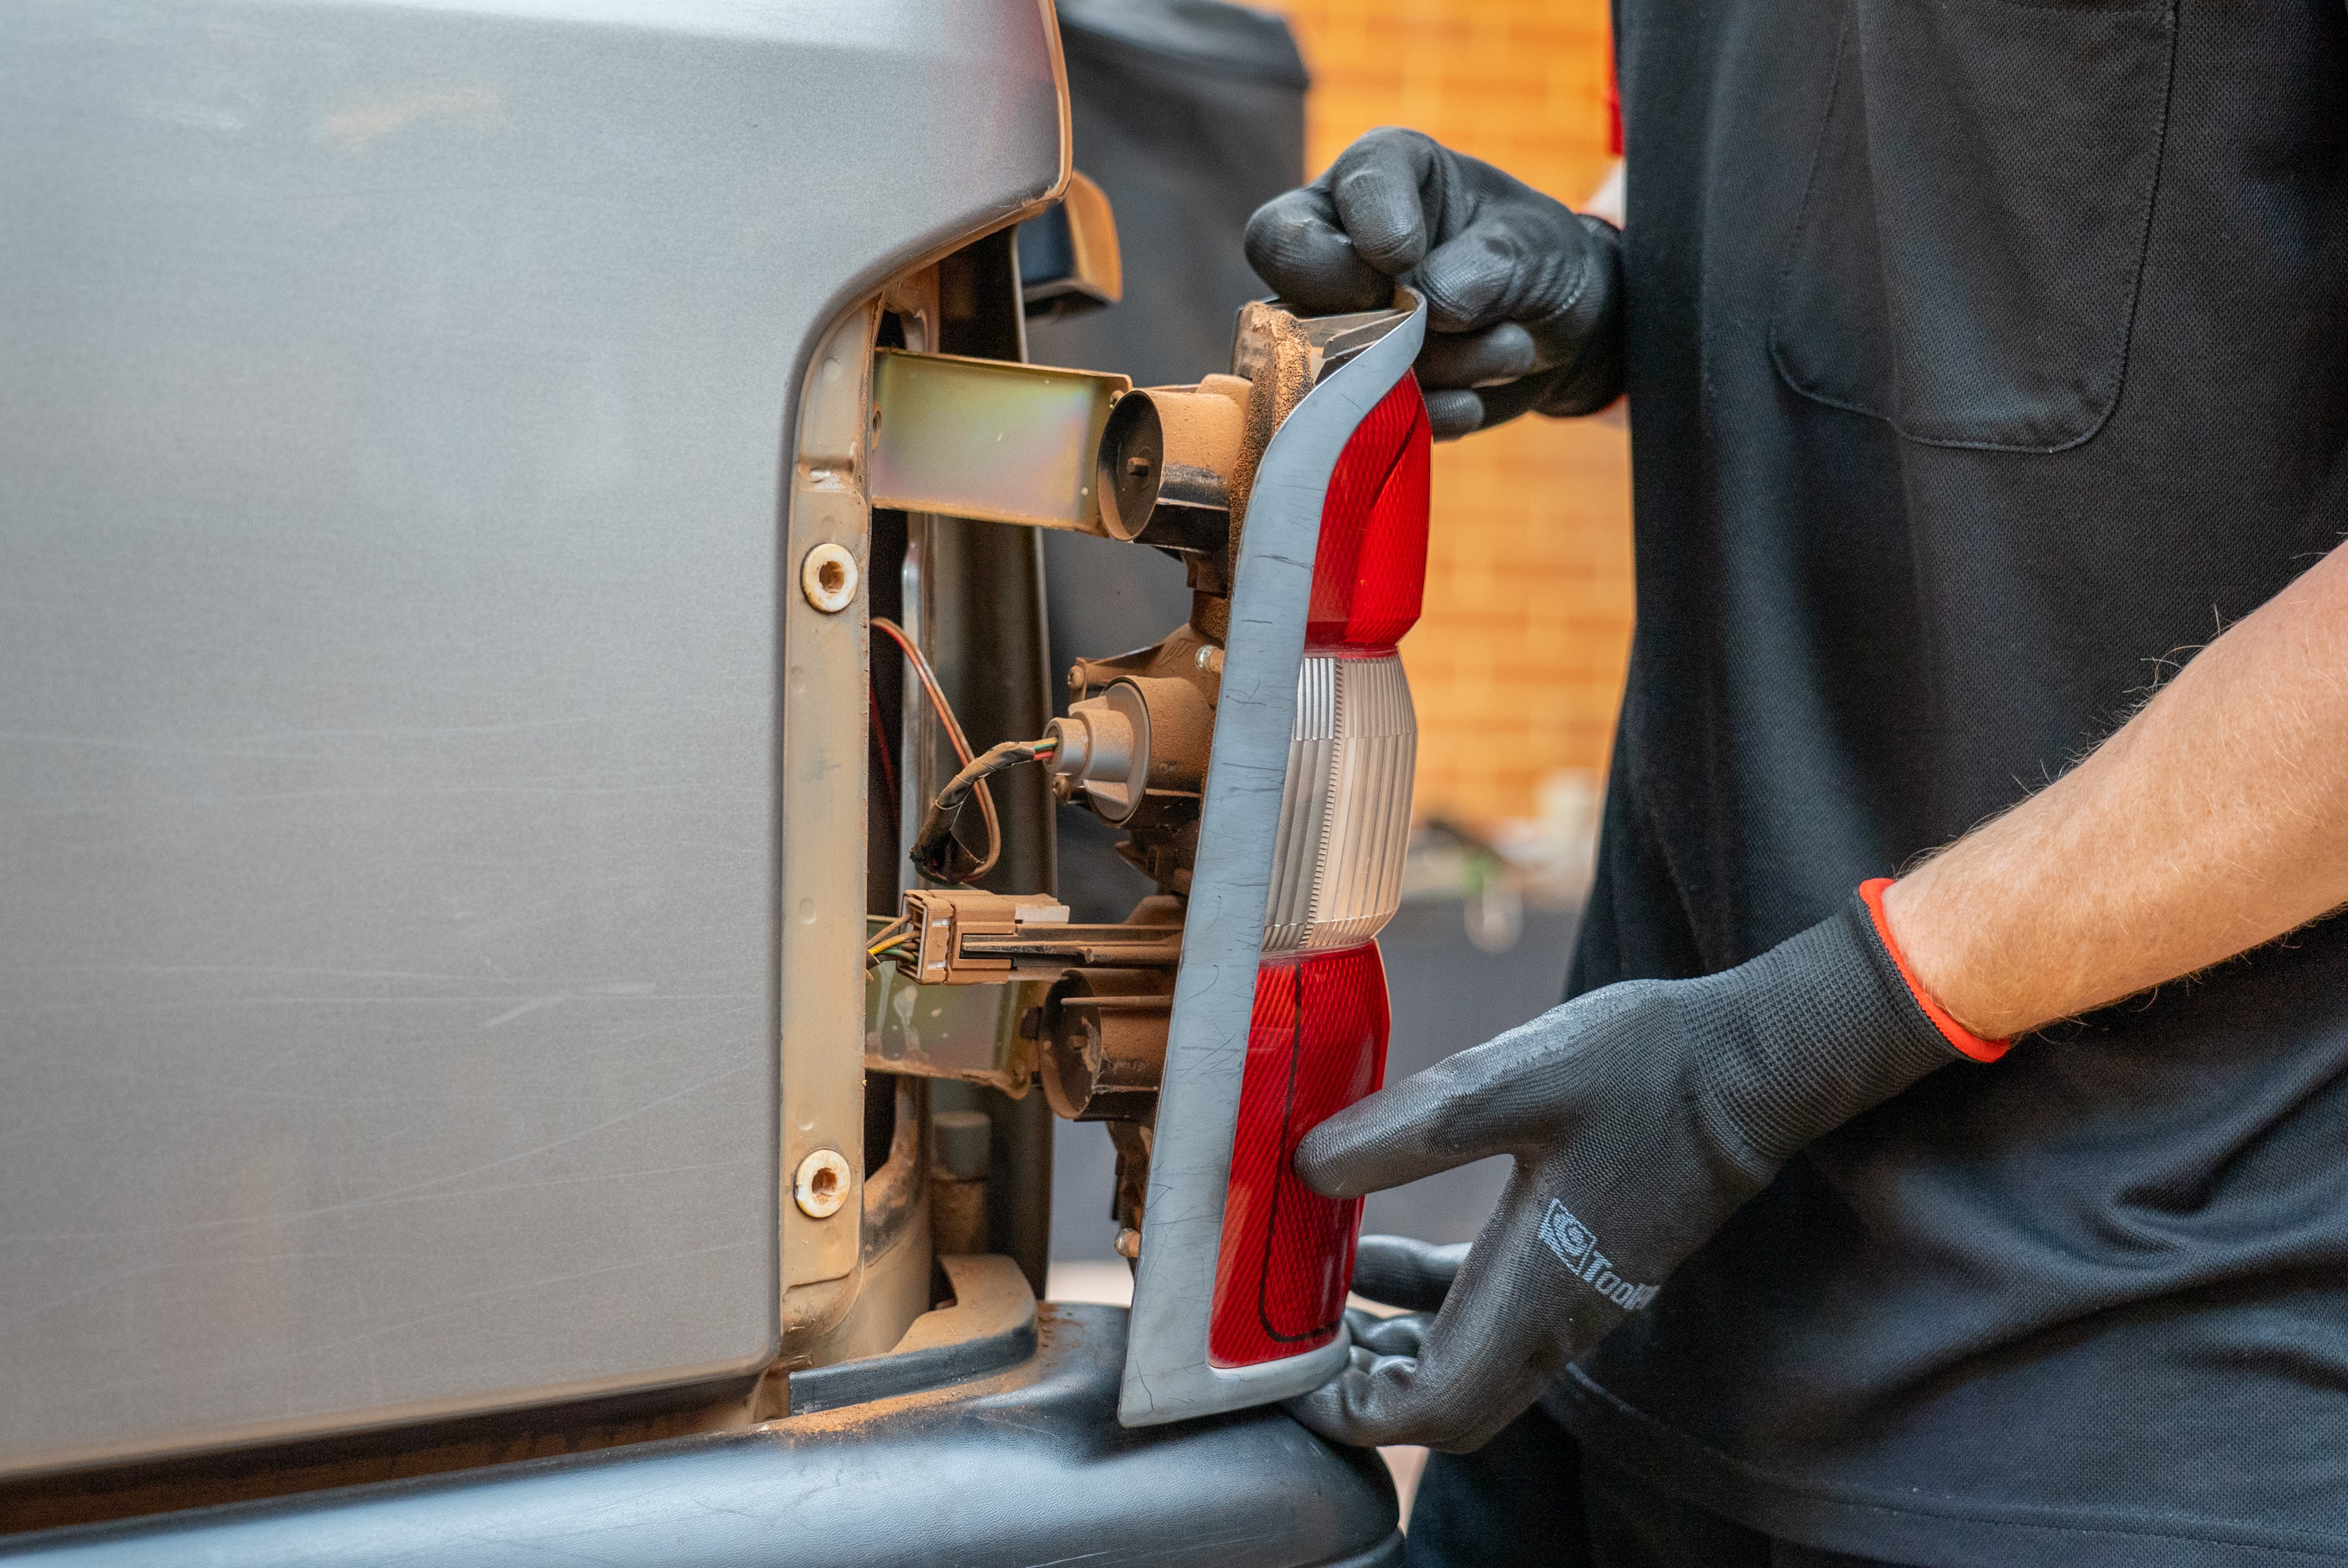
The wire from your rear view camera needs to go through the back door or boot of your car. Following the wiring for the number plate light is often a good way to do this.
Route it towards your tail light, access the back of your tail light, and arm yourself with the test light.
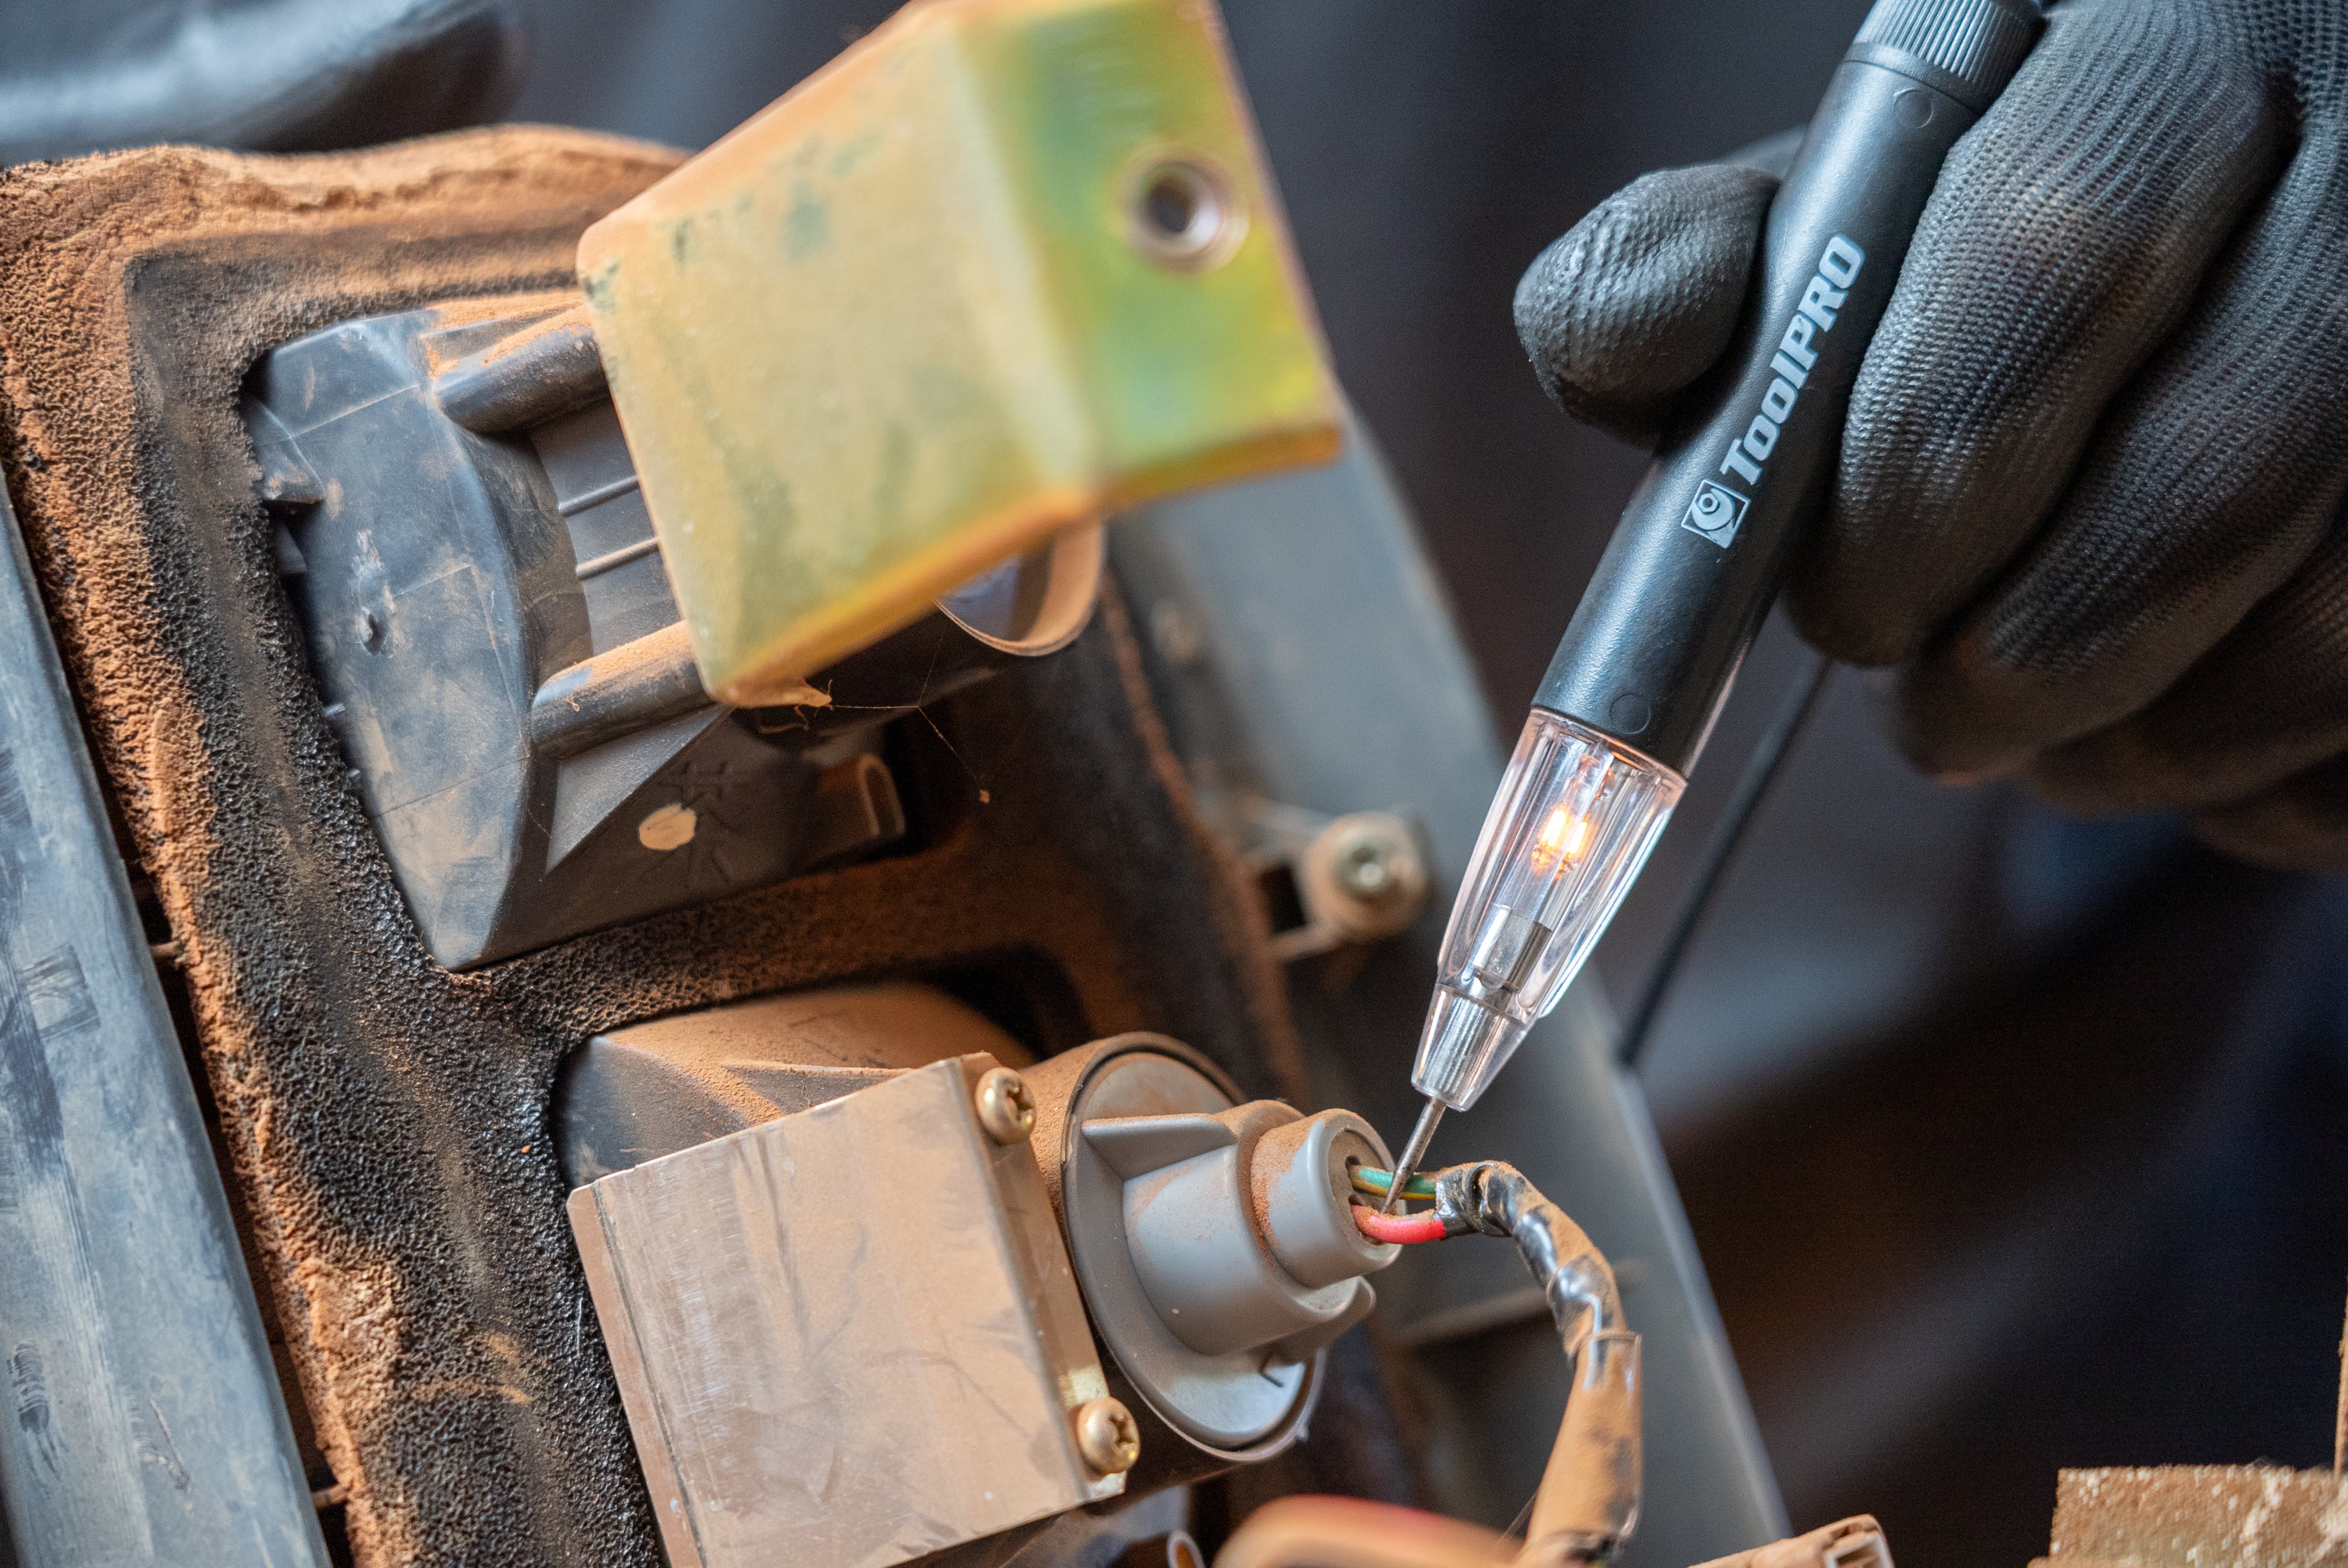
Hook the alligator clamp to a bare metal surface. Then, get someone in the driver's seat and have them engage reverse gear. Although the ignition may need to be on, for safety reasons, keep the engine turned off.
Probe the wires in the back of your tail light until the test lamp illuminates, then have your assistant pop the car in and out of gear to ensure you’ve got the right one. If NONE of the wires illuminate your test lamp, it’s usually a poor earth on your alligator clamp. Move the clamp and try again.
Connect your reverse light pickup
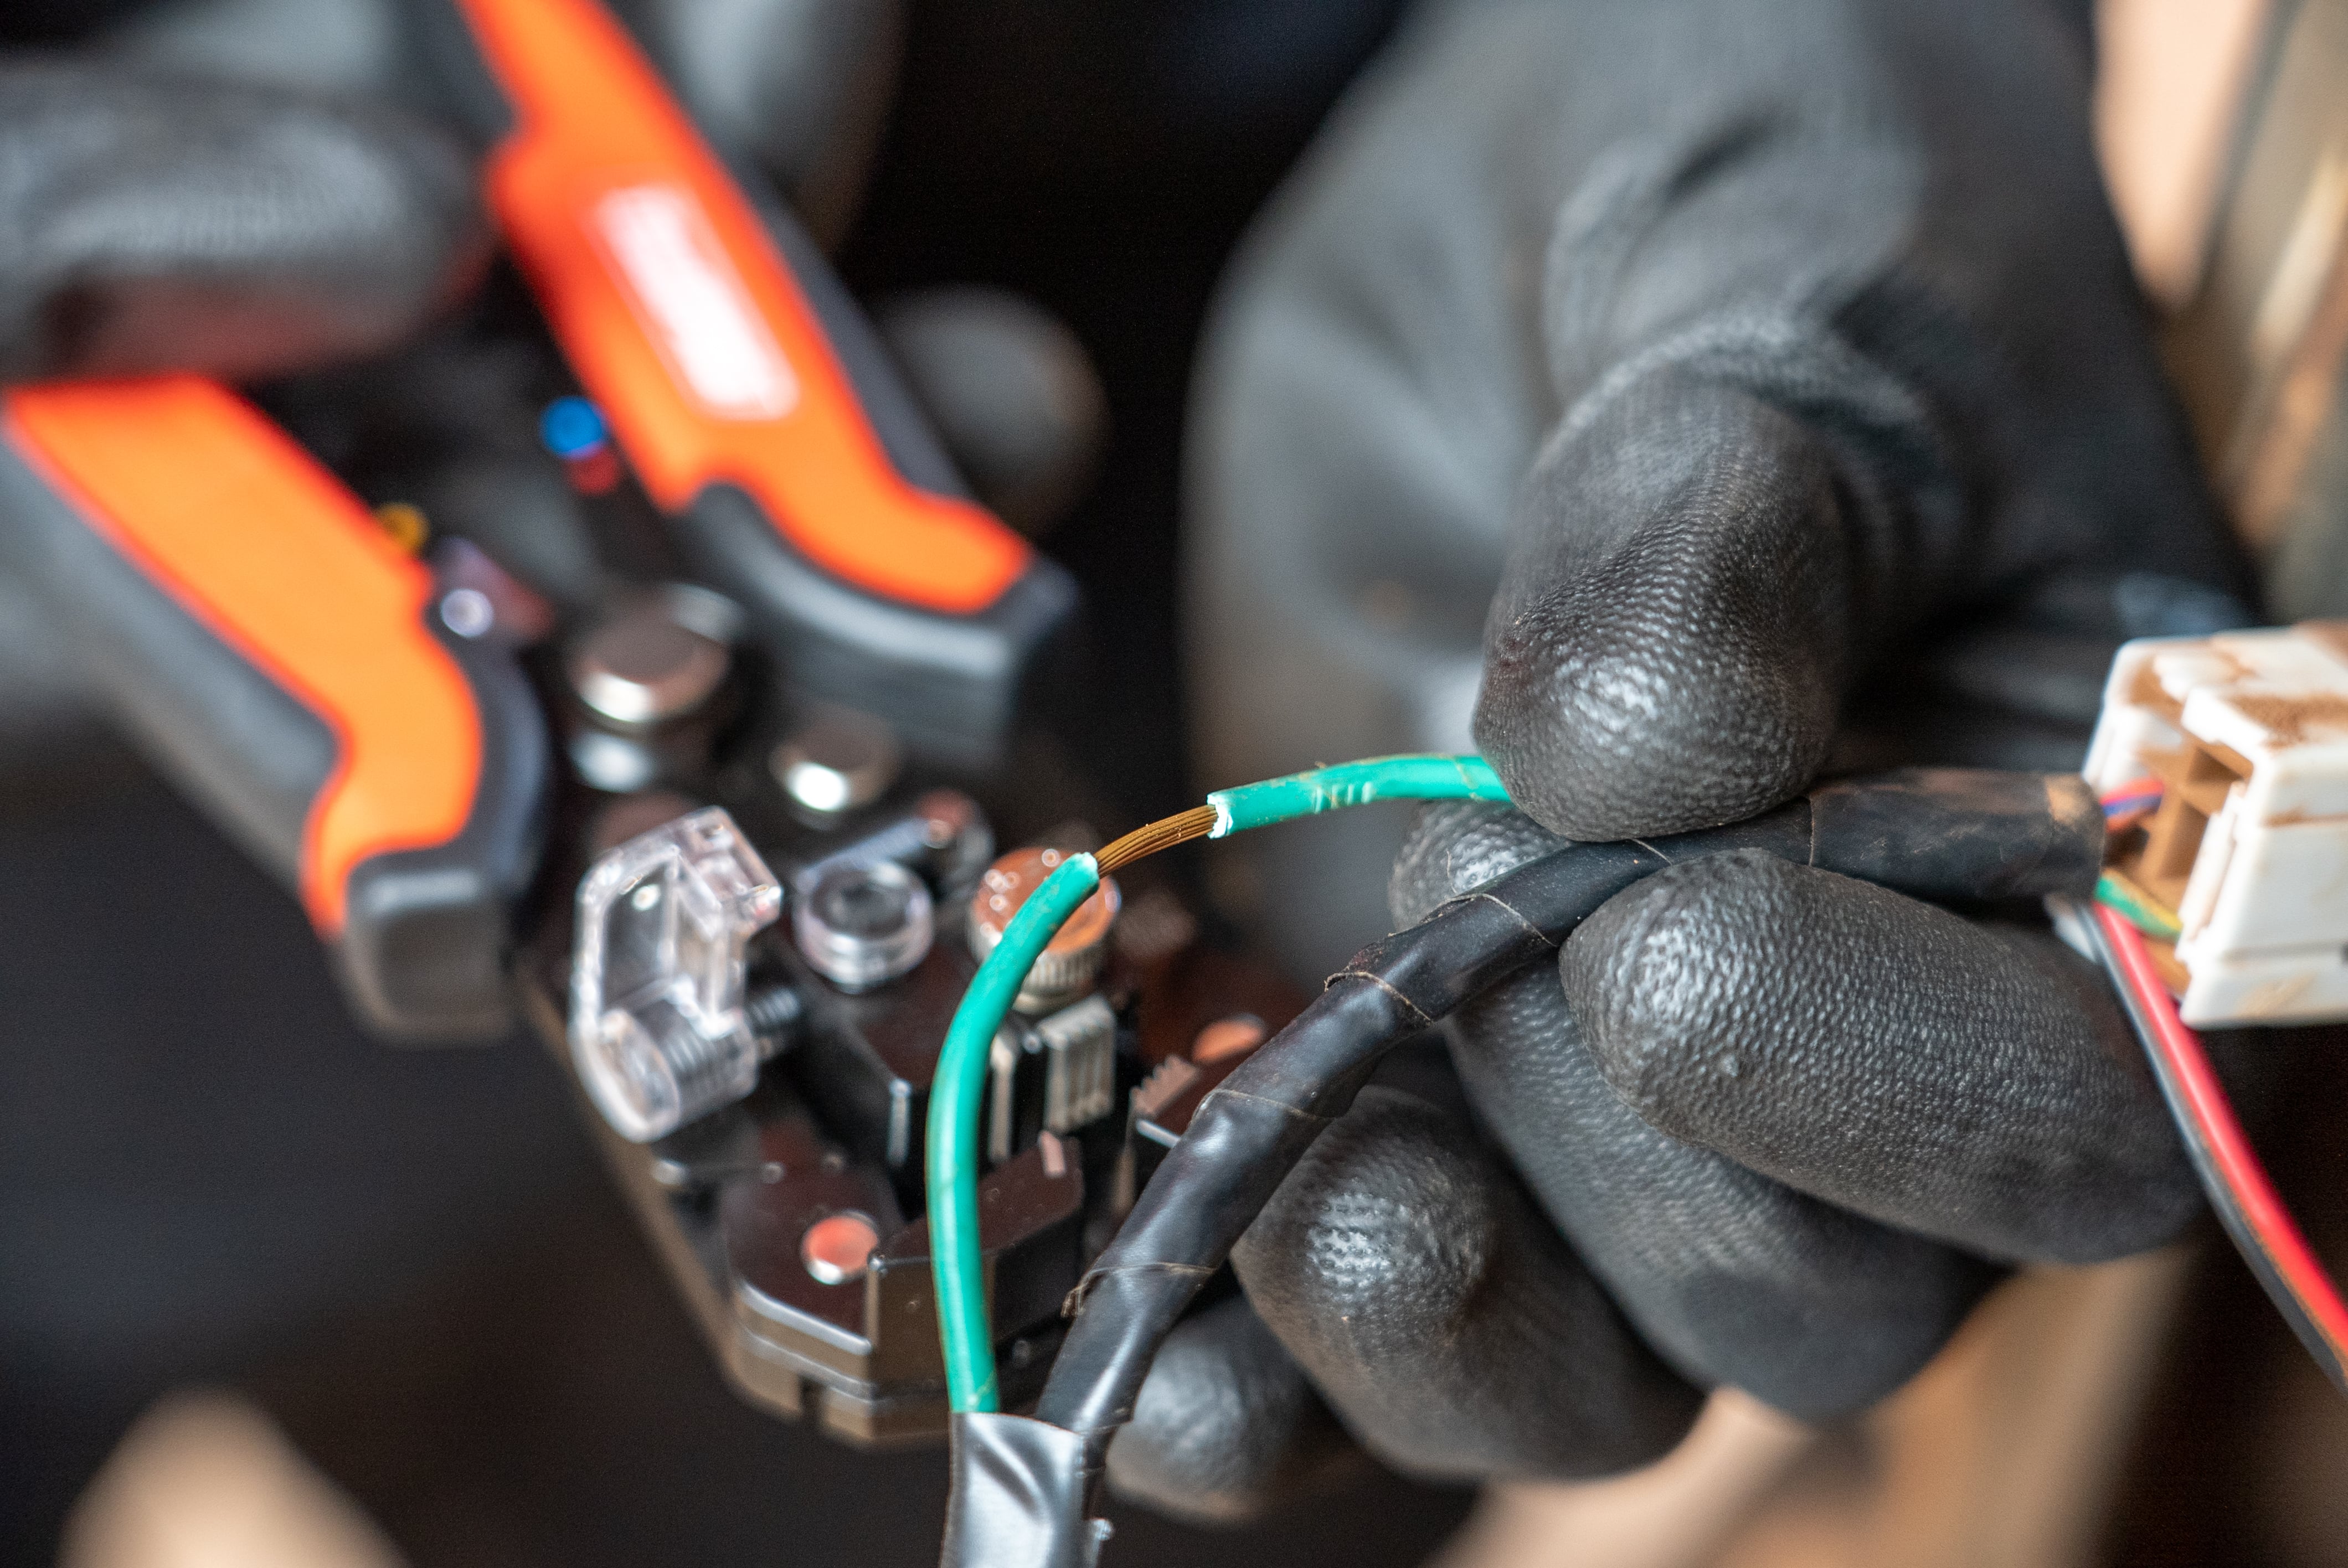
Pop your soldering iron on to heat up and use the wire strippers to bare a section of your reverse wire. Twist the red wire from your reverse camera around this.
‘Tin’ the tip of your soldering iron by touching some solder onto it. This will help your soldering technique immensely. Hold the tip of the iron against your wire join for a few moments, then gently poke some solder into the join. If it doesn’t flow nicely; your soldering iron probably needs a little more time to heat up.
Once the joint has cooled, wrap electrical tape around the bared section.
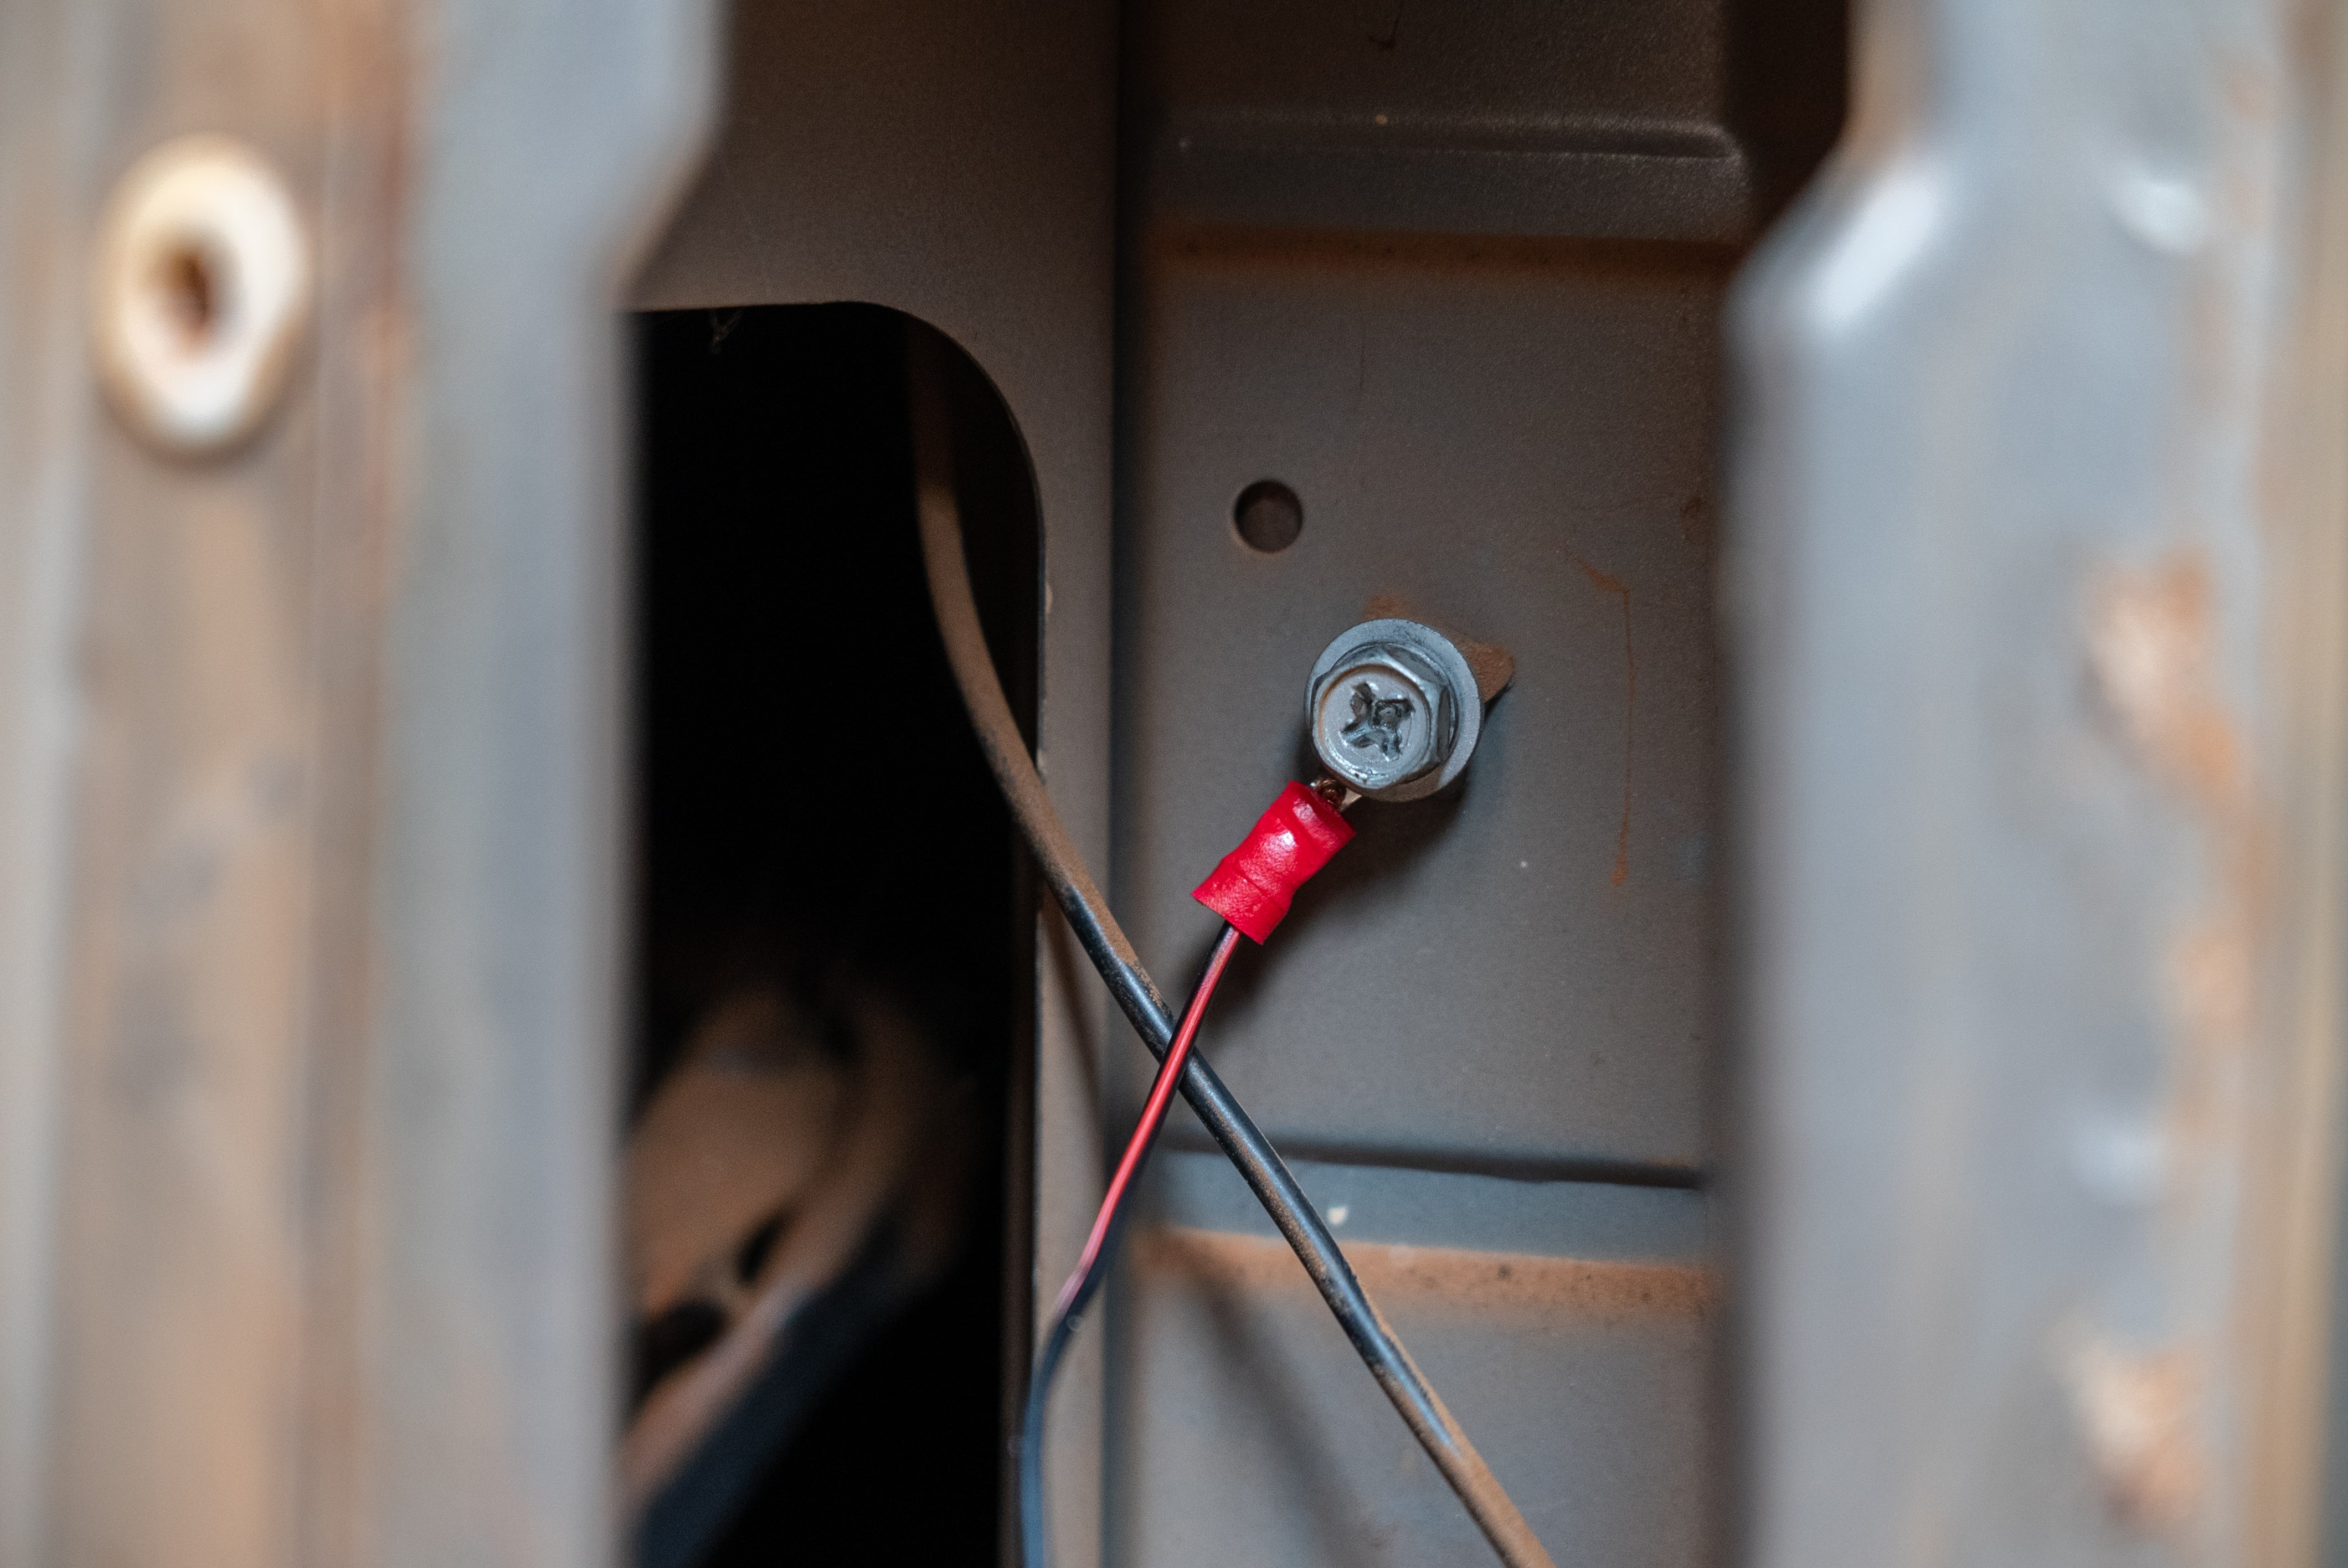
If you also have a black wire from the rear view camera, this needs to be earthed nearby. Strip the wire, crimp on a ring terminal; and fasten this behind the nearest bolt. Preferably bare metal to avoid earthing problems.
Route the wires
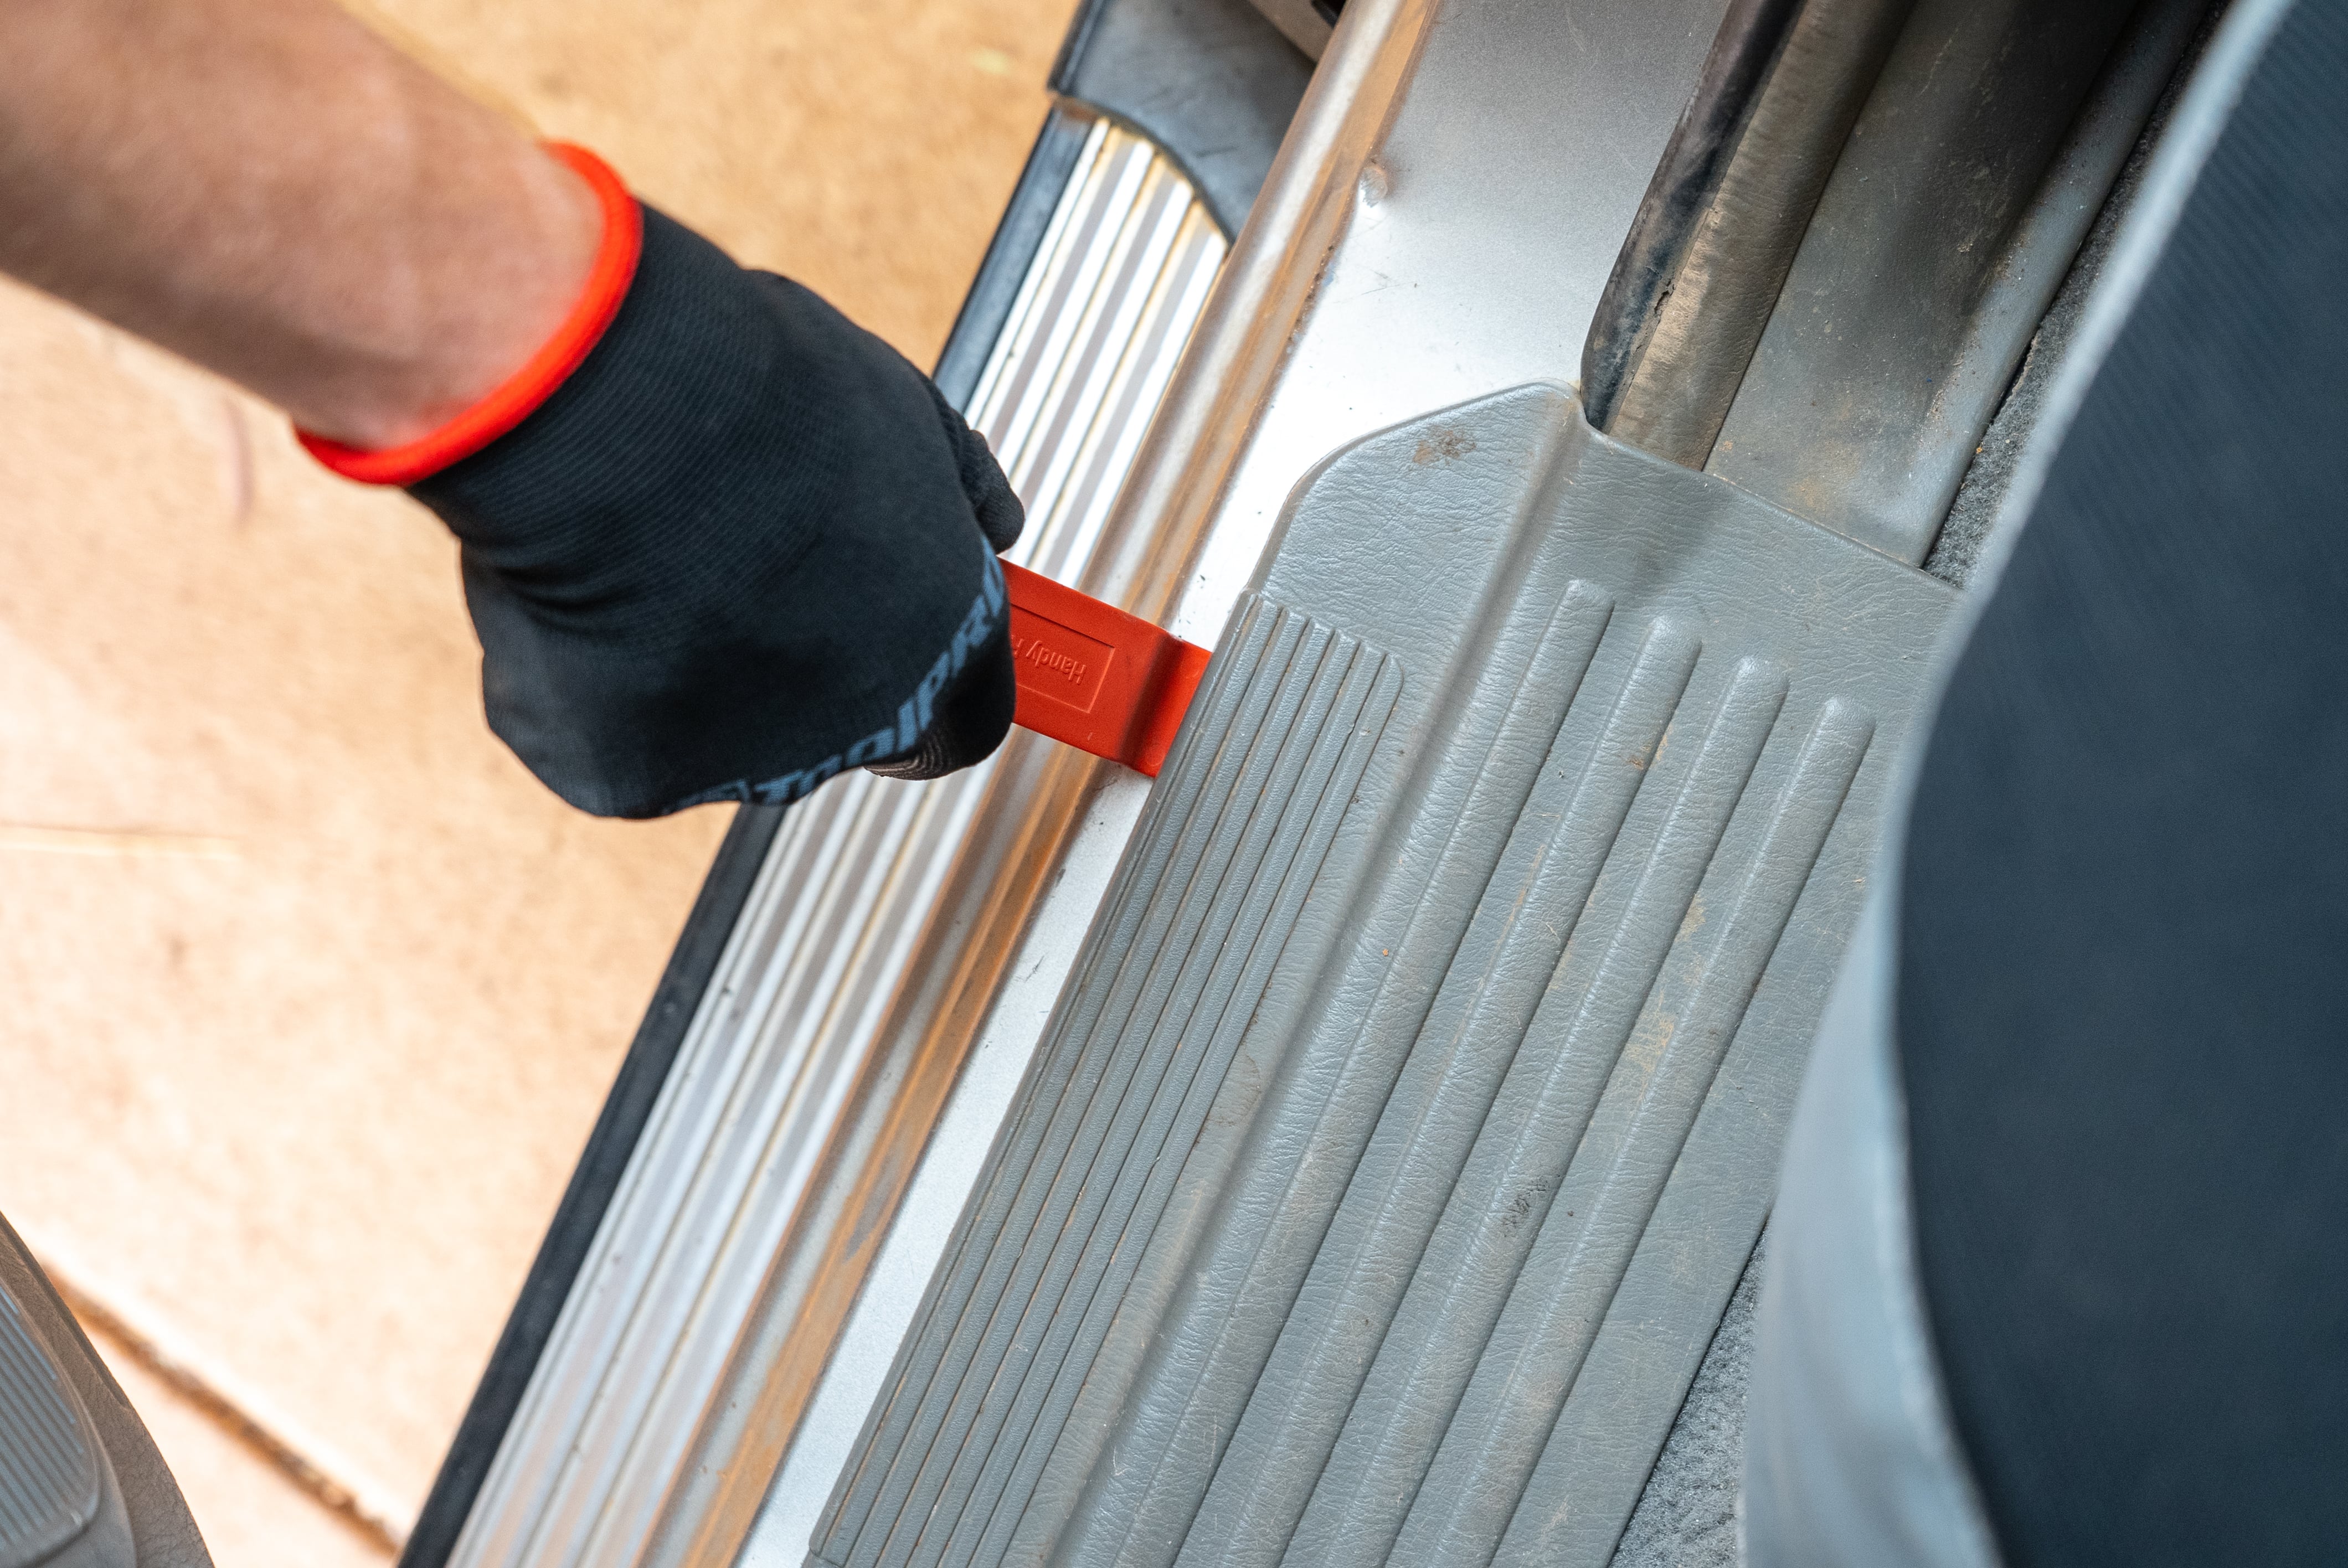
The remainder of that reverse camera wire needs to make its way to the front of the car. That trim remover set will come in handy, allowing you to hide the wiring neatly underneath the carpet and kick panels as you go.
Mount the screen
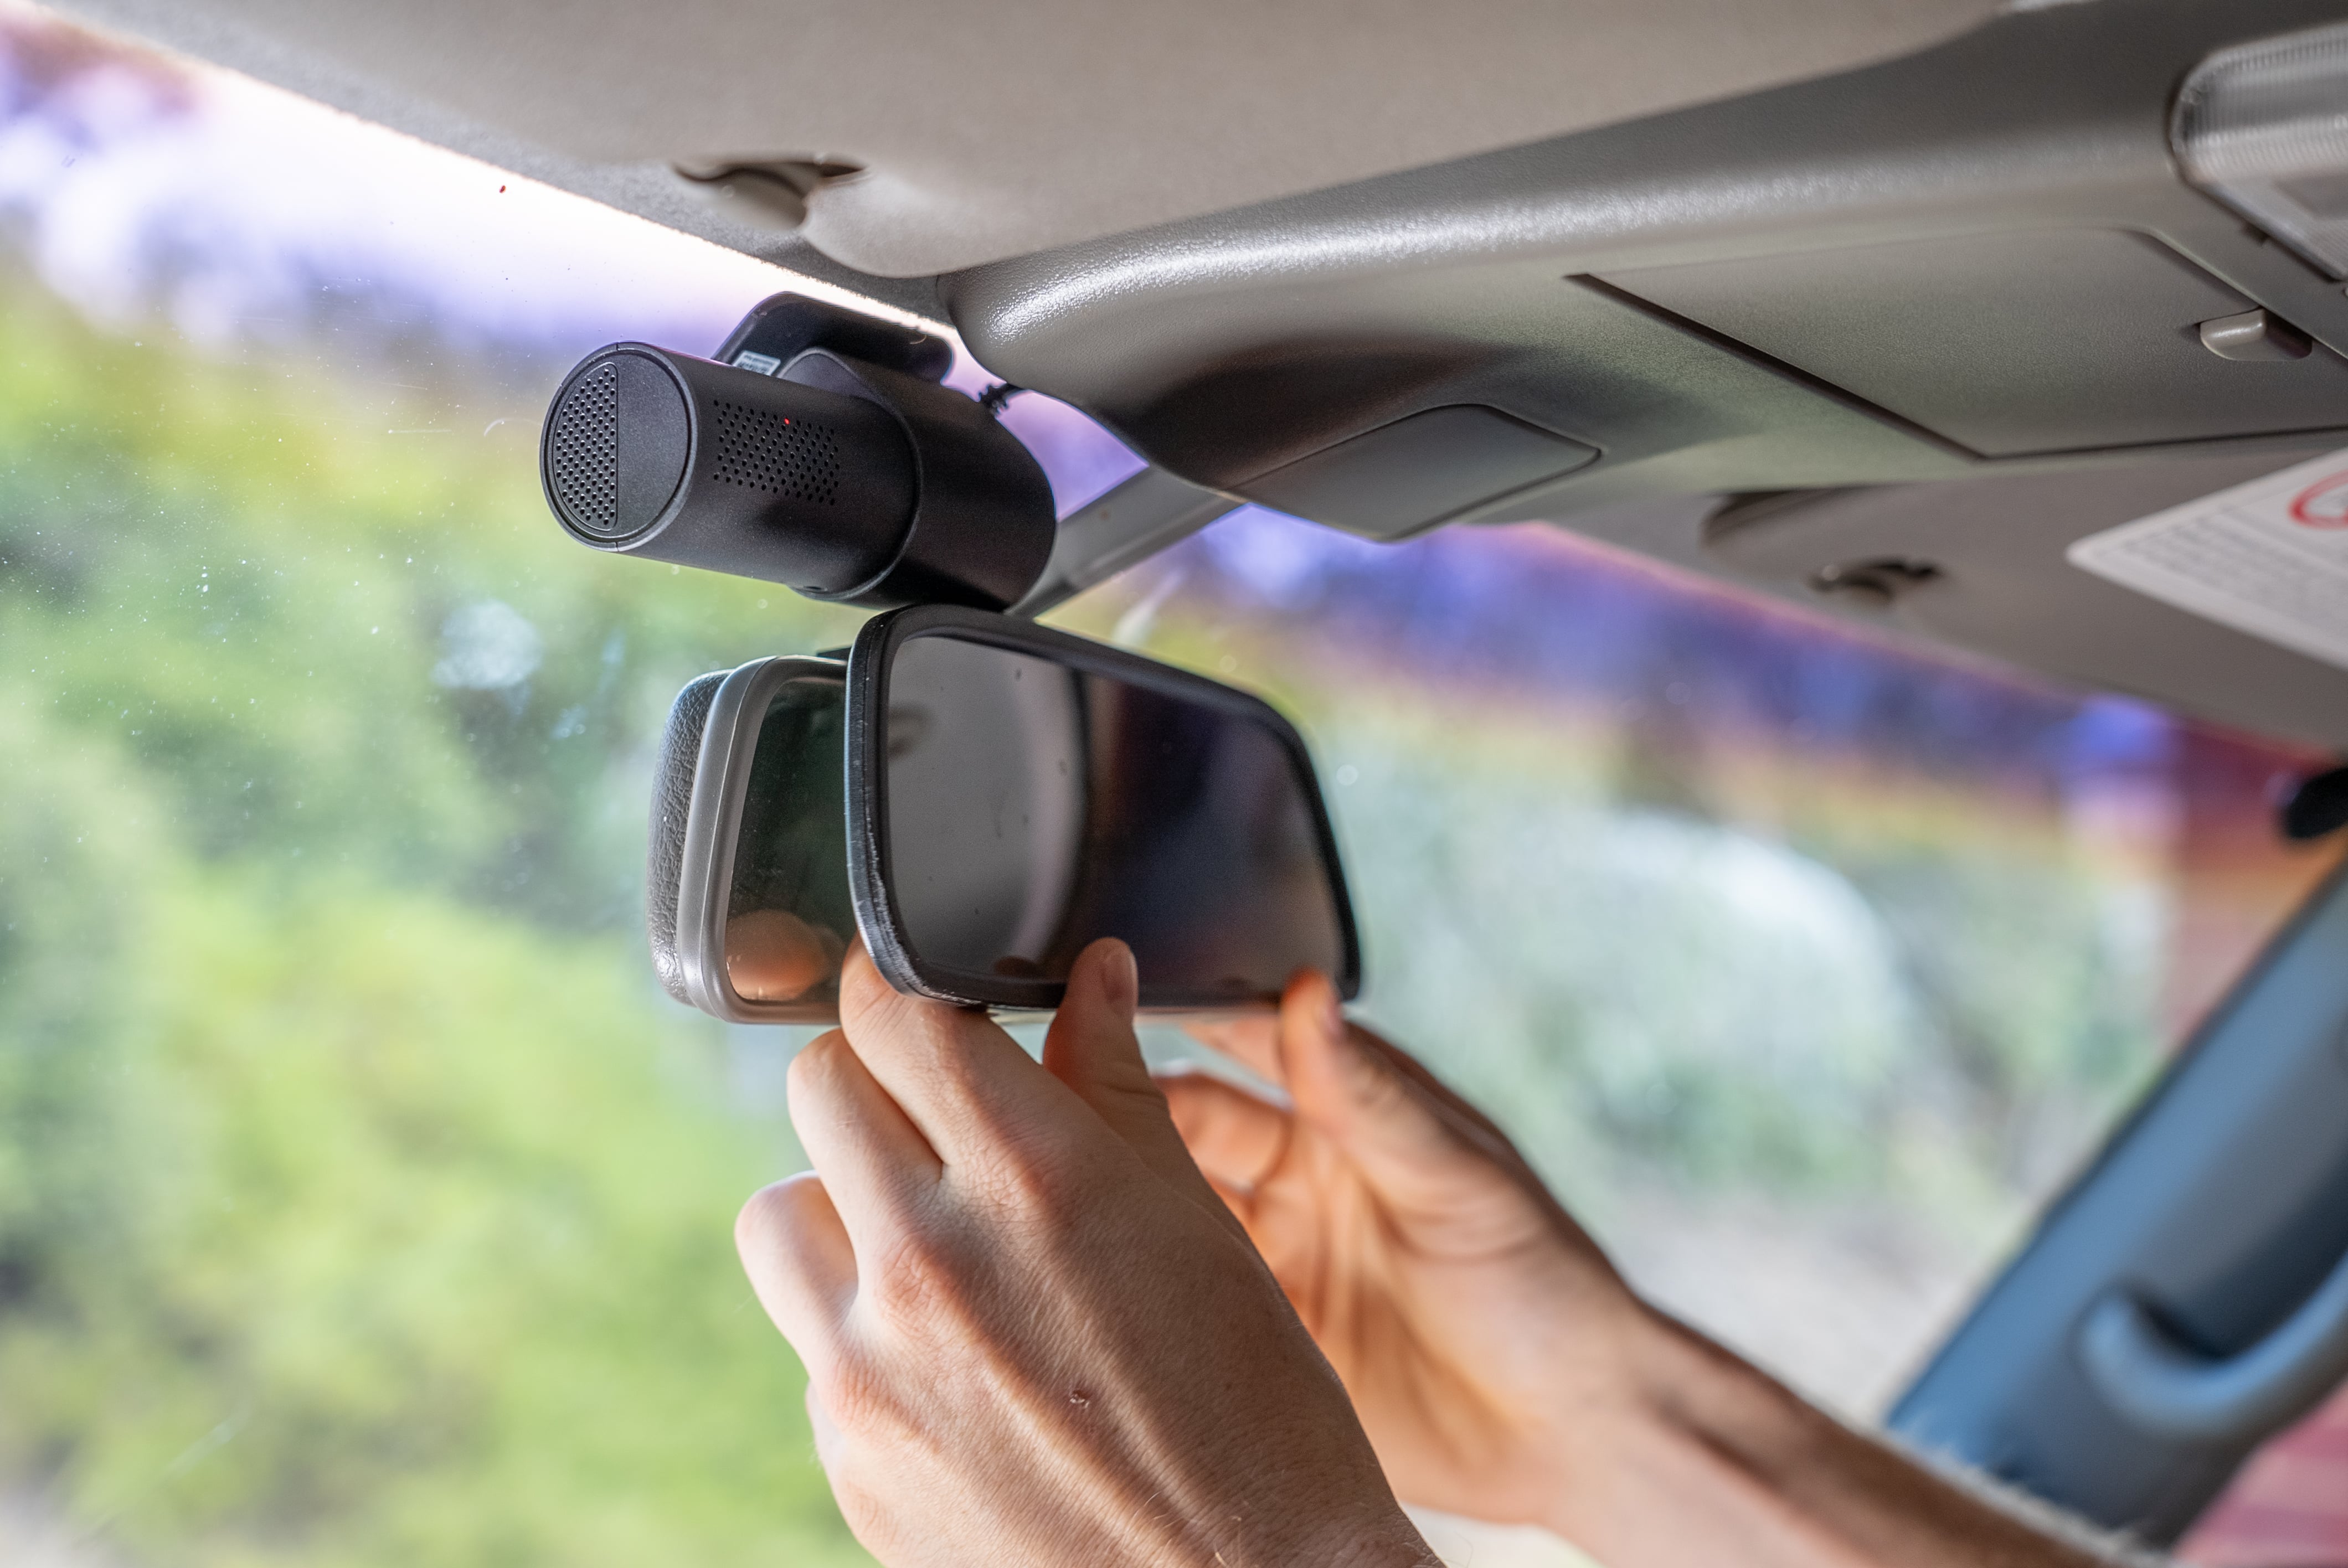
If you’re using a mirror screen, you already know where it’s going. Just clip it over your existing mirror.
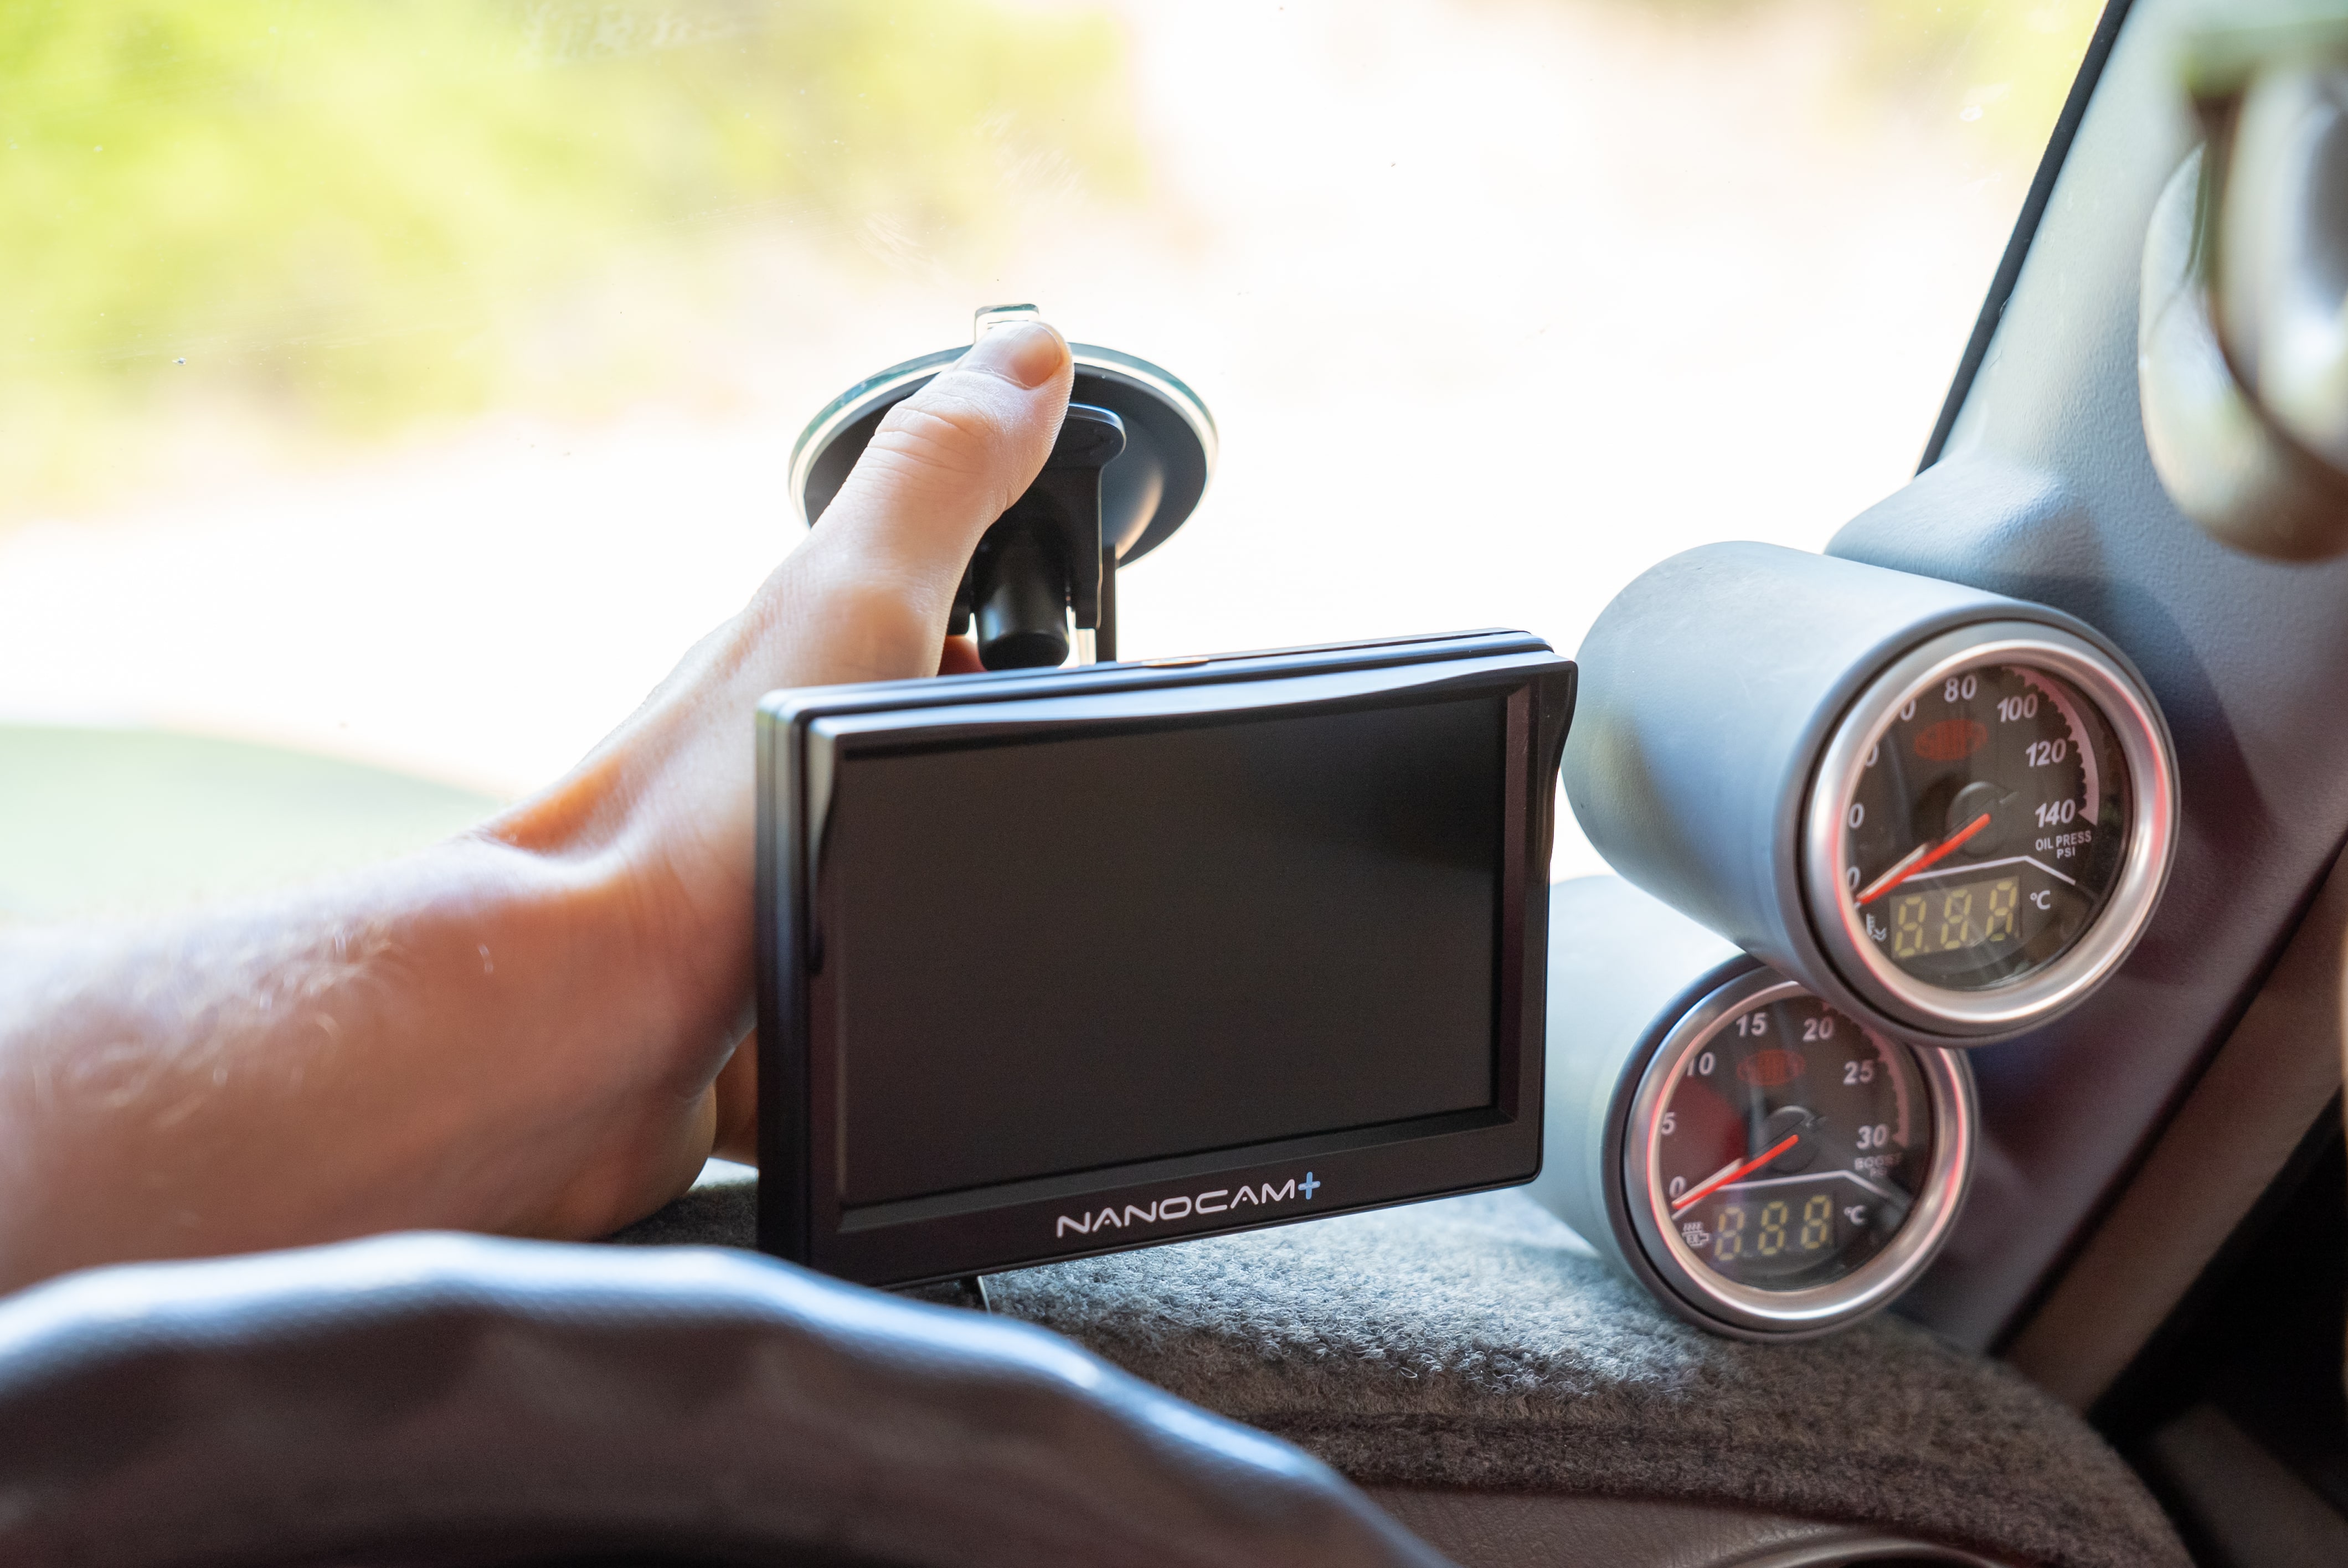
A stand-alone screen usually comes with a windscreen mount and a dash mount. If you have the space on your dash, it makes sense to keep your windscreen free. Don’t forget a quick wipe with wax and grease remover before you stick it on, but be sure to test it on an inconspicuous area first.
If windscreen mounted is the only way, just make sure it won’t obscure the driver’s vision.
Connect the dash camera power
This camera has a red wire which needs constant power, and black which needs to be earthed. Your camera may be different, so check the installation manual. Above the pedals under the steering wheel, or near the fuse block is a good place to find these.
With keys out of the ignition, grab the test light again and start probing until it lights up. Then use those new skills of yours to strip, solder and tape in your power wire.
For the earth wire there will be a suitable earthing bolt somewhere nearby.
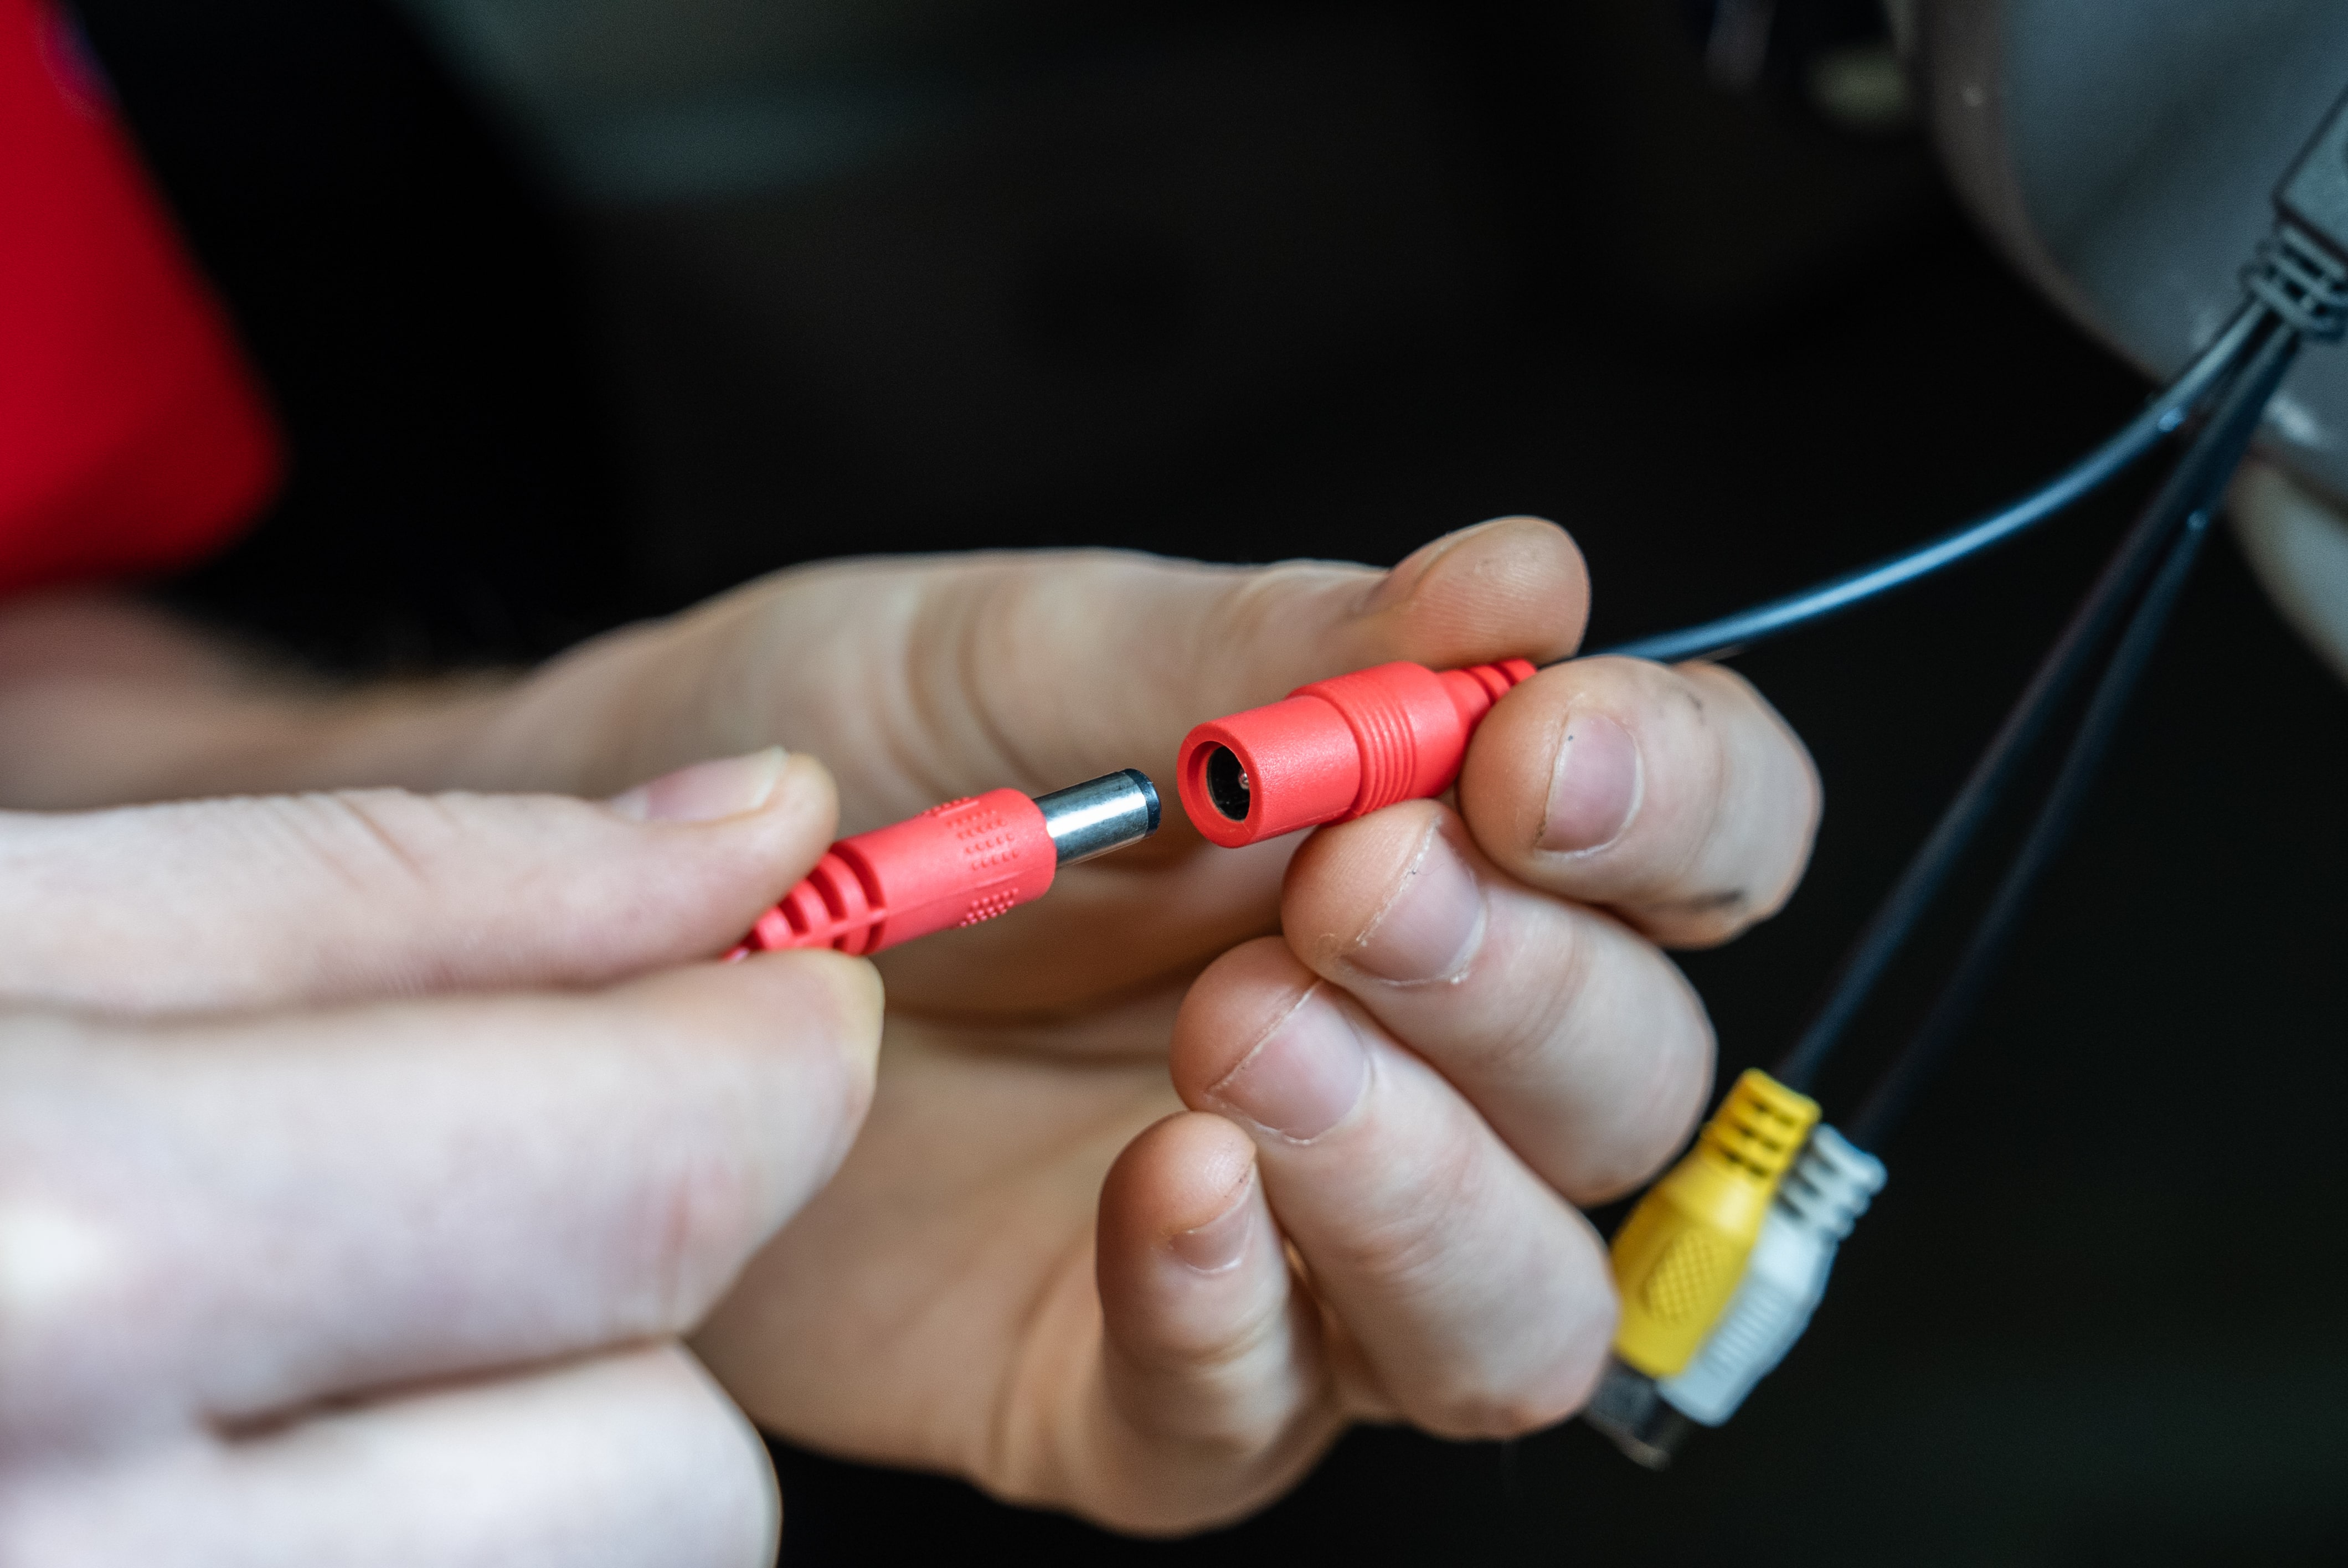
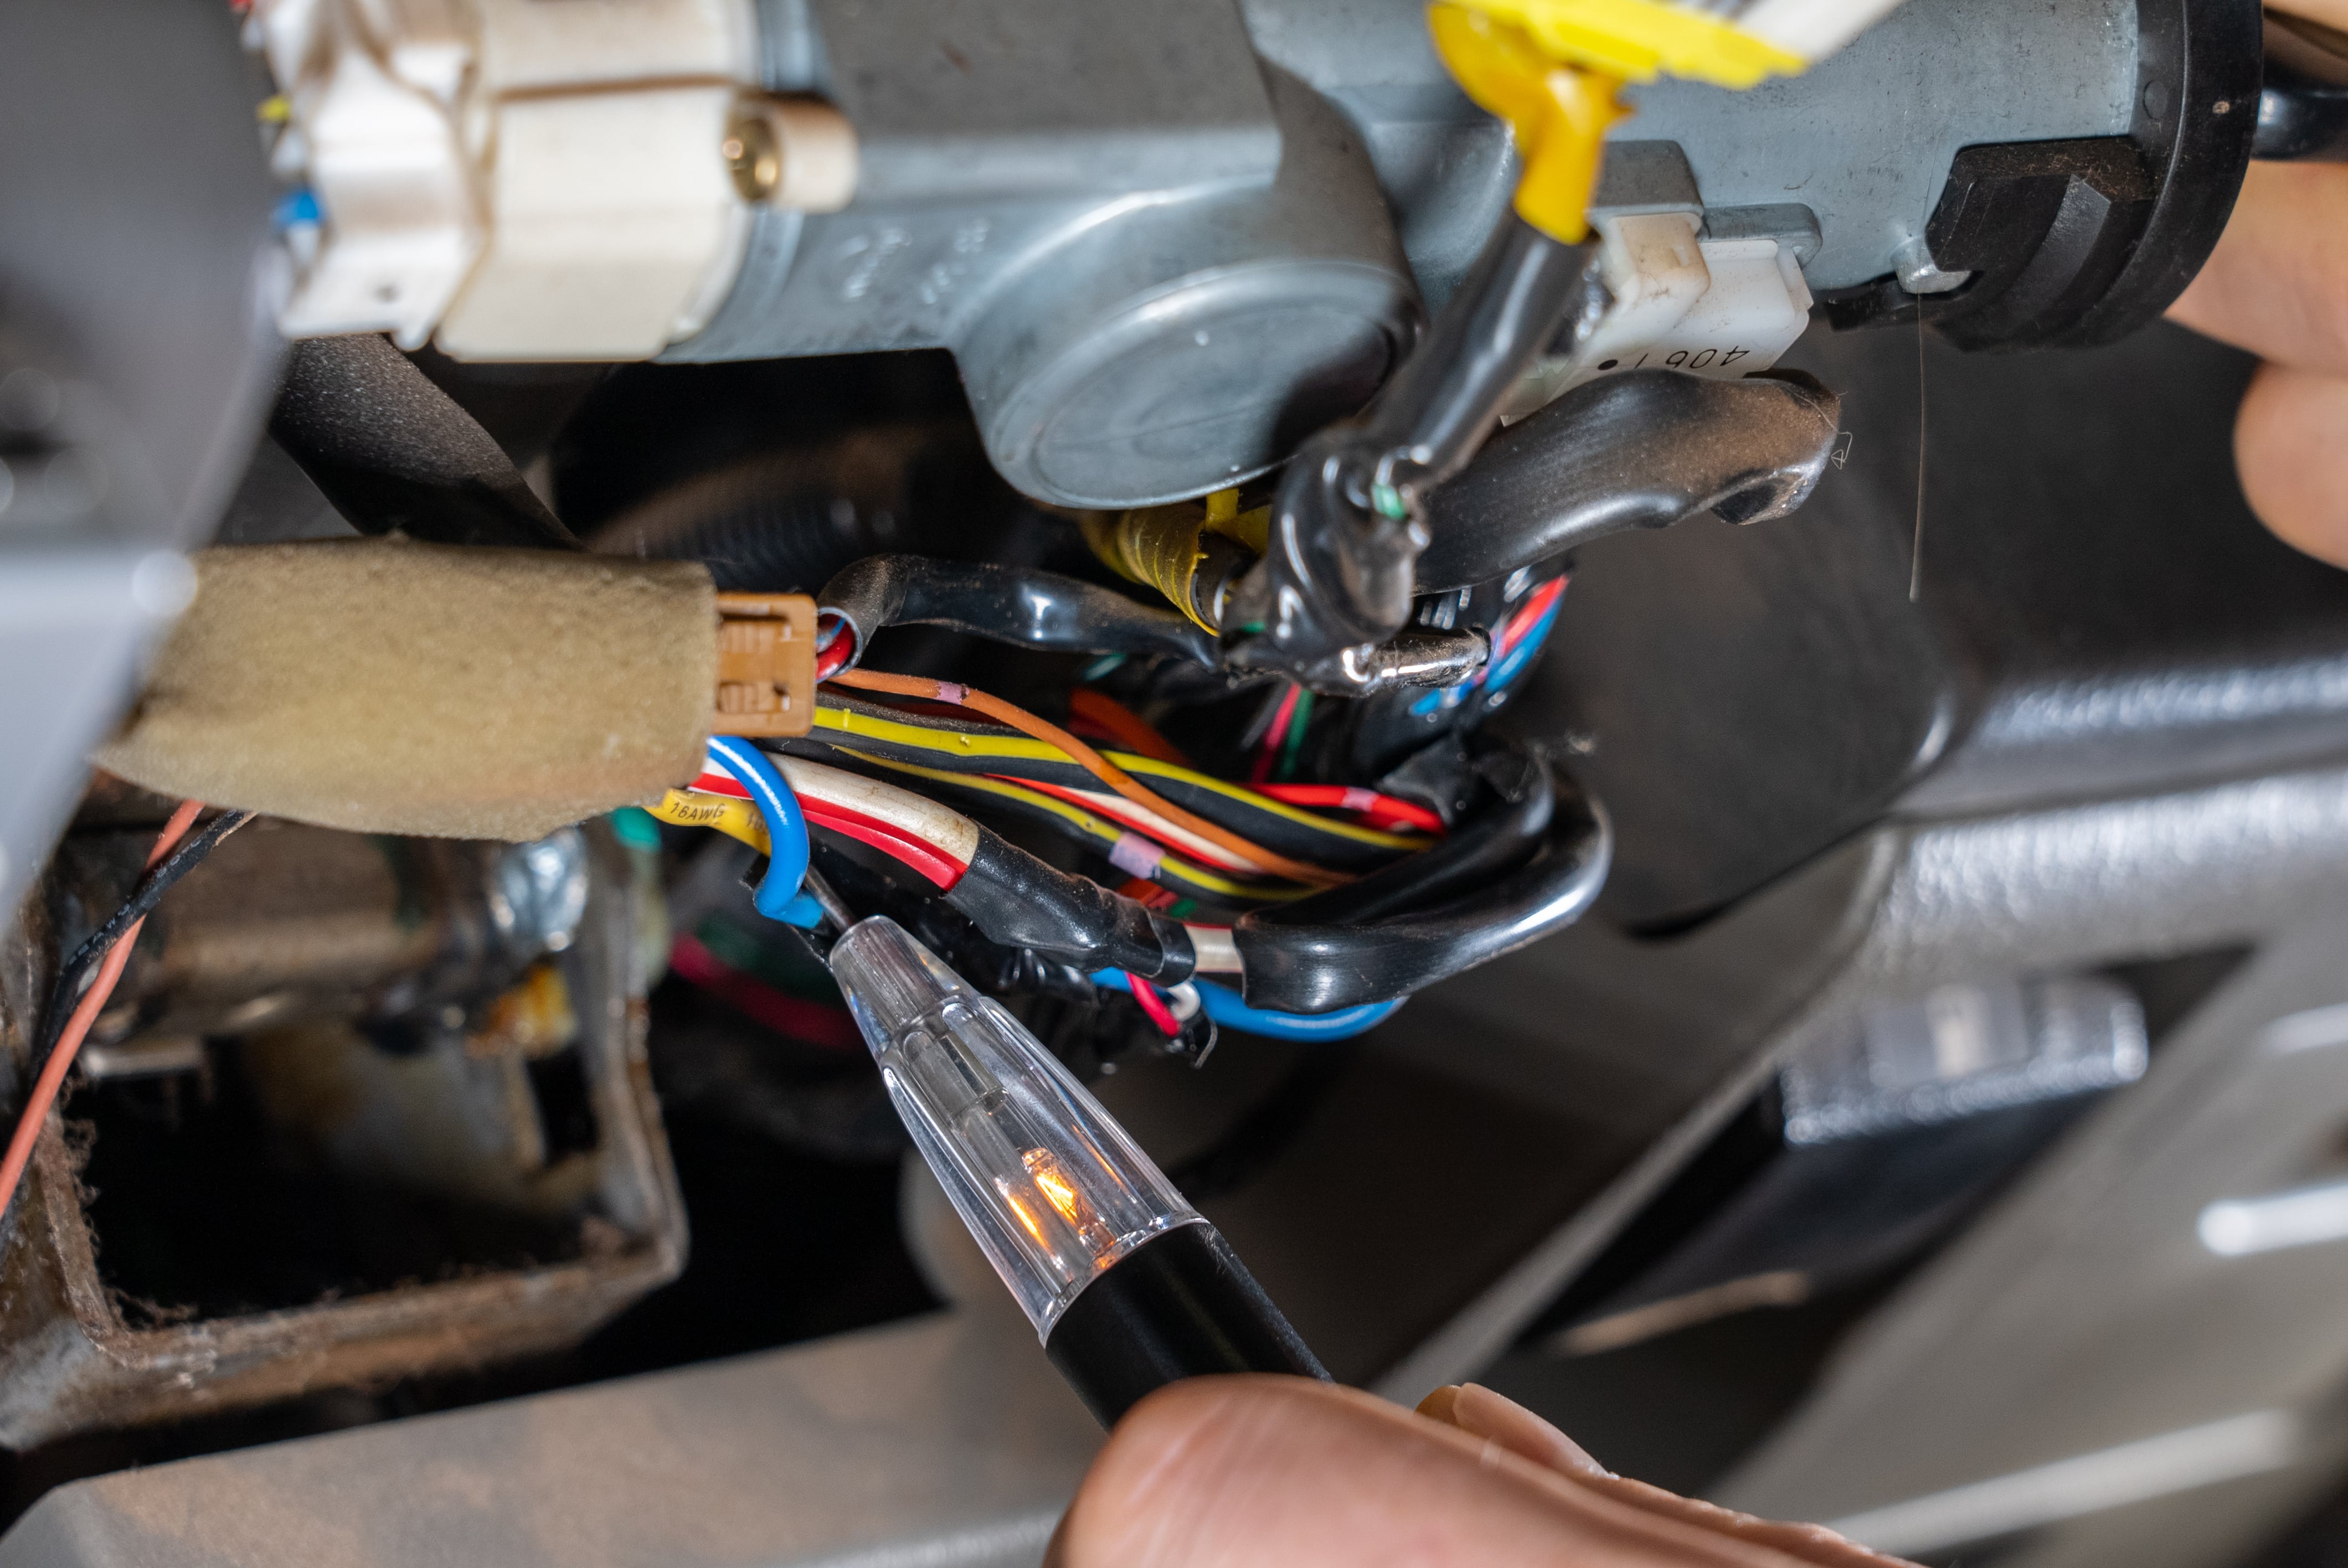
The final touches
Route the power wire, and the reverse camera wire up along to the screen. Now with your ignition on but engine off; your reverse camera should do nothing.
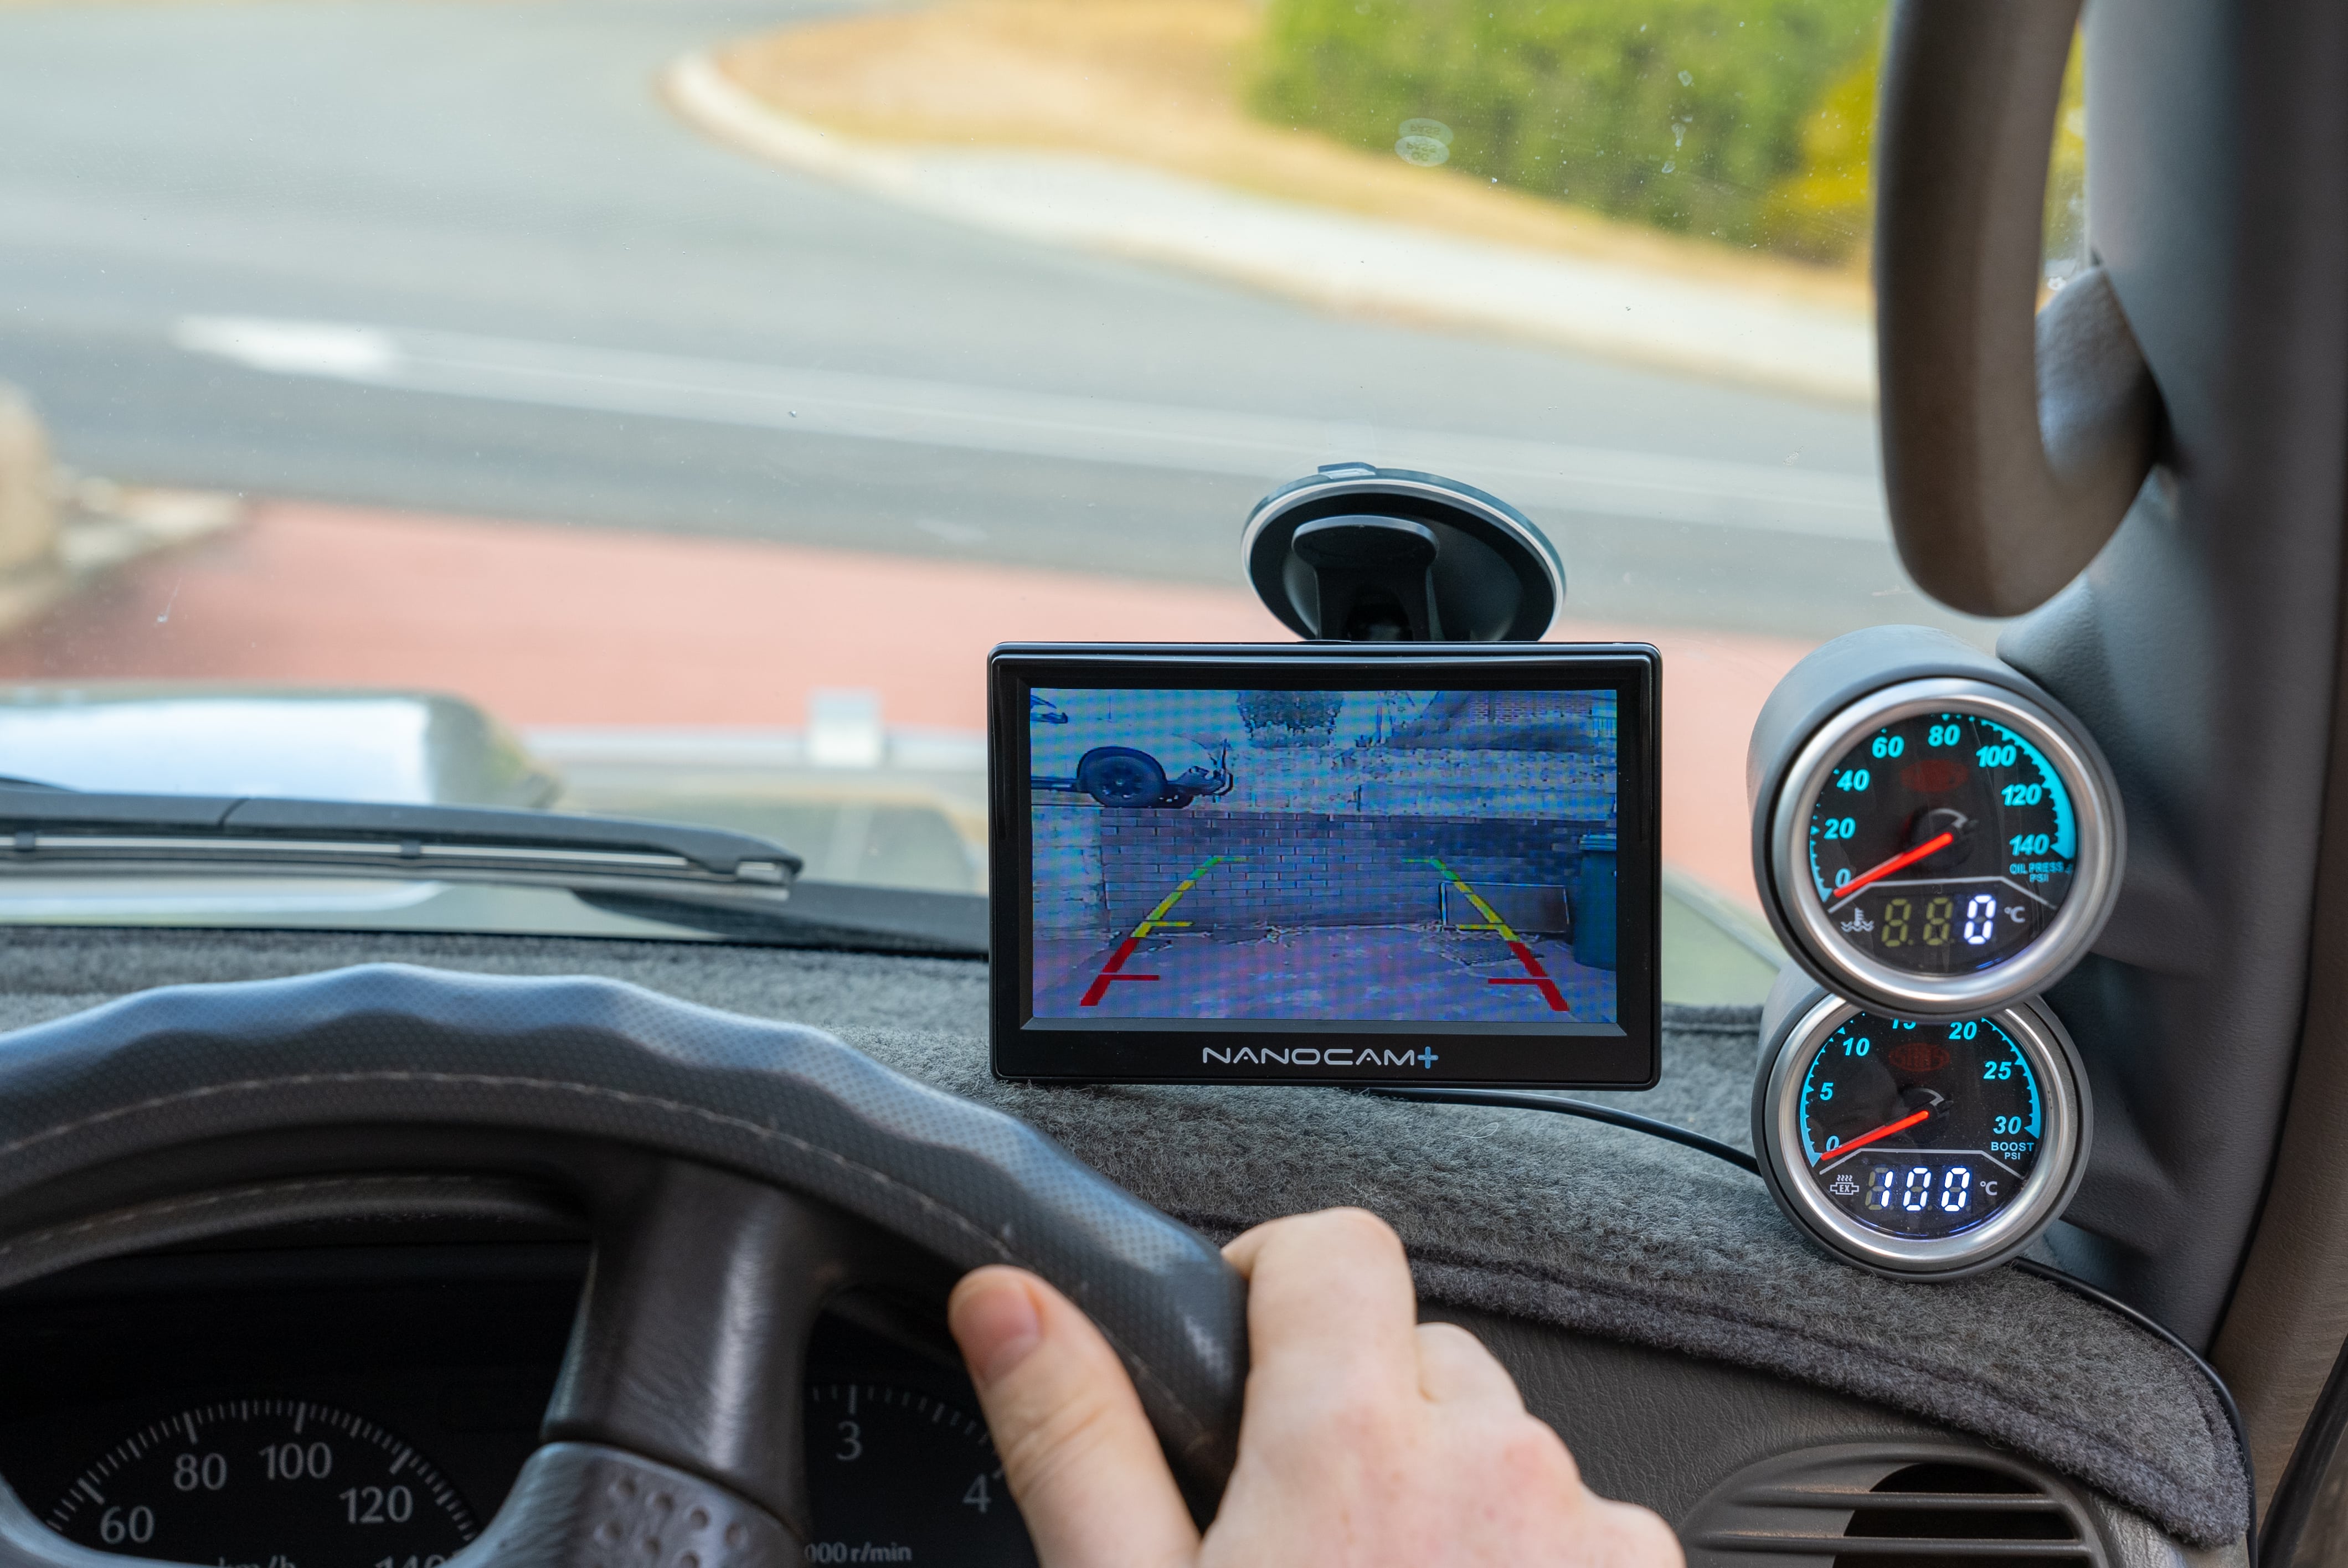
Flick it into reverse, wait a moment….and there you go! You have a reverse camera.
May all the neighbourhood mailboxes sigh in relief.
*Important information* - Click here to read more about our DIY Advice Terms and Conditions.