How To Replace a Clutch
Overview
Notchy gear changes and engine rev's rising without an increase in speed are a sure sign of a worn and slipping clutch.
A clutch replacement can be completed at home using car stands to raise the vehicle and a trolley jack to remove the gearbox. A clutch alignment tool is highly recommended, otherwise you could spend a great deal of time attempting to line up the clutch plate and input shaft spline. It will take you approximately 5-6 hours to complete the job with the right clutch tools.
Here's how to go about it.
NOTE: The vehicle used for this demonstration is a rear wheel drive Ford Falcon - your vehicle may require different techniques to complete the change.
Items
Materials
- Replacement Clutch
- Clutch Alignment Tool
- Brake & Clutch Fluid
- Brake & Clutch Bleeder
- Wheel Chocks
Tools
- Various Screwdrivers
- Socket Set
- Breaker Bar
- Trolley Jack
- Jack Stands or Ramps
Steps
Disconnect Battery, Unbolt Shifter & Raising the Vehicle
First steps involve disconnecting the battery, unbolting the shifter within the cabin (two bolts), and with the car off the ground, undoing the clutch cable from the fork lever within the dust cover on the side of the gearbox. The clutch cable needs to be slackened by loosening the adjustment nuts at the firewall in the engine bay
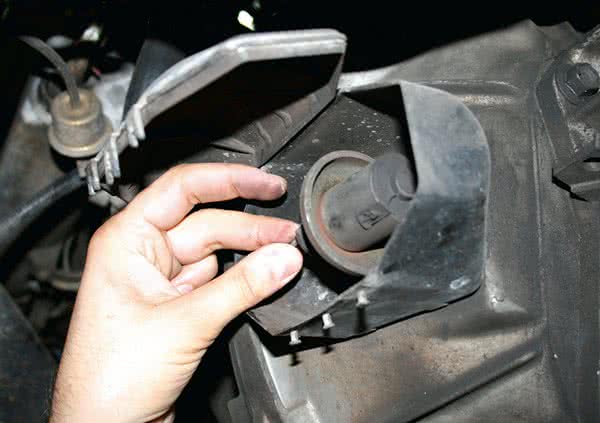
Disconnect Sensor Wires
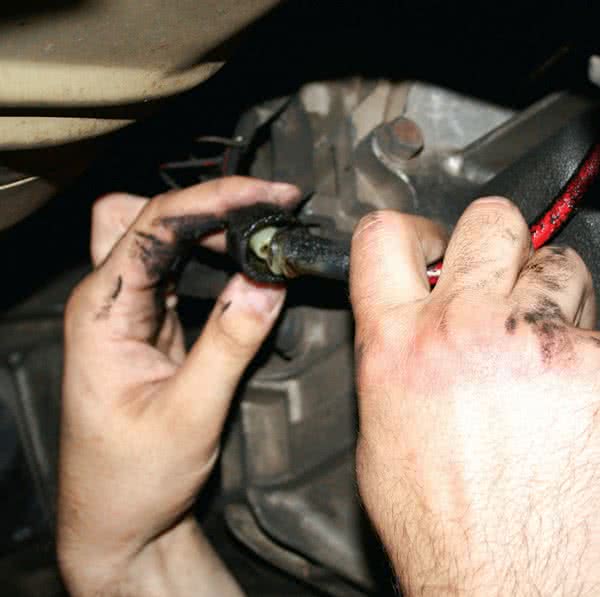
Next, disconnect the sensor wires from the gearbox and loosen and then disconnect handbrake cable so the gearbox can be removed.
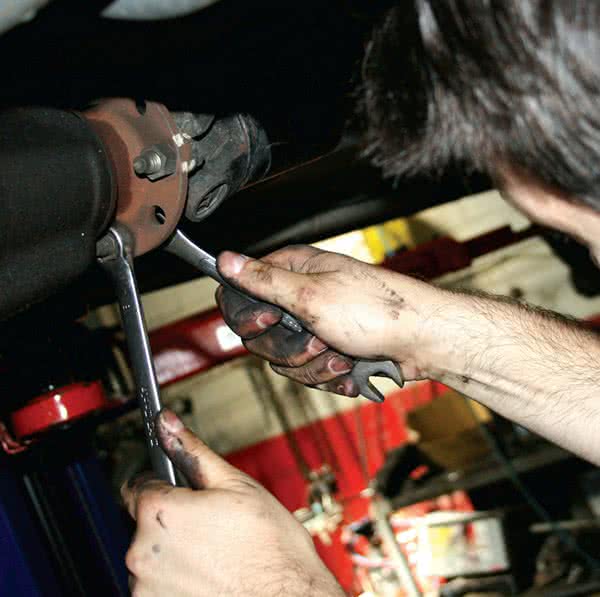
Remove Tailshaft
The tailshaft has to come out, which is a straightforward removal of four nuts and bolts
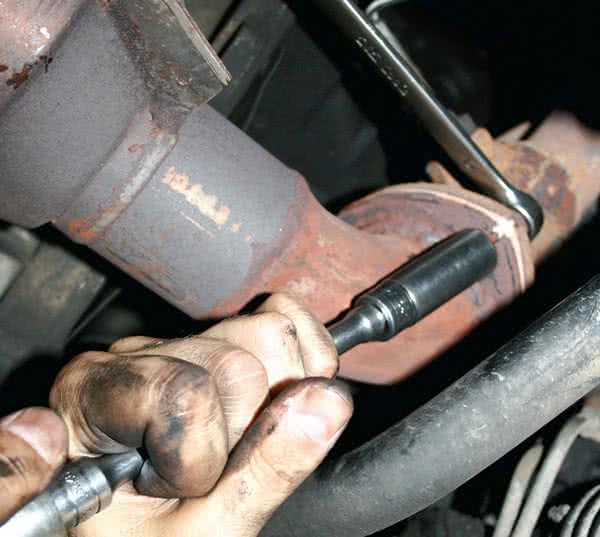
Section off Exhaust
A section of the exhaust has to come out to help with access. Bolts located on the exhaust are generally difficult to remove due to dirt, rust and the constant expanding and contracting of the hot exhaust pipe. A penetrant, such as WD40, can help loosen difficult bolts.
Remove Starter Motor & Bellhousing Bolts
With everything out of the way, remove the starter motor and begin removing the bellhousing bolts. Some bolts may be difficult to access and require extra tools such as long extensions, swivel joints and breaker bars.
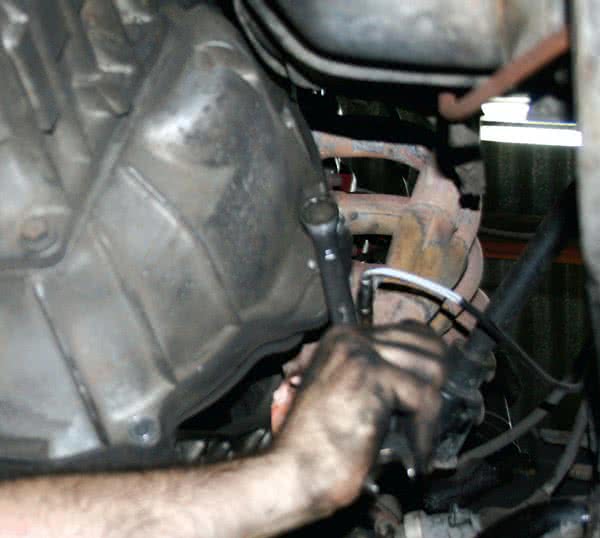
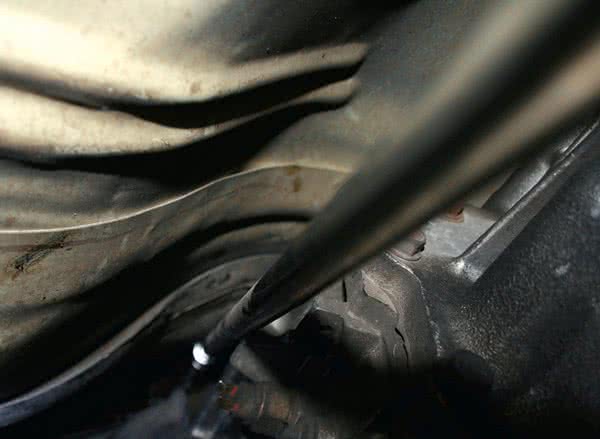
Remove Gearbox
Next remove the gearbox.
If it is only you, then you could use a gearbox jack or similar, or if you are on the ground, then you could also use a trolley jack. It really is a two person job, however.
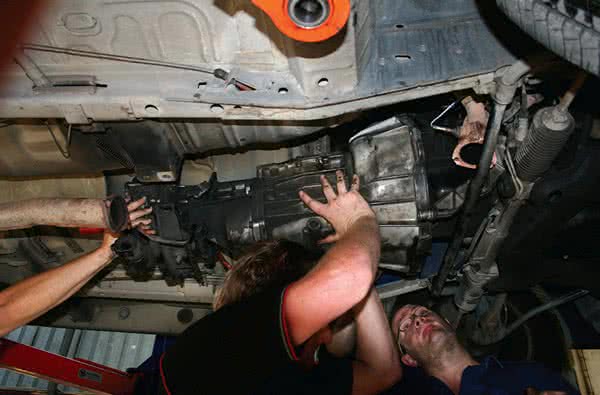
Remove Pressure Plate
Remove the old pressure plate and flywheel. To keep the engine from rotating while removing the flywheel bolts, use a large screwdriver slotted into the teeth and locked against the body.
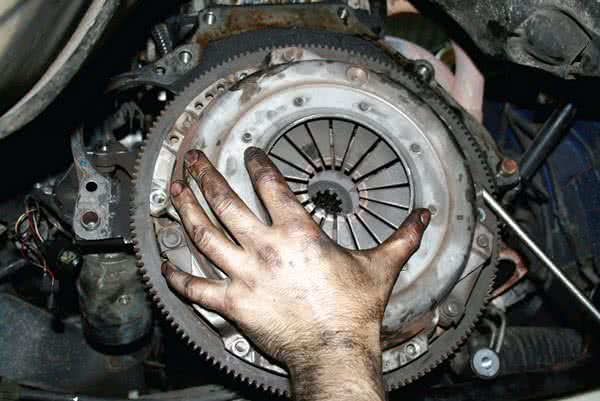
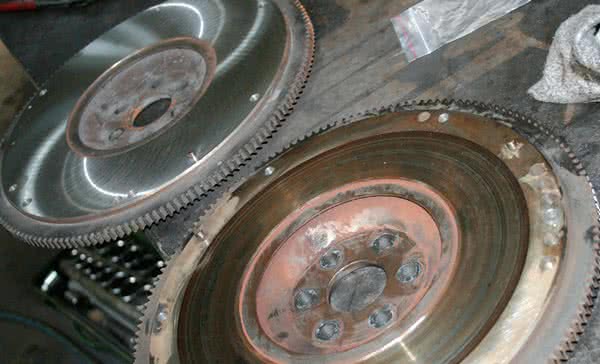
Inspect Flywheel
A second-hand flywheel was purchased from a wreckers and machined up so it was ready to go.
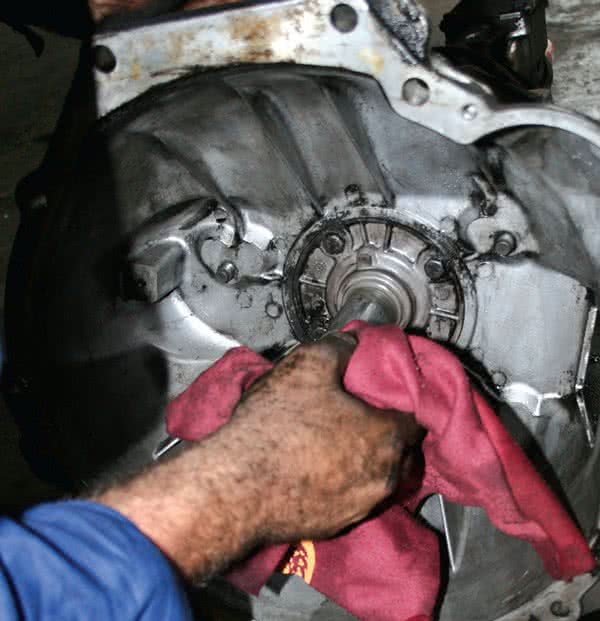
Clean Bellhousing
Clean the inside of the bellhousing throughly
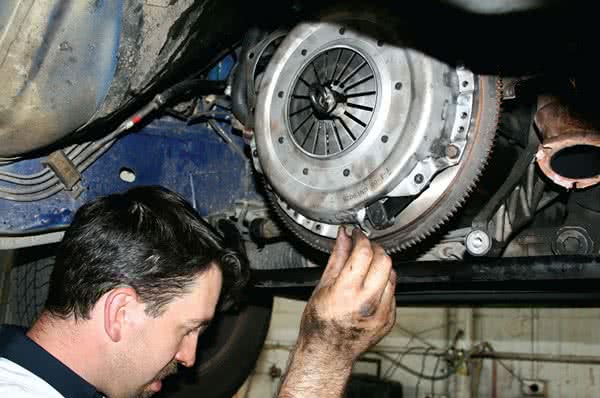
Fit Flywheel & Pressure Plate
Fit the new flywheel and pressure plate and tightened to the manufacturers specified torque.
A dab of locknut was used on all flywheel and pressure plate bolts
Note the use of the clutch alignment tool.
Refit Gearbox
Refitting the gearbox is largely a reverse process including reconnecting all the cables and wires
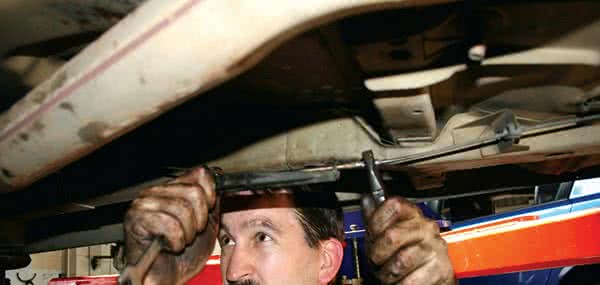
Clutch Cable Adjustments
Clutch cable is adjusted at the firewall by turning the two bolts (the second locks off against the first). The clutch telemetry should find the friction point after about an inch of pedal movement.
*Important information* - Click here to read more about our How-To terms and conditions.