How To Remove Ball Joints with a Ball Joint Separator
Overview
Save your hands and your vehicle from damage, and forget the hammer for separating ball joints.
The ToolPRO Ball Joint Separator makes the job safe and easy. Don’t mess around trying to swing a big hammer in a small space - use the ToolPRO Ball Joint Separator instead.
Here’s how it’s done.
Steps
Remove Retainer Pin
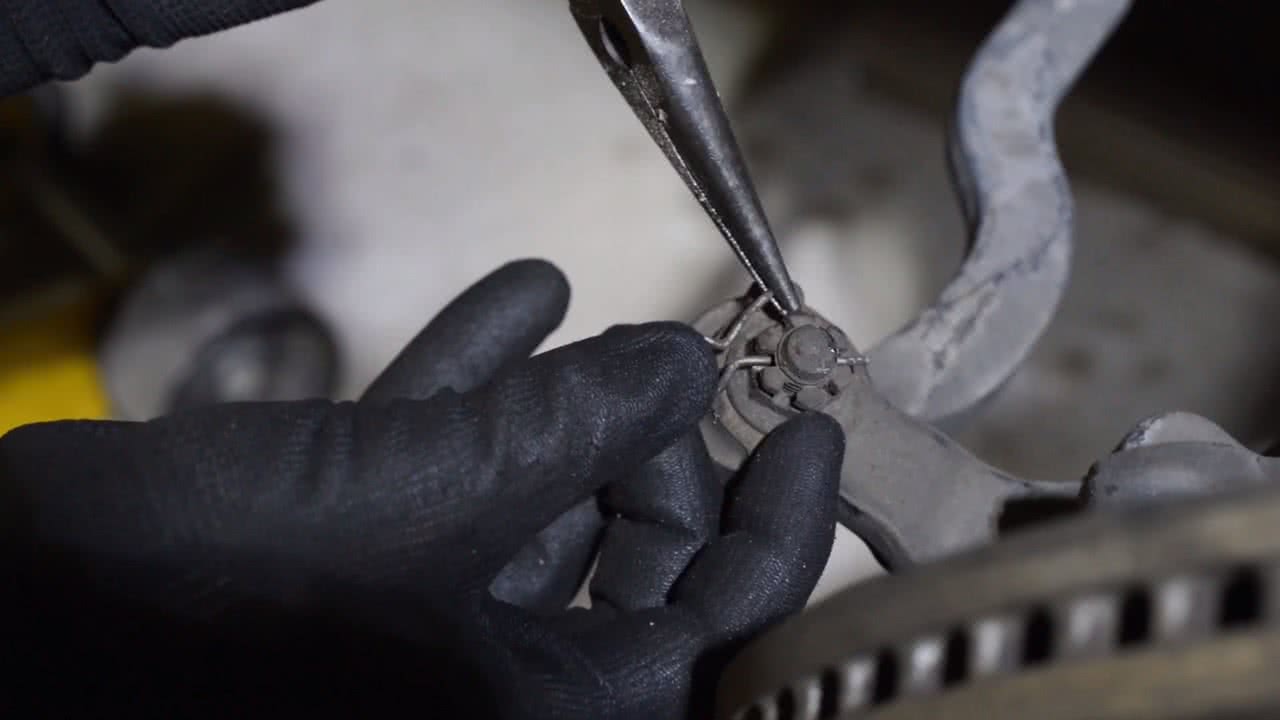
Firstly start by removing the retainer pin from the ball joint.
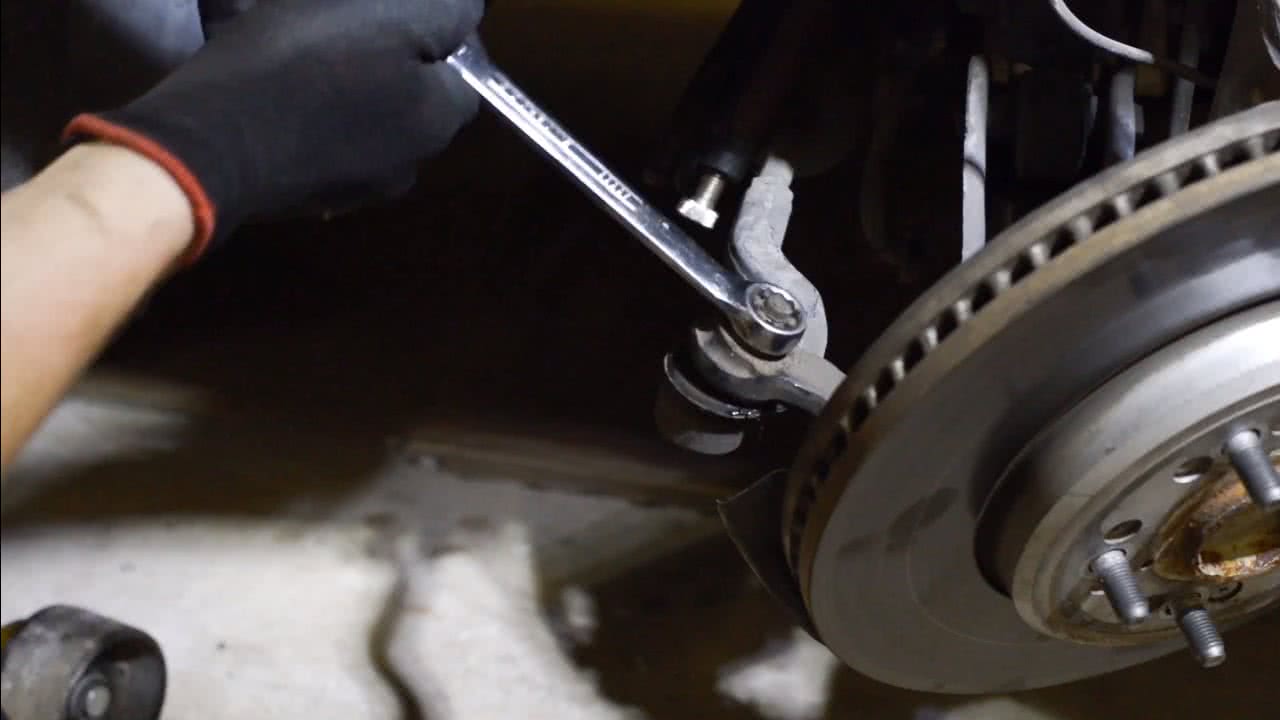
Then undo the castle nut using a spanner right to the end of the thread, be sure not completely remove it.
Apply Grease
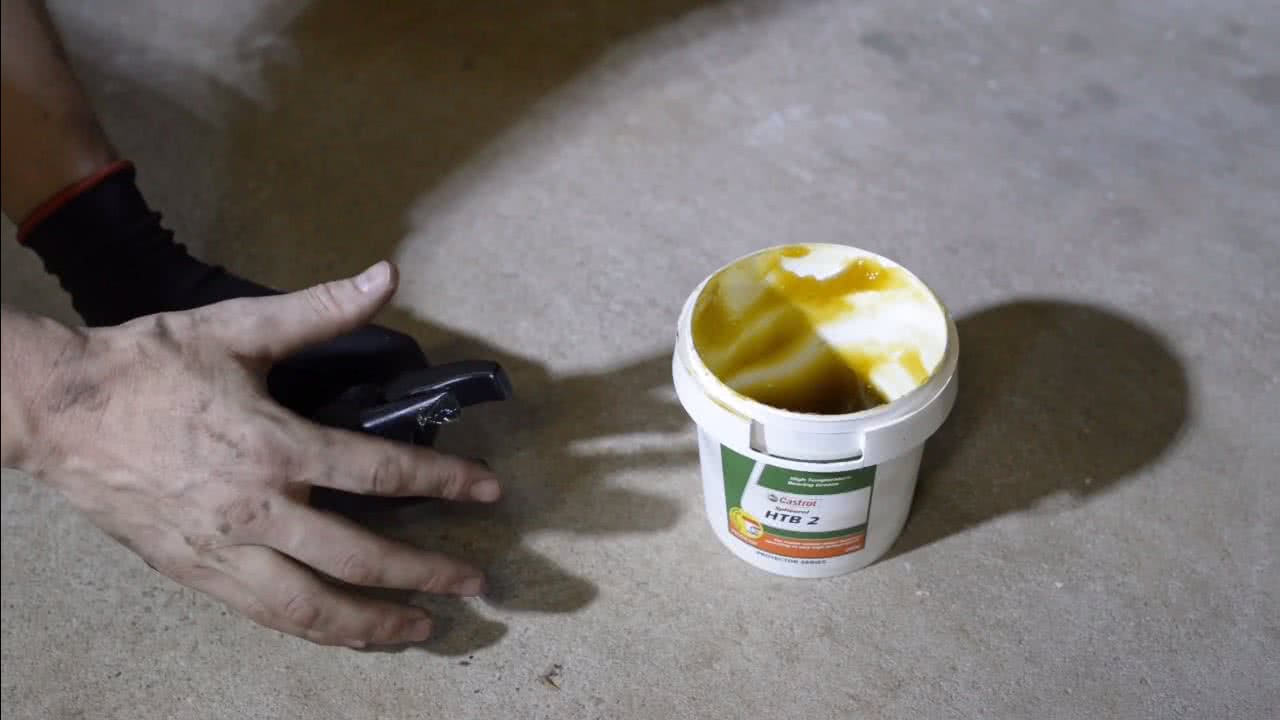
Apply a dab of grease to the fork of the ball joint separator.
This is to protect the rubber boot on the ball joint from damage
Seperate & Locate
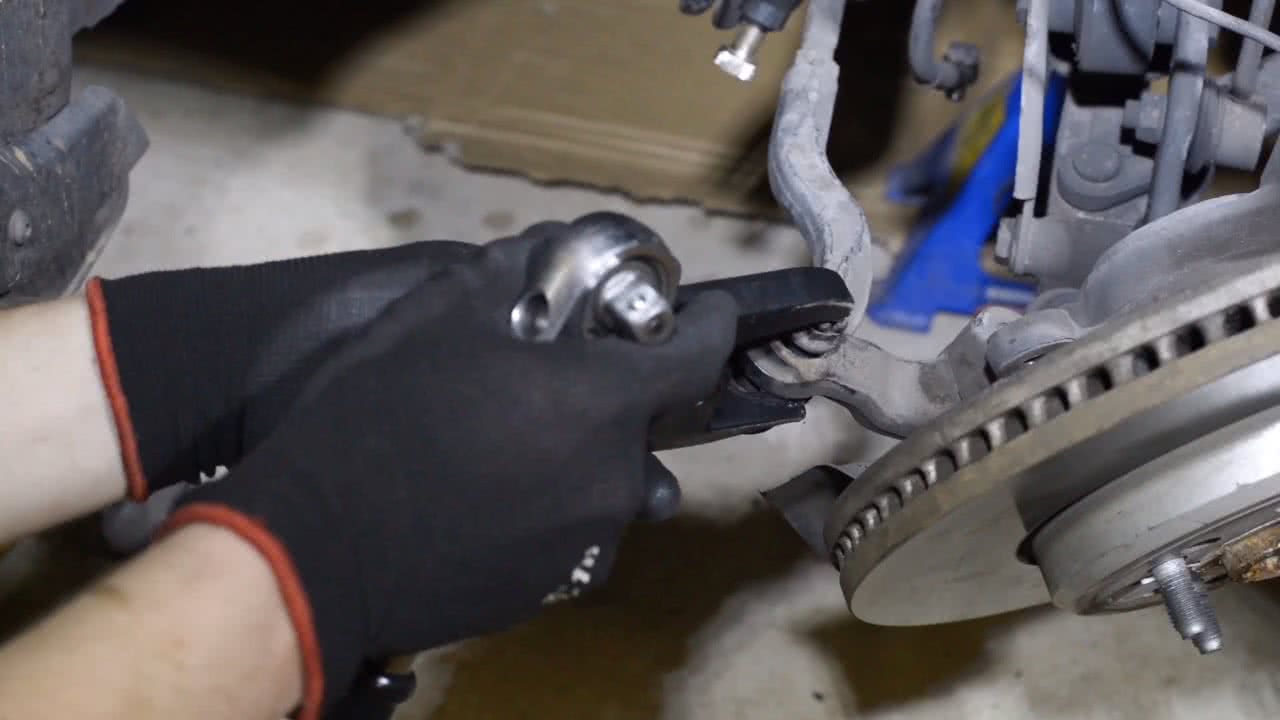
Next, slide the fork of the separator between the ball joint and the part which to separate it from and locate the bottom of the jaw the centre of the cup.
Tighten Bolt
Using a 23mm socket or spanner, tighten the bolt of the ball joint separator until the ball joint breaks free.
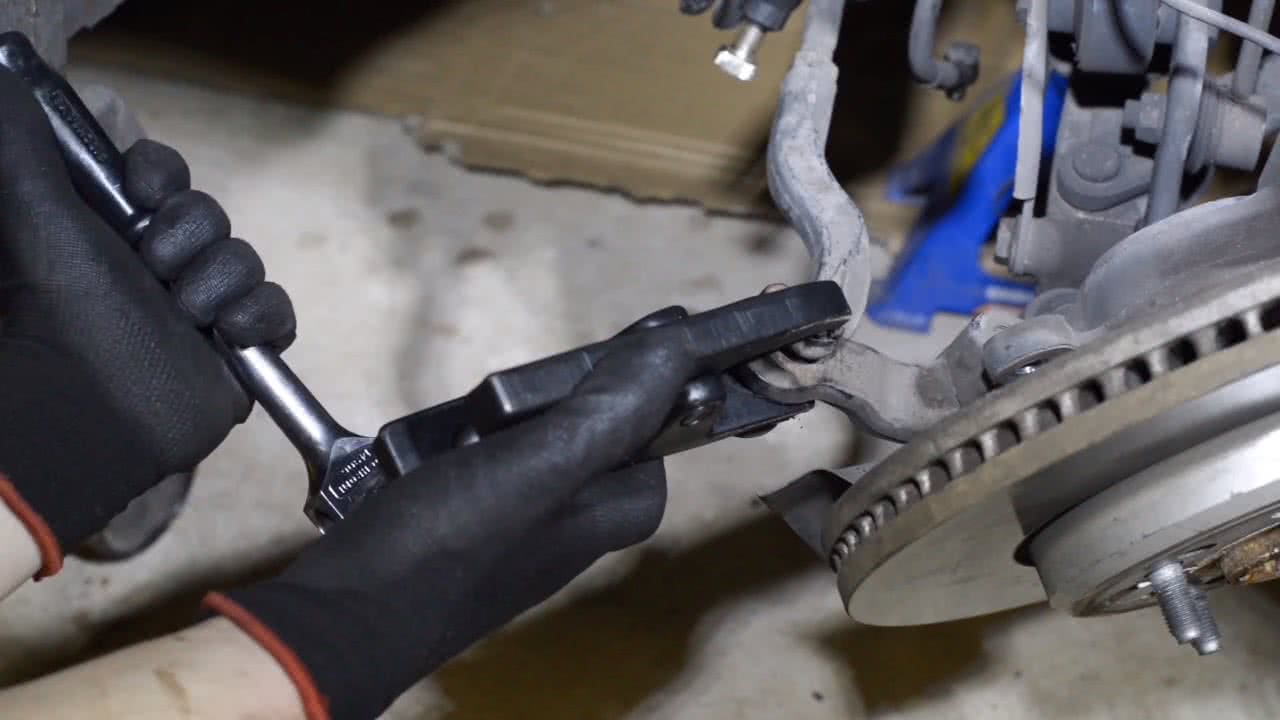
Remove Castle Nut & Ball Joint/Tie Rod End
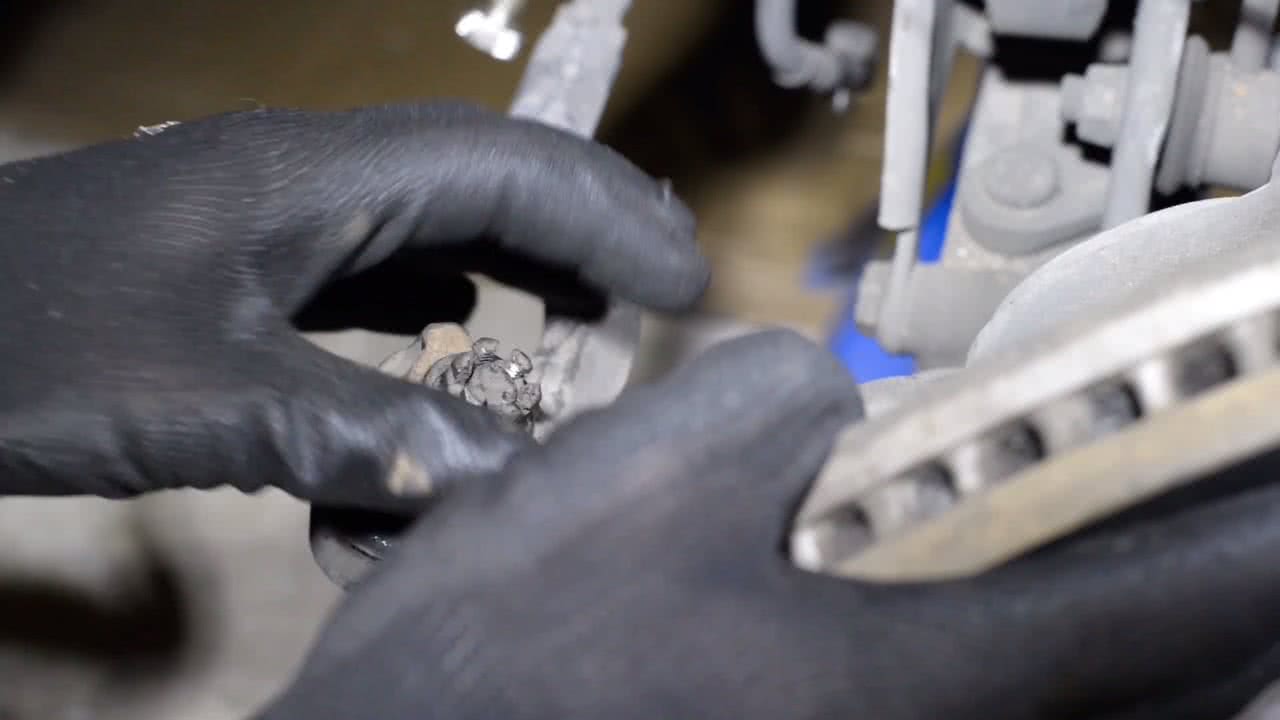
It’s now safe to remove the castle nut from the steering arm and remove the ball joint/tie rod end from the suspension.
*Important information* - Click here to read more about our DIY Advice Terms and Conditions.