How To Change Brake Pads Yourself
Overview
Got a squeak in your car? Although it’s not unheard of, it’s probably not a mouse. Maybe you’re due for a brake pad replacement! With some patience and a careful approach, you can learn how to change brake pads yourself. Let’s take it step by step with this guide
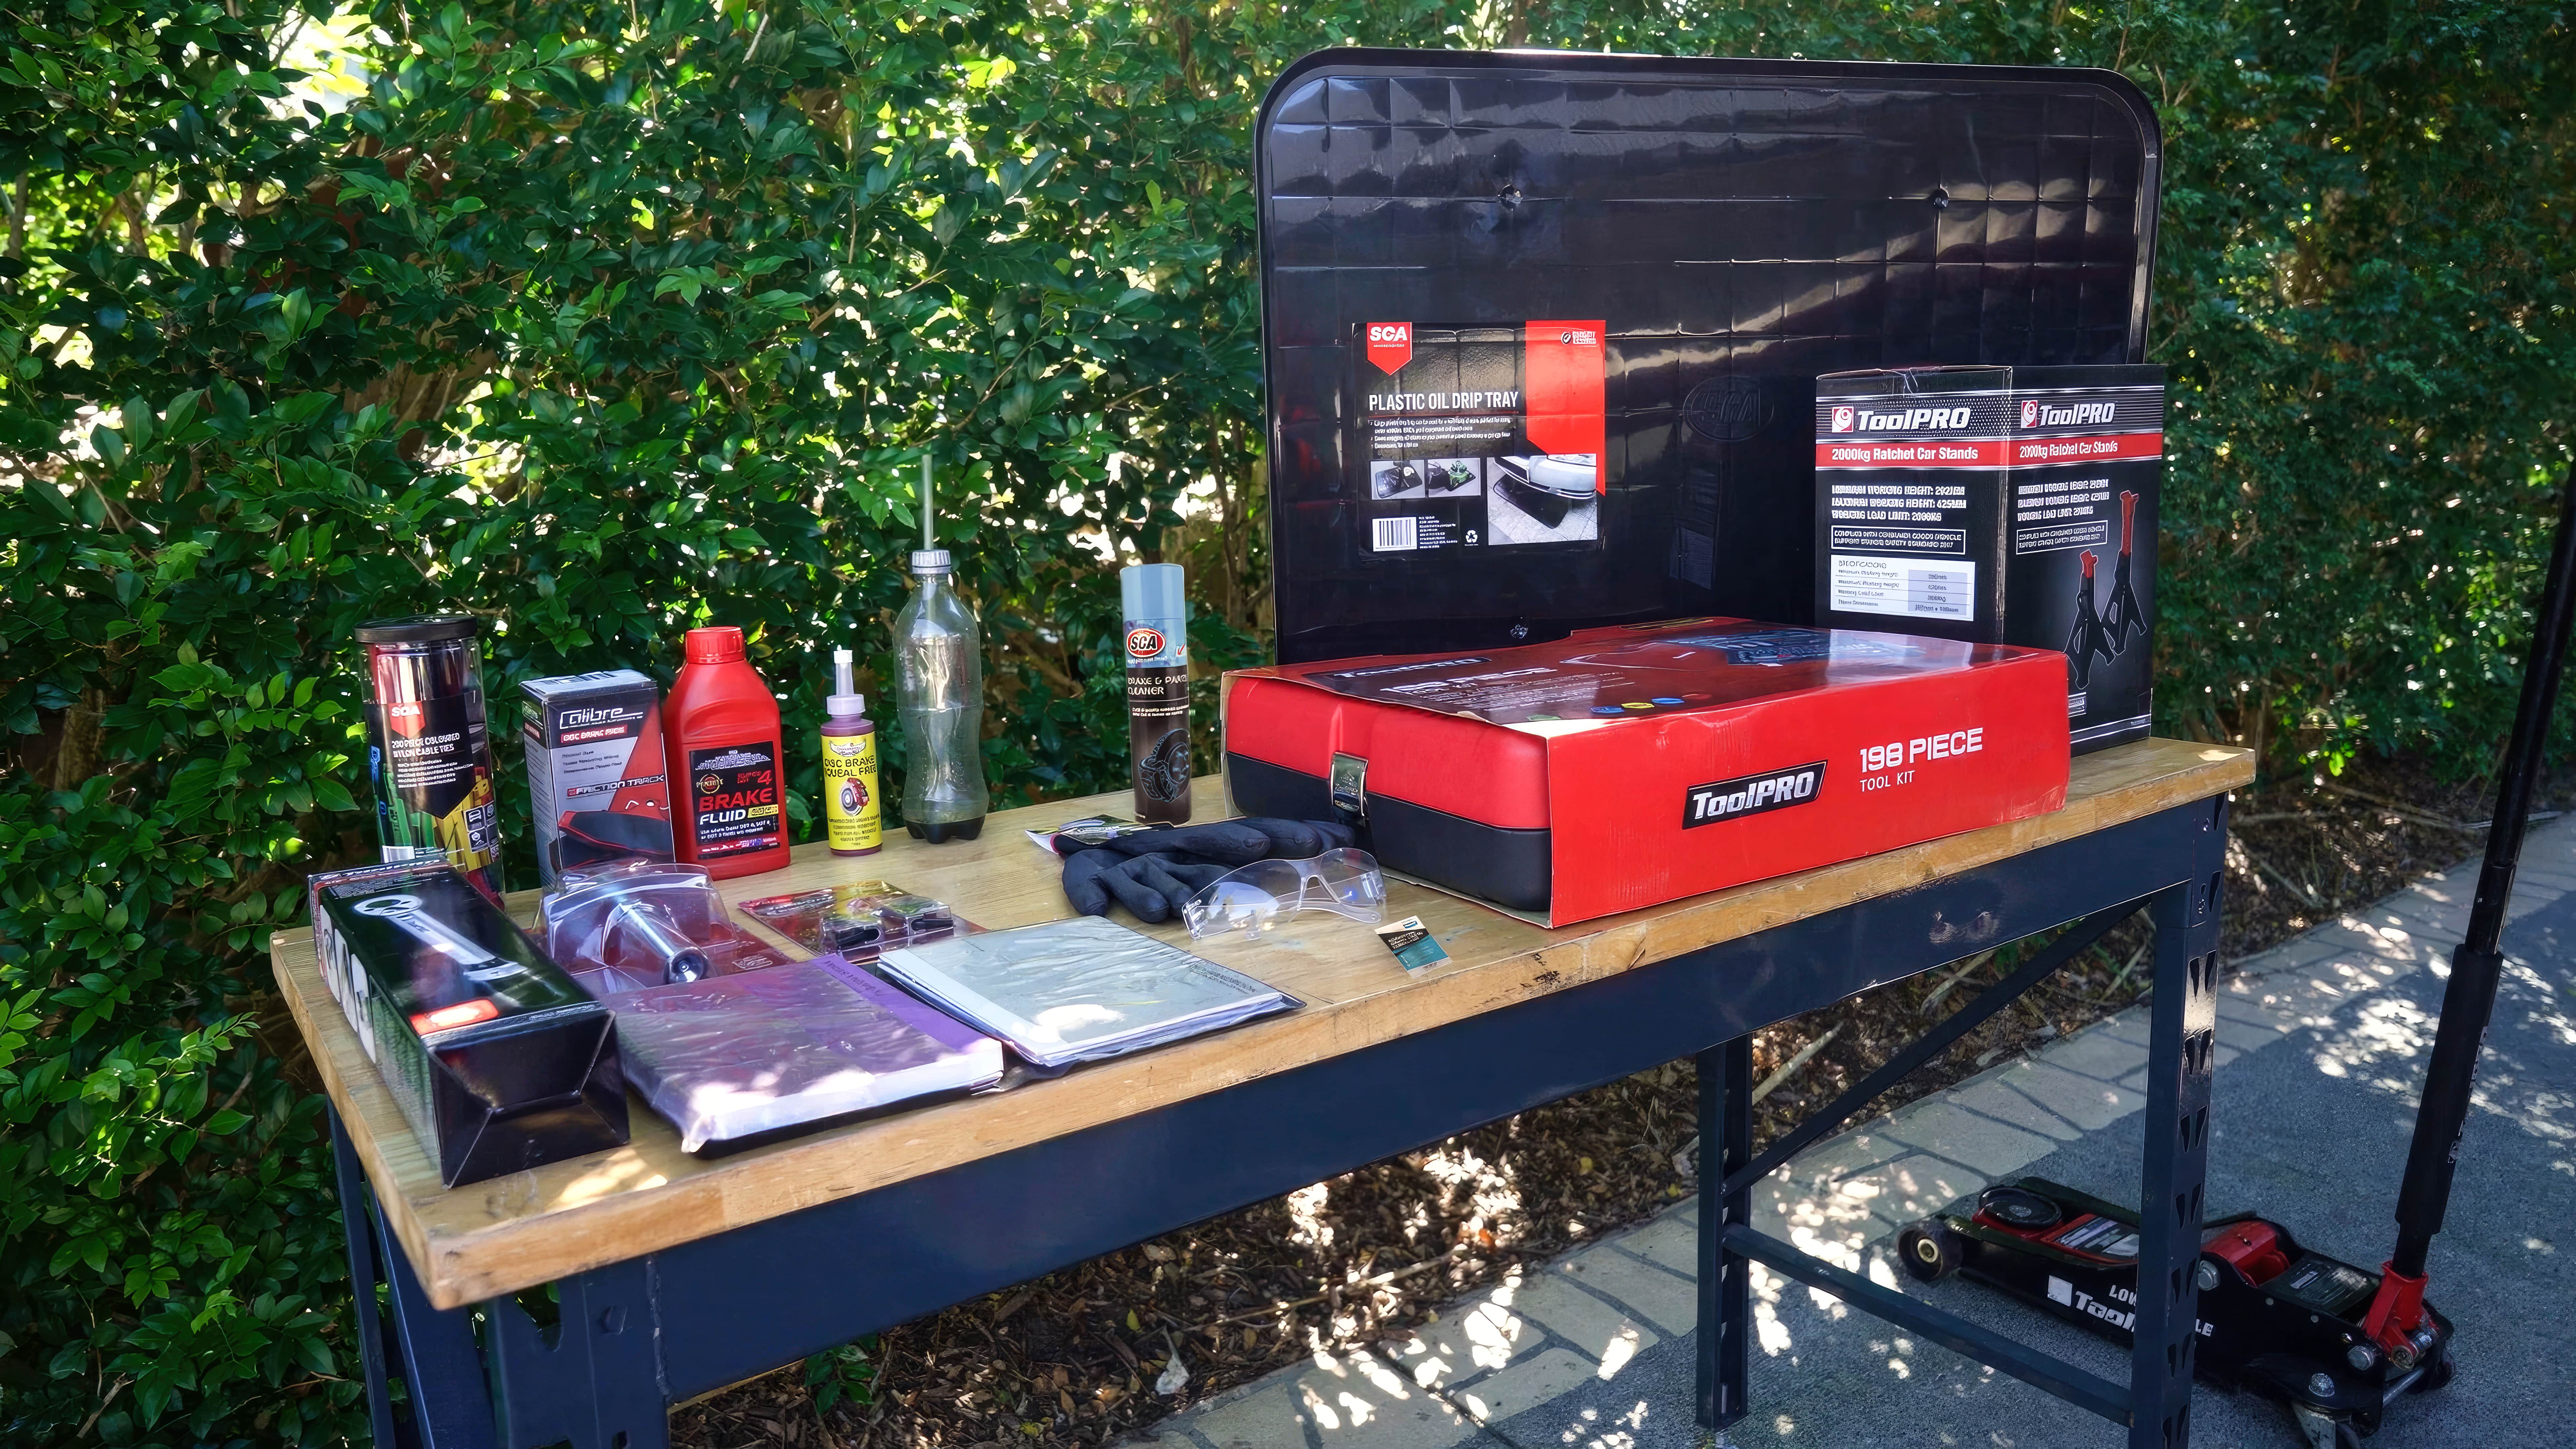
Items
Parts
Tools
- Brake spreader for opposed pistons
- Brake piston cube for wind back pistons
- Line clamps
- Vehicle workshop manual
- Trolley jack
- Axle stands
- A comprehensive toolkit
- A torque wrench
- Drip tray to protect your driveway or garage
- Small piece of clear hose
- Old, sealable container for disposing old fluid
Steps
Step 1: Check your brake components
Check the linings on the brake pads - The easiest way to estimate the wear is to look at the thickness of the backing pad, and if the thickness of the remaining brake lining surface is the same as (or less than) that on the backing plate the pad should be replaced.
Check the visible part of the rotor for rust, scoring or uneven wear. Check the workshop manual specifications of this rotor and measure its thickness with an outside micrometer. If the reading is outside the manufacturer’s specifications you might need to have it checked out by an expert.
Step 2: Access the brakes
Safety first. Protect your eyes with some safety glasses, and your hands with some safety gloves. Pop the vehicle in park or in gear with the handbrake on, and chock whichever wheels you won’t be removing.
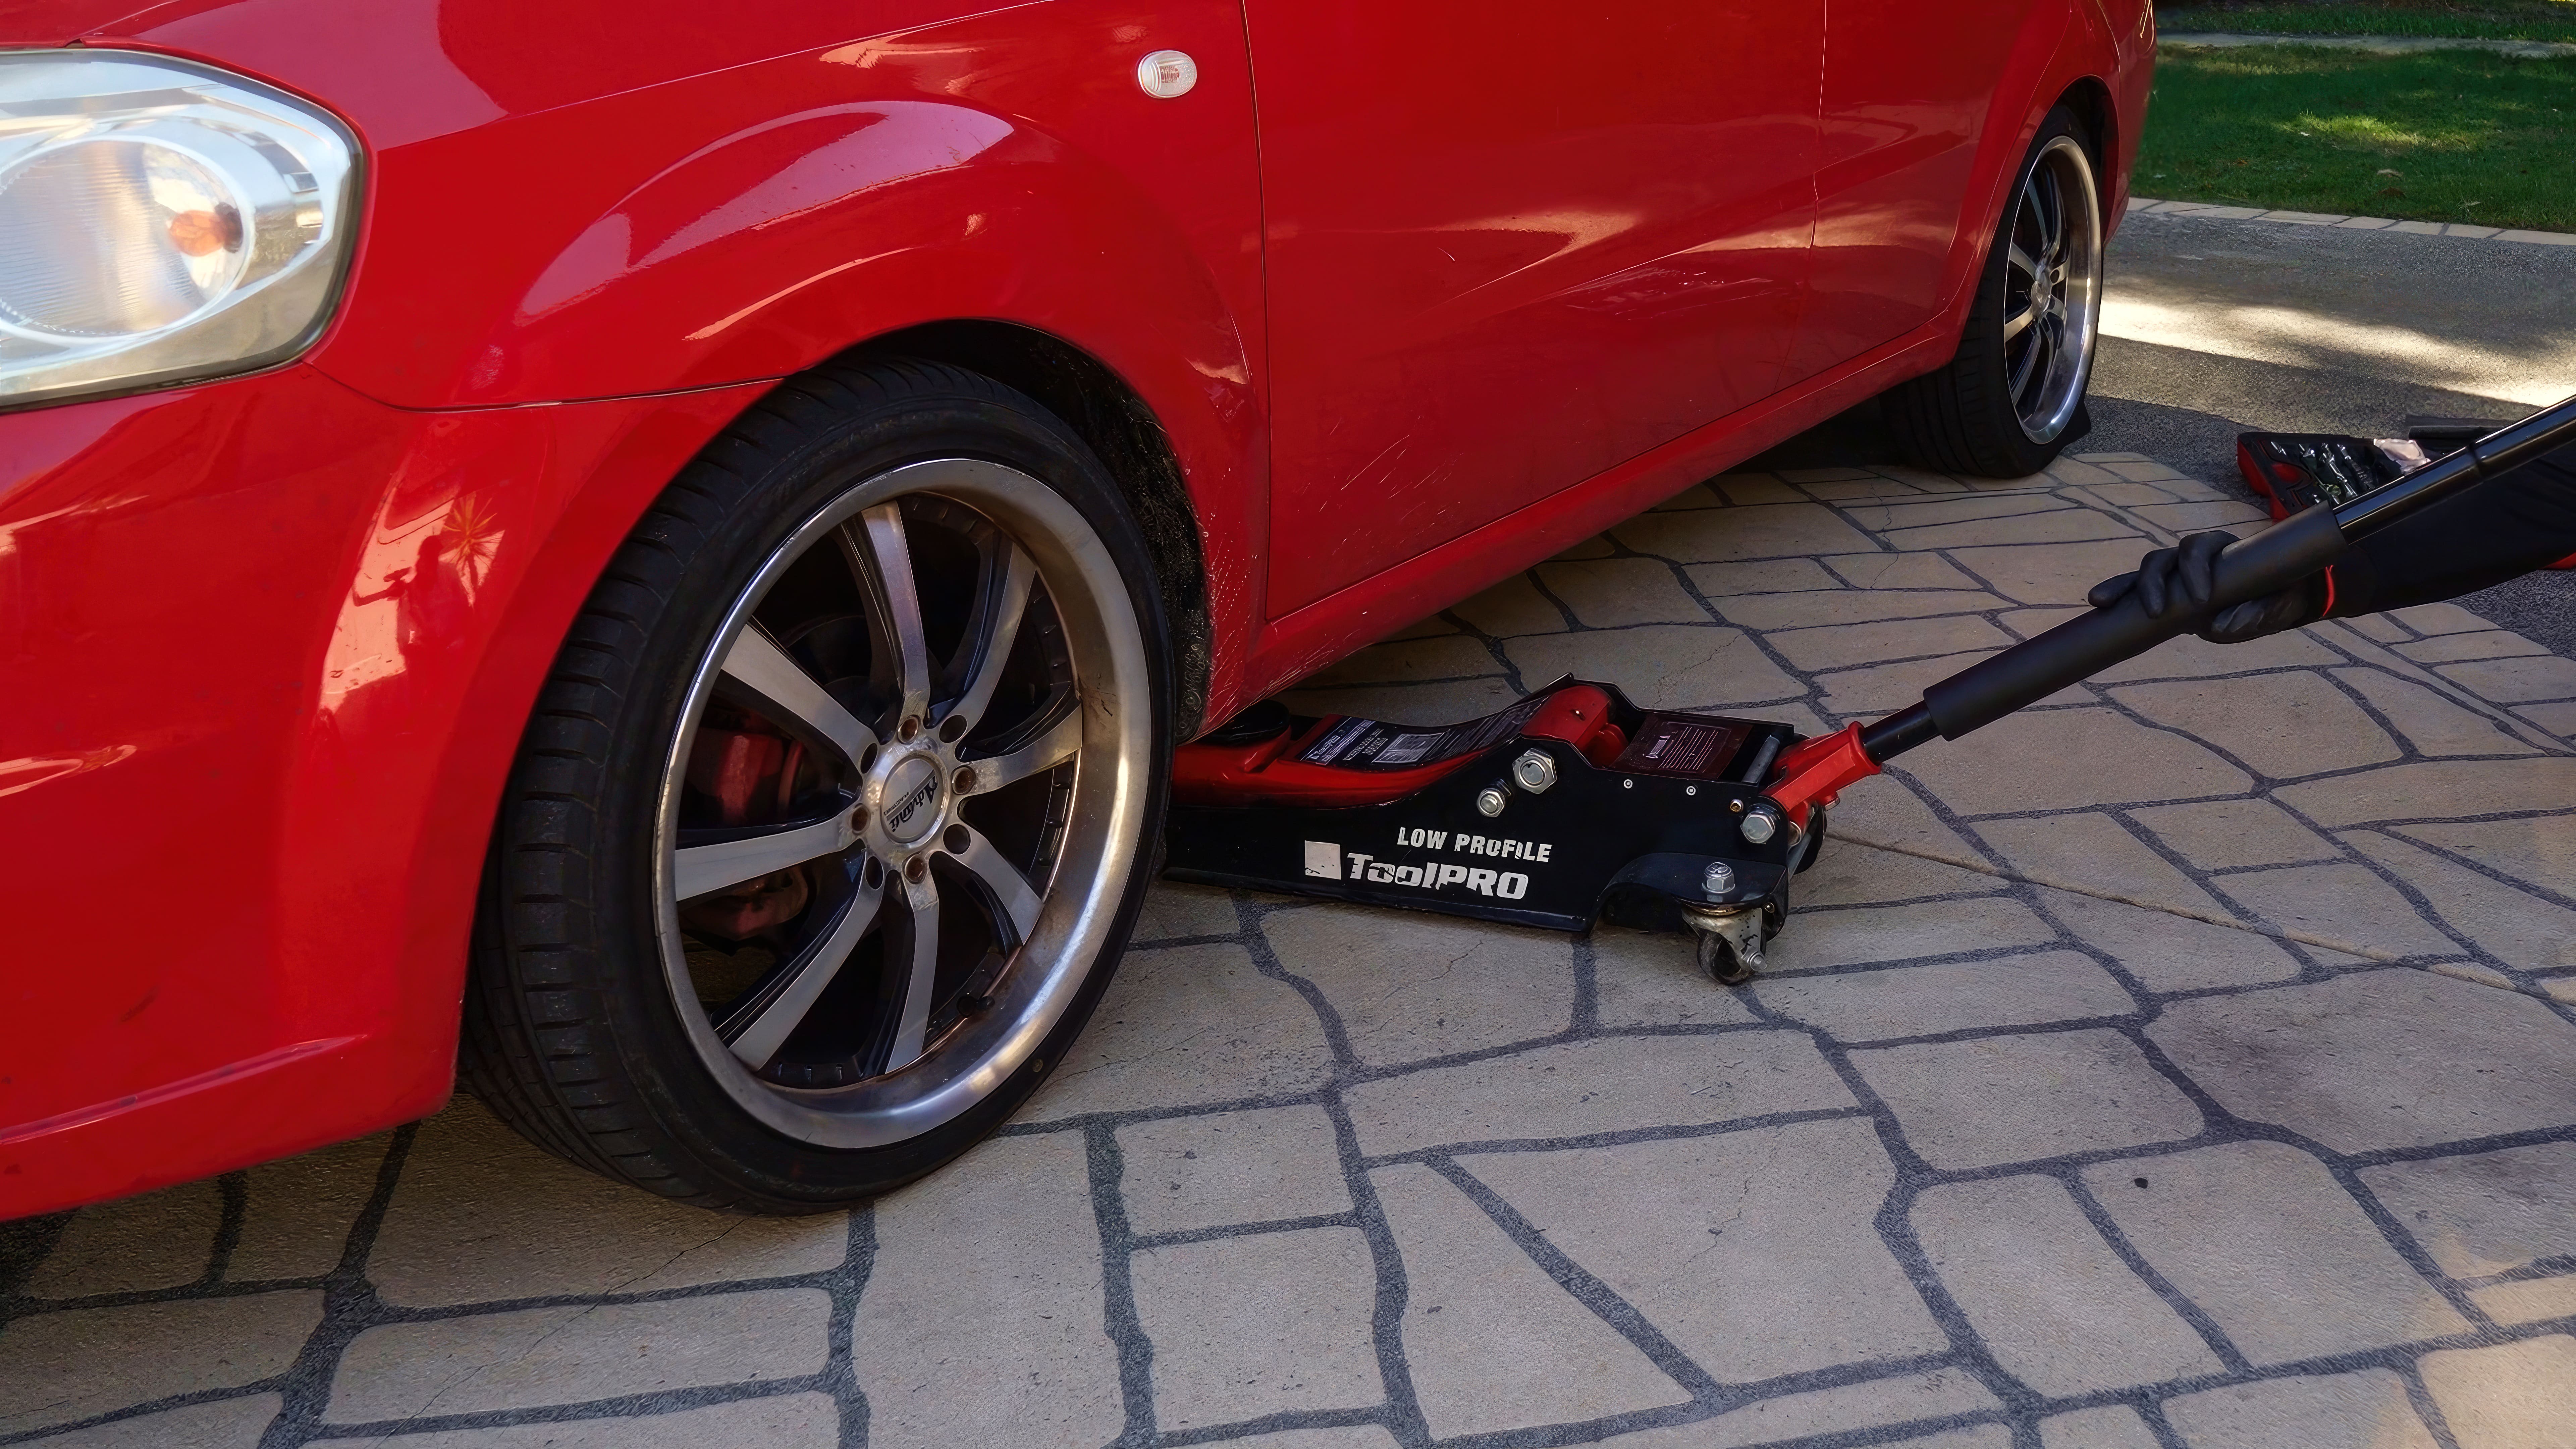
Now loosen the wheel nuts on both sides of your vehicle. This is much easier to do with the wheels on the ground. Then grab your trolley jack, raise the vehicle, and make sure your axle stands are in place for safety. Place the drip tray under the wheel you are going to be working on.
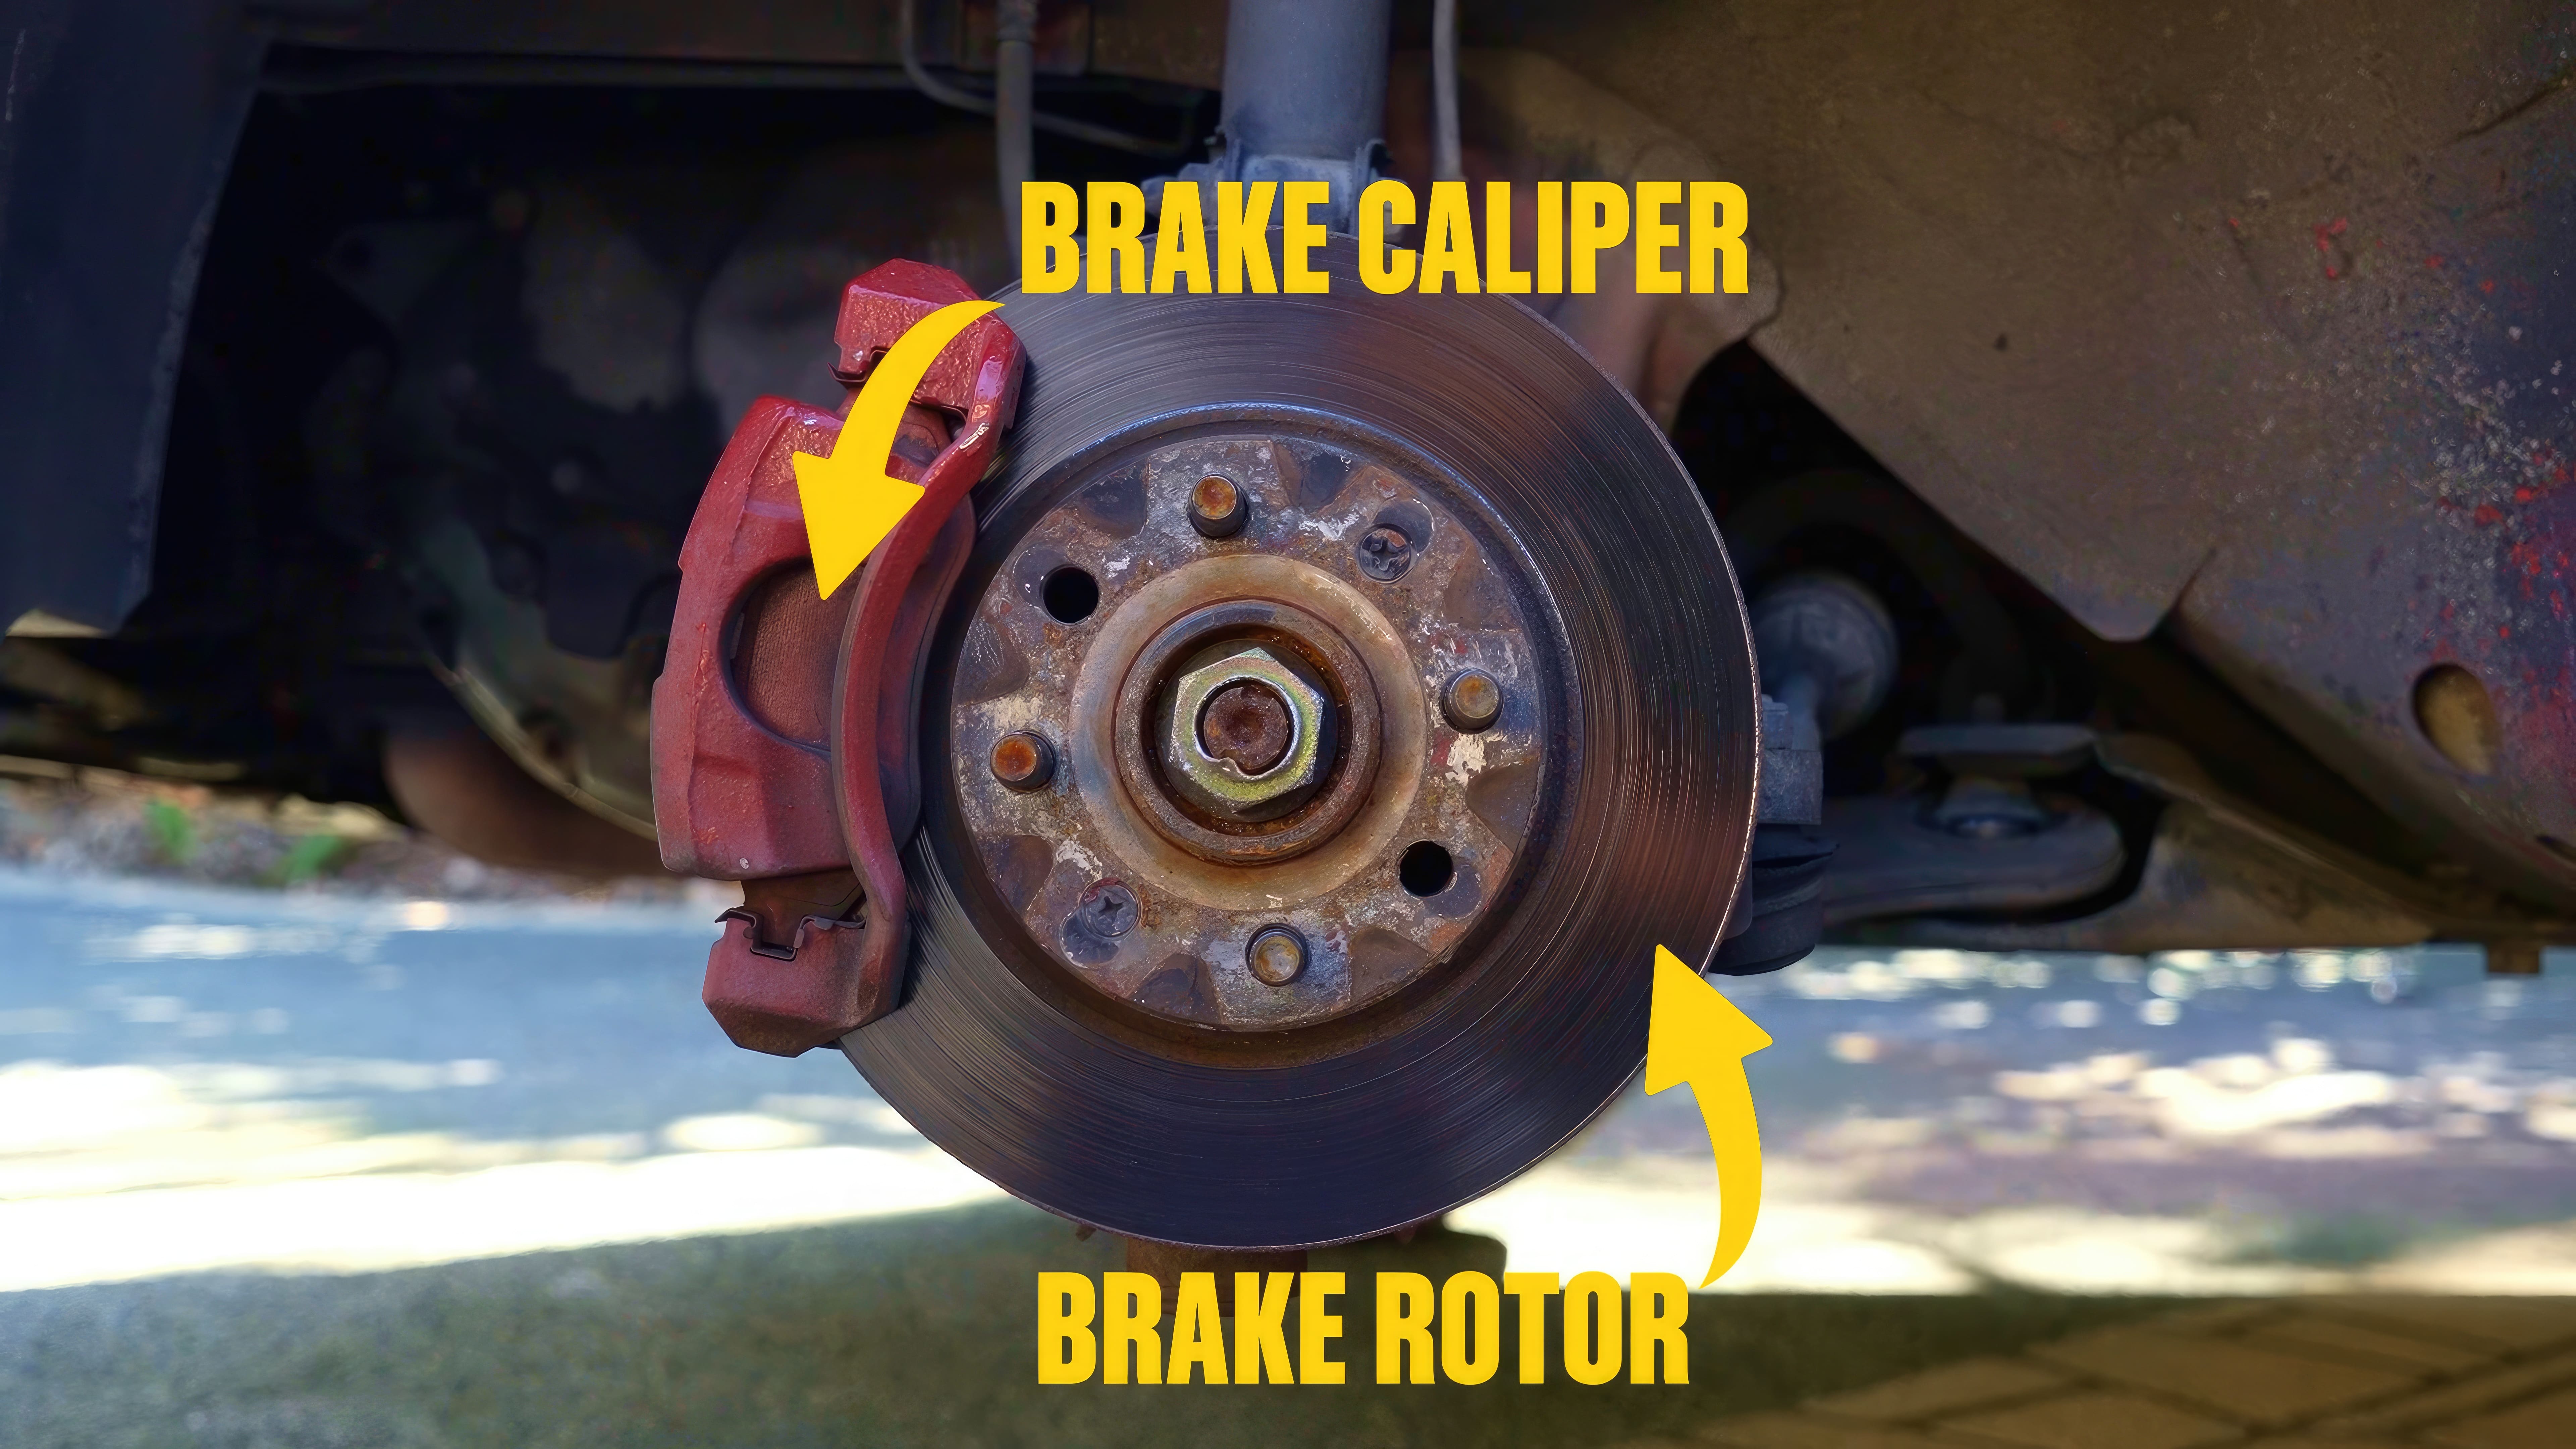
Spin the wheel nuts the rest of the way off, remove the wheels; and it’s time for a quick inspection.
Check the rotor for any deep scoring or burn marks. Also feel the edge for an excessive lip. Anything more than a couple of millimetres and your rotors should be machined or replaced.
You’re also looking for anything obviously broken or loose around the rotor and caliper. If there are any doubts; don’t hesitate to call a mechanic.
Step 3: Remove the old brake pads
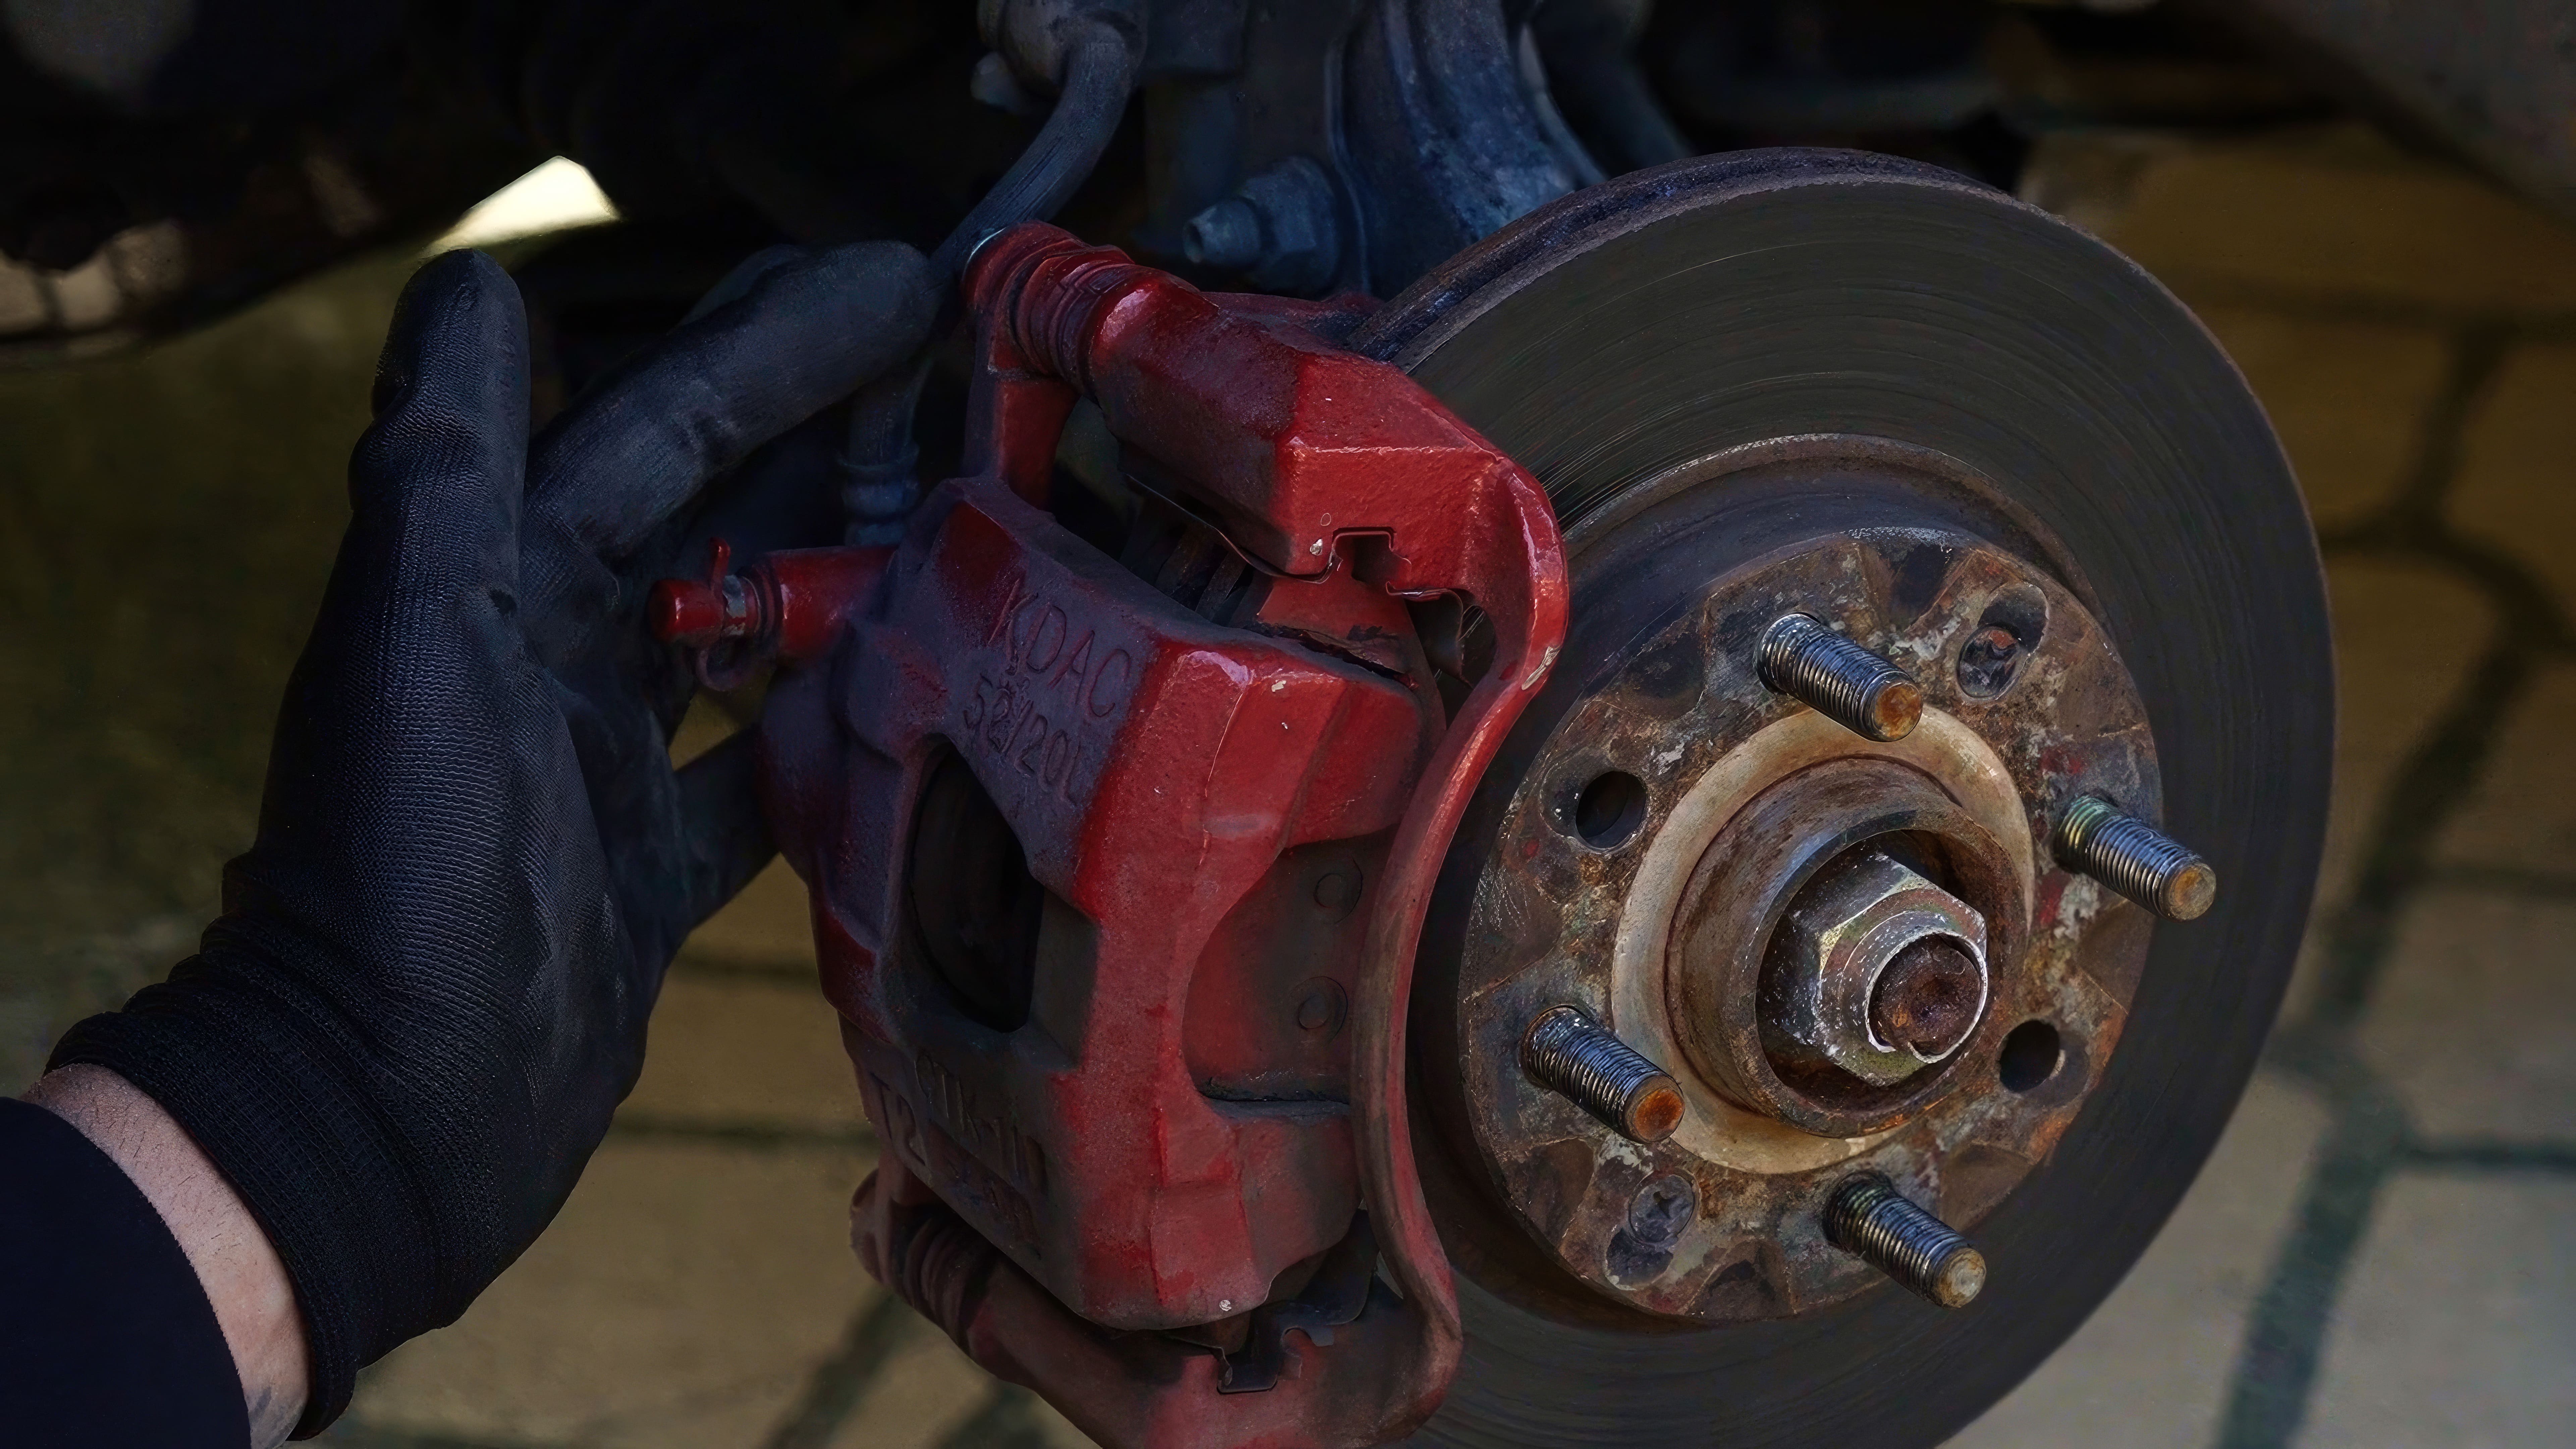
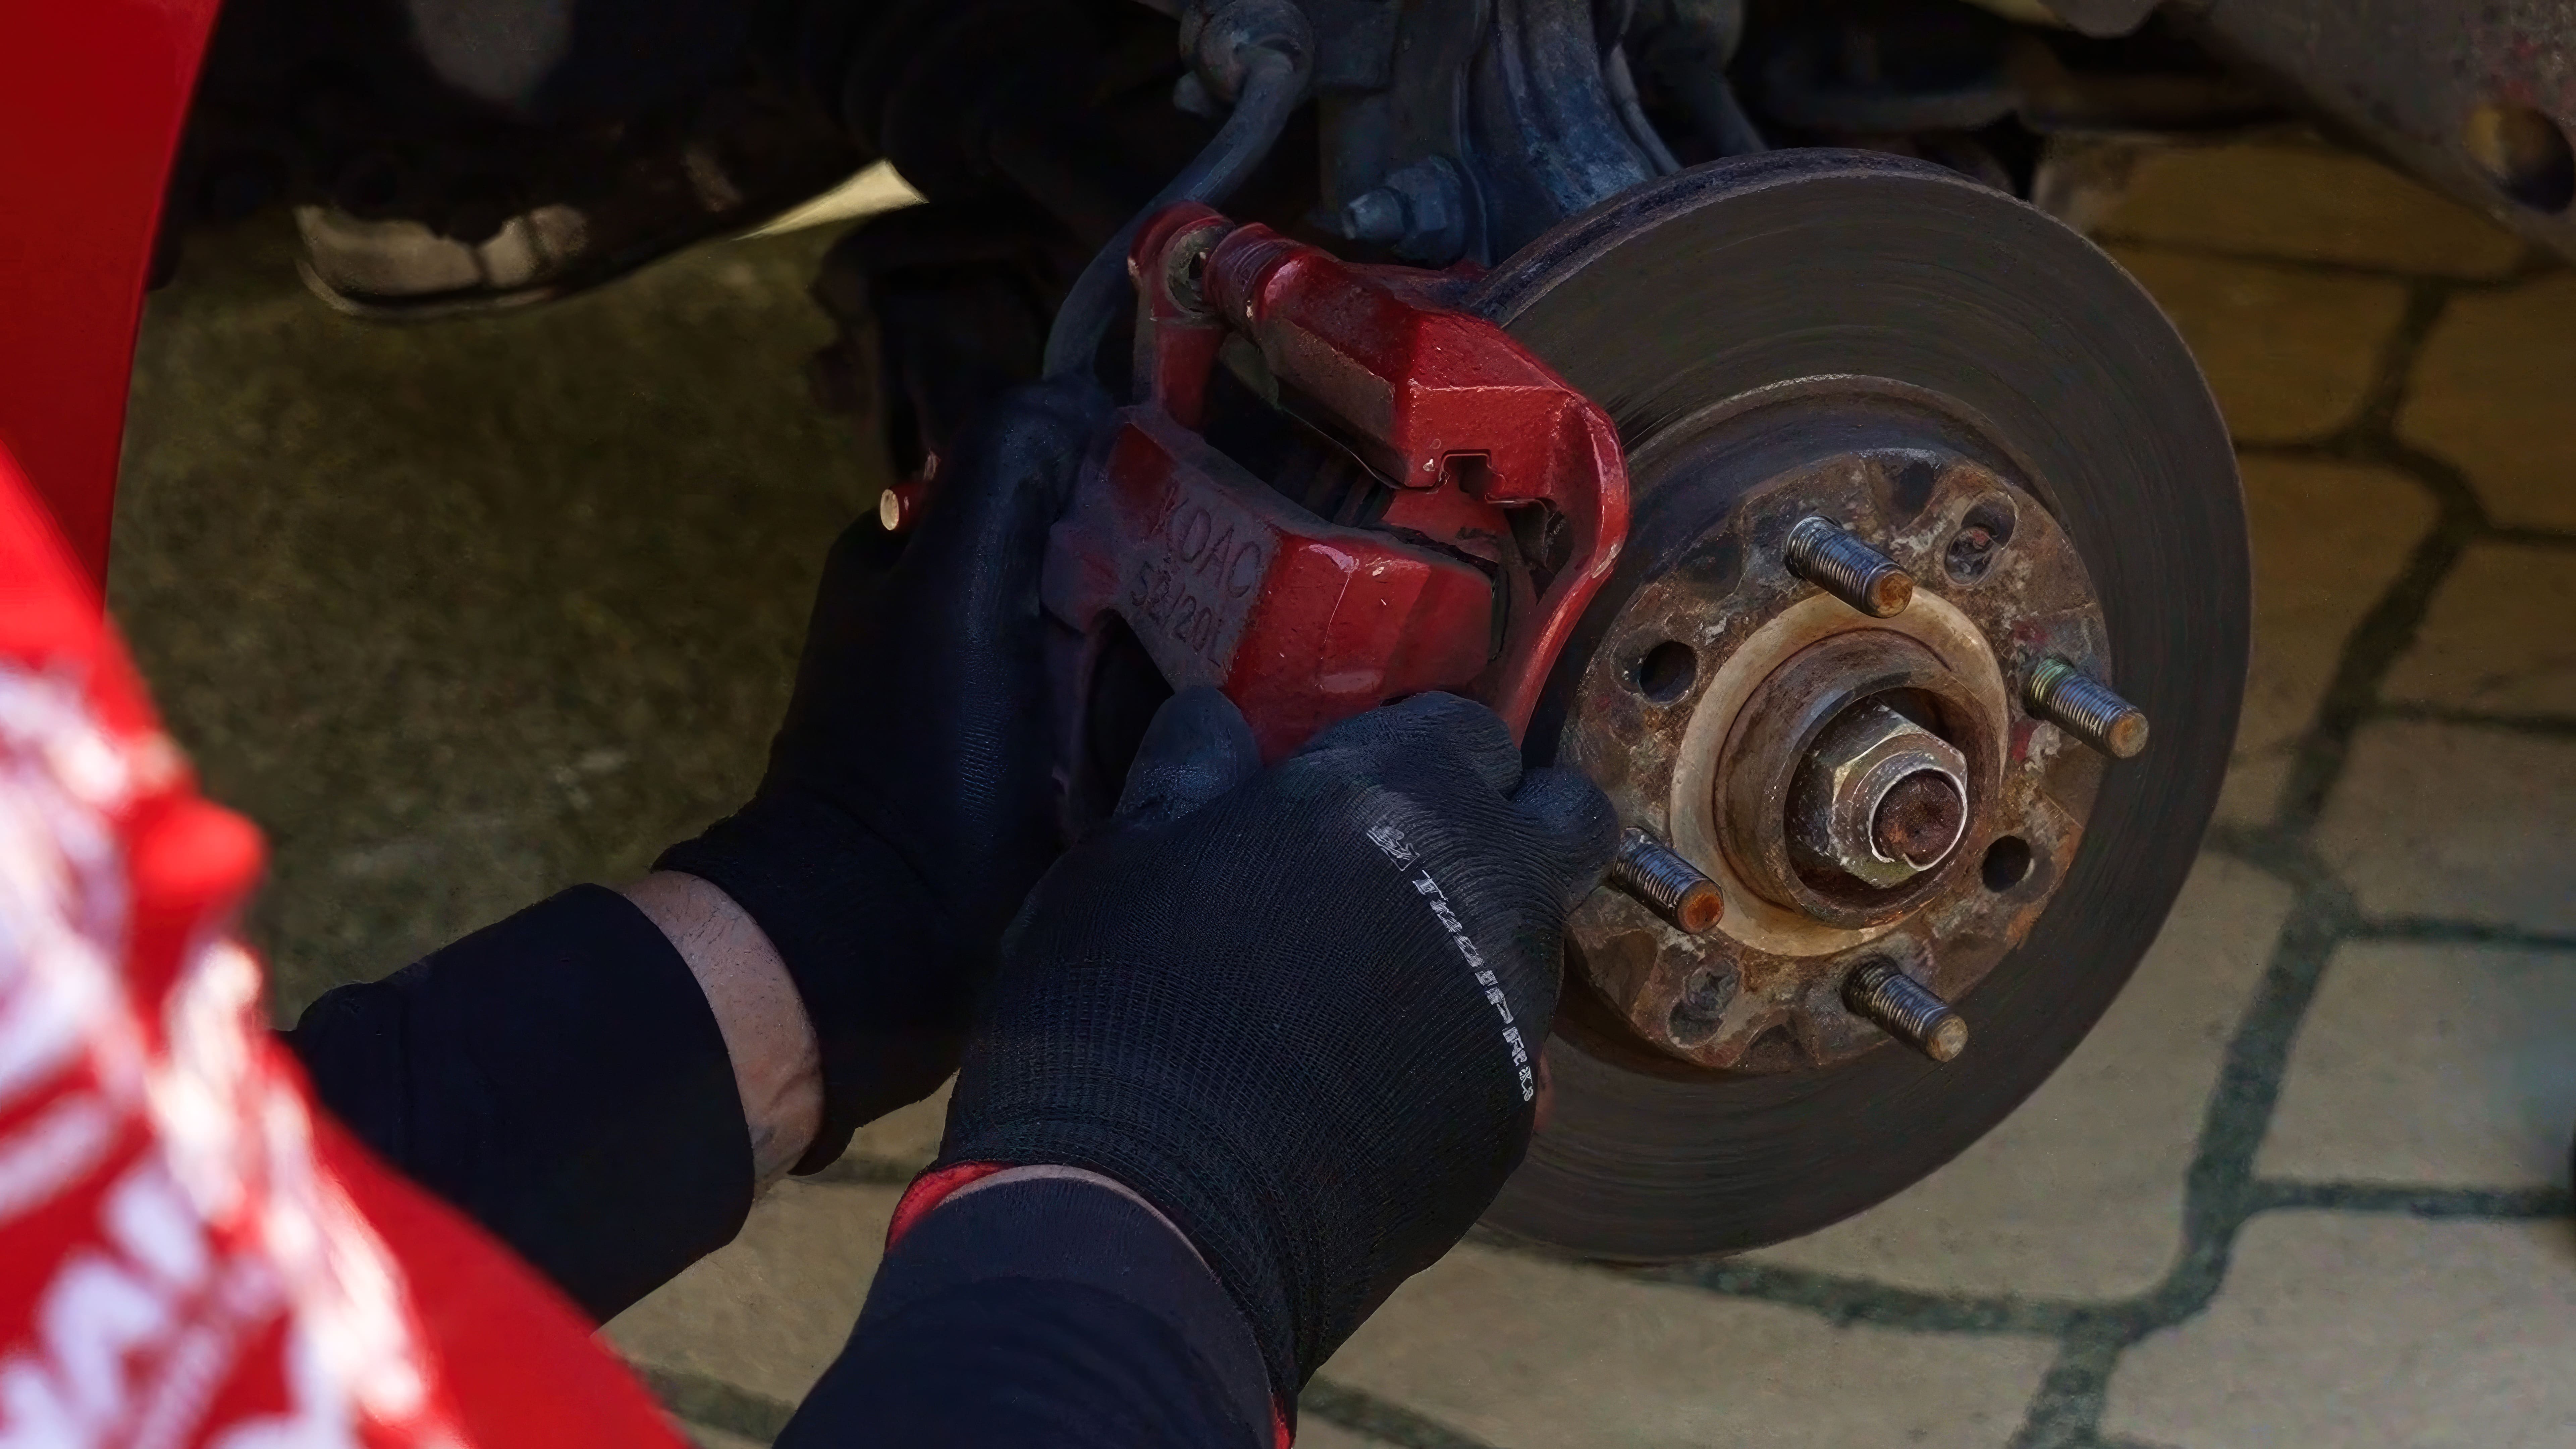
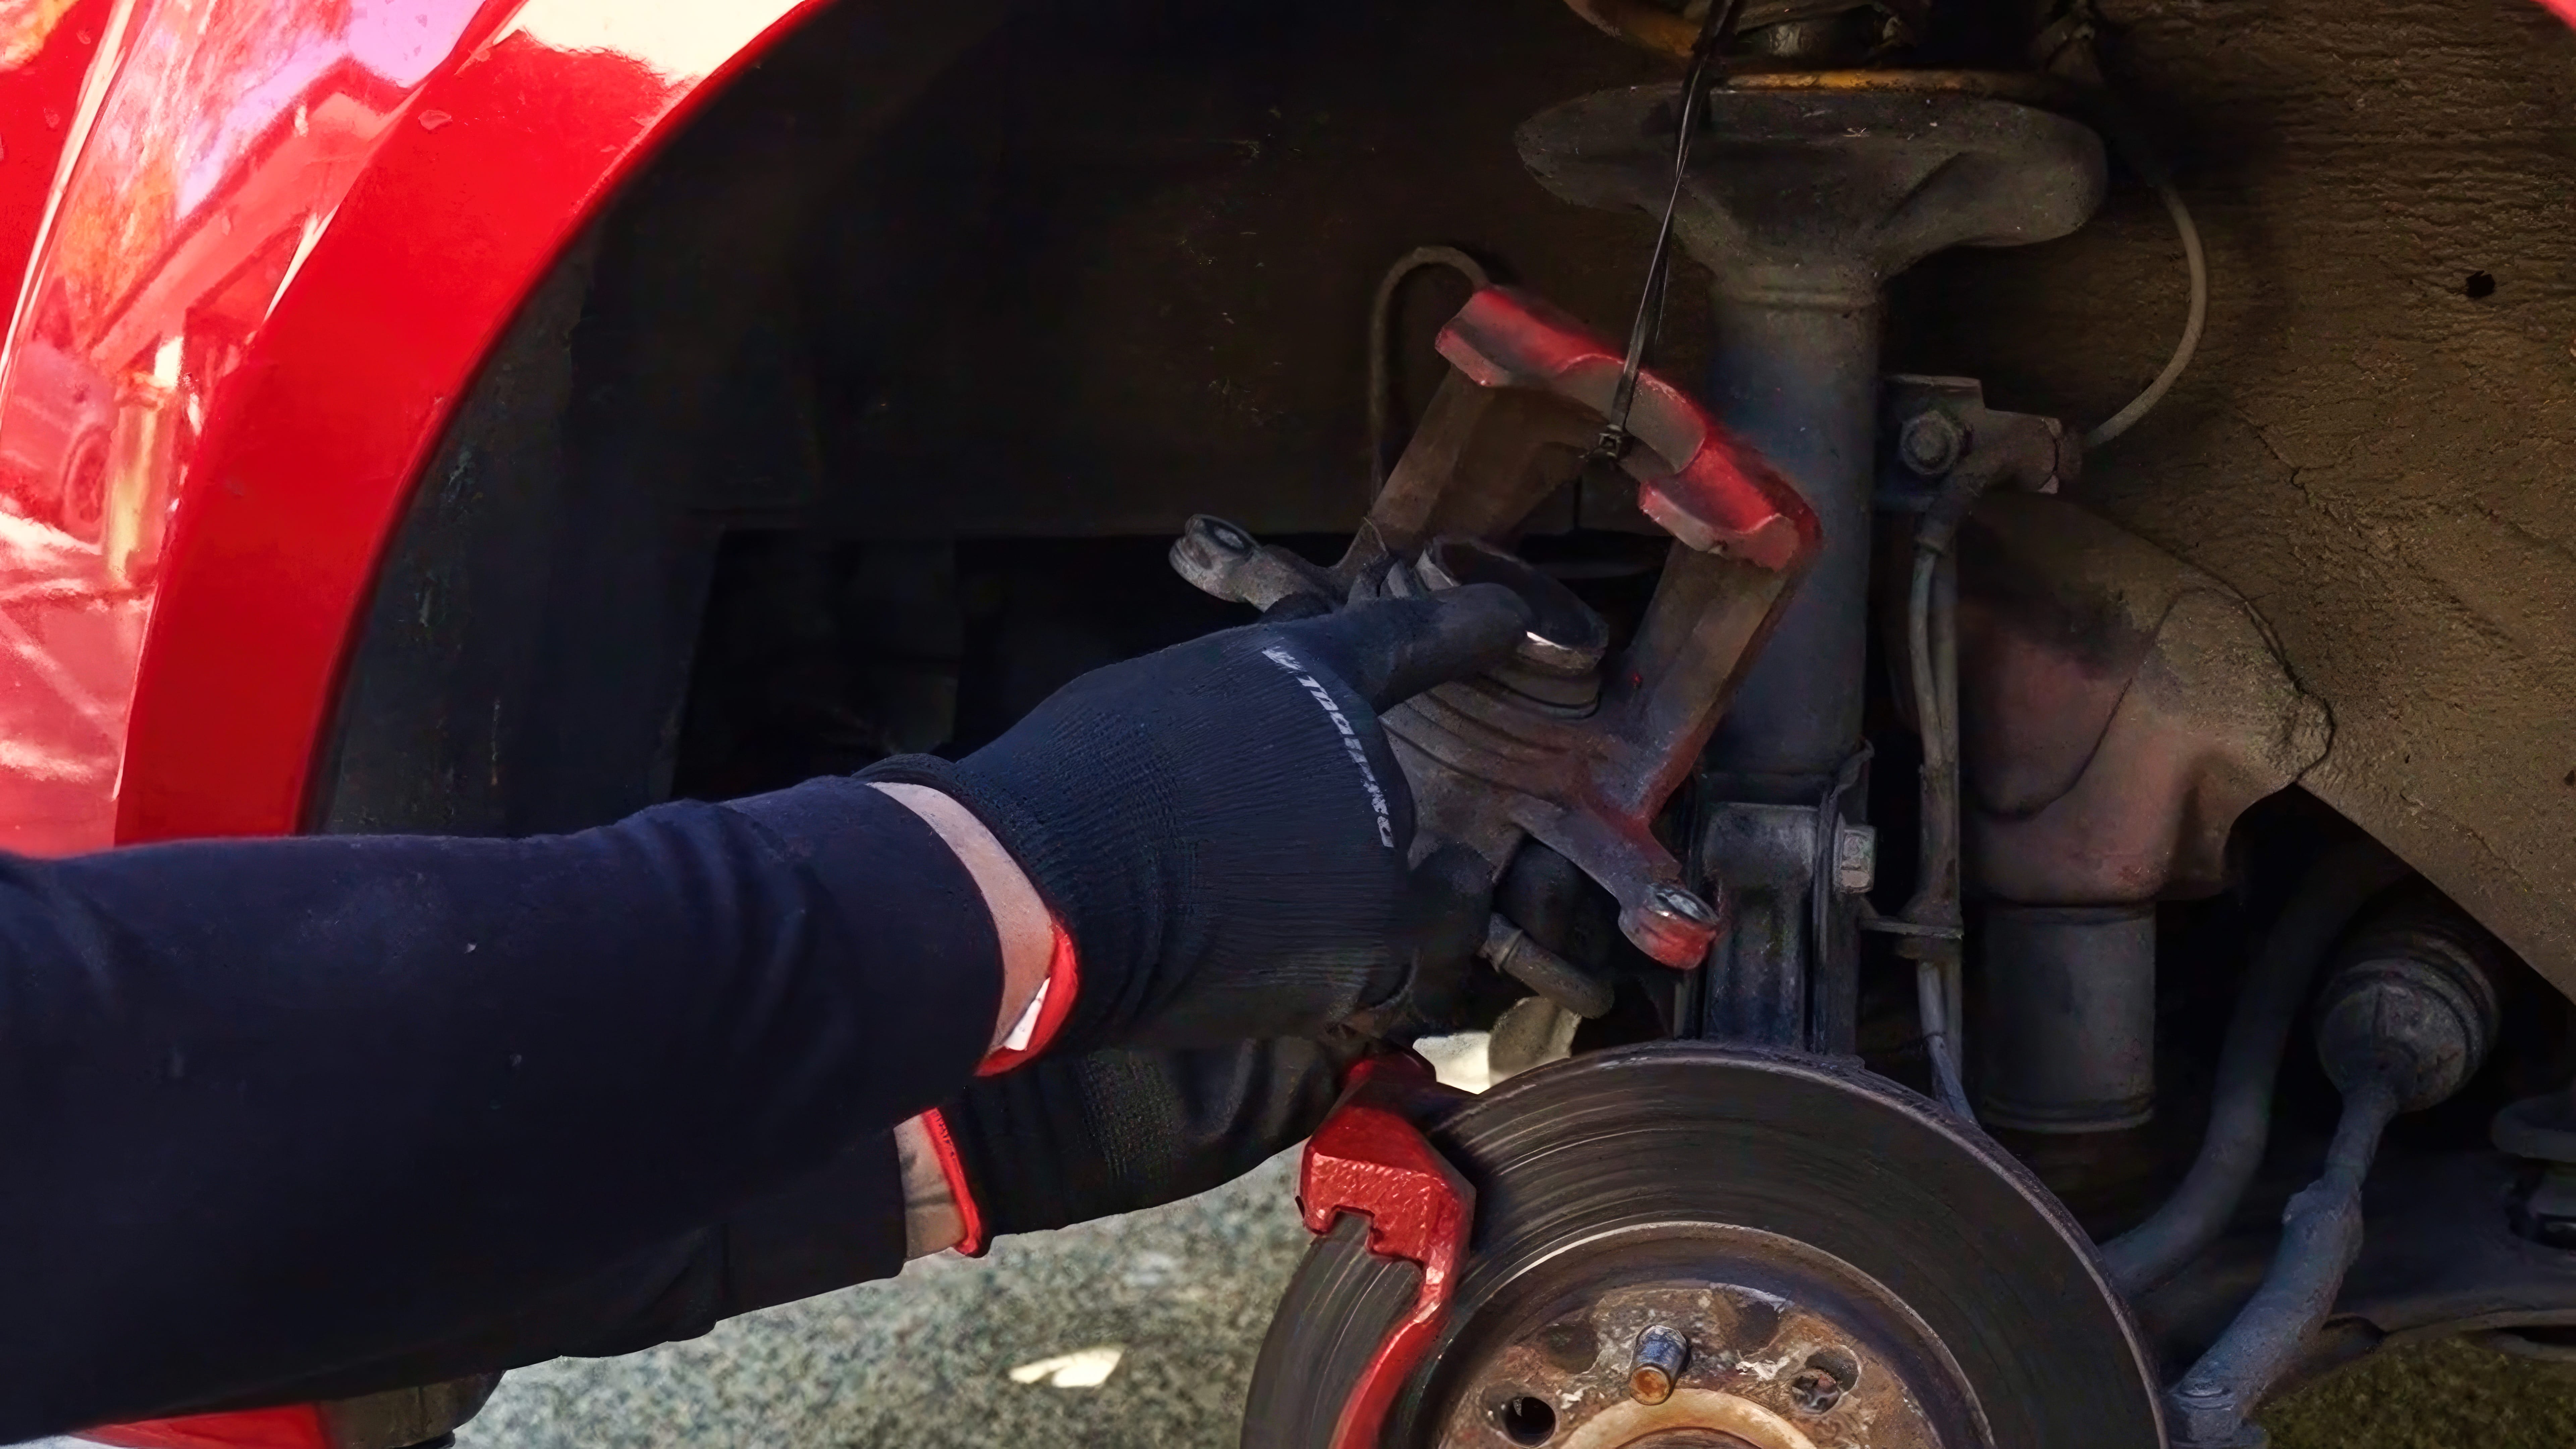
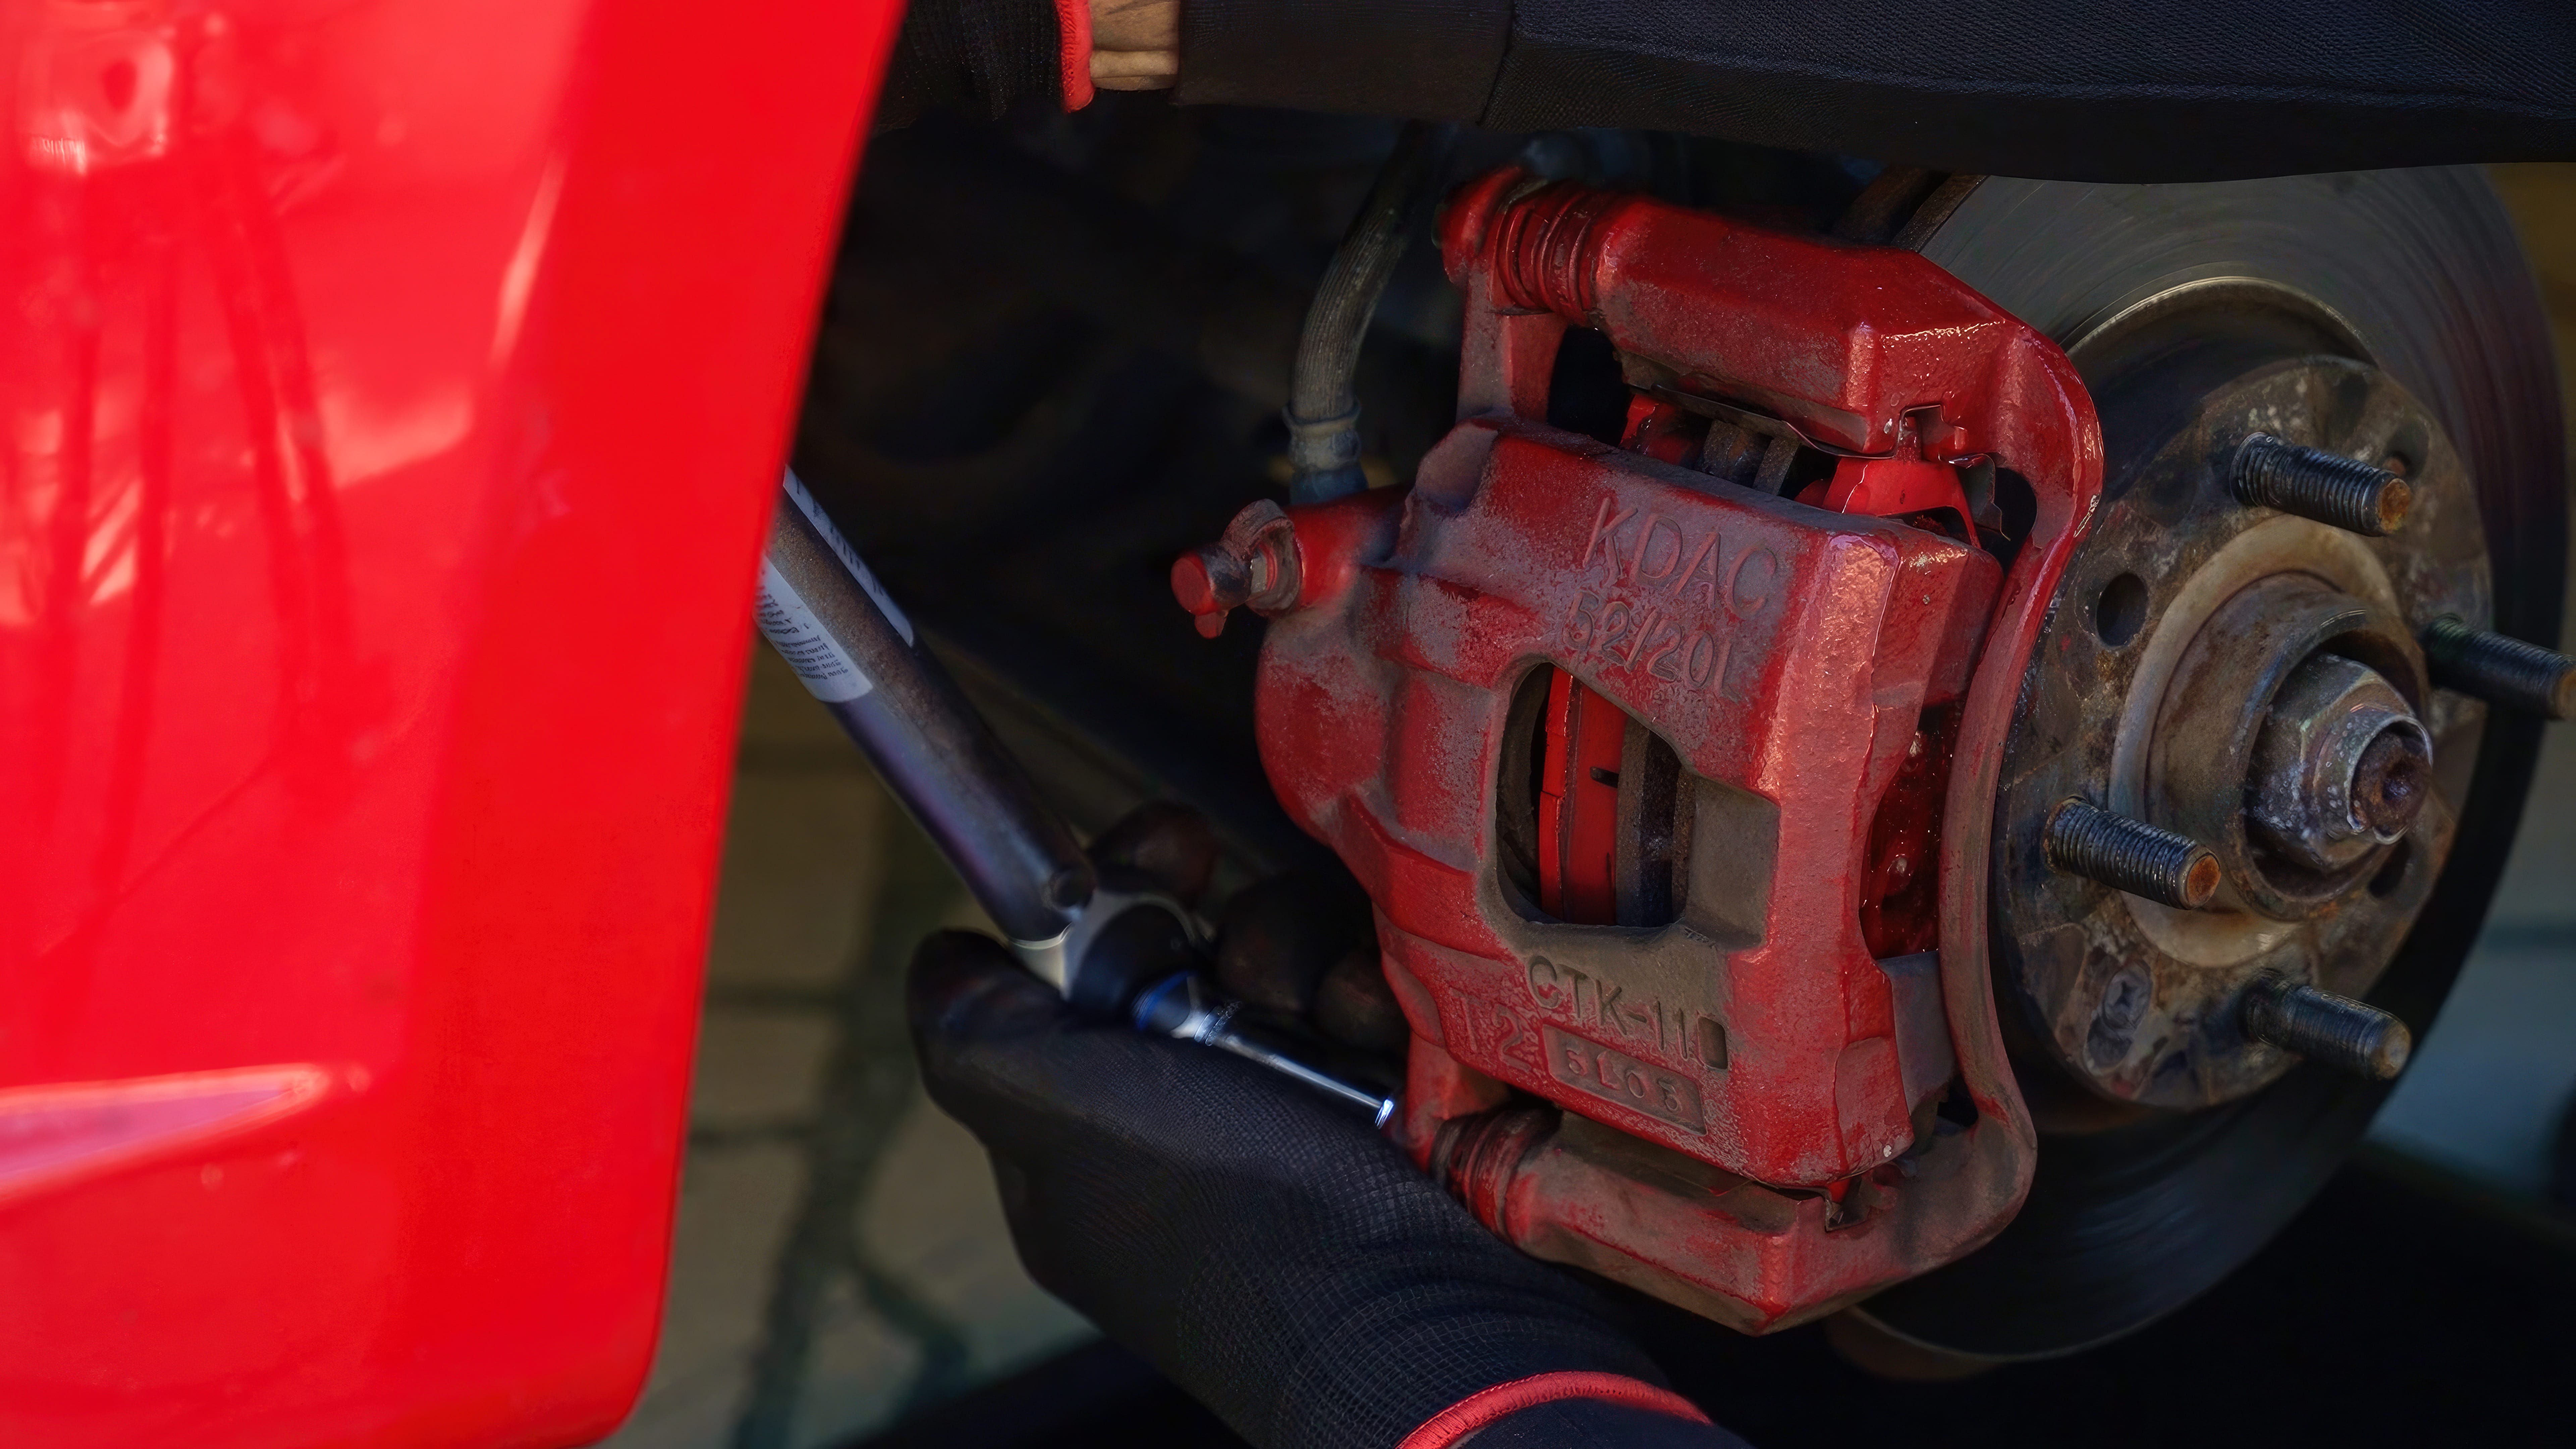
The caliper holds your brake pads, and is bolted into a mount. It’s easy to mix up the bolts and remove the entire mount. Only the caliper needs to come off for a brake pad replacement, so look carefully to ensure you get the right bolts.
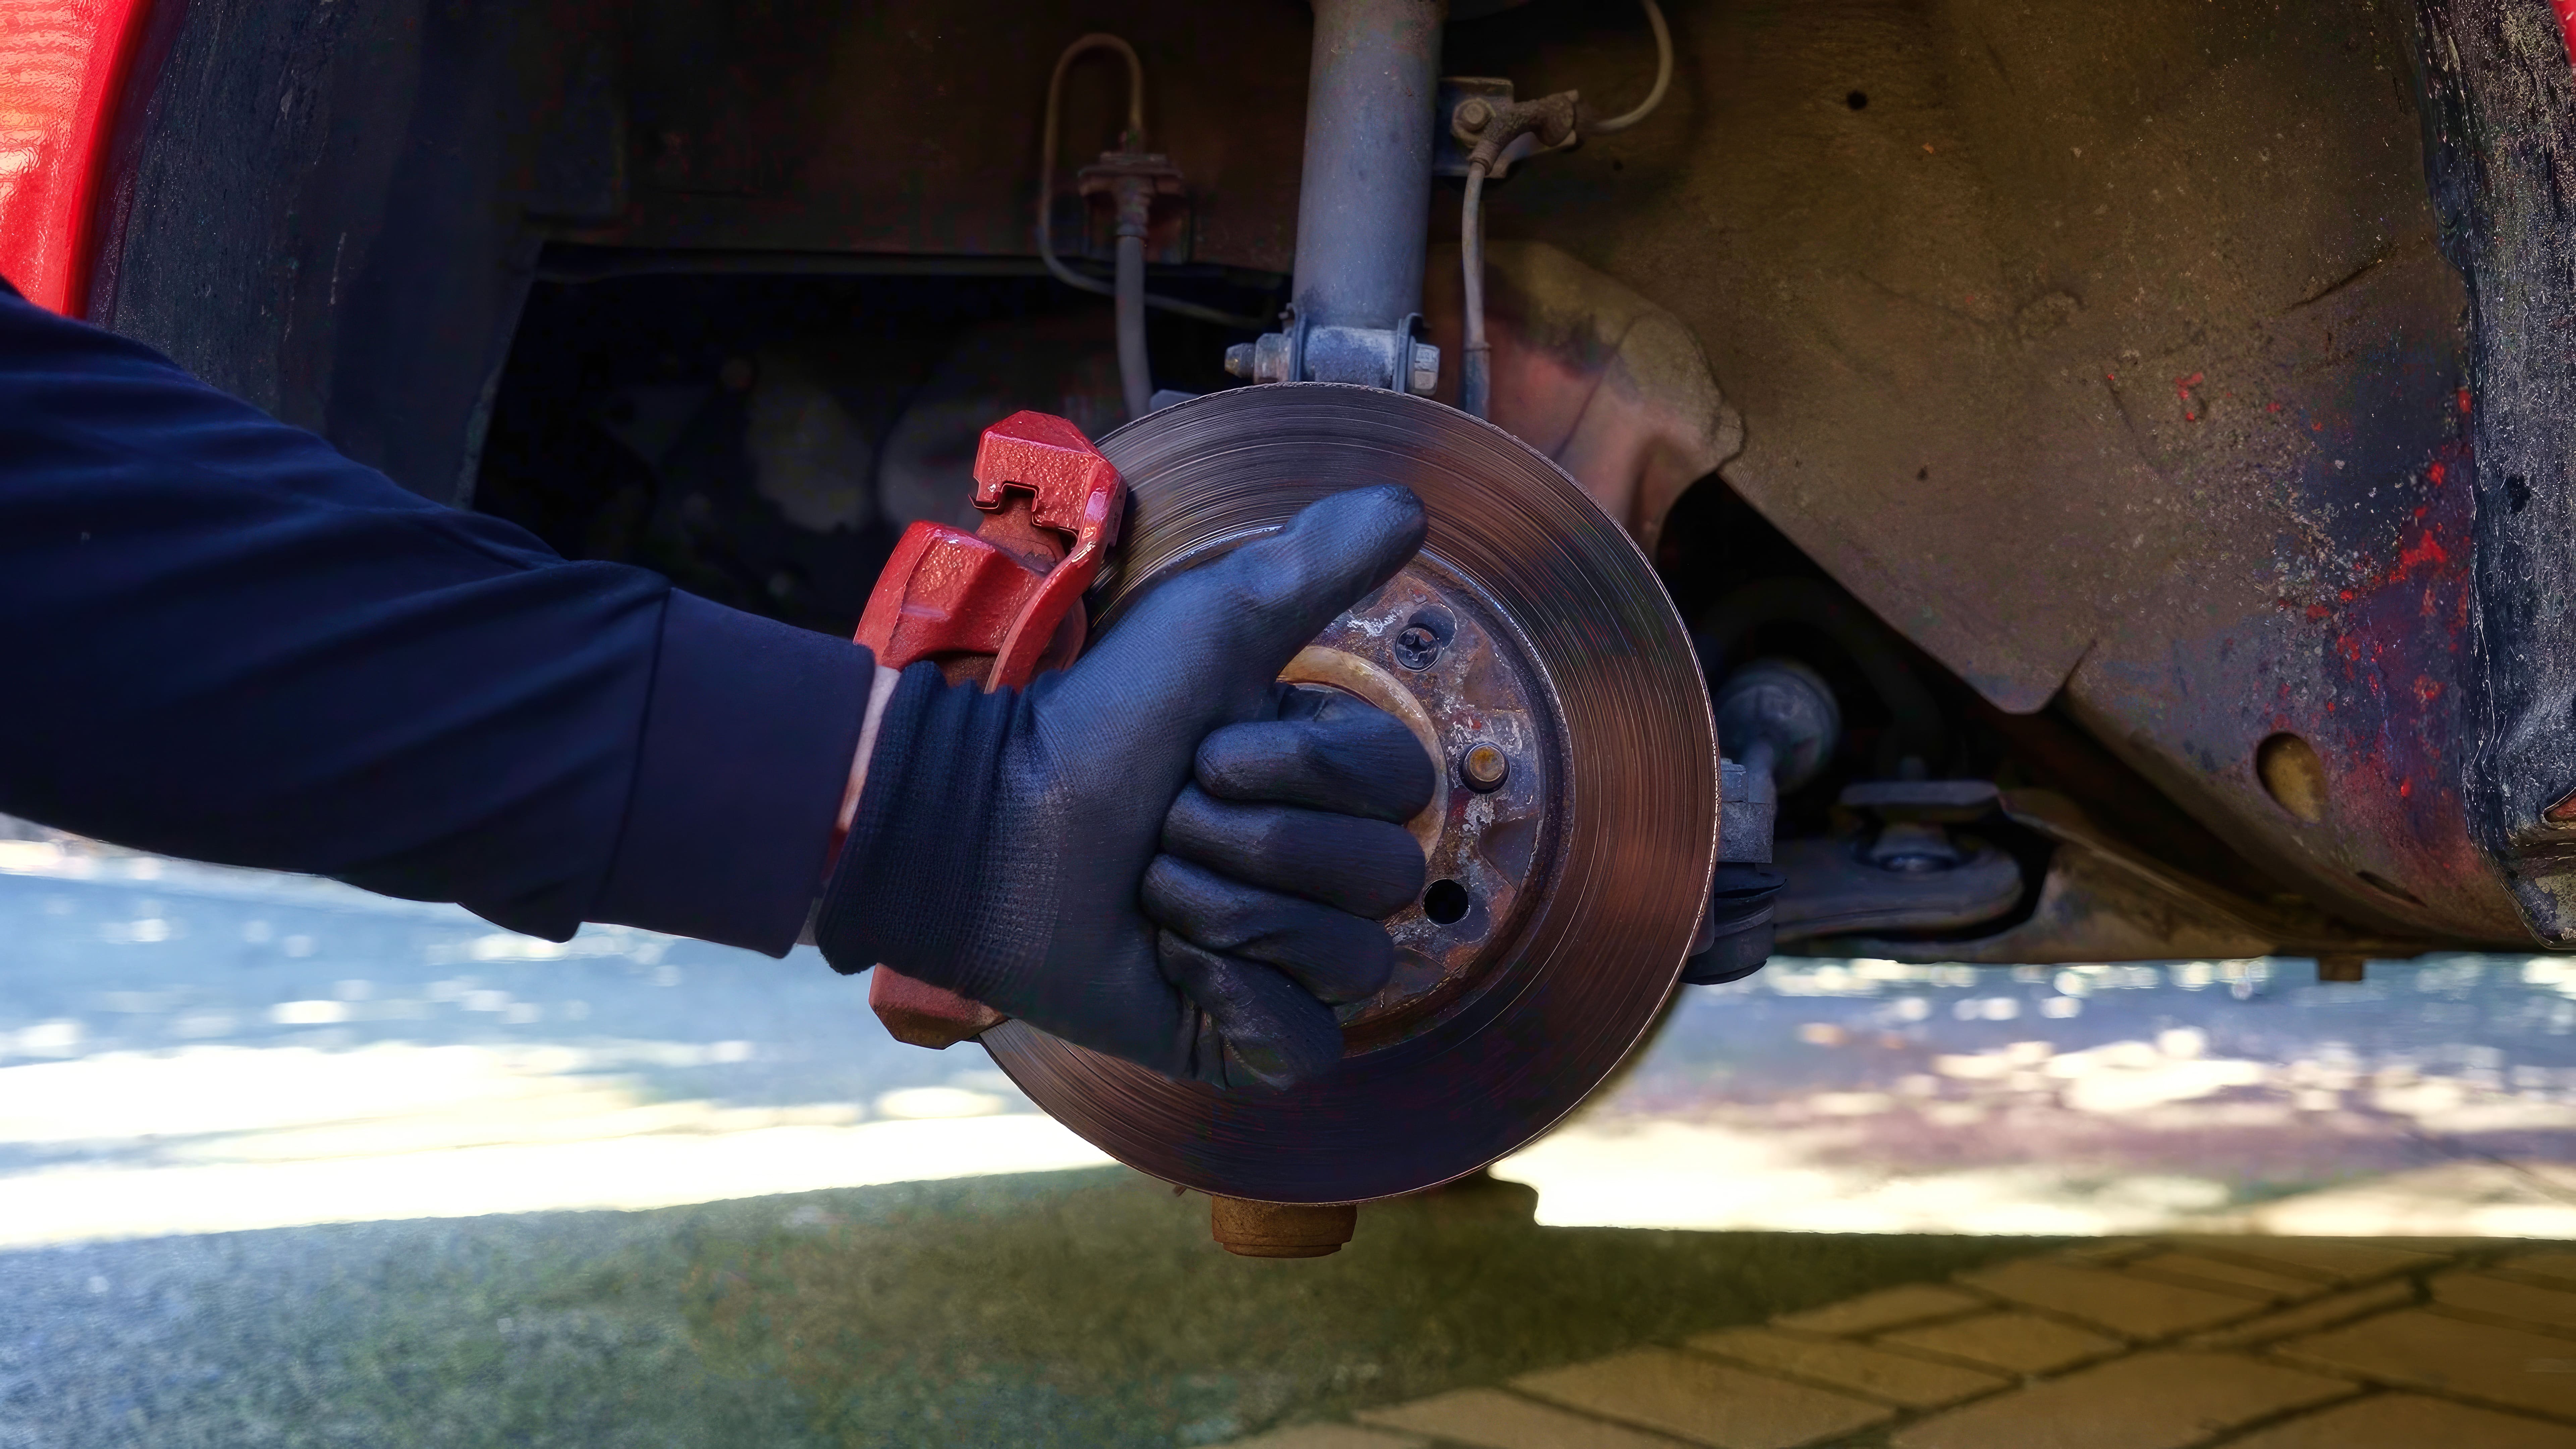
Once those bolts are out, the caliper will be connected to your vehicle only by the brake hose. You can simply tie the caliper out of the way with a cable tie.
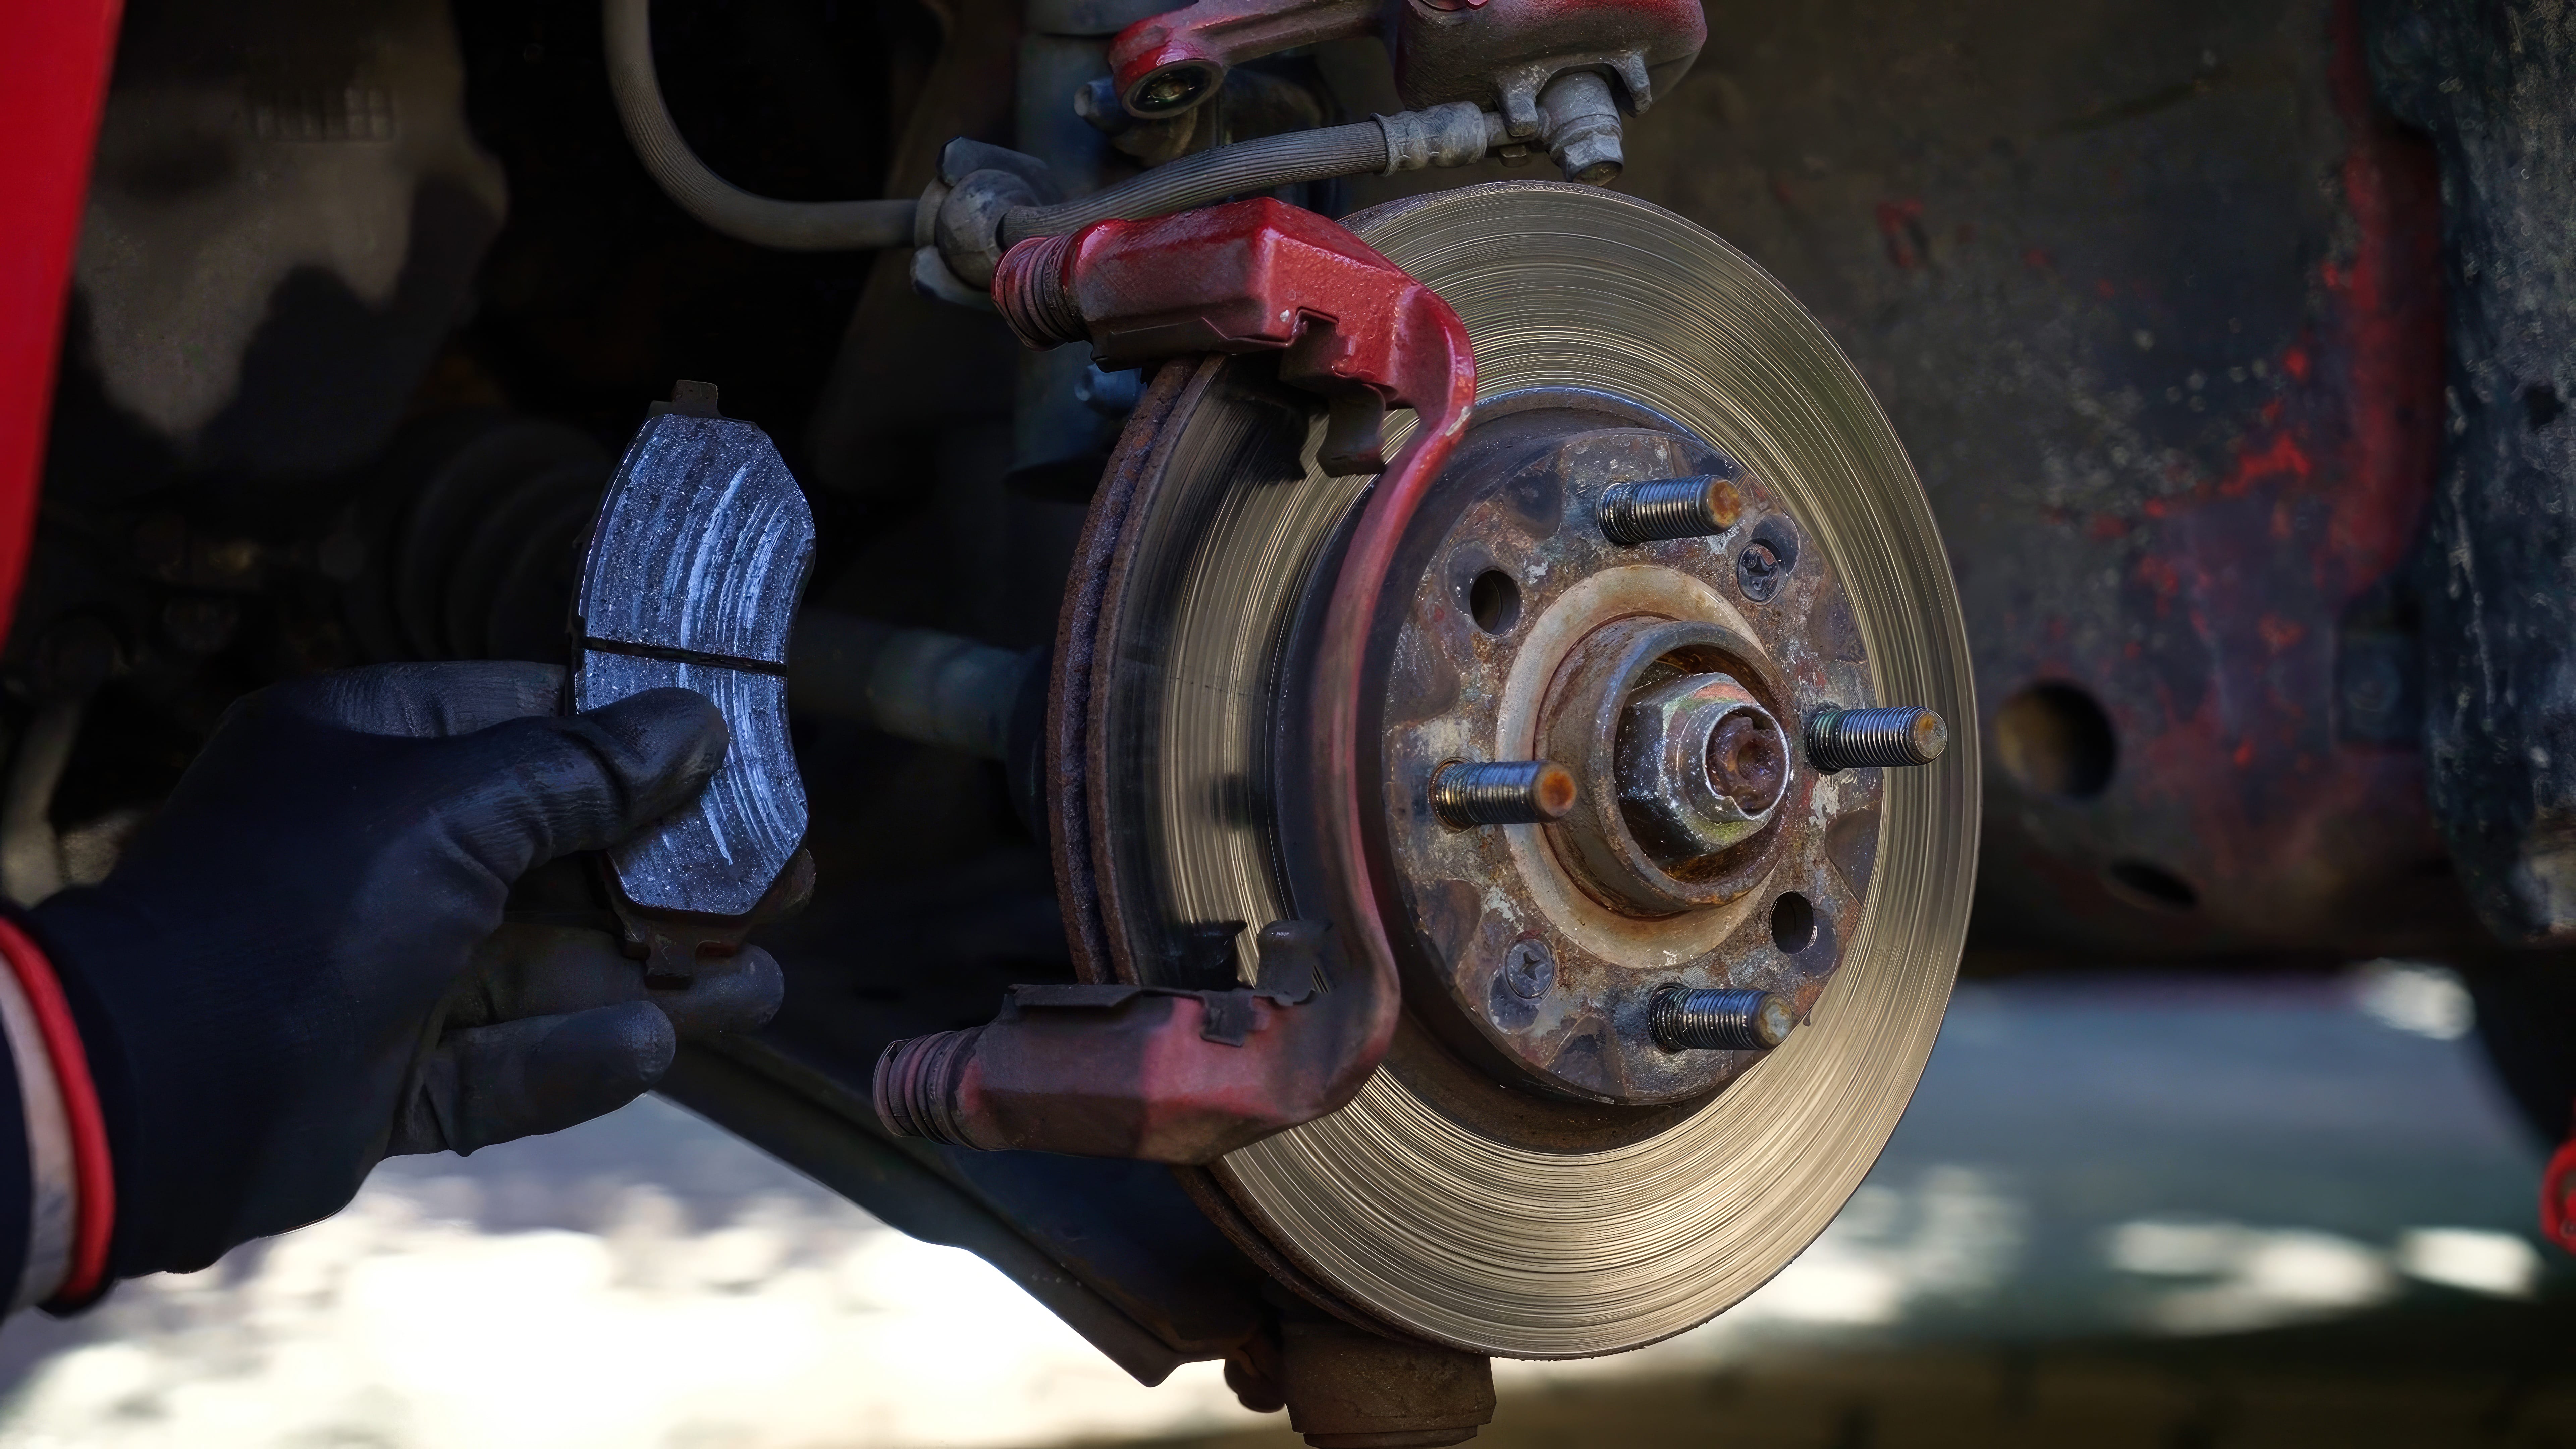
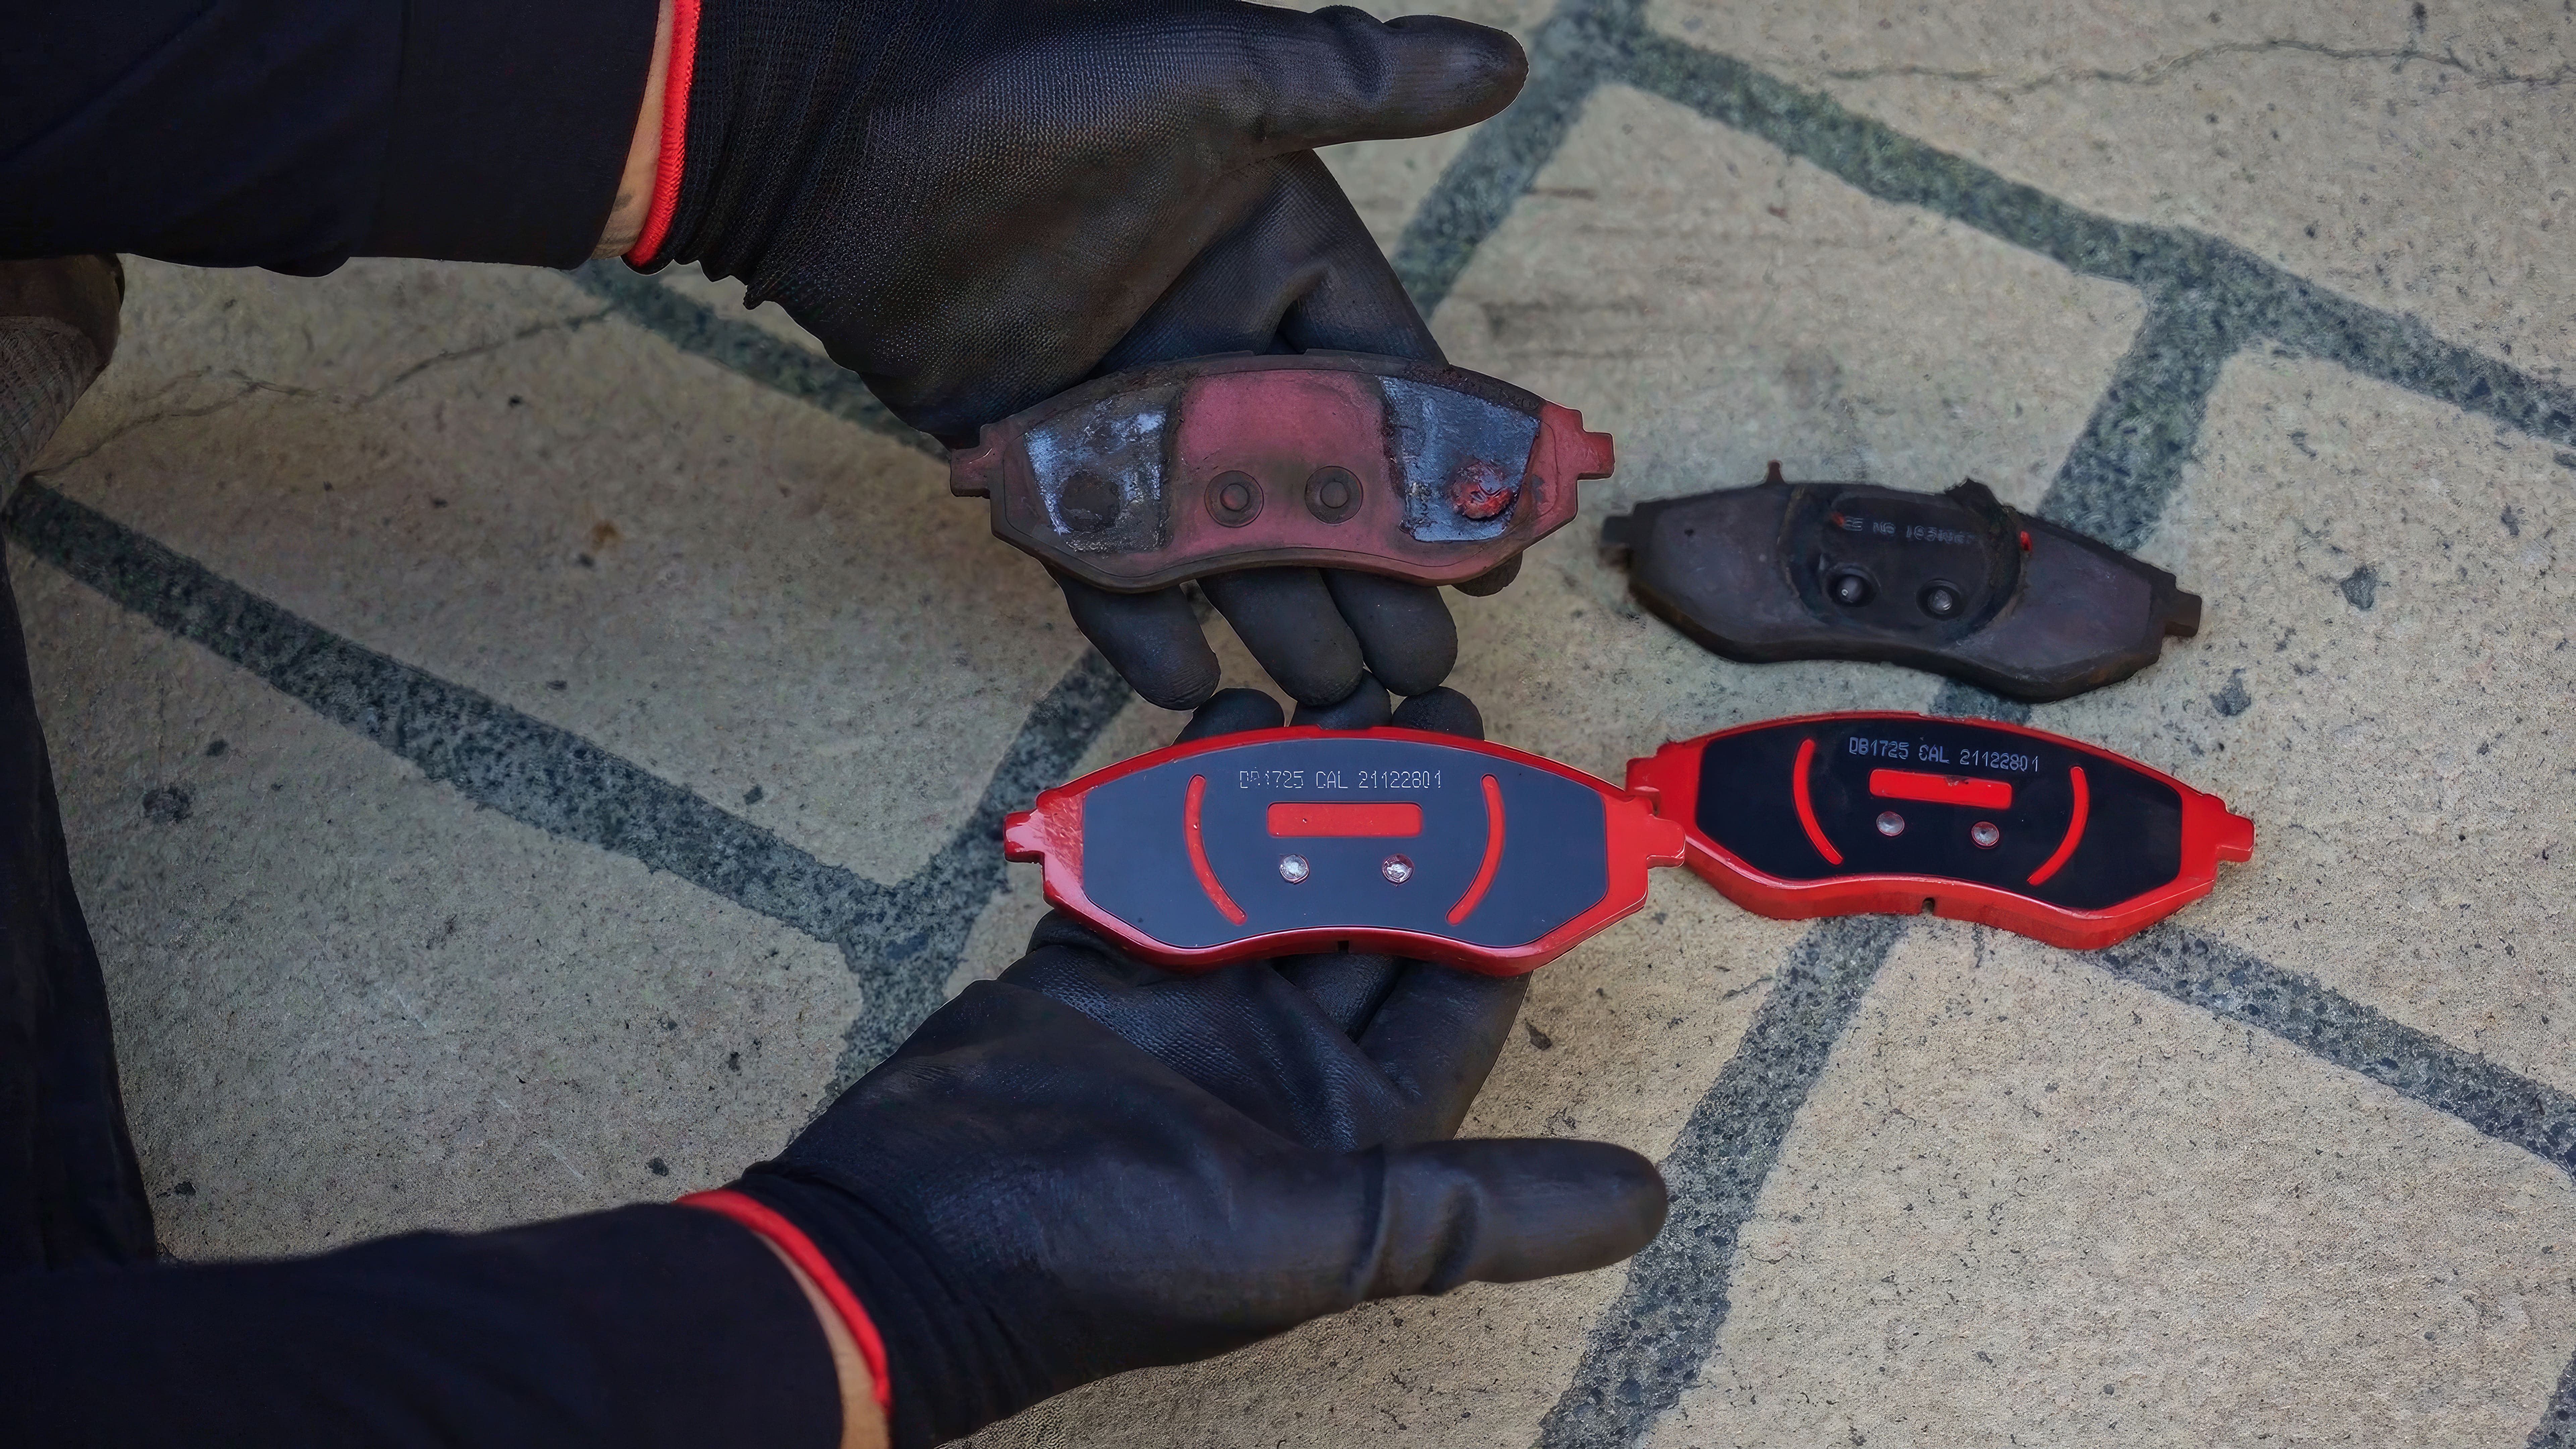
Your old brake pads will now easily pop out of their mounts. Pay attention to their orientation, and compare them to your new pads. There may be parts not present on the new pads which need to be switched over from the old ones.
Leave the pads aside while you move onto the next step.
Step 4: Preparing for new brake pads
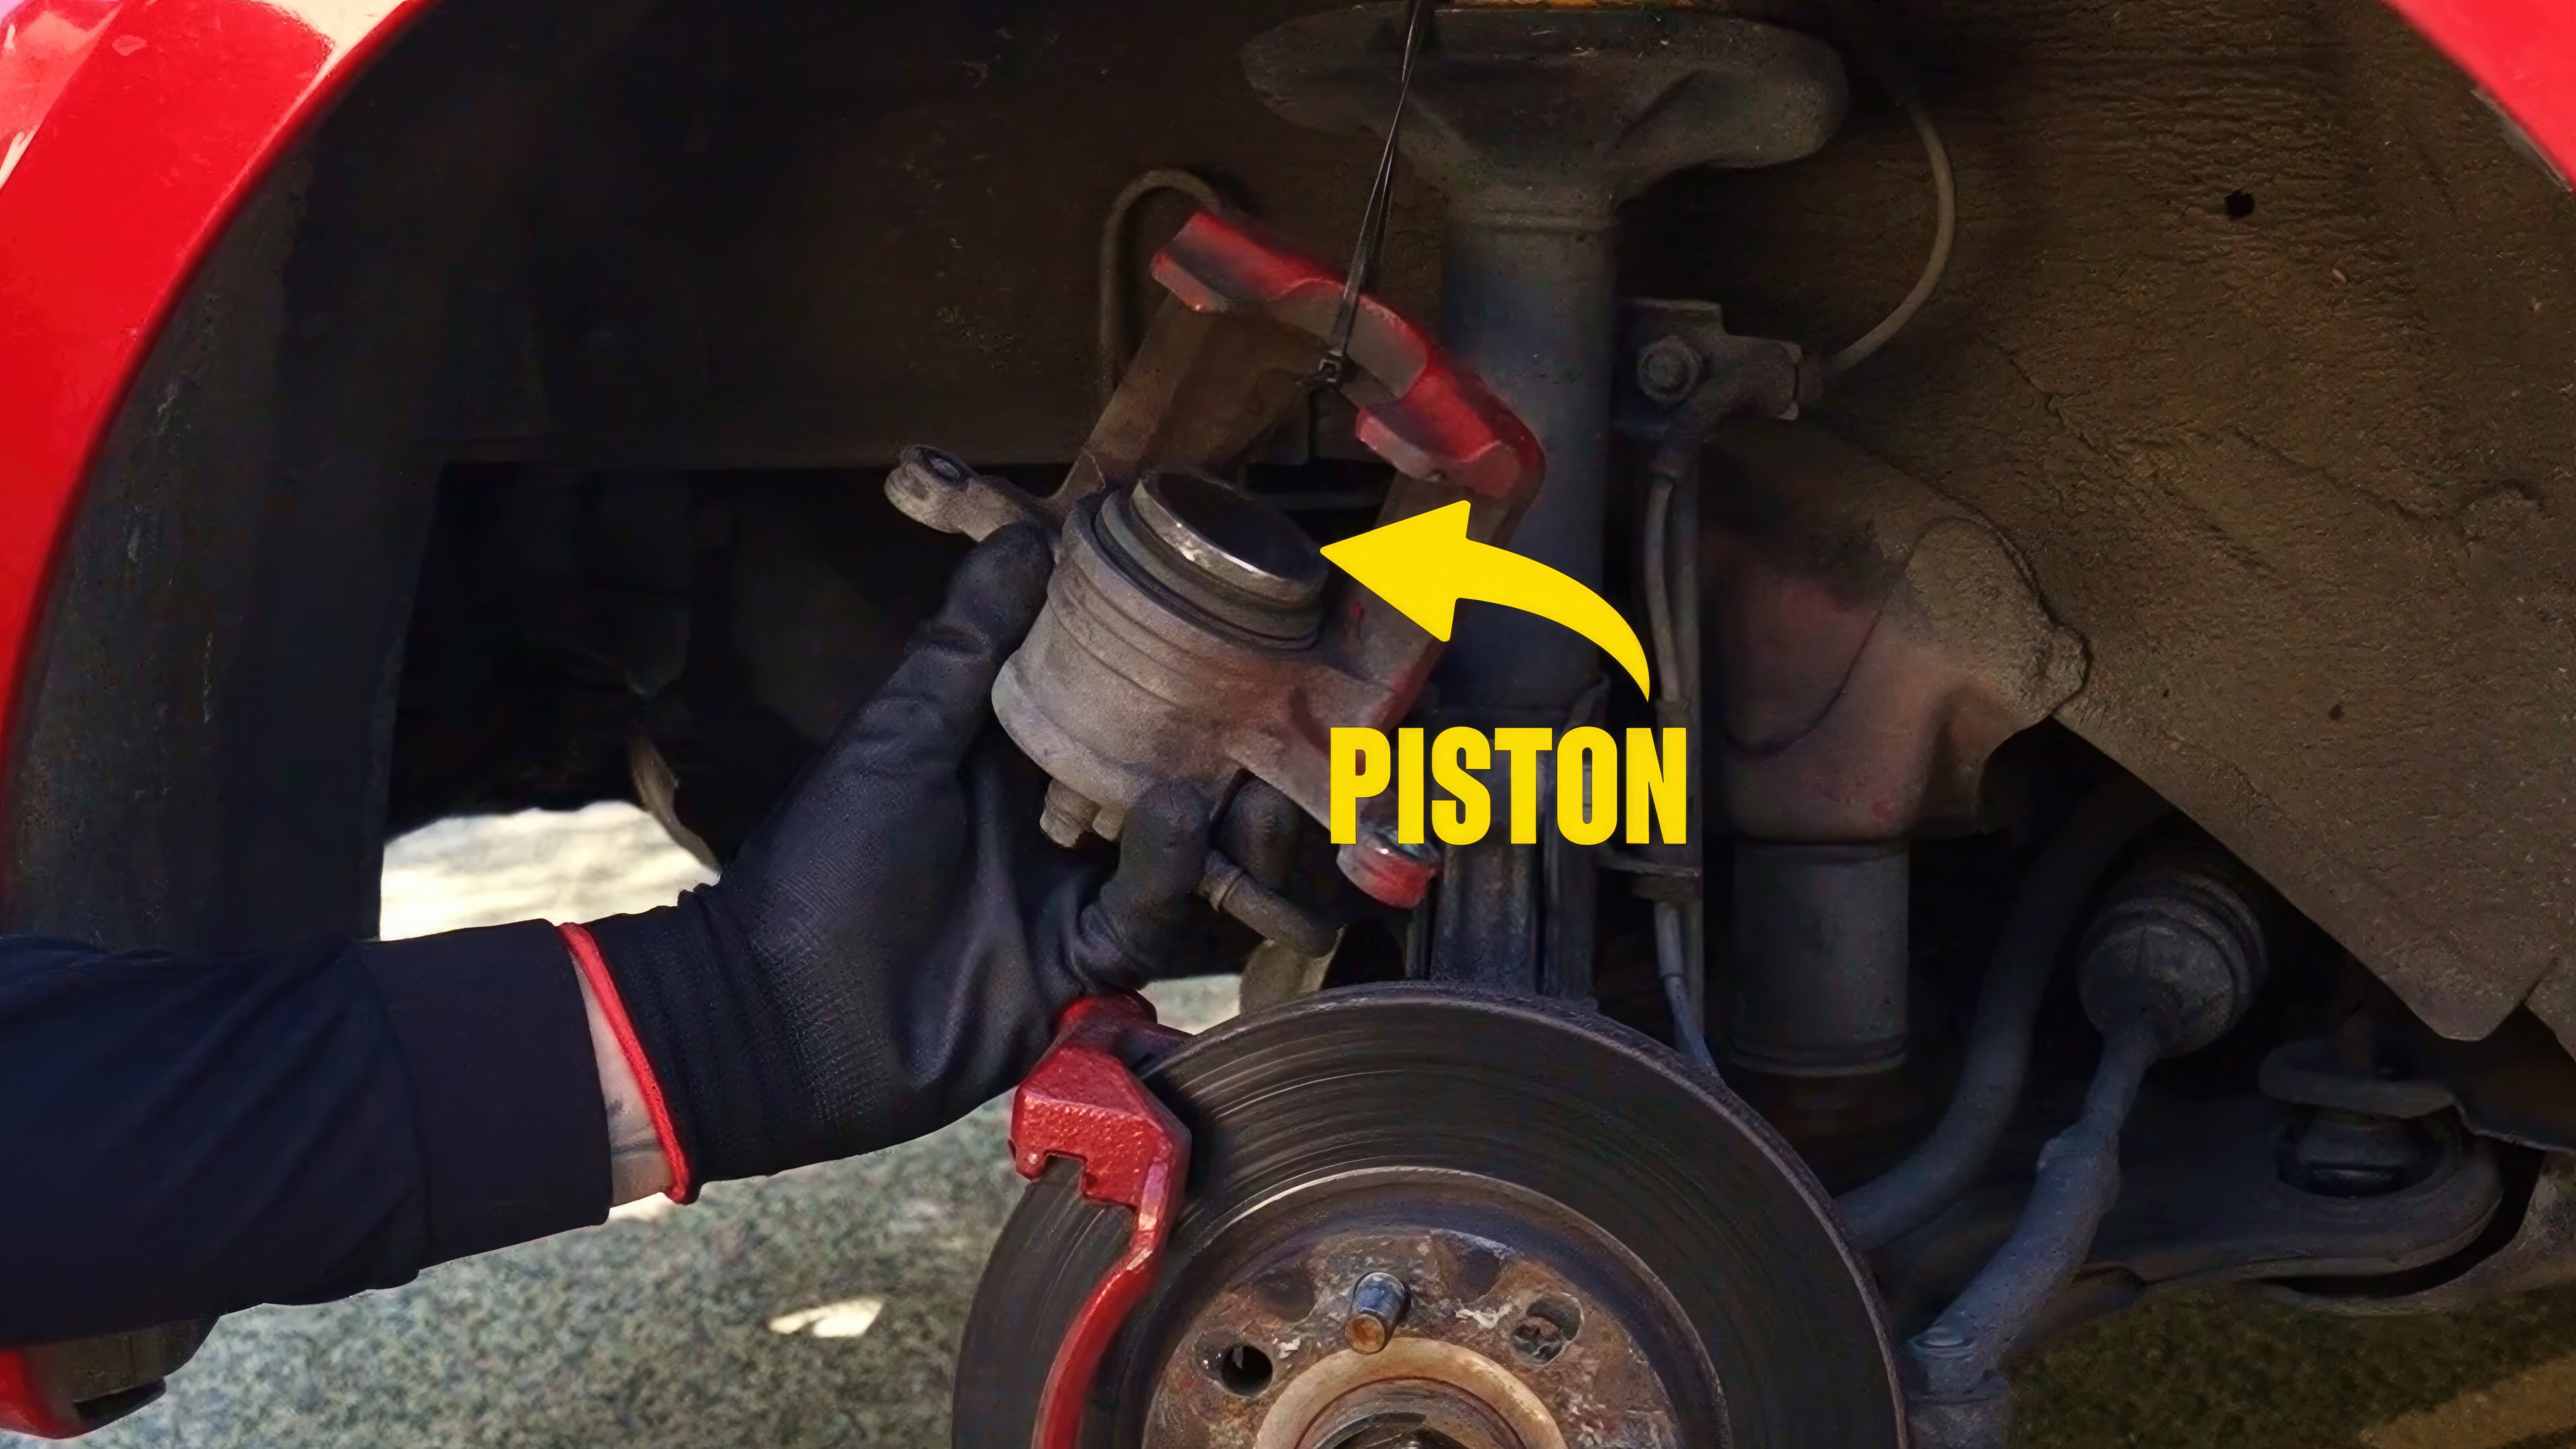
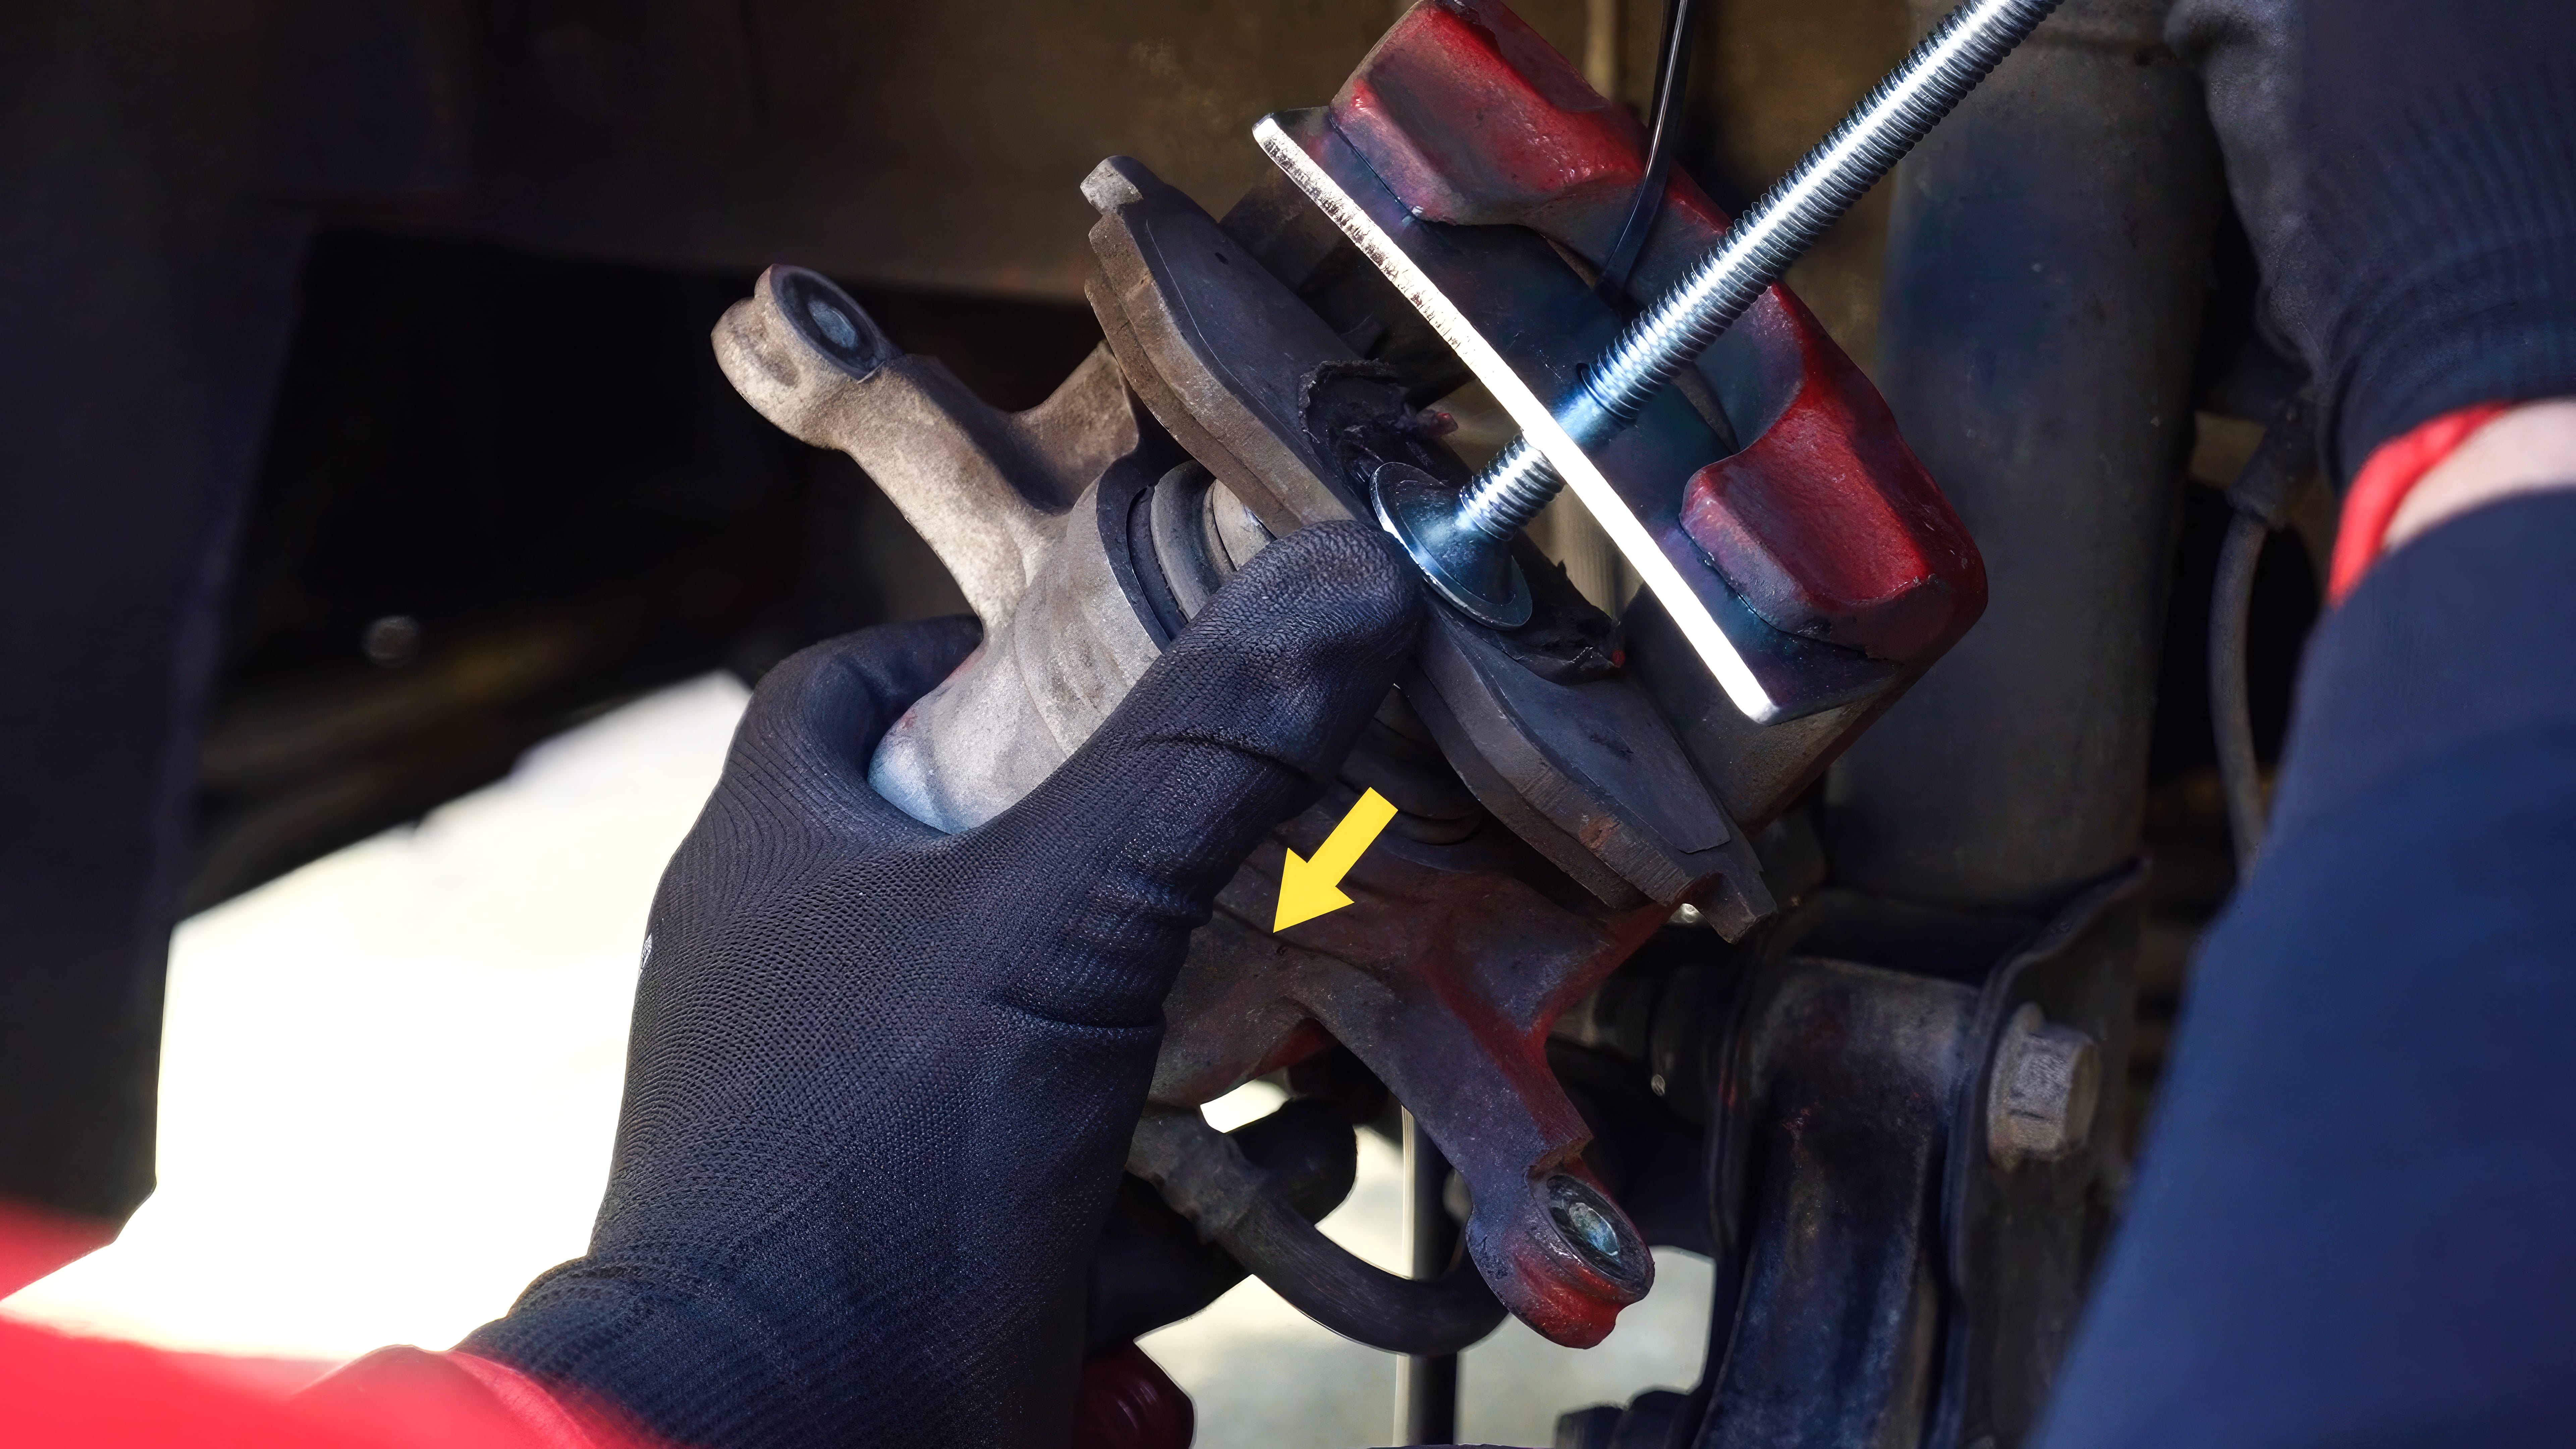
As brake pads gradually wear, the piston moves out to fill the space. To change brake pads, this piston needs to be pushed back into the caliper.
To perform this task, start by clamping the brake hose as close to the caliper as possible. Slip a piece of clear hose over the bleed nipple, and loosen this with a spanner. A little fluid may begin to flow, so be ready to catch this in an old tin or jar.
Now slip the brake spreader into the caliper and start winding the thread. This will slowly push the piston back into the caliper, and the dirty fluid will be expelled through the bleed nipple rather than back into your brake system.
Once the piston has been pushed back in, you can nip that bleed nipple back up, remove the hose; and remove your line clamp. The old brake fluid can be disposed of safely at your local tip.
A squirt of brake cleaner comes next to clean up brake dust and any fluid that may have spilled. Soak everything liberally, but protect rubber and painted surfaces from overspray. Brake cleaner is terrible stuff for your skin and eyes, so keep those gloves and safety glasses on. Any overspray should be rinsed off immediately with care to ensure it doesn’t enter stormwater drains.
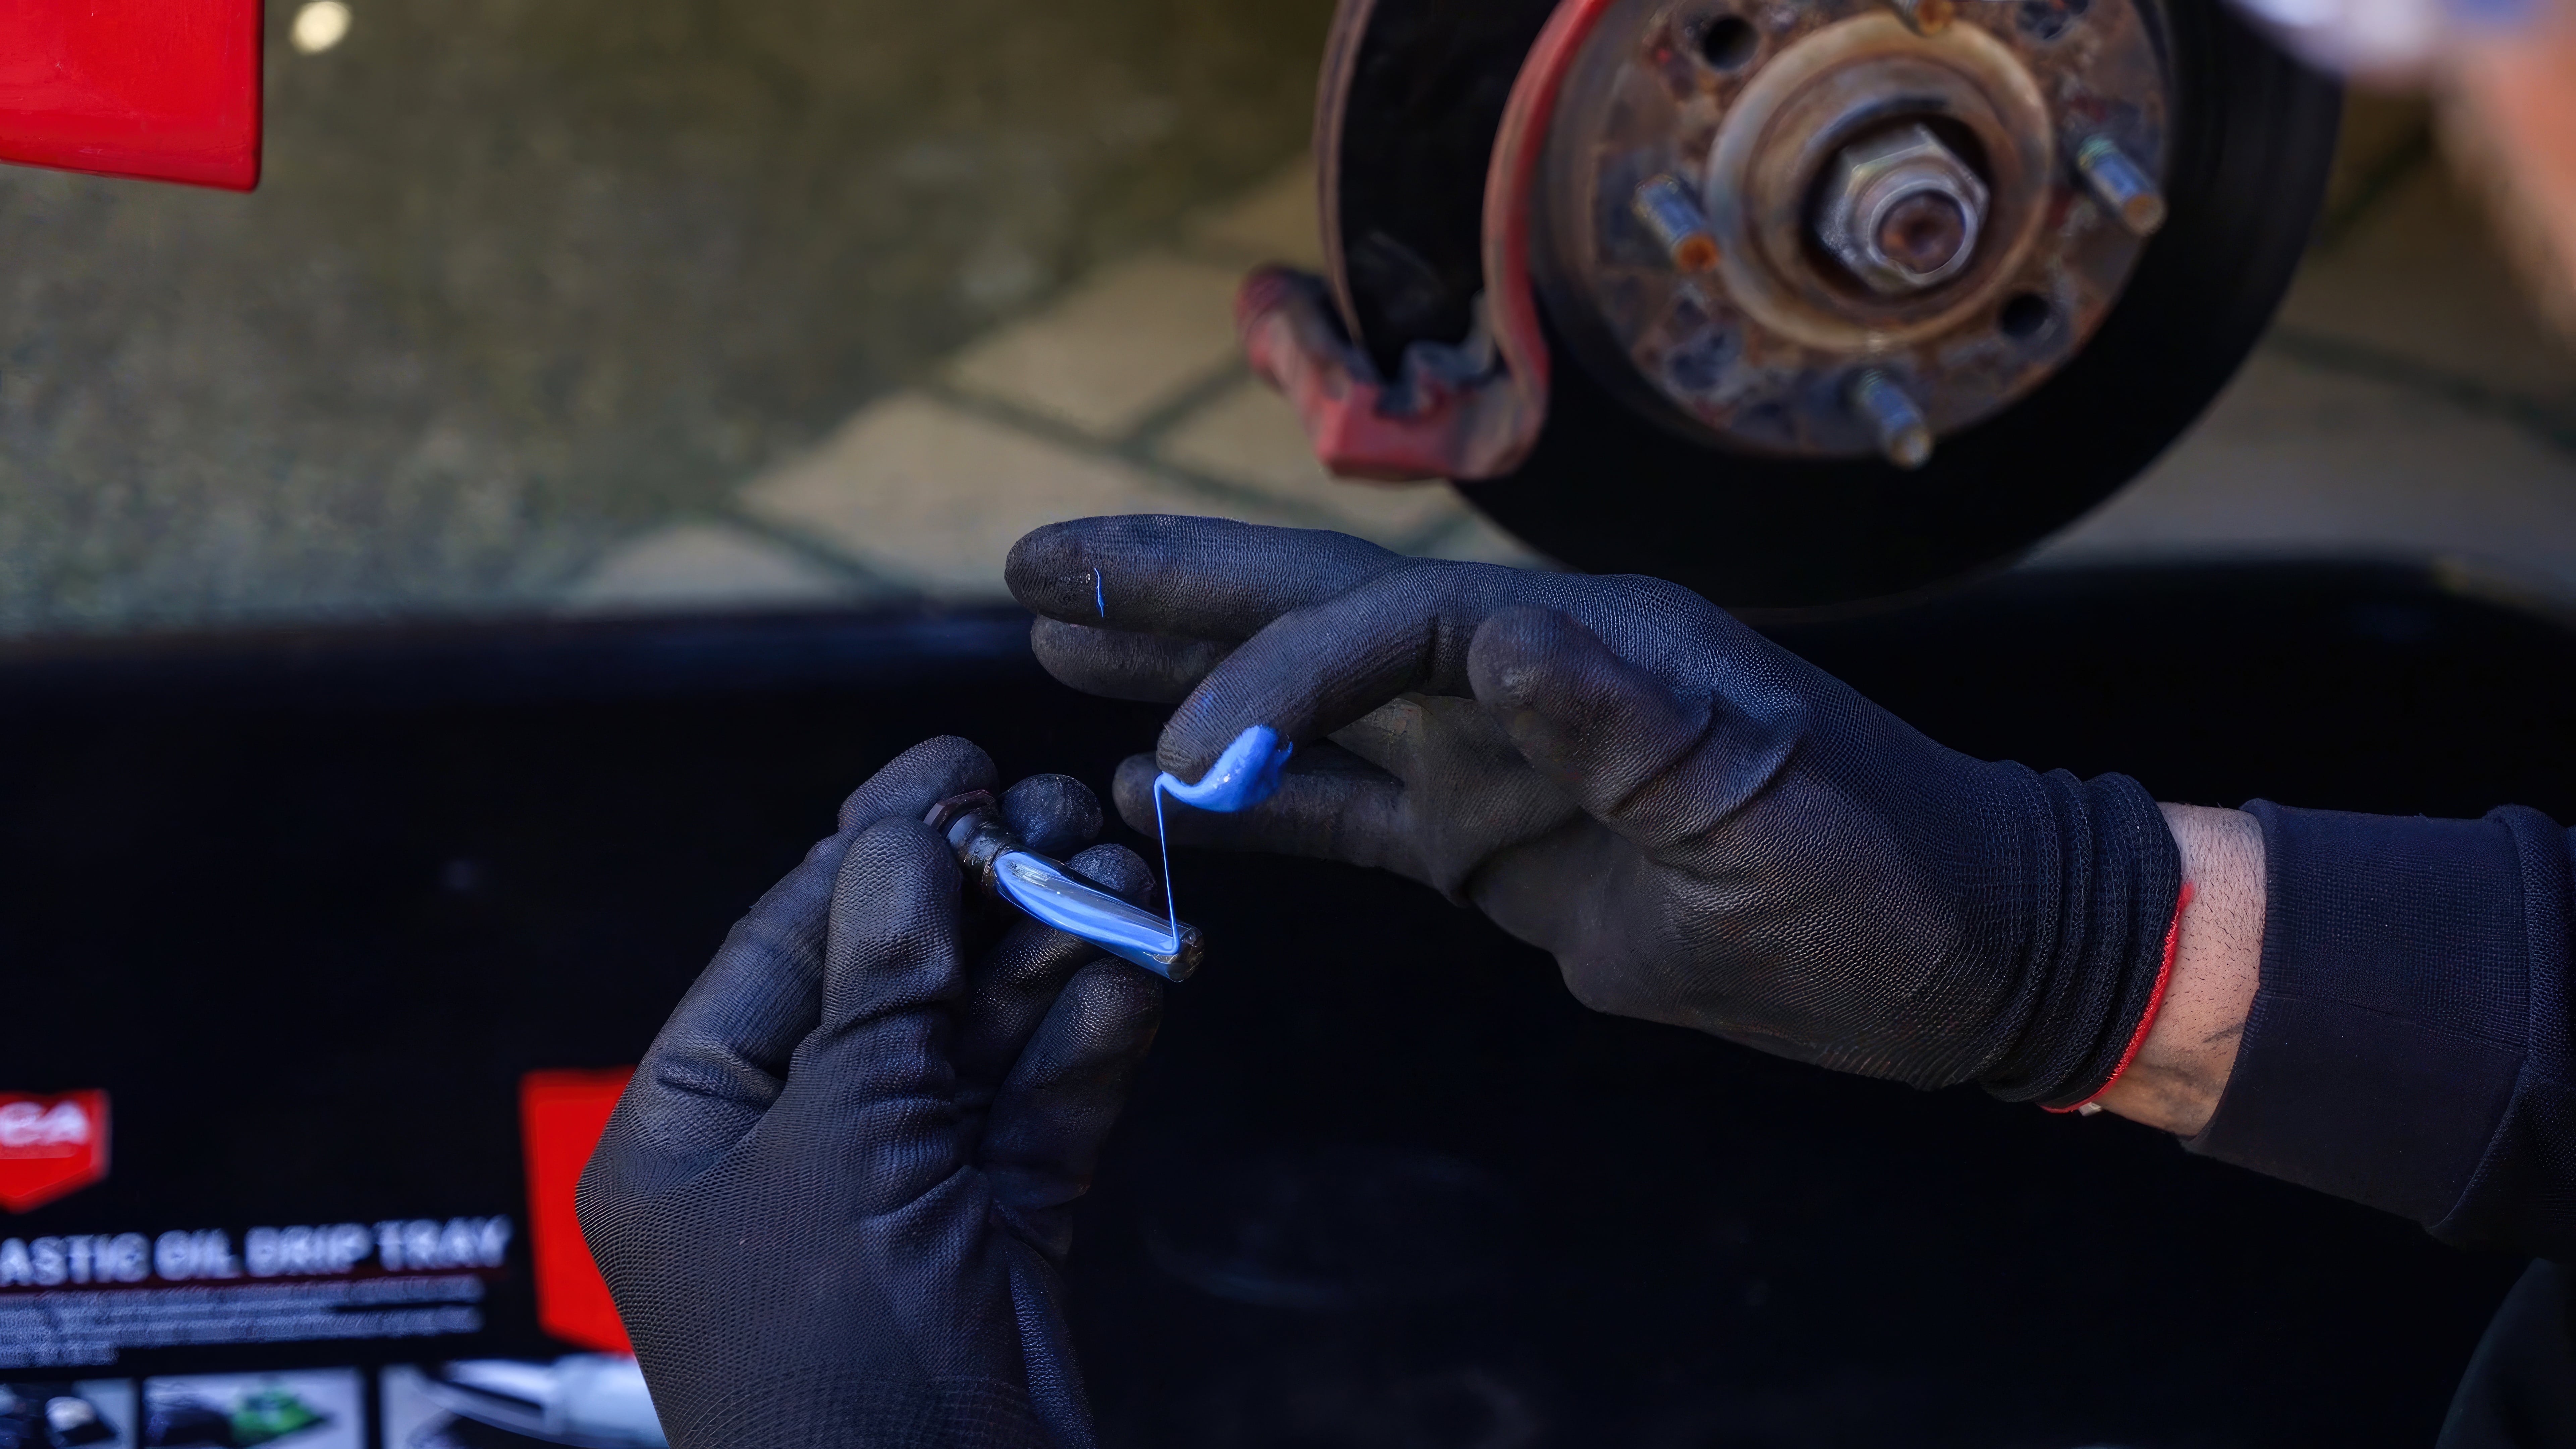
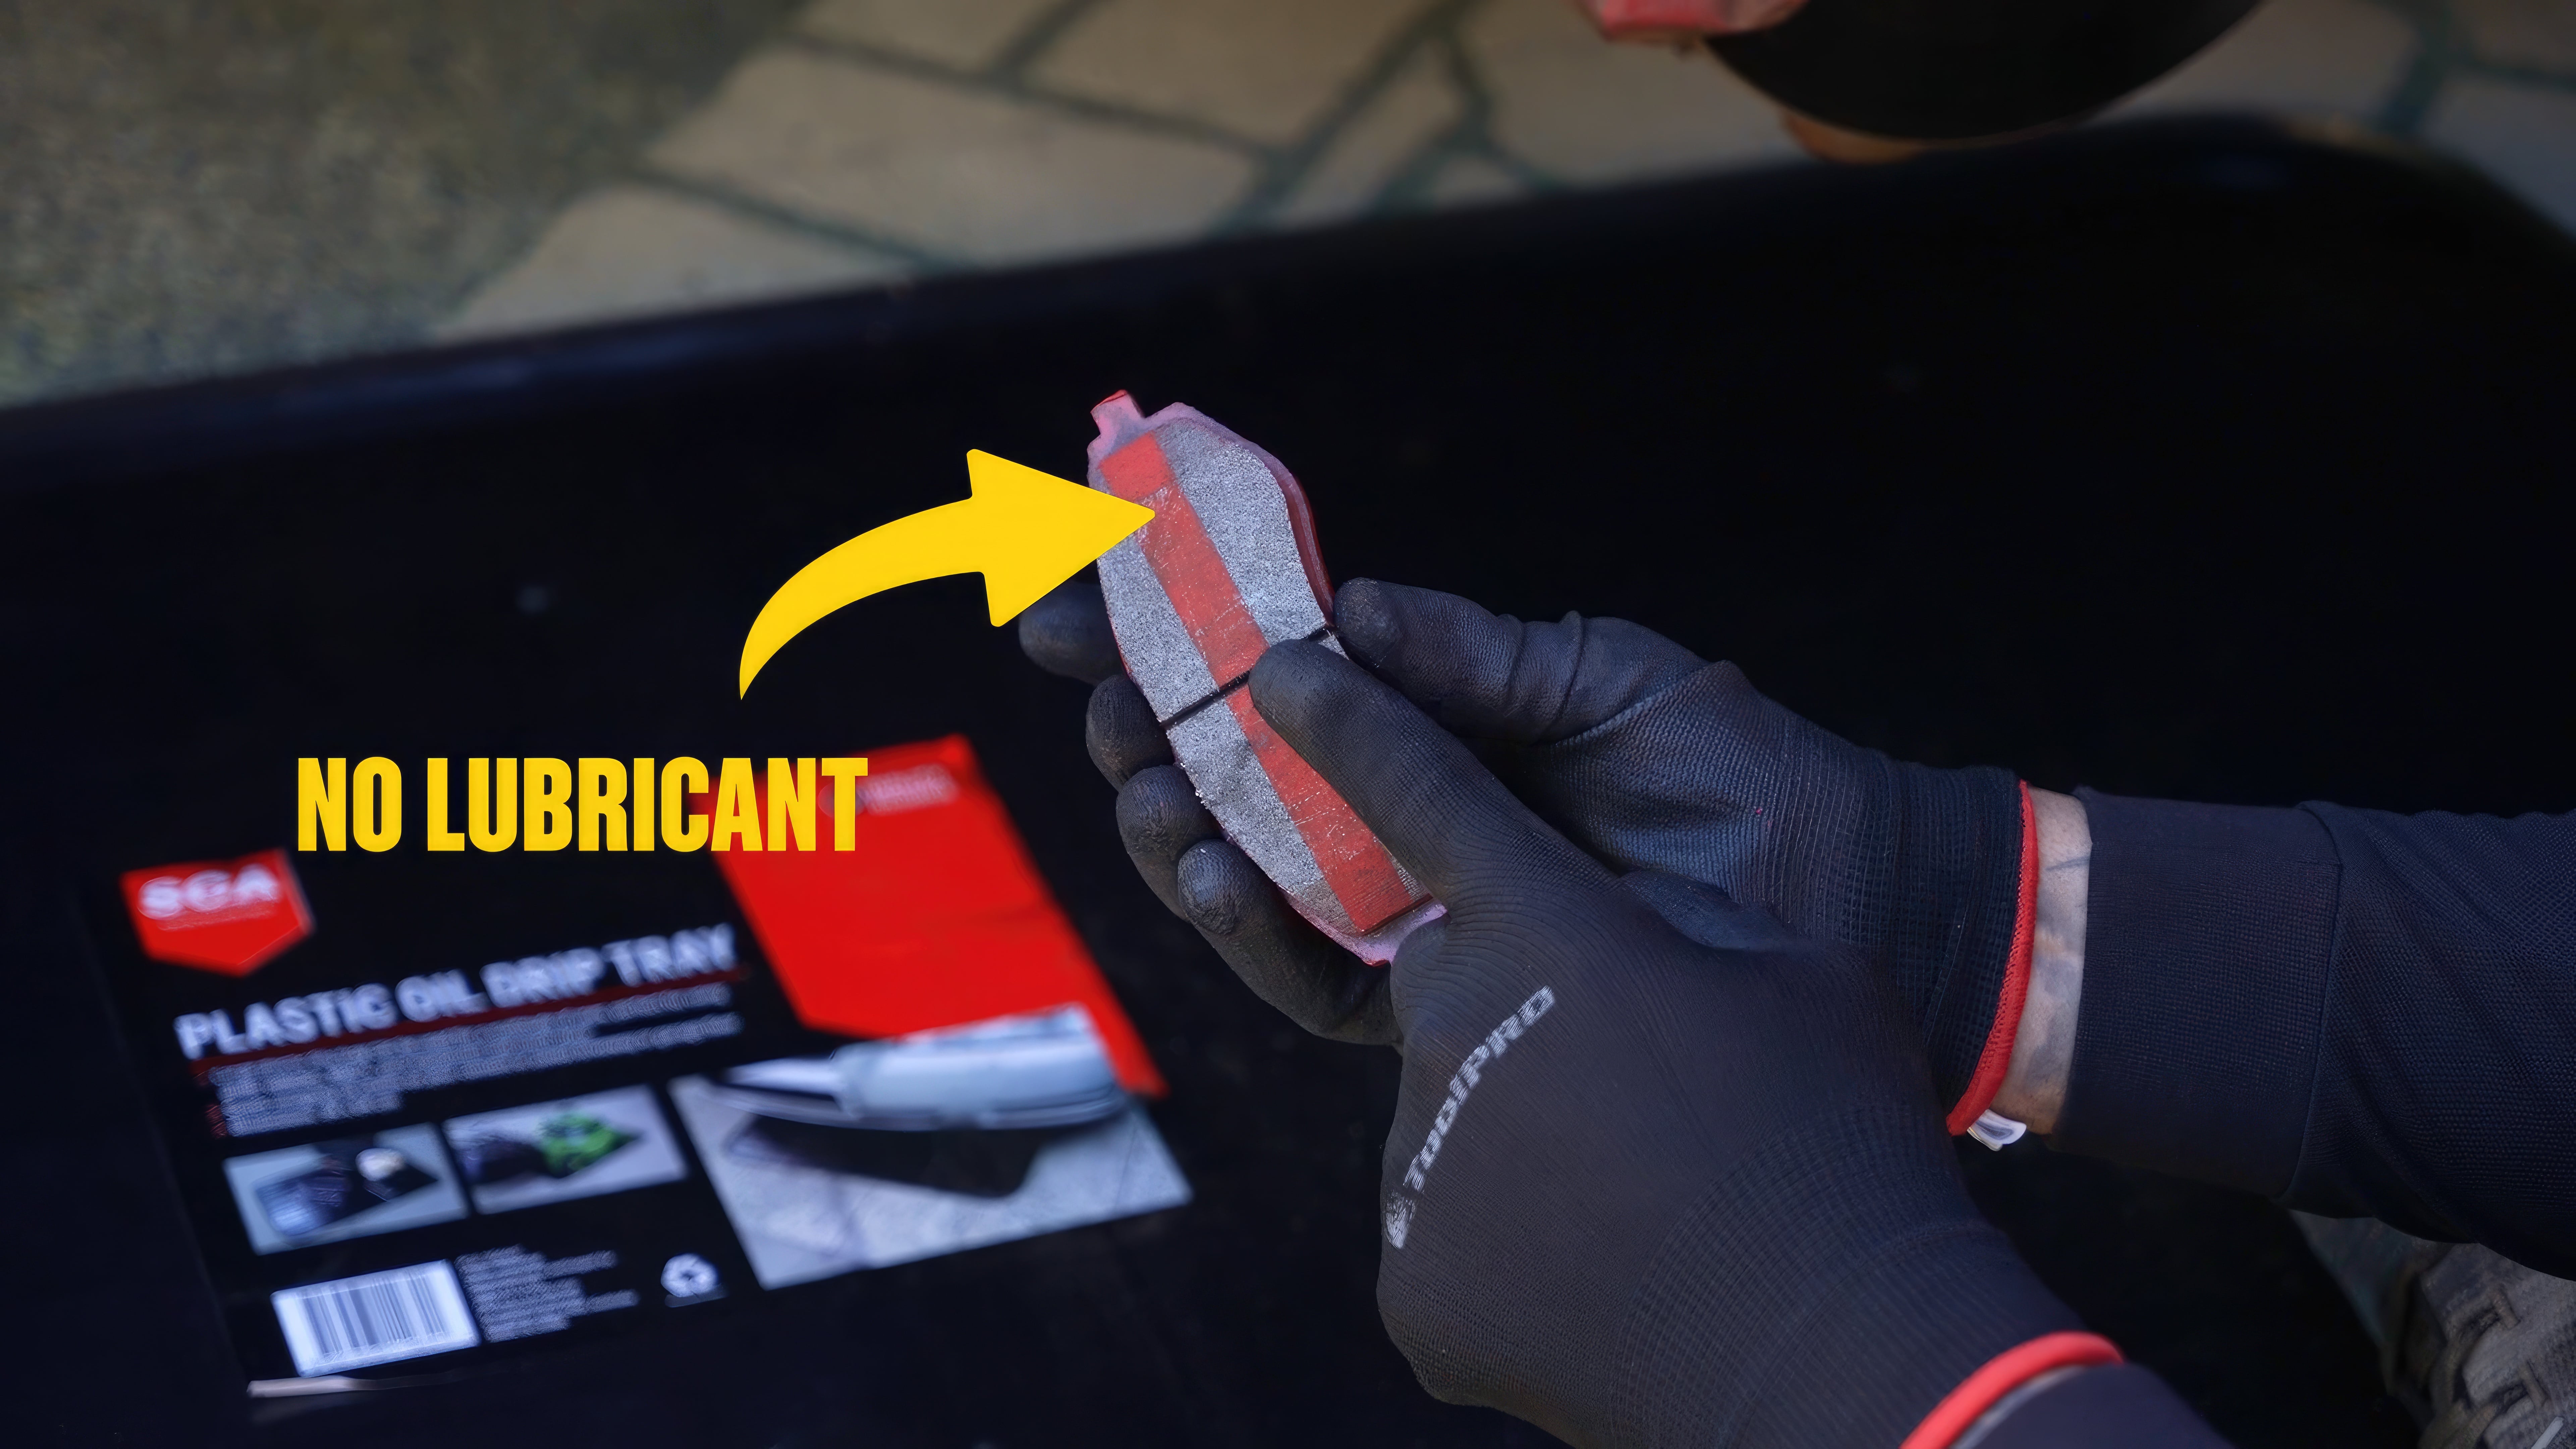
Finally, apply some brake lubricant to your caliper and mount. Spread a thin layer on slide pins, bushings and anywhere the brake pad contacts the caliper or mount. A small paint brush is quite helpful.
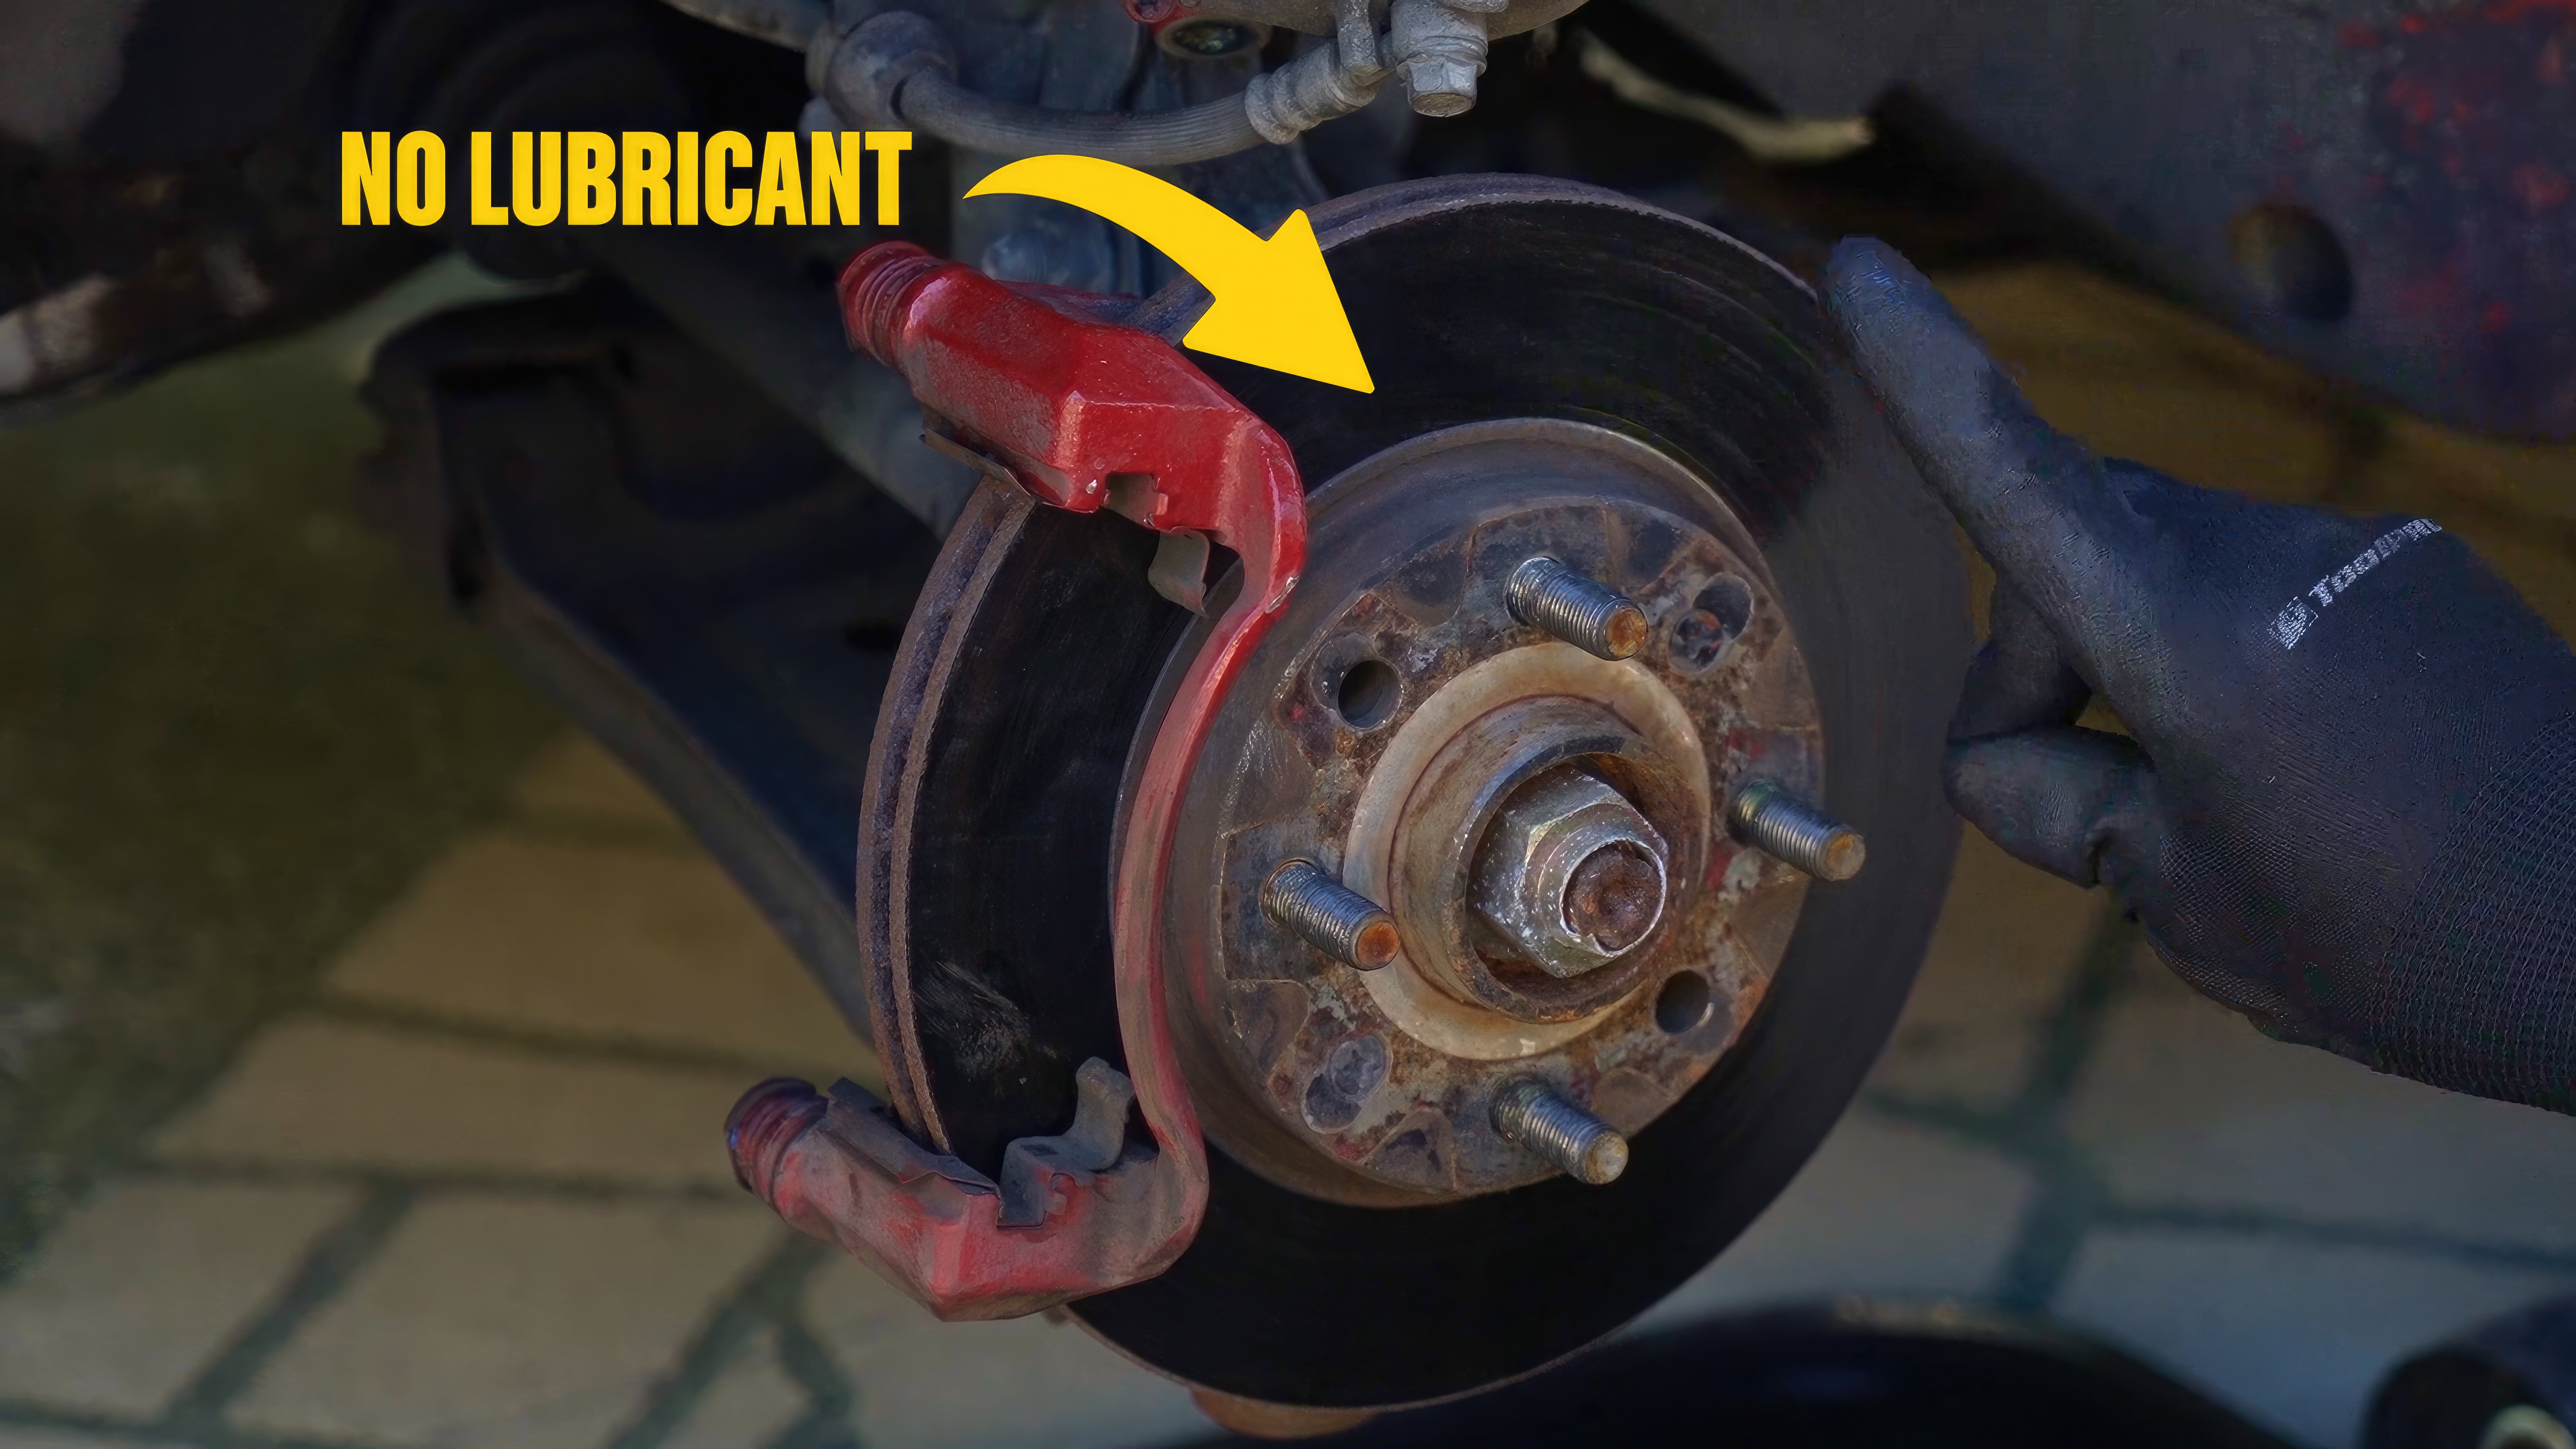
Be VERY careful not to apply lubricant on or too close to the brake rotor or where it will contaminate the friction surface of your brake pad. With this last bit tended to, it’s onto the next step.
Step 5: Brake pad replacement
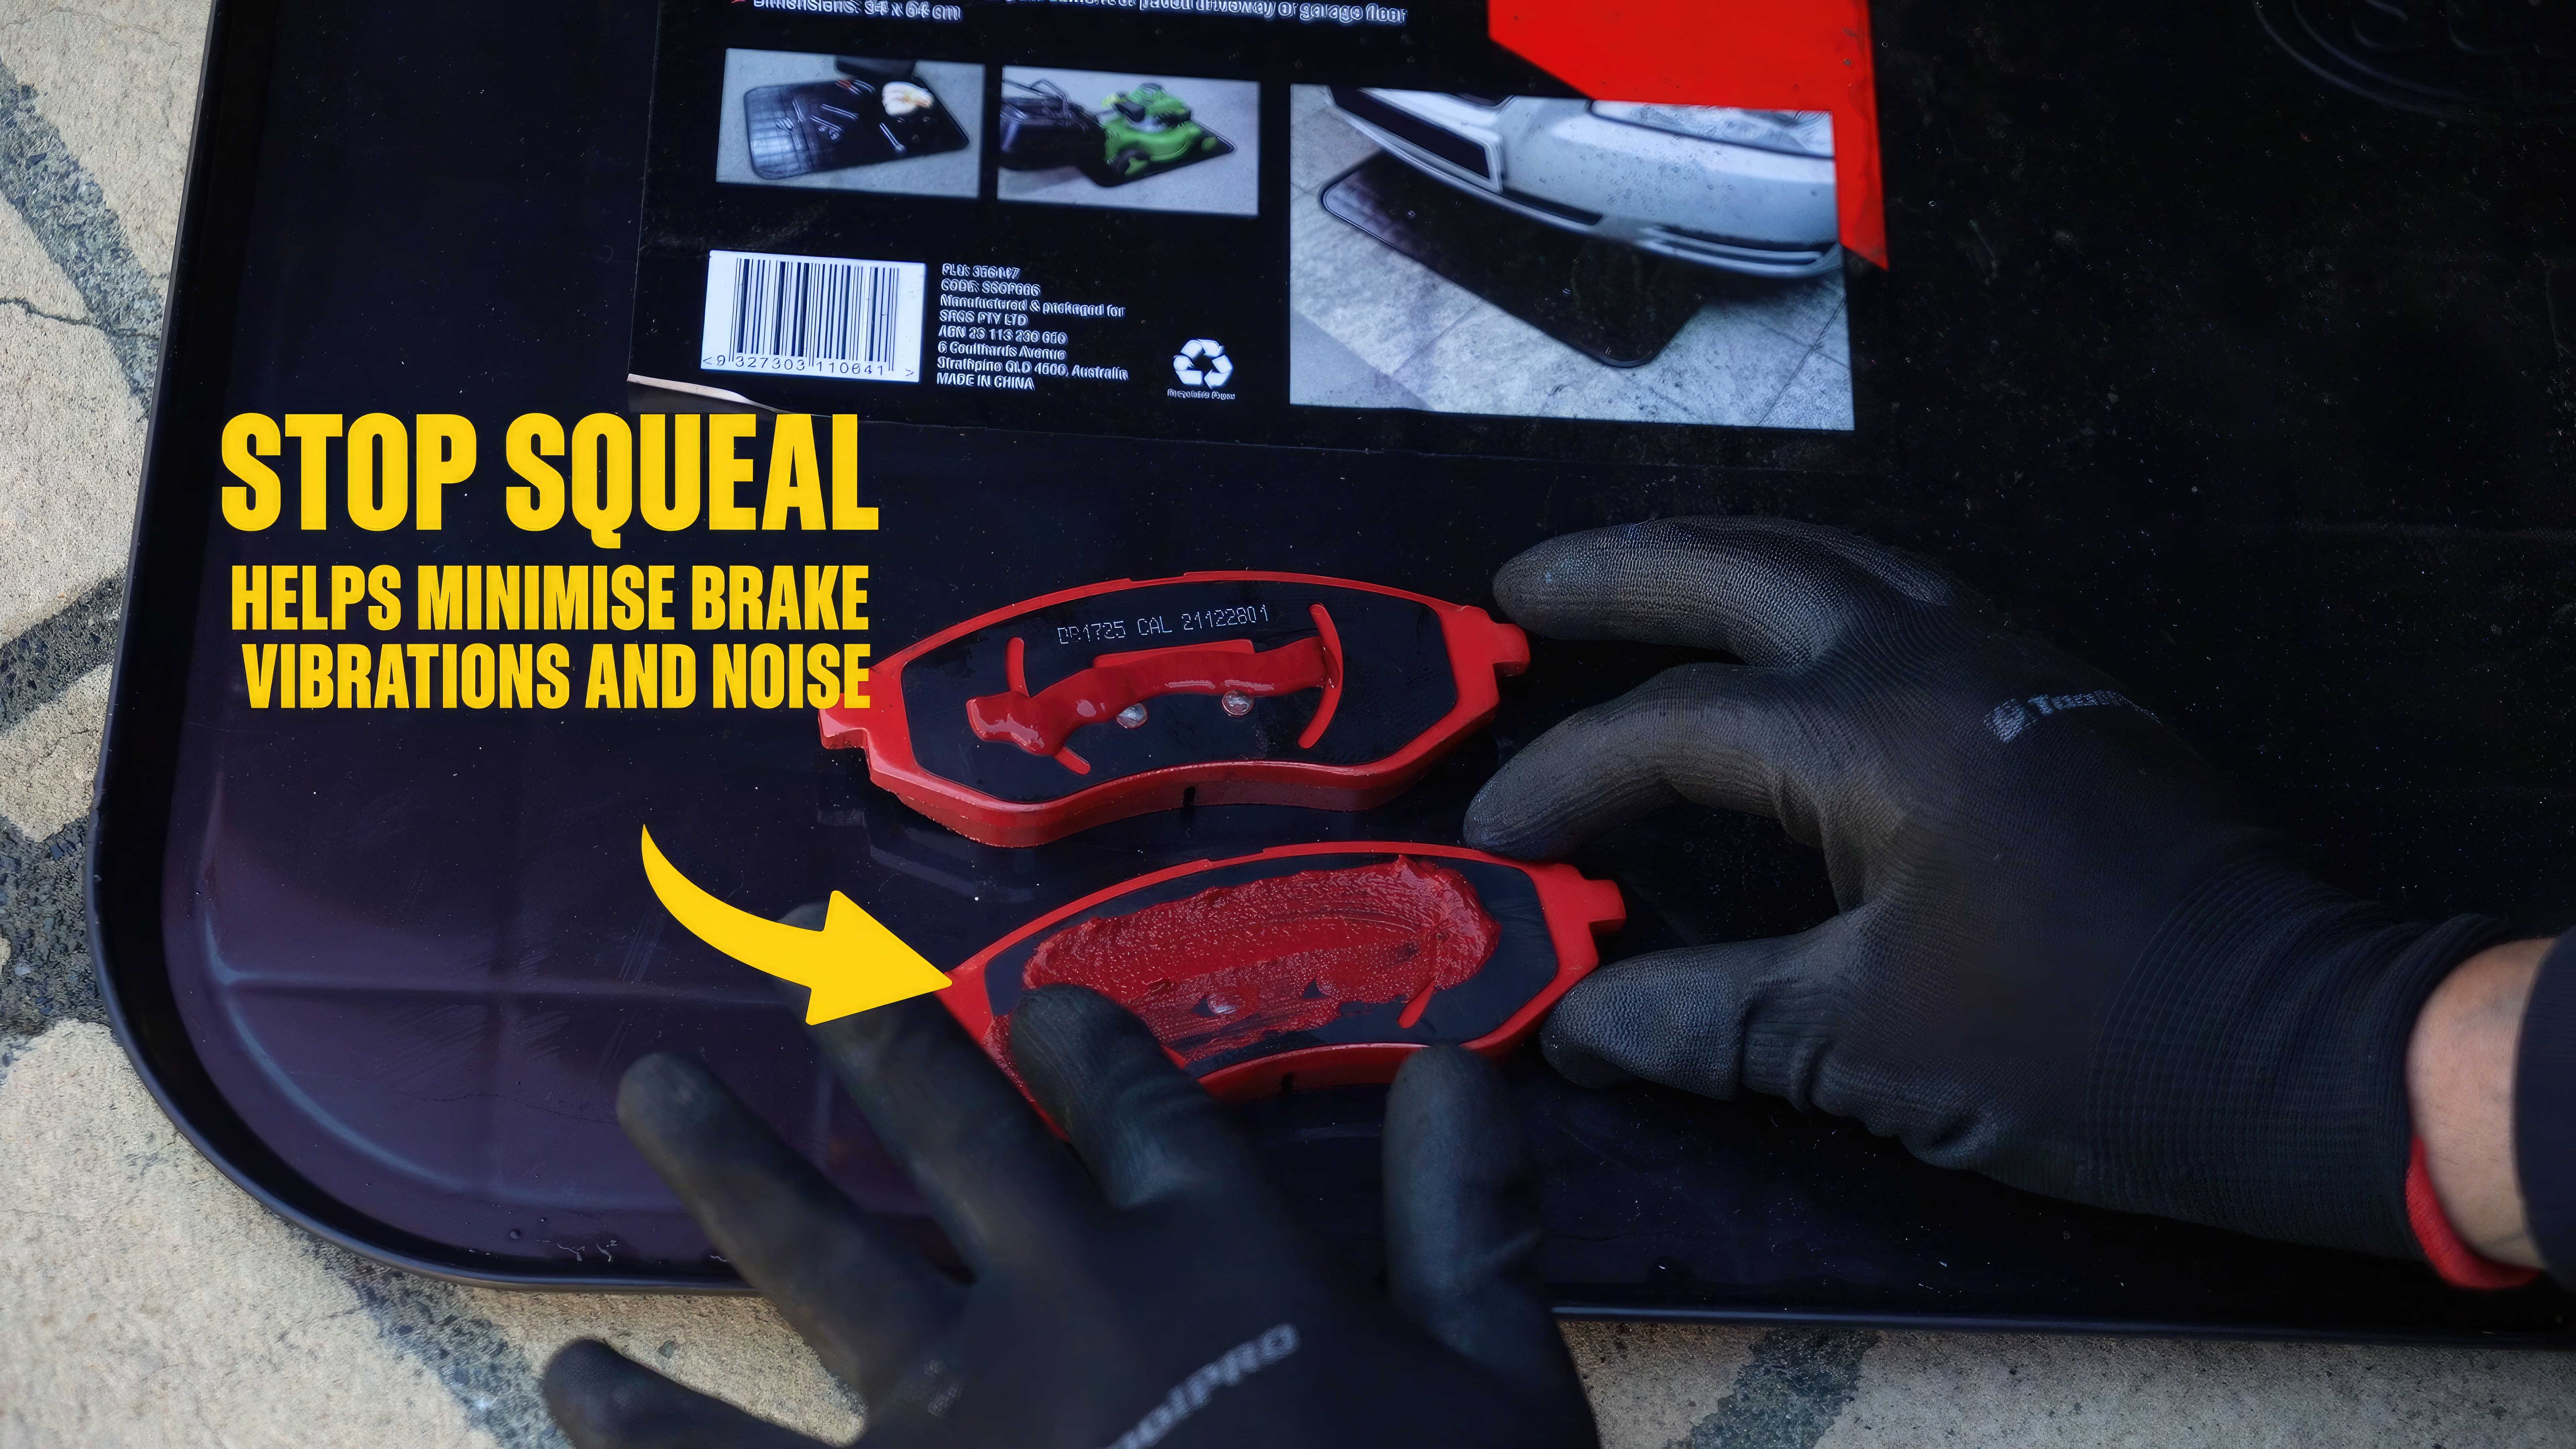
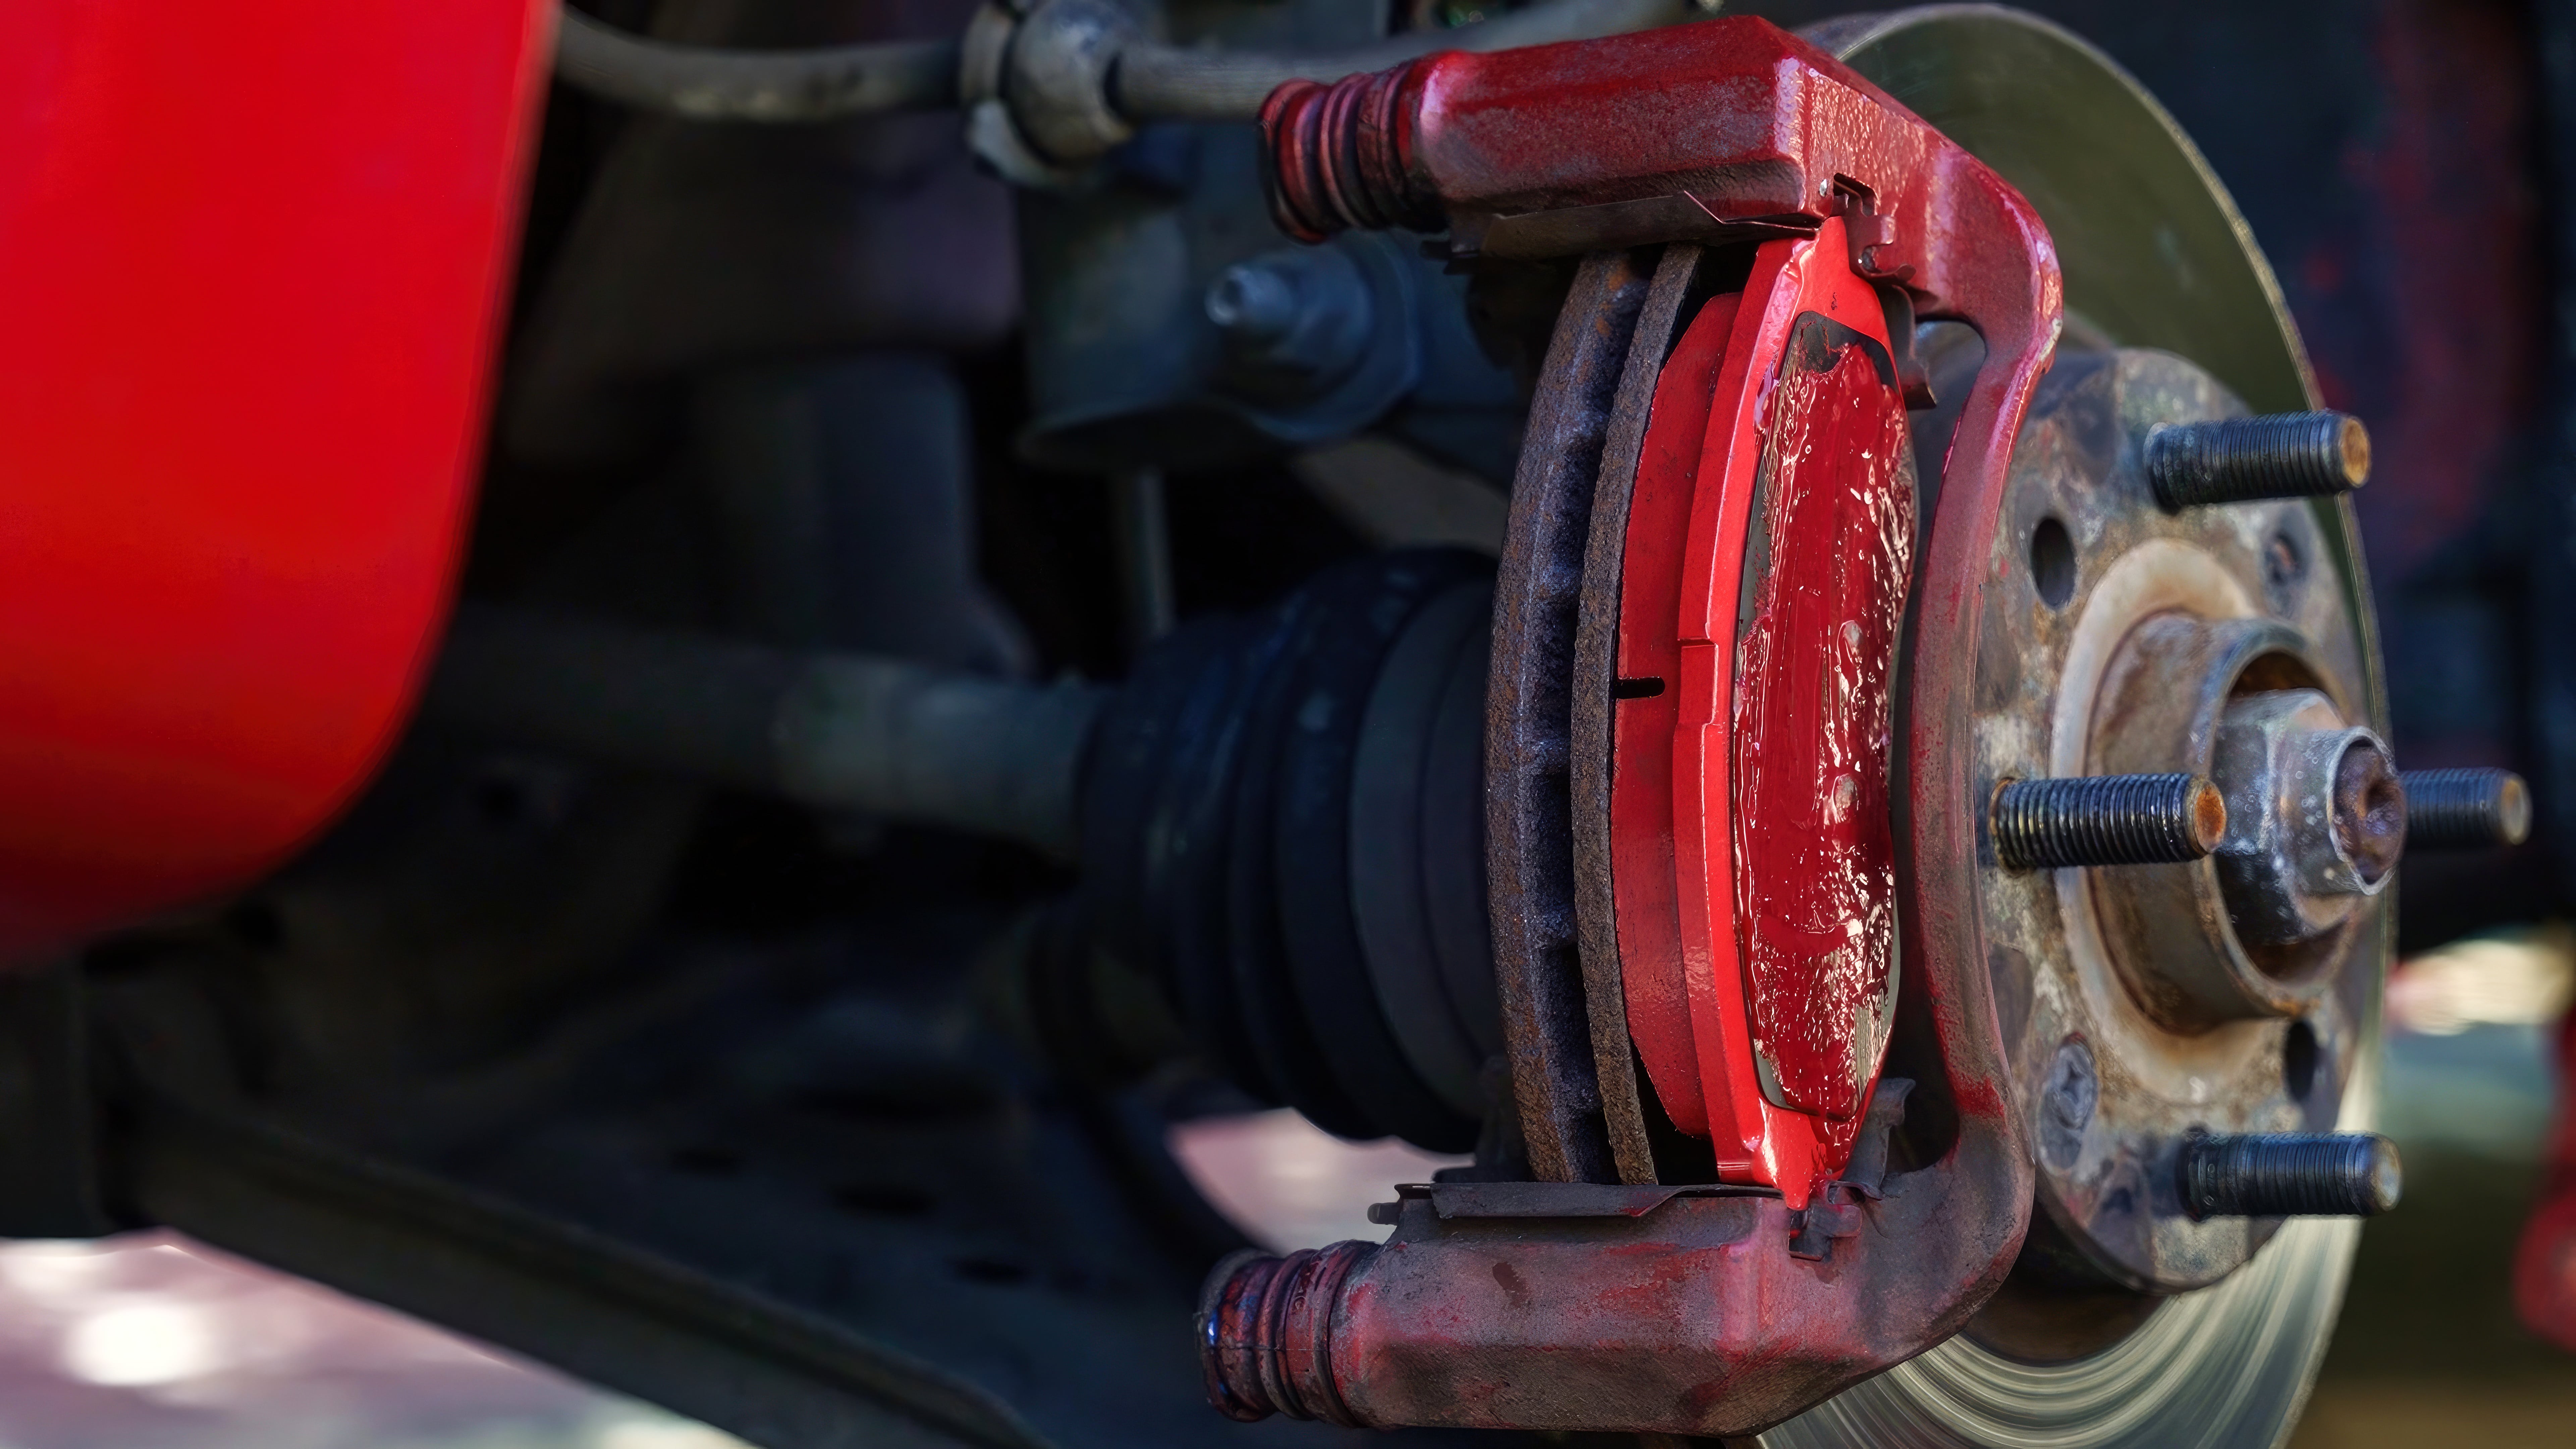
A smear of stop squeal on the back of the new brake pads will help keep things quiet. Slot the pads into the caliper the same way the old ones came out, being careful not to smudge lubricant or stop squeal onto the braking surfaces.
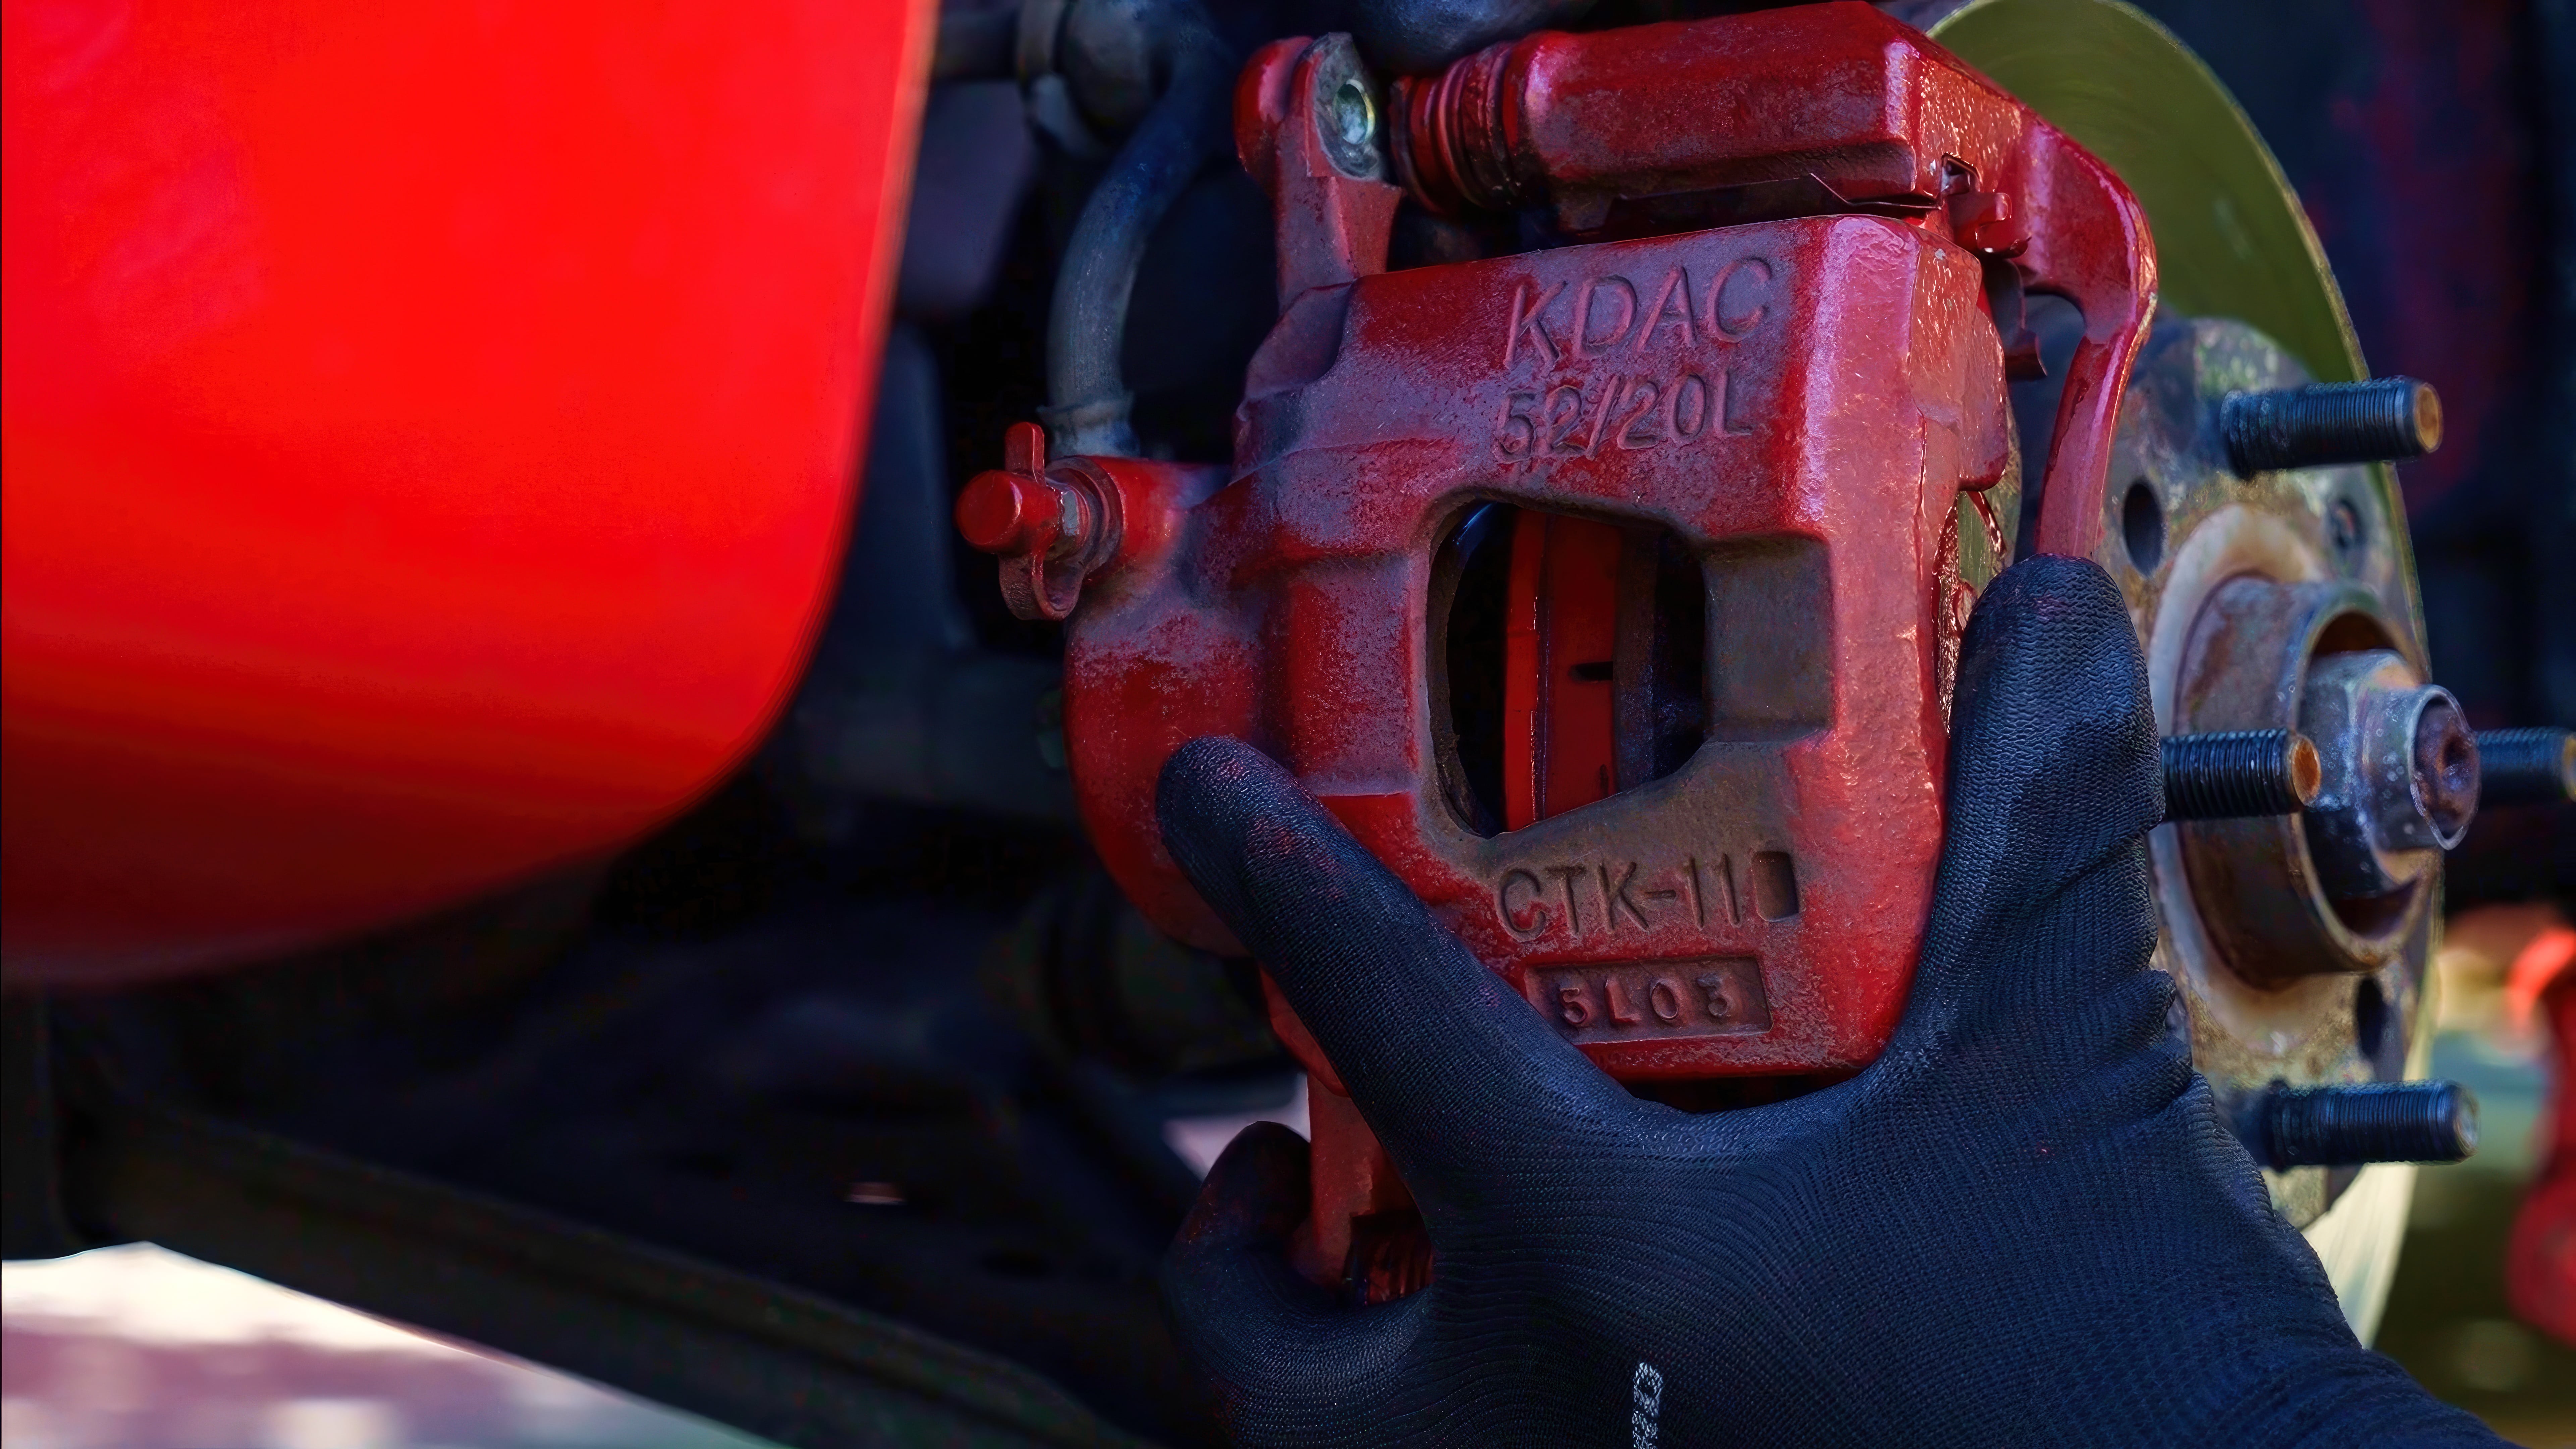
Now replace the caliper into its mount. With those big, fresh pads fitted it may require a little jiggling into place.
Replace the caliper bolts and fasten them, not too tight just yet. Grab your workshop manual and find the recommended torque for the caliper bolts. Wind those bolts back into the caliper, and torque them to specification. This is SUPER important for the safety of yourself; and others on the road.
One last wipe over the rotor with a rag and some brake cleaner, and the wheel can go back on. Then you can repeat the entire process on the other side, beginning with step 1.
Step 6: Completing the brake pad replacement
Once you’ve done both sides, tighten the wheel nuts just enough to hold the wheels on, then remove the axle stands and lower the vehicle.
With the wheels now contacting the ground, you’ll be able to use that workshop manual and torque wrench to tighten the wheel nuts to specification.
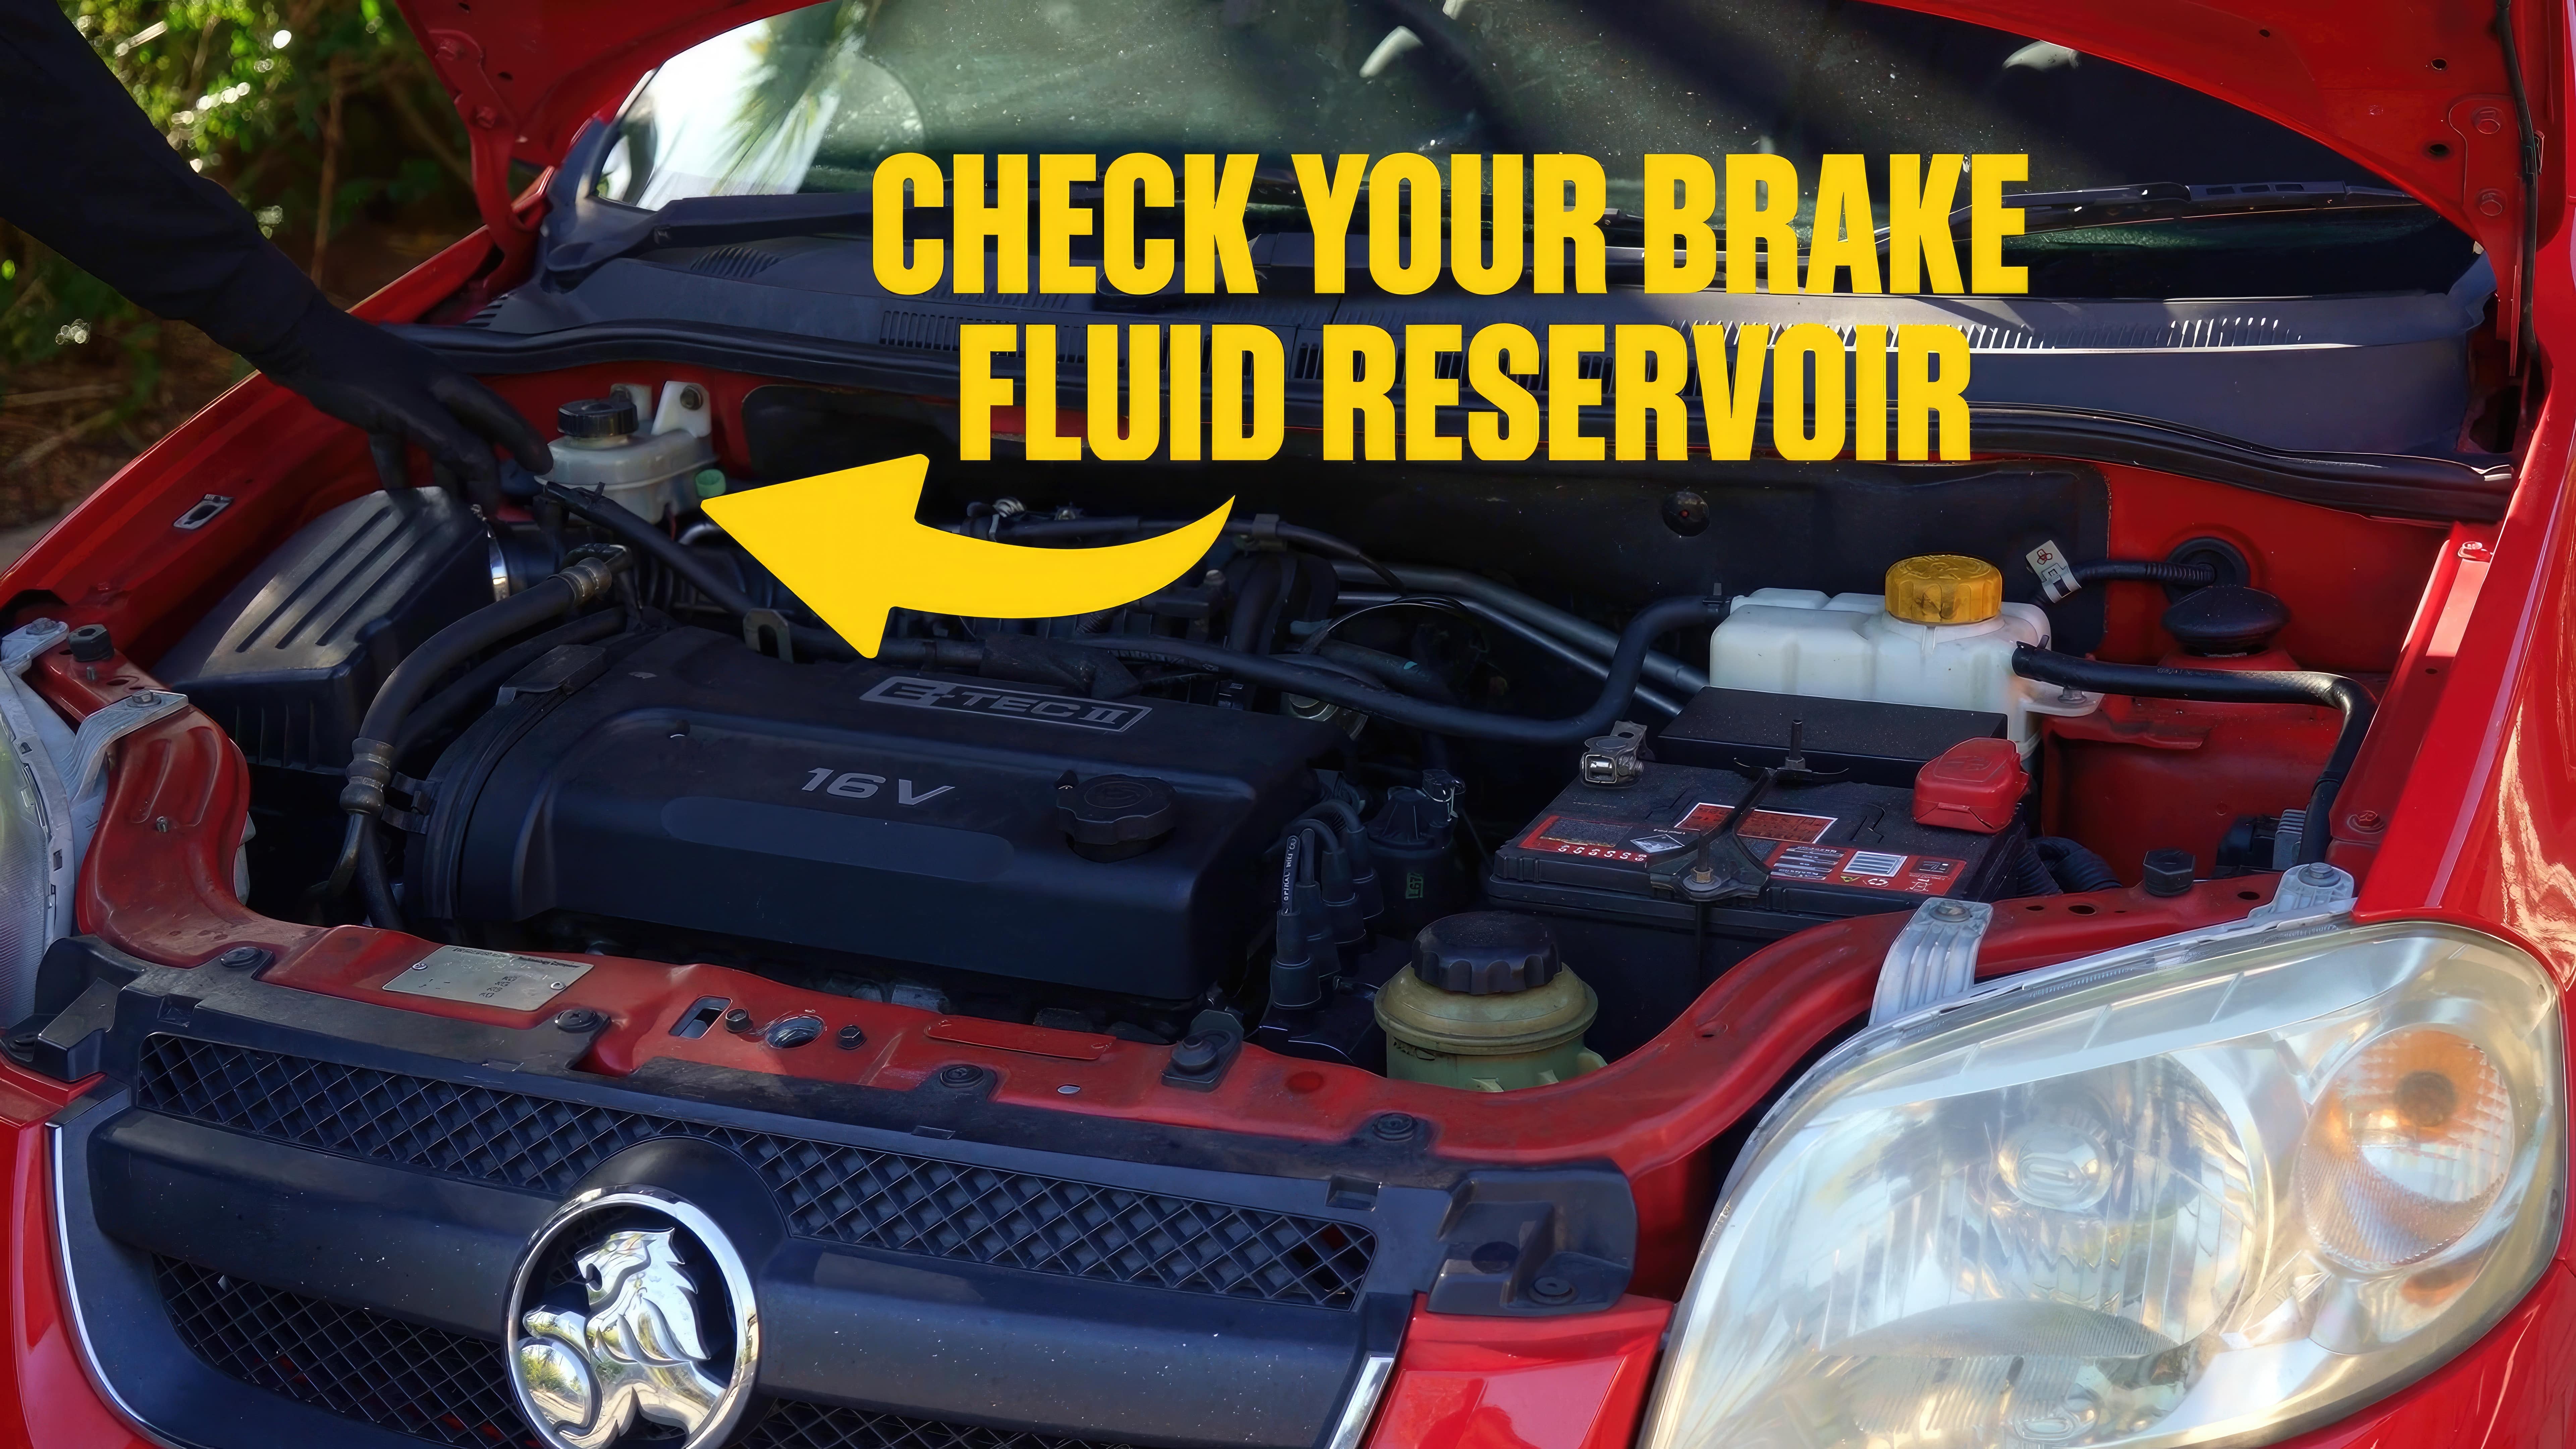
Because you removed a little brake fluid when compressing the brake pistons, you’ll need to pop the bonnet and check the fluid level.
Then you’ll need to jump in the driver's seat and press the brake pedal. It will probably go all the way to the floor. This is completely normal, it happens because the brake pistons need to move firmly up against the new brake pads. Just pump the pedal a few times until it is firm.
Now because your pistons have moved, the brake fluid level will have dropped again. Another check and top up is in order.
If your brakes remain soft and spongy after this, it’s likely you’ll need to perform a brake system bleed.
And before you zip down to the shops for a loaf of bread, be sure to test your brakes a few times in the driveway. It’s MUCH safer than discovering any mistakes at highway speed.
Tips
It’s not the easiest DIY, but if you’ve spun a spanner or two and you’re willing to take your time, brake pad replacement will come to feel as simple as a routine service job. Find out what else you can make SUPER with Supercheap Auto’s SUPER DIY’s.
*Important information* - Click here to read more about our DIY Advice Terms and Conditions.