How to Perform a Radiator Pressure Test
Overview
Cooling system failures are one of the most common causes of breakdowns.
A radiator pressure test kit allows you to pressurize the cooling system without the engine running – to pinpoint the trickiest issues. Here’s how to perform a test with the ToolPRO radiator pressure test kit.
Steps
Find Correct Adaptor
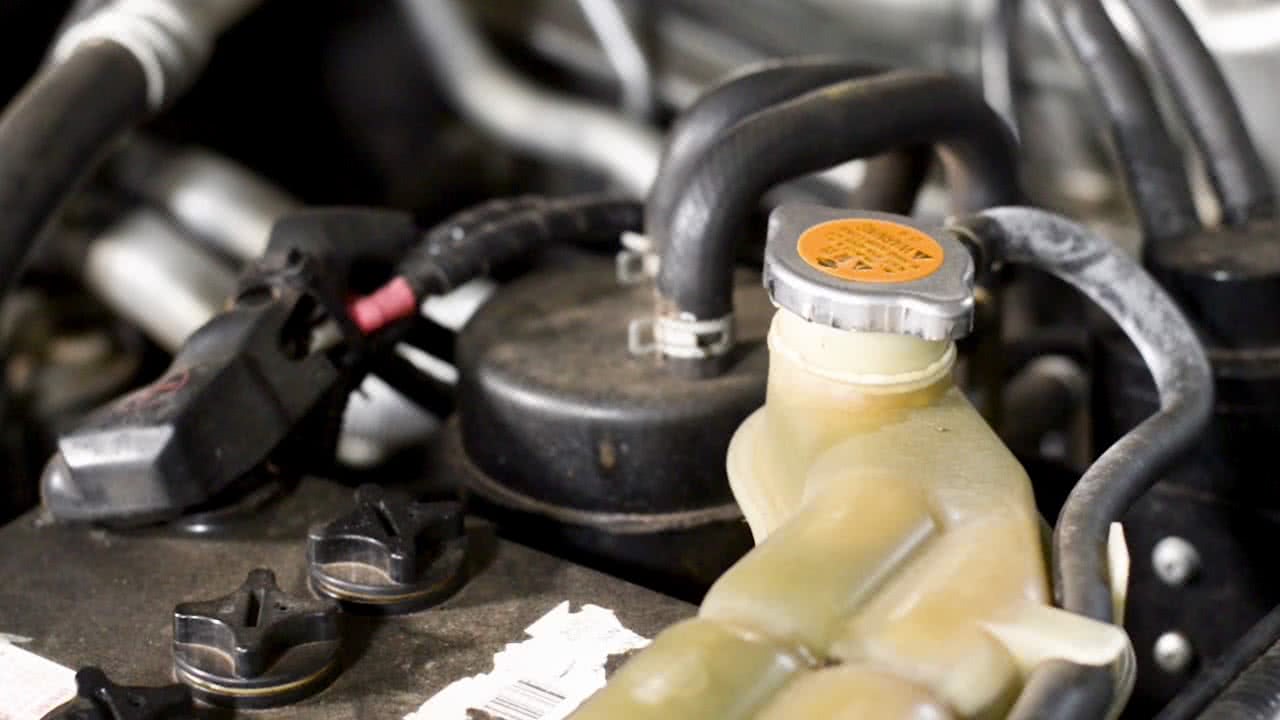
Firstly, determine whether your vehicle releases excess pressure via the radiator or an expansion tank. Some vehicles will have only a cap on the expansion tank, while others will have a cap on both.
Ensure that the engine is cool before removing – and look underneath the cap for a spring – indicating that this is the pressure cap.
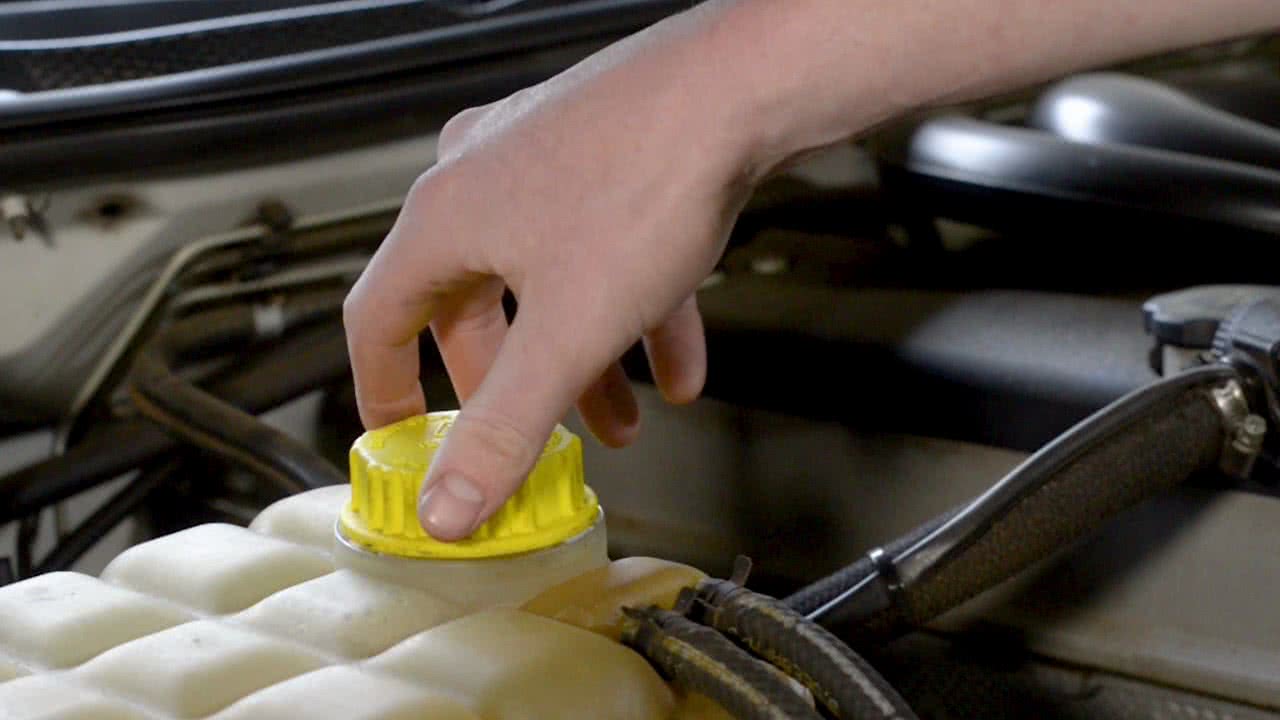
Select the correct adaptor from the kit. The supplied instructions offer a guide as to which adaptor suits which make of vehicle – or you can just compare them with the pressure cap until you find the one that fits.
Attach Hand Pump
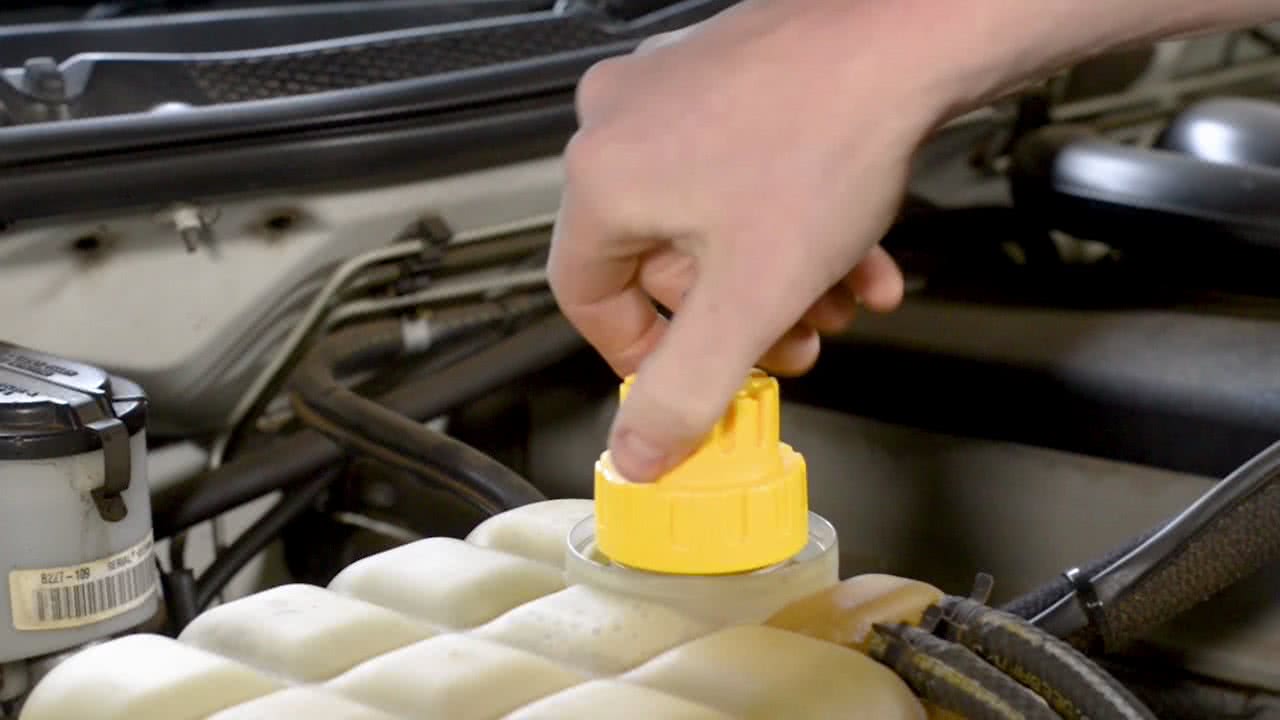
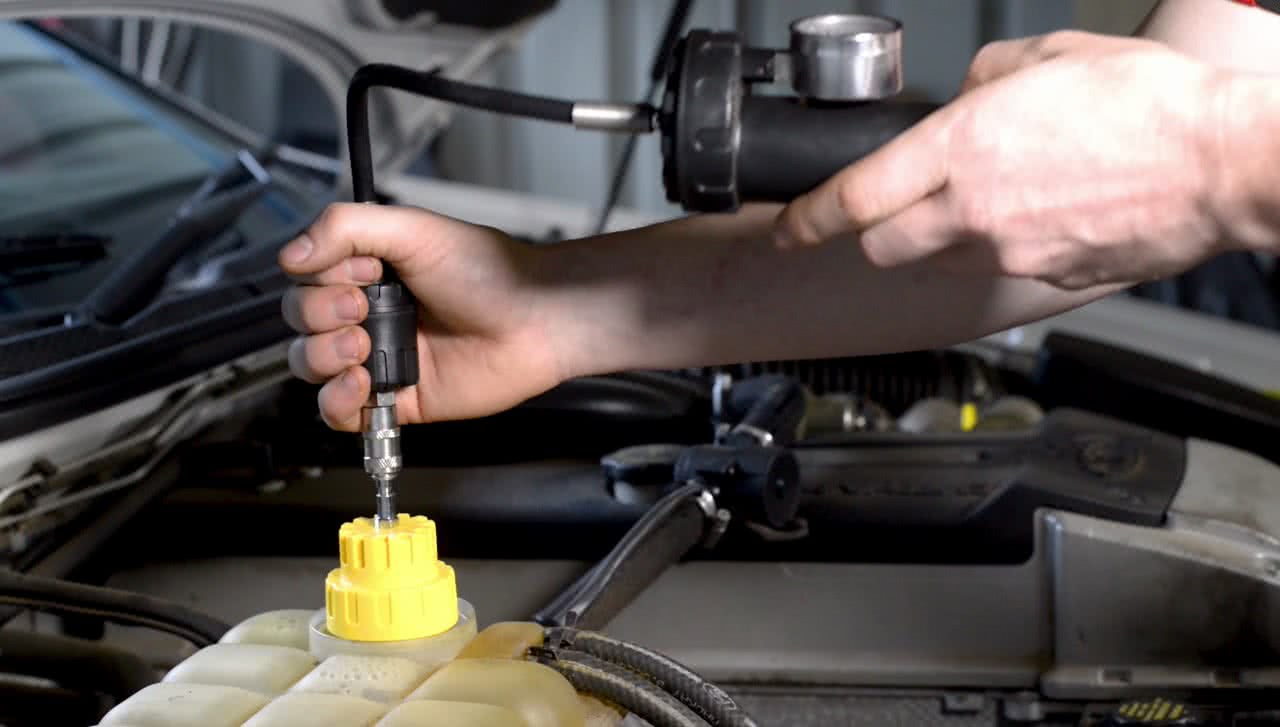
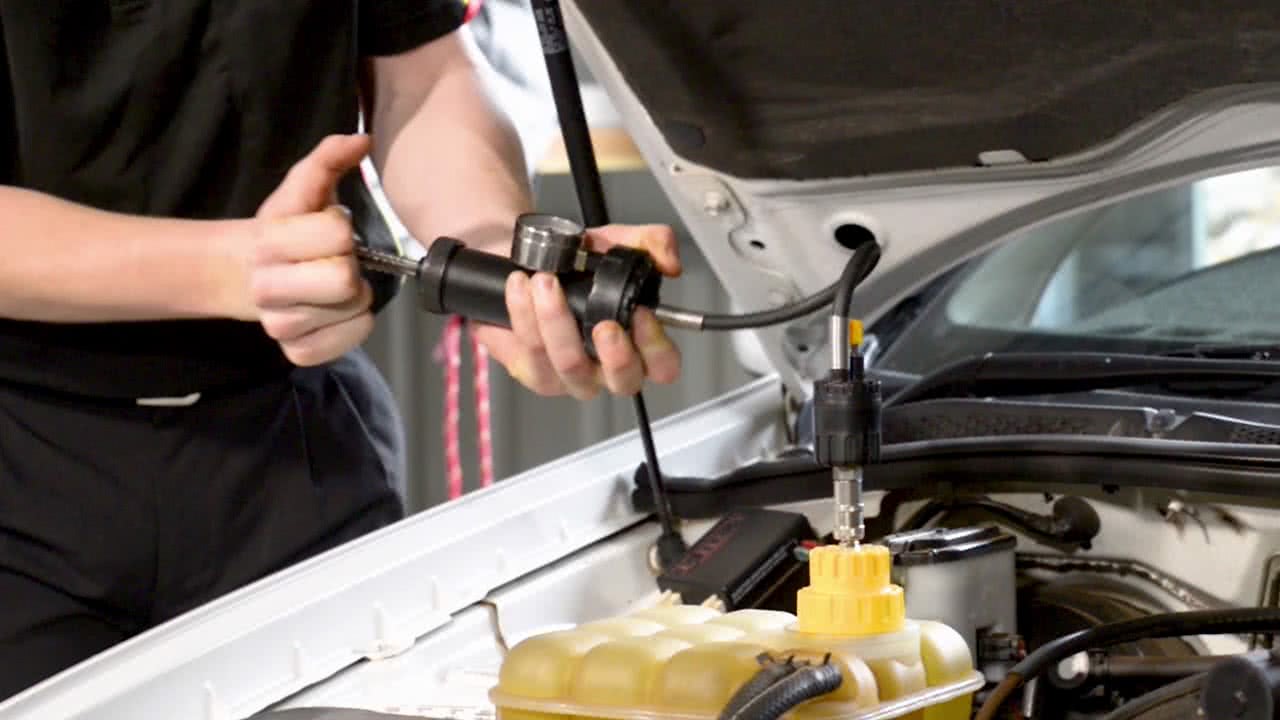
Now, securely attach the adaptor to the filler neck of the radiator or expansion tank which the pressure cap was removed from.
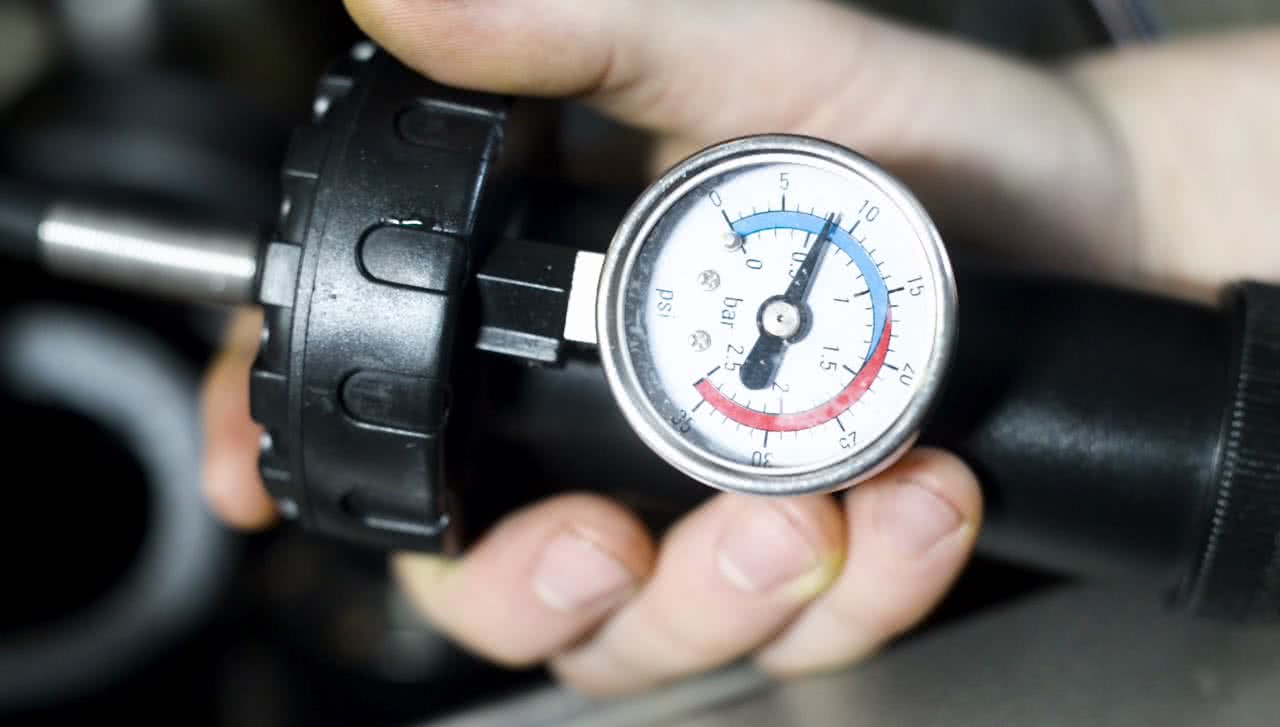
Attach the quick connect fitting of the hand pump to the adaptor and rapidly operate the hand pump to pressurise the system. Be careful not to exceed the maximum pressure for your system.
This is often in the range of 12 to 15 psi, but the exact pressure for your car can be found in a workshop manual.
Read Results
If the pressure gauge on the pump holds its value, your cooling system is likely free of leaks. If the pressure slowly drops, listen out for the hiss or bubbling of escaping pressure and thoroughly go over the engine bay for any sign of leaks.
The pressure may also drop with no visible or audible sign of leaks, this may mean the leak is inside the engine – requiring further investigation.
A ToolPRO radiator pressure test kit will help you solve the problem before it leads to a blown engine on the side of the road.
*Important information* - Click here to read more about our How-To terms and conditions.