How to Check Your Engine Light
Overview
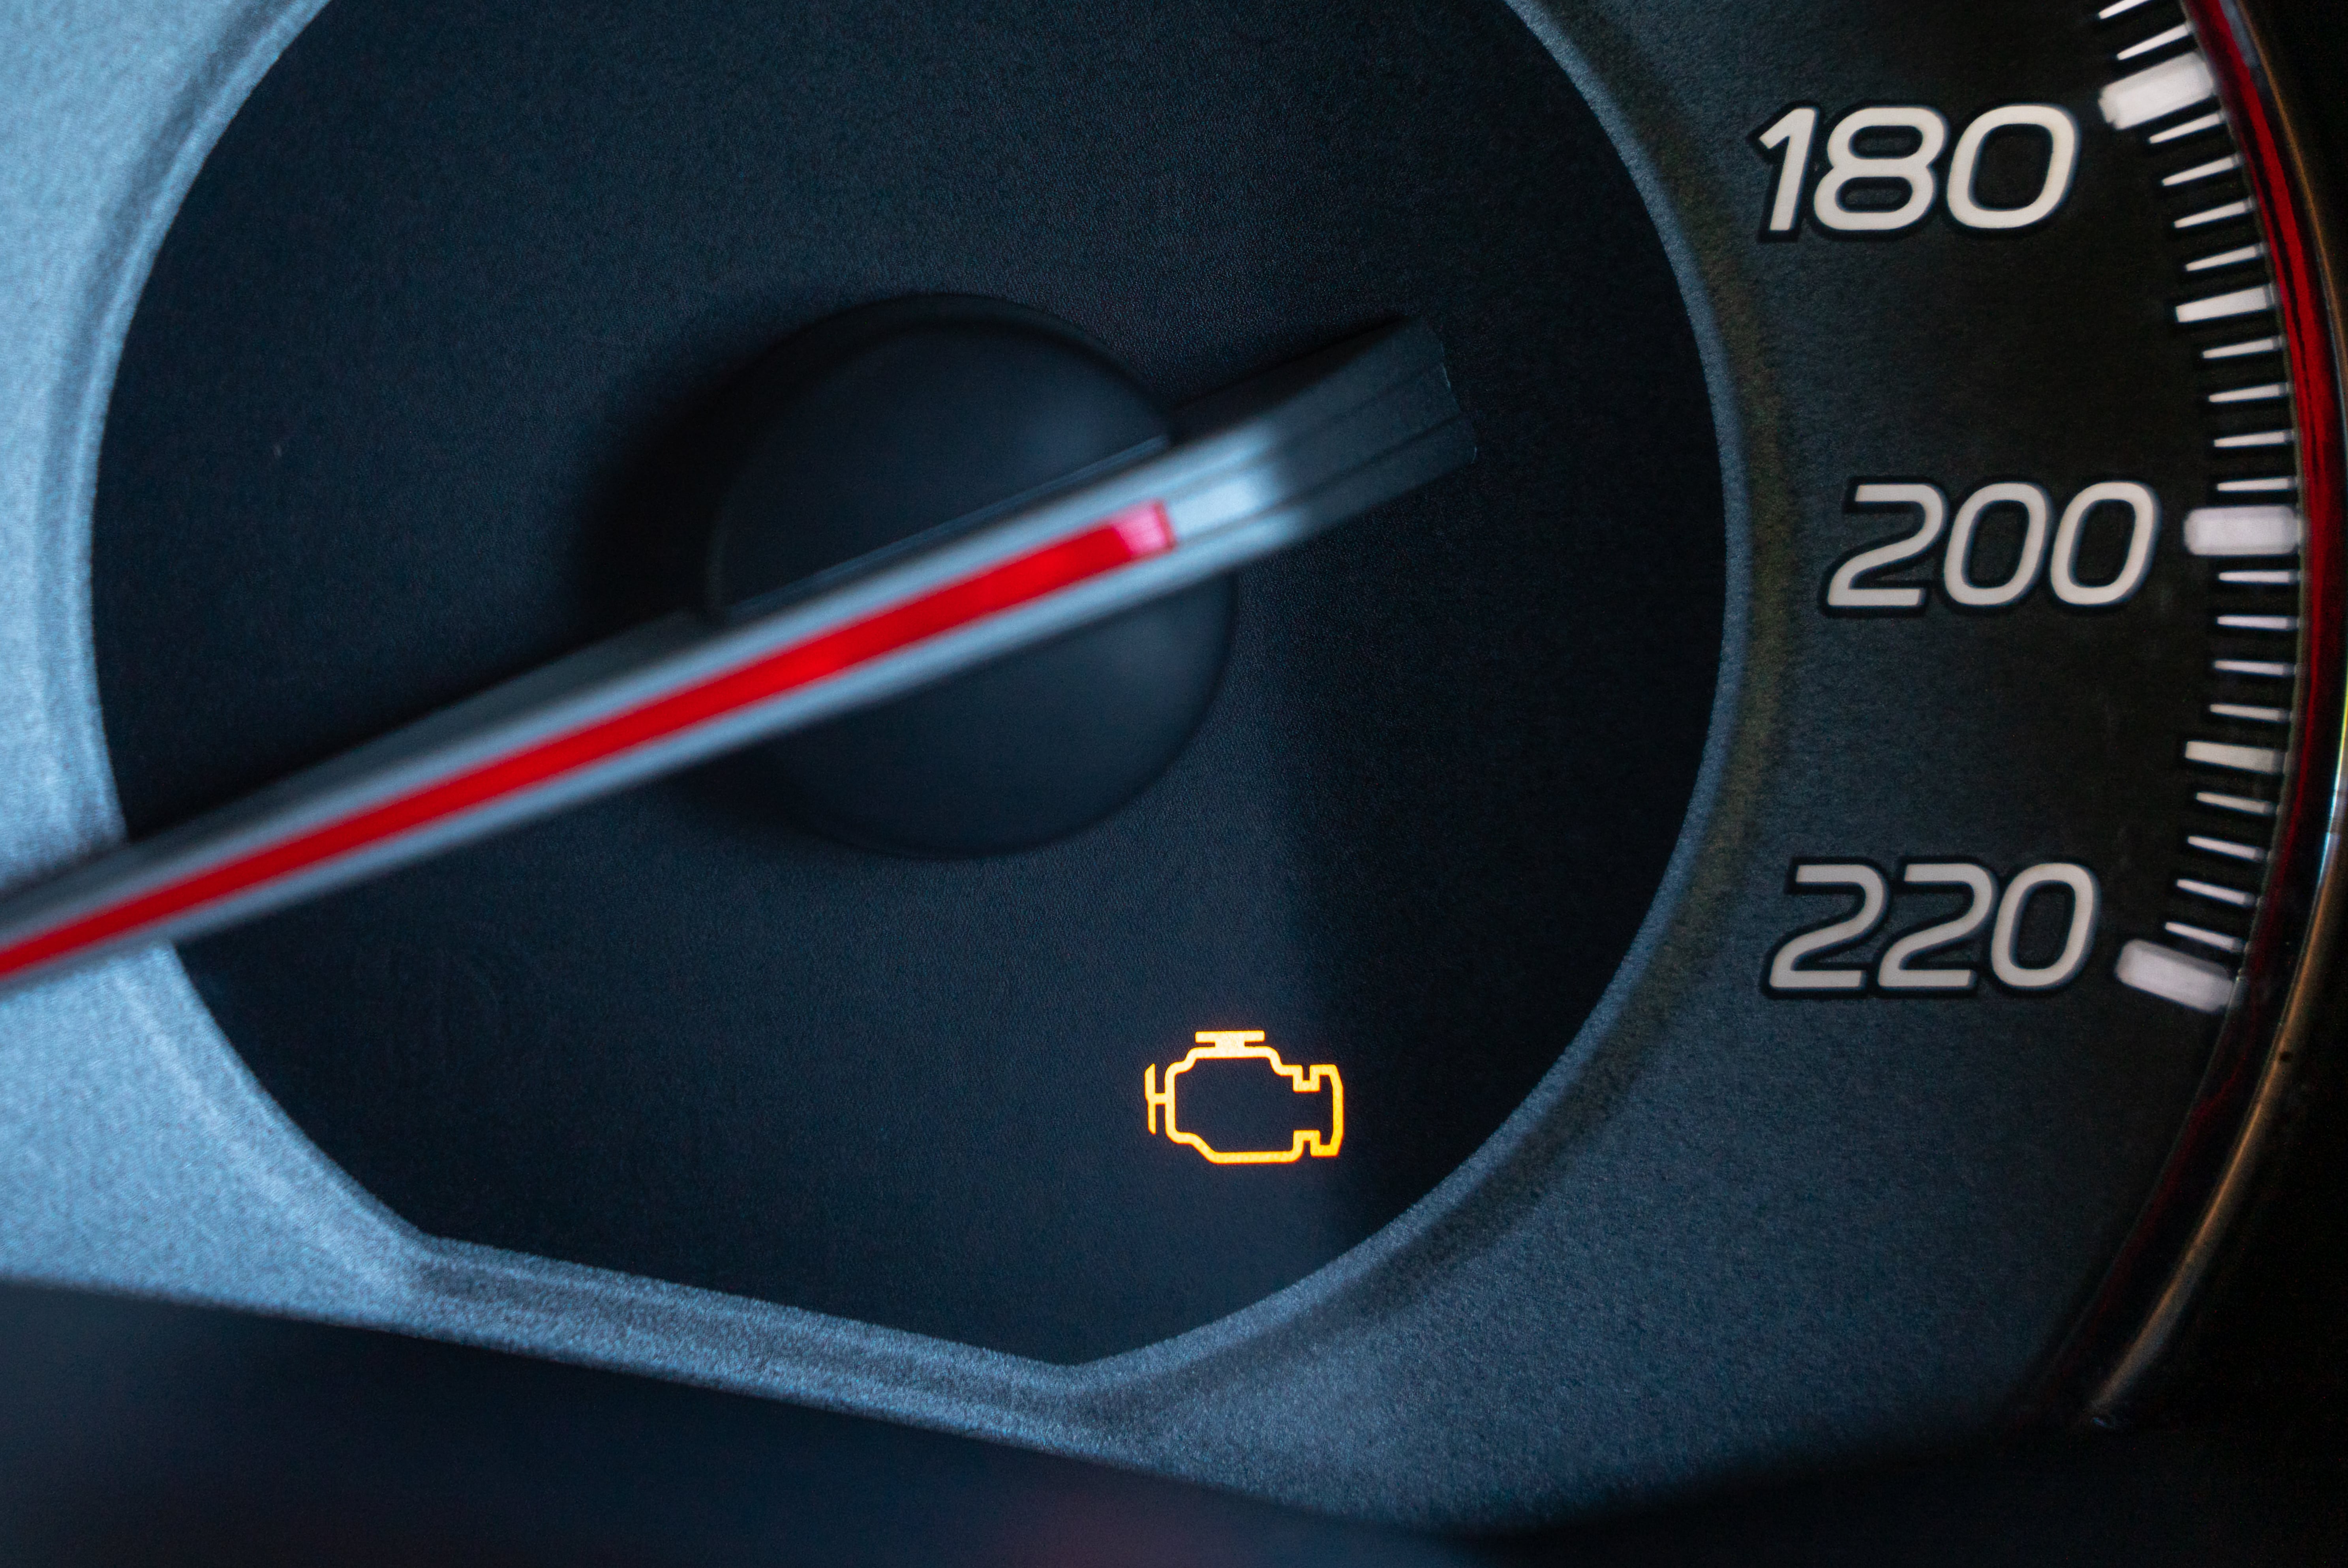
The check engine light is a common sight for many drivers, but what does it mean? For a lot of people it means ignoring the light and hoping it goes off. Or spending big $$ for a dealer or mechanic to diagnose the issue. But with the right tools, it's easy to perform a vehicle diagnostic yourself and get your car back on the road super-fast. In this article, we'll show you how to use OBD2 Scanners to diagnose and fix the problem when your check engine light comes on. With just a few simple steps, you'll be able to get your car running smoothly again.
Is it safe to drive with the check engine light on?
In most cases, the engine is trying to protect itself from damage and let you know that it requires inspection. It’s best to find out what the check engine light is telling you before any damage occurs. Modern vehicles have an OBD2 vehicle diagnostic port for exactly this function.
Which vehicle diagnostic tool should I get?
Well first of all, check that your vehicle actually HAS an OBD 2 diagnostic port. These are common on vehicles in Australia and New Zealand from 2006 onwards.
Broadly speaking, there are three types of vehicle diagnostic tools, all of which plug into an OBD2 port. If all you need is to read the code behind that check engine light, an OBD2 code reader will do the job.
However if you’d like to be able to clear codes as problems are fixed, see live engine data and have access to other vehicle diagnostic functions, it’s worth spending a little more on an OBD2 code scanner.
Professional OBD2 diagnostic scanners come packed with the most functionality. These are large tablet devices with advanced functionality for the most troublesome faults and trickiest vehicles. Generally it’s only professional workshops who can afford these.
What does the check engine light mean?
To discover this, let’s do a simple diagnostic read...
Steps
Find your OBD2 Port
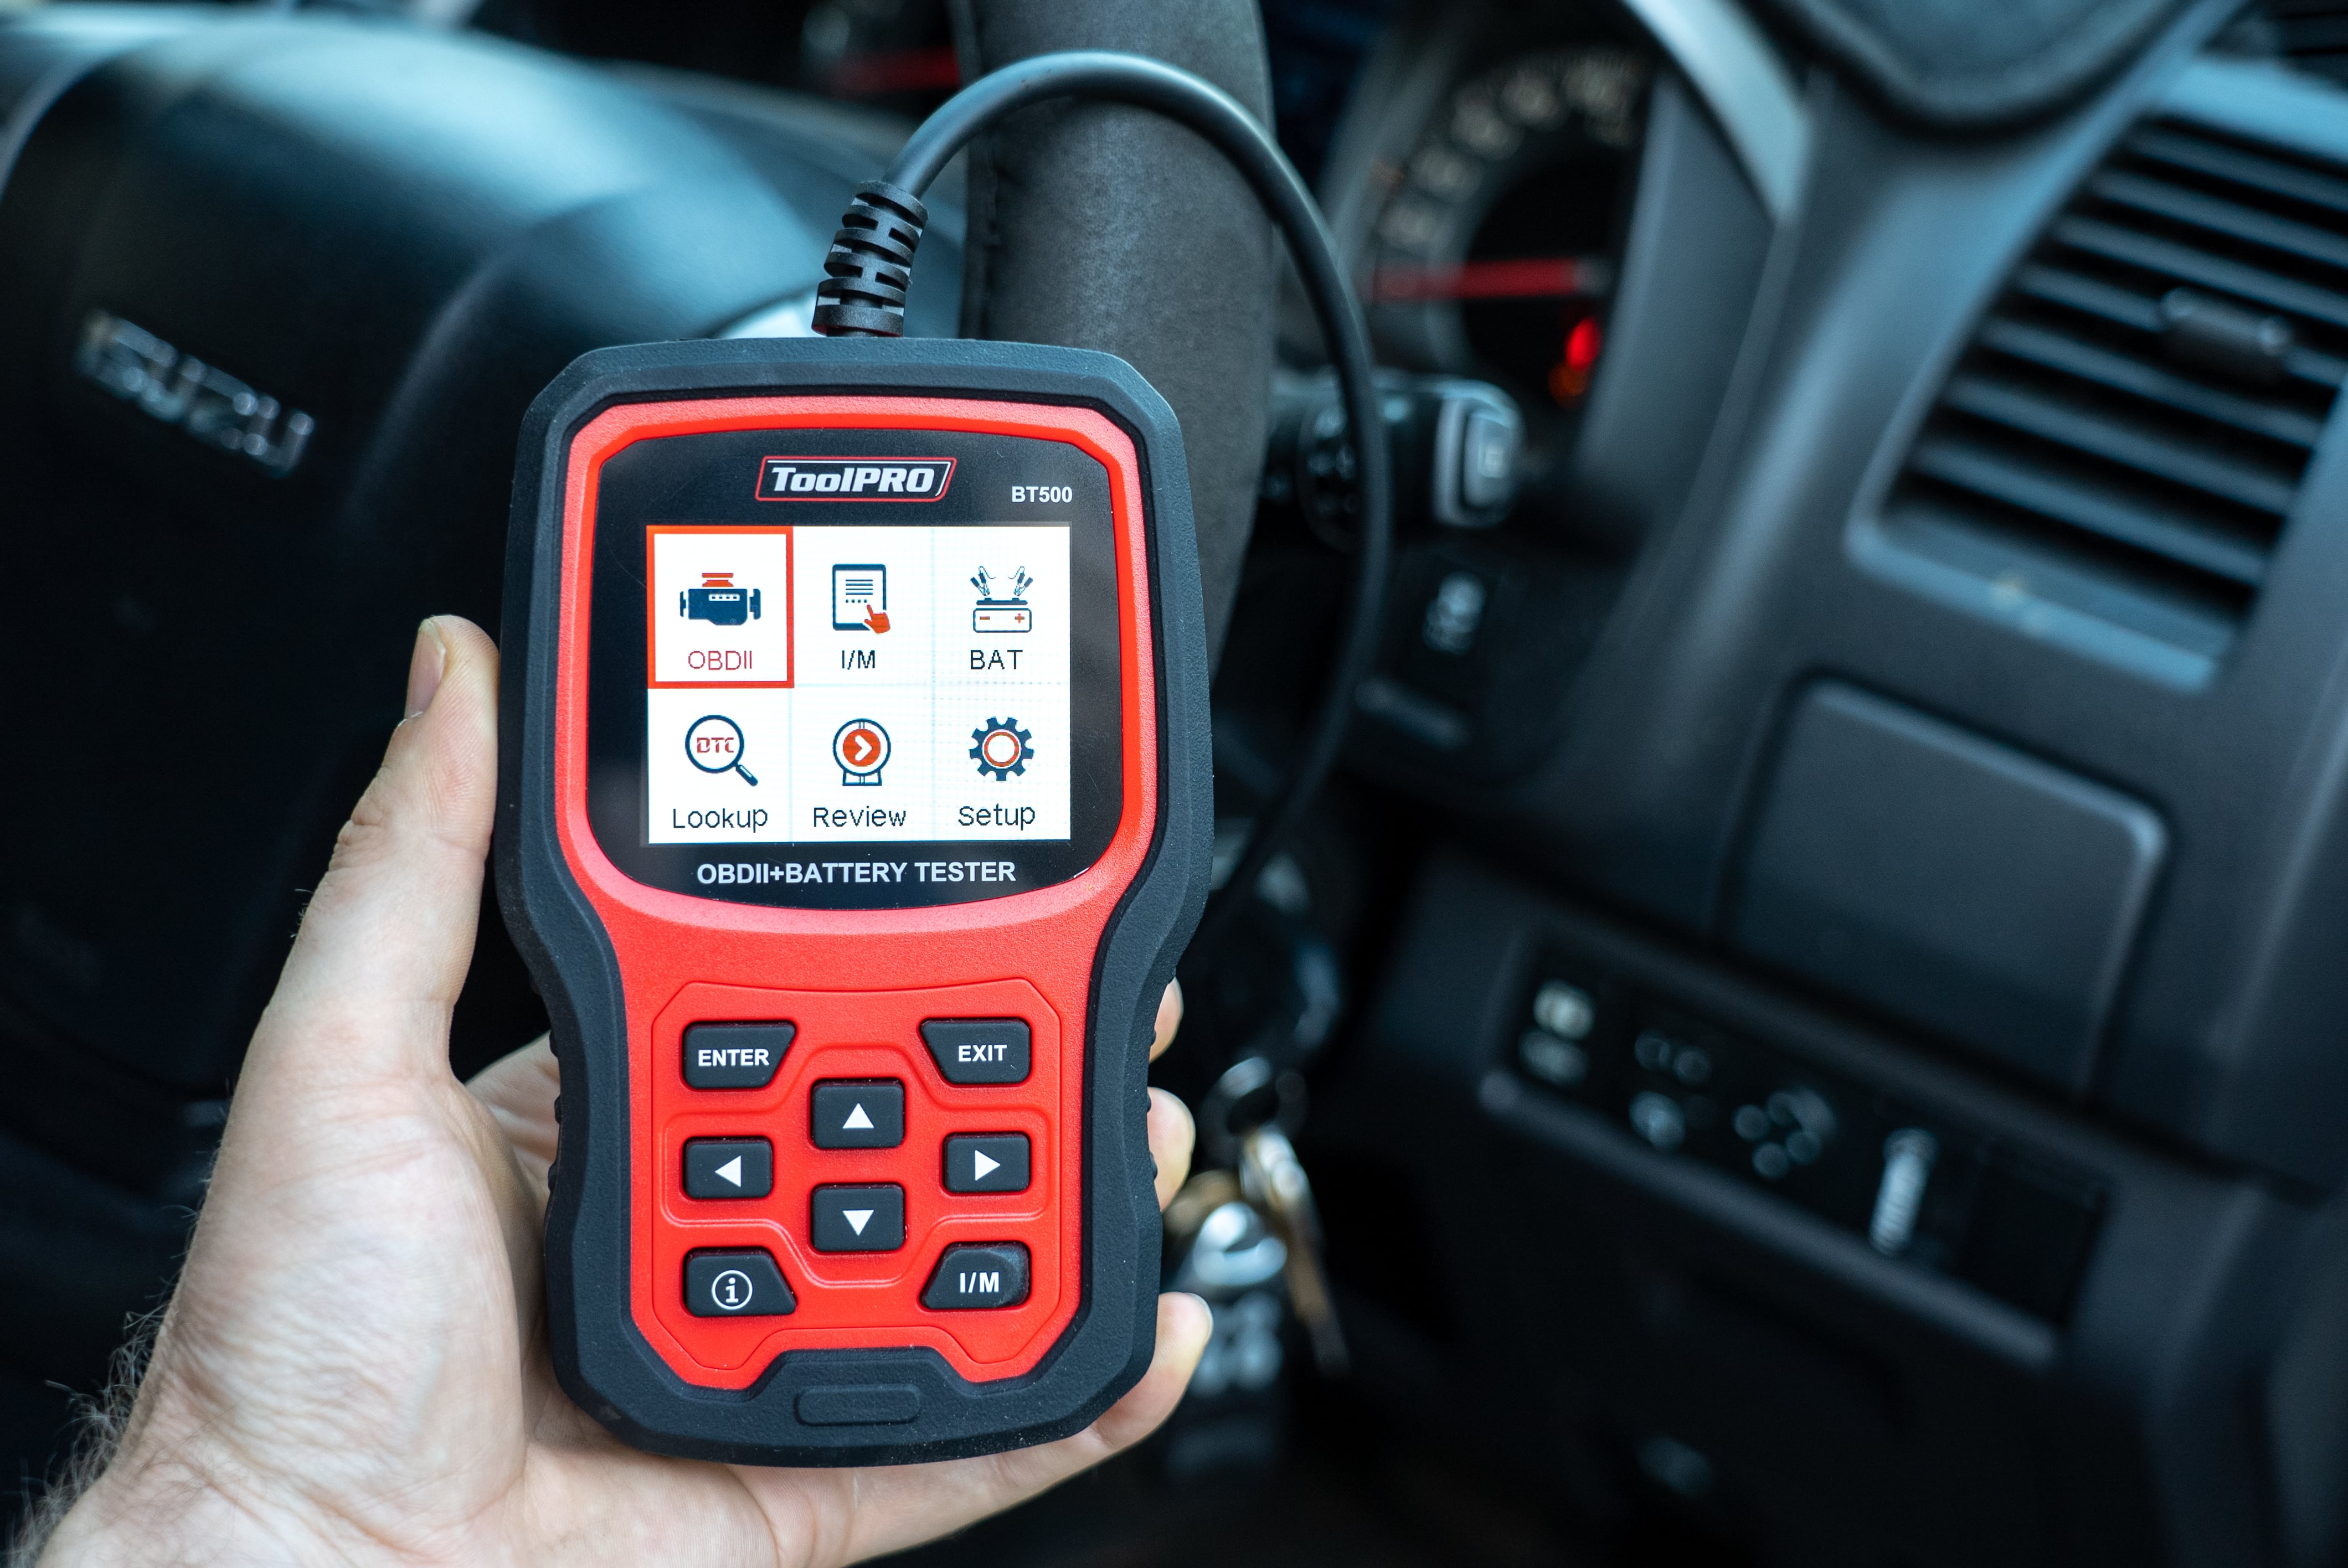
With the vehicle all the way off and parked securely, poke around under the dash for the vehicle diagnostic port. If you can’t find it, try consulting your owner’s manual.
Plug in your Scanner
Plug in your OBD2 code reader and turn on the ignition, without starting the engine.
Follow the Prompts
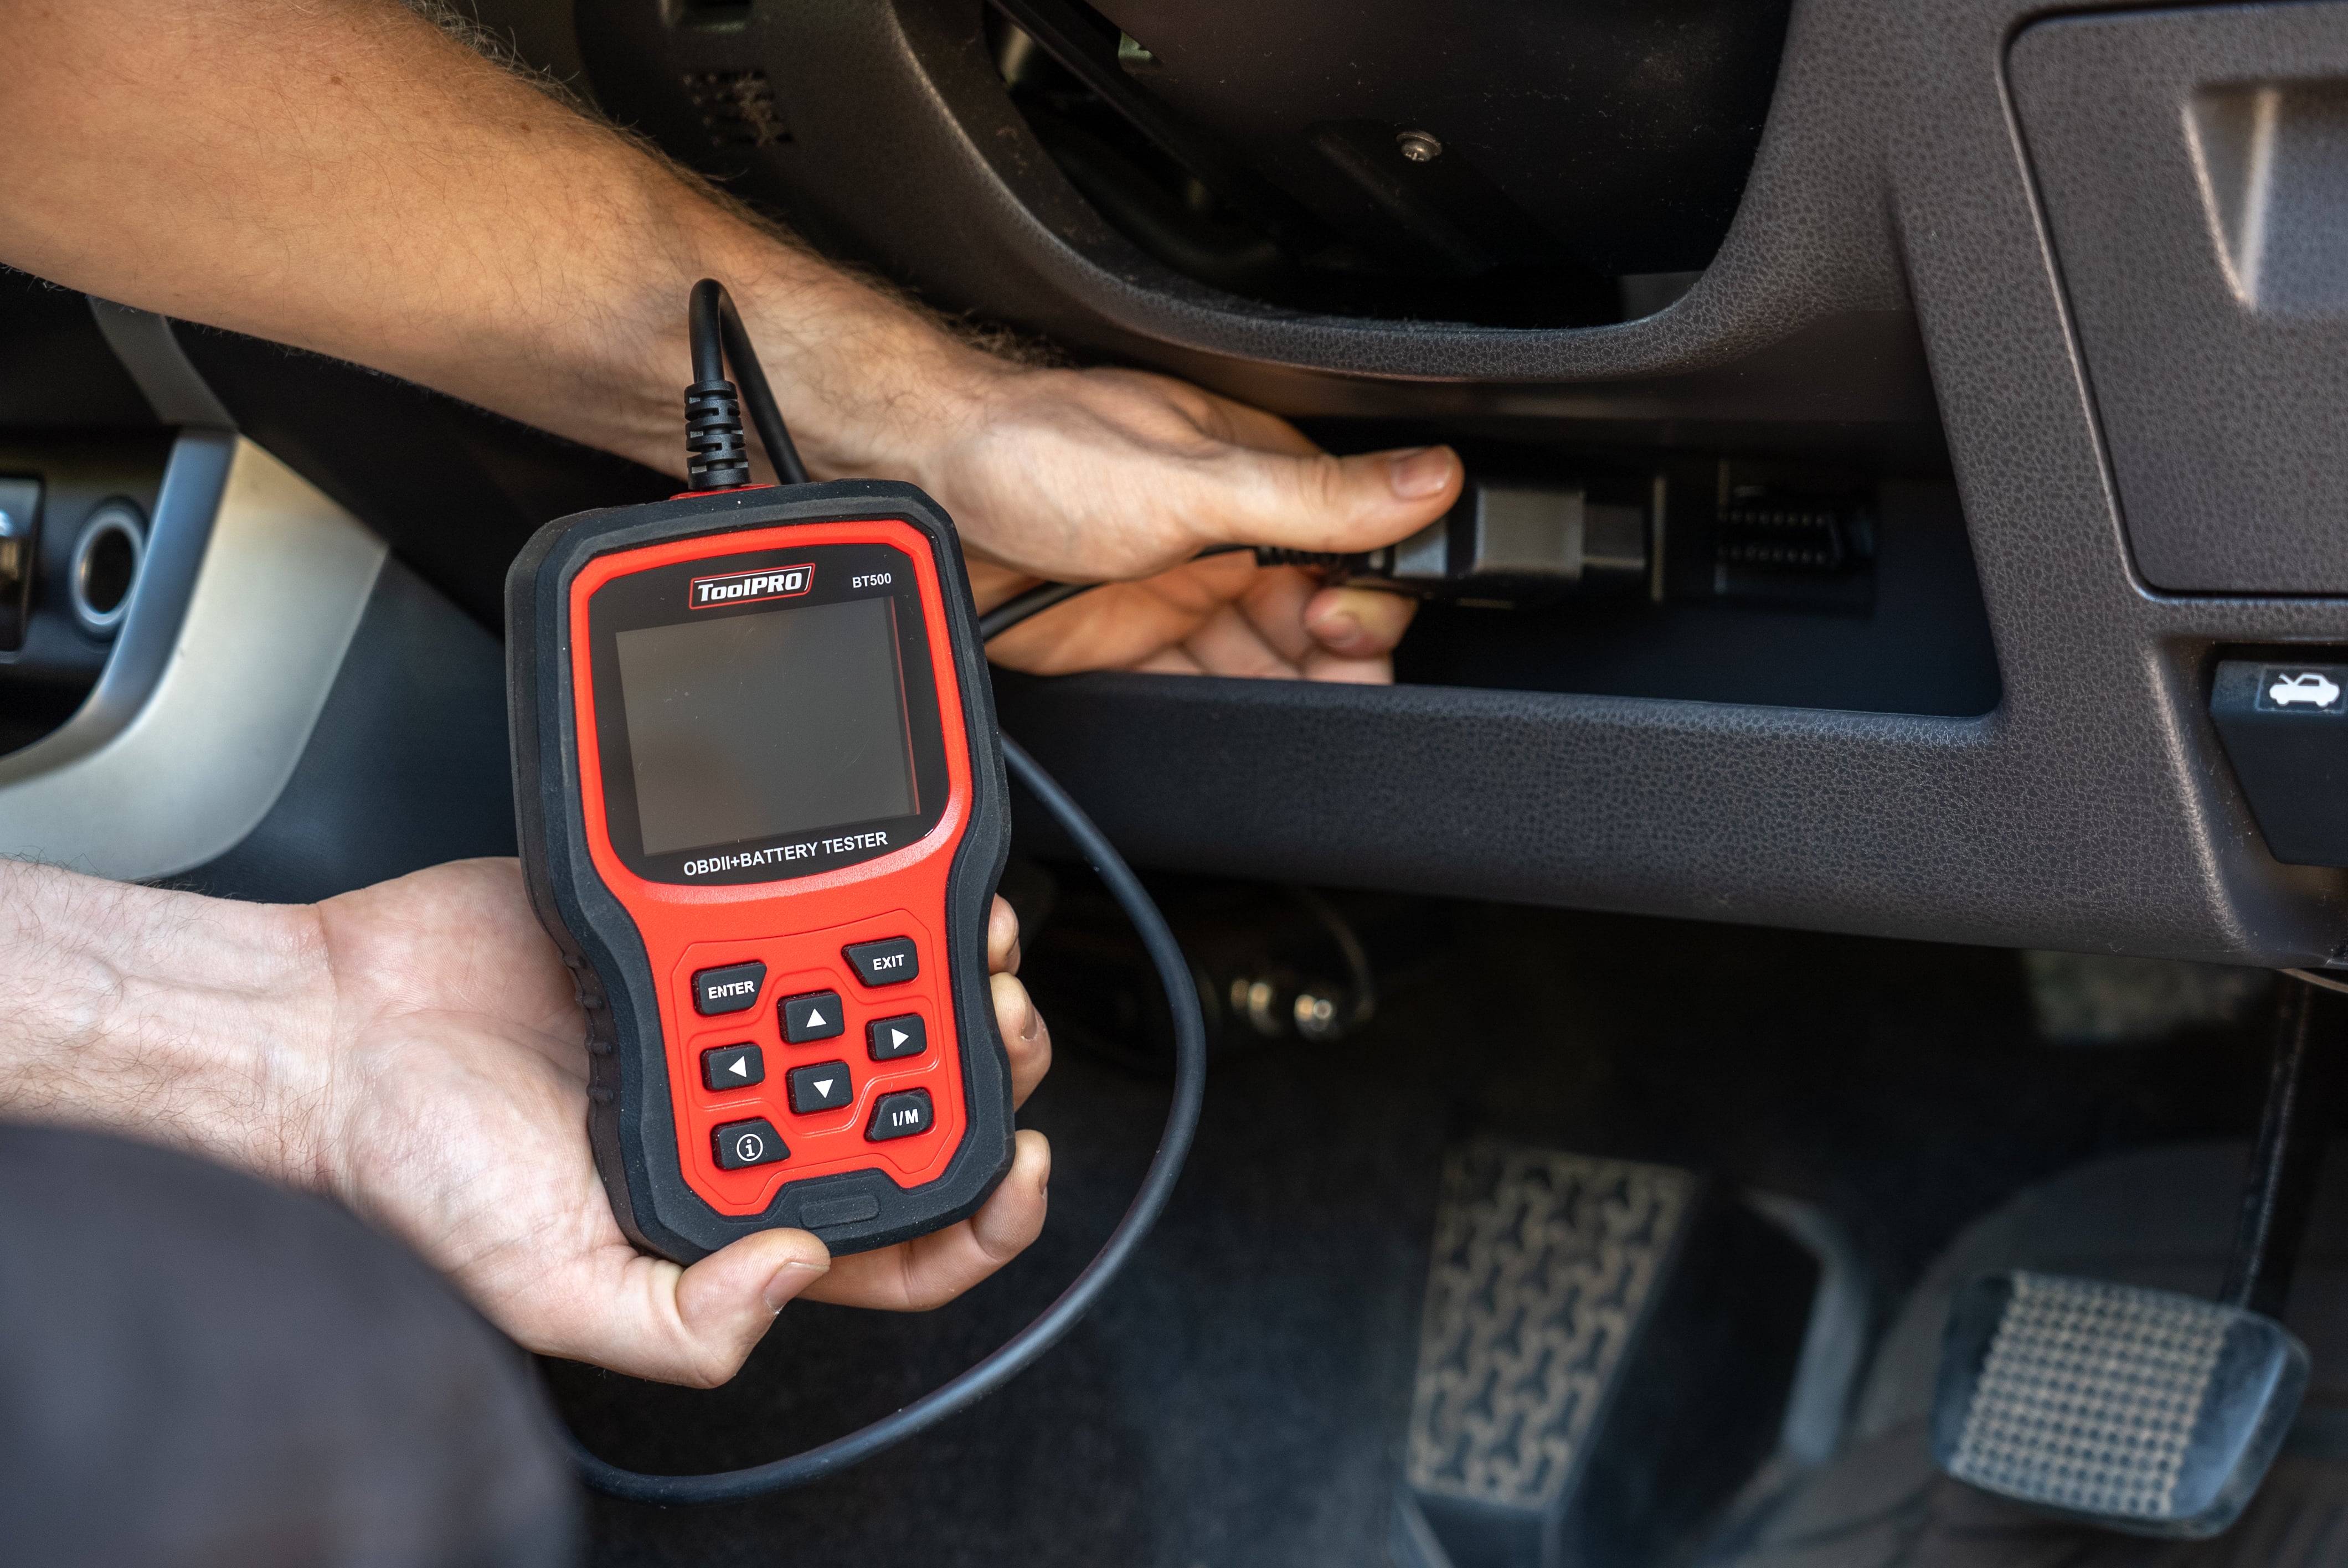
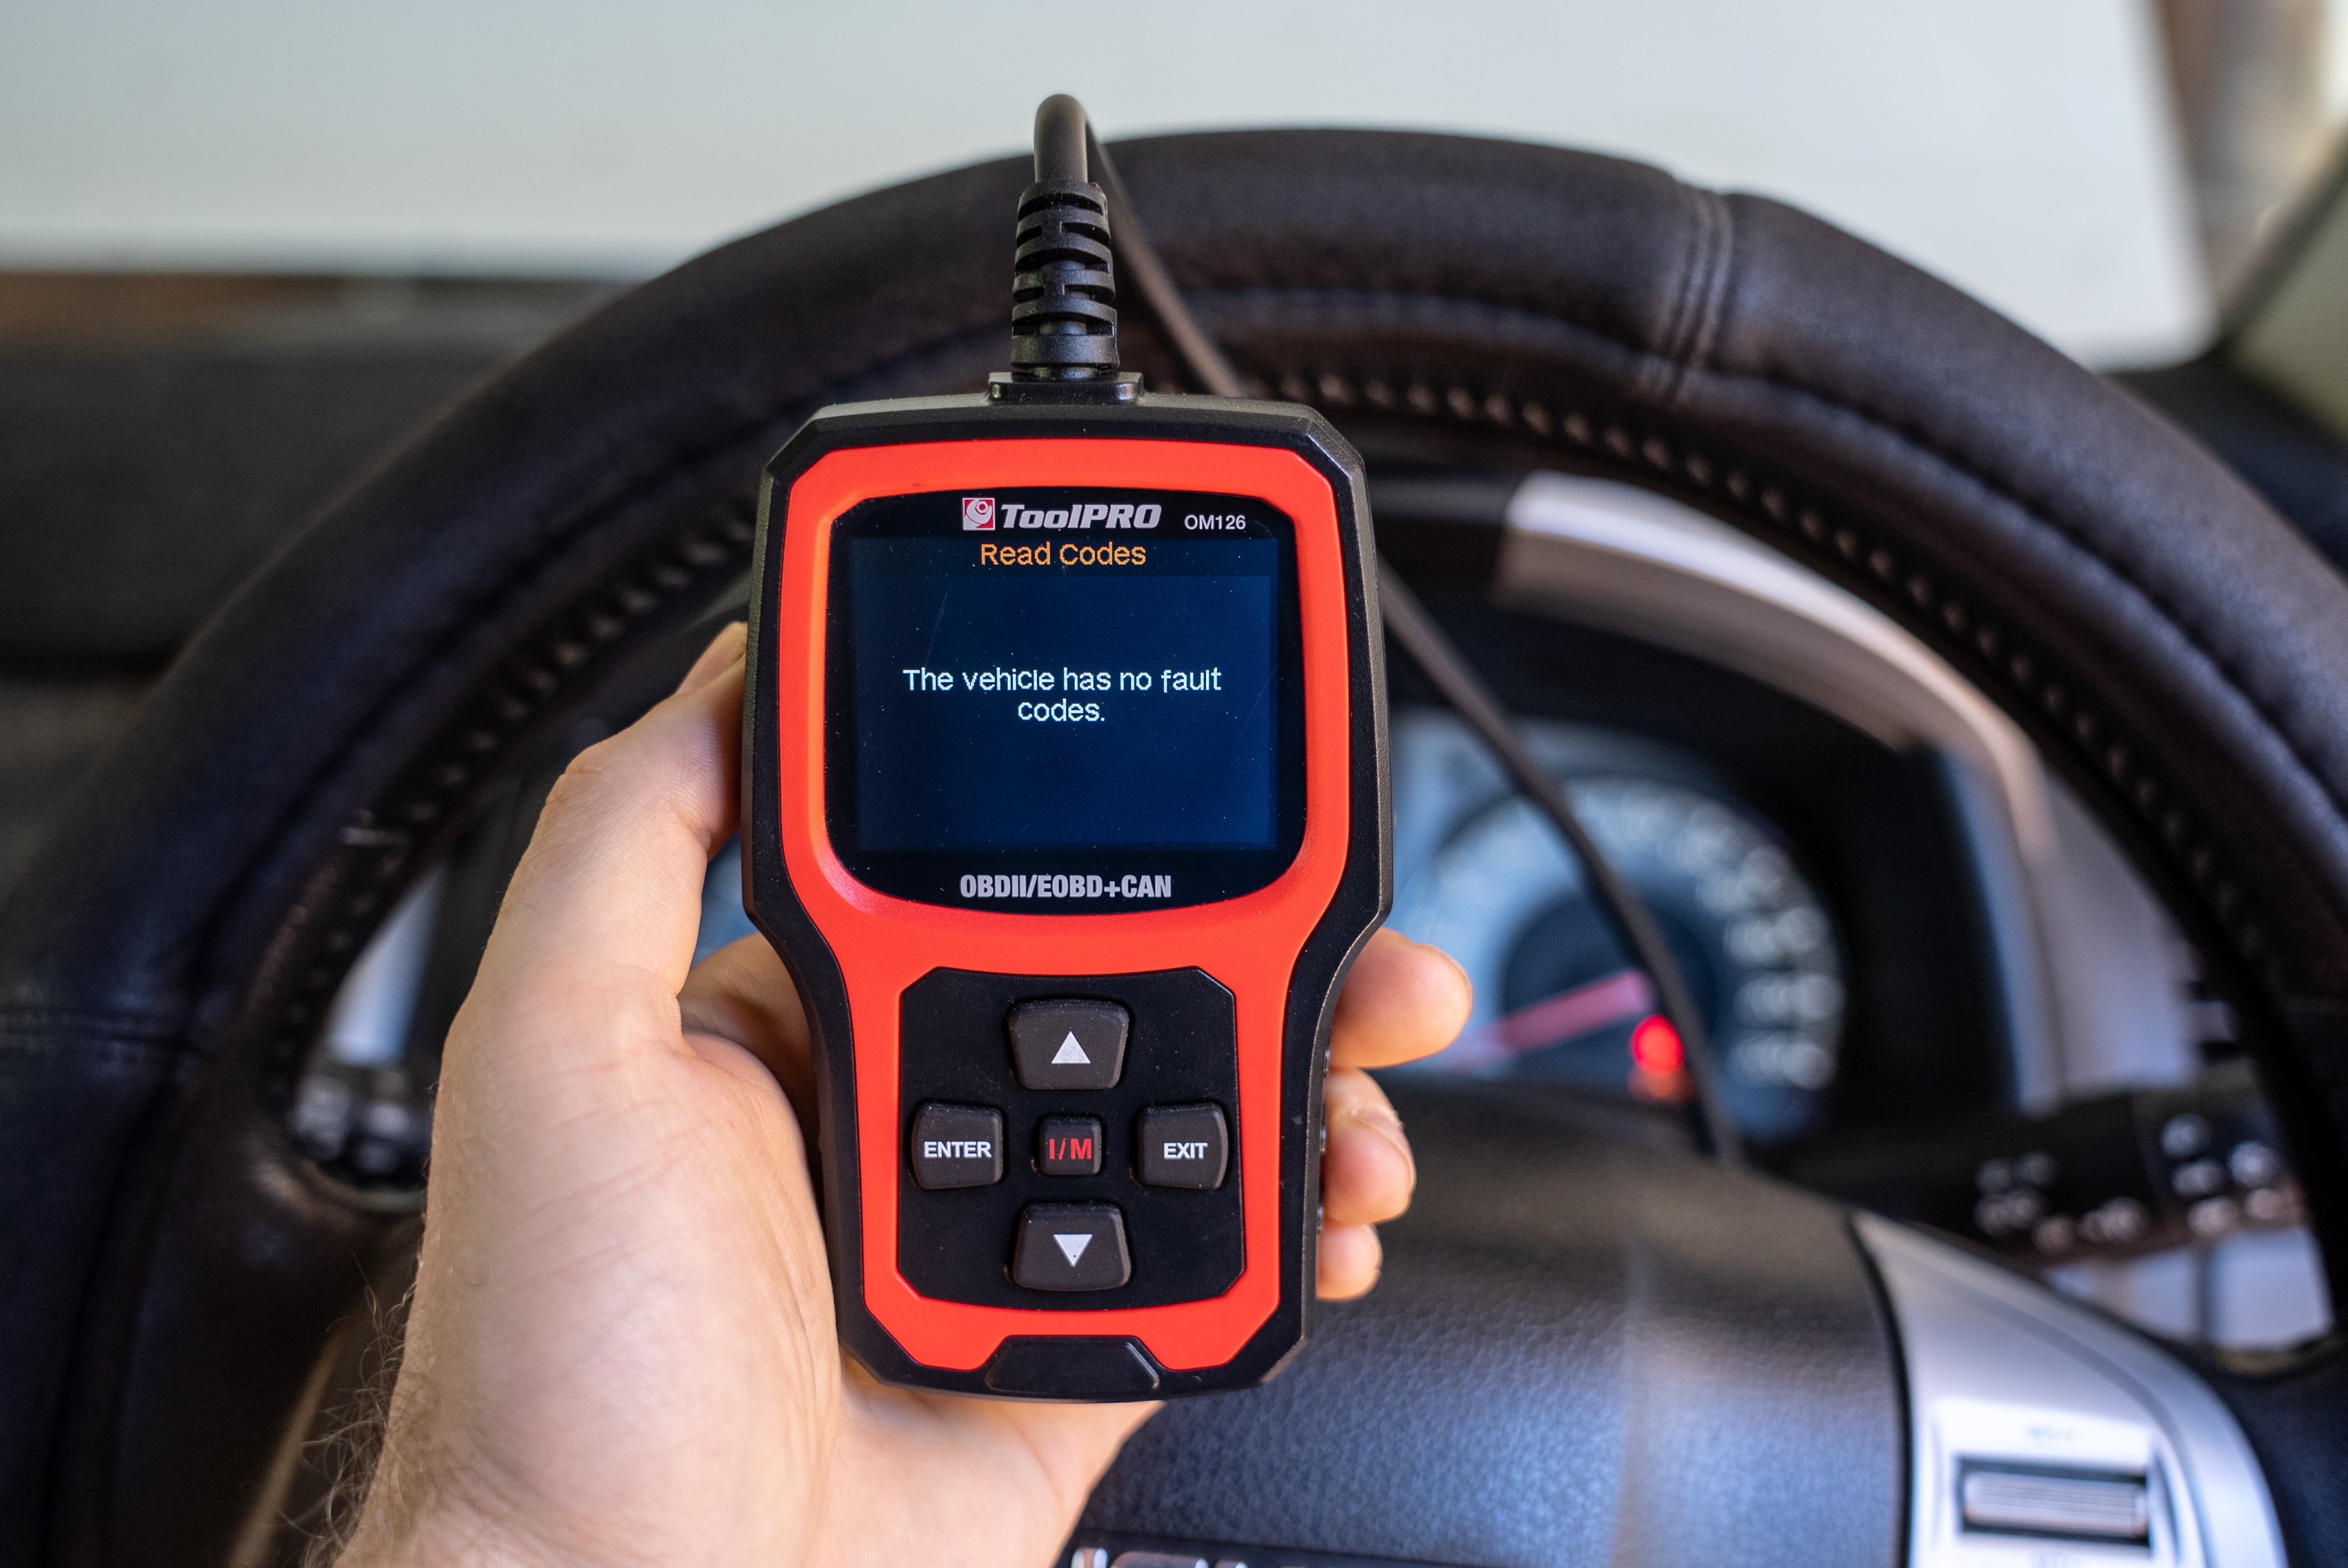
The code reader will come to life. Follow the on-screen prompts or select the code reader menu option to display active fault codes.
Check the Code/s
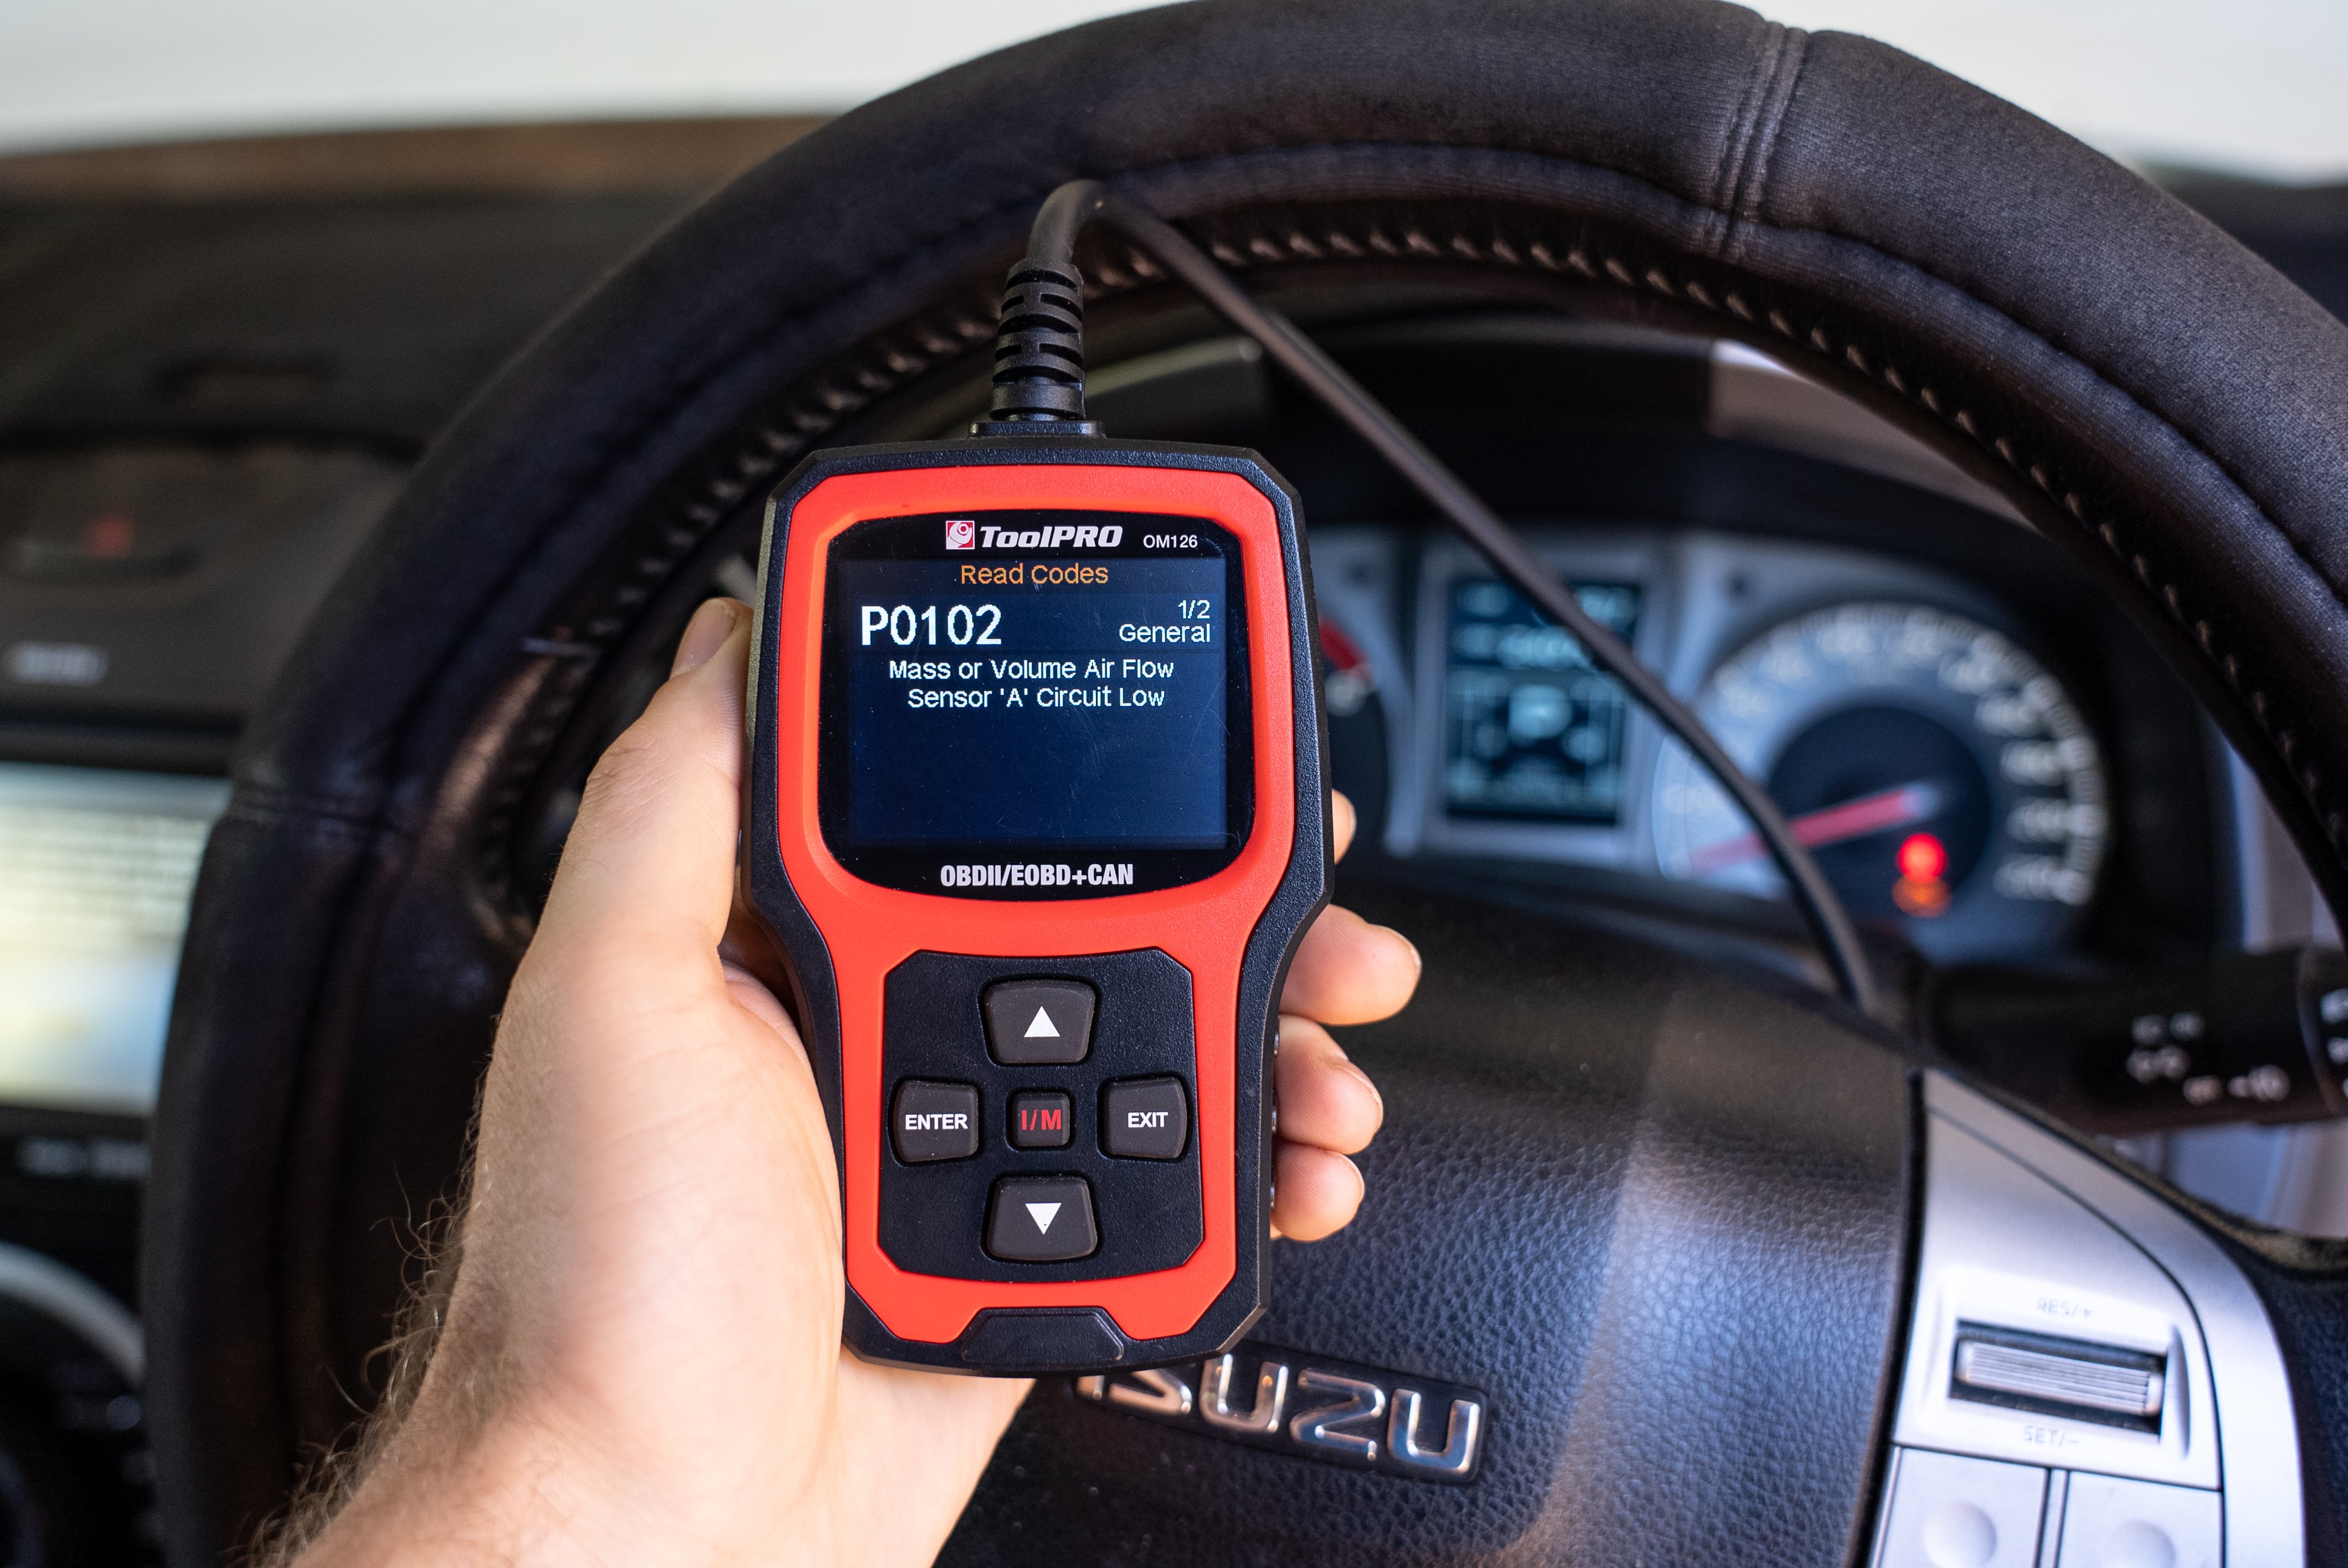
Depending on your vehicle and your code reader, you may just be shown a code, or you may get an explanation on screen as well. If all you get is a code, you may find a translation in your workshop manual. Otherwise Google is your ally!
Fix the Problem
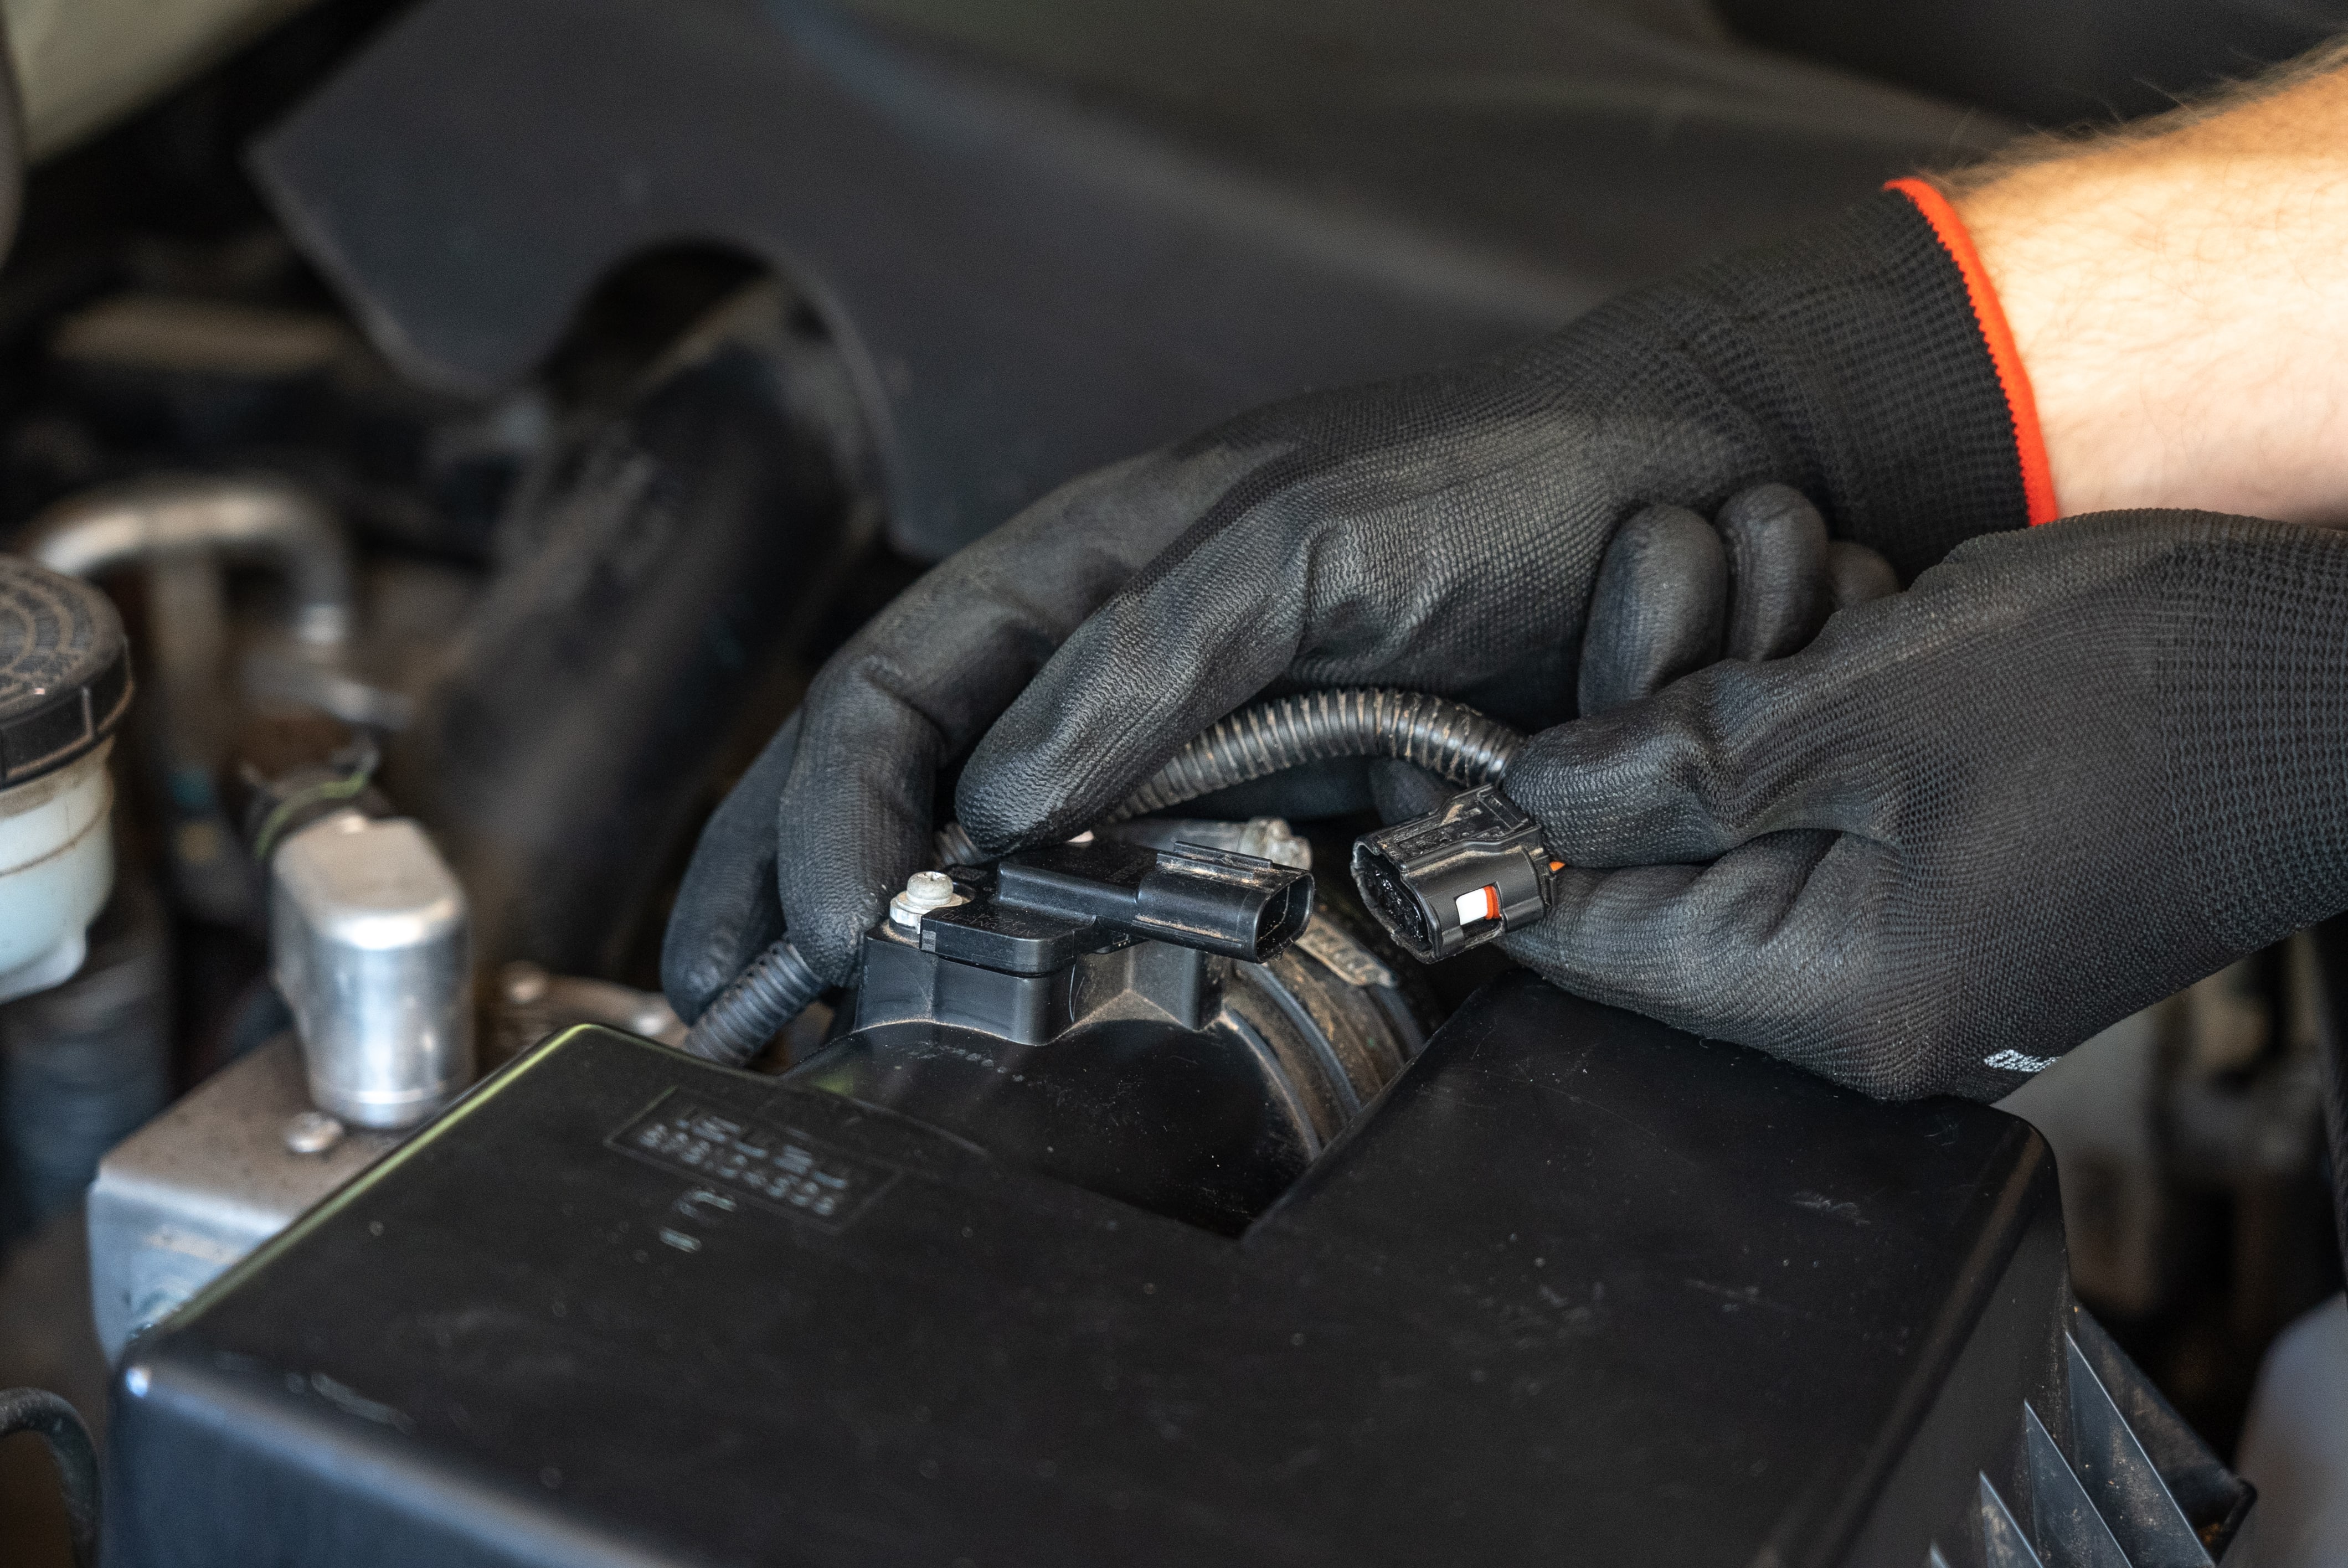
Armed with a reason for that annoying little light coming on, it’s easier to seek a repairer or replace the problem part yourself.
Turn off that Light
Following on from Step 5, OBD2 code readers are great for diagnosing a fix engine light, but if you choose to purchase the higher functioning OBD2 scanner, you’ll actually be able to reset those error codes and fix the problem! Occasionally, your engine management computer may experience a hiccup and display a trouble code. By using the erase codes function in your OBD2 scanner you may be able to fix the check engine light on the spot.

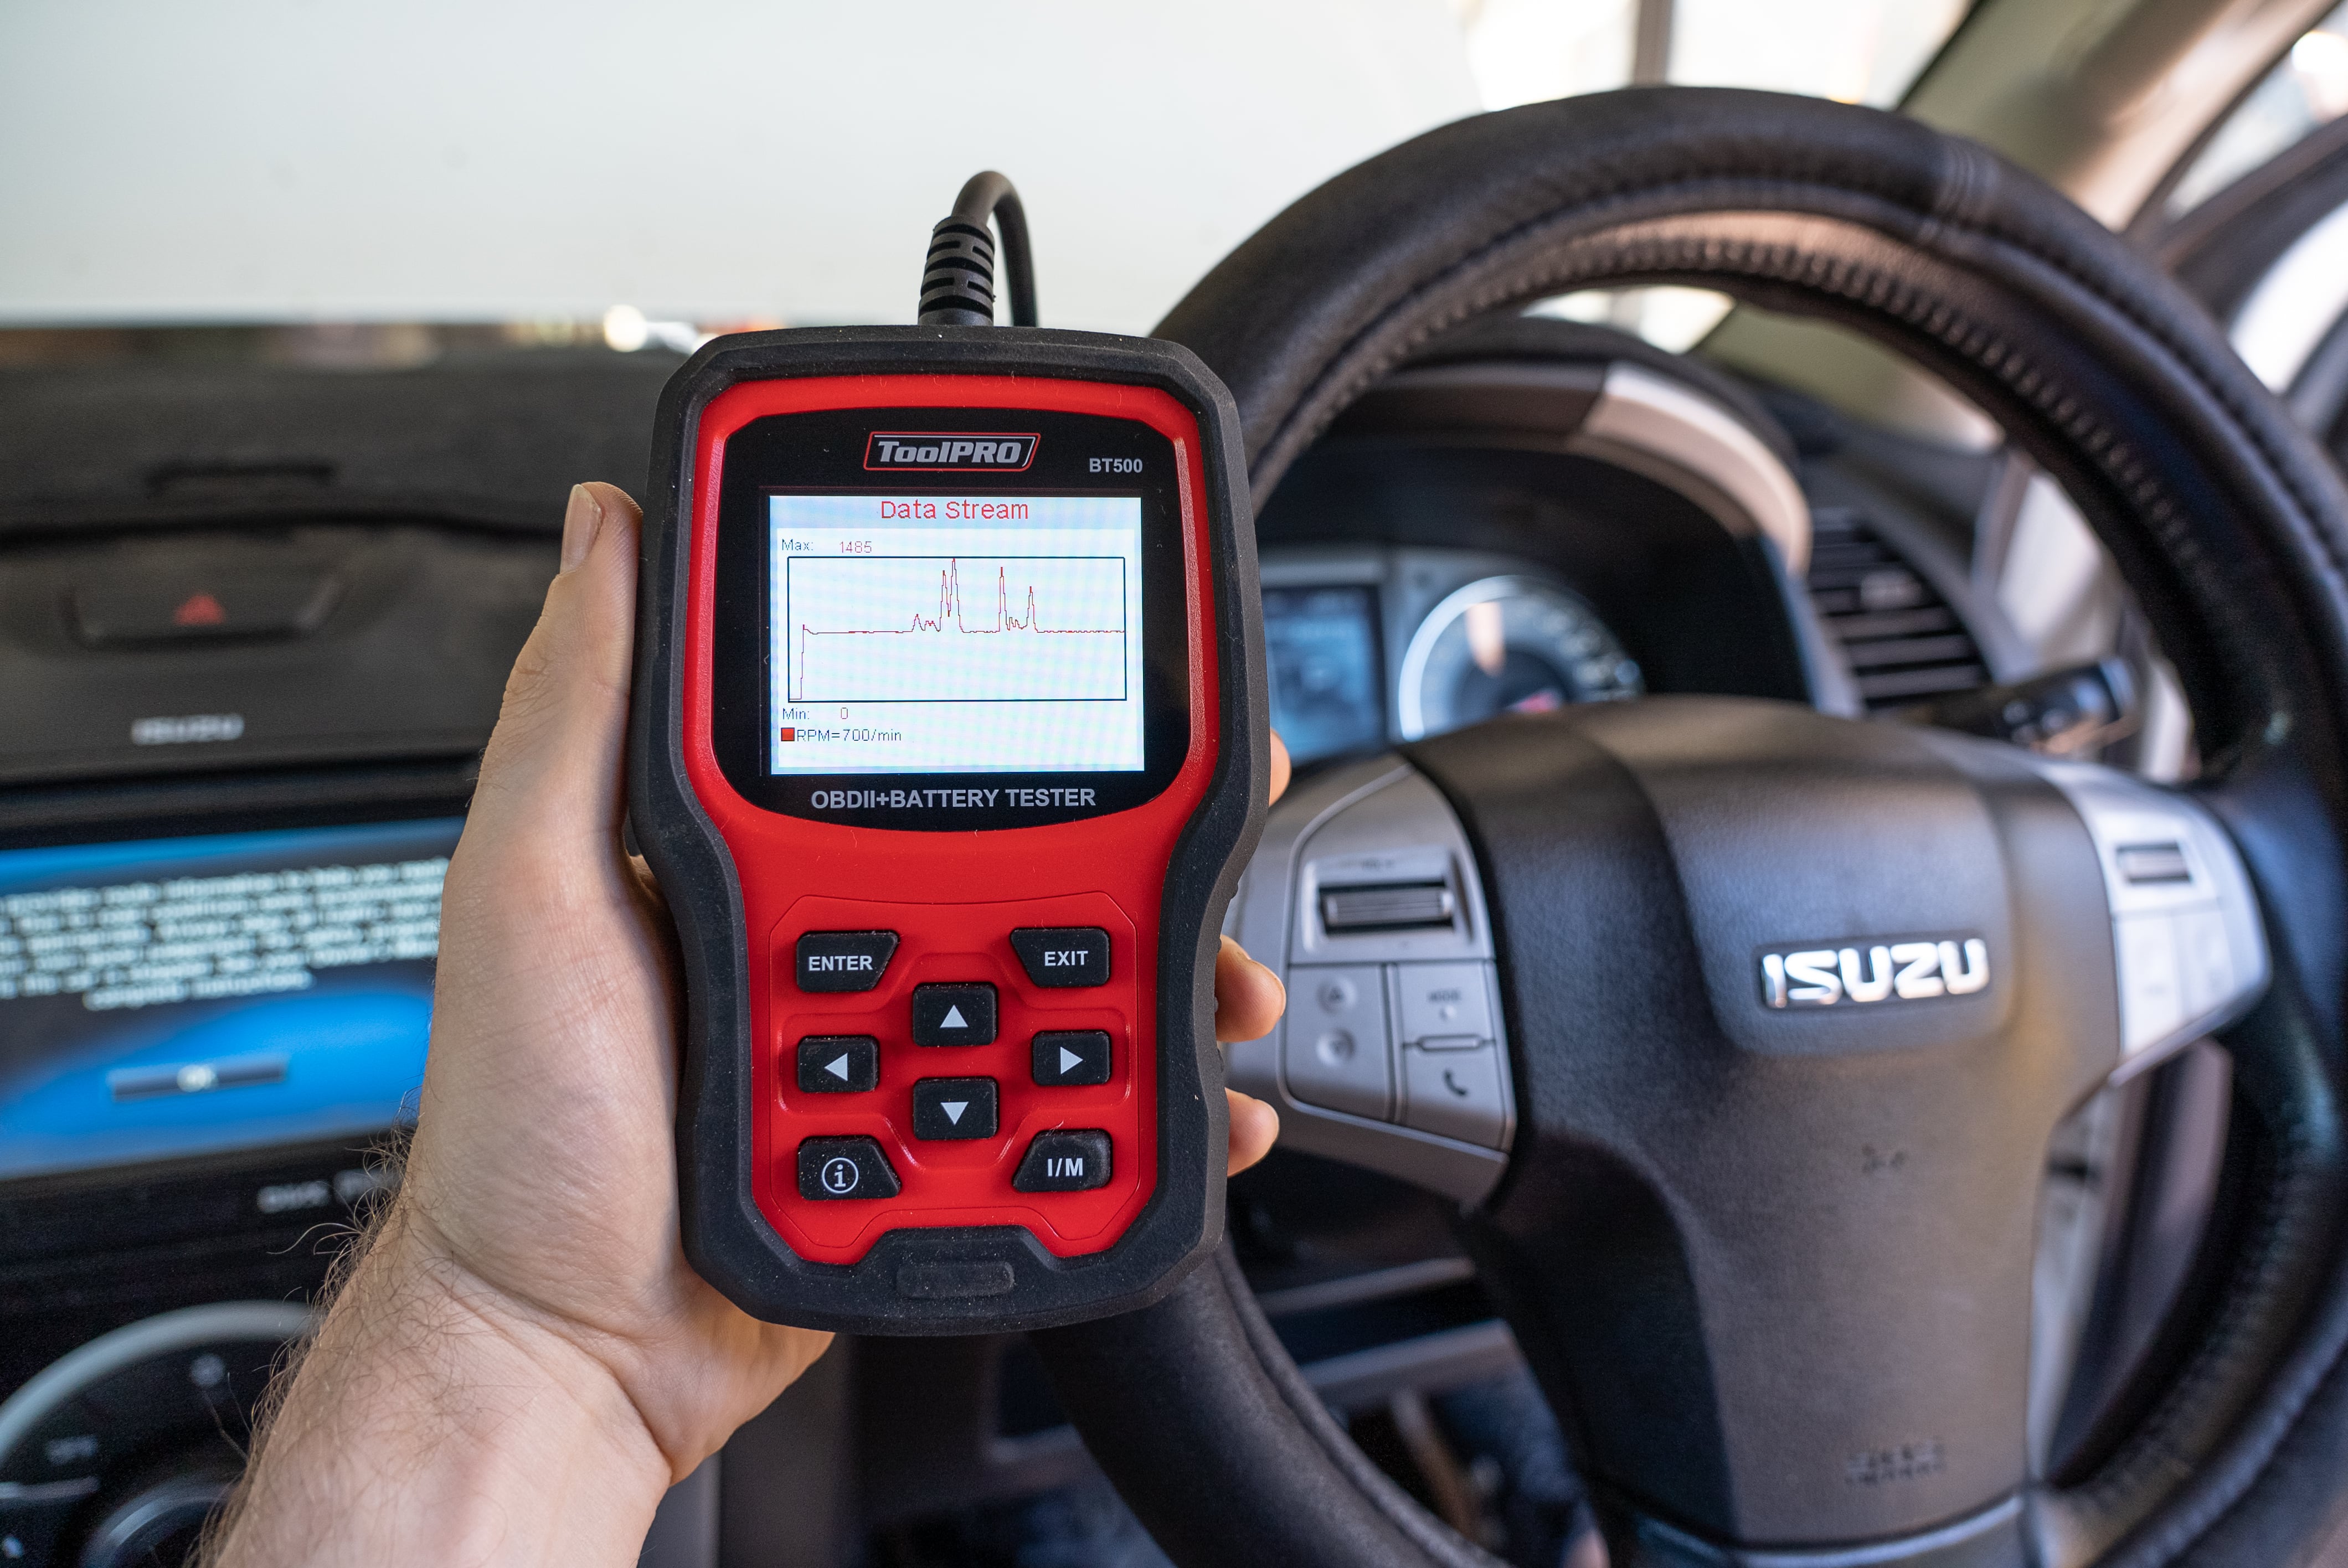
Check the Light is Gone/Check Live Data
If the light comes back straight away, you’ll need to look further into the situation. Watching live engine data on your scanner may give an indication of what’s going on.
Job Done!
Once you’ve had the problem fixed, the code can be cleared, and that little check engine light warning should stop bothering you.
Tips
Whether a simple code reset cleared the problem or you’ve got a part that needs replacing, you’re already saving money. Just make sure you keep tabs on your OBD2 reader because once your mates find out you own one, they’ll all want to borrow it! Grab your OBD2 scanner today from your local Supercheap Auto or Shop Online now.
*Important information* - Click here to read more about our DIY Advice Terms and Conditions.
