How To Change Motorcycle Brake Pads
Overview
Noisy brakes driving you mad? Maybe you’re chasing a little upgrade in braking performance? It’s time to rev up your DIY skills and replace your own motorcycle brake pads. With two wheels less than your car (which don’t even need to be removed) this is a quick job you can tackle with some free time on the weekend, or even an hour or two after work. Let’s get into how to change motorcycle brake pads in 5 simple steps.
How to check if a motorcycle needs new brake pads
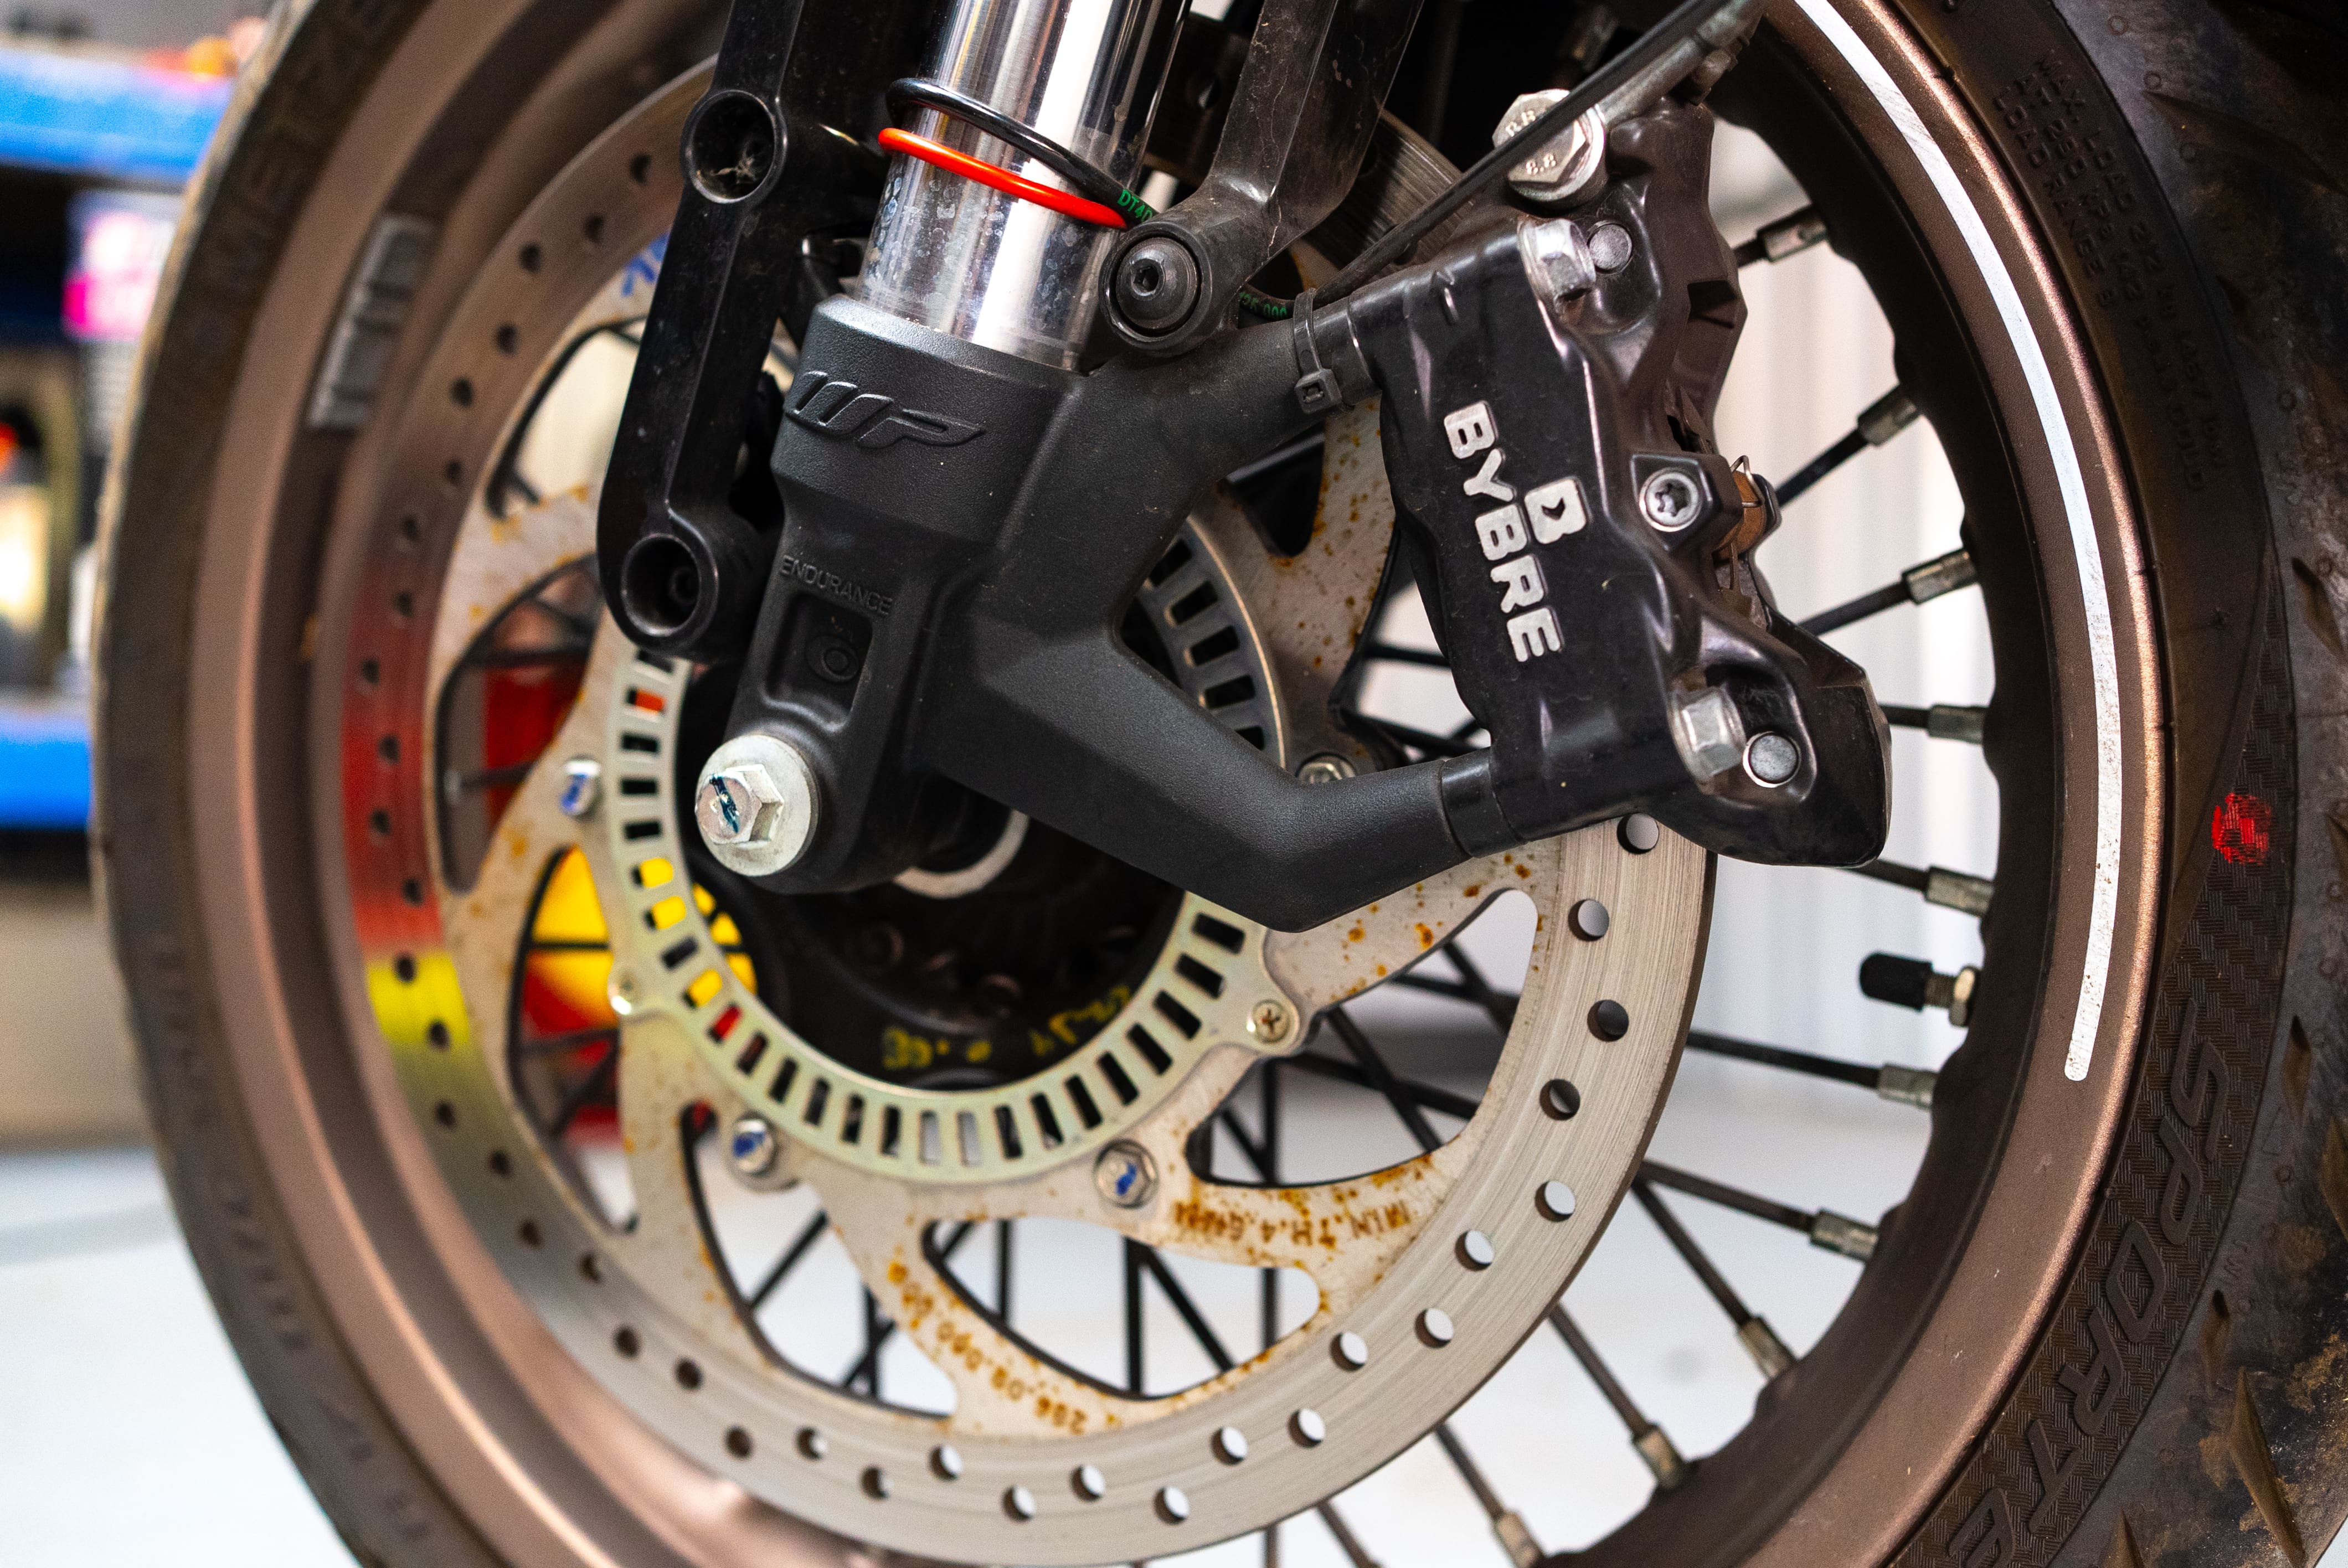
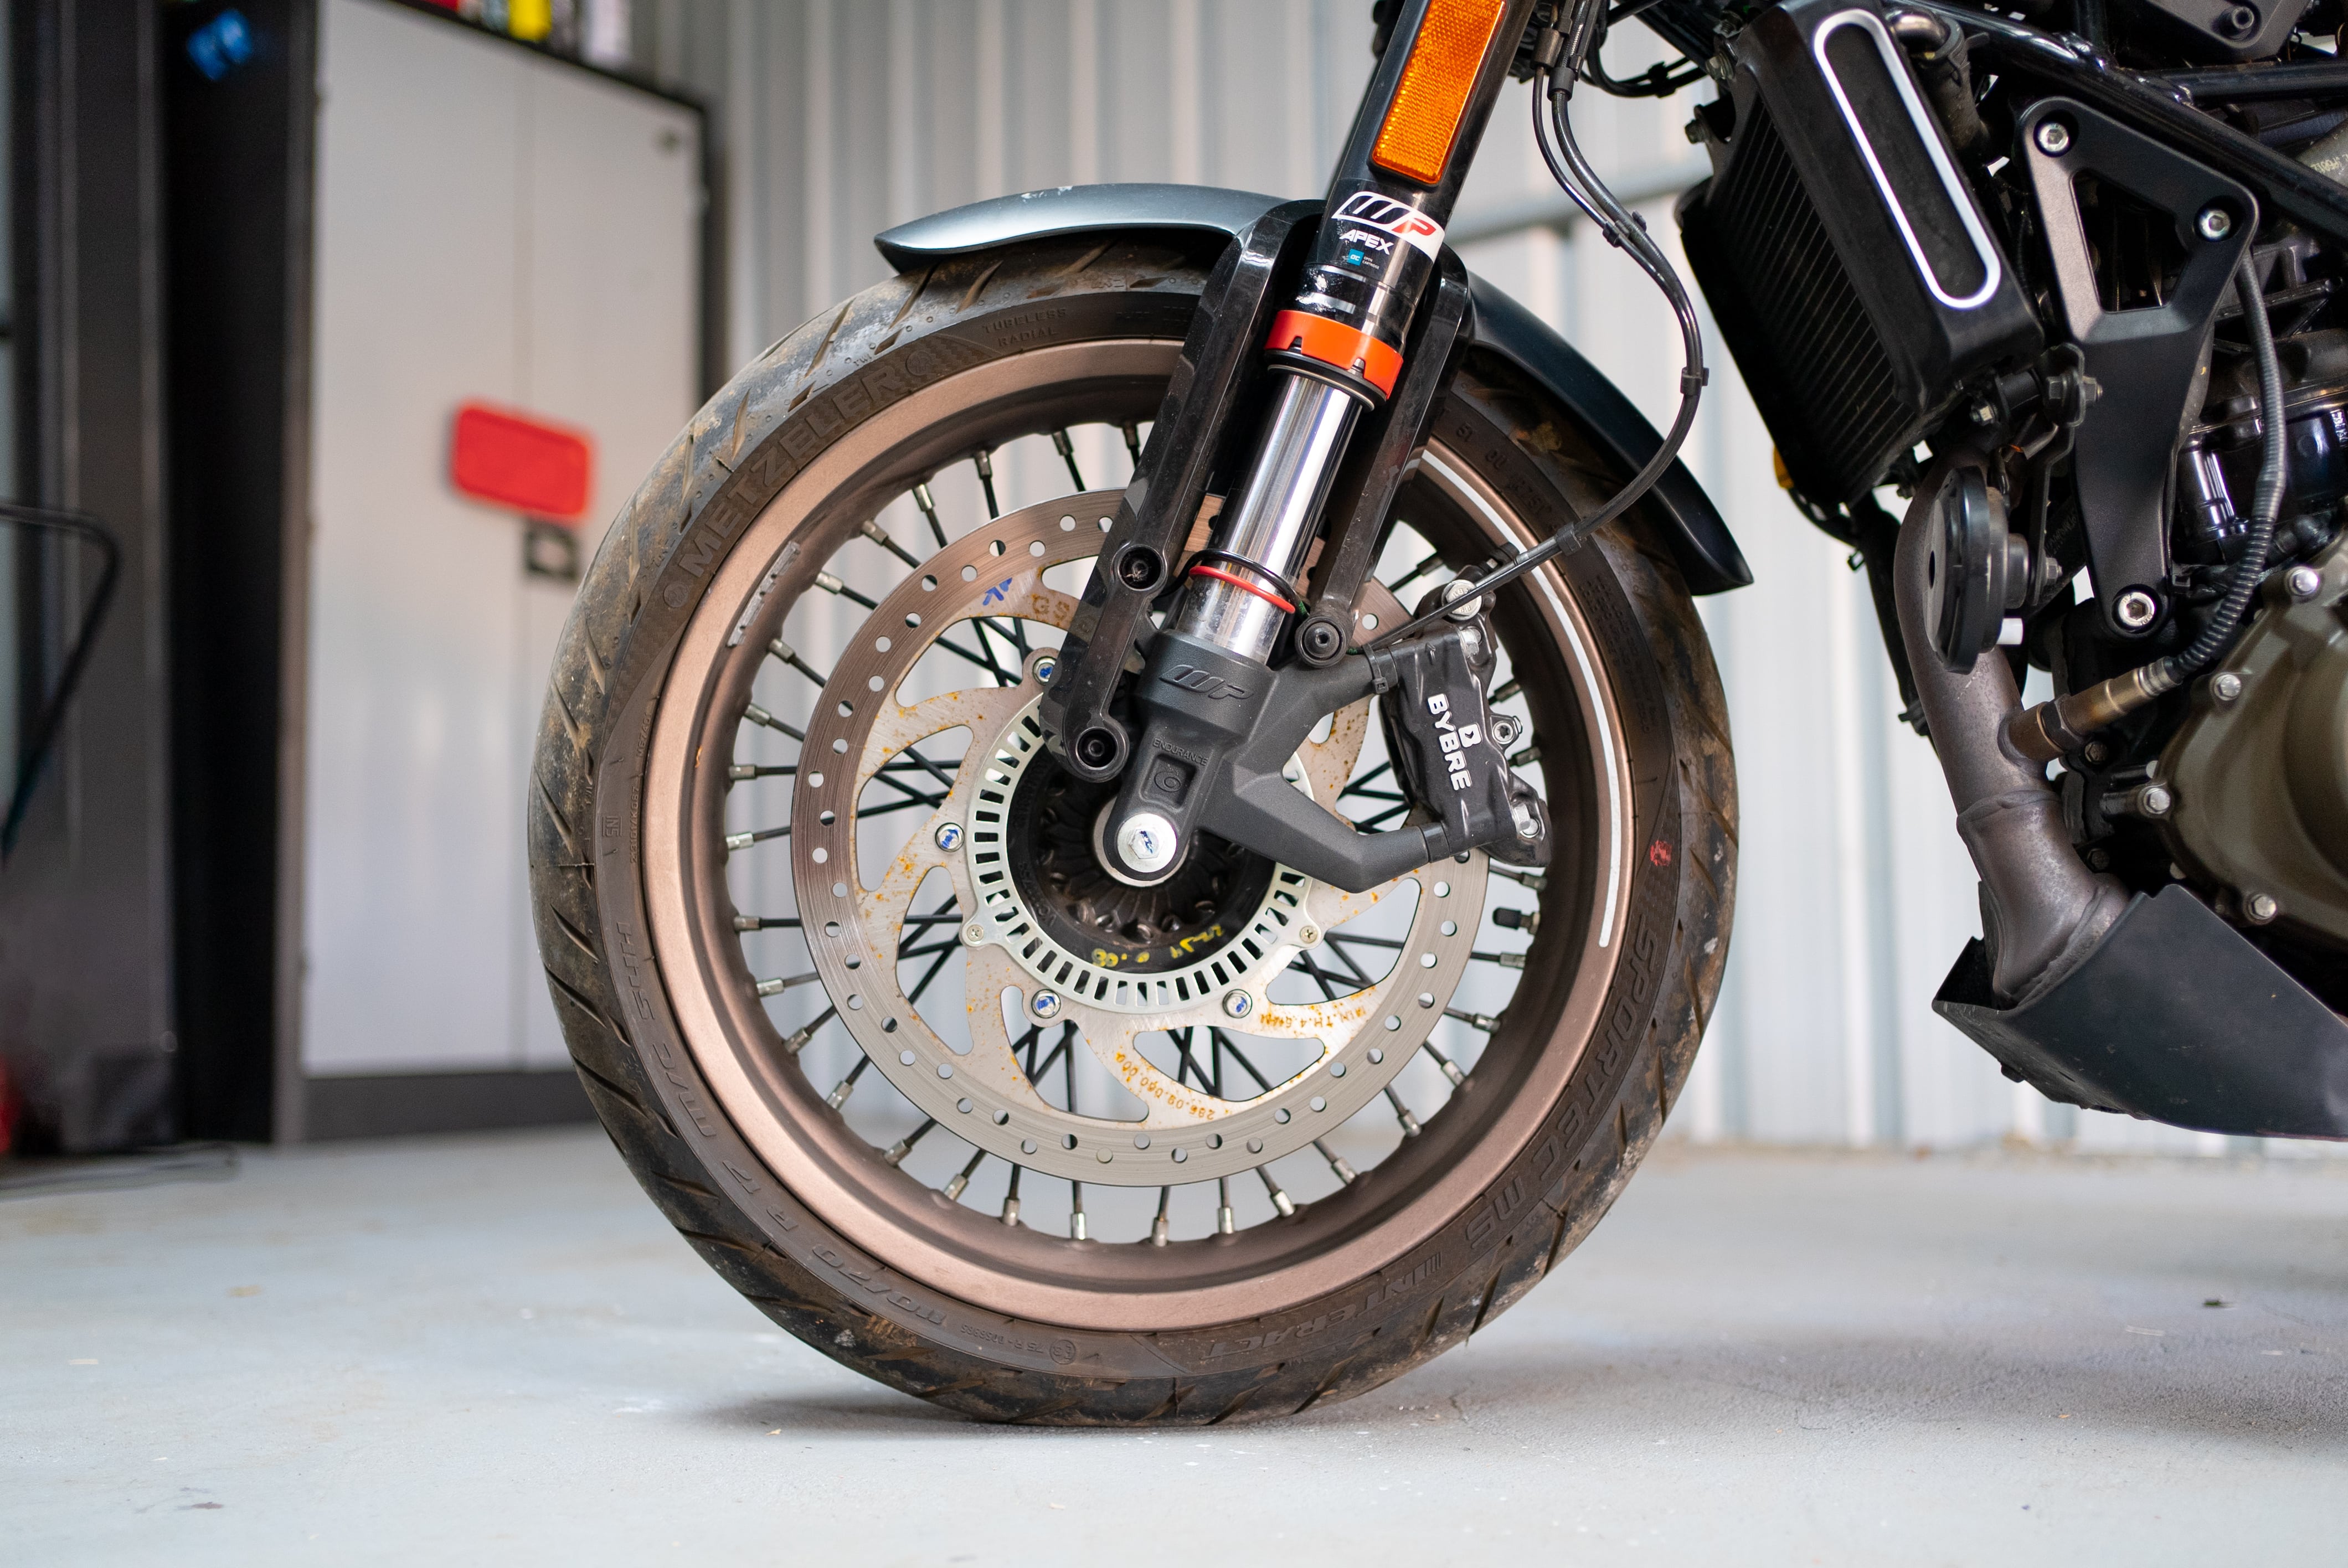
With a peek through the back of the caliper you should be able to see where the brake pad meets the rotor. You will also see the backing plate of your brake pad. The area between these two is the friction surface of your brake pad, and if it looks to be outside manufacturer specification; your brake pads are due for replacement.
How to check if a motorcycle needs new rotors
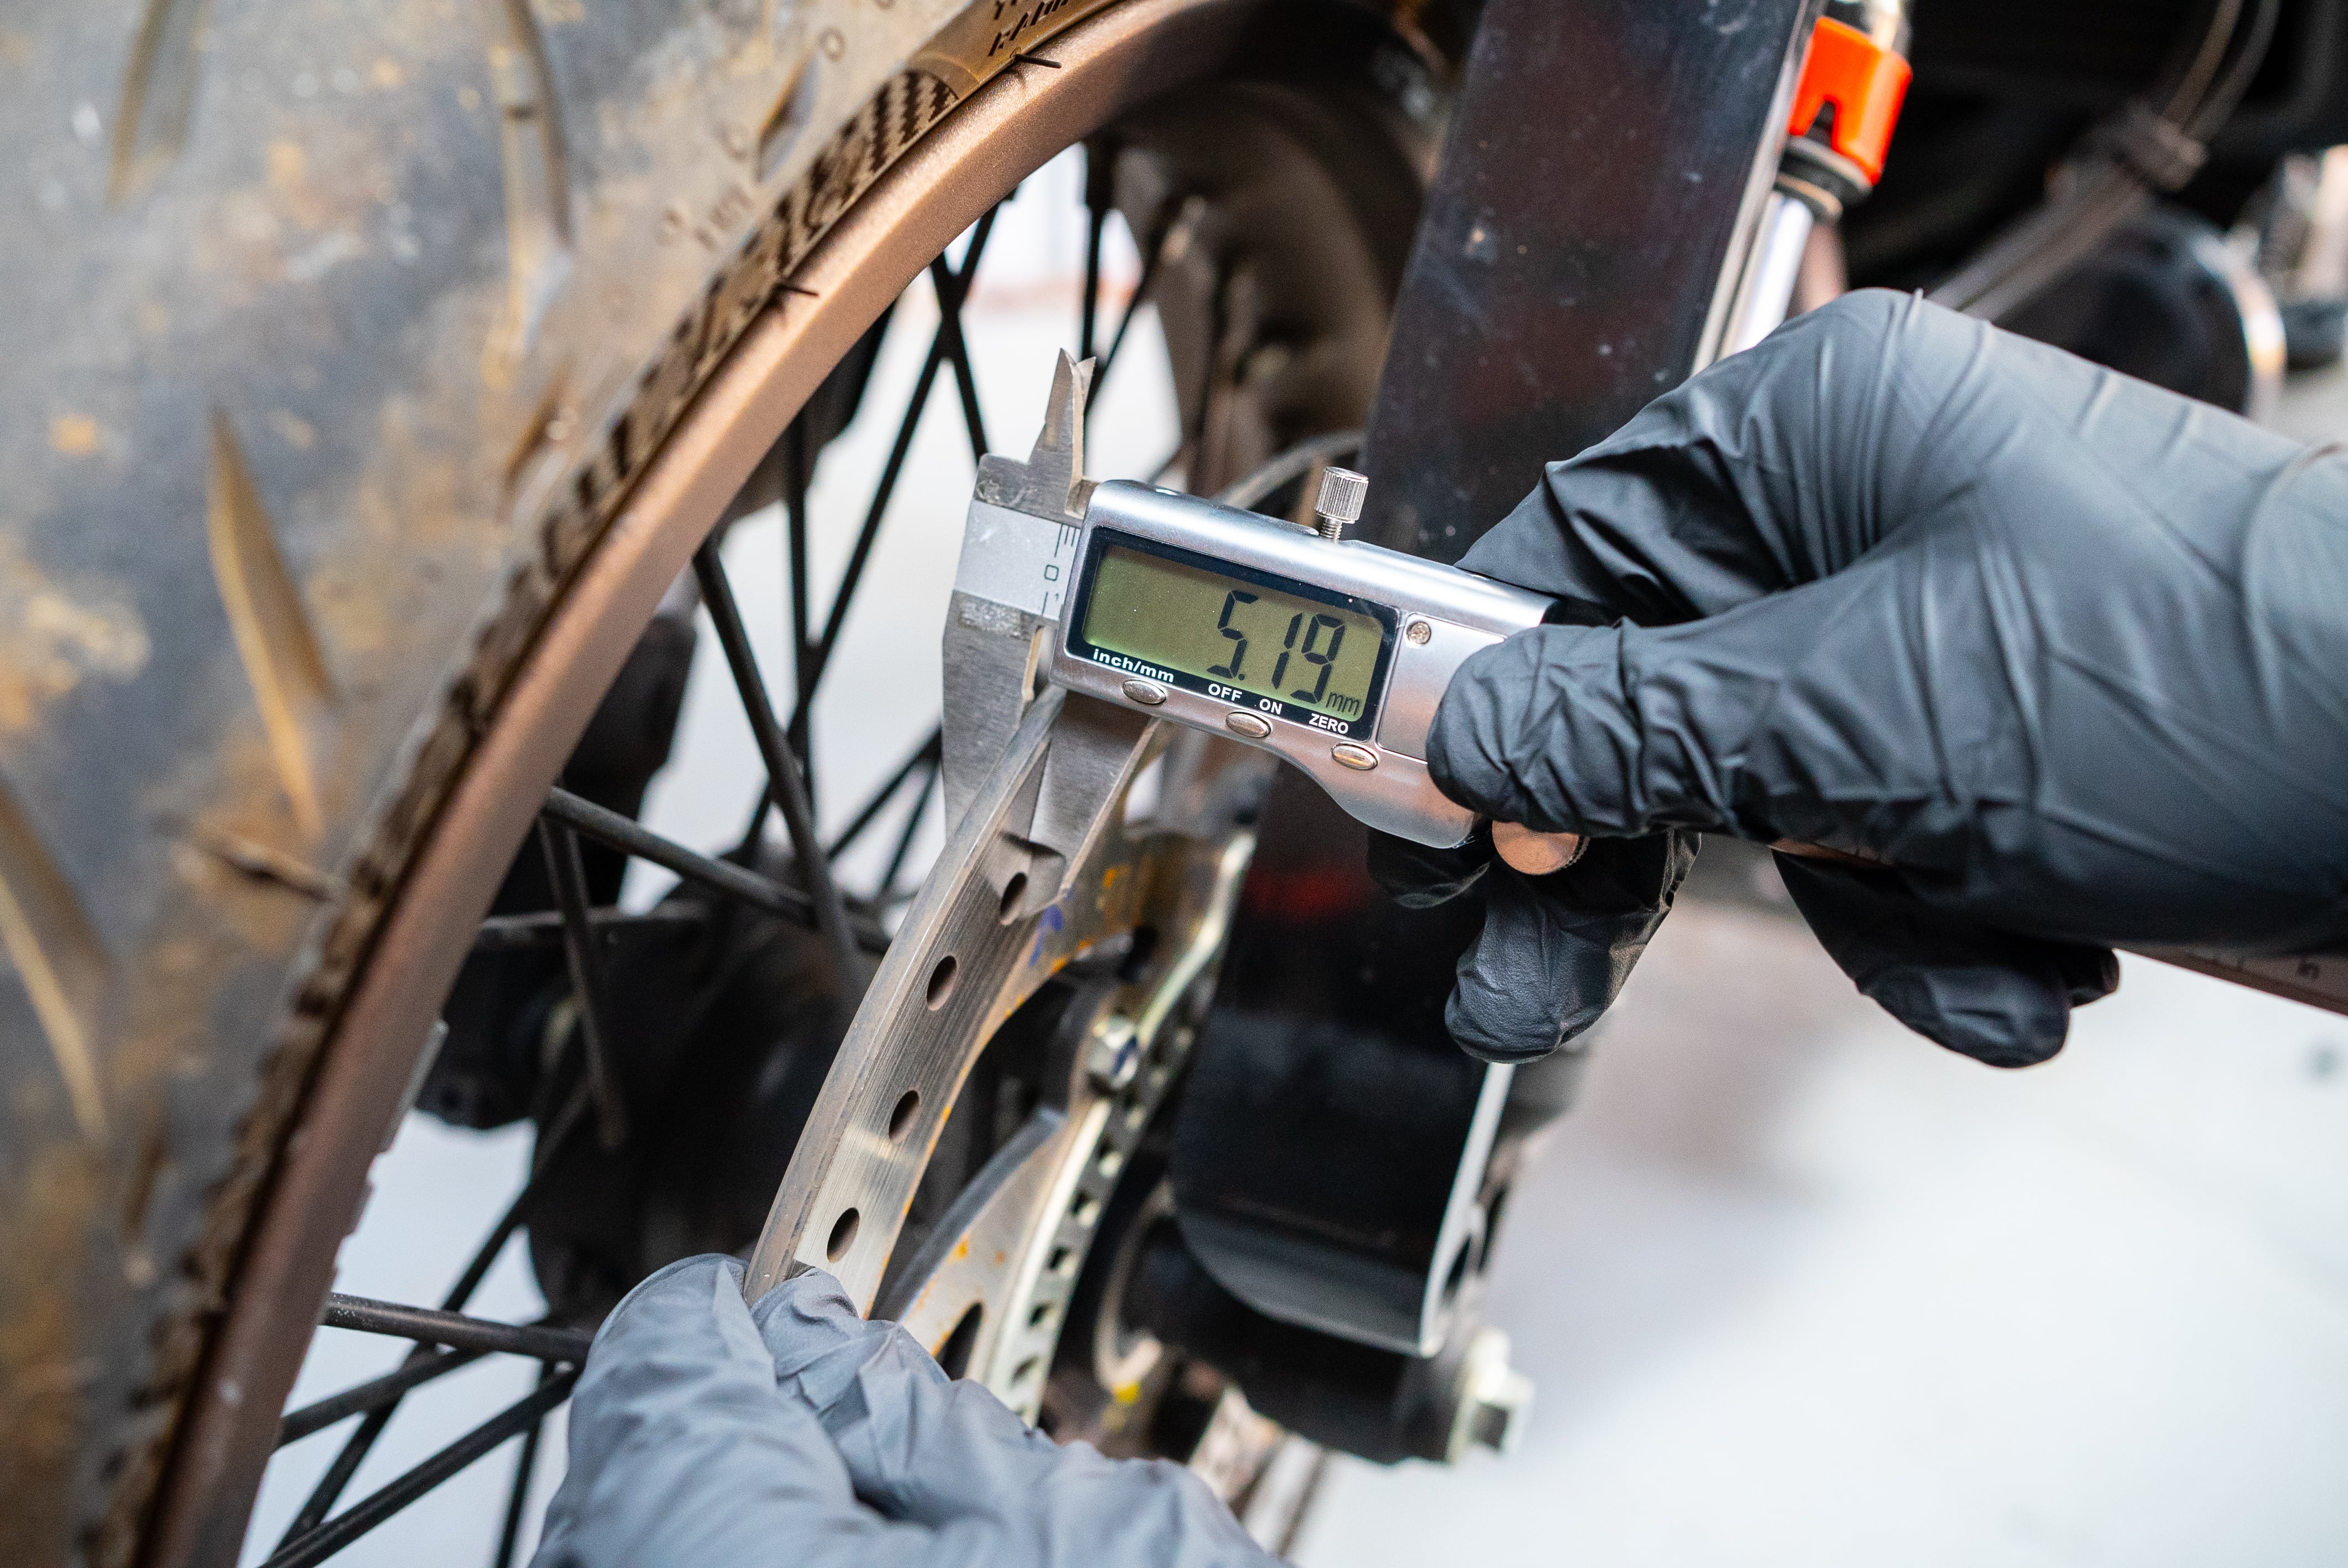
It’s a good idea to inspect your rotors too. Look for discolouration due to overheating, and deep scoring on the rotor. Then use your vernier calipers to measure the rotor thickness. The minimum thickness may be stamped on the rotor, otherwise you’ll find it in your repair manual. If your rotor doesn’t meet the minimum, you’ll want to change it along with your motorcycle brake pads.
Items
- New motorcycle brake pads
- Disposable gloves and safety glasses
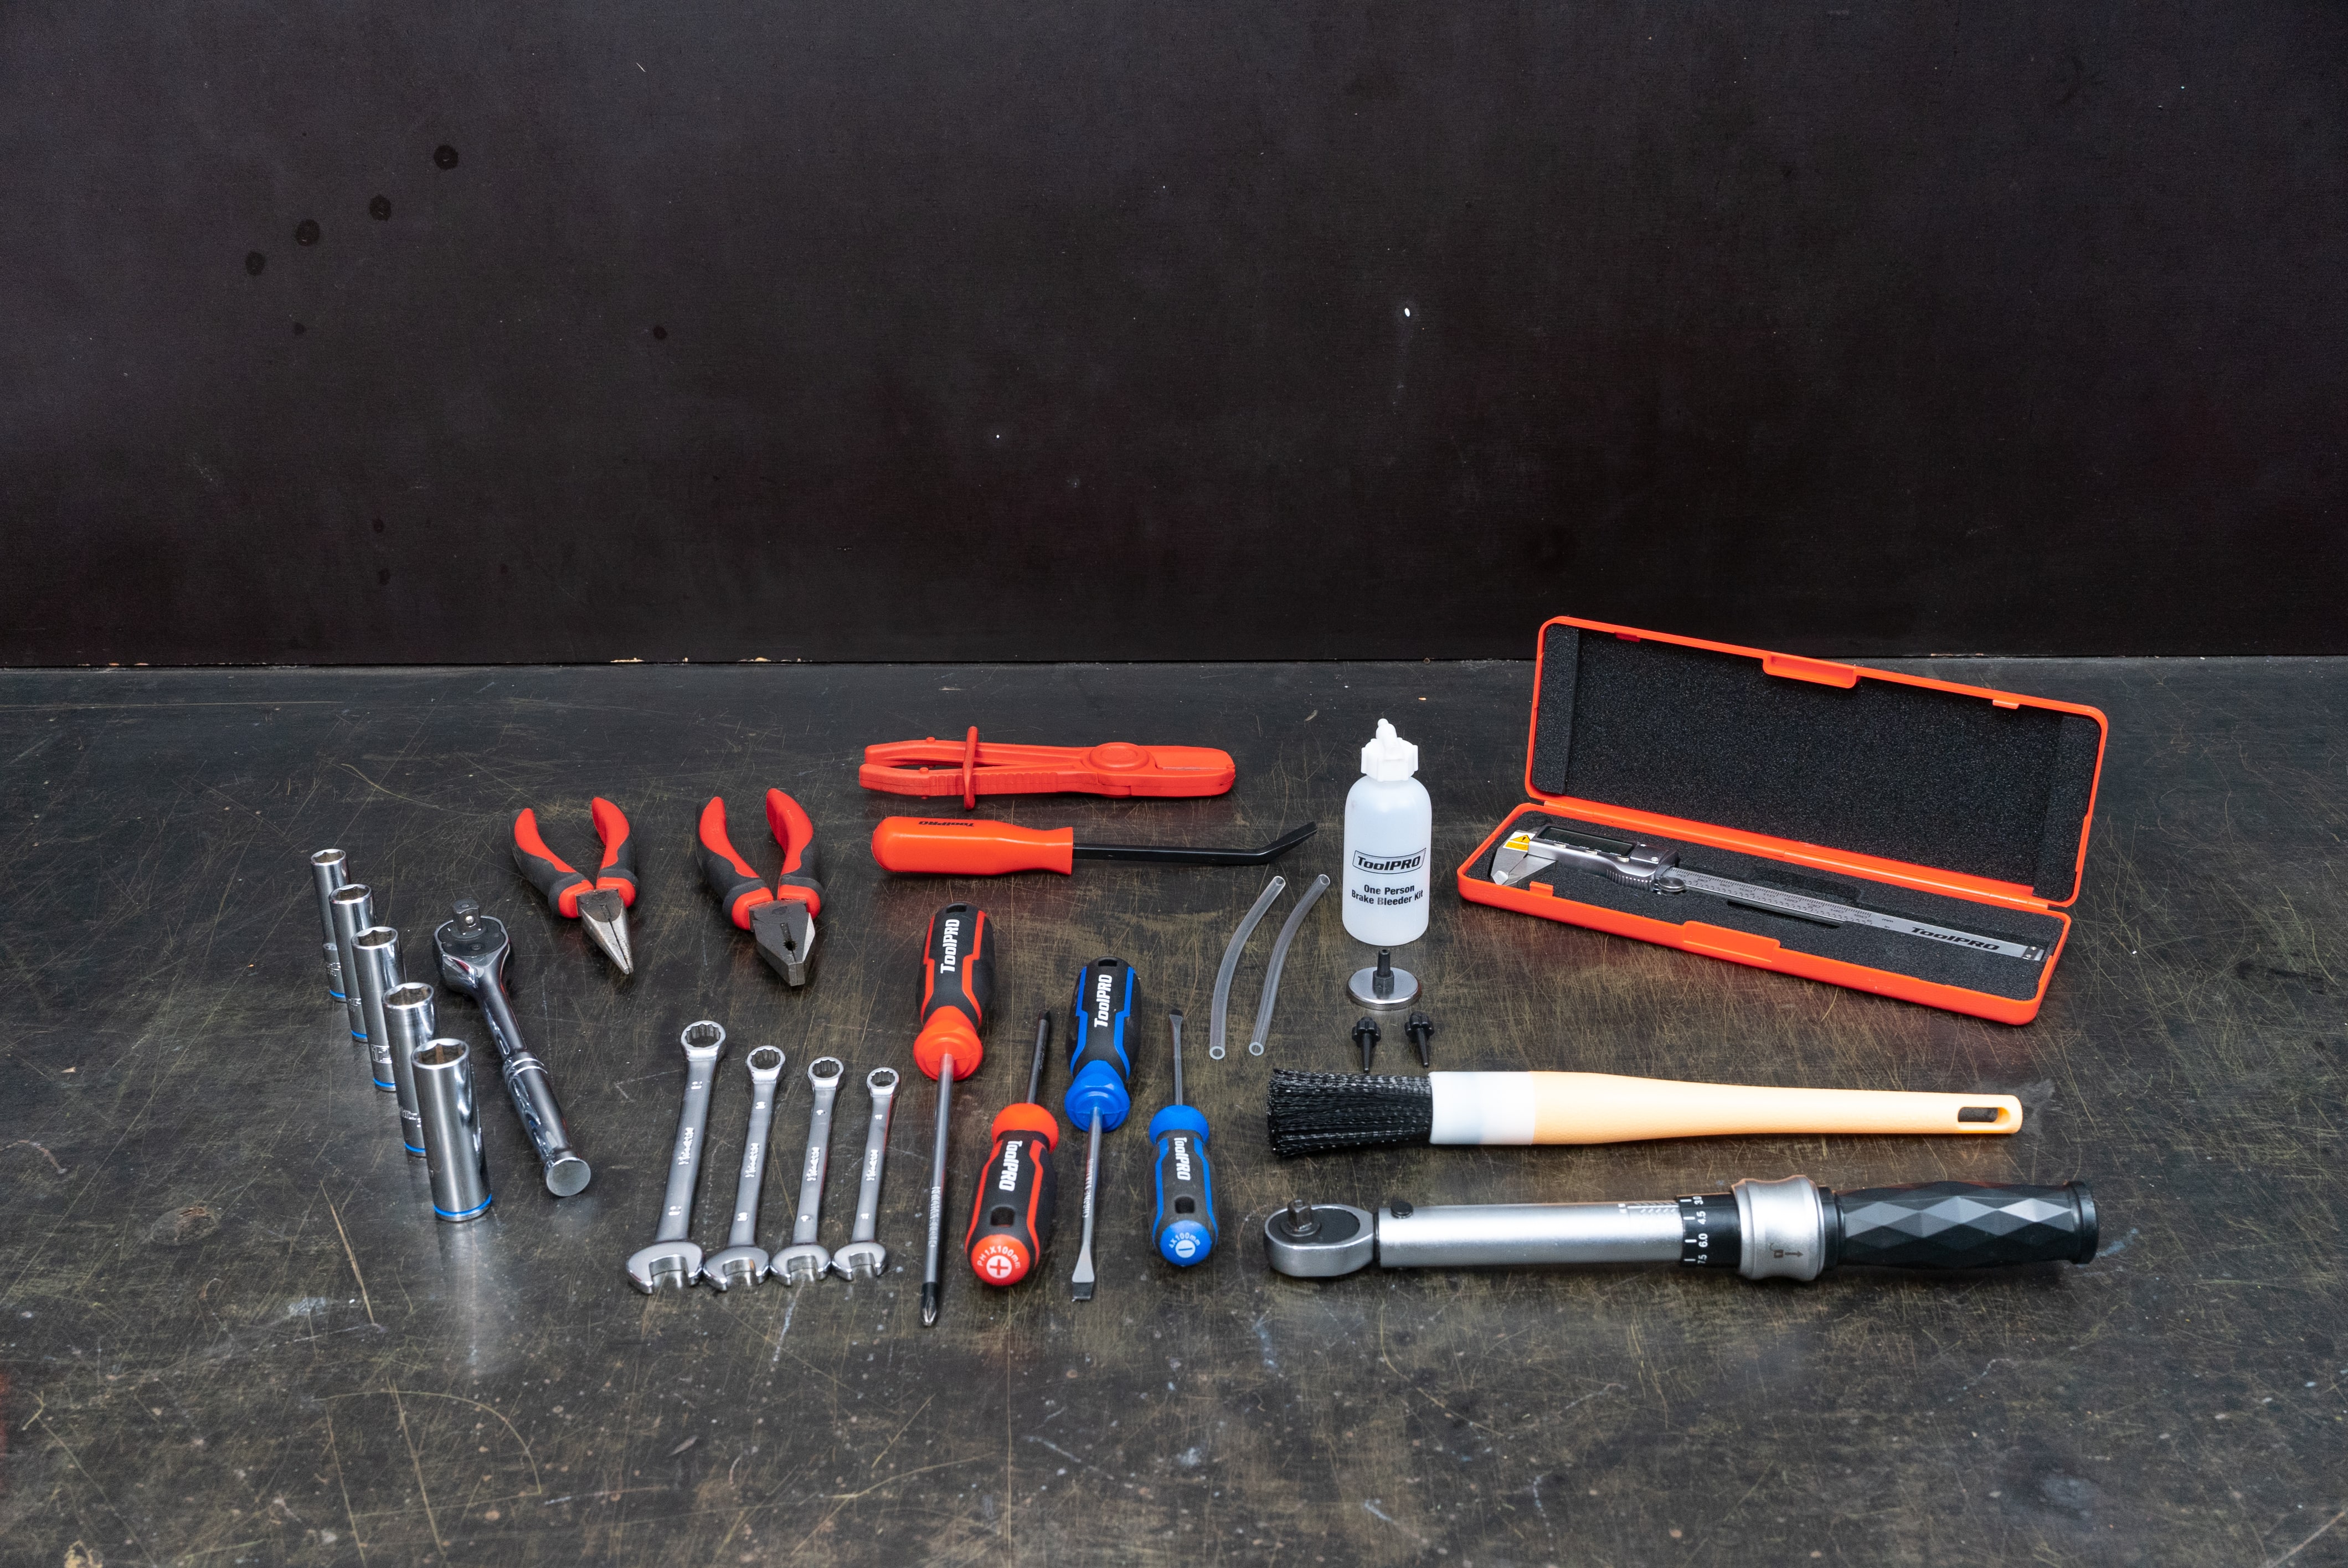
- Tool kit
- Pry Bar
- Line clamps
- A brake bleeding tool
- Small brushes
- Vernier caliper
- Torque wrench
- Brake piston spreader
- A repair manual for your bike
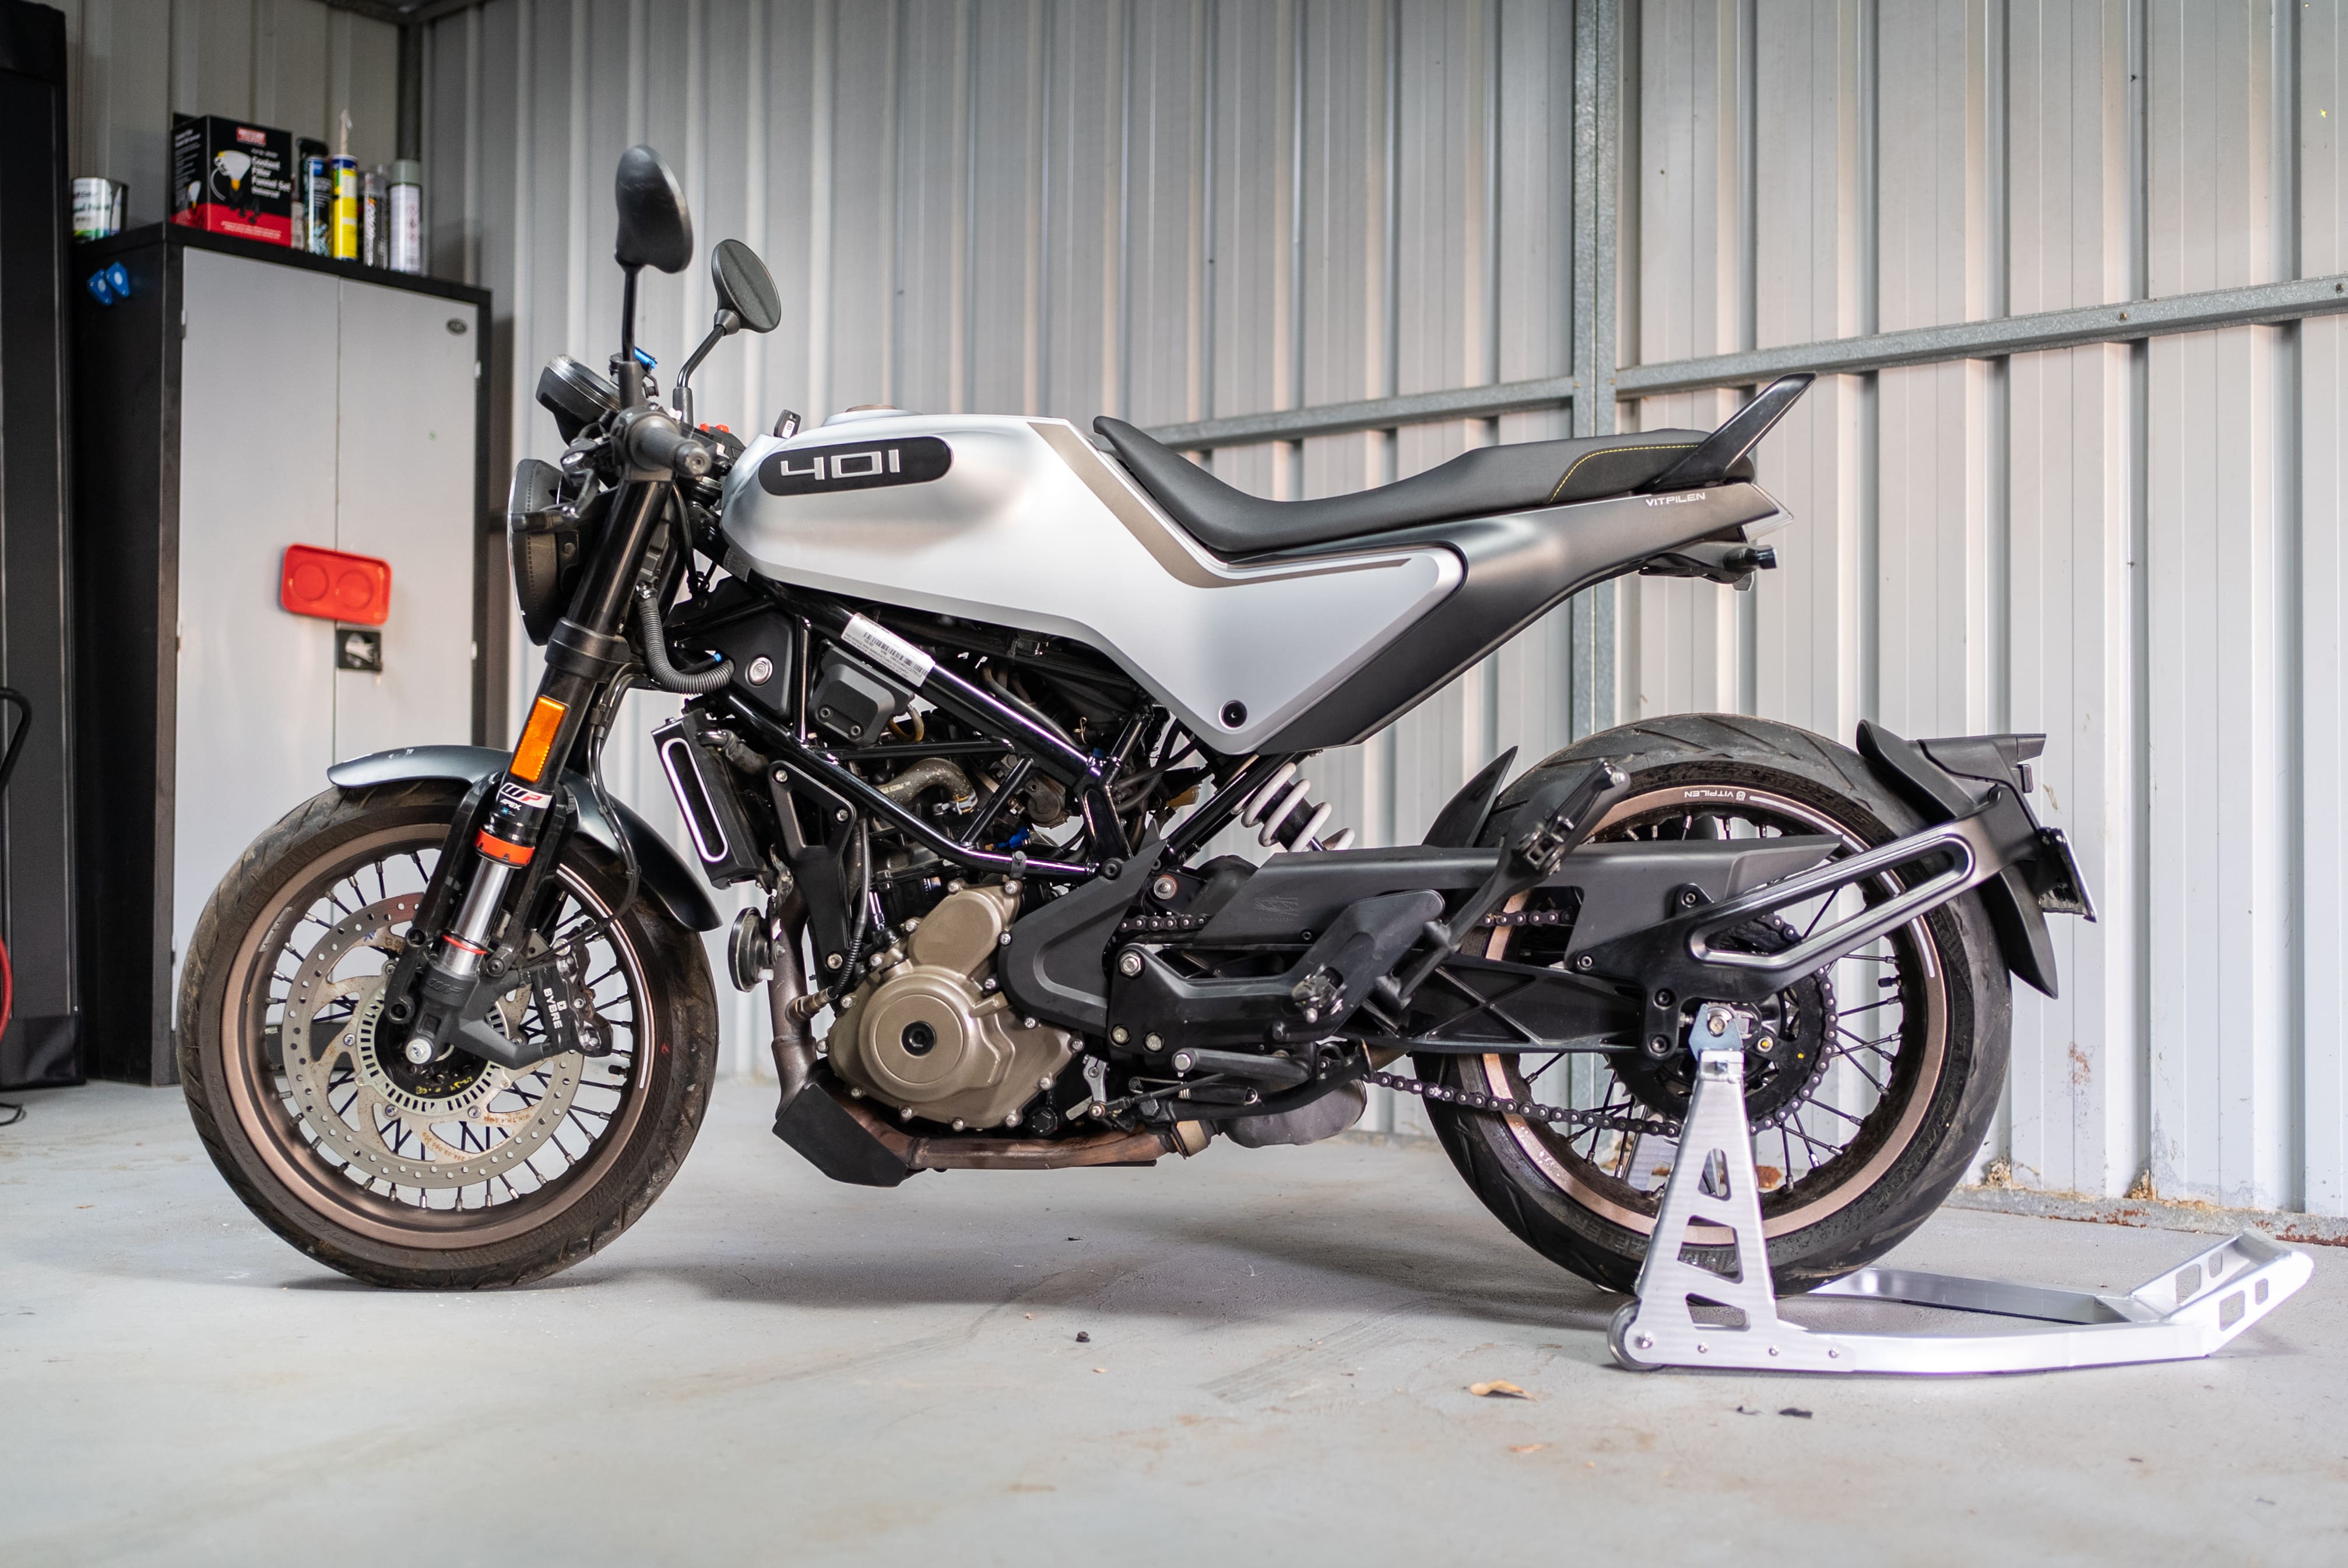
- Motorcycle stand to suit your road or dirt bike
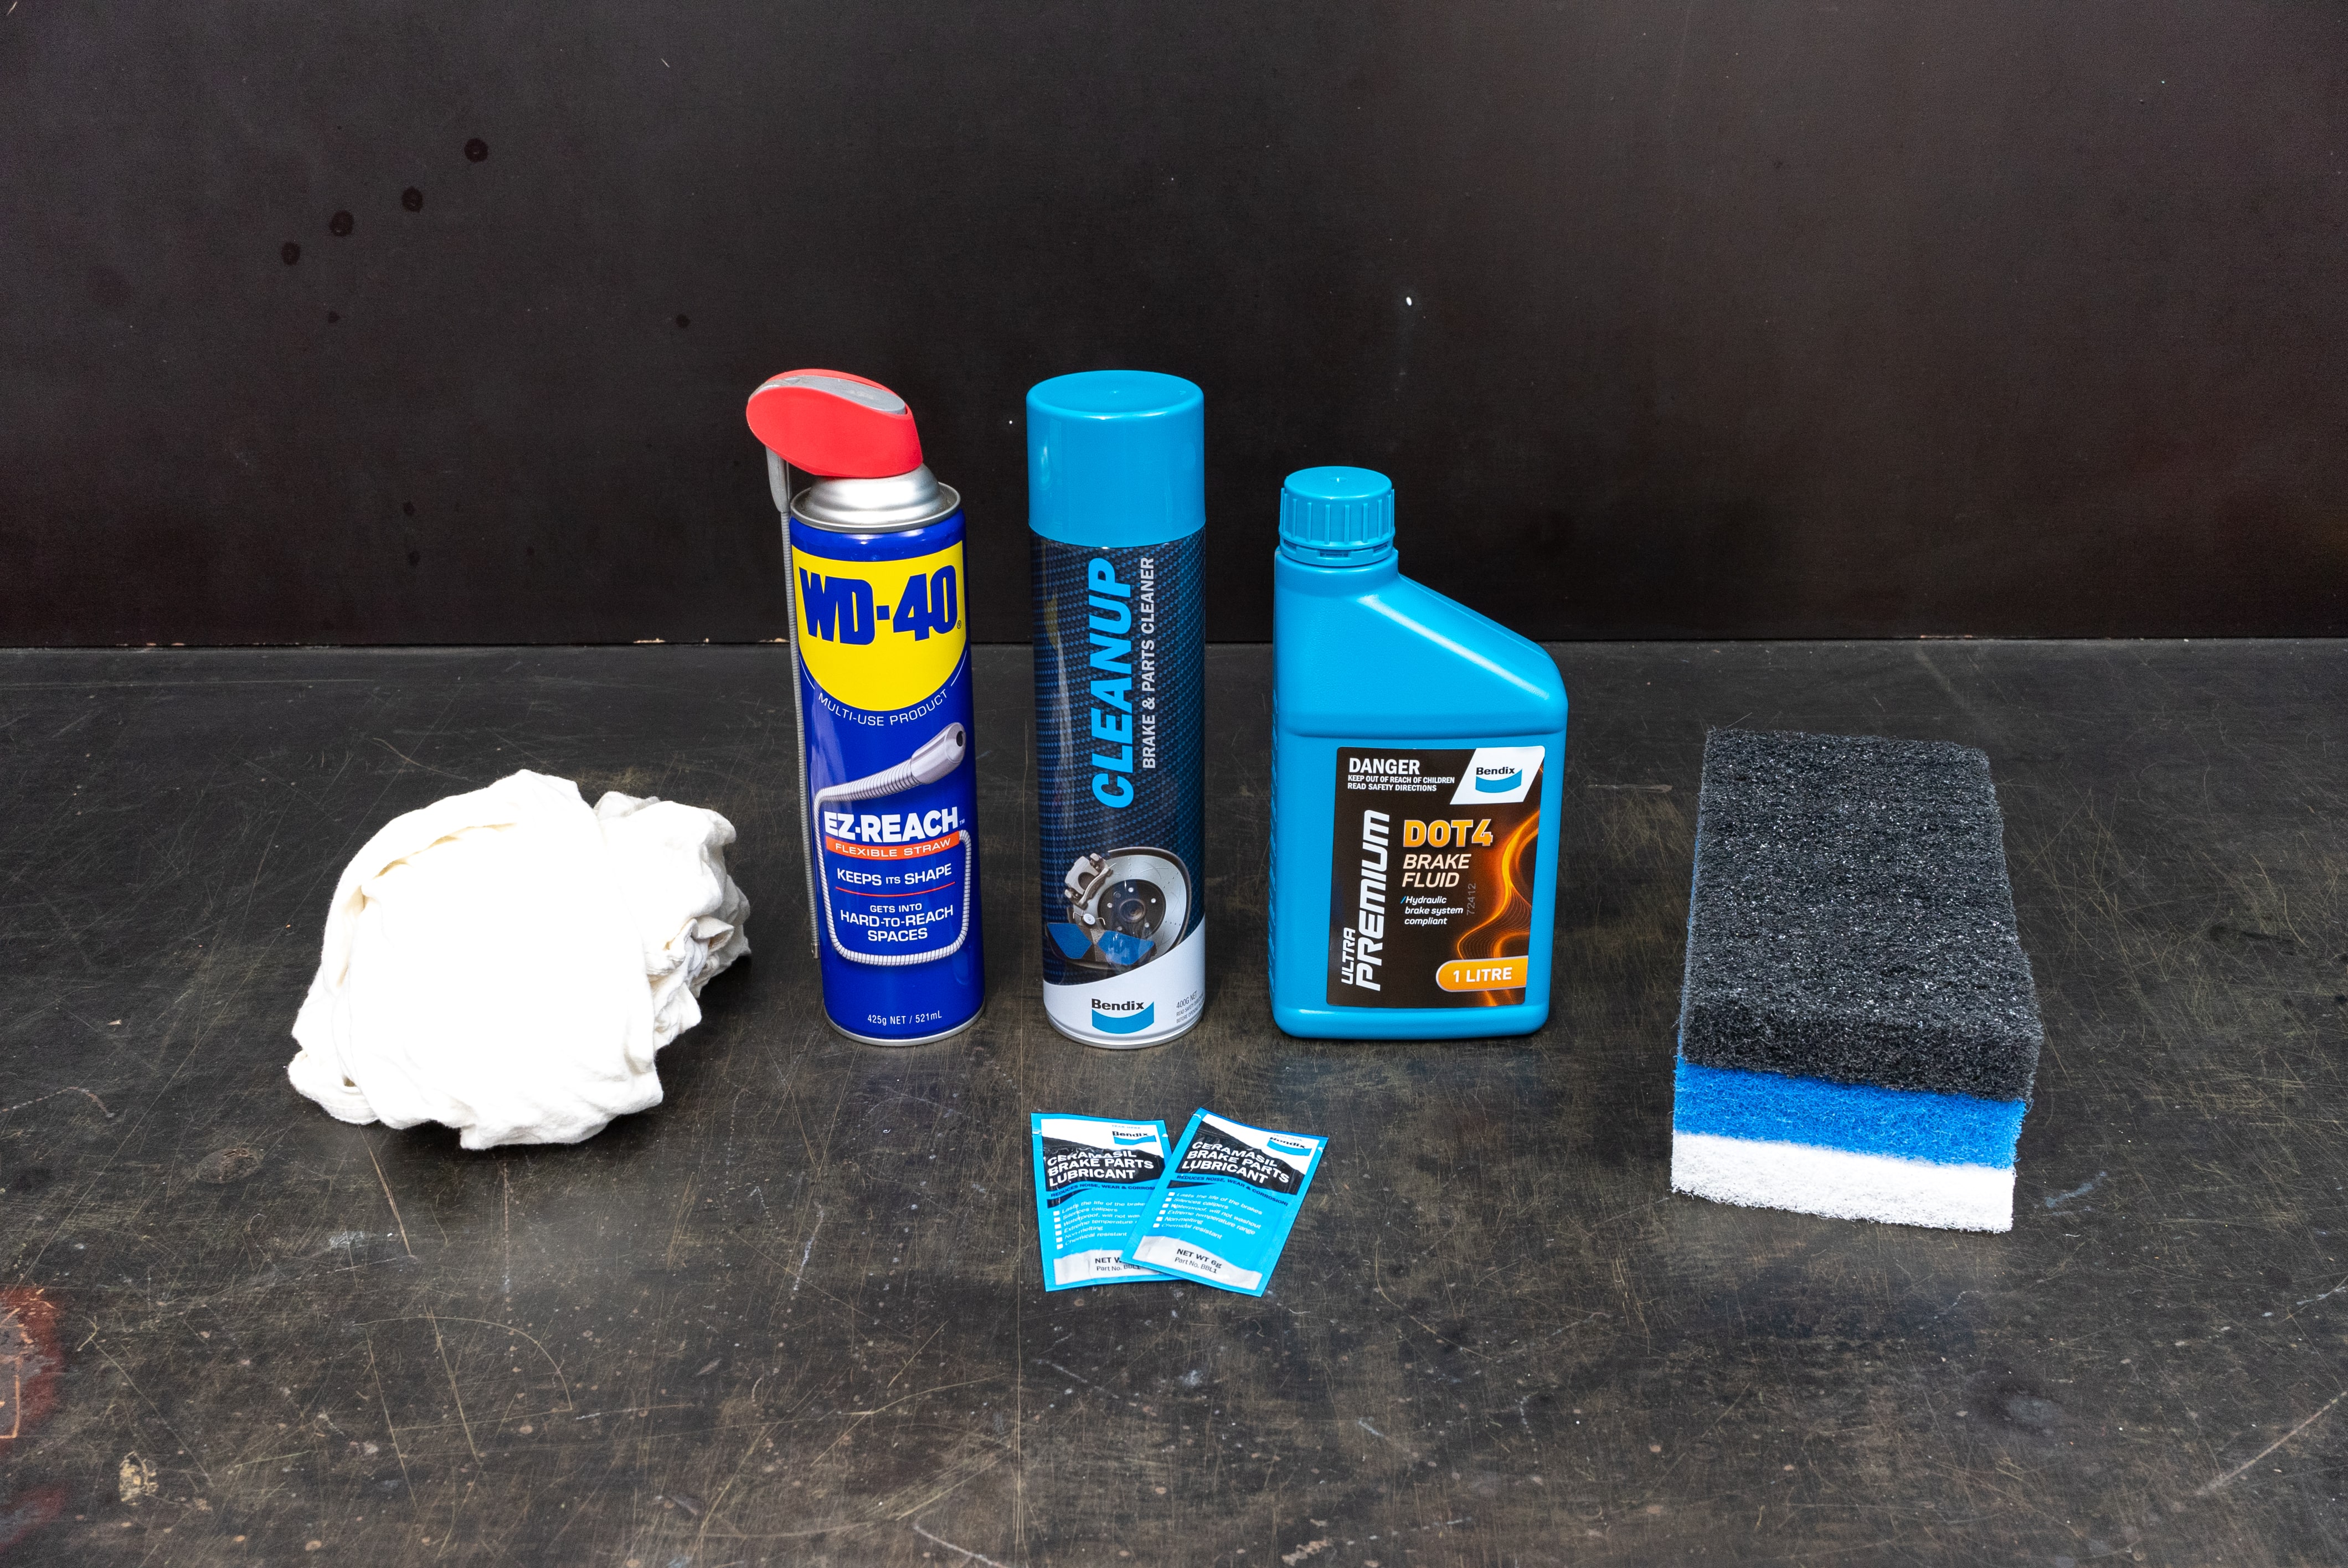
- Rags
- Brake cleaner
- Scrubbing pads
- WD40
- Some brake lubricant
- Brake fluid
Steps
STEP 1: Prepare your motorcycle
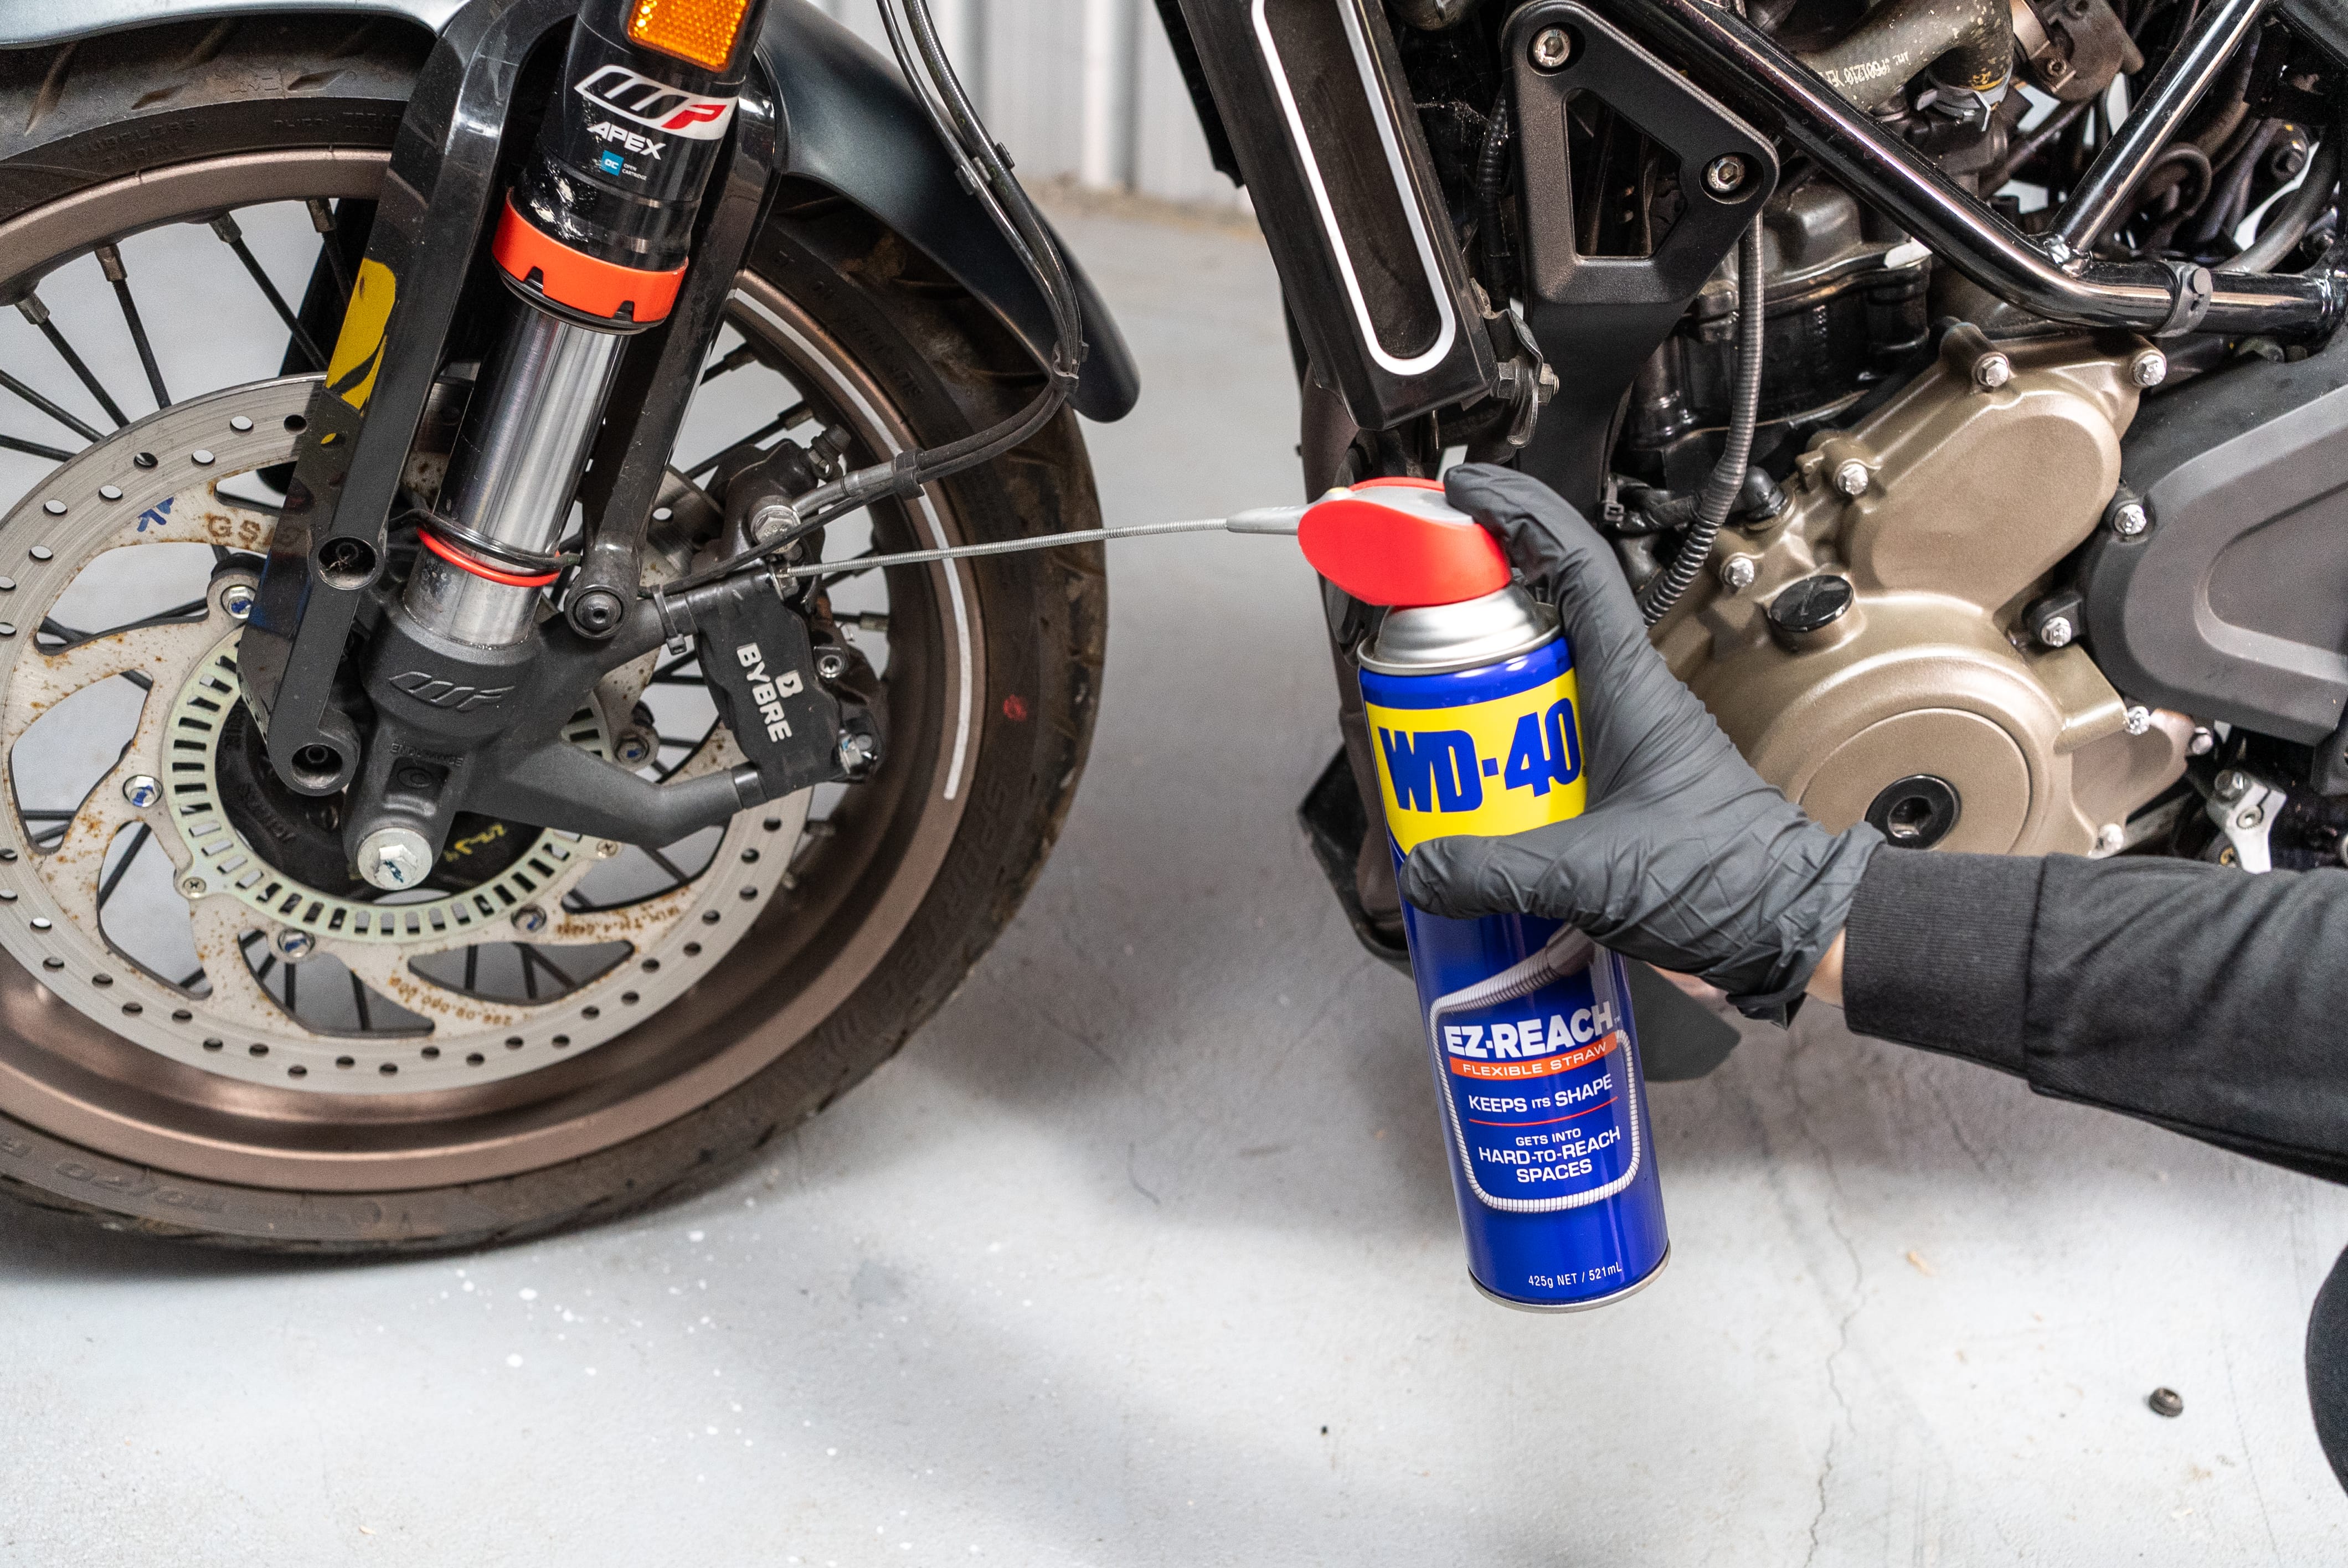
Use an appropriate type stand to lift your motorbike. Make use of safety straps to secure the bike if possible. Then get straight into applying some WD40 to fasteners around the caliper. This is especially important on a dirt bike where corrosion is more likely. Be careful not to spray WD40 on any braking surfaces.
Now locate the brake fluid reservoir. For the front brake, it will be up on the handle bars. For the rear brake, it will be down near the foot brake pedal. Remove the cap from the reservoir.
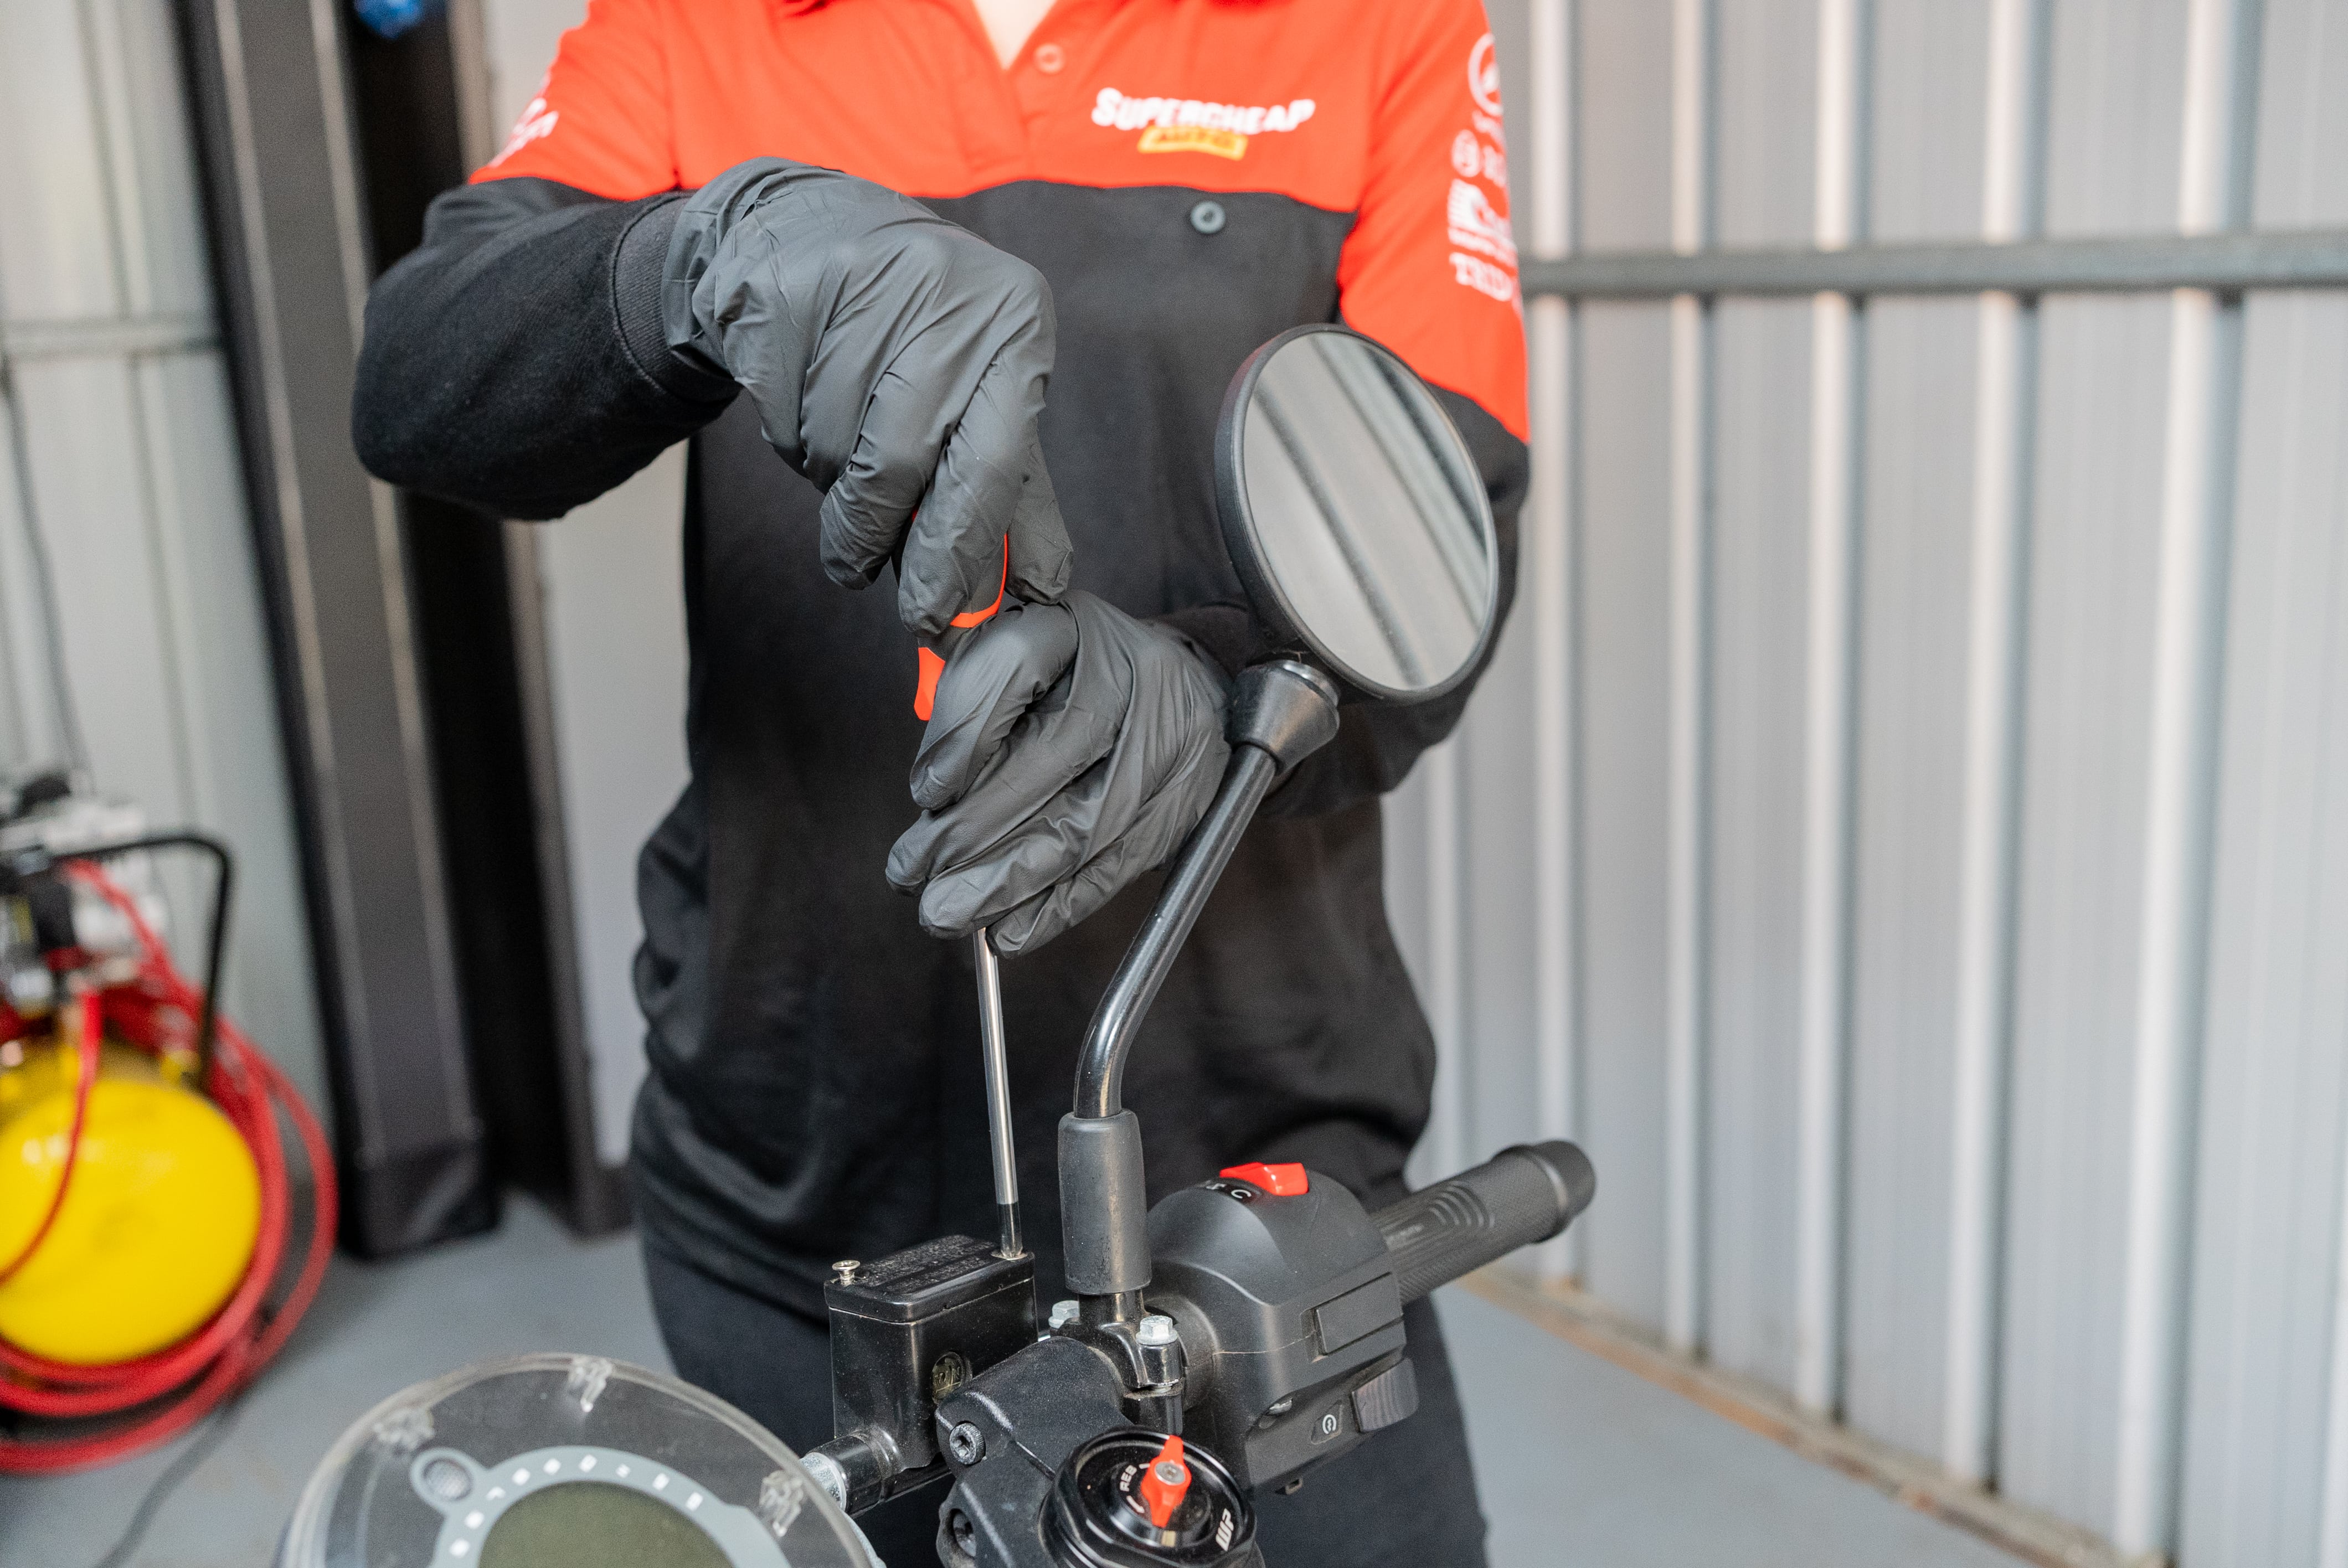
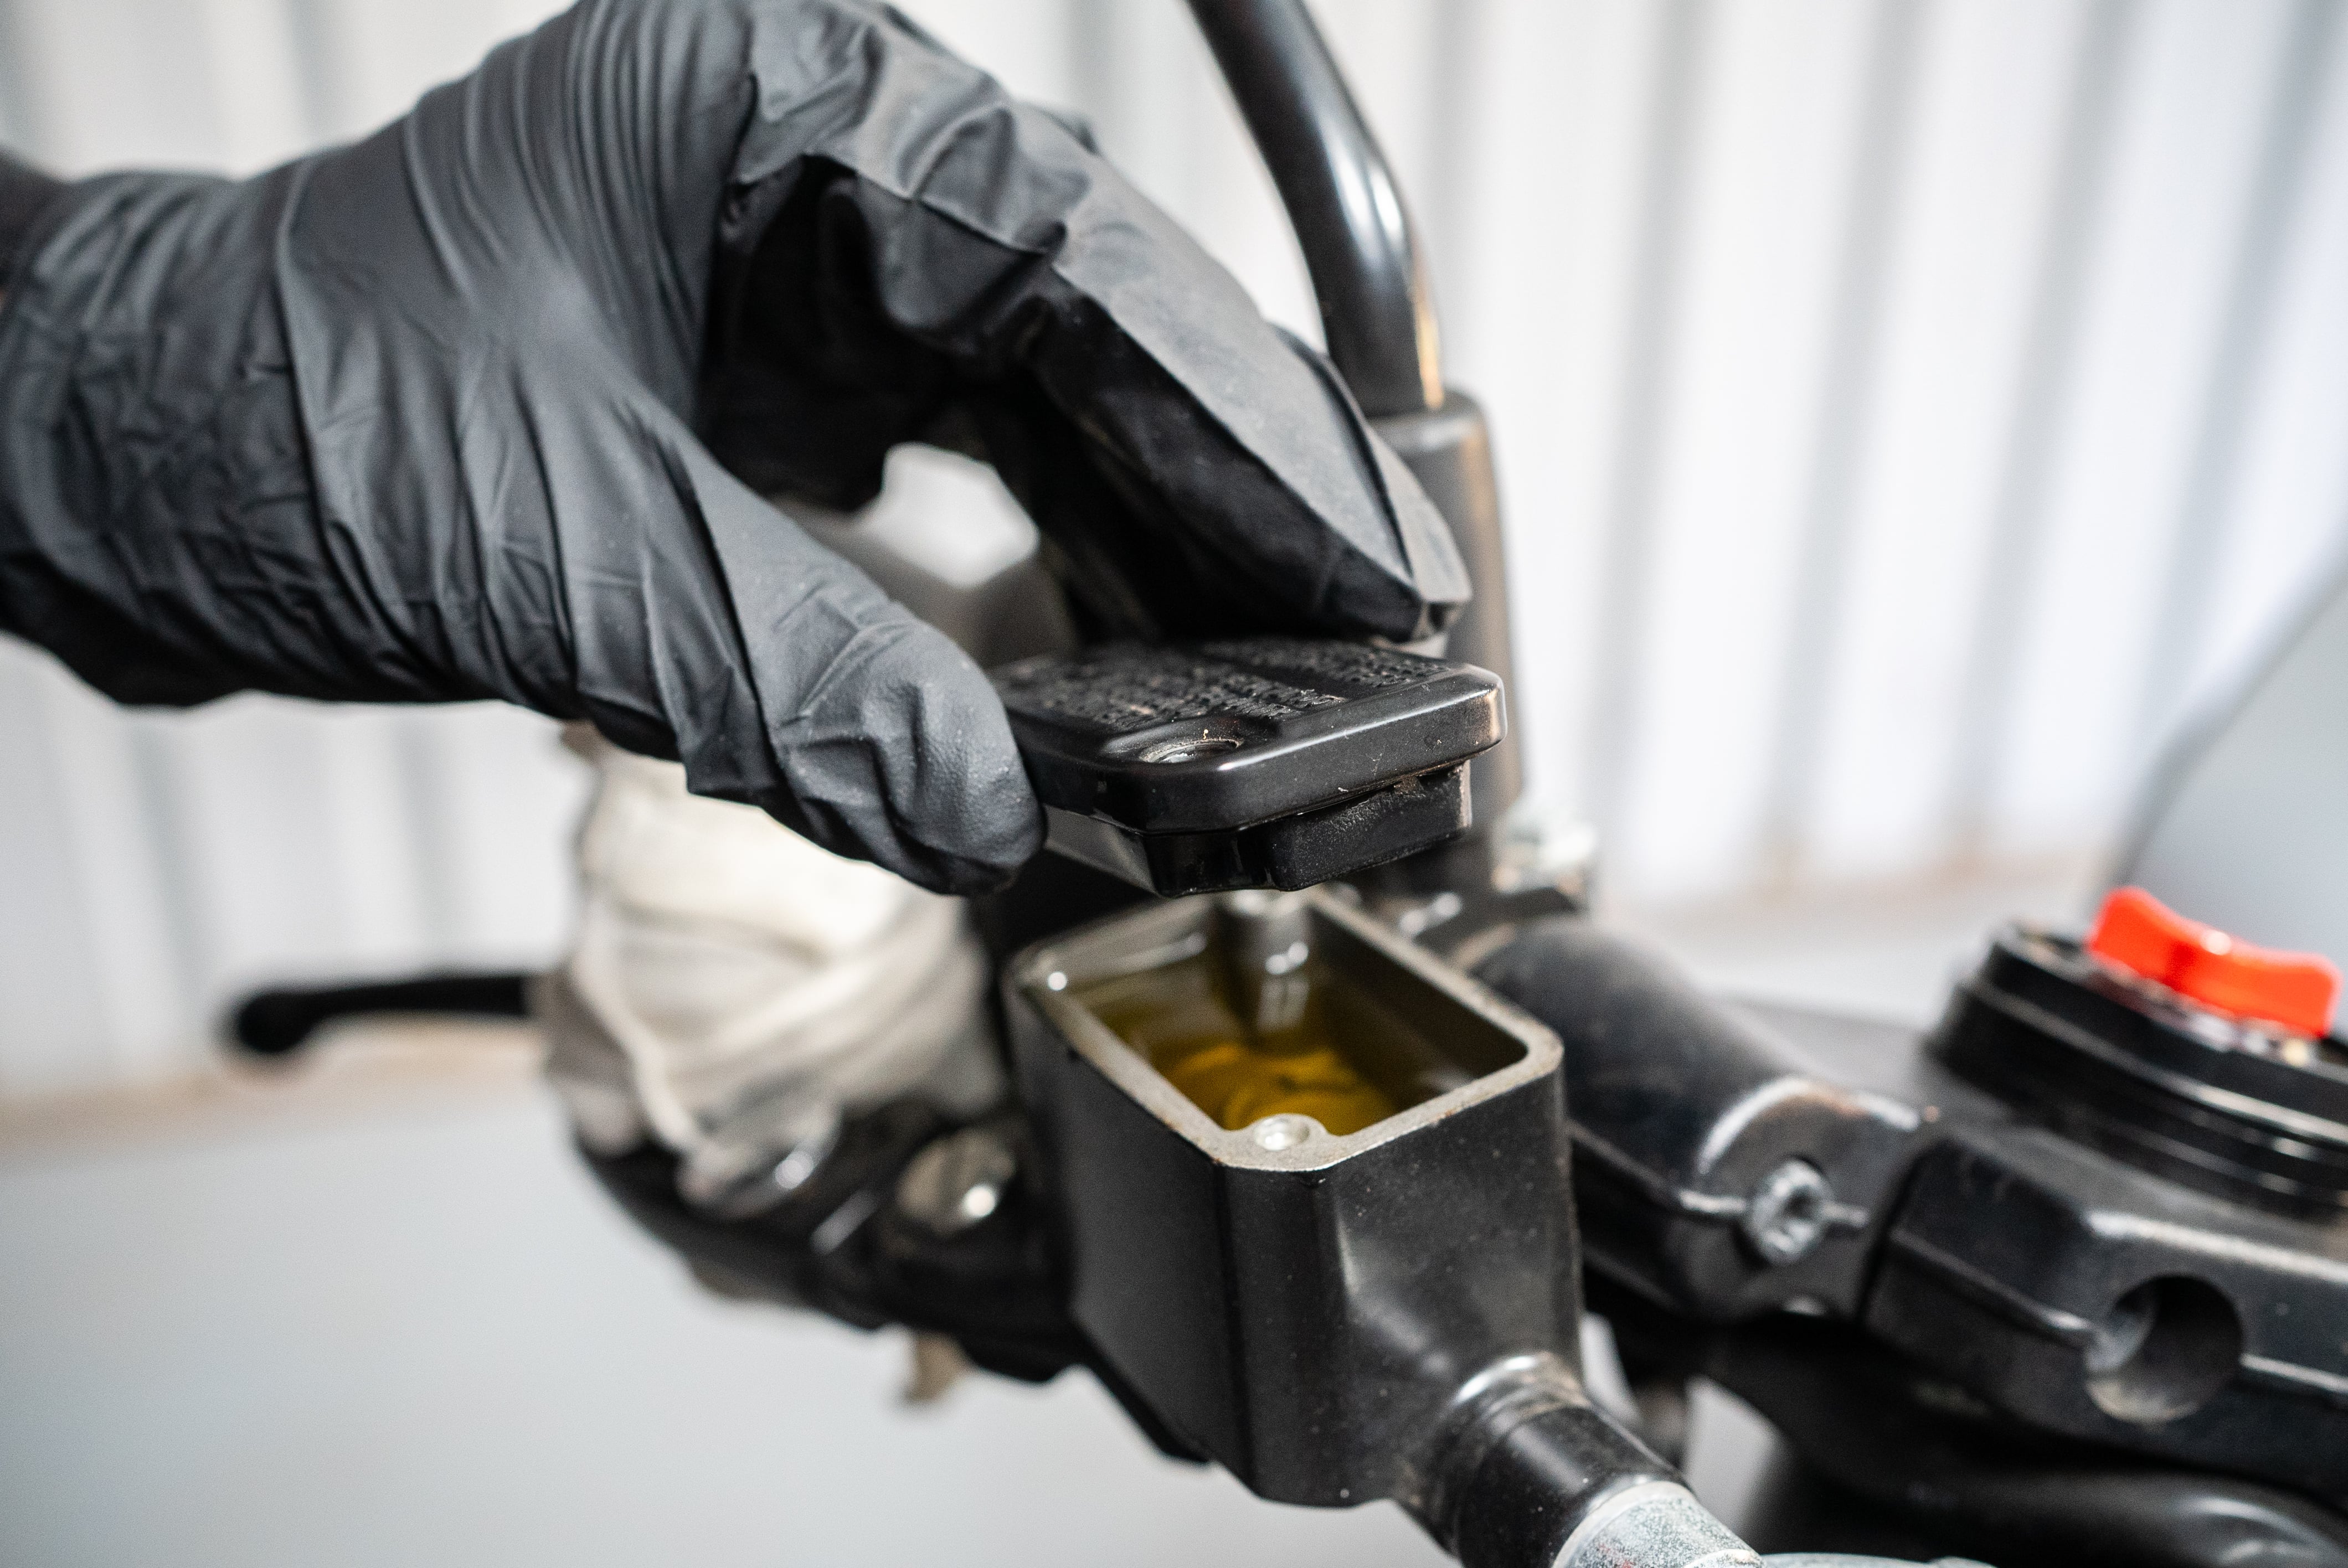
You may also like to wedge something behind the brake pedal or lever. It is important that they are not depressed during the brake job.
STEP 2: Remove the motorcycle brake pads
On some motorcycles, the brake pads can be removed with the caliper still in place. There will be pins, screws, or bolts retaining the pad, and possibly a locating spring. Remove these and the brake pads simply slide out of the caliper.
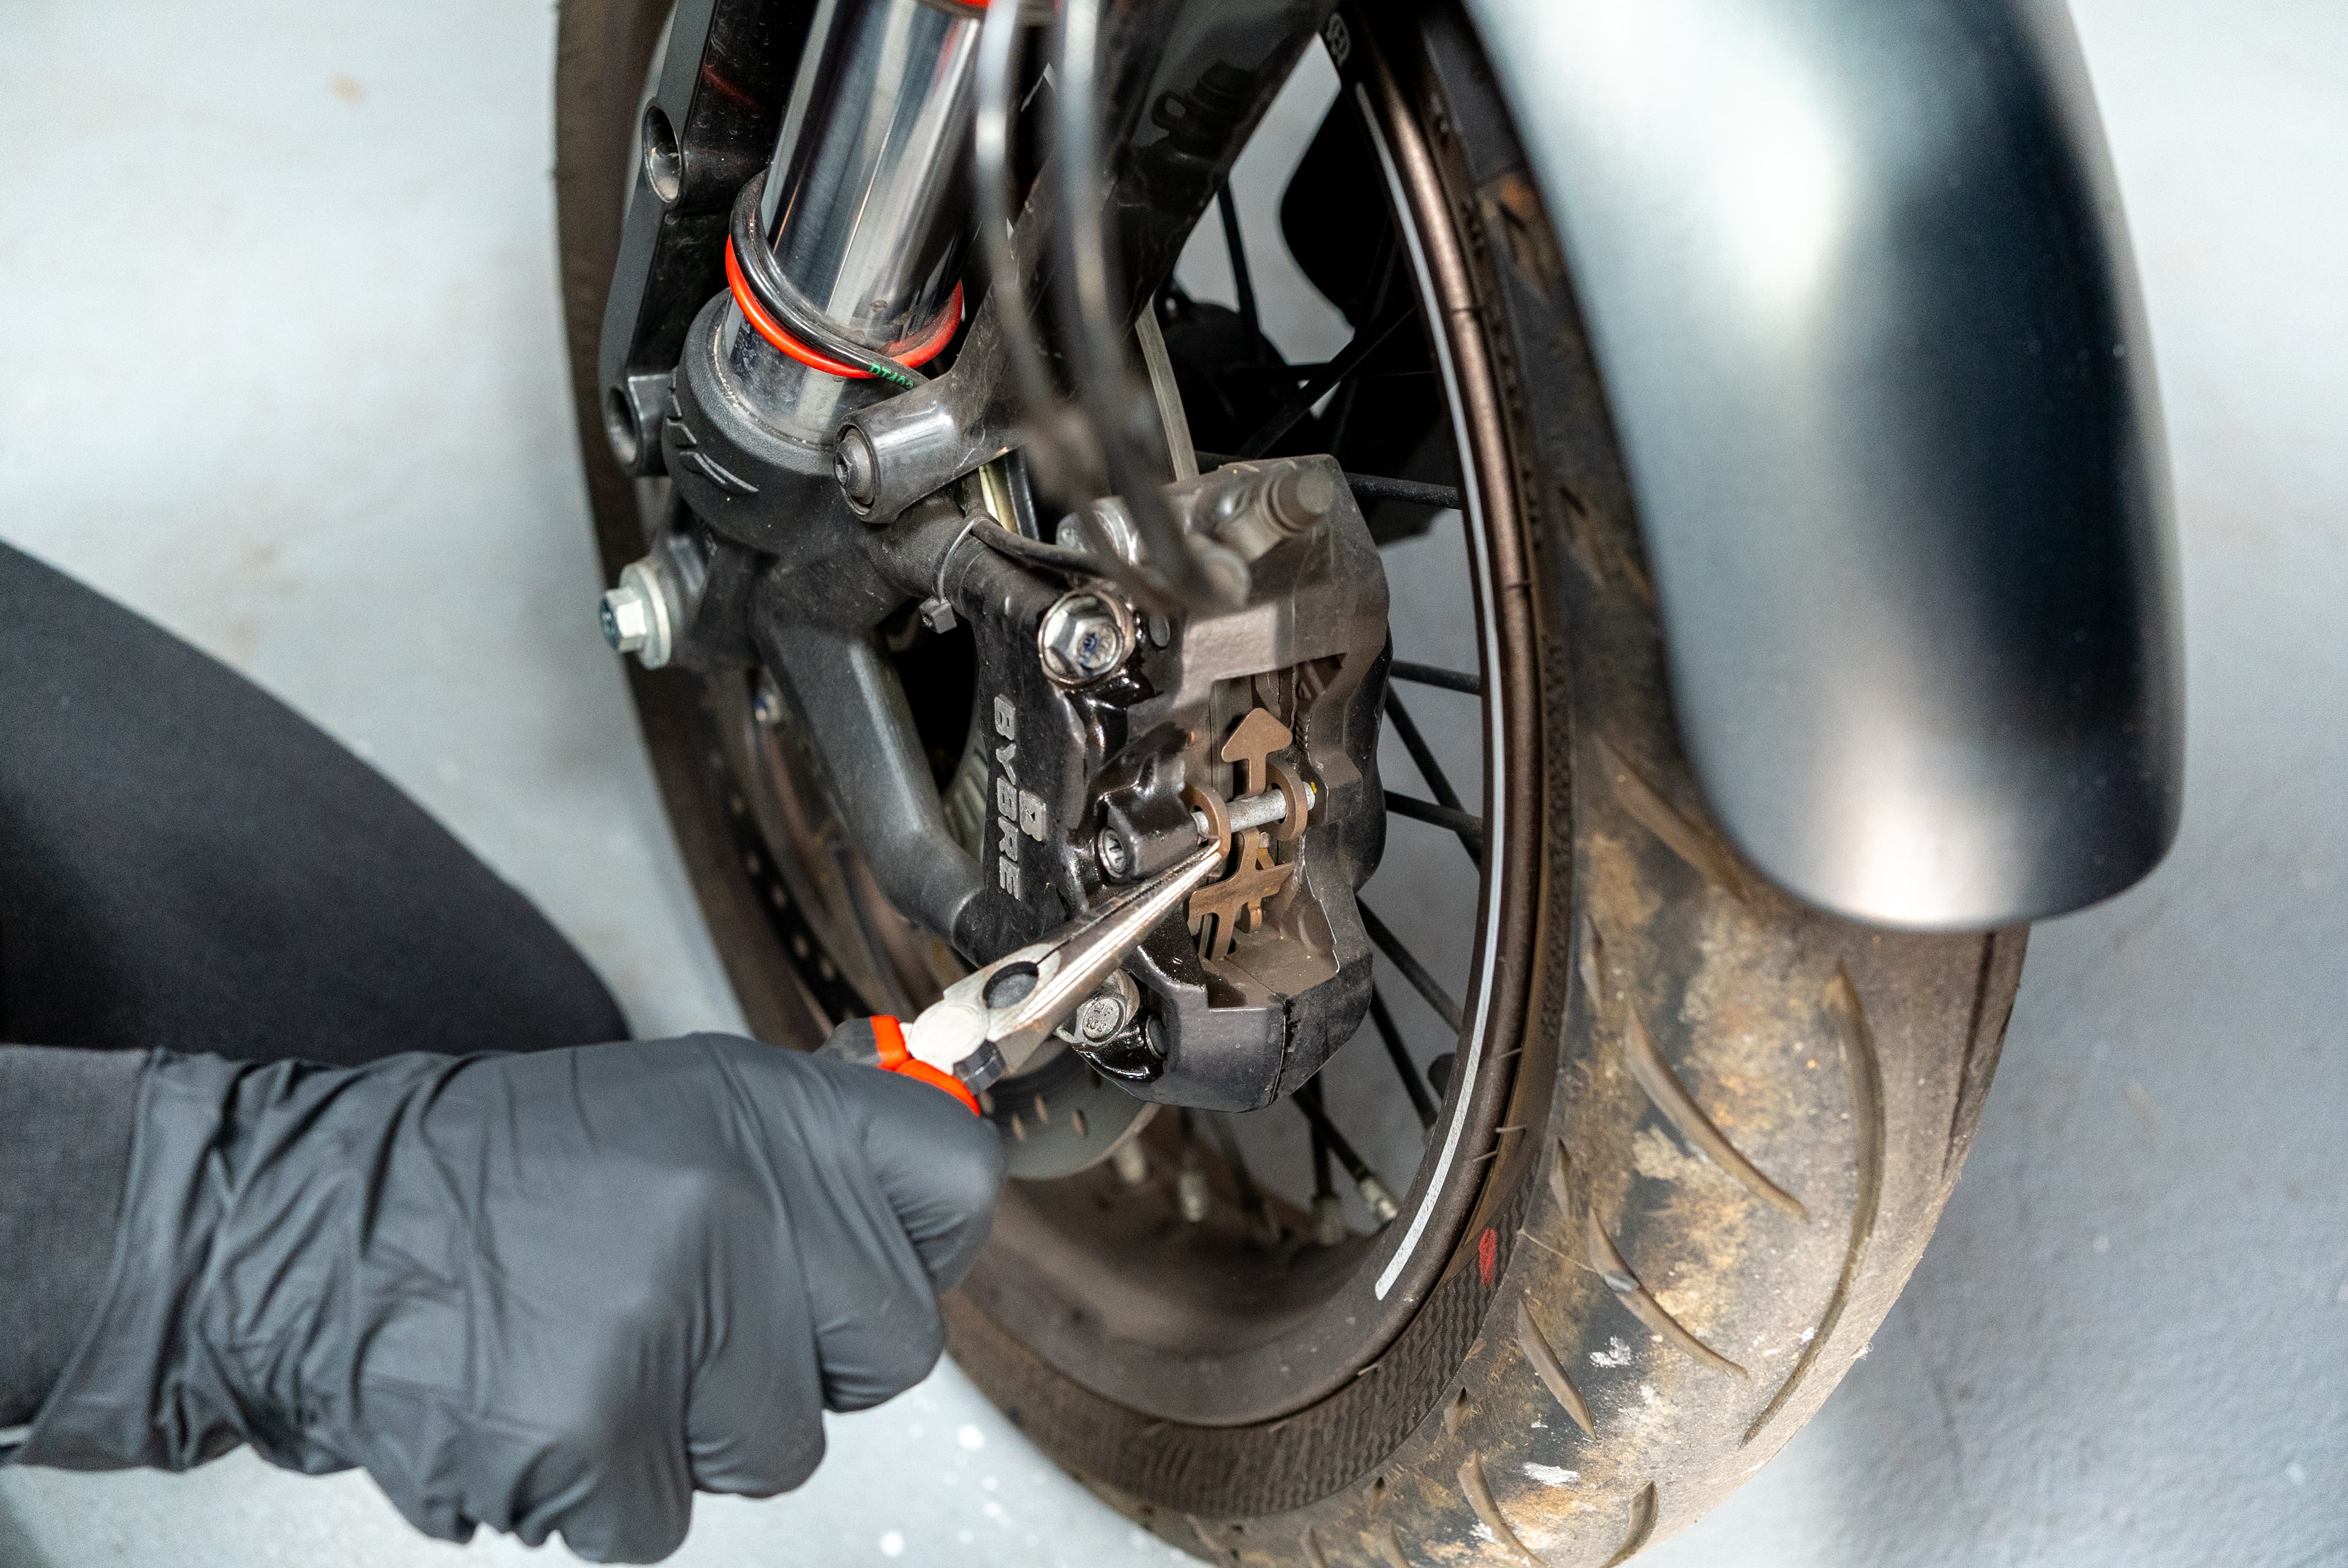
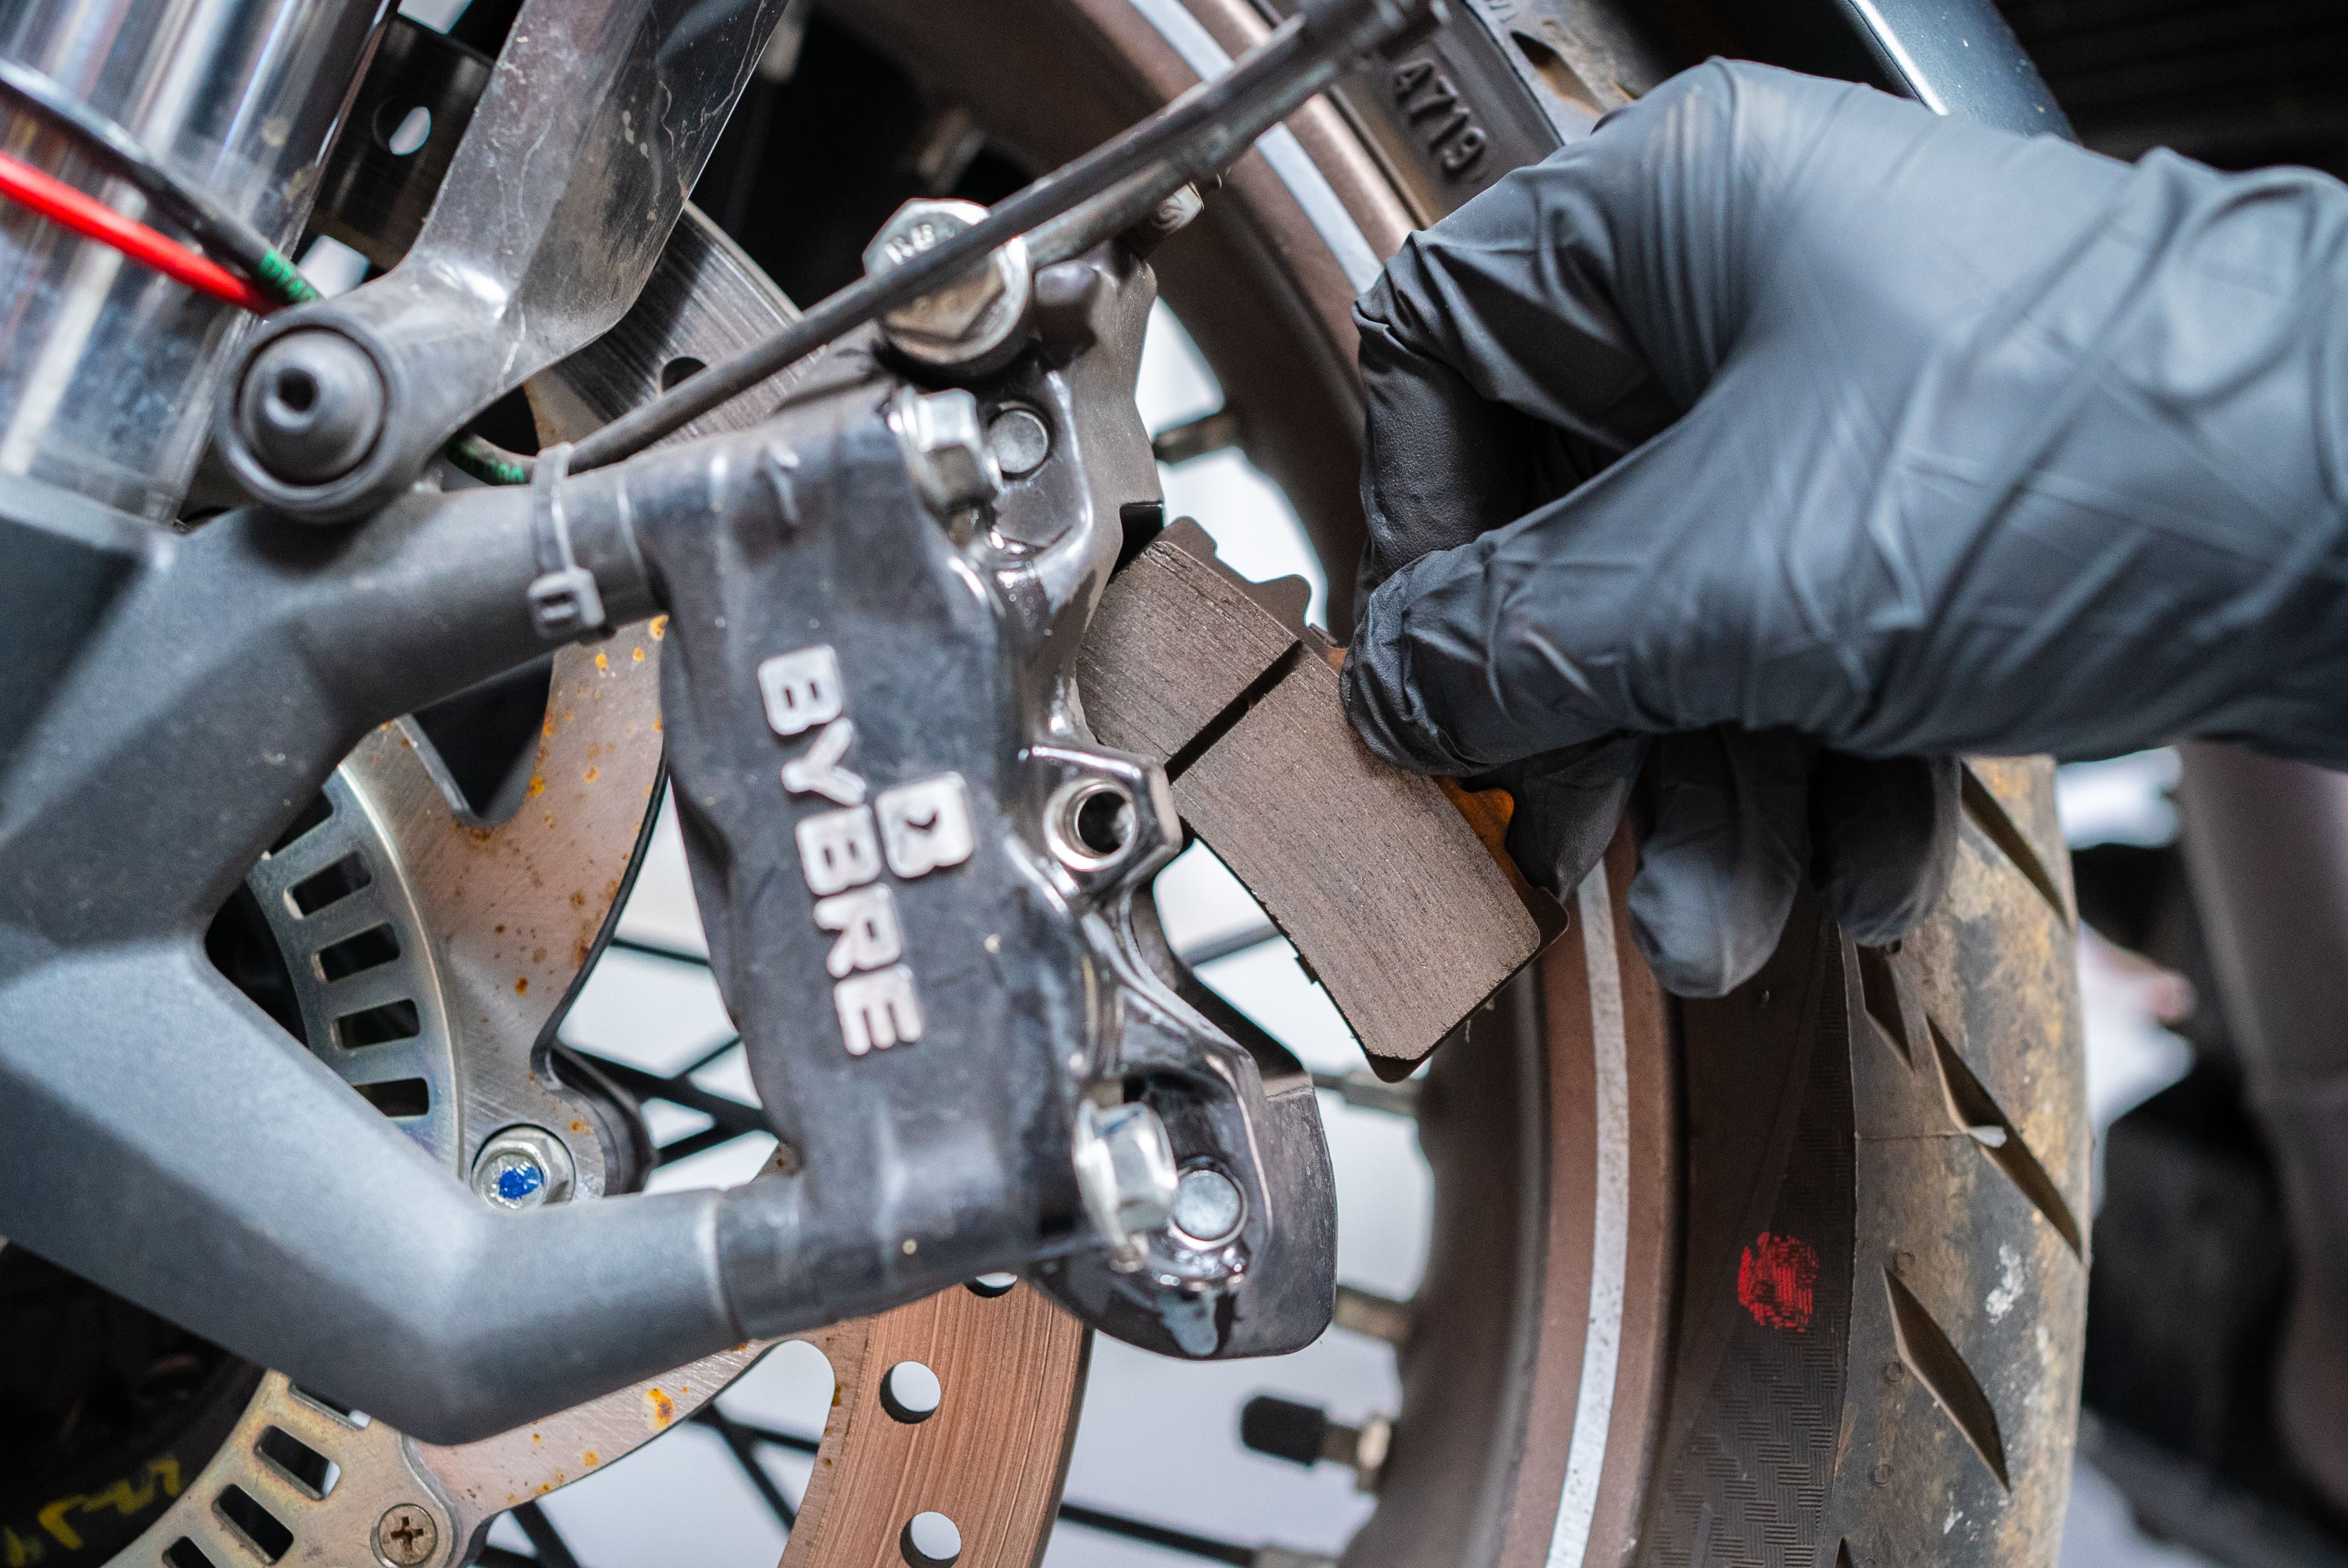
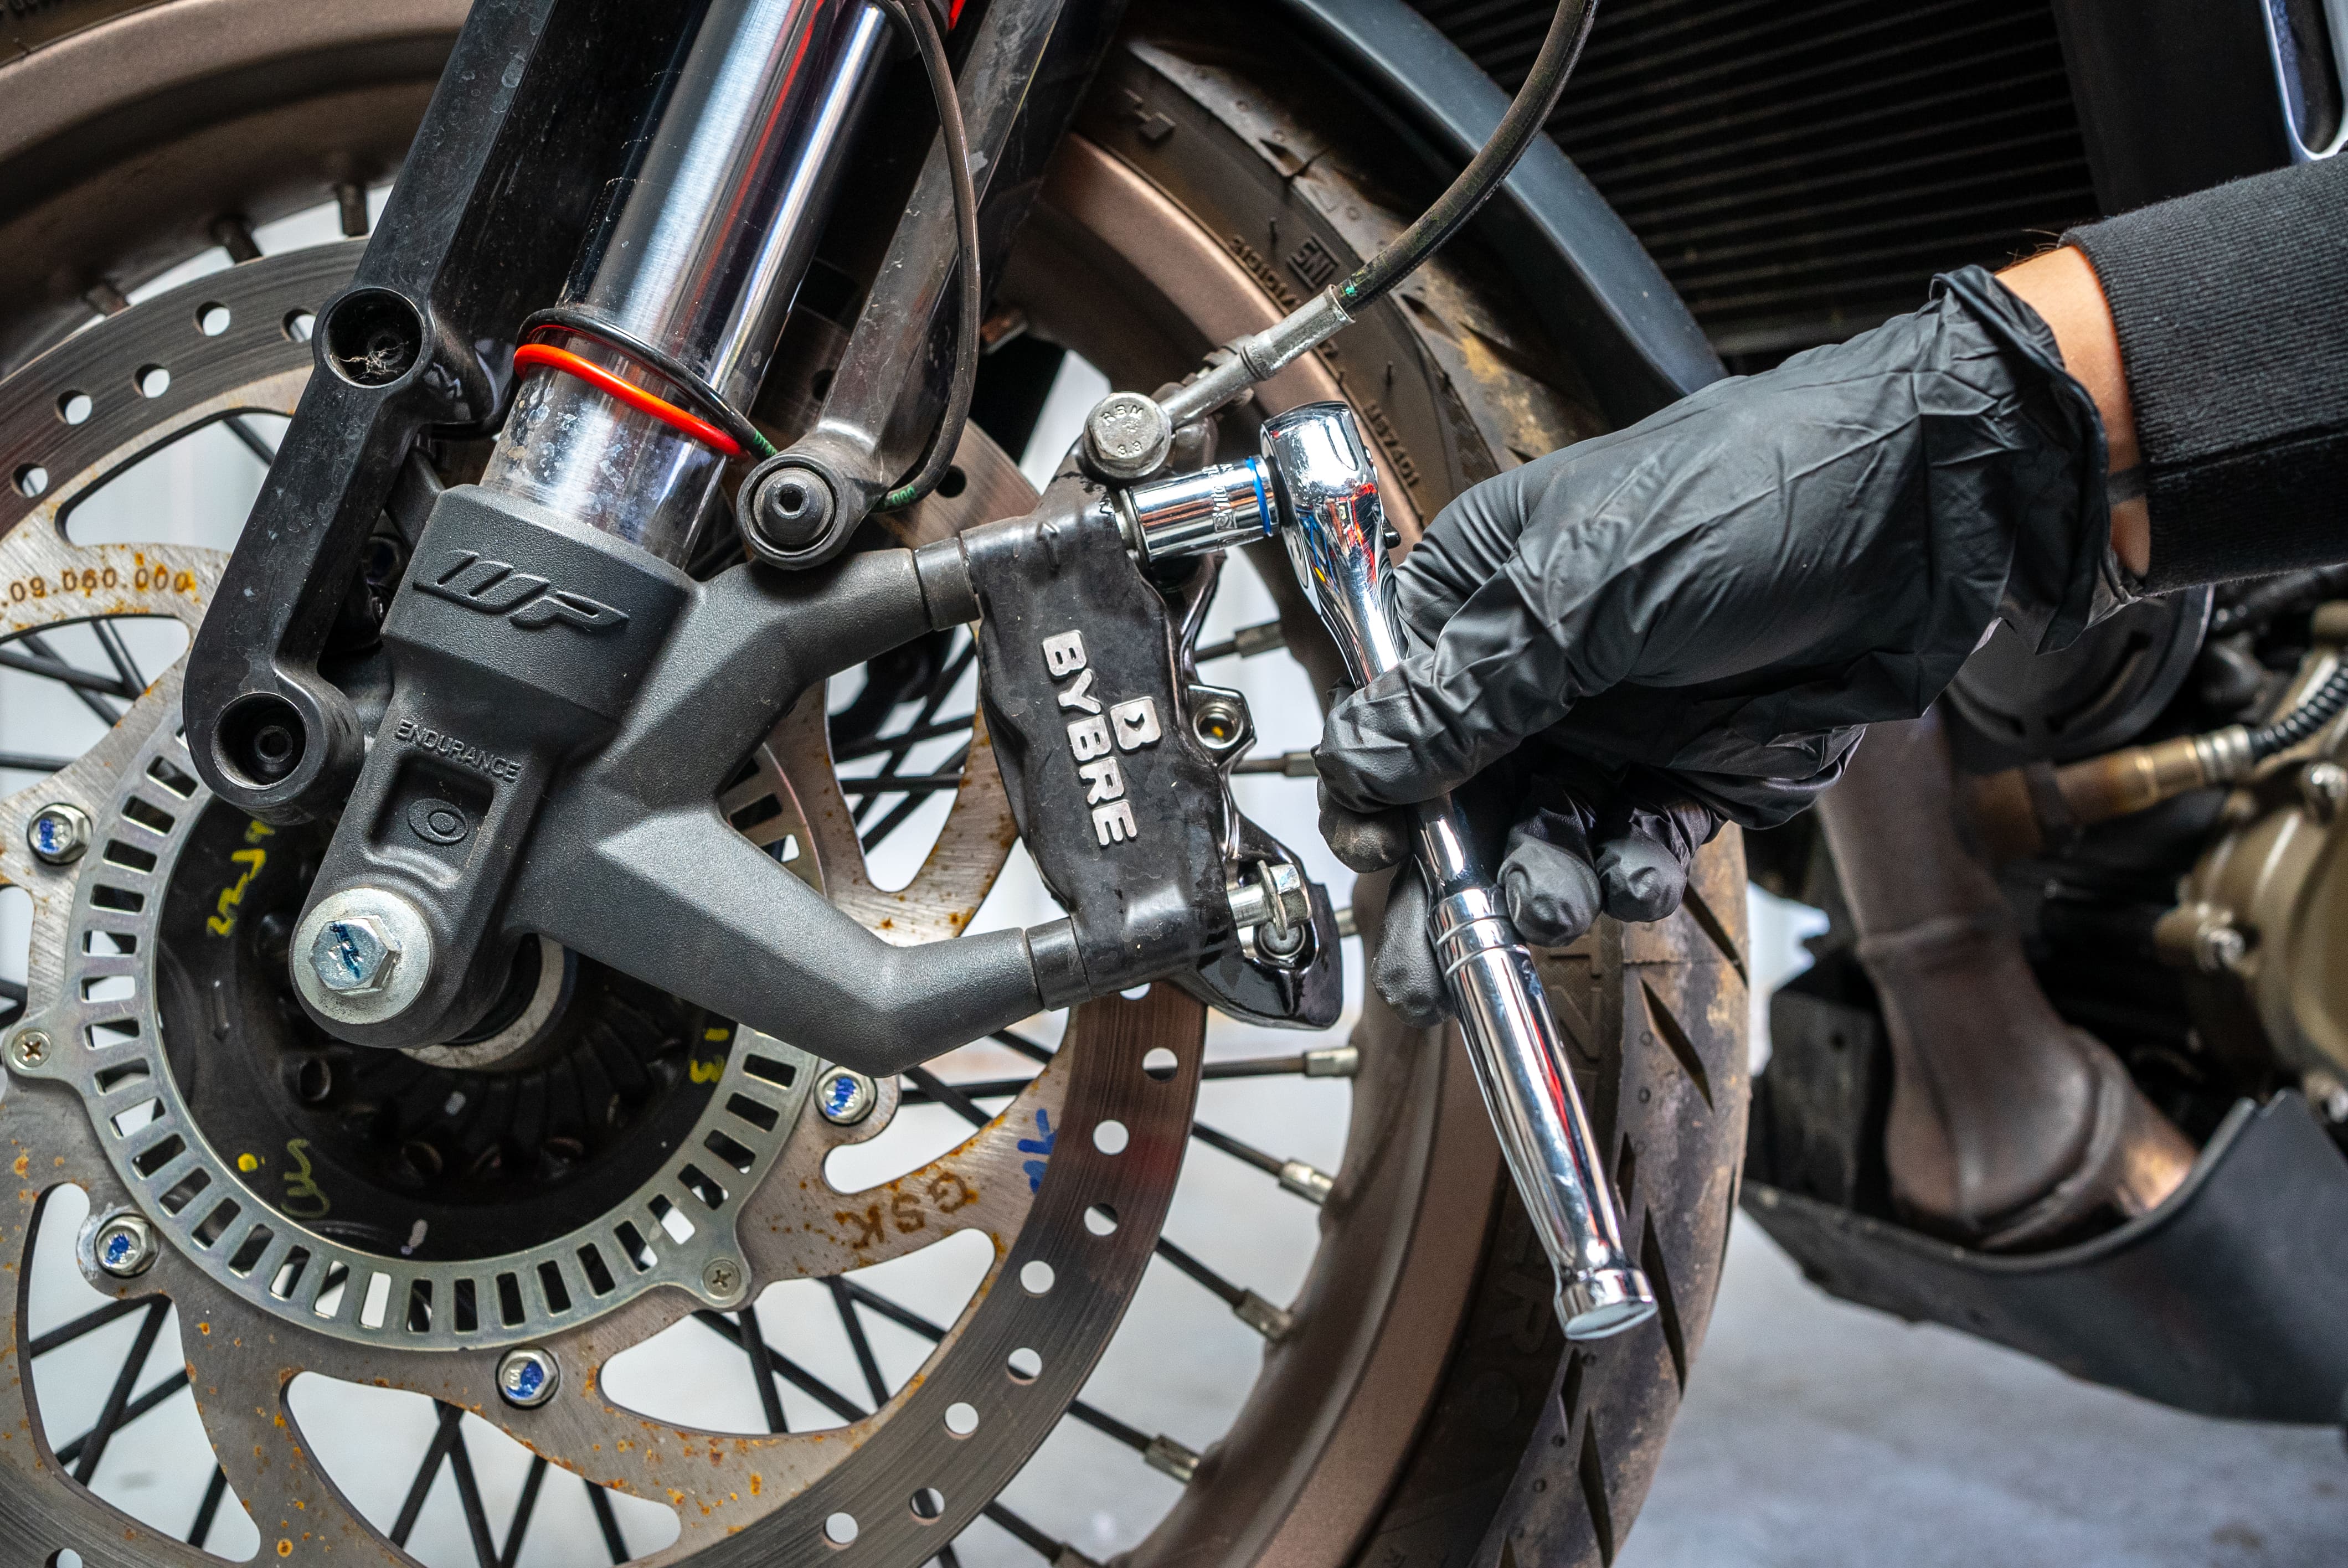
Other motorcycles will need the caliper removed entirely. This is best practise anyway, even if your pads can be changed with it in place as it allows for better inspection and cleaning of all the braking components.
Removing the caliper is a simple matter of removing the bolts holding it in place. Usually there are only two, but this will differ between bikes. As you pull the caliper away, be wary of any loose parts and take note of where they go. You may like to take a few photos to help with assembly later.
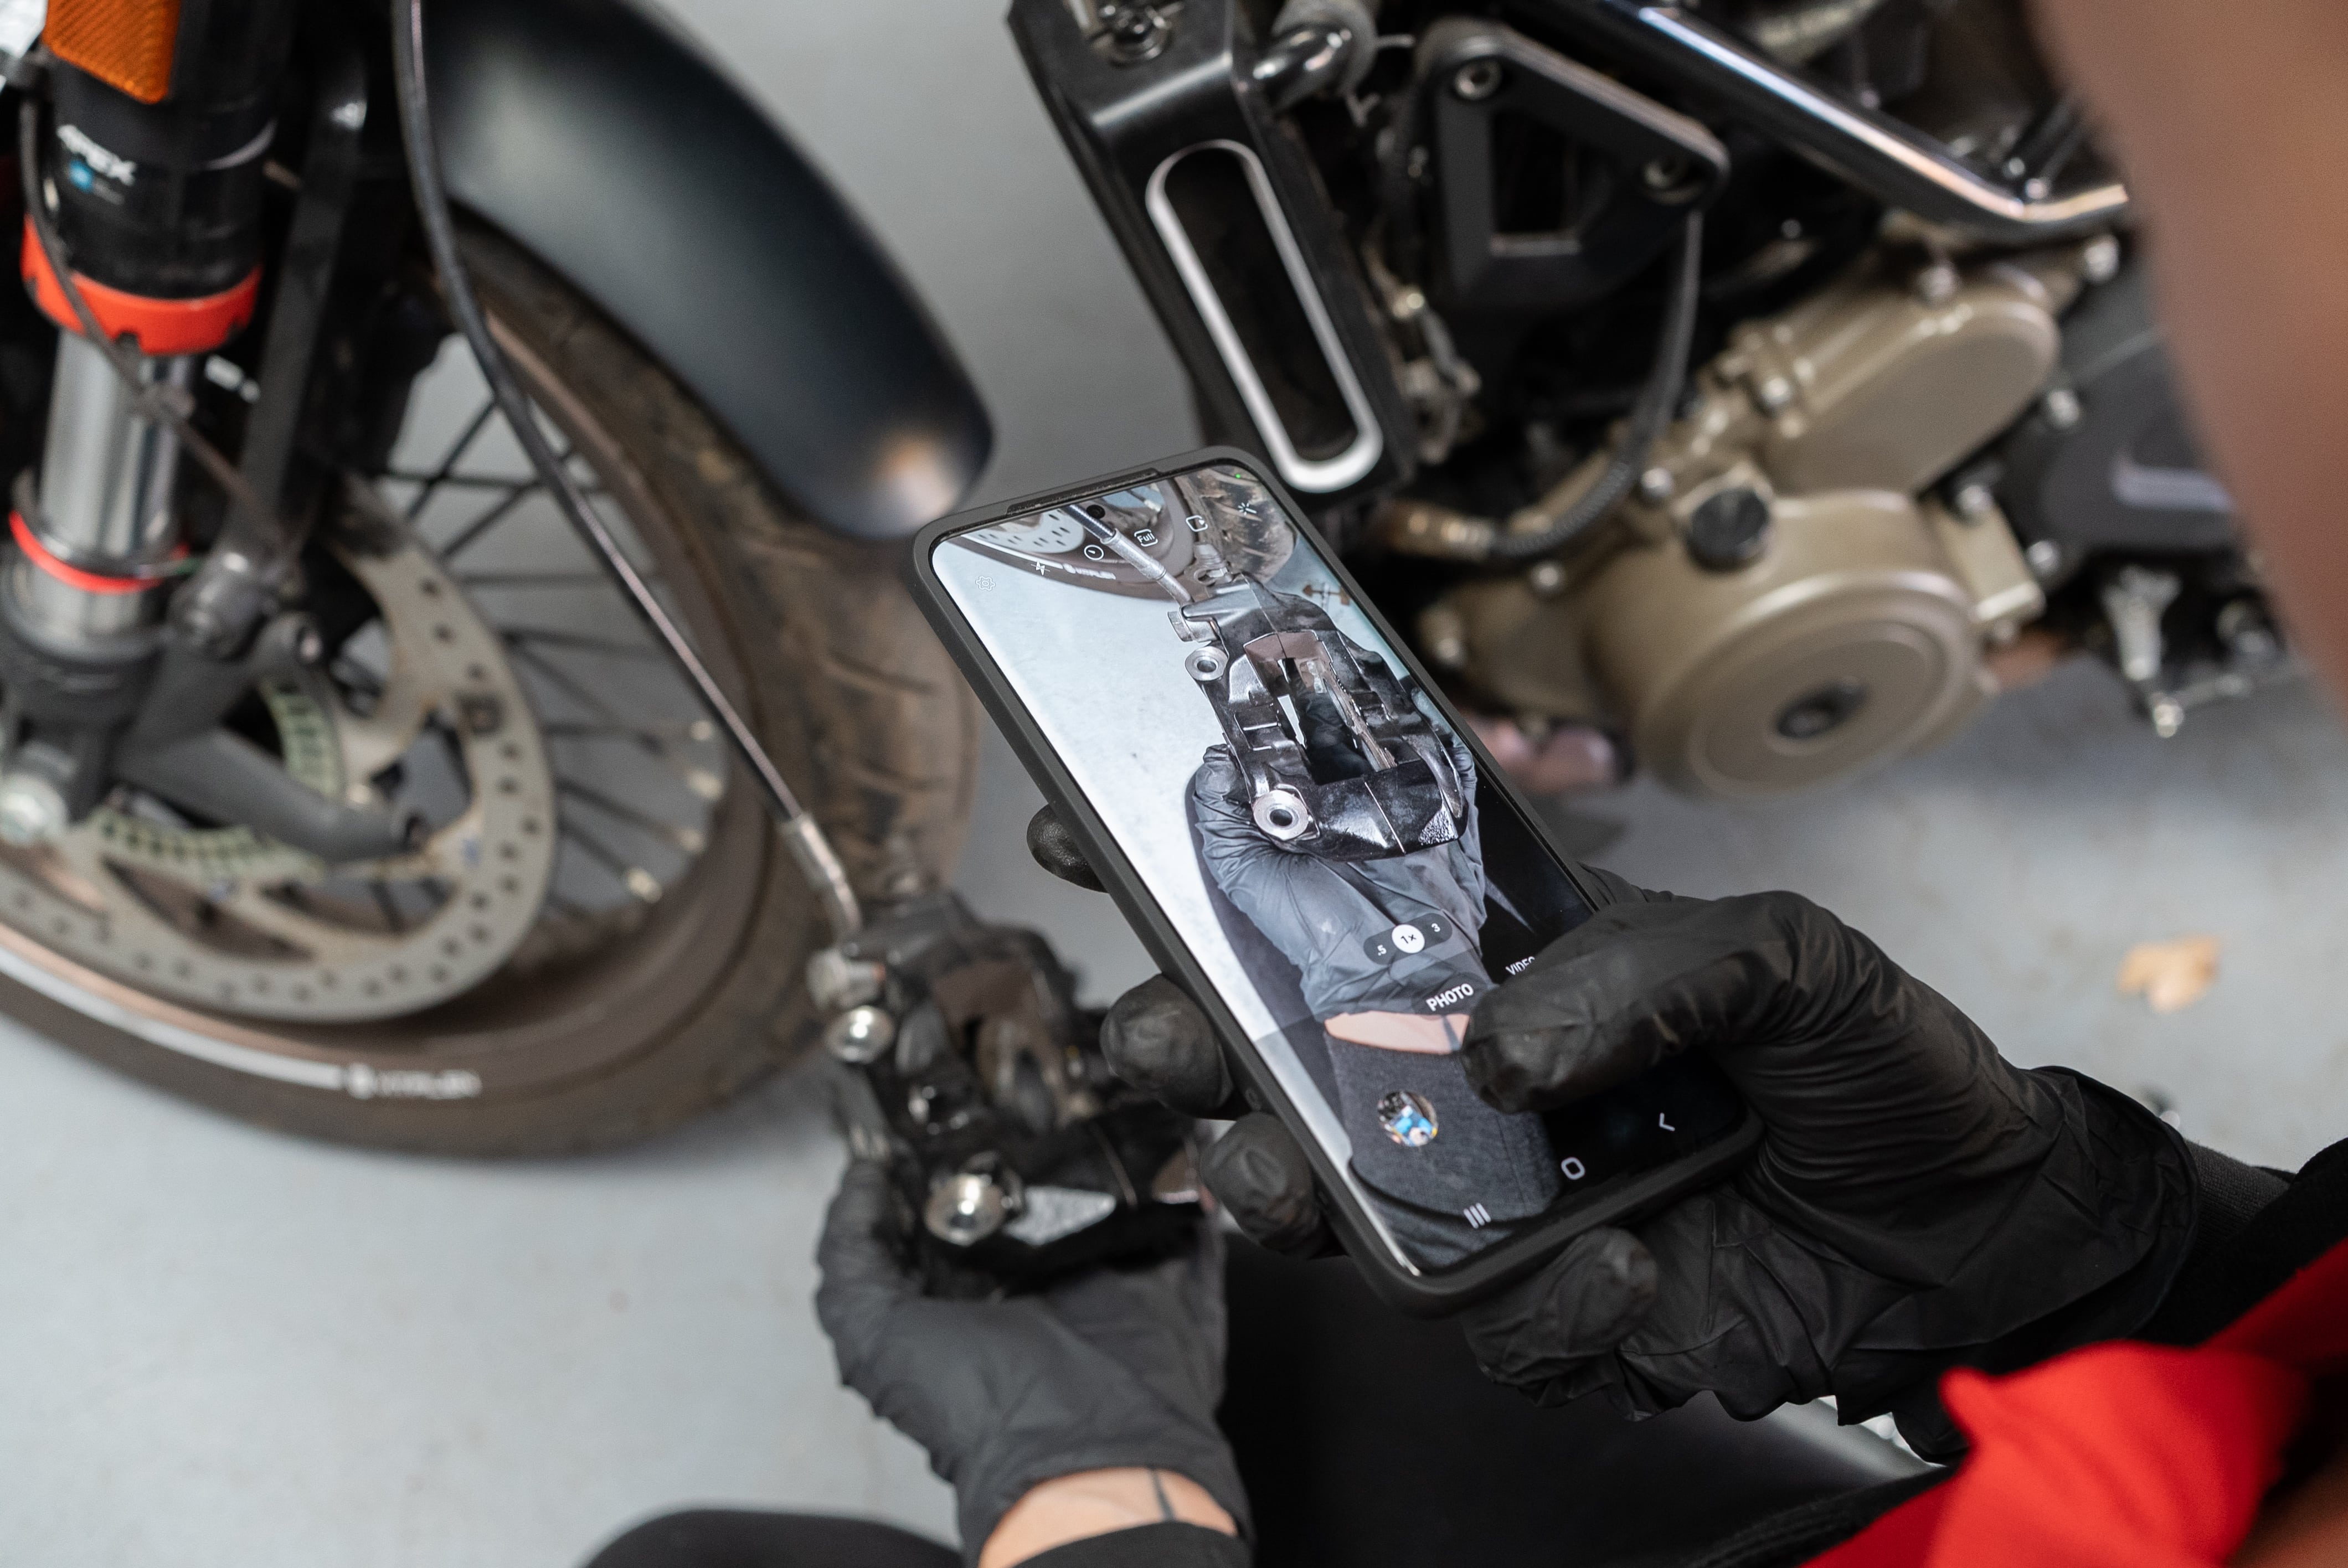
Finally.the loose caliper should be suspended from a wire to avoid straining the brake hose.
STEP 3: Prepare for new brake pads
The old brake pads can tell you of any issues within your braking system. One pad being thicker than the other could mean that a slide pin is stuck or has worn a flat spot. A pad that is thicker at the front or the back suggests that you may have a sticky or seized caliper.
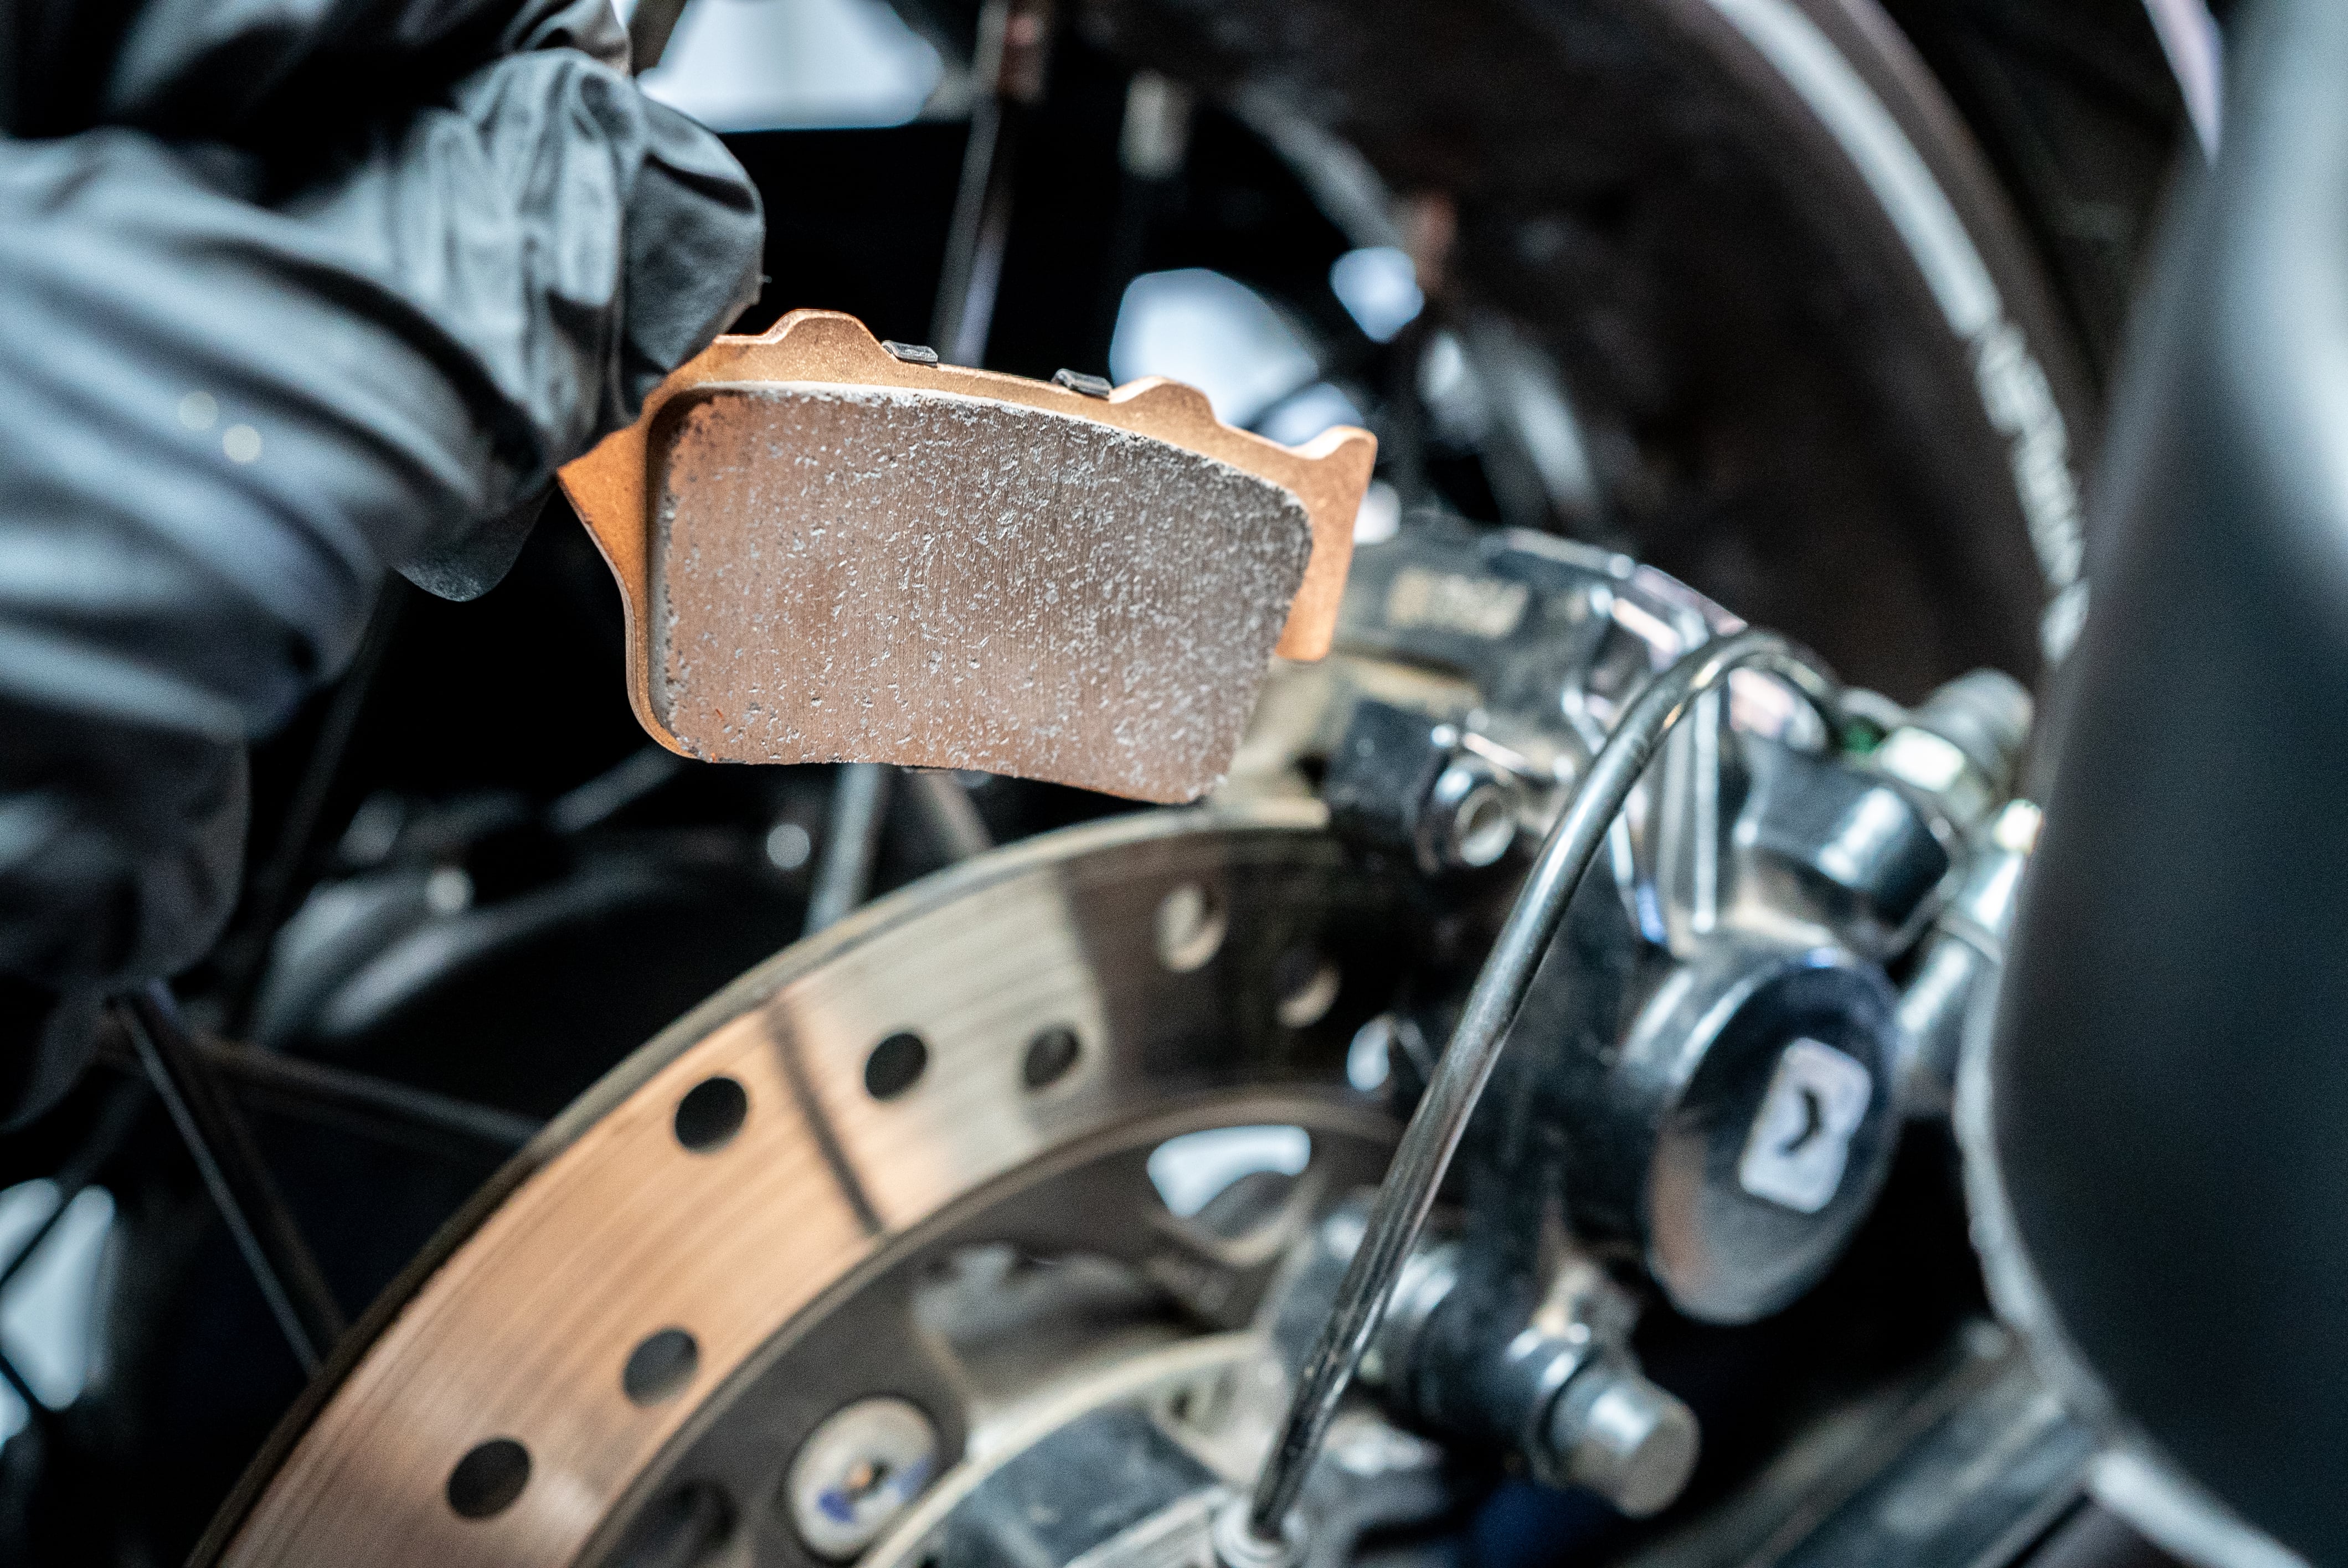
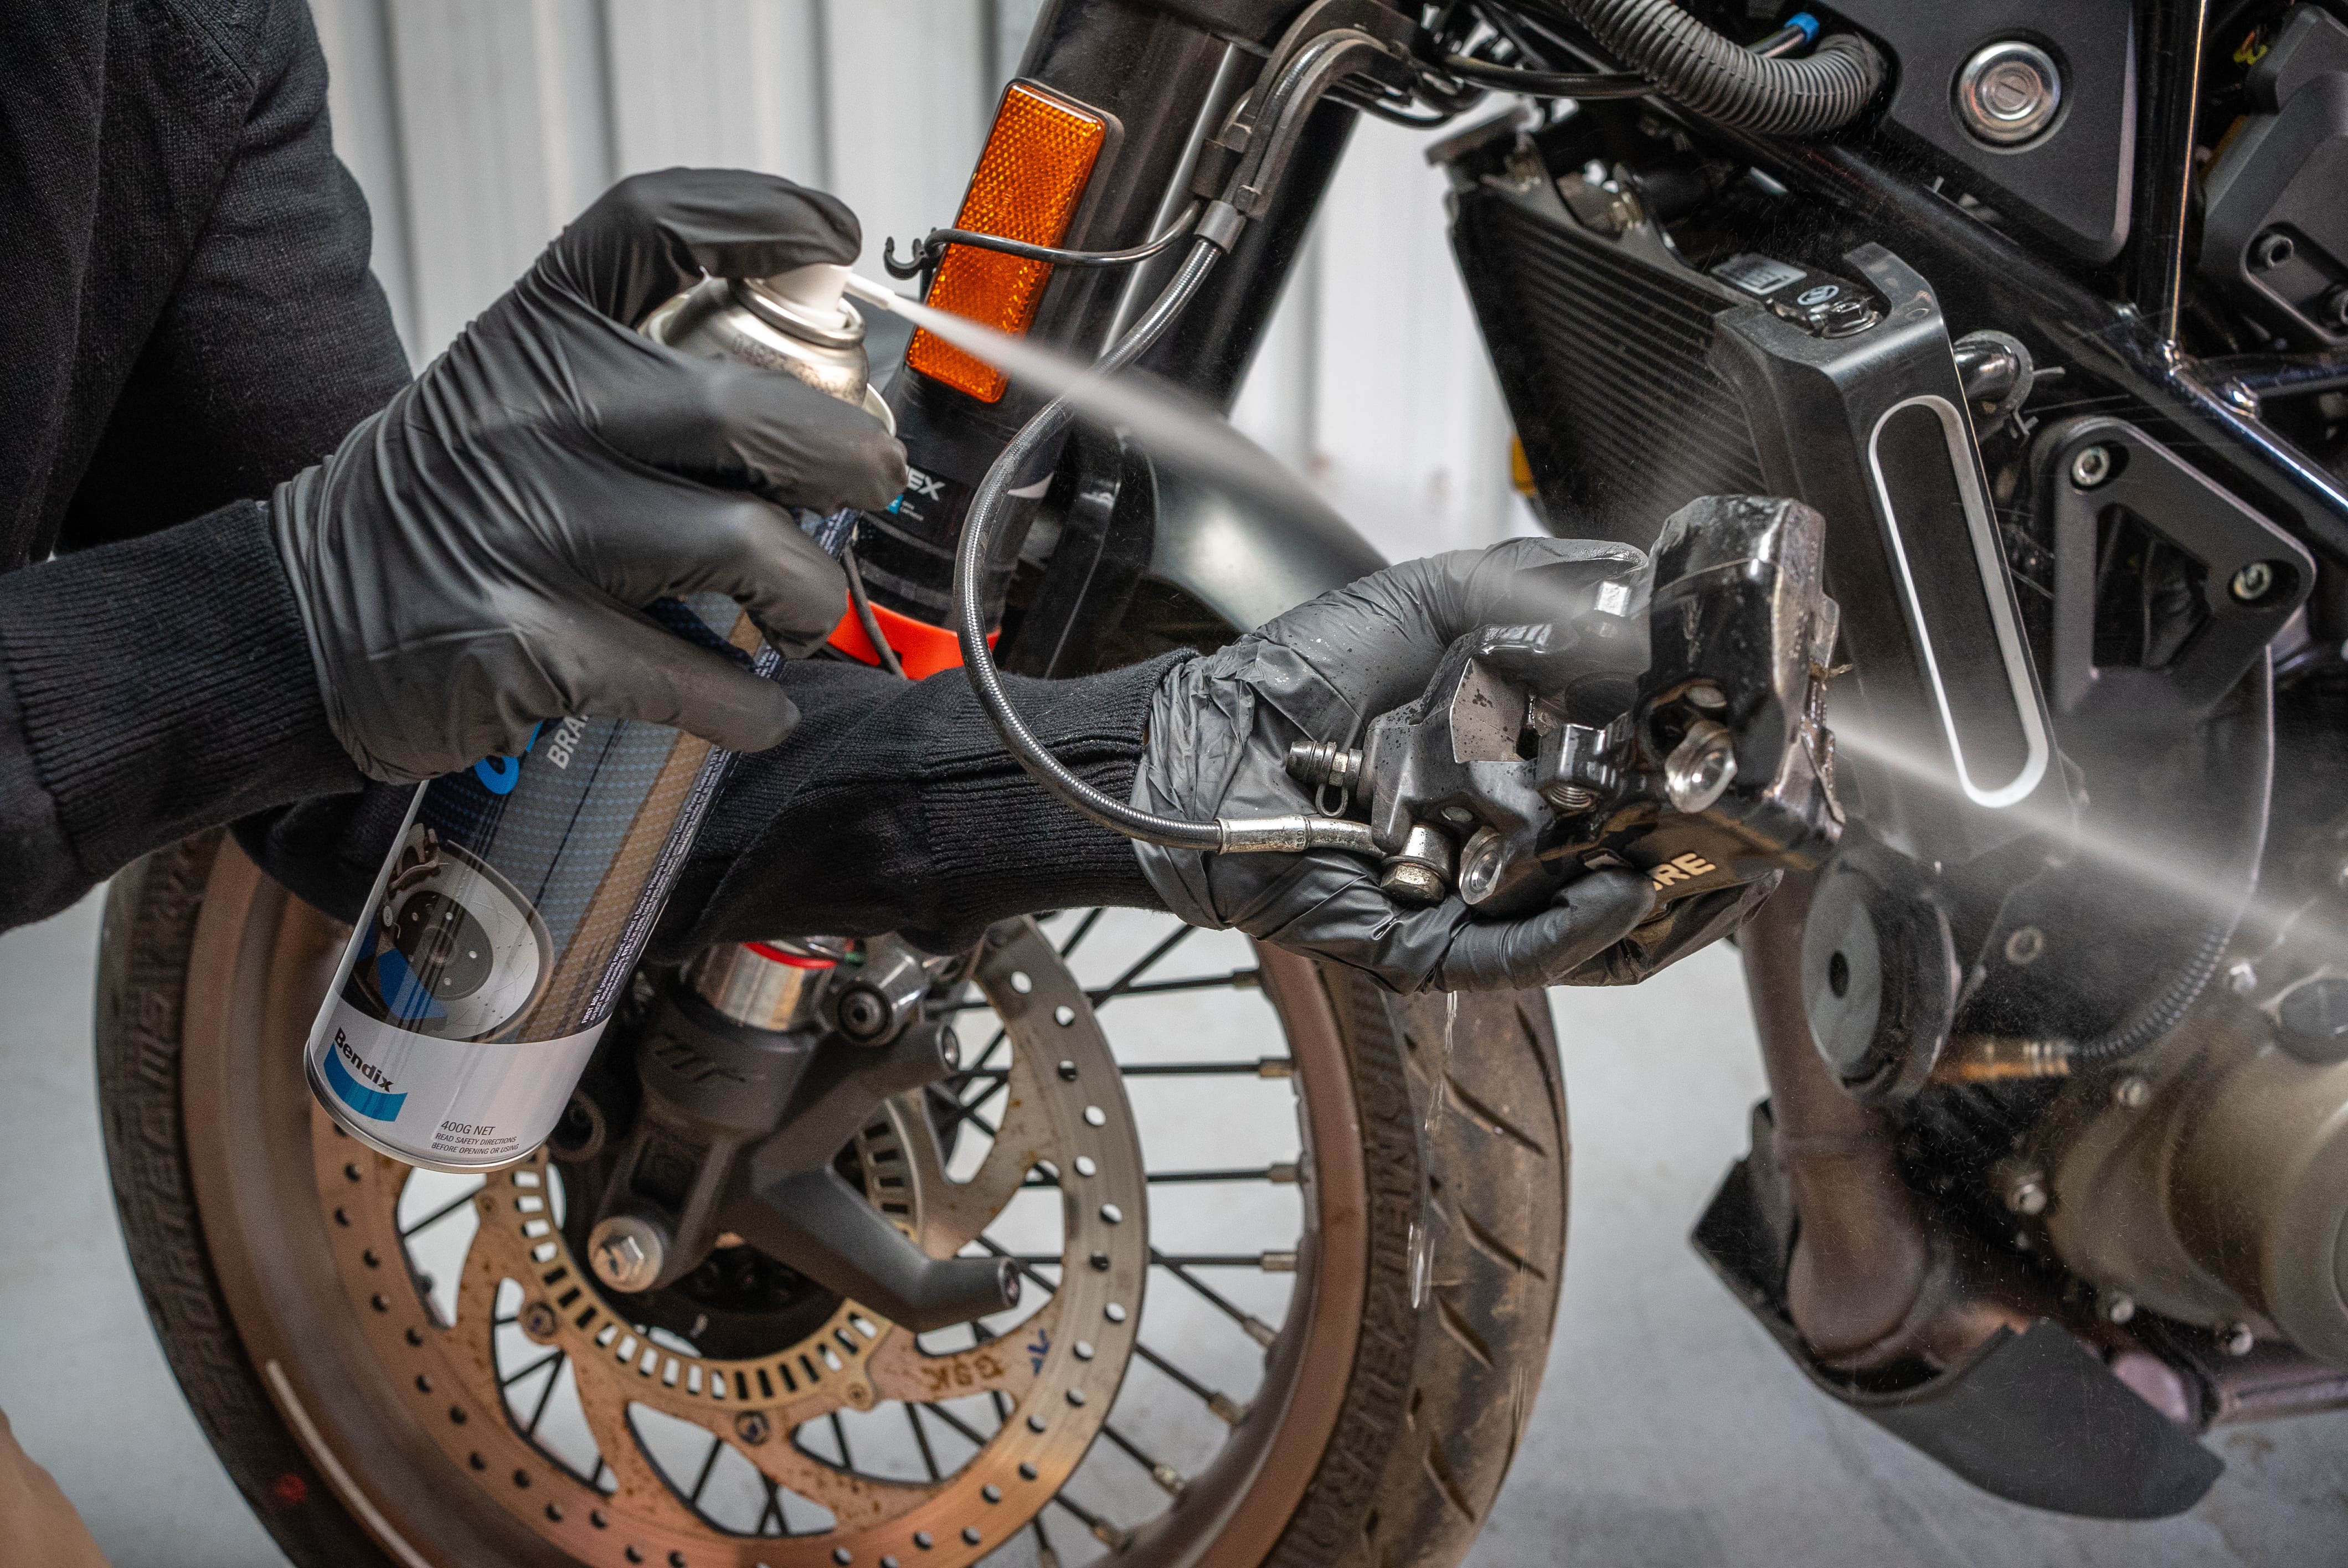
If everything is looking super, grab your can of brake cleaner and use your small brush to work over as much of the caliper as possible. Pay close attention to remove old lubricant, dirt, and brake dust.
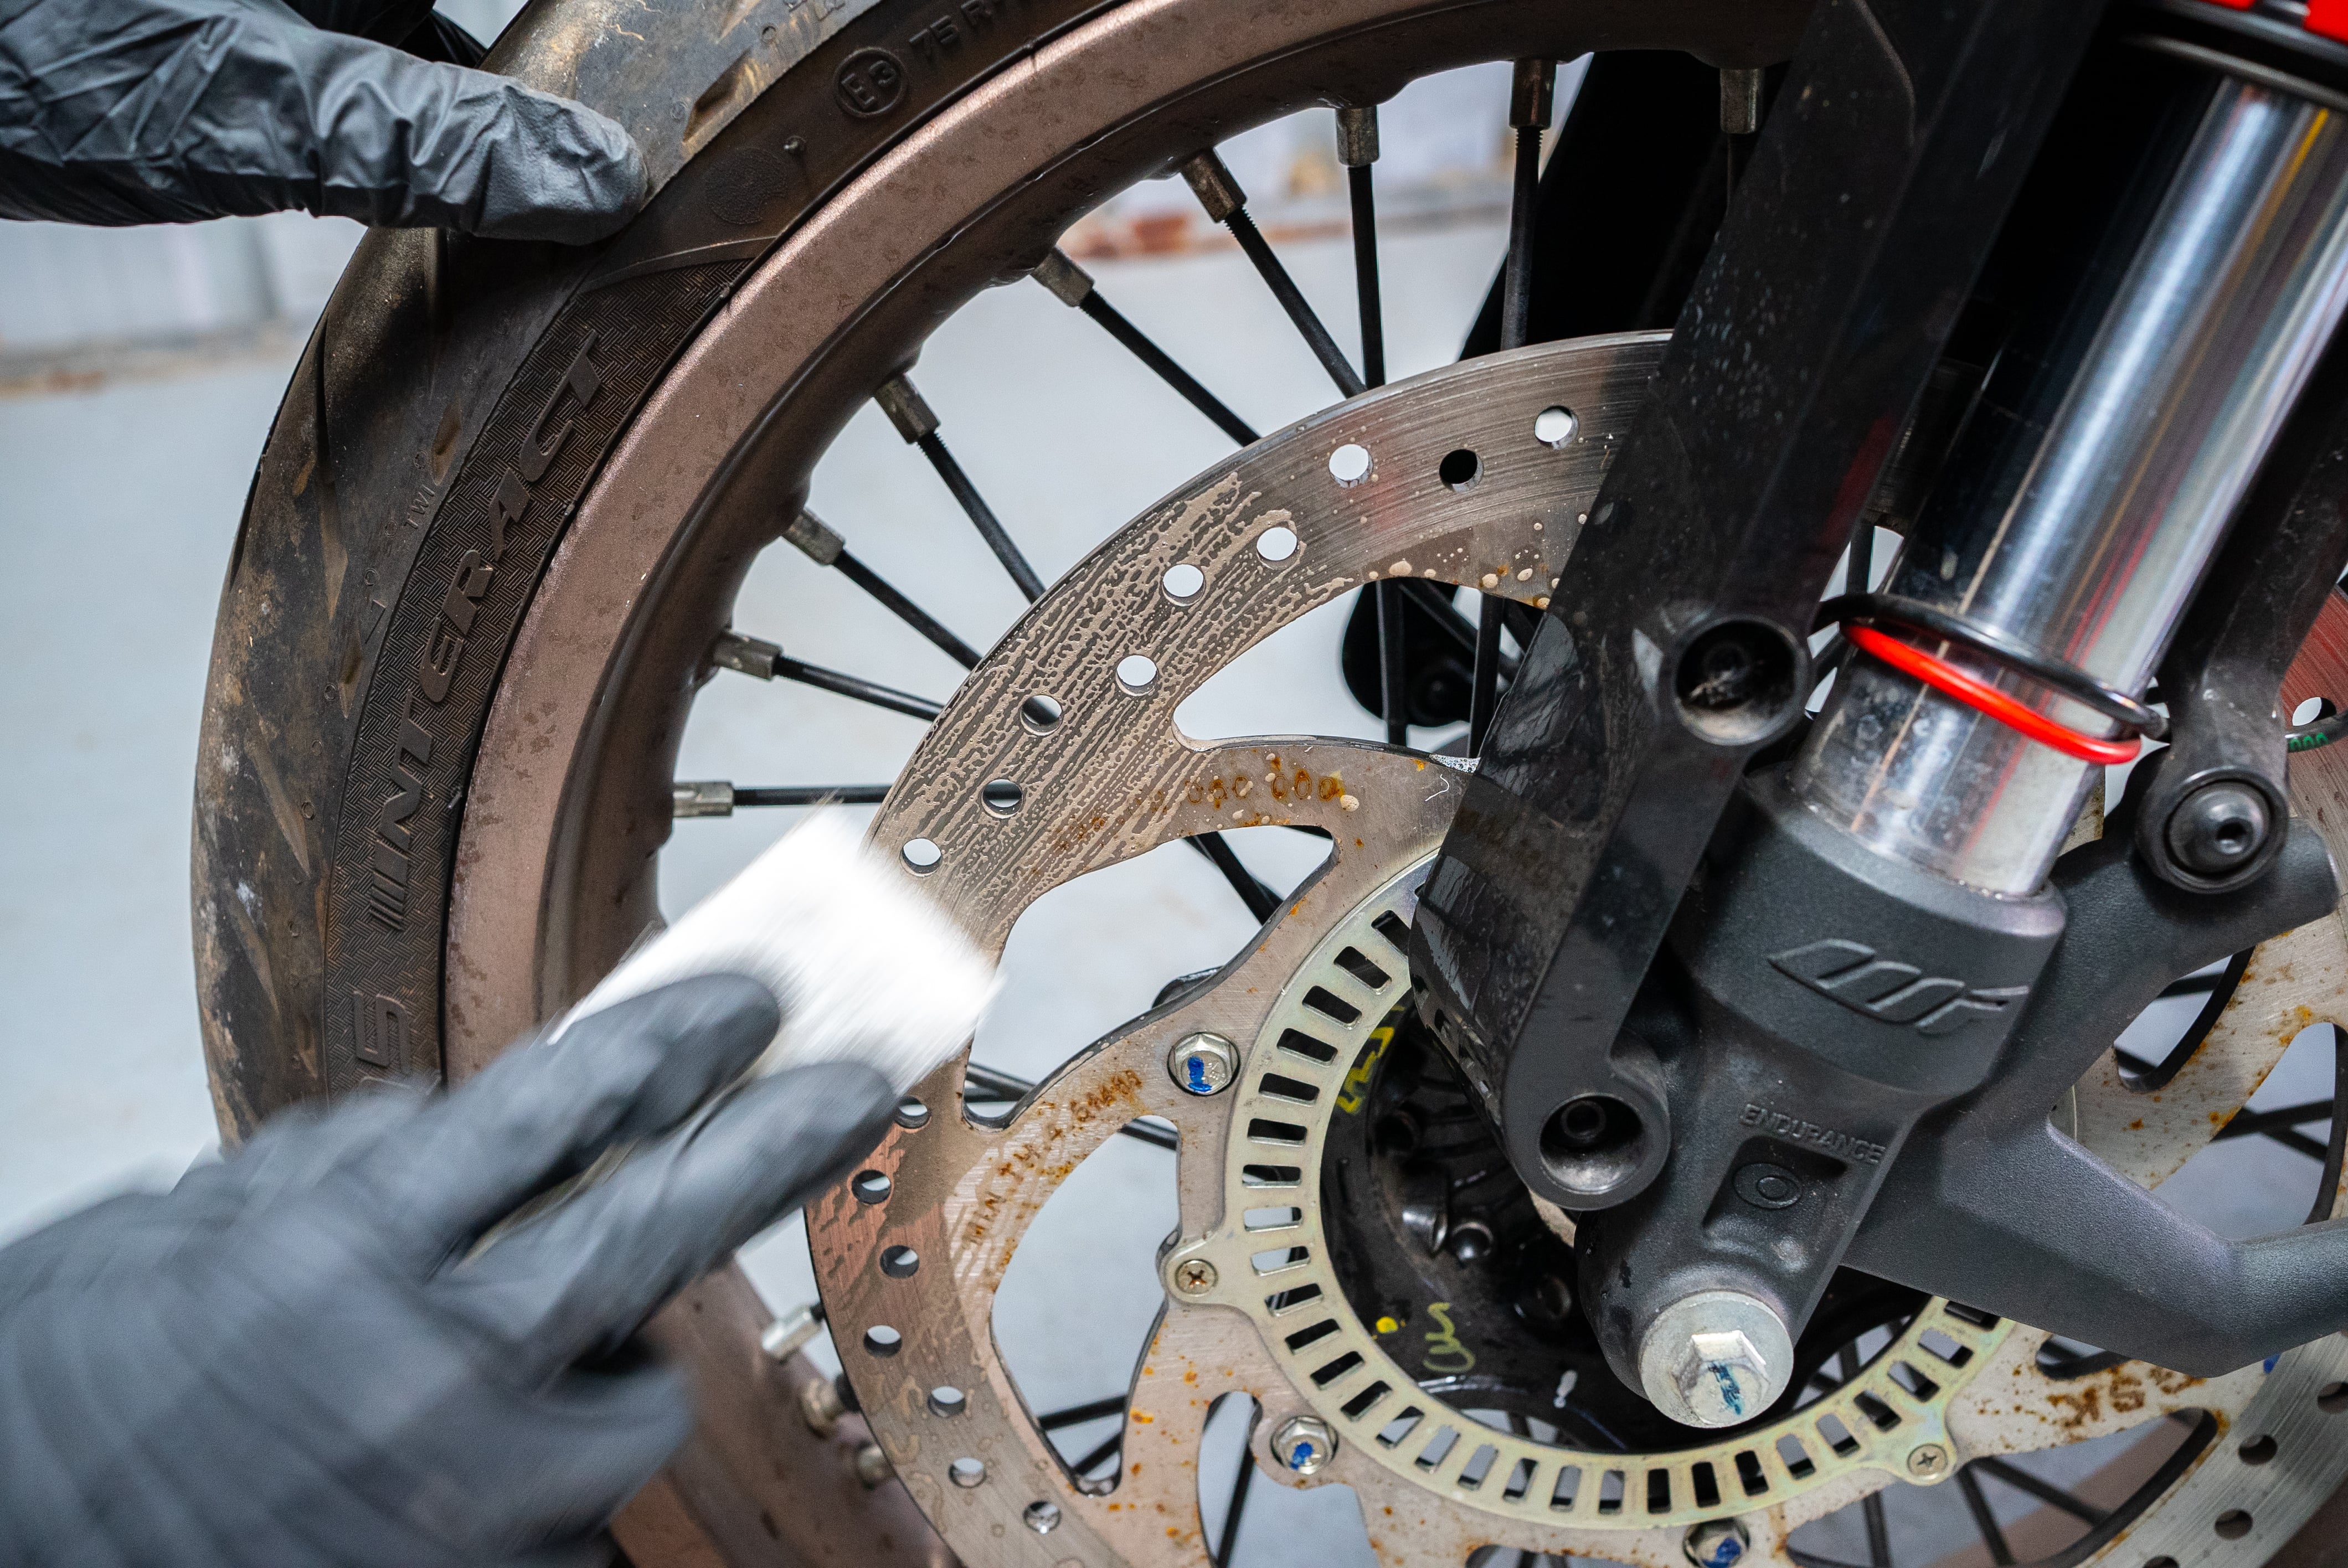
The brake rotor will also need a deep clean. Use a scouring pad and soapy water to ‘dress’ the rotor, removing old brake pad material and stubborn deposits. Follow this up with a soaking of brake cleaner and wipe with a rag.
Now you need to spread the brake pistons to fit the new pads. Fix a clamp to your brake line, and connect your brake bleeding tool, then loosen the bleed nipple.
If the brake spreader for your car doesn’t fit; you can slot the old motorcycle brake pads back in and use a pry bar to spread them apart. As the pistons move back; some brake fluid will be pushed from the caliper.
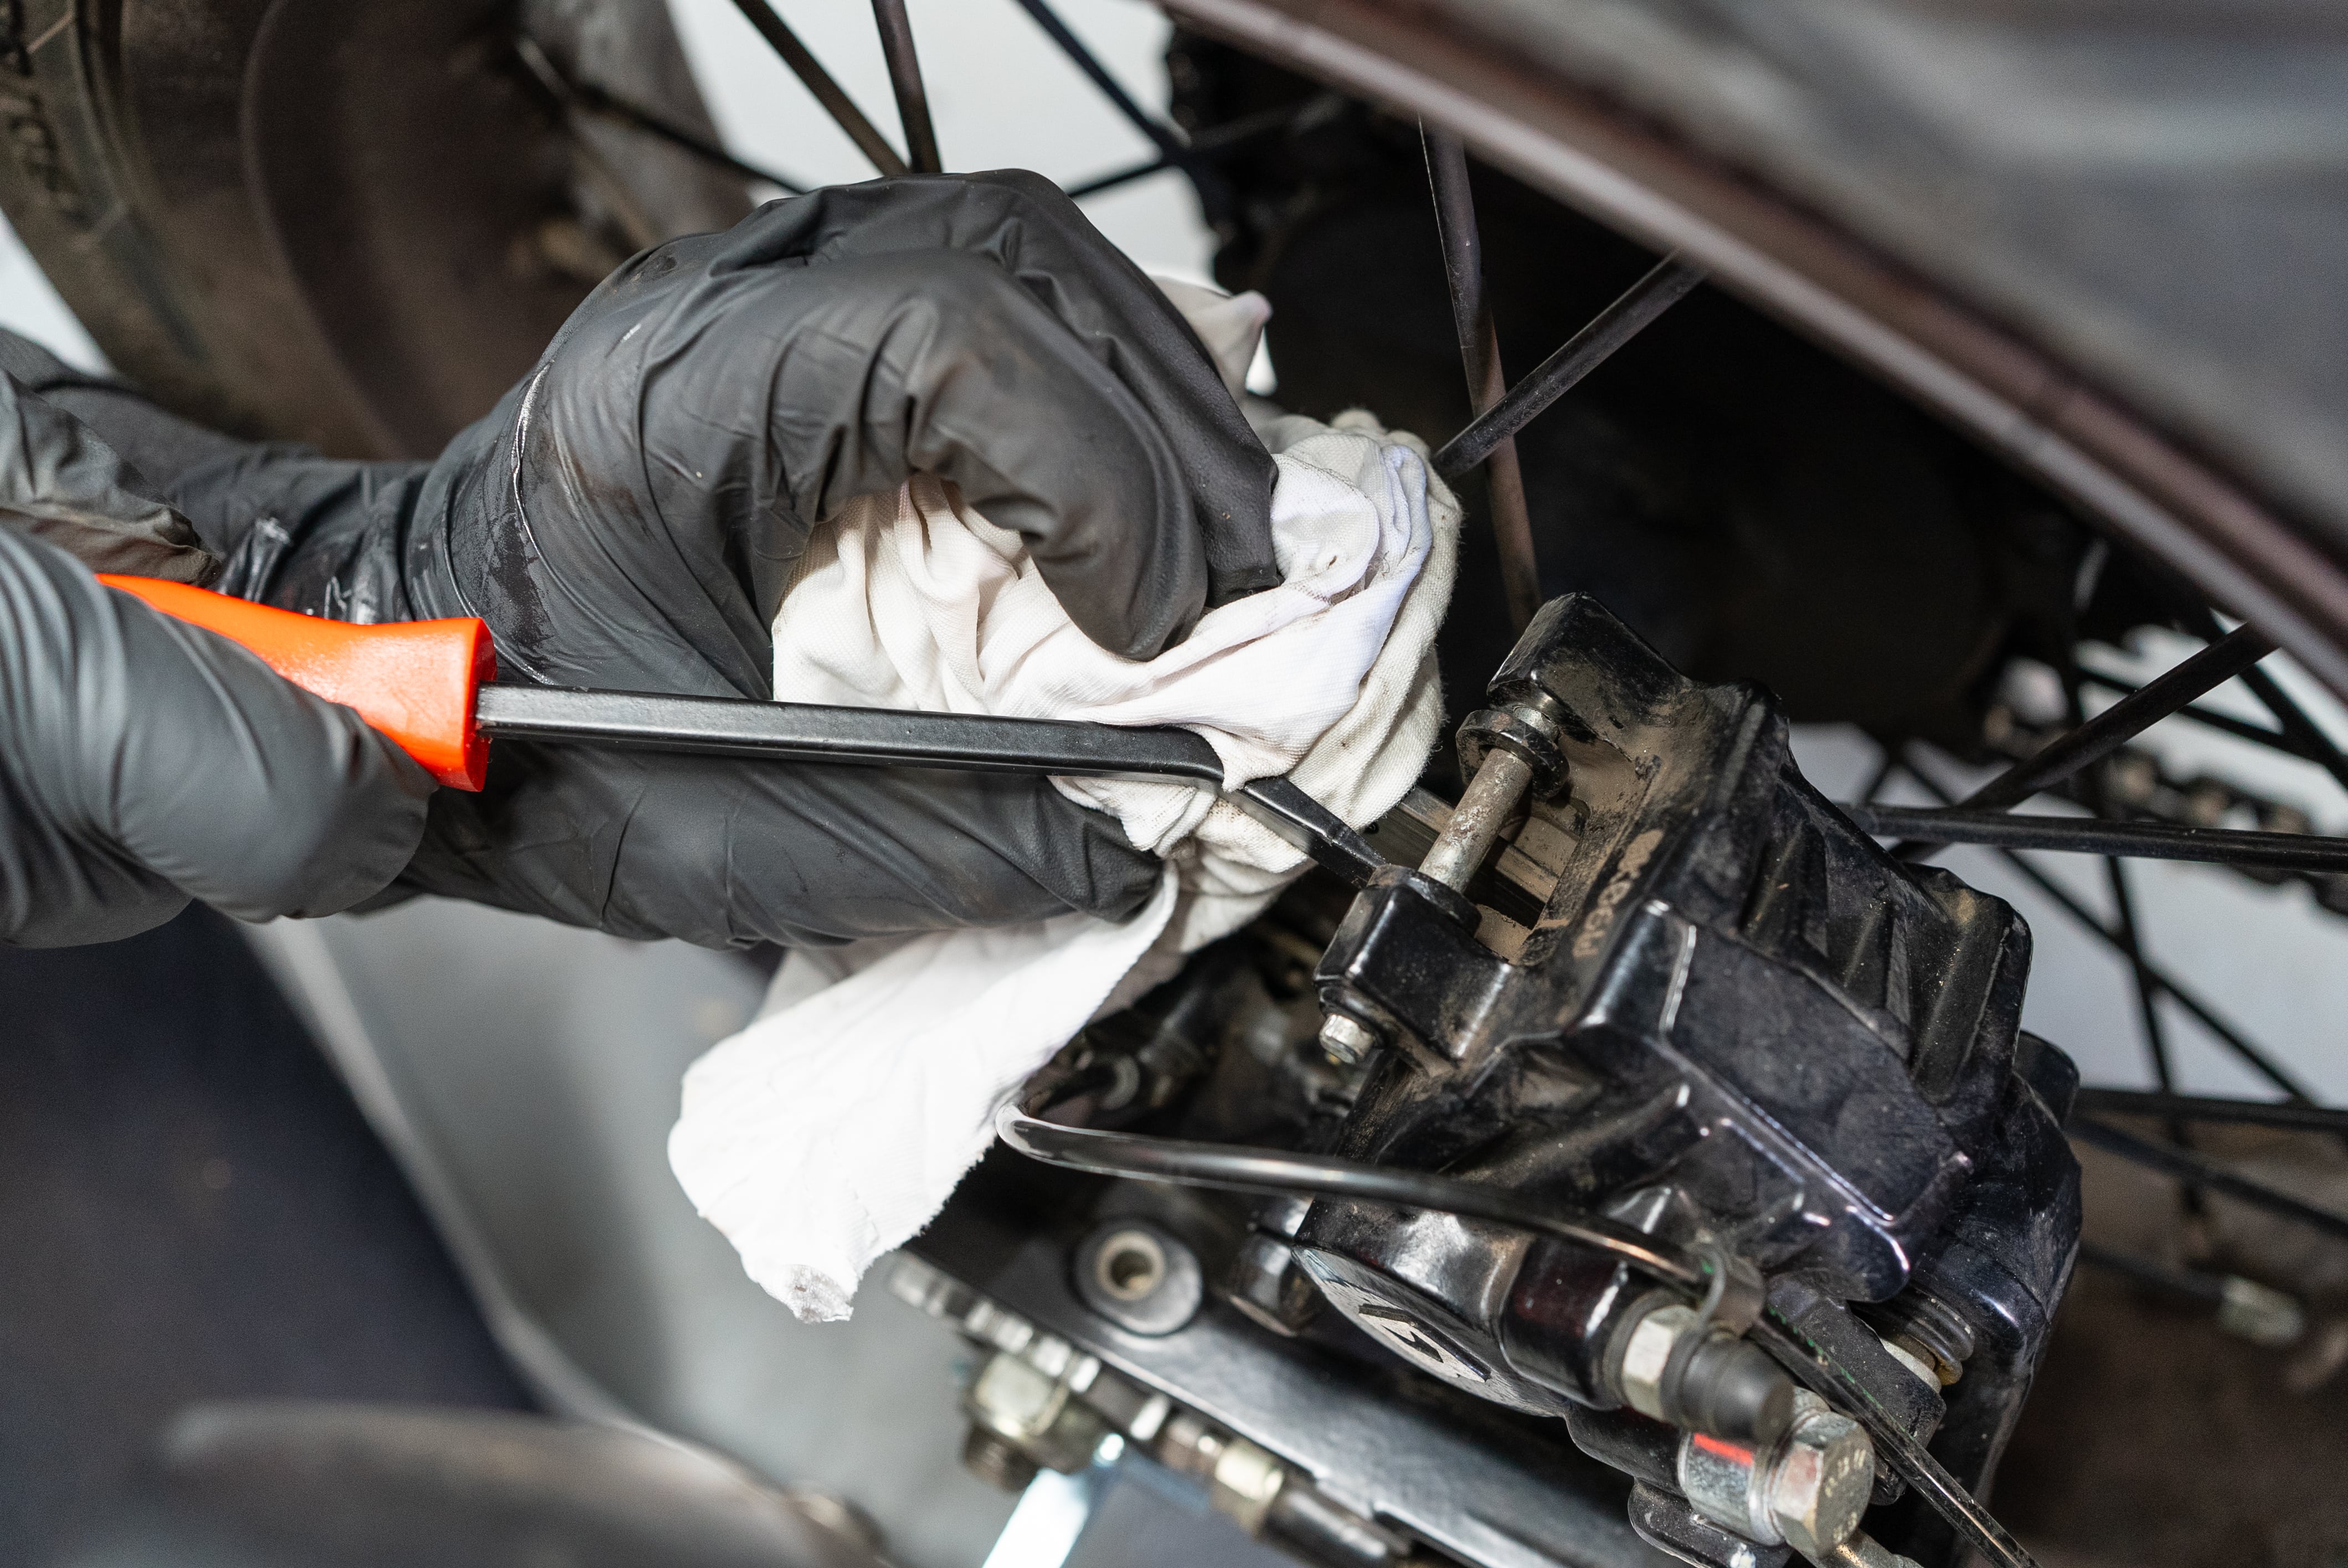
This can also be done with the caliper in place. Use a rag to protect your rotor as you spread the pistons with a flat head screwdriver.
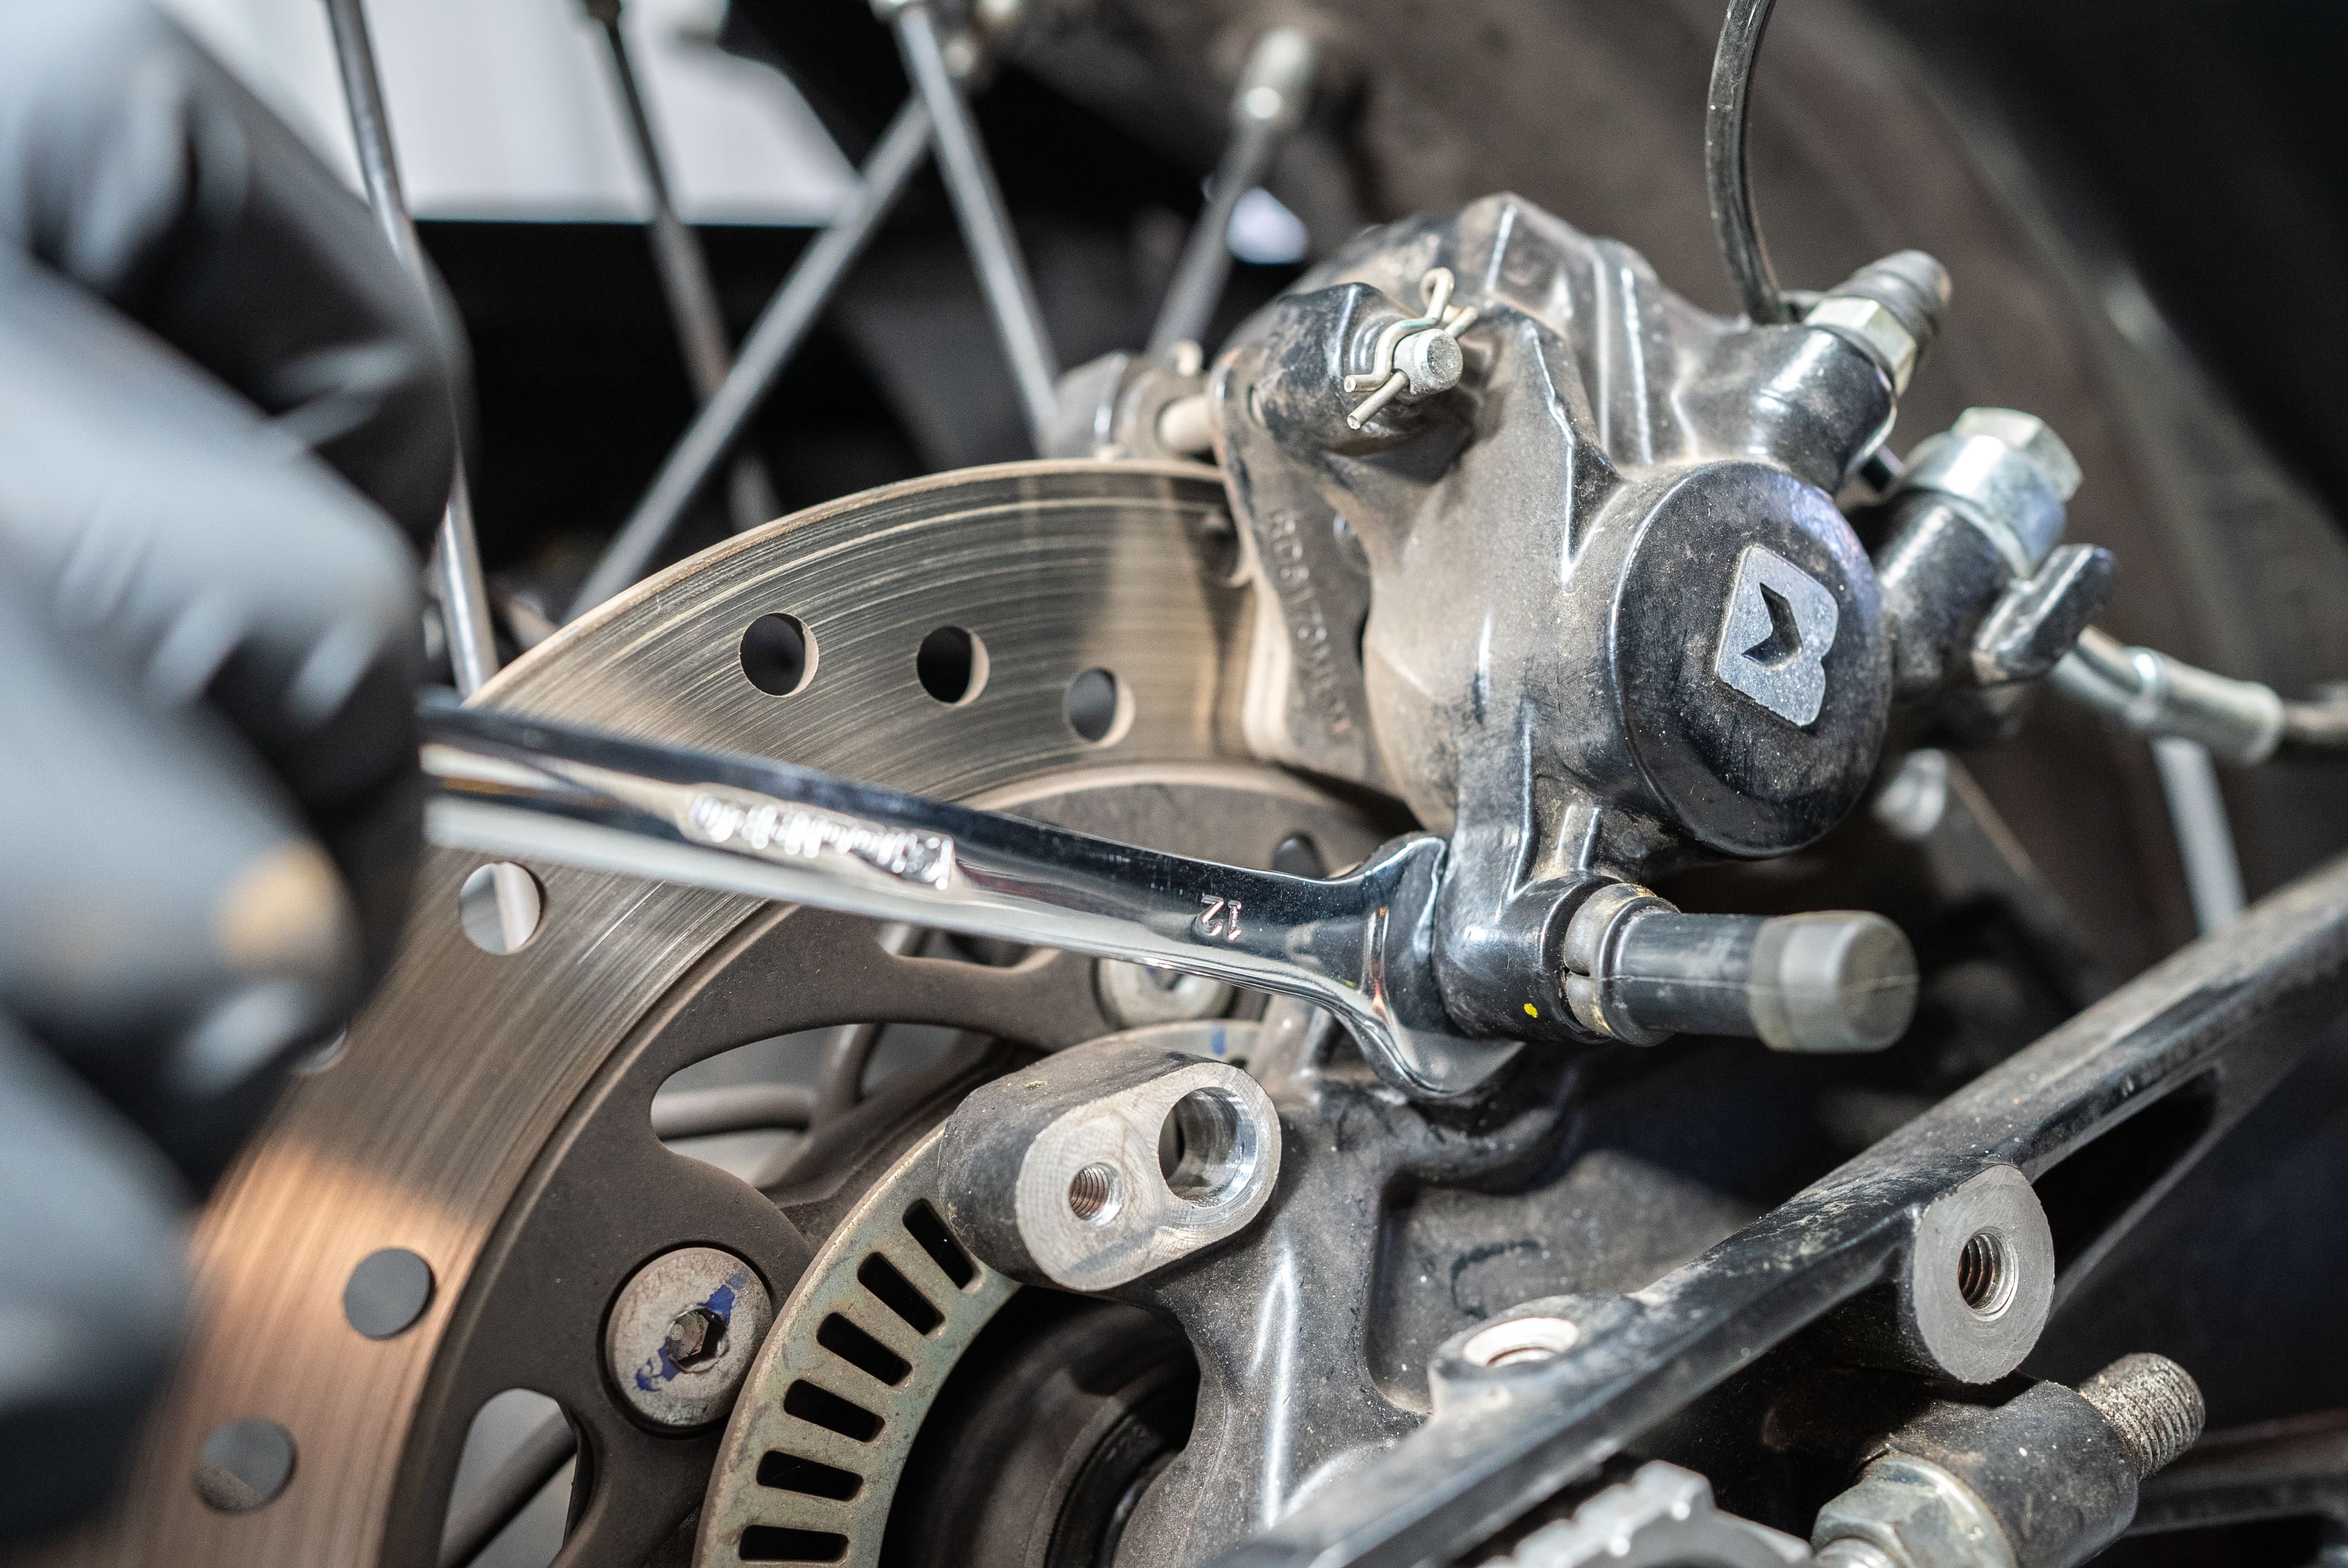
Finally, tighten the bleed nipple and remove the hose. That old brake fluid should be sealed up and disposed of in line with local government recommendations.
STEP 4: Replace your brake pads
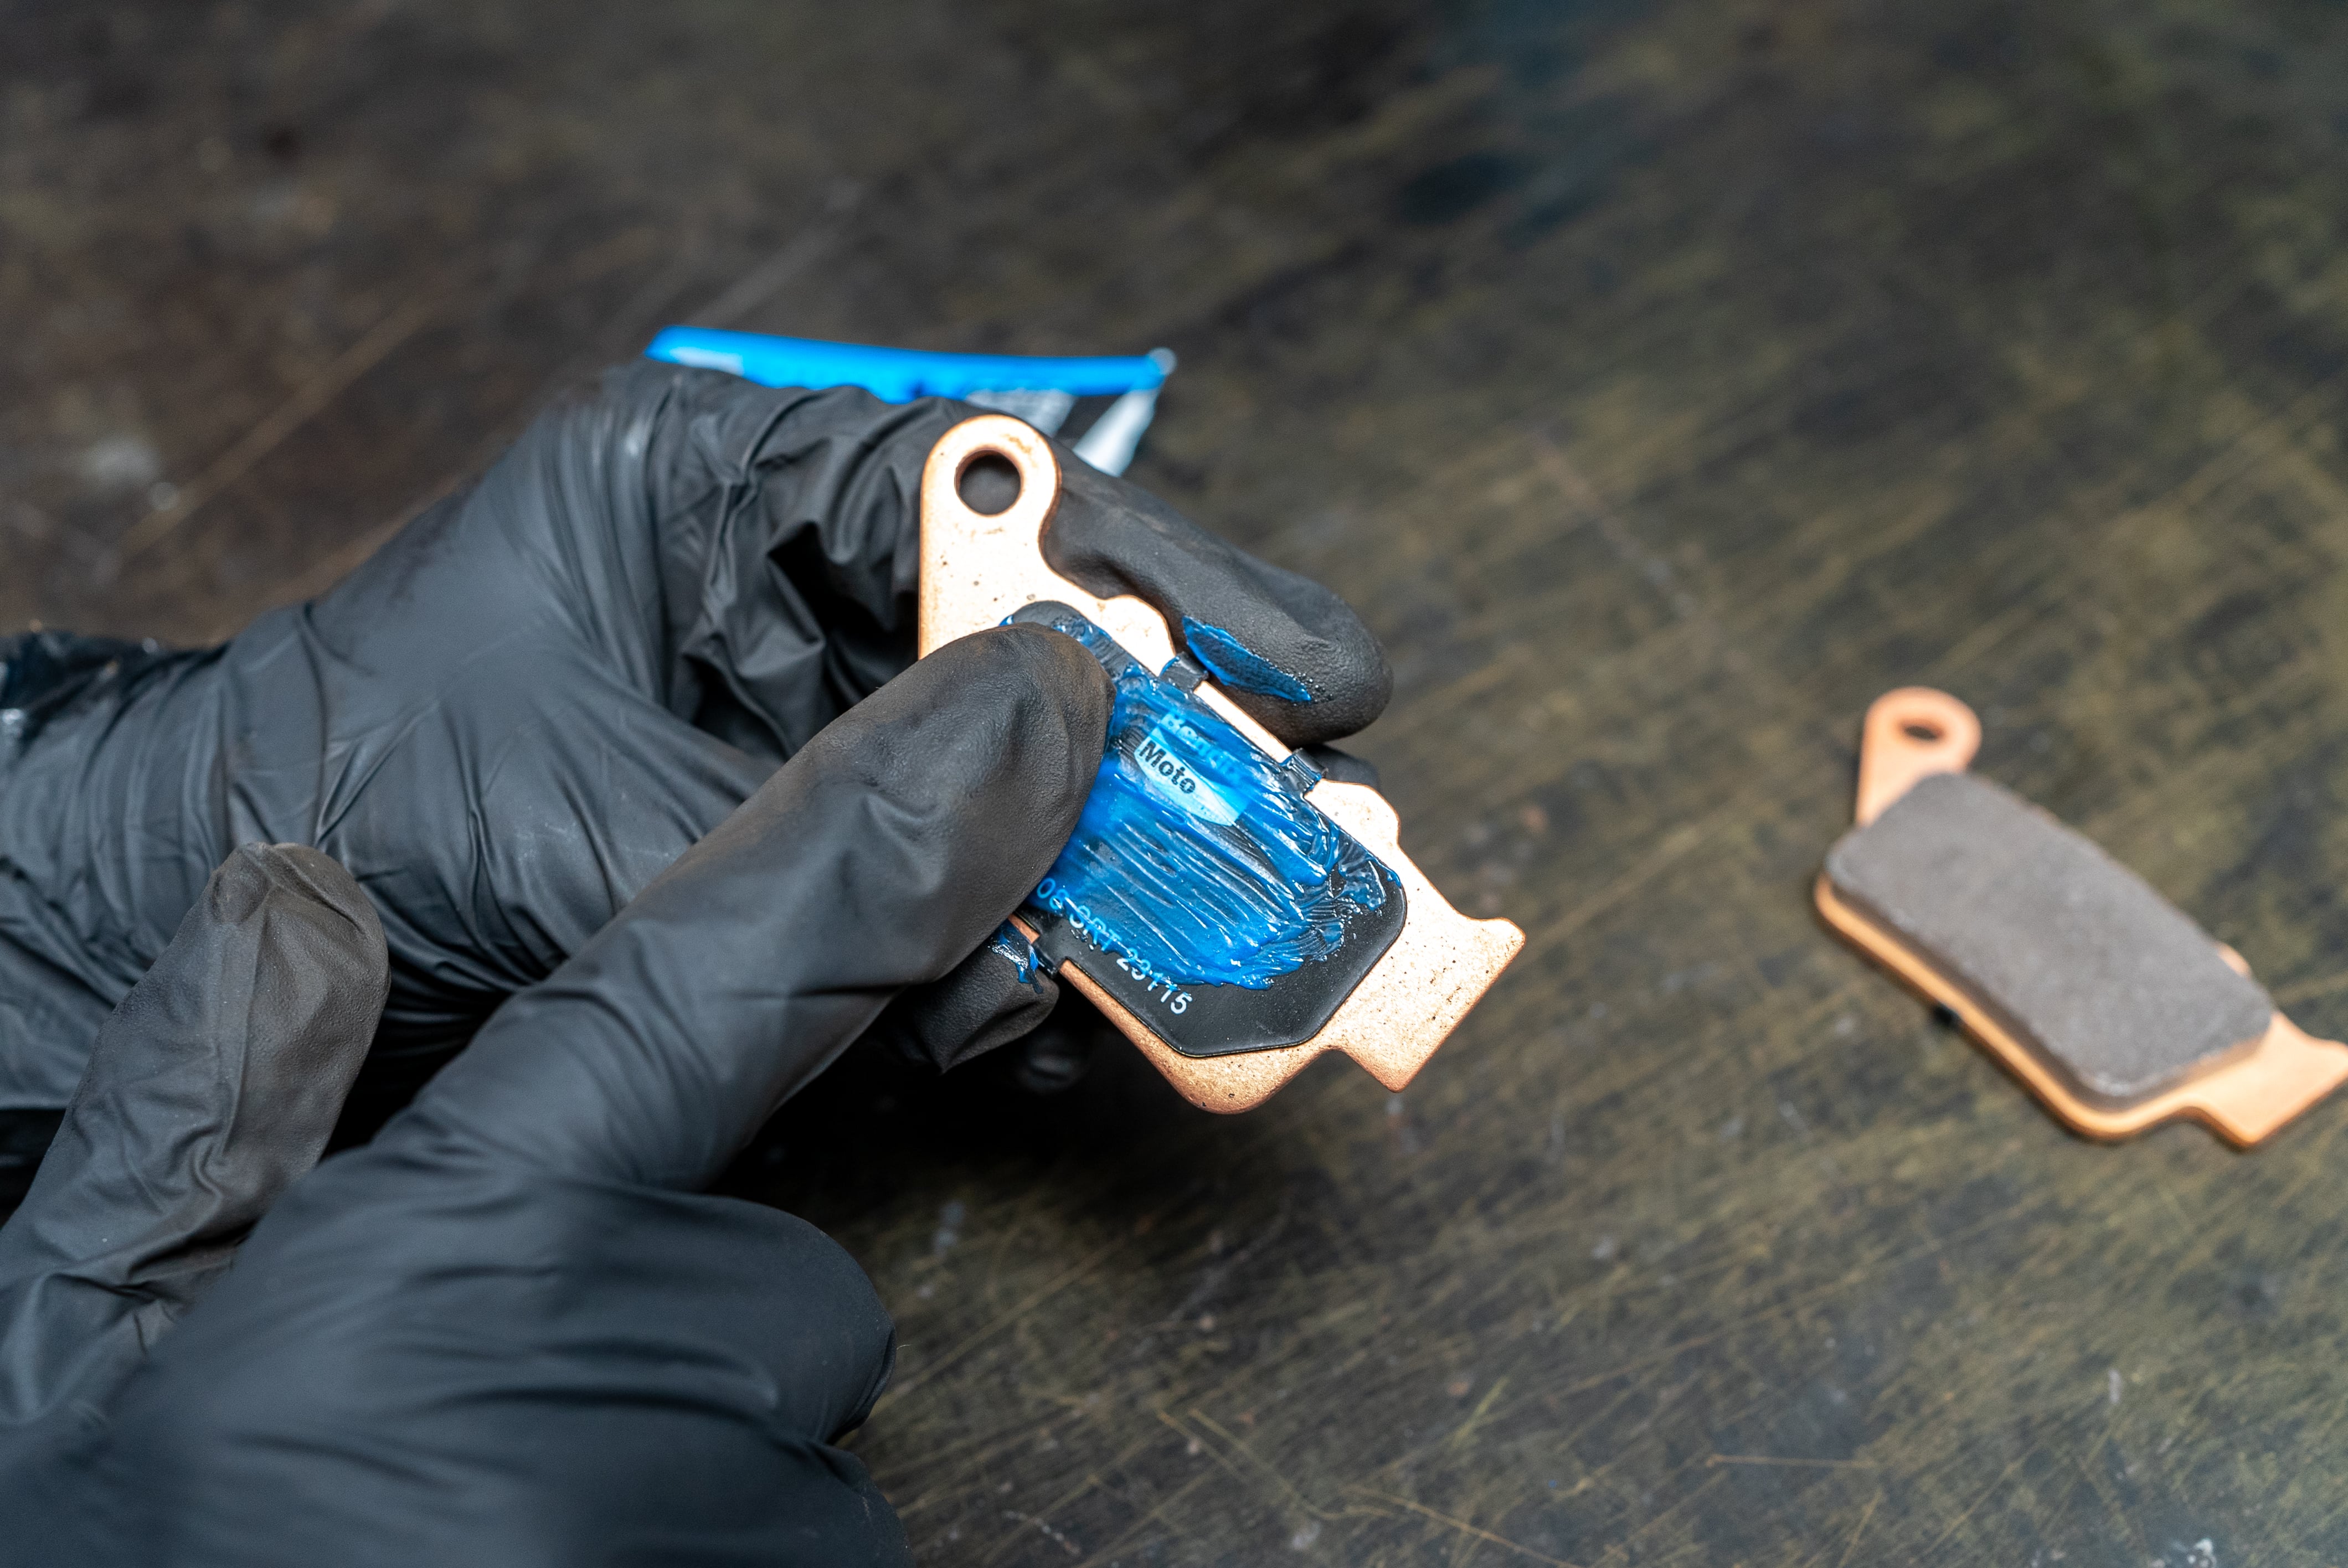
Apply a light smear of brake lubricant to the back of each brake pad and any springs, shims, caliper slide pins, and brake pad slide pins, then change your gloves before proceeding to assembly. As you insert the motorcycle brake pads, pay close attention to ensure the friction surface of each is facing the rotor.
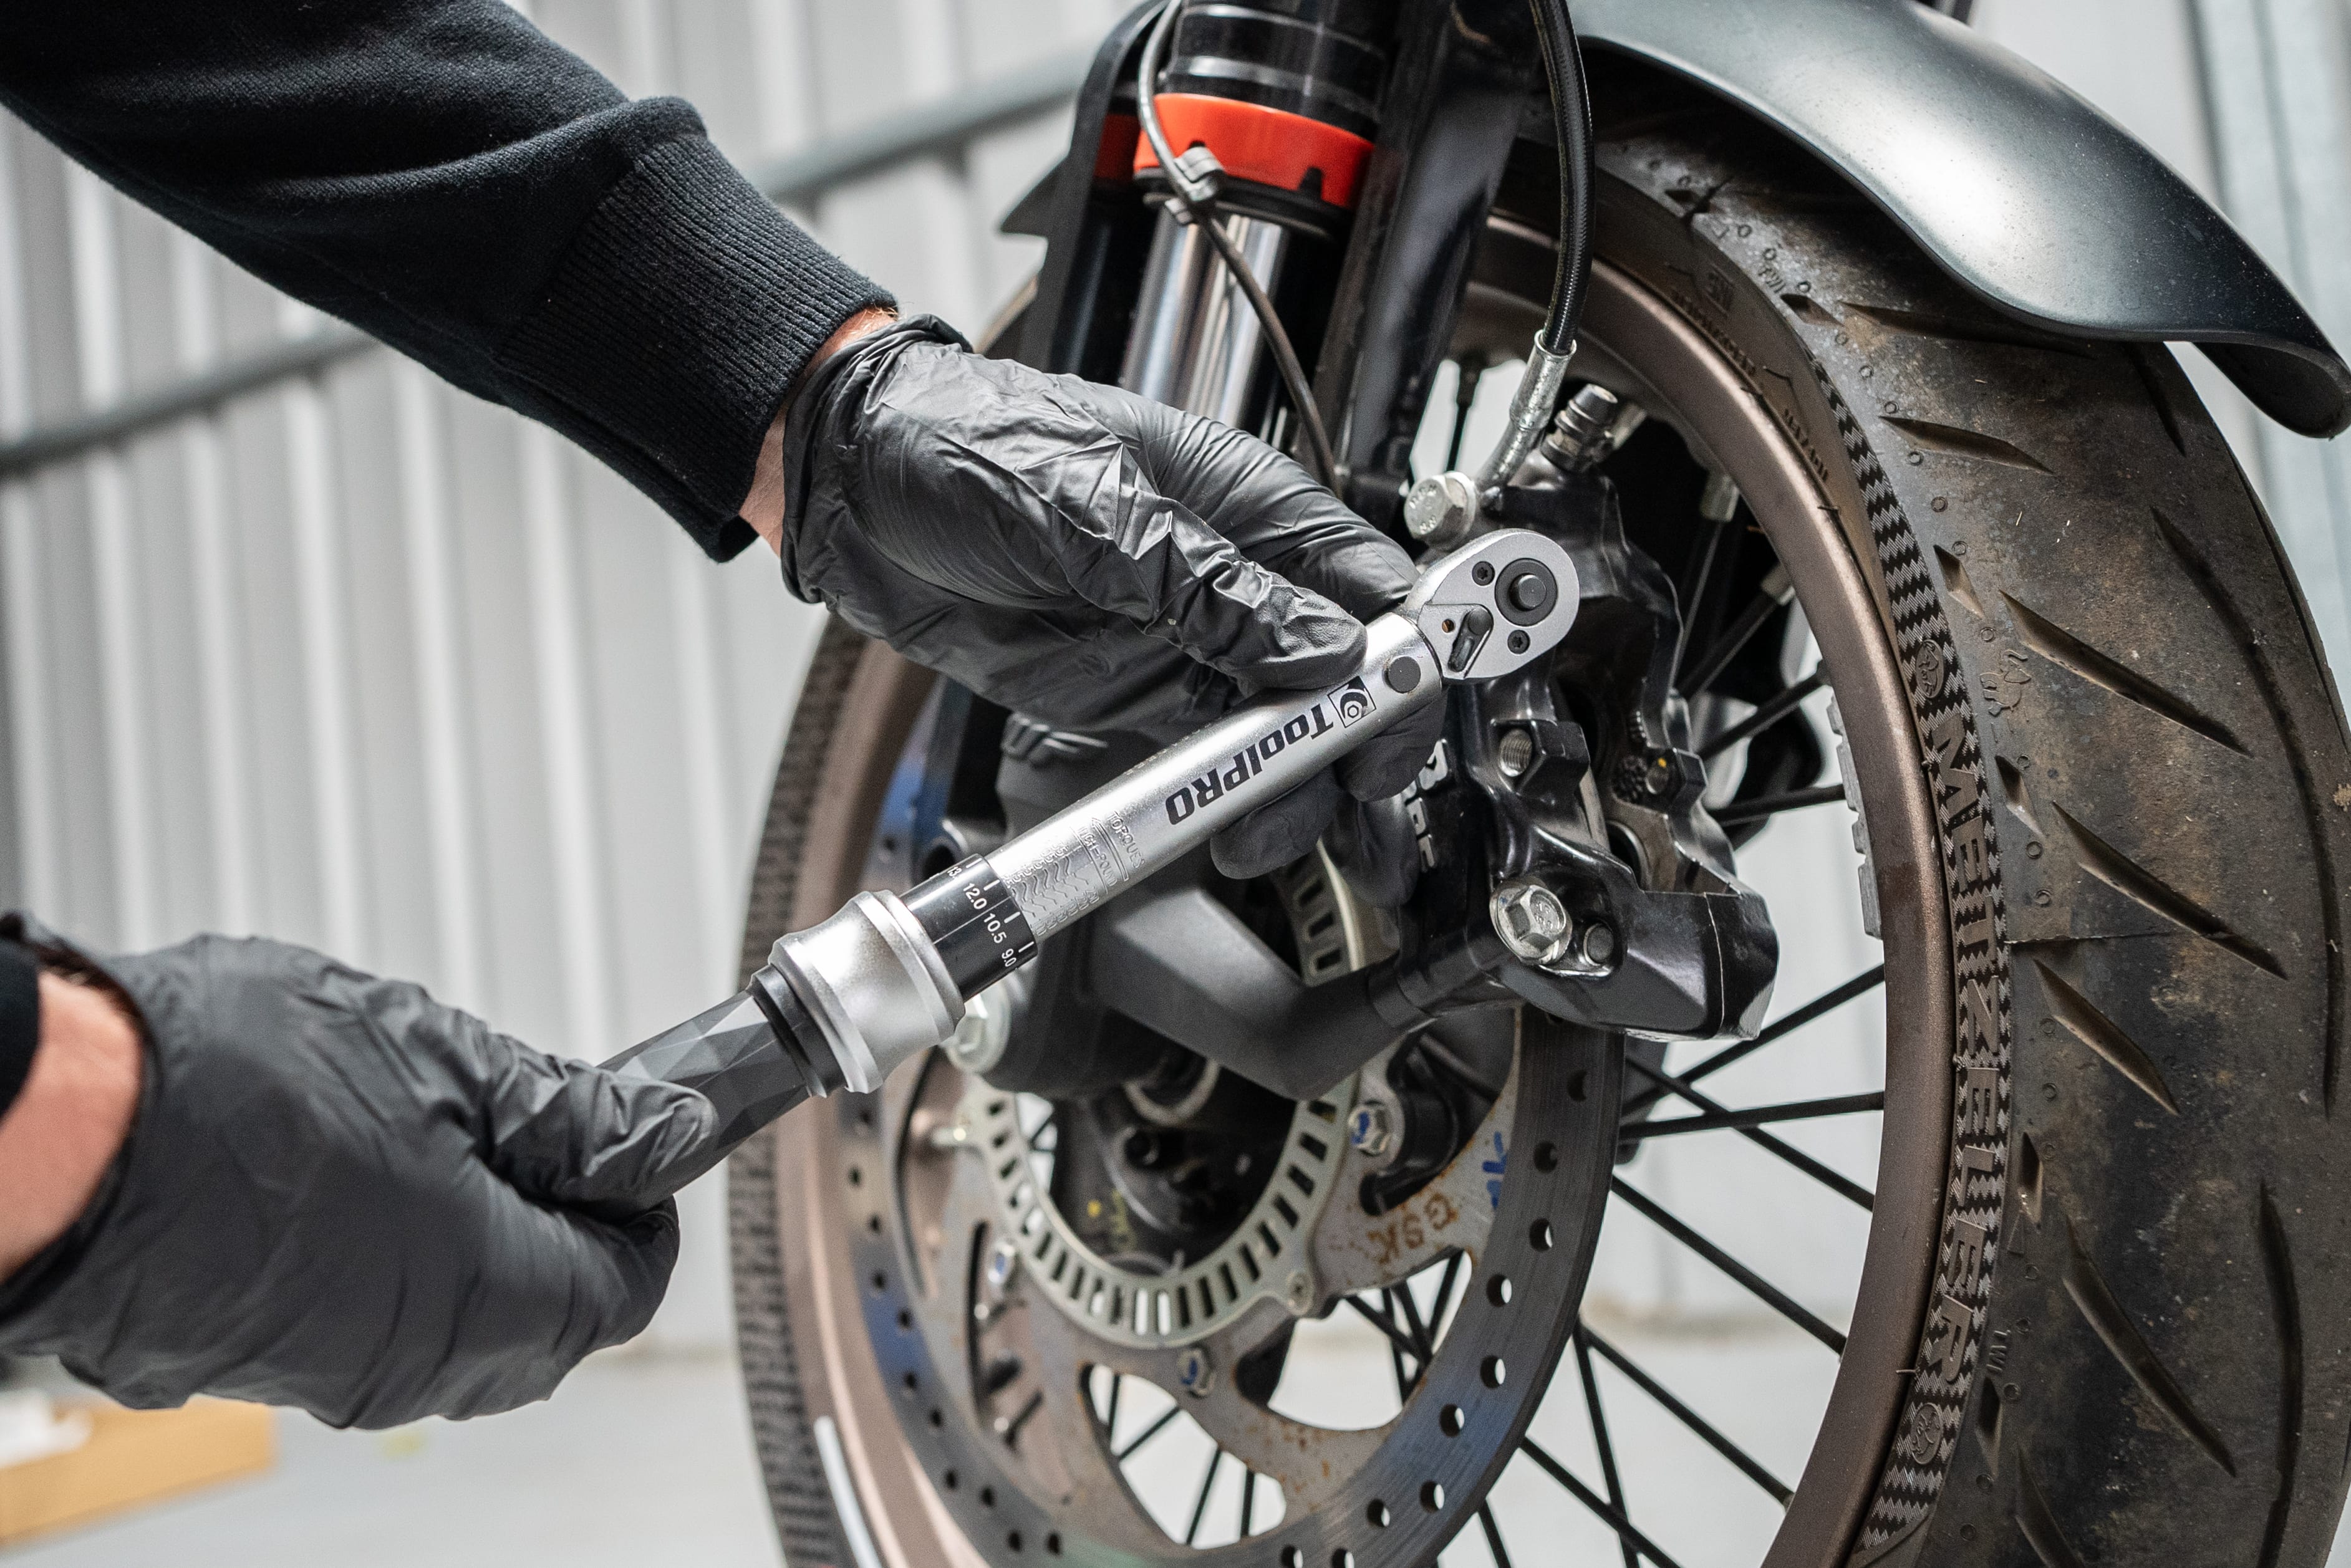
Before you tighten the caliper bolts, pump the brake pedal or lever a couple of times to push the brake pads into position and help locate the caliper correctly. Then torque everything up to specification.
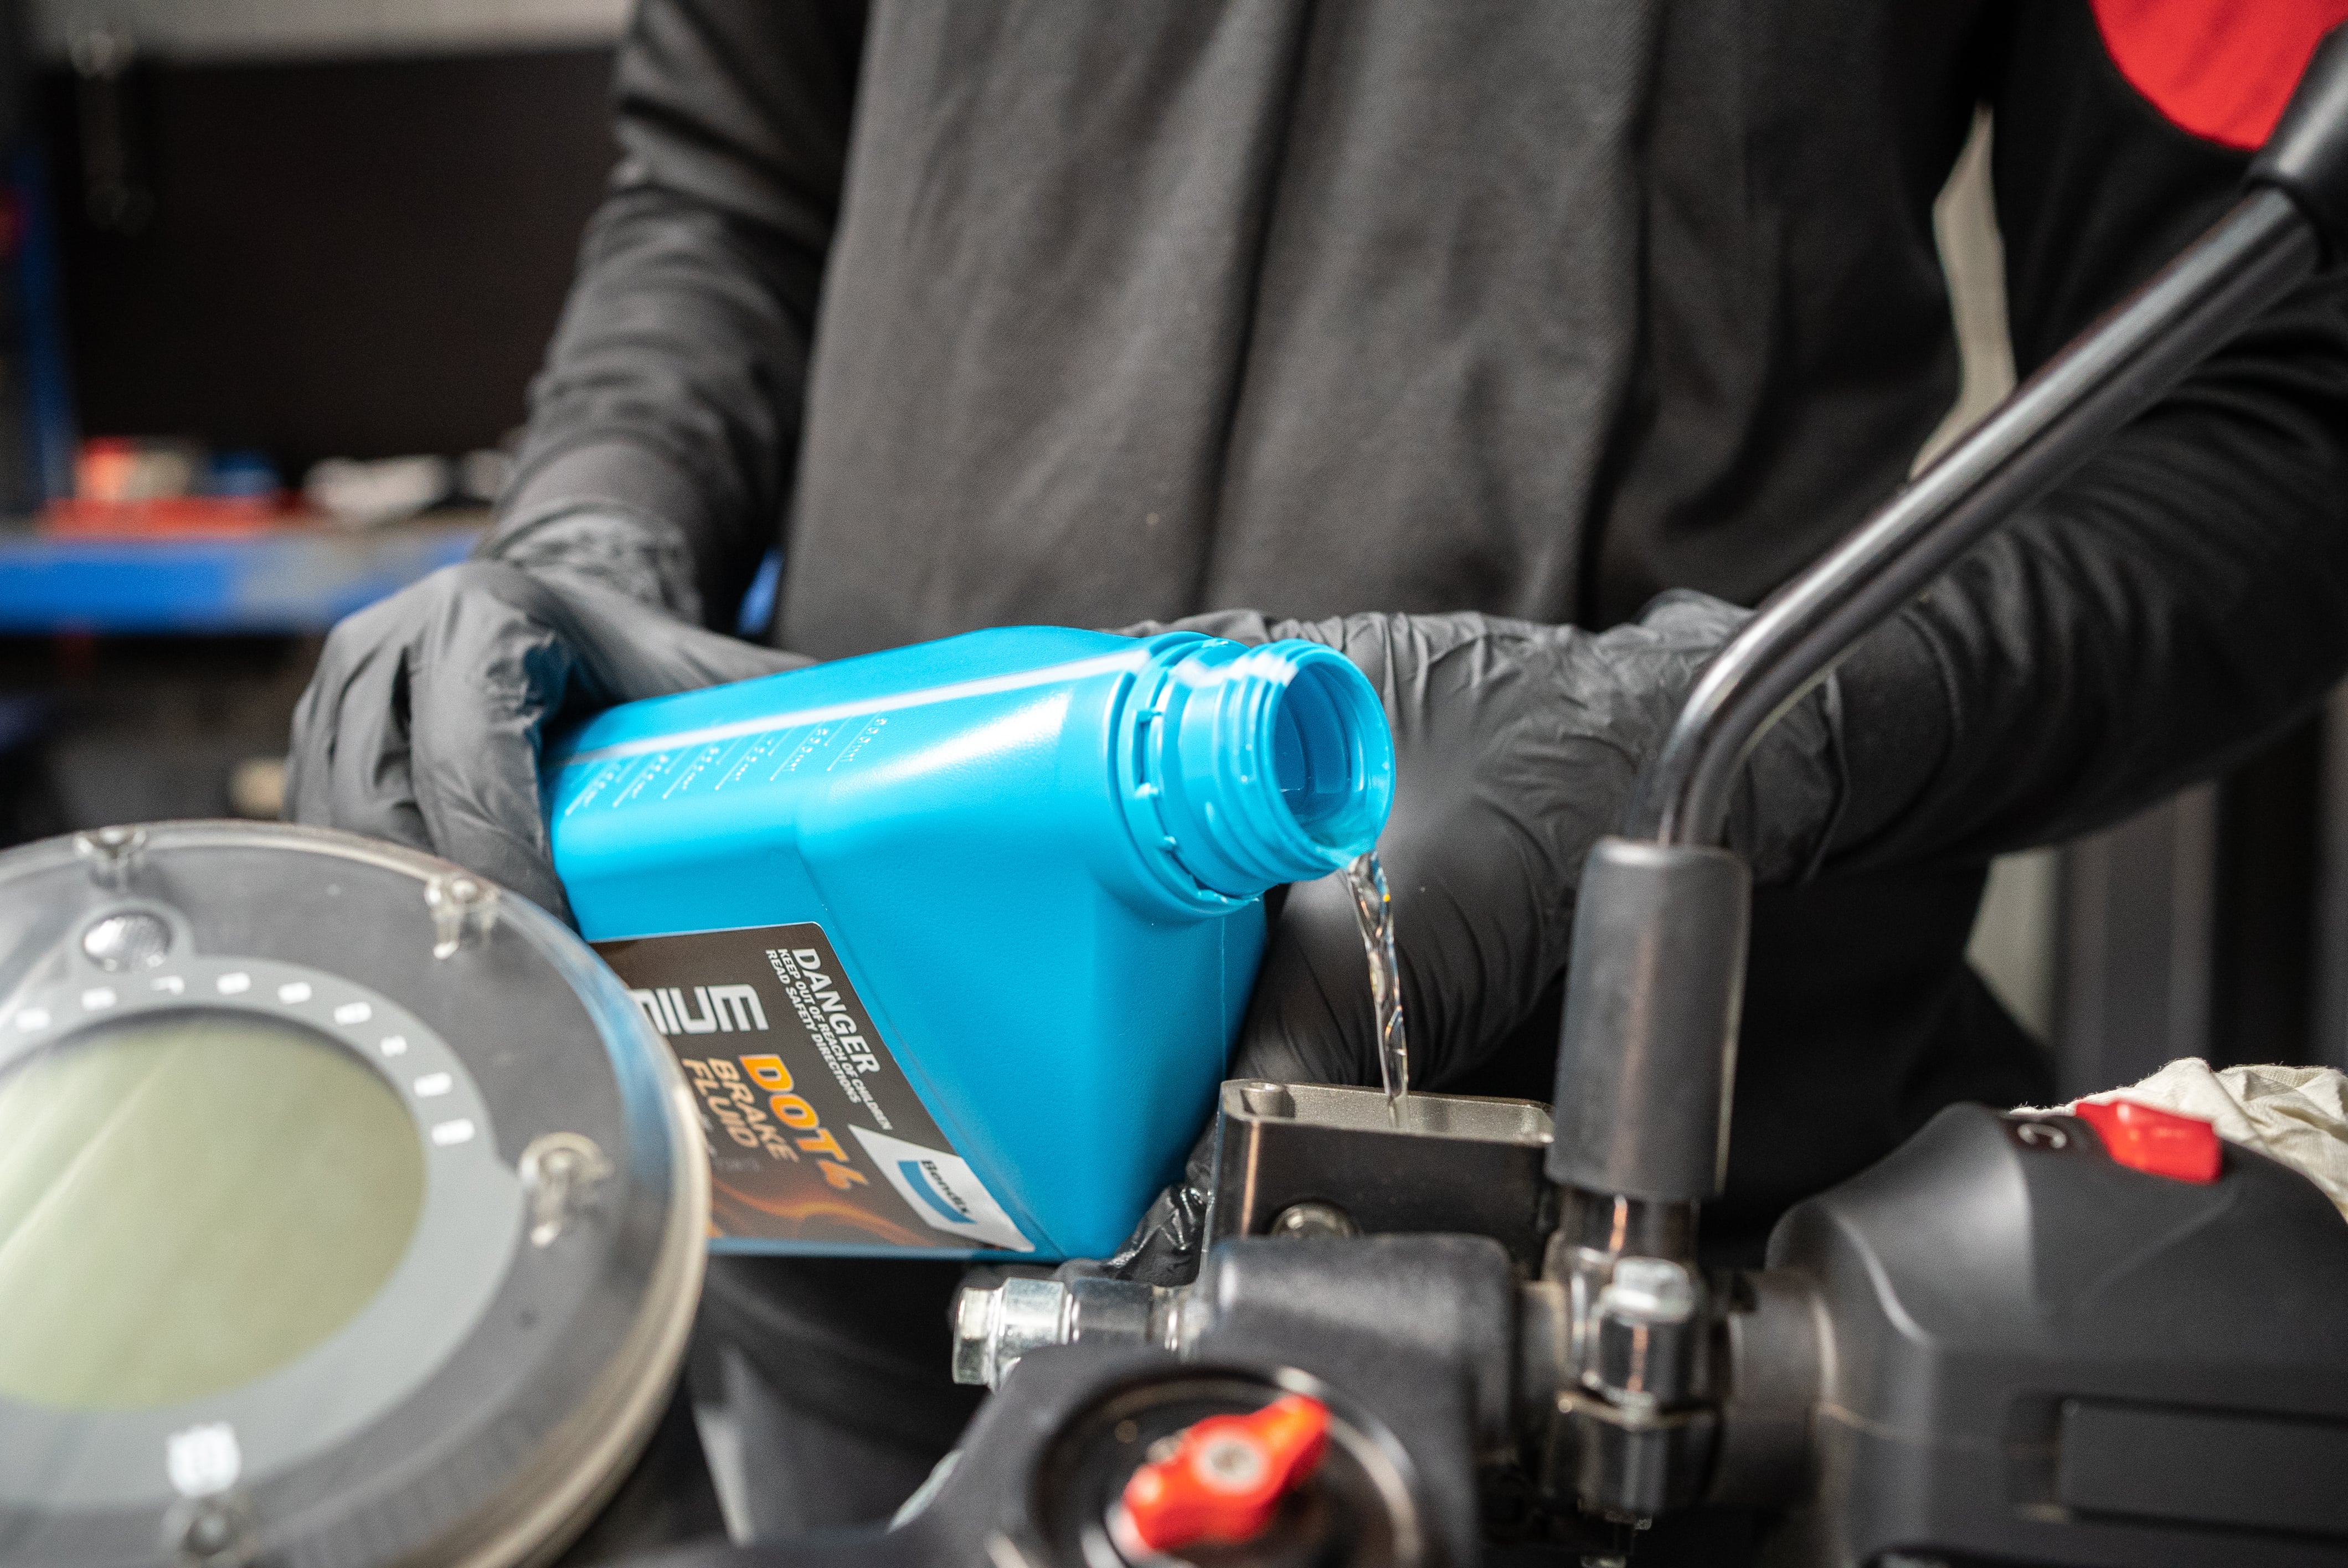
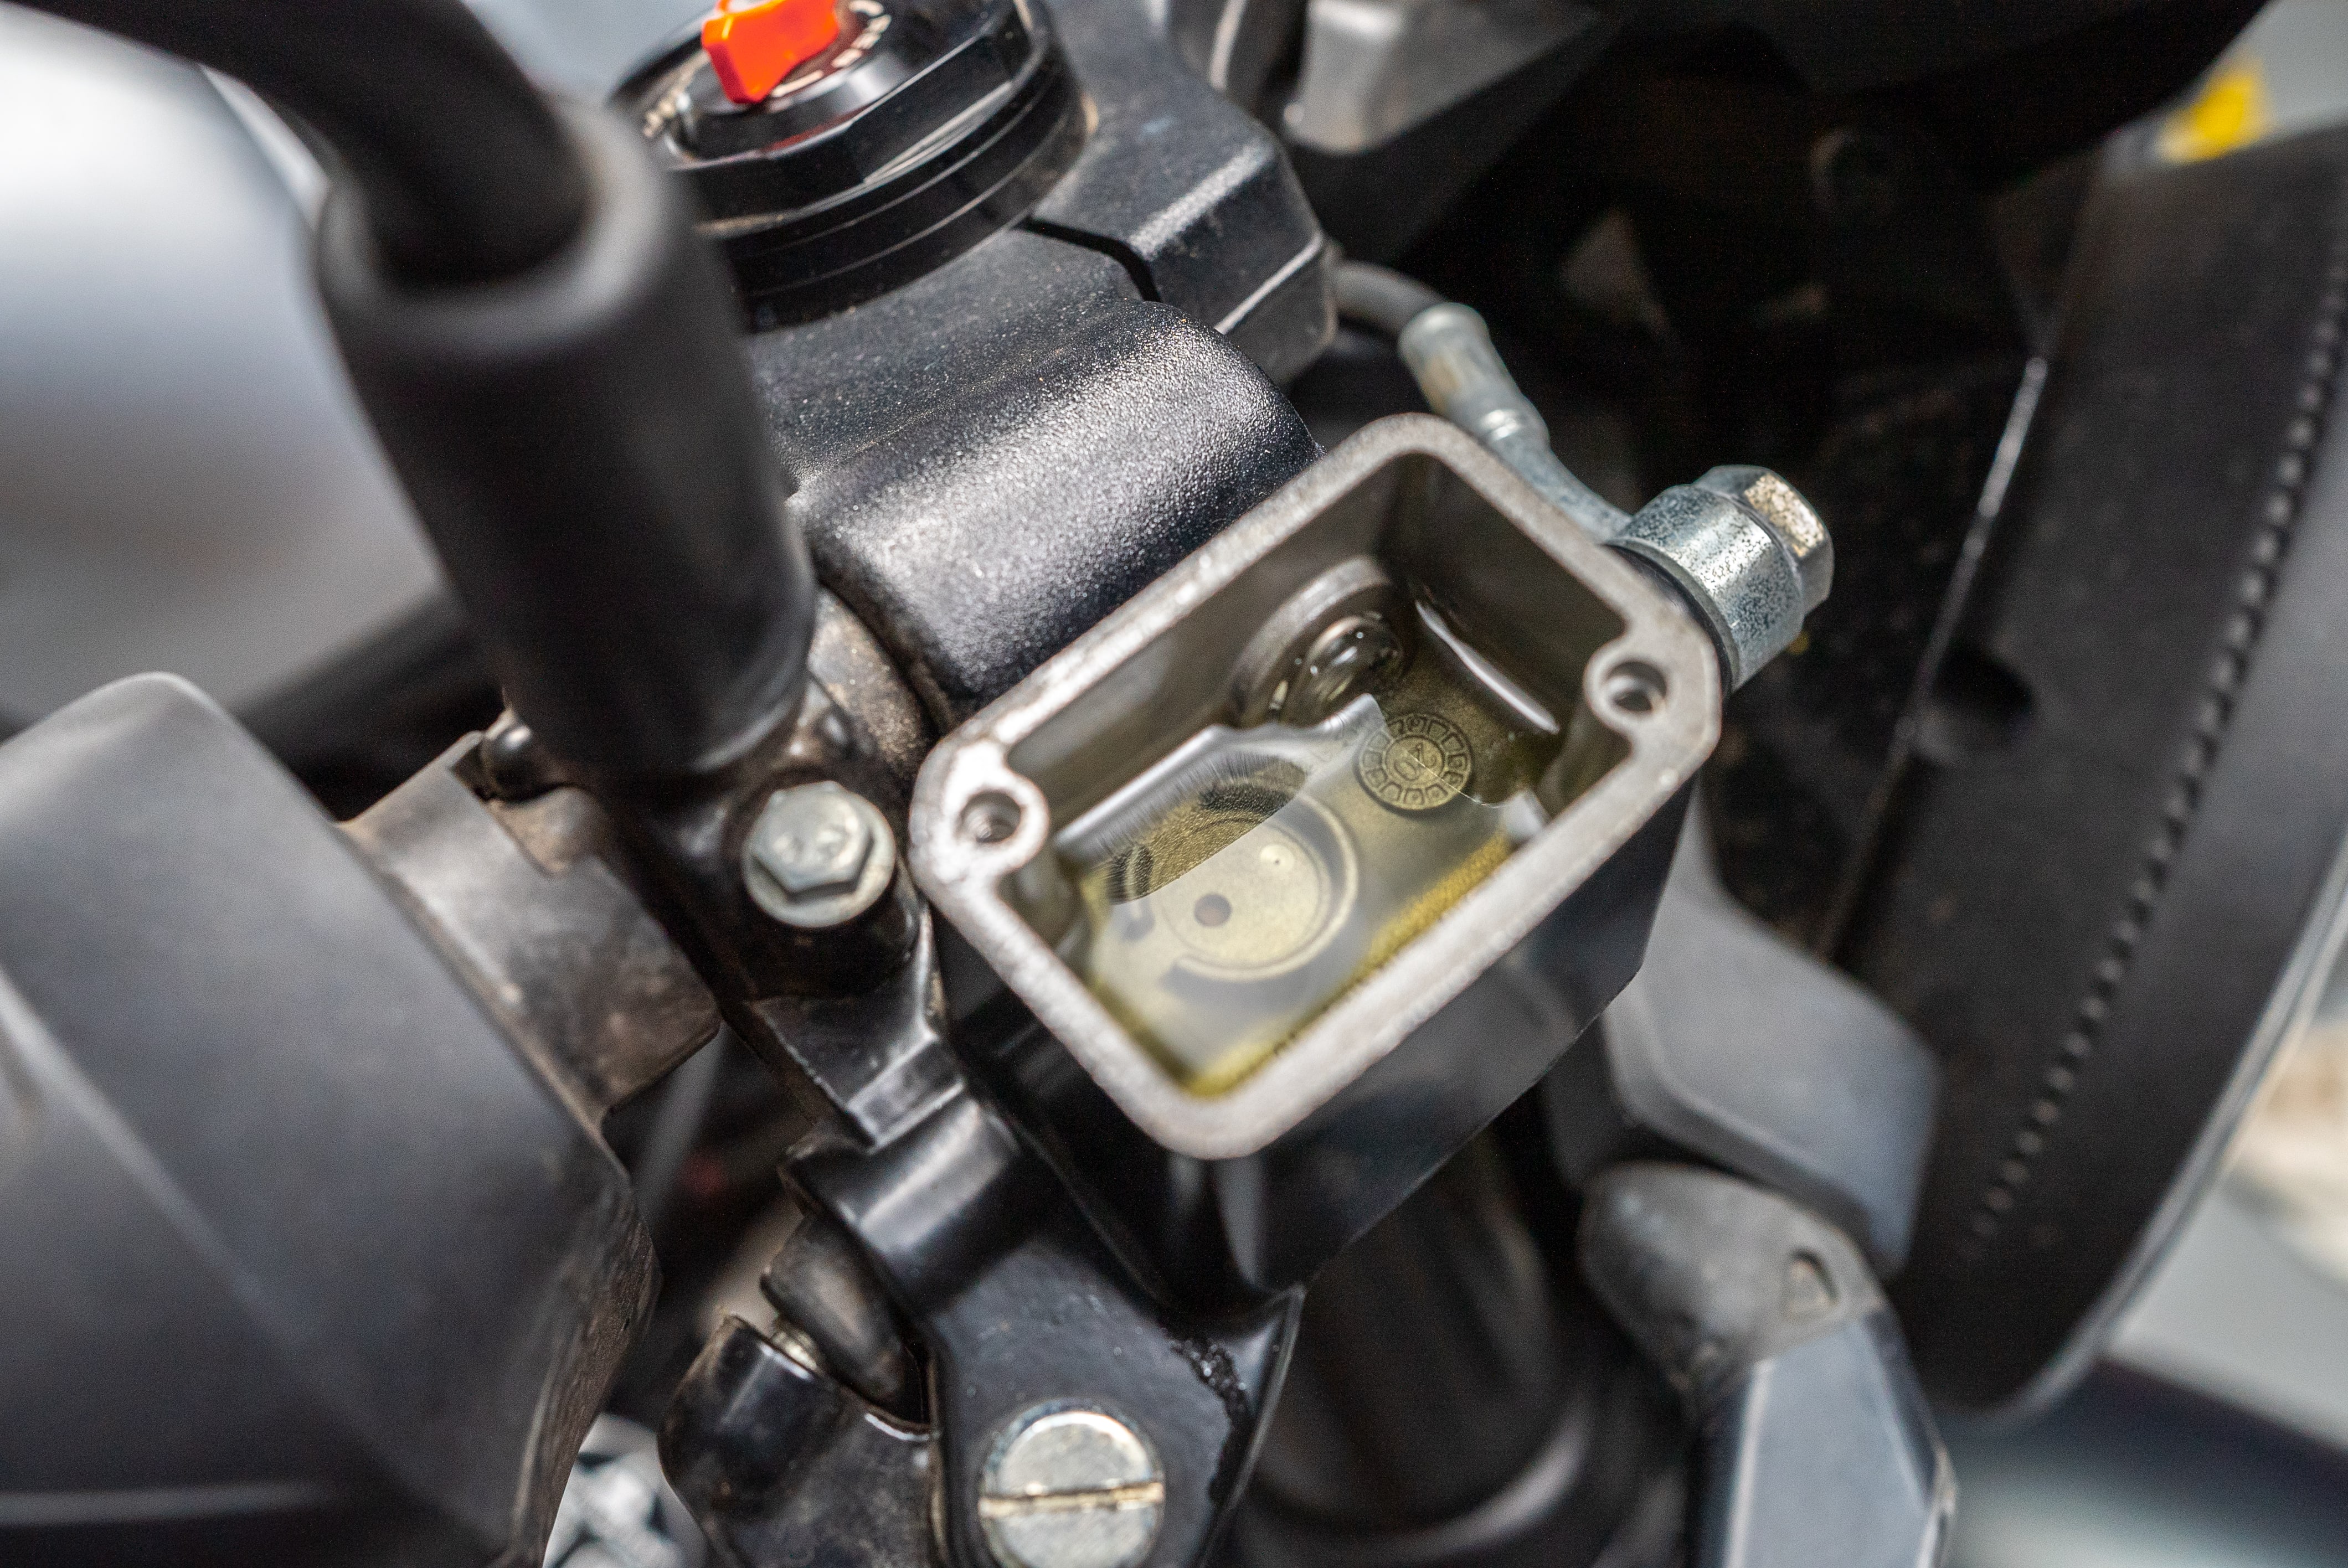
Give the brake rotor one last wipe with brake cleaner and a rag, then pump your brake pedal or lever a couple of times. It is good practise to bleed the brakes while you’re at it, then top up the reservoir and replace the cover.
STEP 5: Test ride
Before you hit the street, test your new brakes a couple of times at low speed in the driveway. There may be a bedding in procedure for your new motorcycle brake pads. If so, it will be printed on the packaging or included as instructions with your new brake pads. Once you’ve run through the bedding in procedure, you’re free to hit the road and enjoy your ride.
*Important information* - Click here to read more about our DIY Advice Terms and Conditions.