Guide To Rust Repair For Your Project Car
Overview
Considering a rust repair on your project car can feel overwhelming. Especially if it’s more of a project than you bargained for. As much as you’d love ‘bog it up’ to be the answer, the best way to go about this is by crafting and welding your own patch panel. So let’s get into it and make a super rust repair!
Items
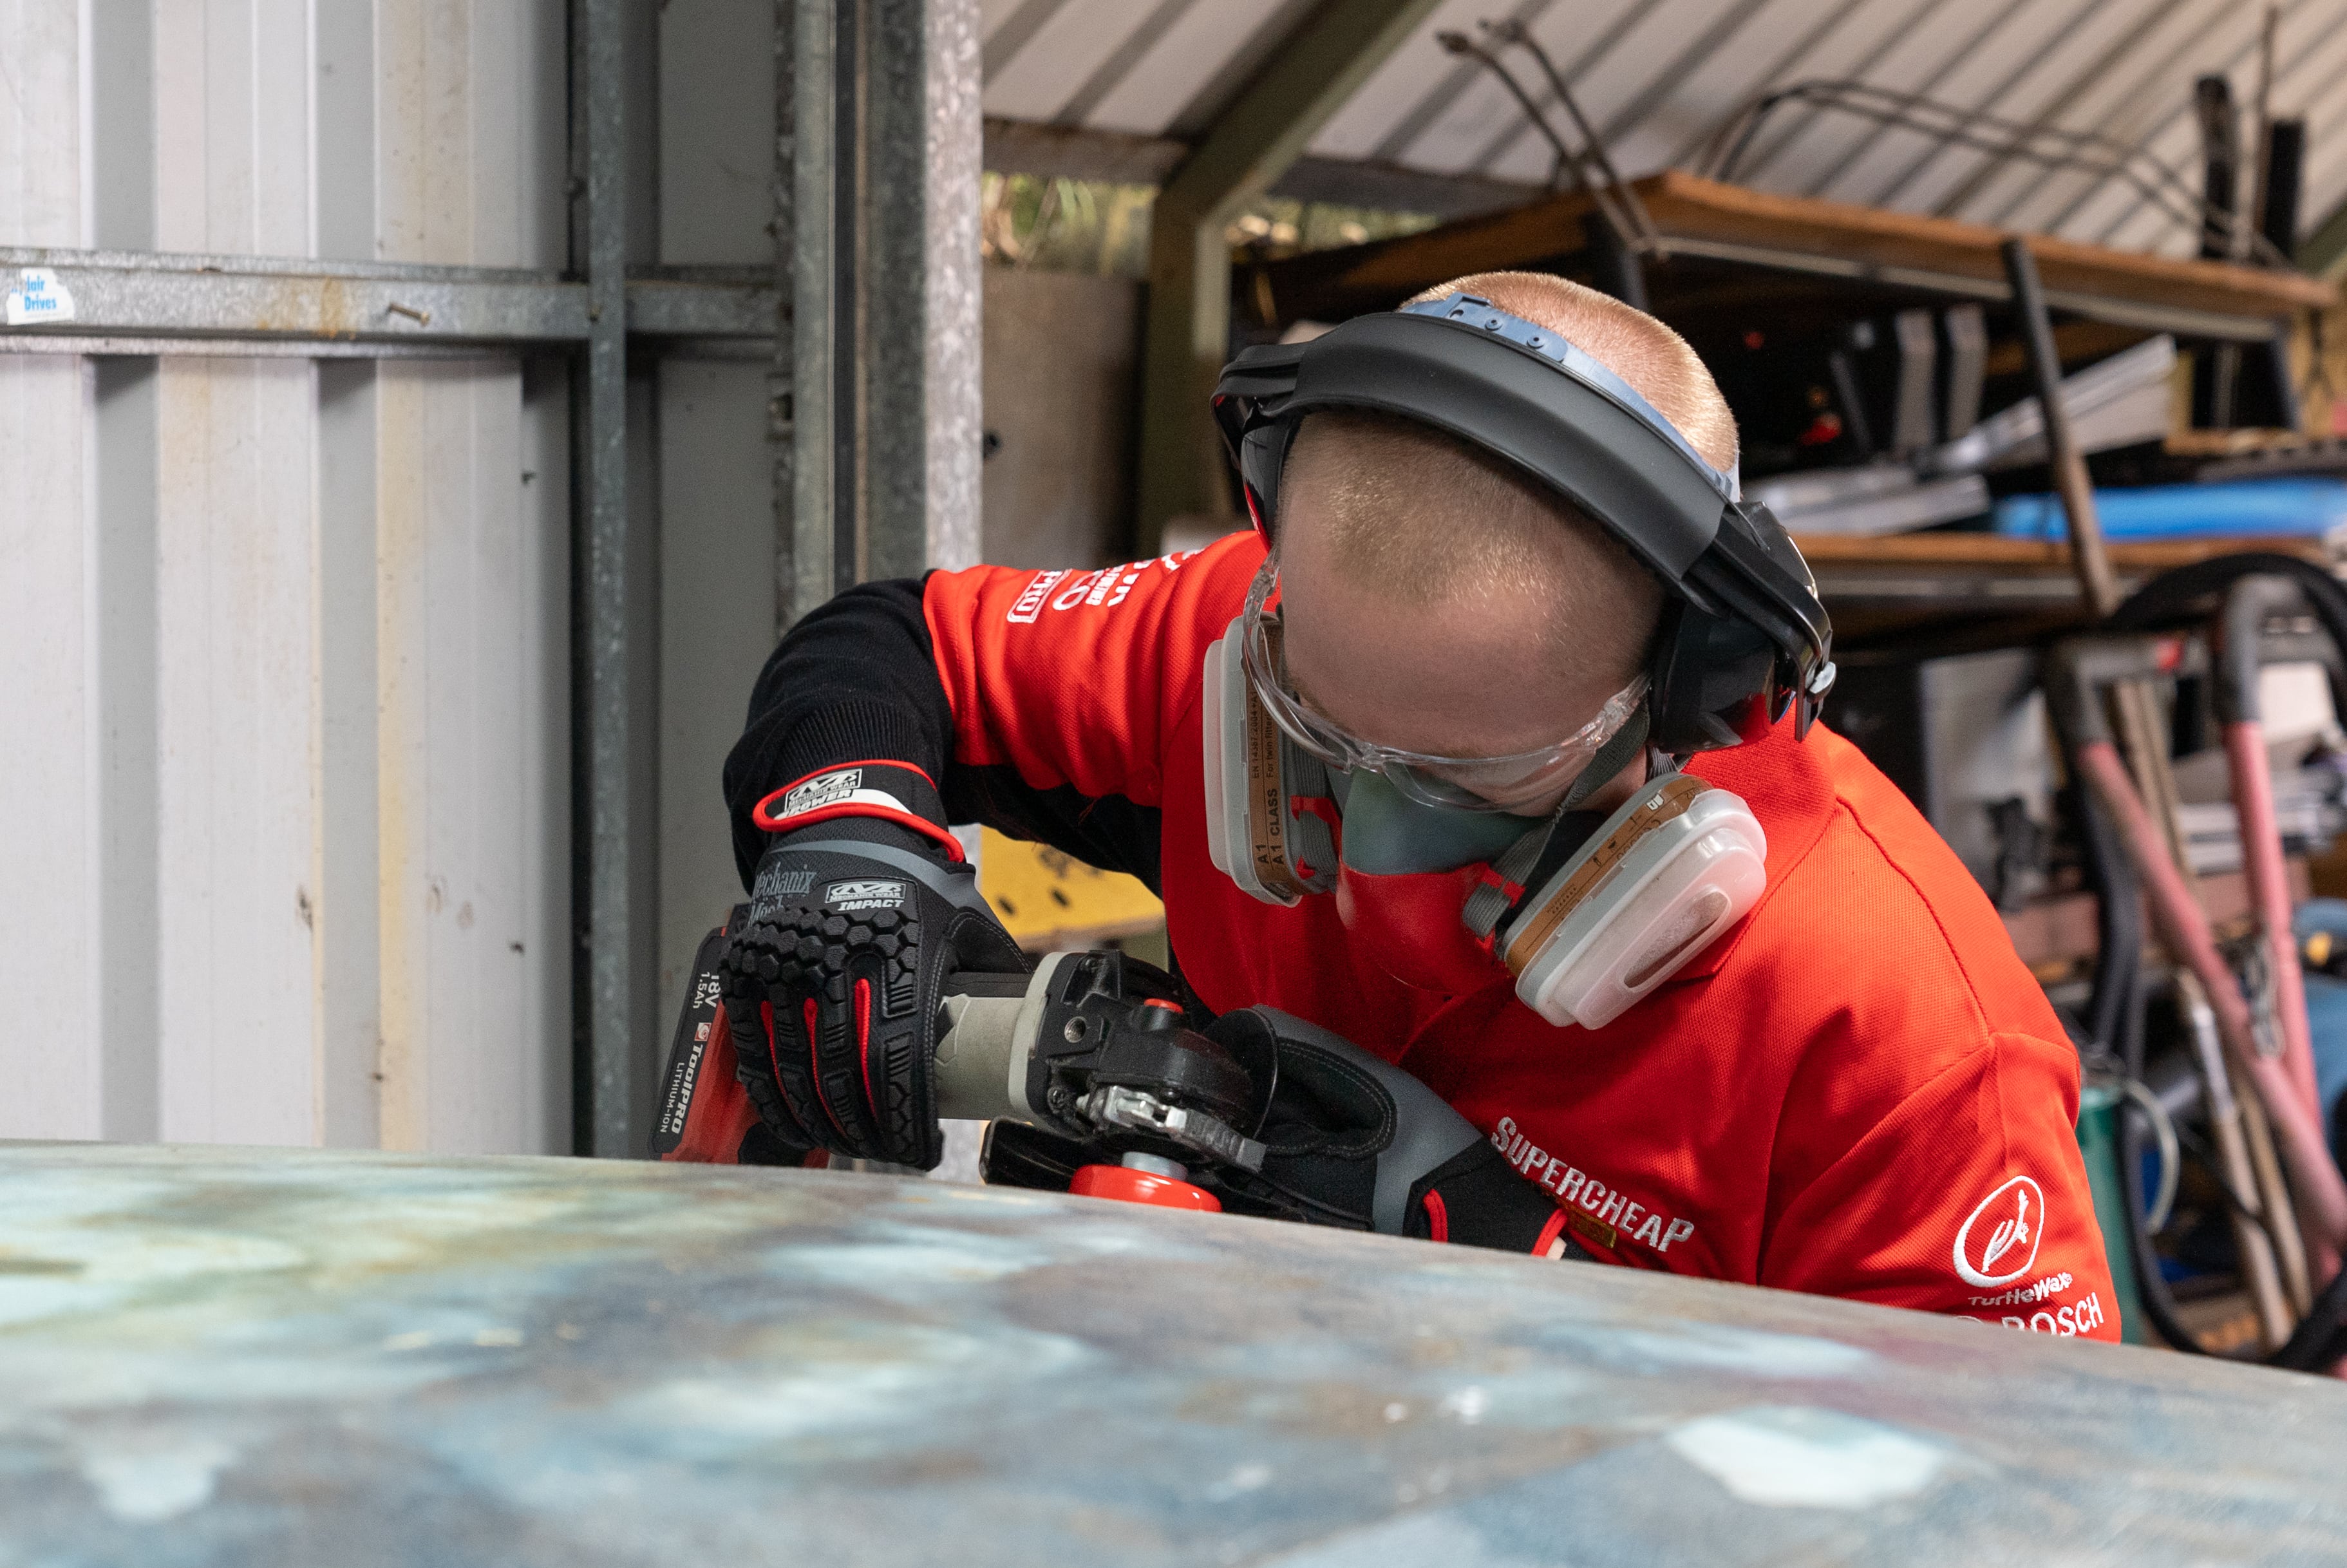
First of all some safety equipment: safety glasses, dust mask or face masks, gloves, hearing protection, fire extinguisher.
And then a few power tools: an angle grinder with battery, grinding, cutting, and wire wheels, rotary tool, a drill with drill bits, and spot weld drill bits.
Some hand tools never go astray either: locking pliers, scissors, marker pen, hand files, a body repair kit, and ball pein hammer.
And there’ll be a few consumables needed: masking tape, wax and grease remover and primer.
There’s plenty of welding to be done so you’ll need: a MIG welder, 0.6mm welding wire, a bottle of MIG gas with a regulator, welding gloves, welding helmet and welding magnets.
And an air compressor is always handy, especially with the following tools for this job: air hacksaw, blow gun and die grinder.
Finally, you’ll need some panel steel, the same thickness as your project car. Either some fresh steel; or an old panel you’re happy to cut up.
Steps
Lap join versus butt join repair. Which to use
Drop this question in a room full of auto body repairers, grab some popcorn, and watch the mayhem!
A lap join is created by crafting your patch panel larger than the rust repair area, welding the overlap, knocking the weld down, and smoothing with body filler. It makes for a good, strong rust repair but it cannot be finished without body filler.
A lap join also creates a seam on the back, so it’s no good for a rust repair where you will see both sides of the panel. This seam will ideally need to be sealed to prevent moisture becoming trapped.
A butt join is what an auto body purist would prefer. It is done by crafting a patch panel to perfectly fit the rust repair area, welding the gap precisely, grinding the welds flat, and ‘metal finishing’ the panel to require very little or no body filler at all.
A butt join takes a lot of practice to get right, takes much longer, and the rust repair will be weak if your technique isn’t perfect.
How to make a rust repair panel
Step 1: Clean the area
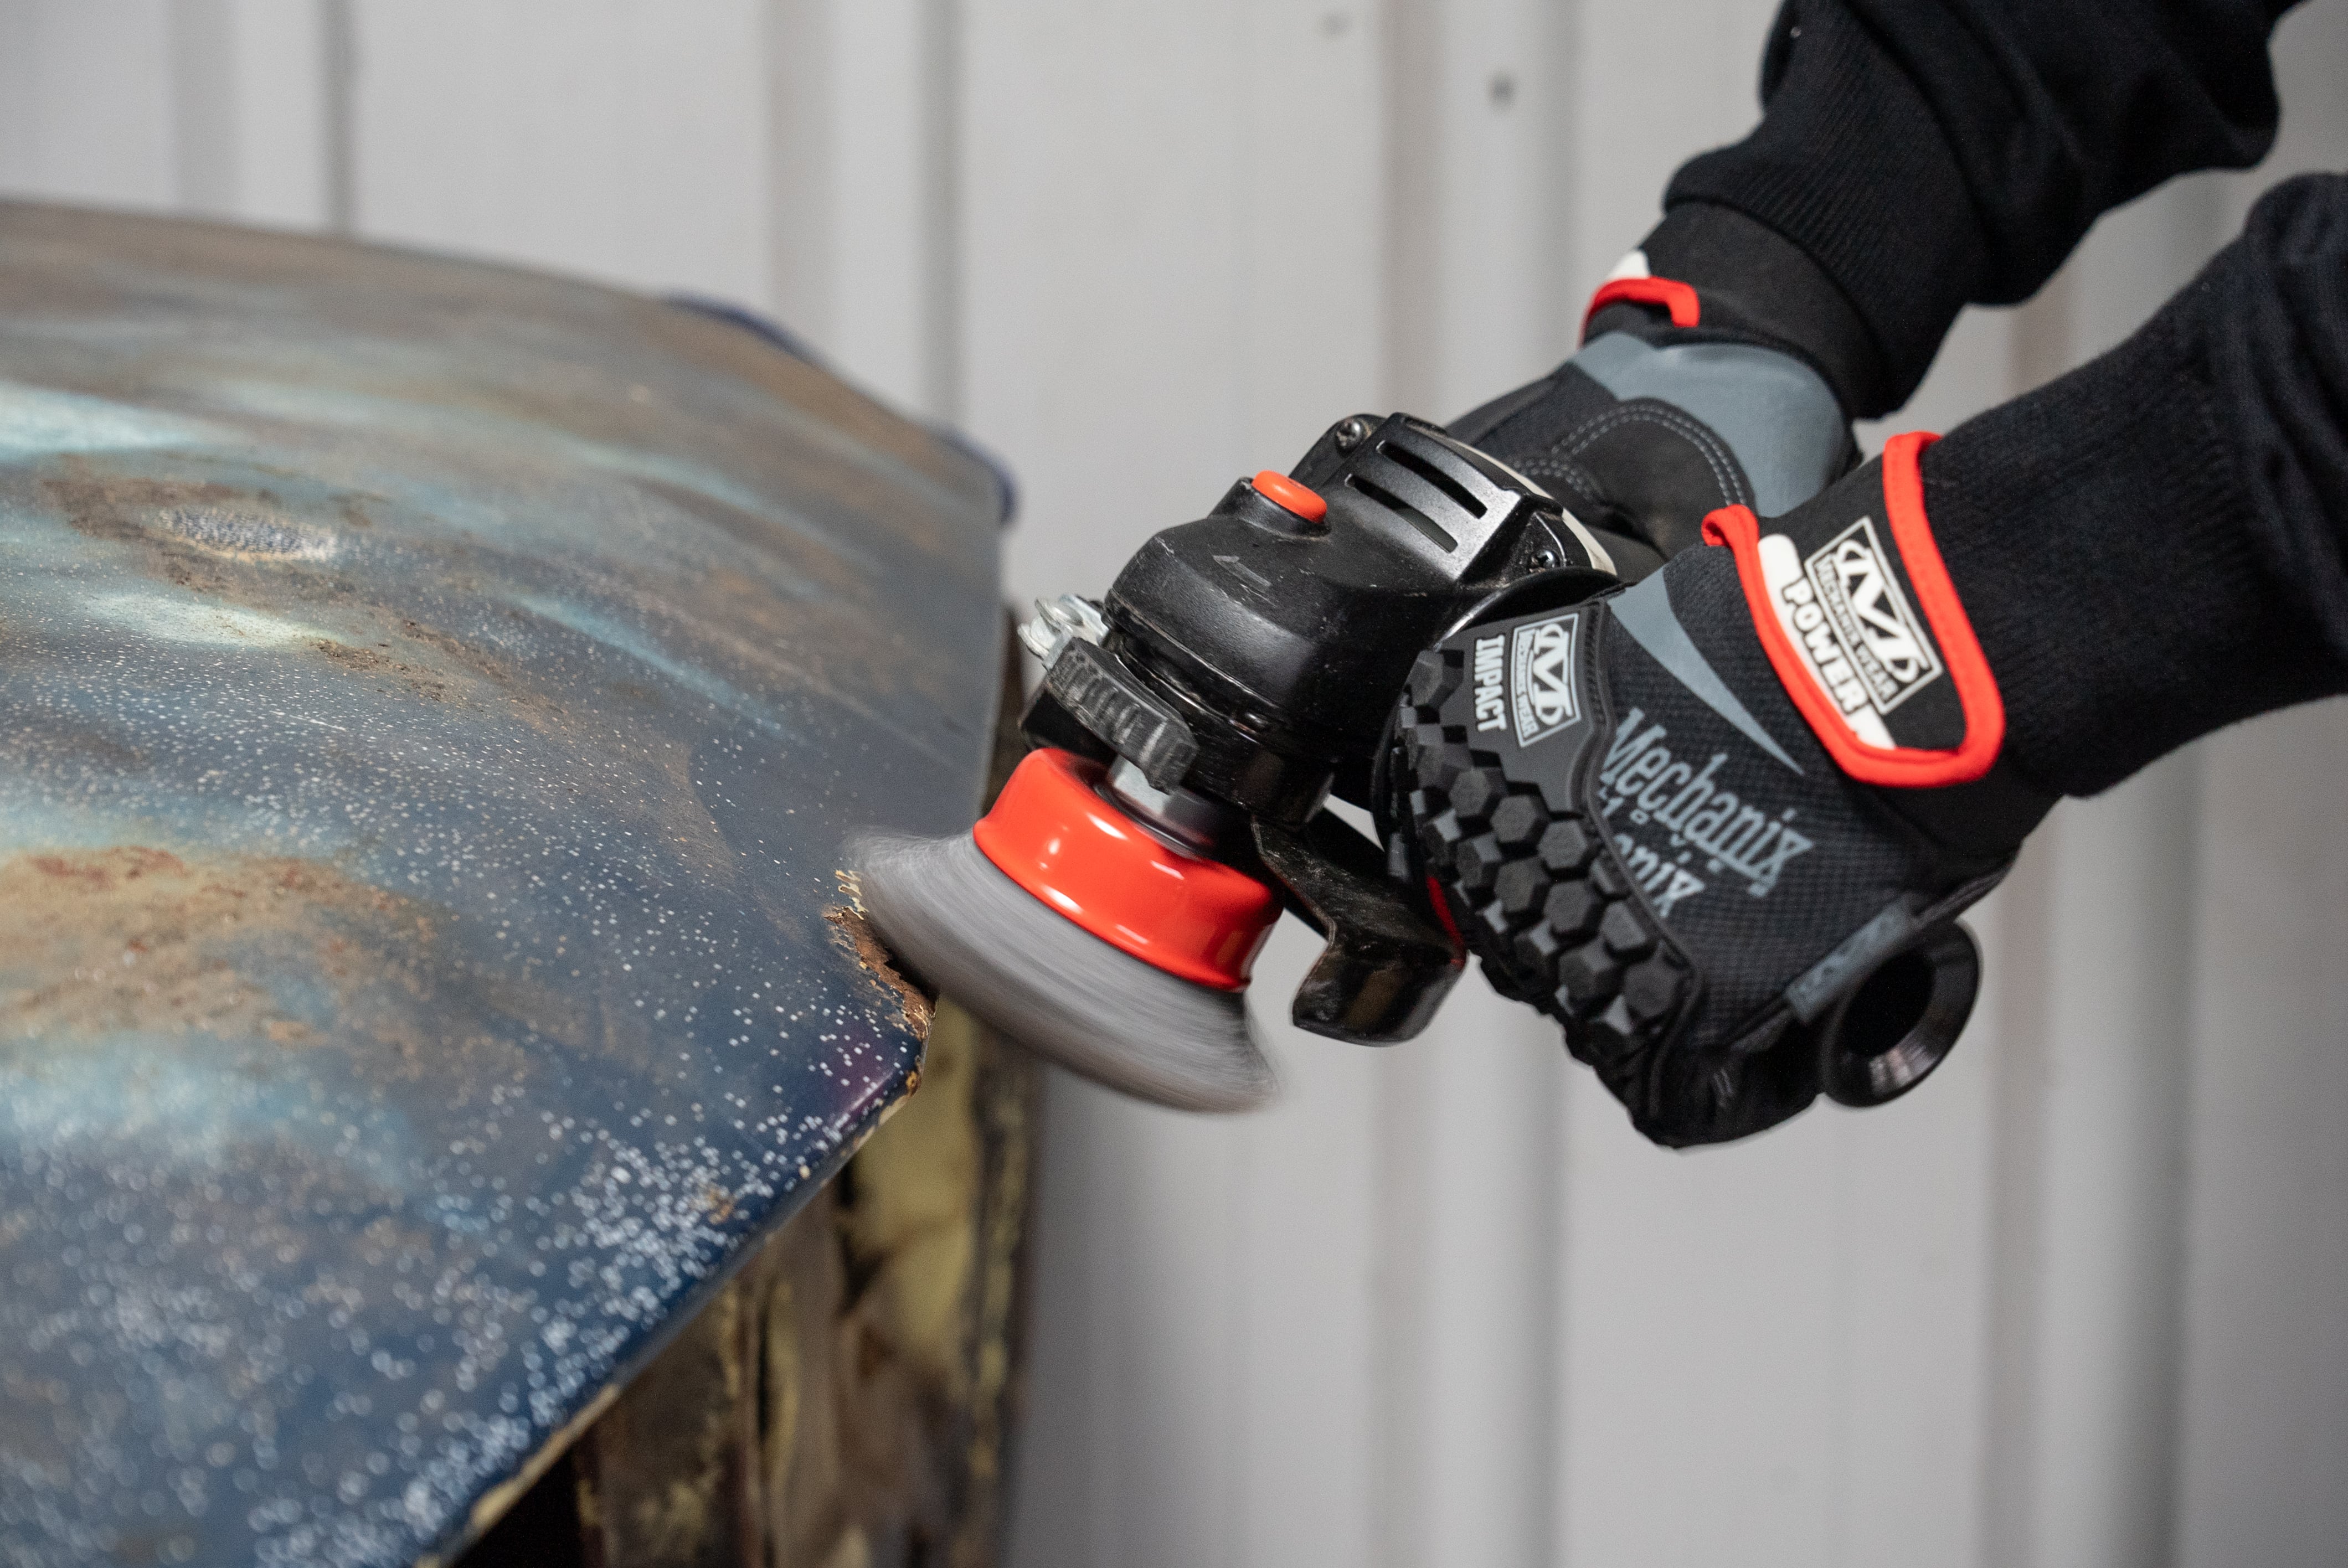
Fit a wire wheel to your angle grinder and strip the paint, body filler, and all rusty metal to reveal the extent of the damage. Take it slowly, you never know what’s hiding under there.
Step 2: Create a template
Crafting a template before cutting the rust out works well in areas where access behind the panel is impossible, or where tricky bends or curves need to be replicated.
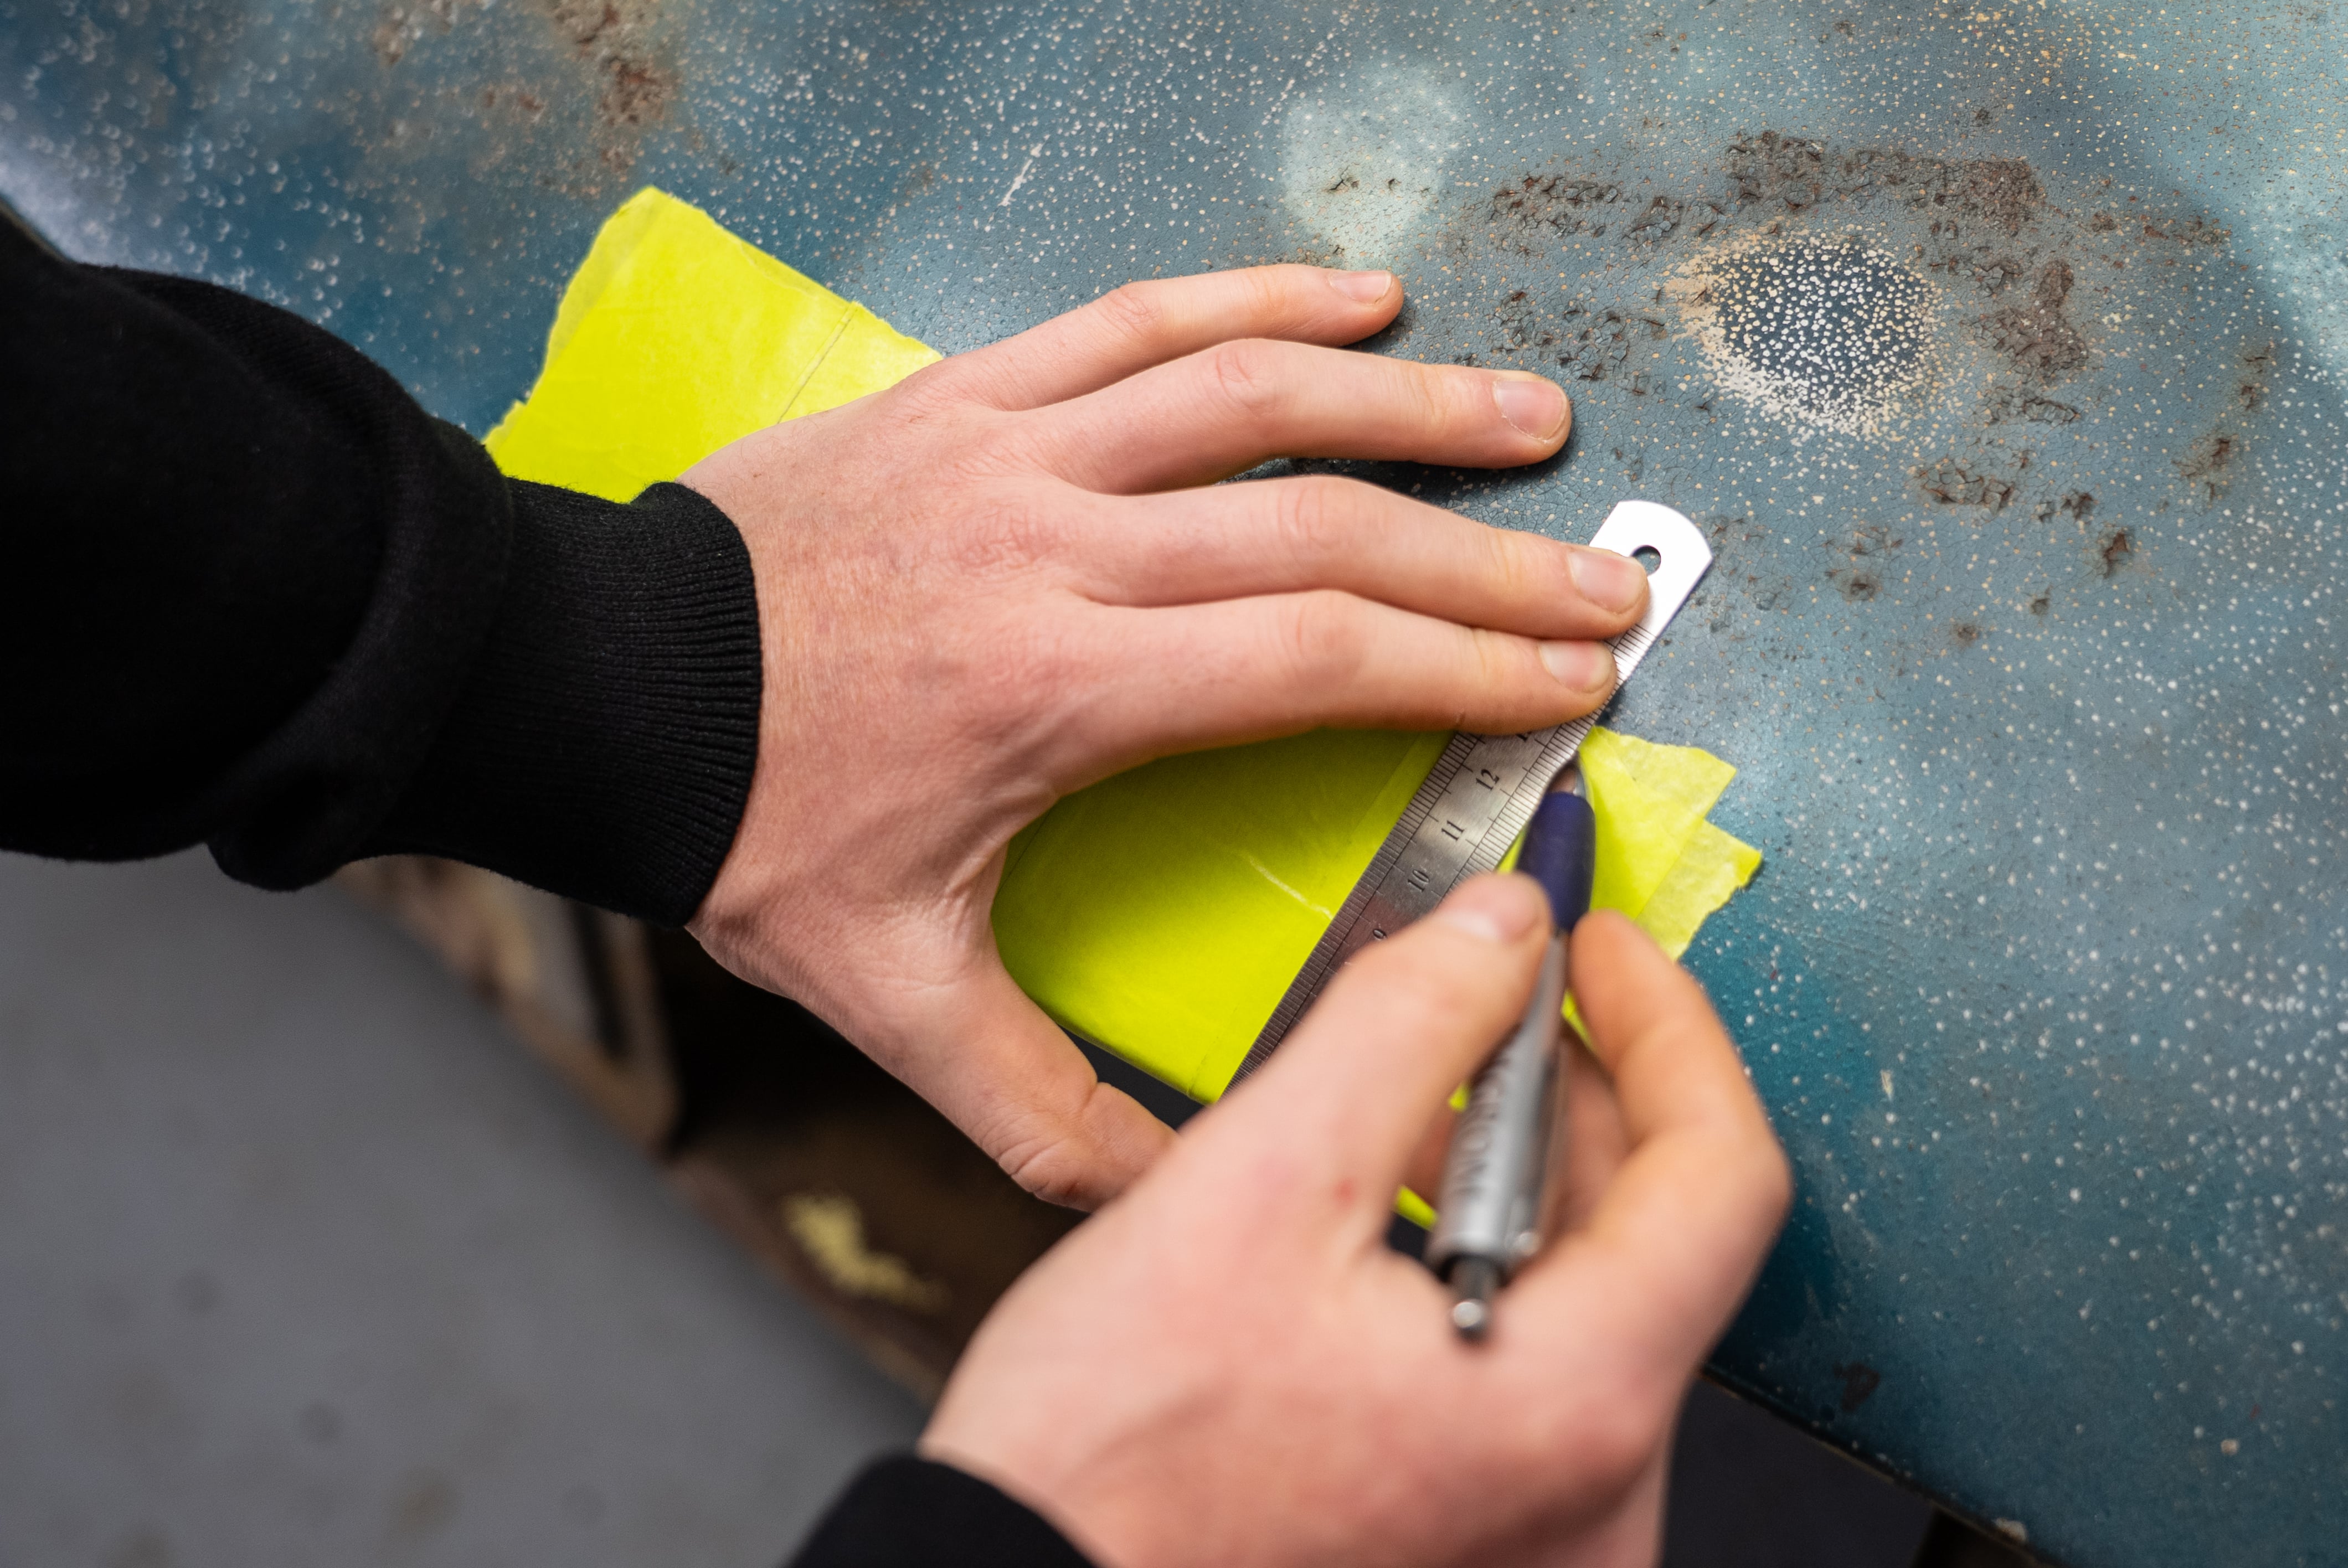
Apply three or four layers of masking tape over the repair area. It makes an excellent template for a patch panel and conforms perfectly to bends and curves.
Mark a simple outline onto the tape and check behind the panel to ensure that when it’s time to cut, you’ll be removing all rust back to fresh steel. Any rusty steel left behind will be difficult to weld and cause further corrosion in the future.
Mark where the panel bends and curves, tear the tape off, trim to size, and you have a patch panel template.
Step 3: Craft your patch panel
Clean your panel steel back to bare metal and mark it using your template. The cutting disc in your angle grinder will get most of the job done, an air hacksaw will help with the fiddly bits.
With that cut out, copy the marks you made for curves and bends from your template.
Now get creative with your bench vice, hammers, pliers, hands and panel dollies. Tight bends and flanges can be made in the vice with a few scraps of angle iron and a hammer. Broad curves can often be worked by hand or hammered out over a panel dolly mounted in the vice.
Check your patch panel regularly against the car panel and make small adjustments.
How to remove the rust from your vehicle
Cutting the rust out should ideally be done once you’ve made a patch panel you’re happy with. That way the original shape remains should you need to start again with a new rust repair template.
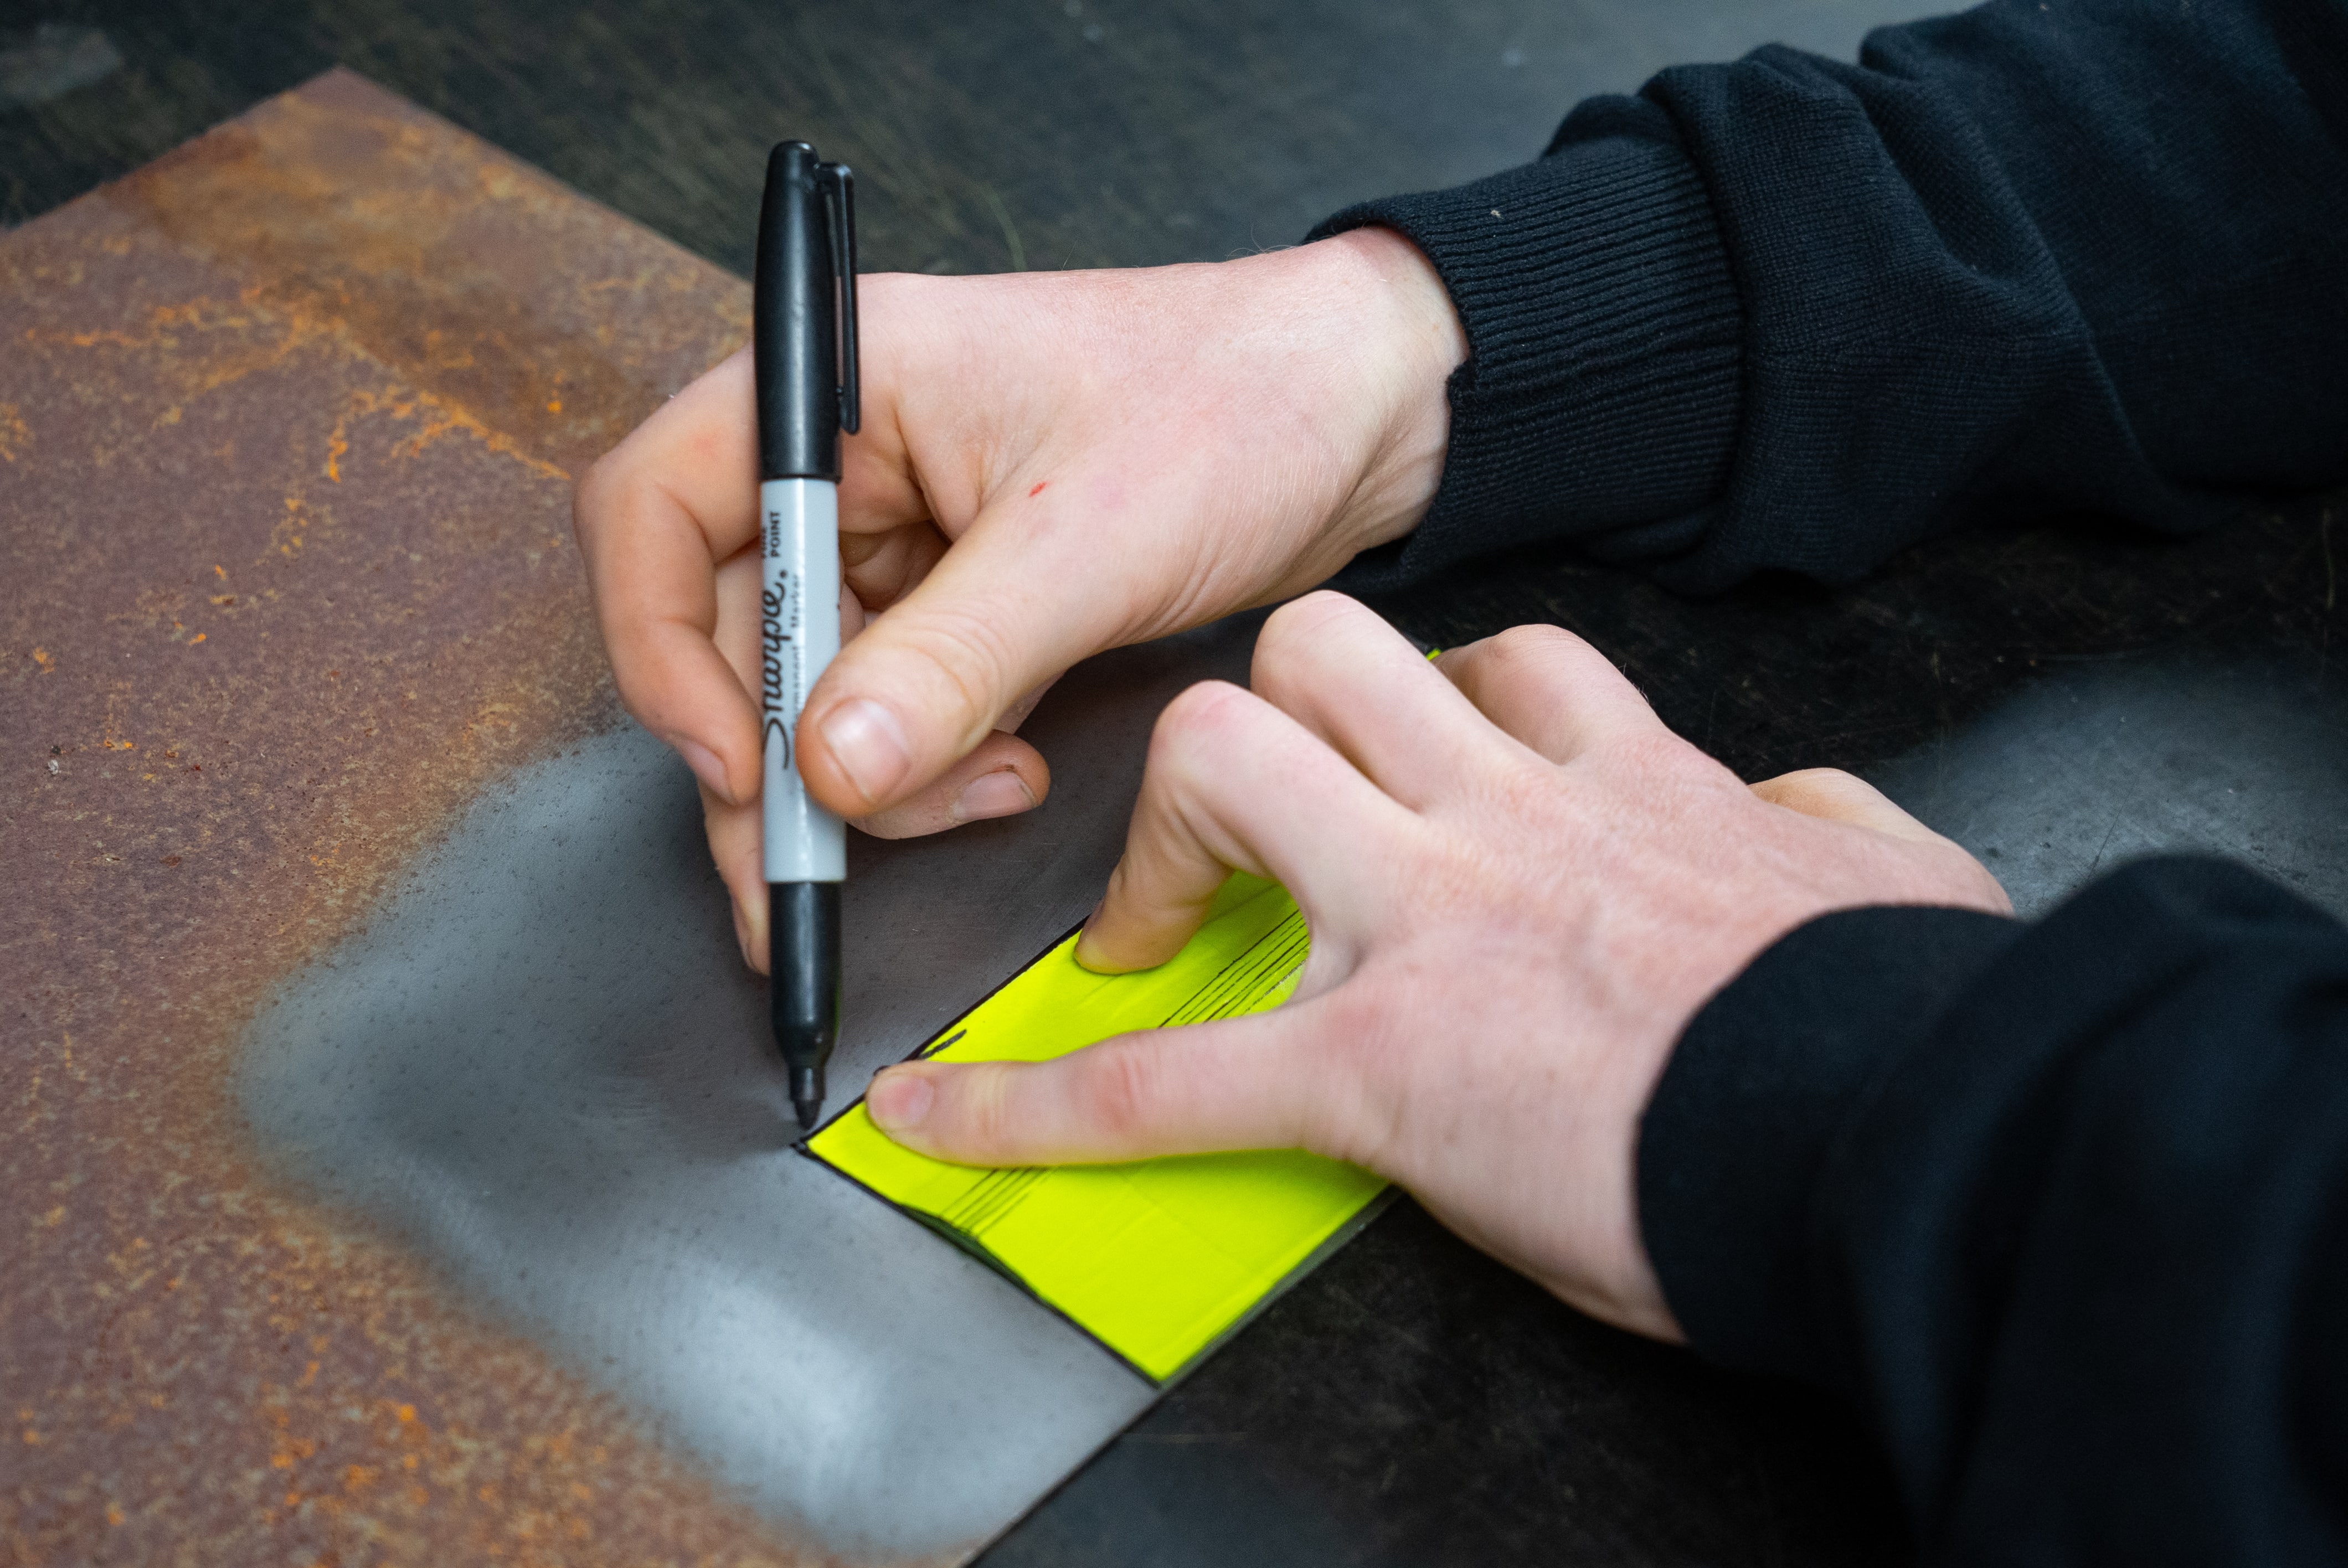
Position your patch panel on the vehicle panel and trace around it with your marker. If you’re performing a lap join, mark the same line again about 10 millimetres IN from the first line. Cutting here will give you the required overlap.
On the double skinned lip, mark precisely where your patch will go for a butt join.
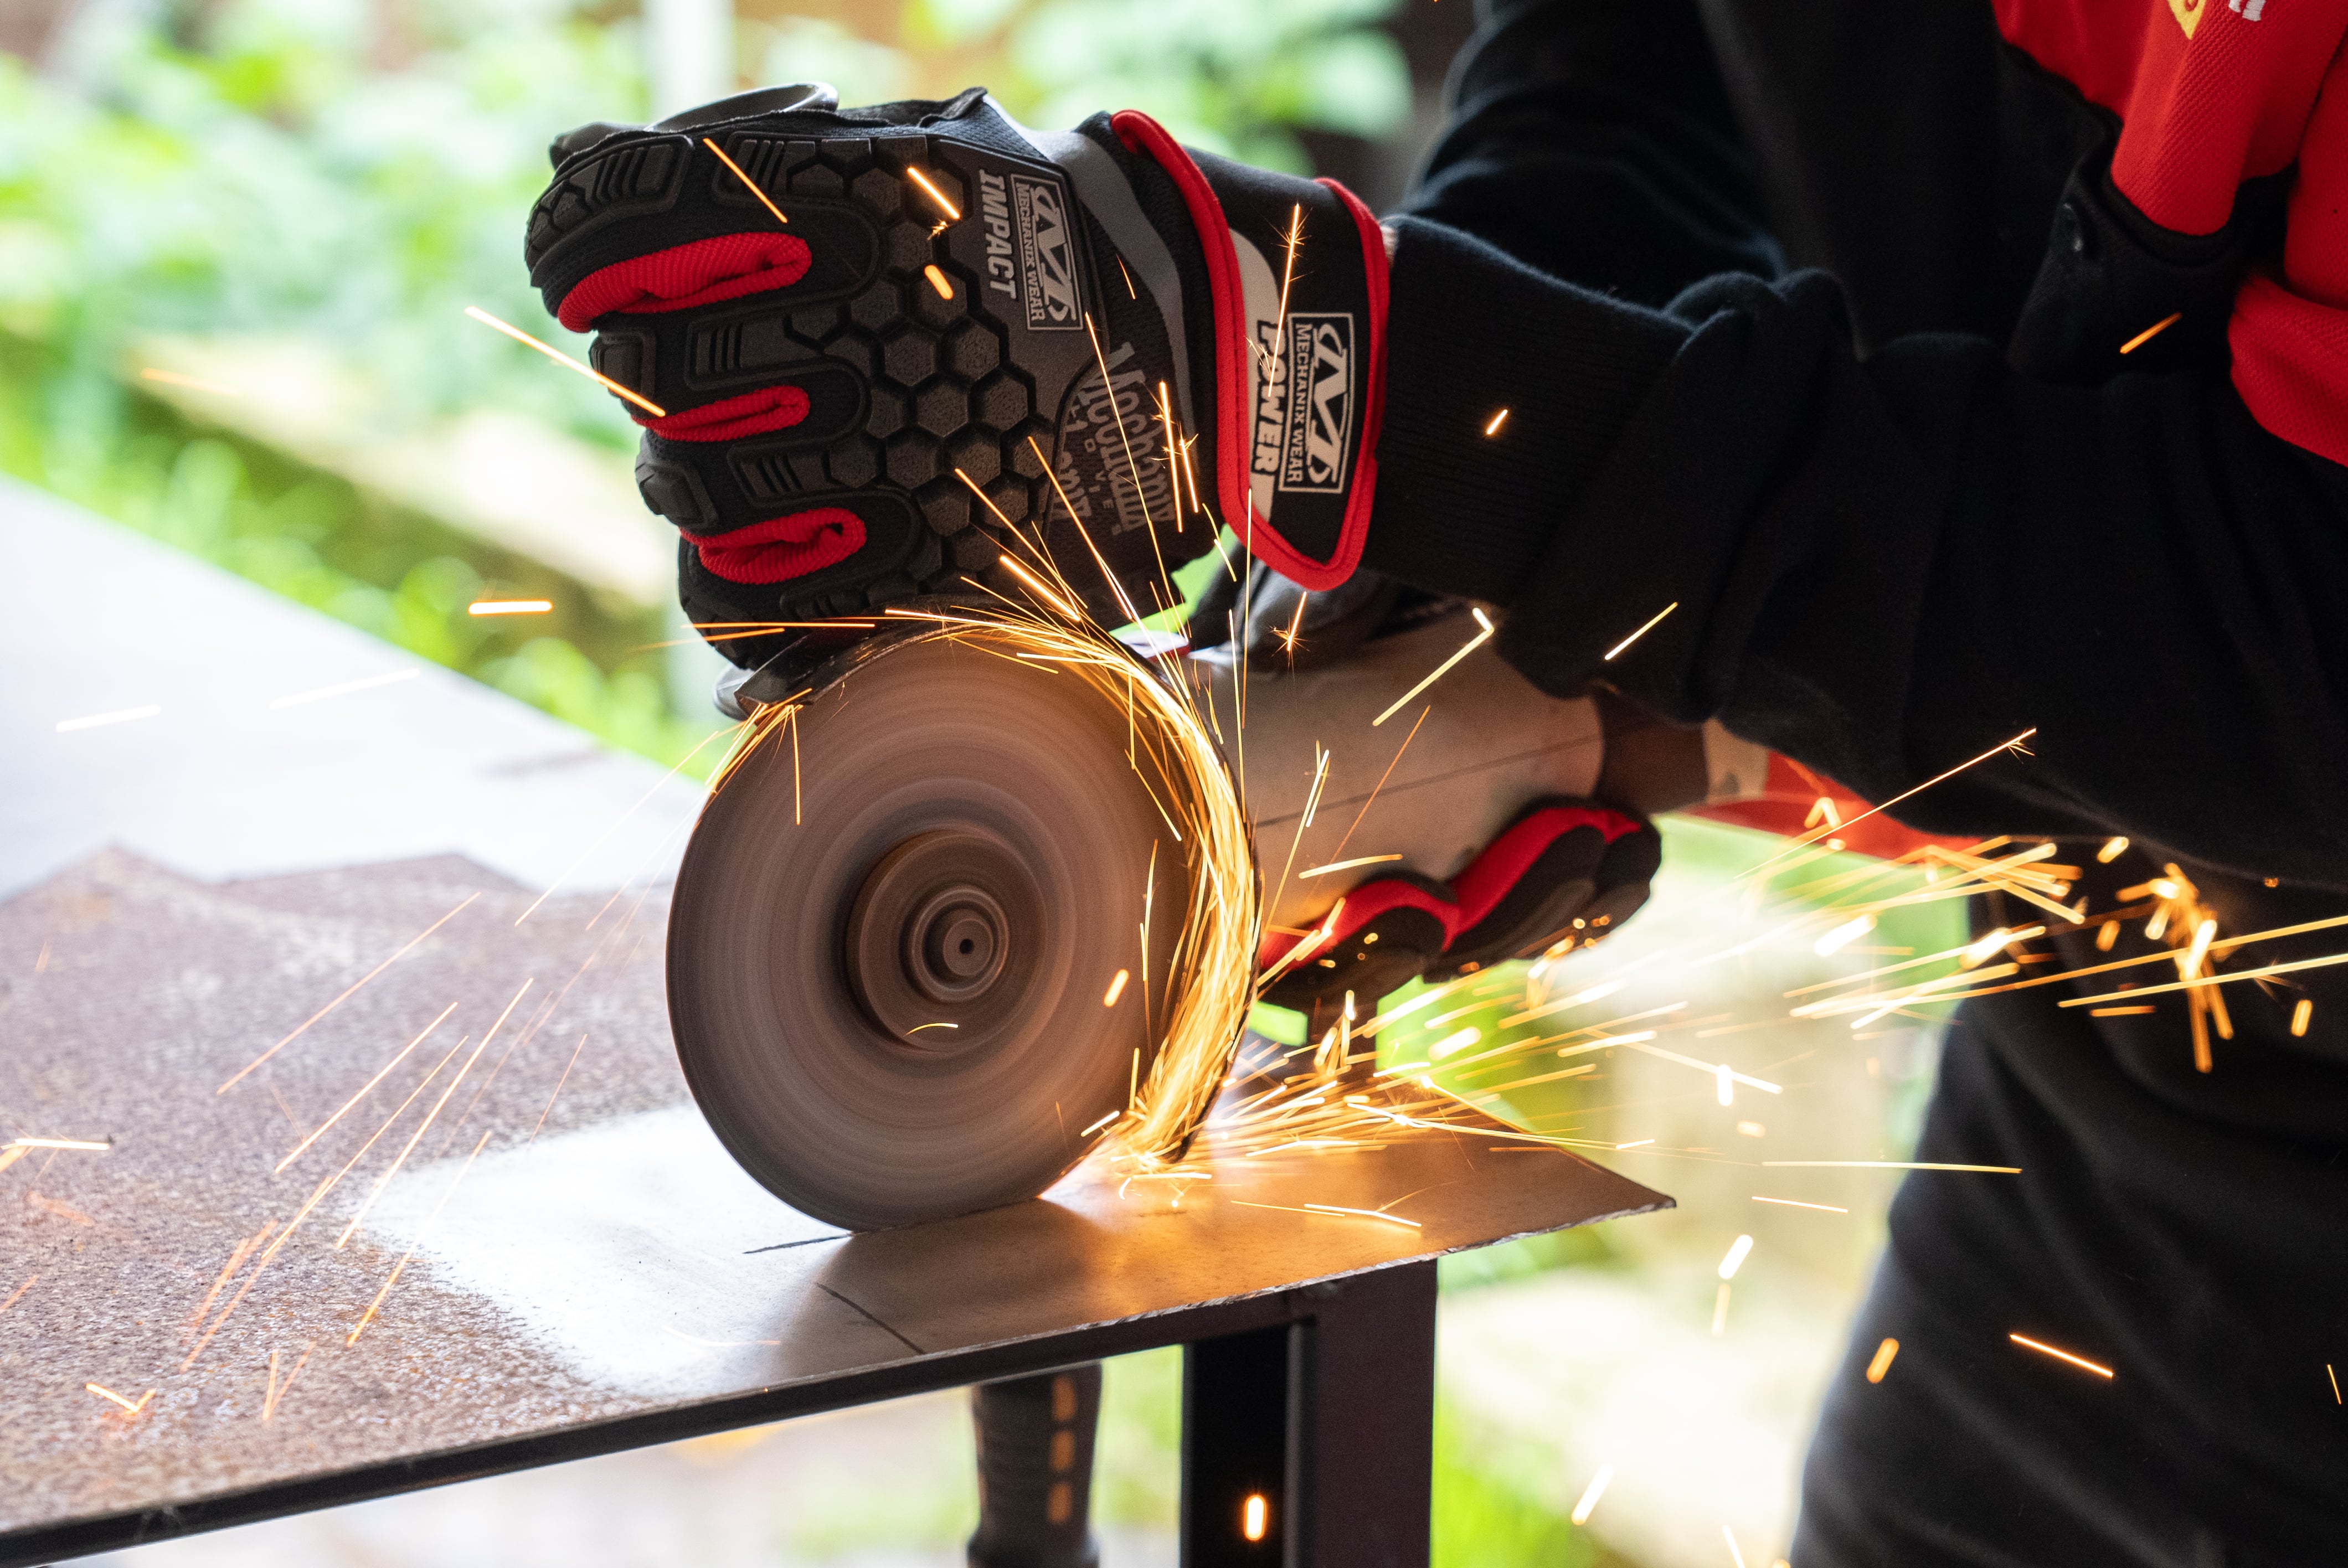
Now you can cut out the rust. Check for any spot welds to drill out, then use the angle grinder, air hacksaw, and rotary tool to remove the rust from your vehicle.
How to repair rust by welding
Step 1: Prepare to weld
Before you weld a patch panel in, be sure to remove any remaining paint from the rust repair area and wipe it all over with wax and grease remover. Bare a patch of metal for your welding earth too.
Now fit your welder with the 0.6mm wire and the MIG gas. You’ll find instructions detailing this in the owner's manual. The chart inside the welder will help you dial in settings for your metal thickness.
You need to cover up in long sleeves, pants, boots, welding gloves and a welding helmet before getting into it too.
Step 2: Practice welding
Welding is an art. Da Vinci didn’t paint the Mona Lisa by numbers so just like him; you’ll need some practise at the workbench.
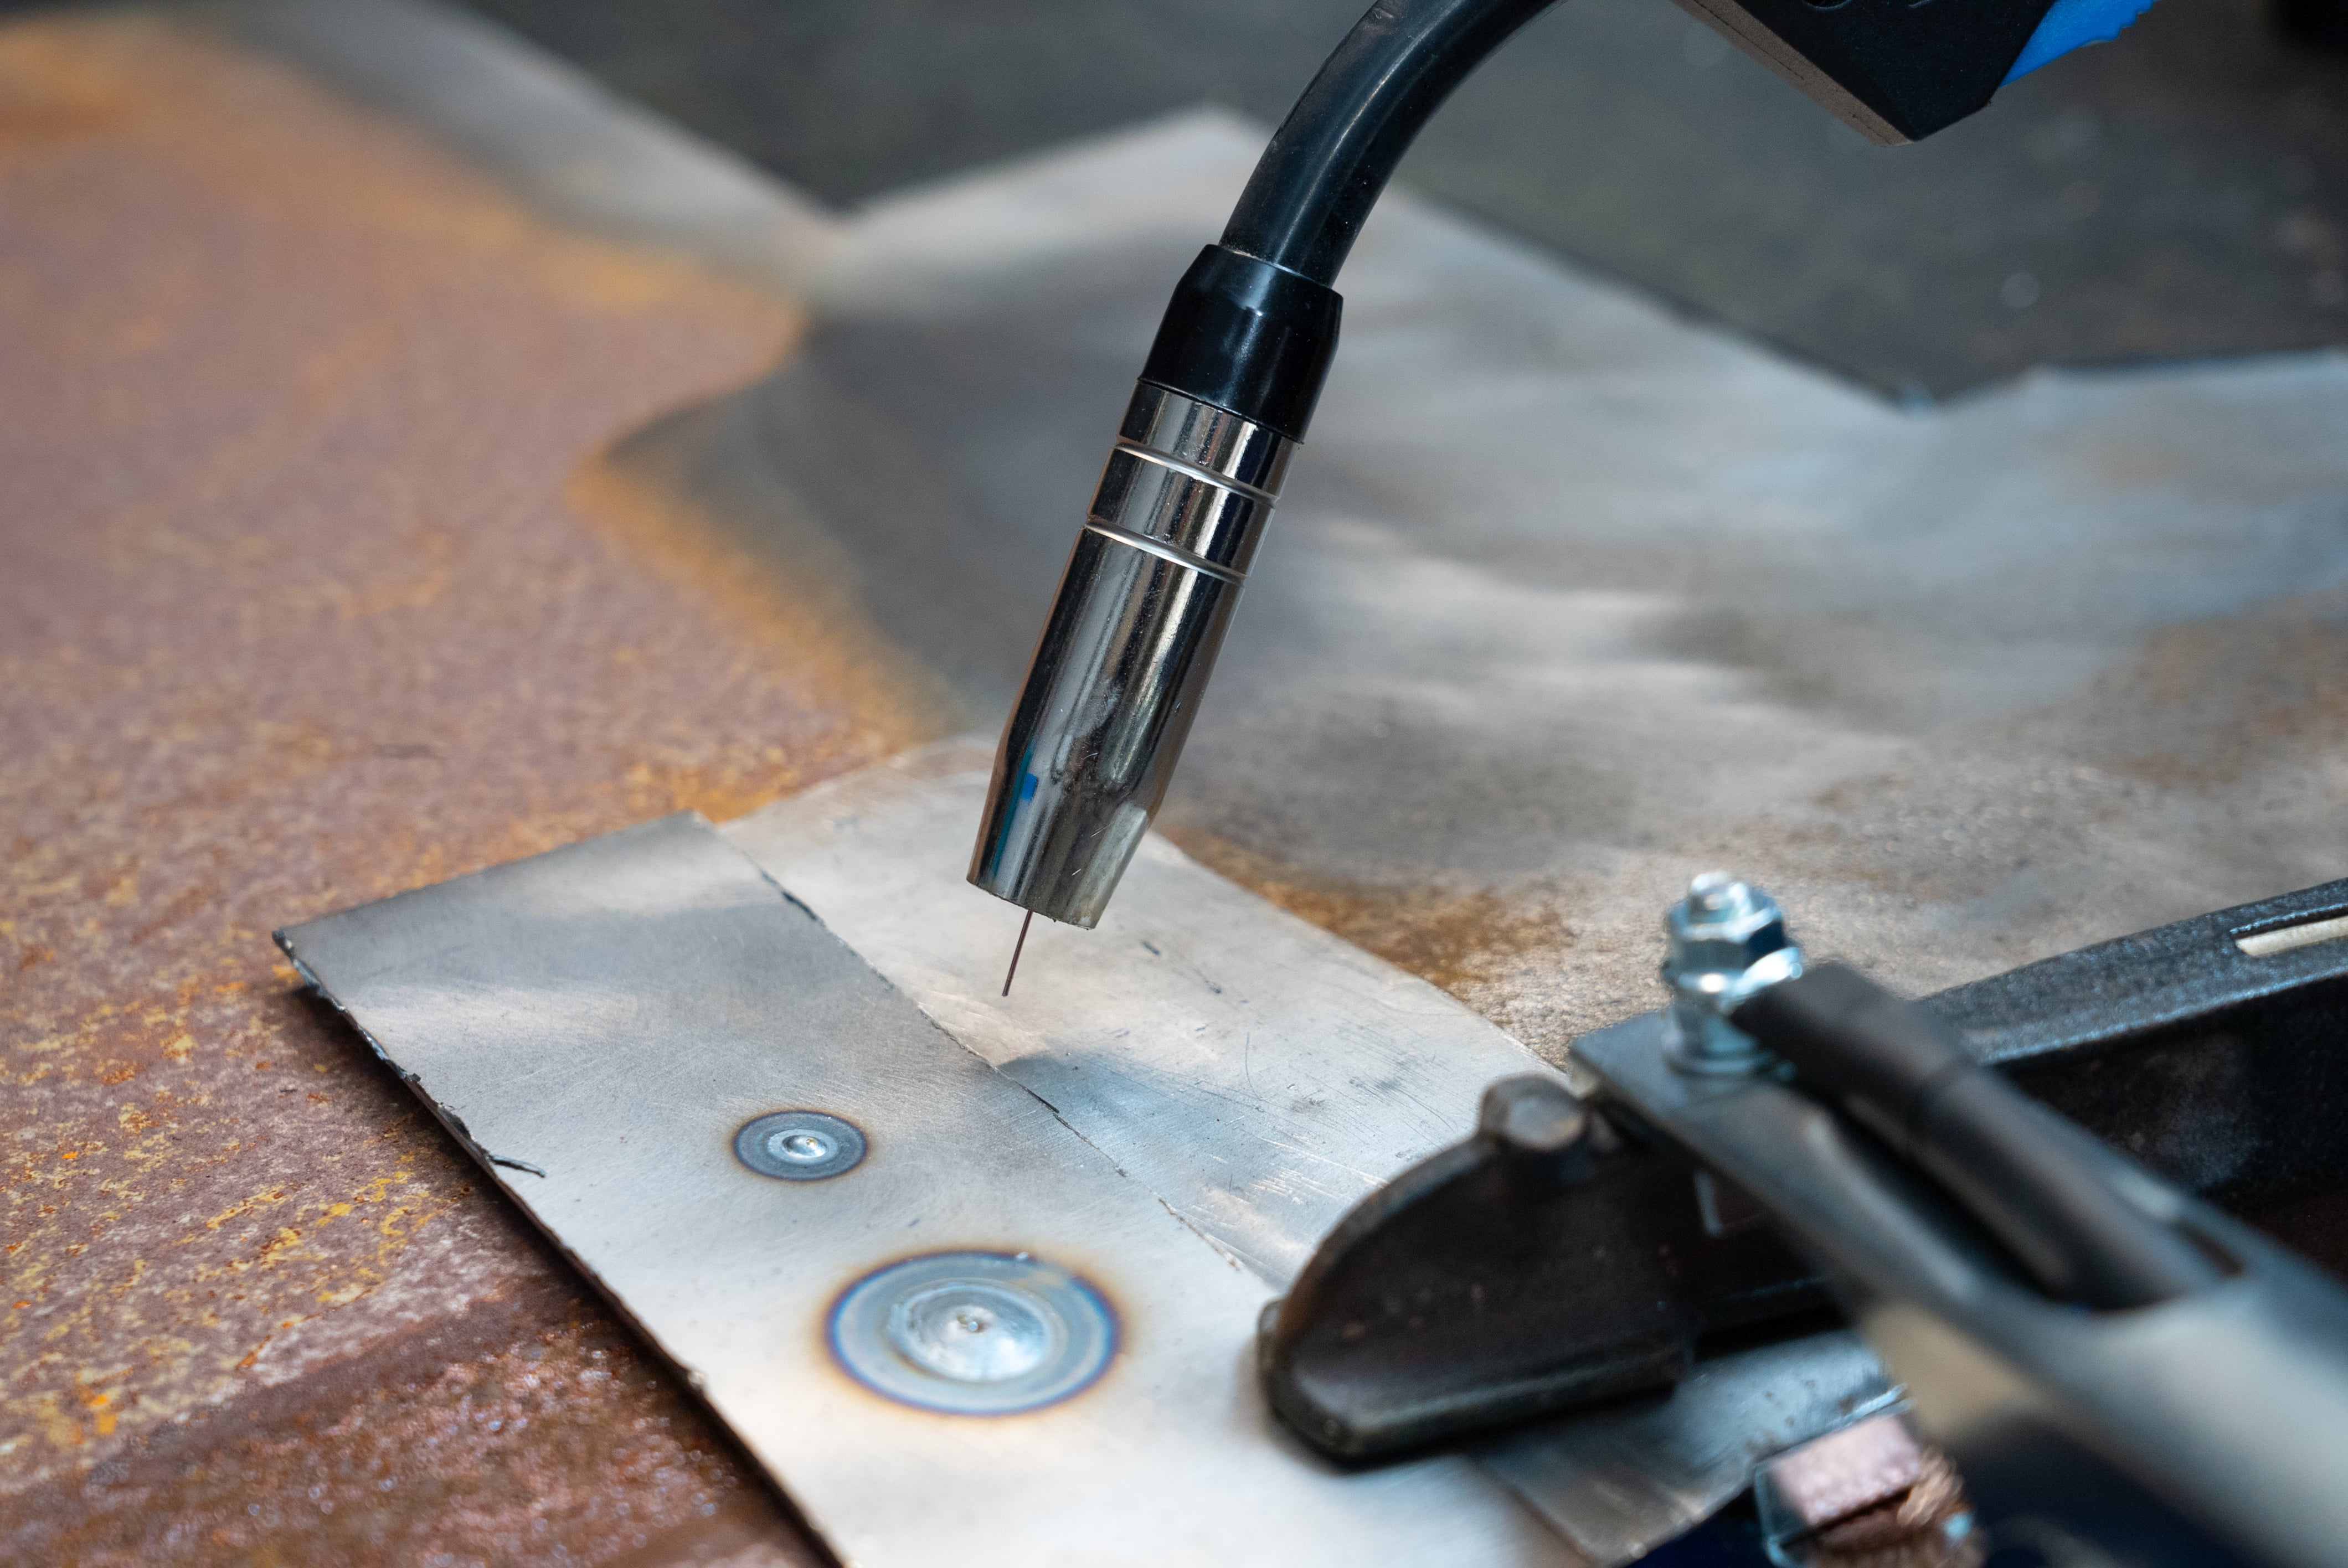
Trim the welding wire about five to ten millimetres past the nozzle. Hold the nozzle at around 45 degrees to the join and squeeze the trigger for one second. It should make a nice consistent sizzle. This is a spot weld.
If your weld is too flat, try increasing the wire speed. If you get a large domed weld, try decreasing it. If you’re blowing holes, try lowering the voltage. If your weld looks rough and porous, check the gas flow.
Step 3: Weld your patch panel
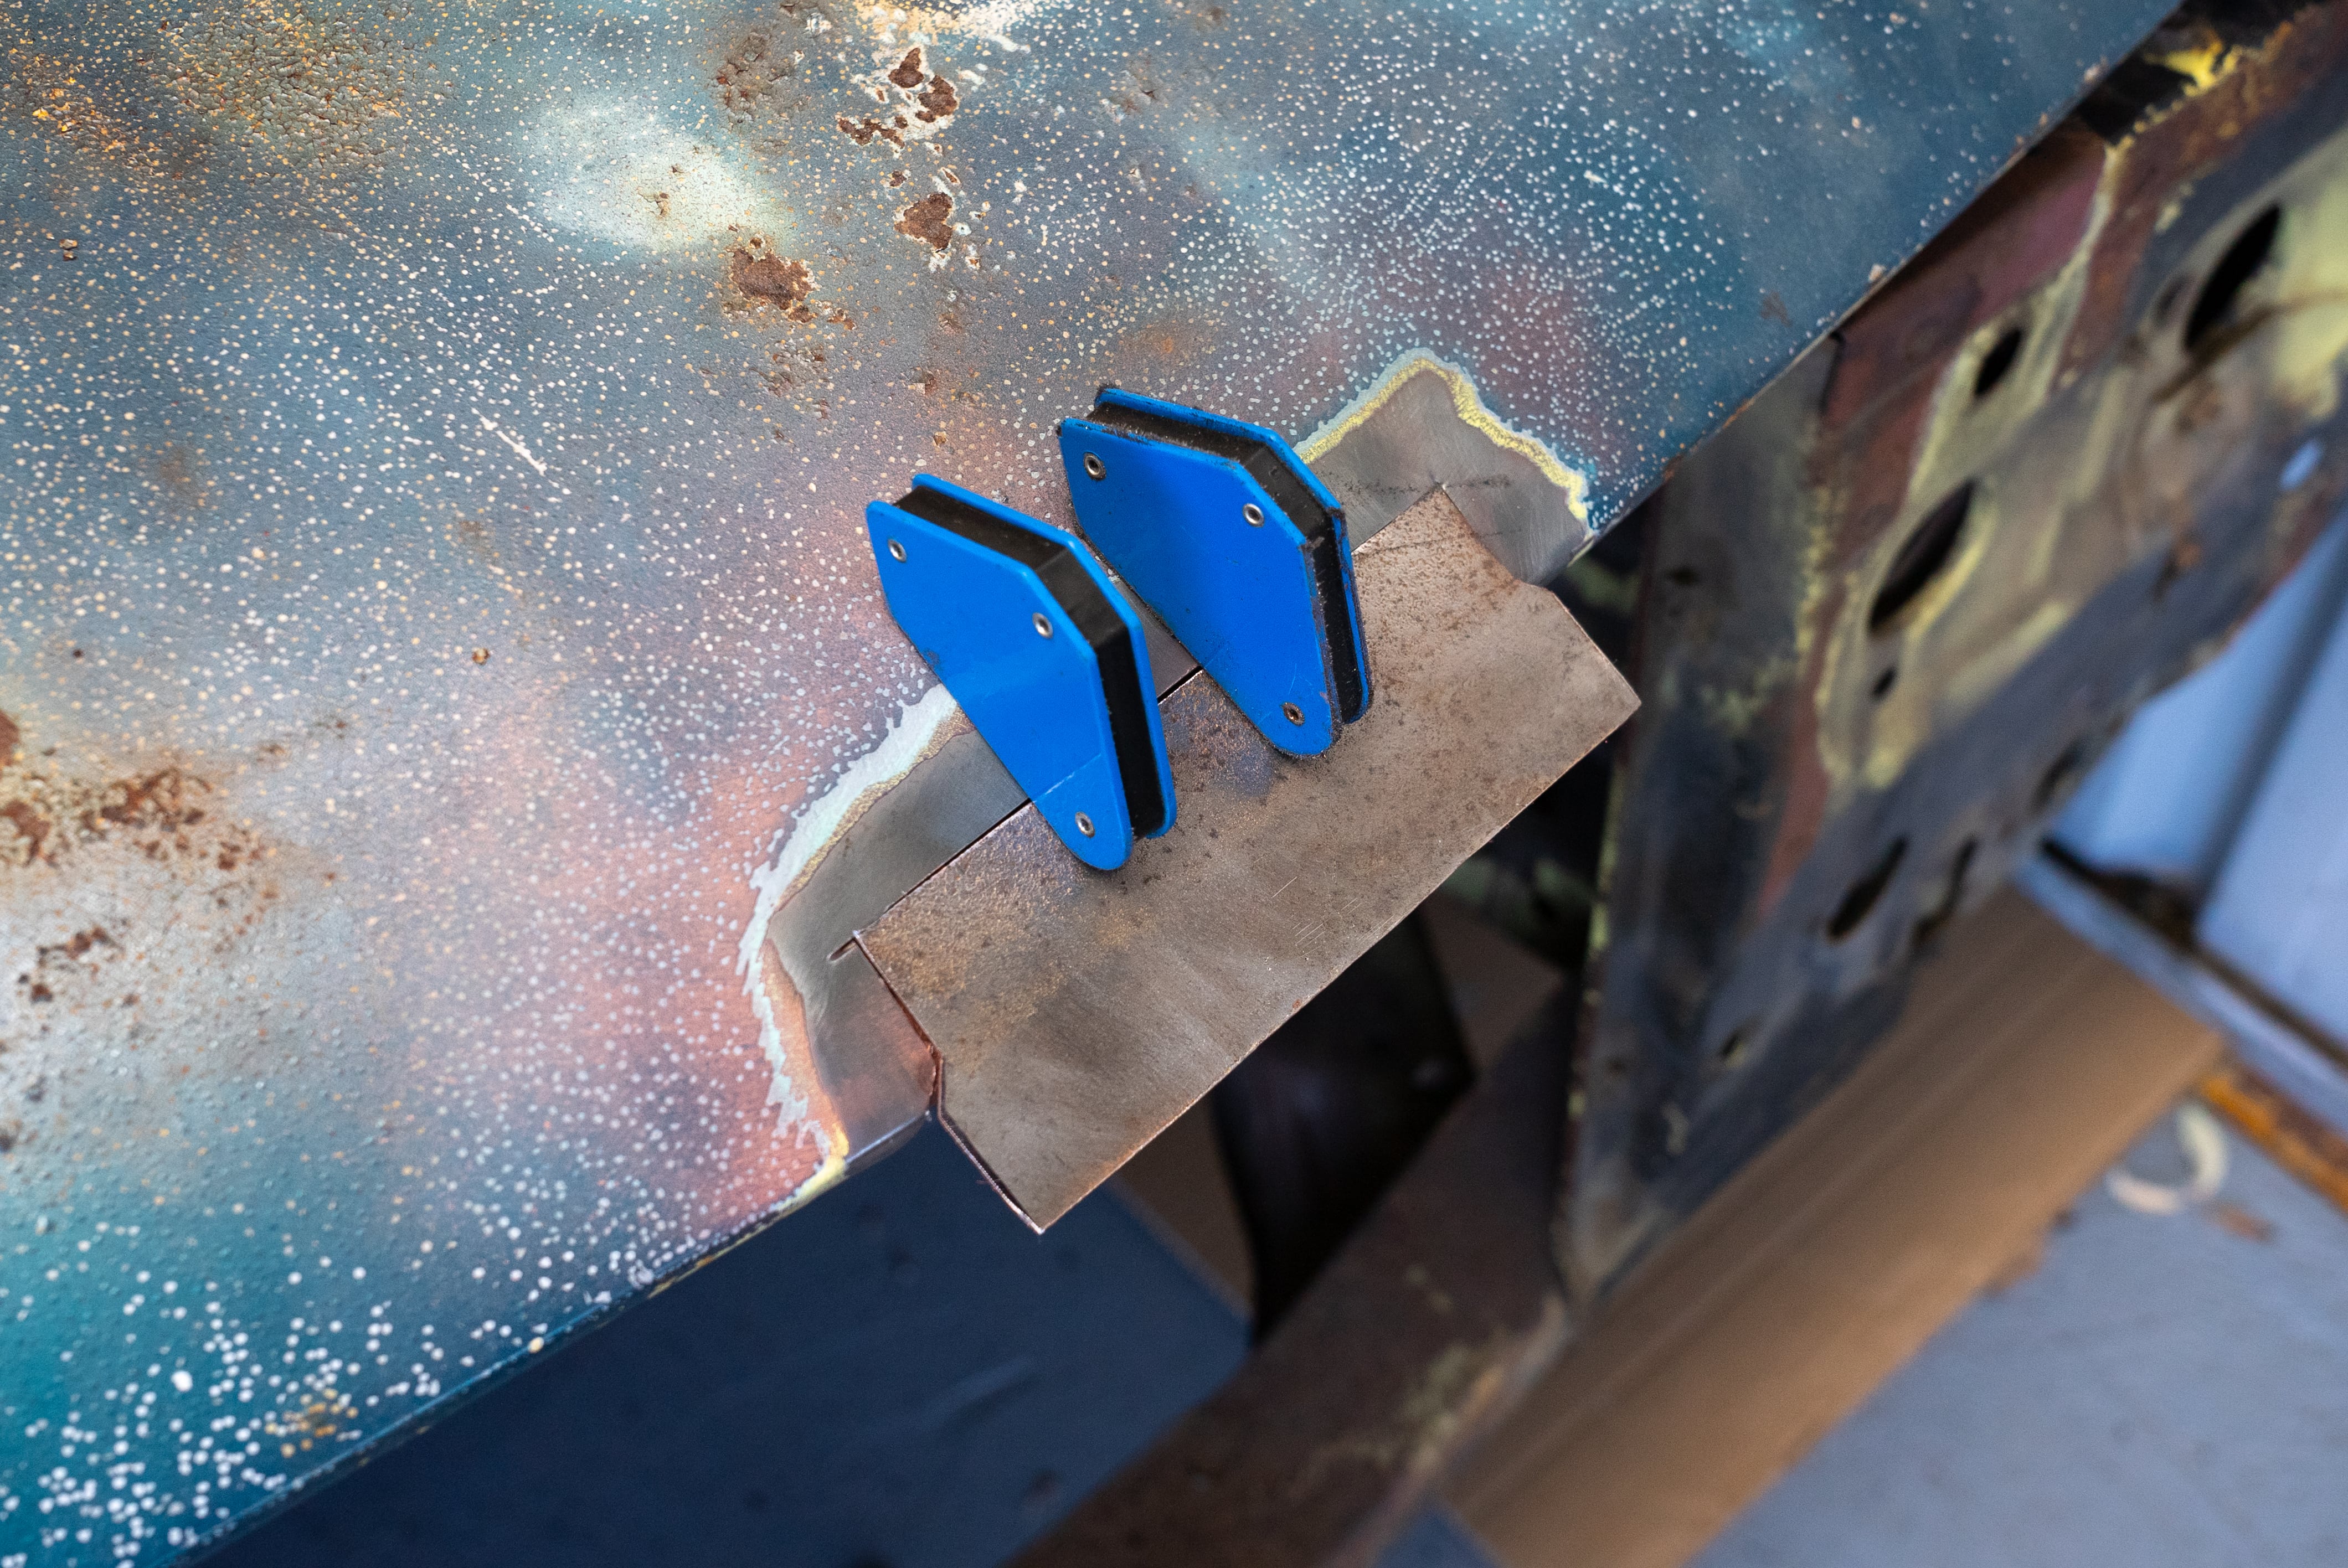
Fix the patch panel in place using locking pliers and welding magnets. Perform a spot weld at each corner of your patch, then alternate your spot welds around the patch. Doing it this way reduces warping of the thin panel steel.
You can even use your compressor with an air gun to cool it down after every few welds.
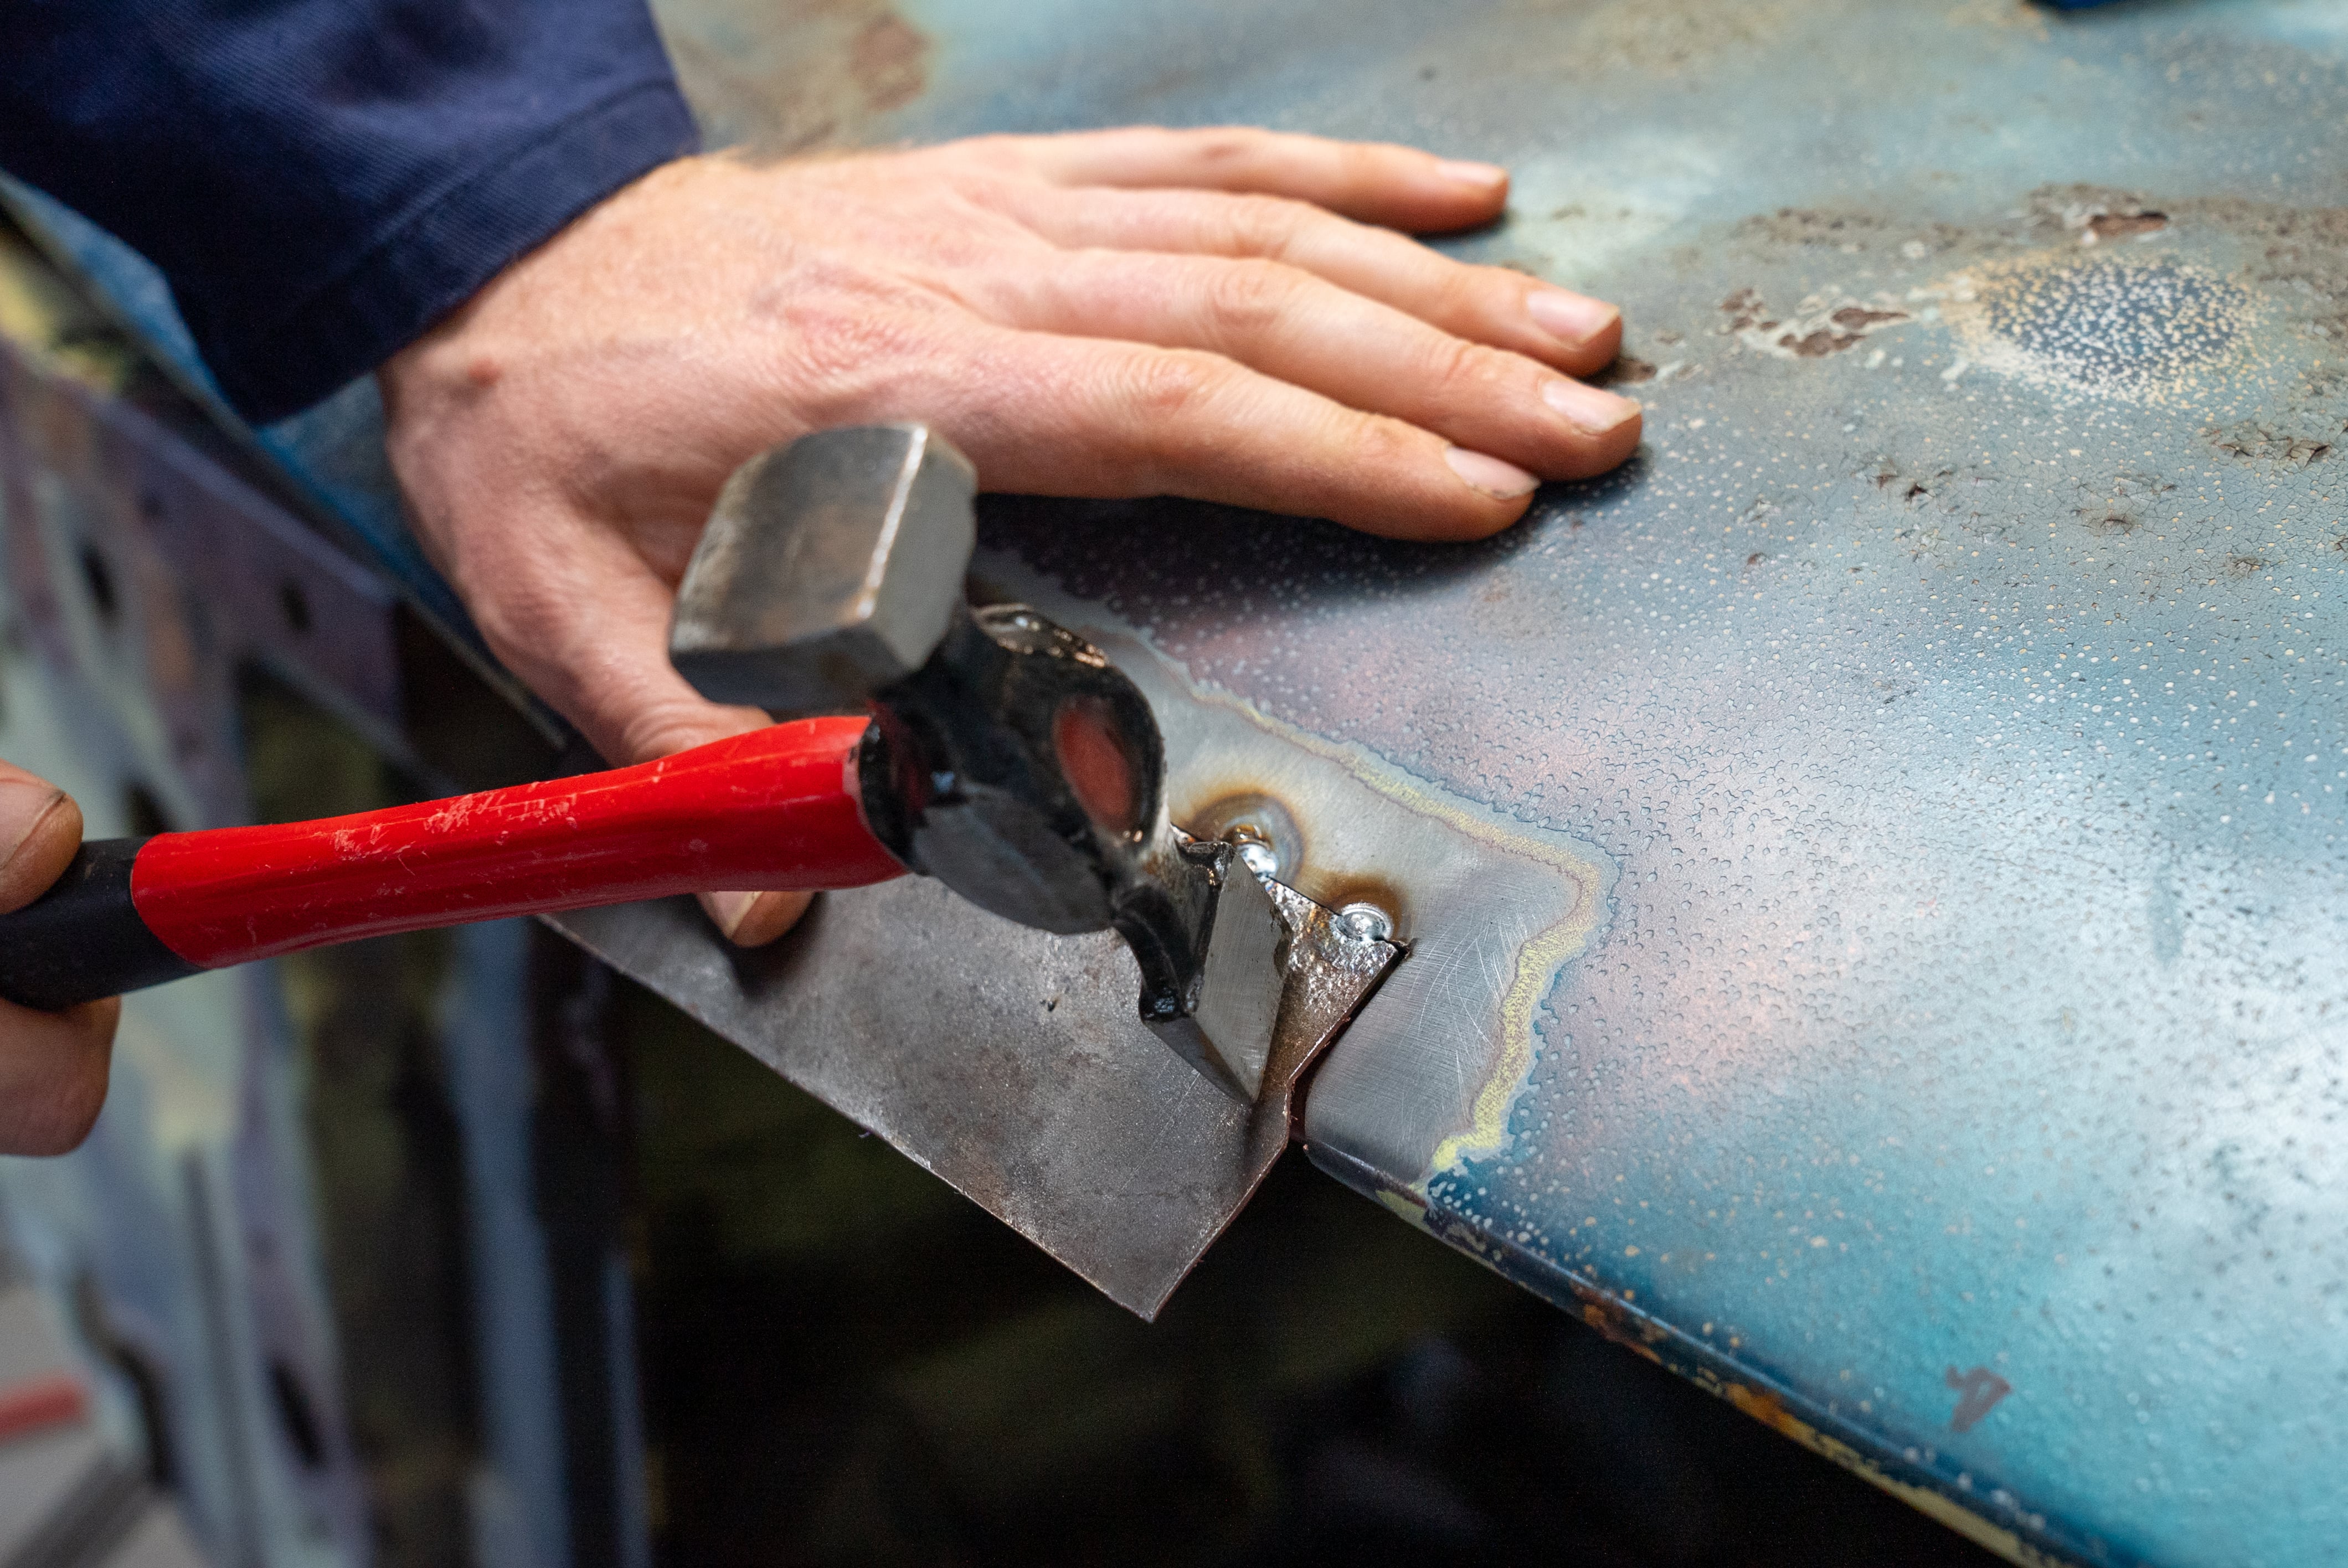
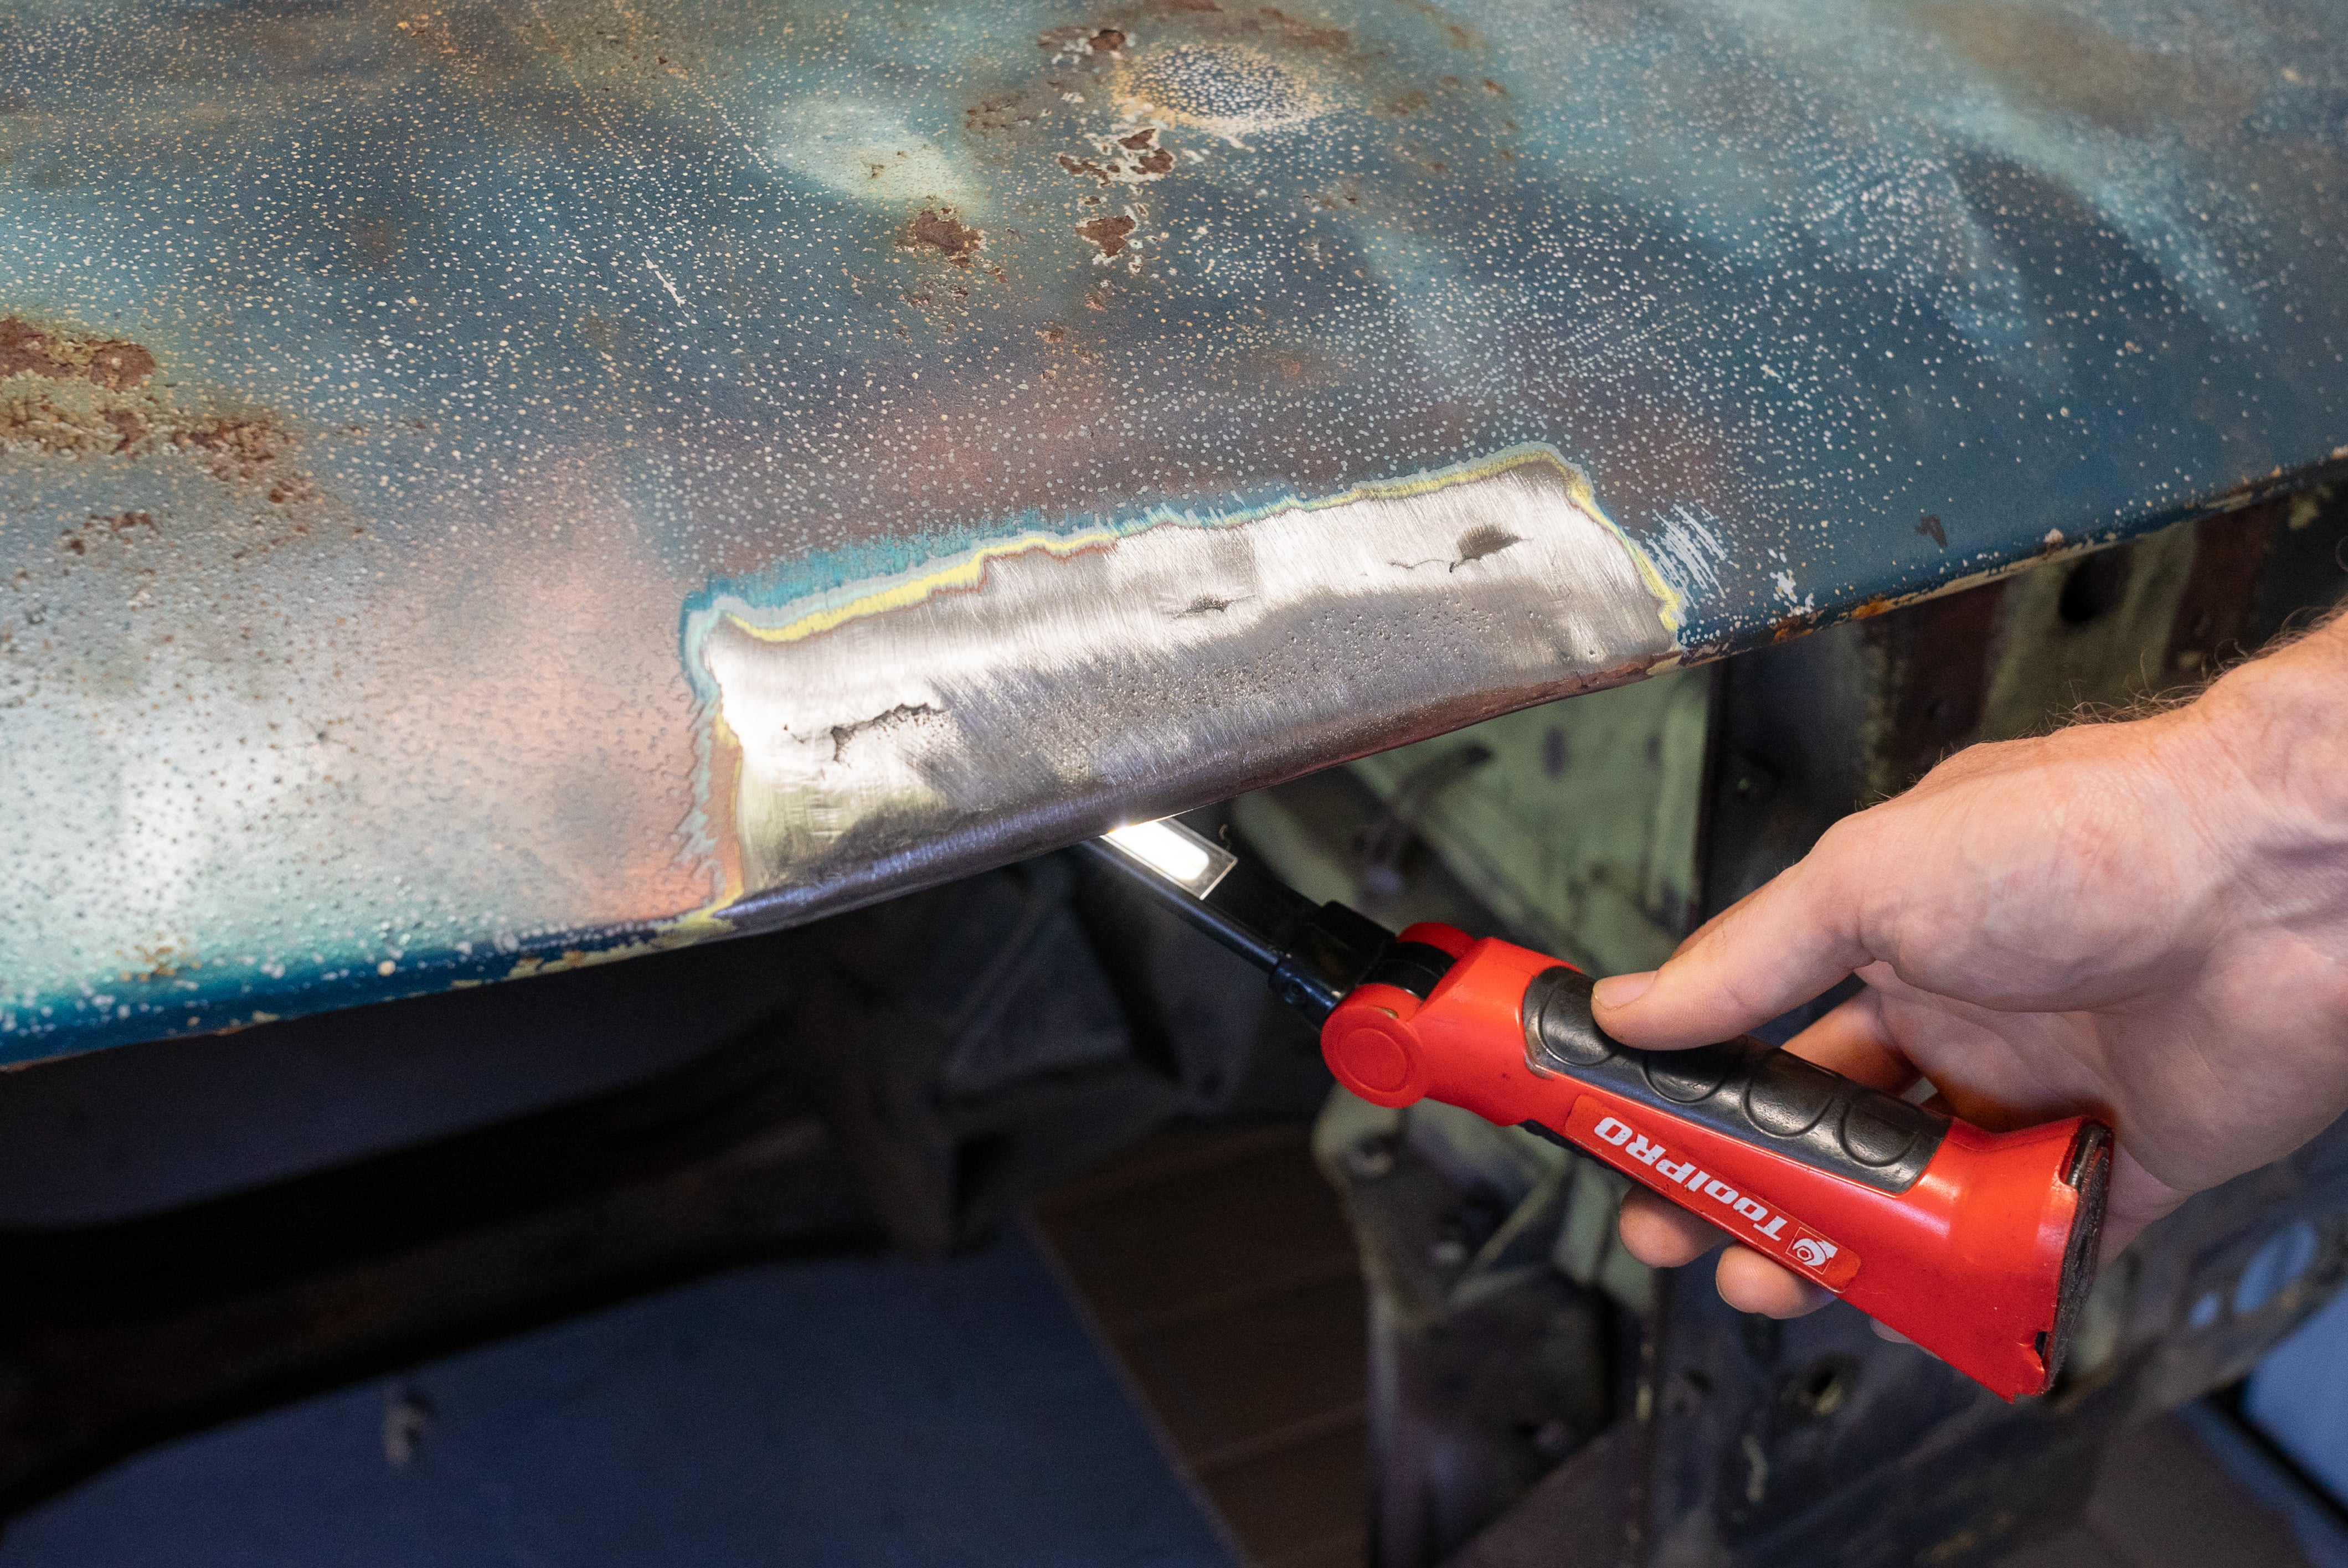
If you notice a few lifting or sunken areas, don’t be afraid to give a gentle tap with a hammer to keep your patch panel lined up between welds. Finally, shine a light from behind your repair to check for any pin holes that might need welding up. Larger holes can be filled by holding a flattened piece of copper pipe behind and carefully spot welding around the edges.
How to protect a rust repair
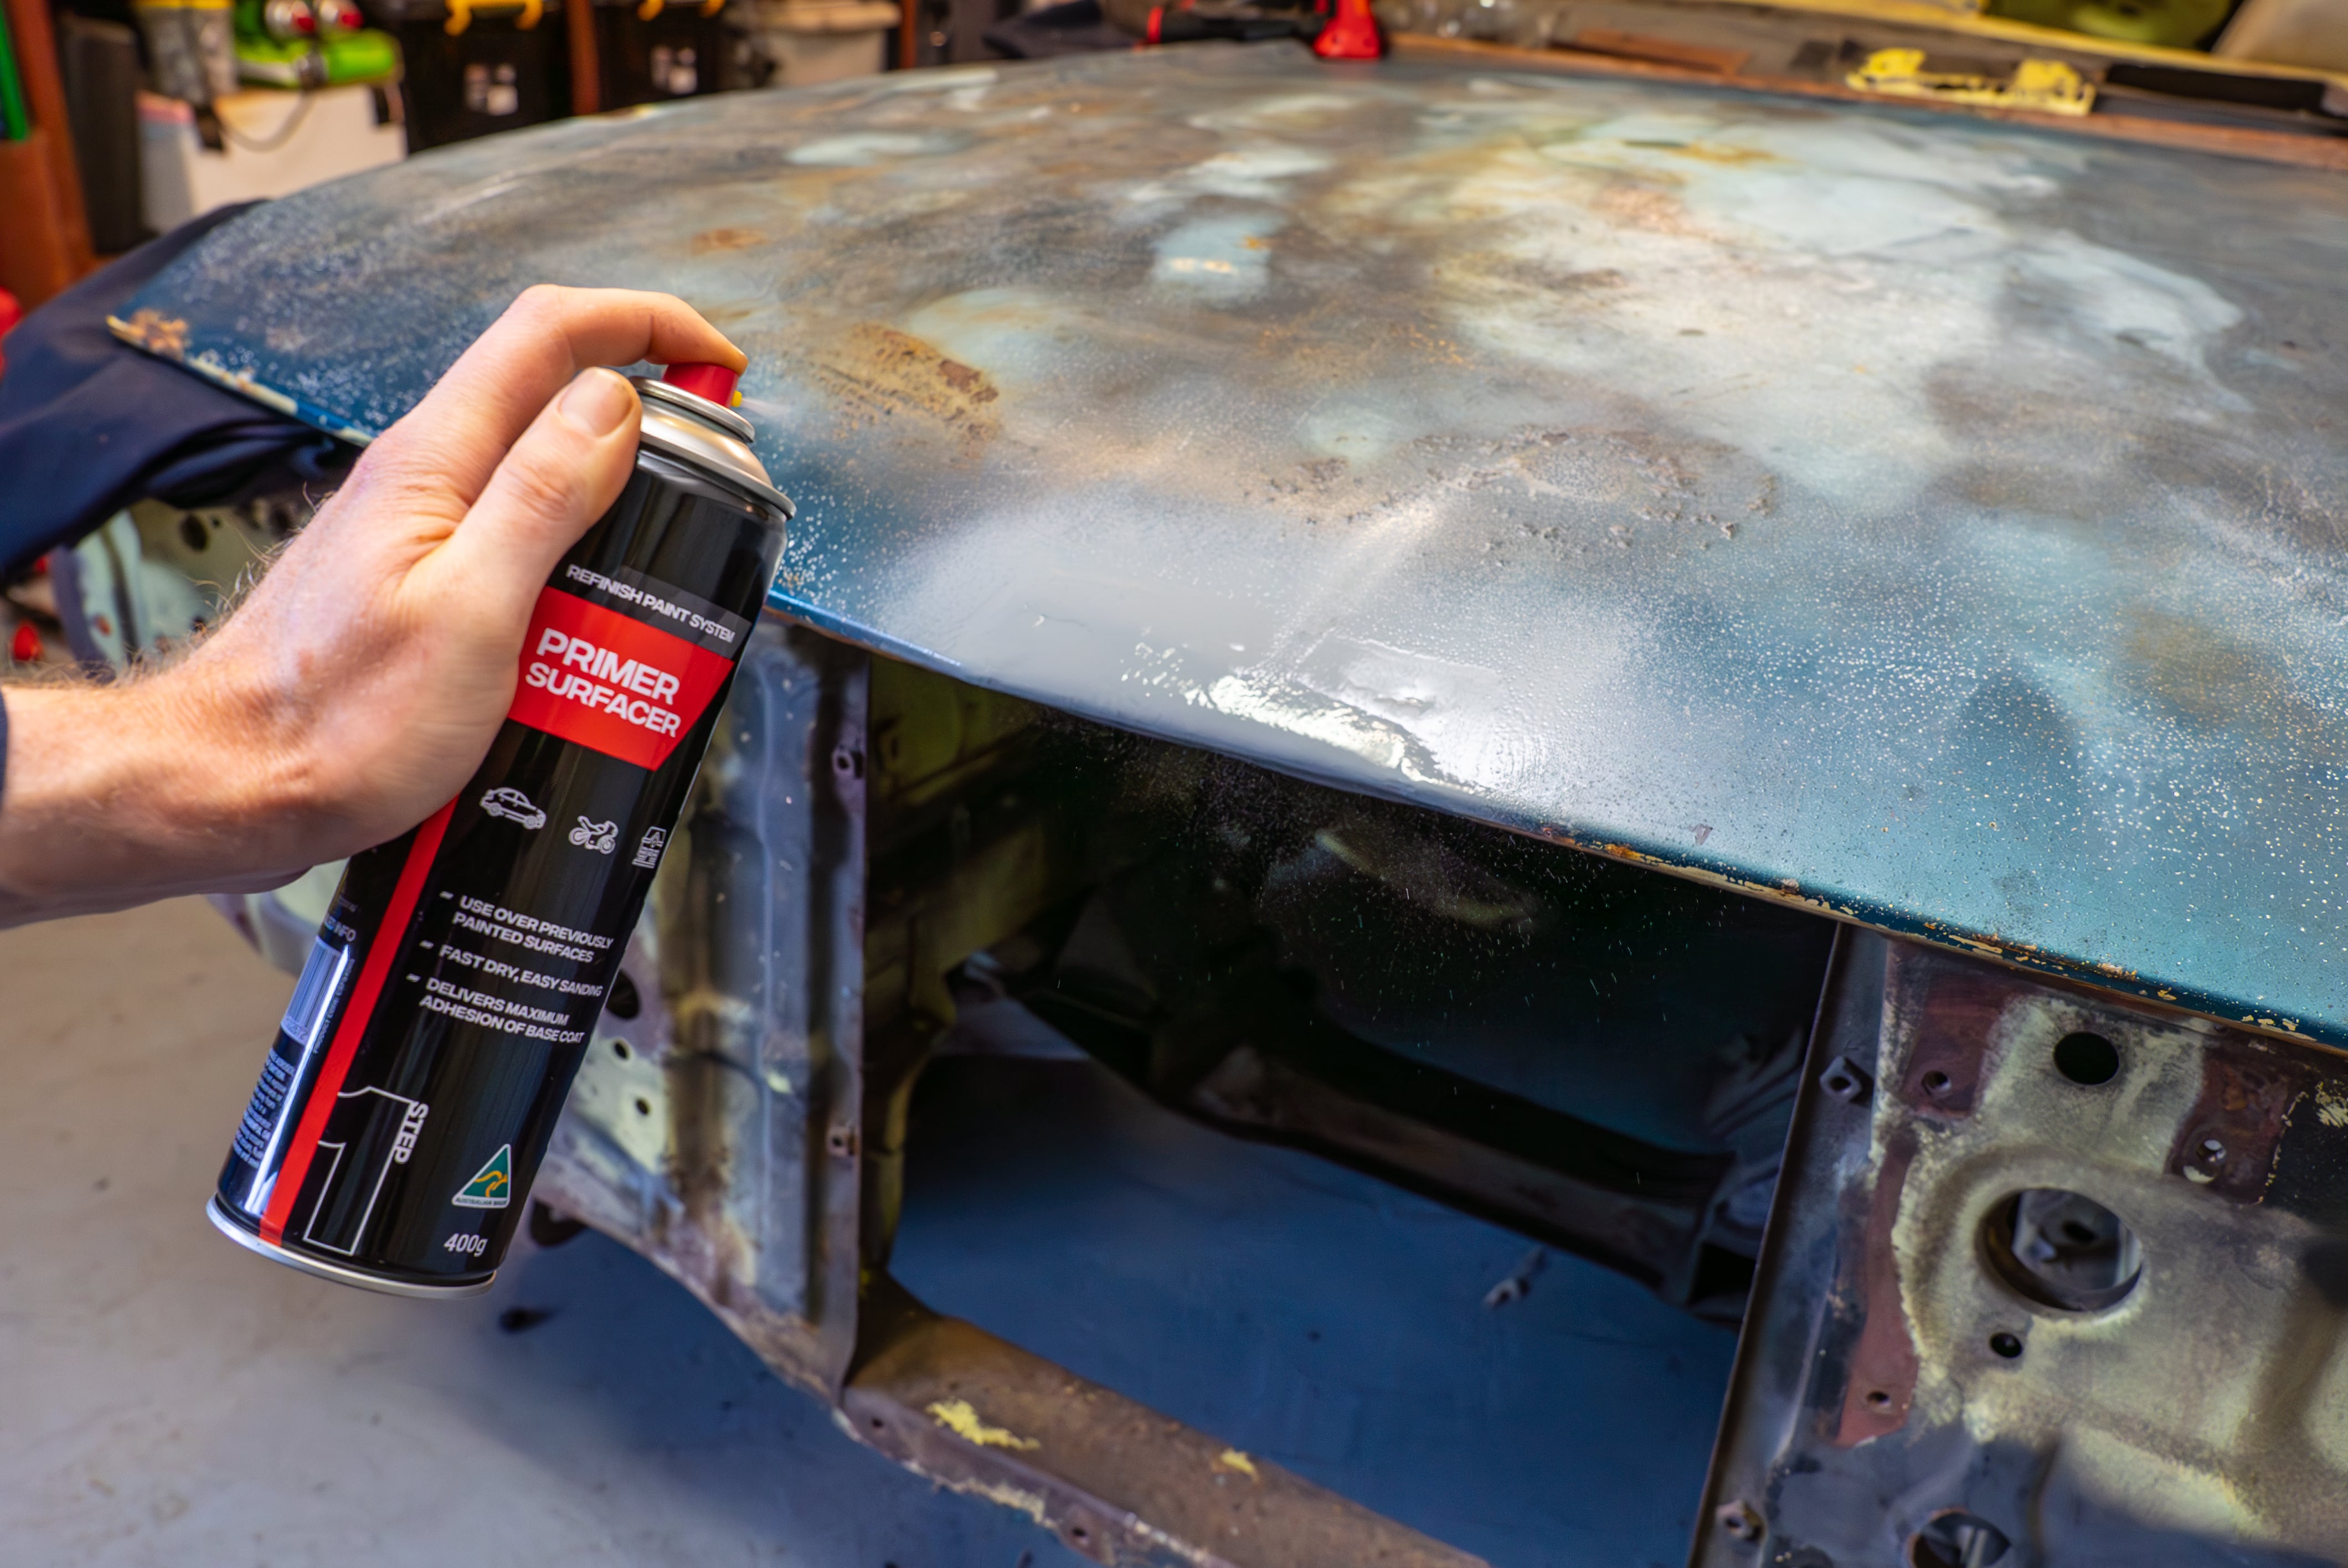
Your fresh rust repair will return to its rusted state very quickly if you don’t protect it. Fortunately, a simple squirt of primer on the front and back of the repair is enough to keep you covered until you’re ready to commence with body filler and panel beating.
Tips
You’re one step closer to finishing a super restoration. Explore more ways to make your project car super, with Supercheap Auto’s SUPER DIYs.
*Important information* - Click here to read more about our DIY Advice Terms and Conditions.