How To Paint Plastic Car Parts
Overview
Touching up small areas on your vehicles paintwork can make a huge difference to your vehicles overall appearance.
Getting a perfect colour match is easy with Supercheap Auto’s paint mixing service, see the video.
Steps
Preparing
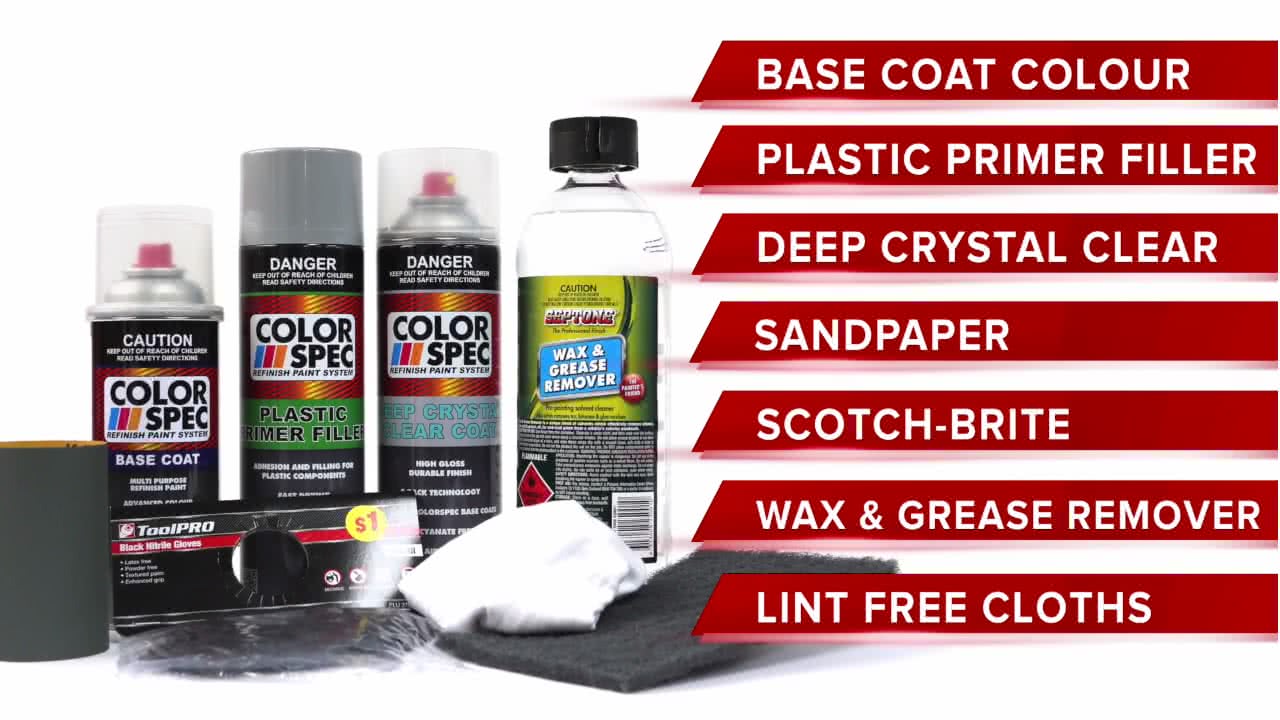
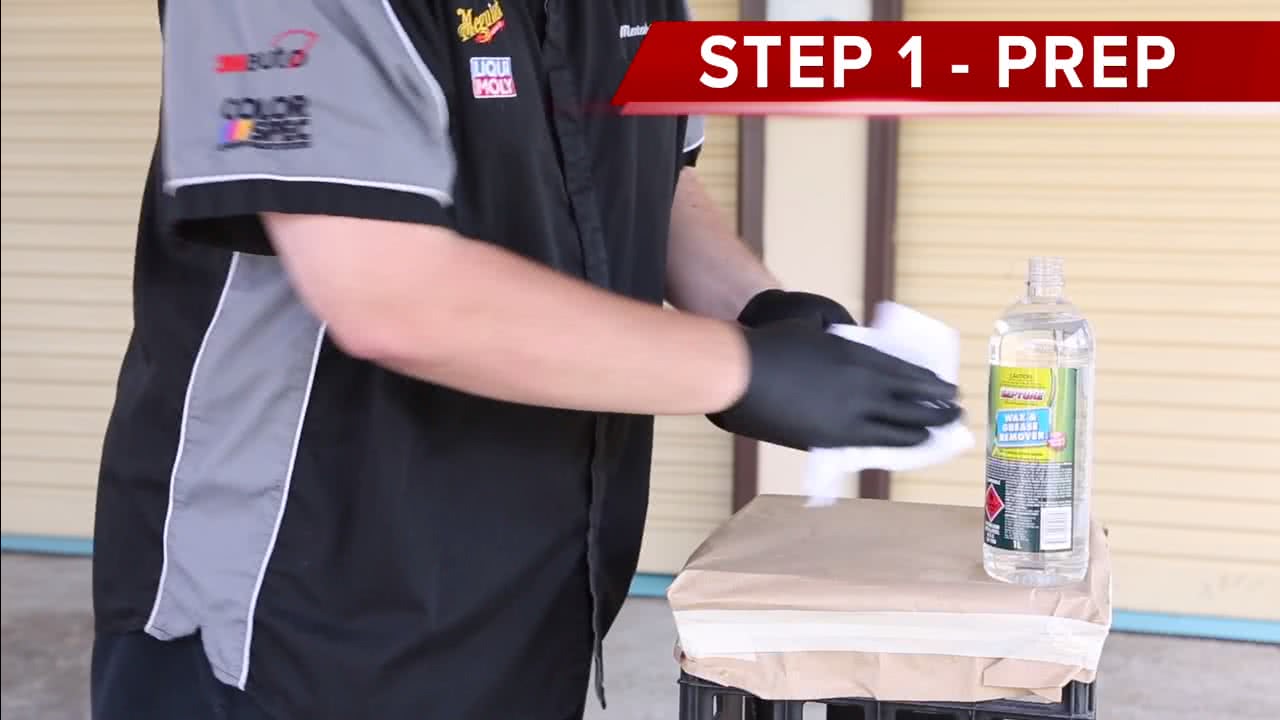
Start cleaning the surface with wax and grease remover with a lint free cloth, then lightly scuff the surface with scotch rite or 600 grit sand paper. Be sure to scuff all areas and all reflexive areas will appear dull and then use wax and grease remover on the surface again.
NOTE: For best results, remove parts off the vehicle if possible.
Primer
If part has been removed, secure the part in a location so you can paint without having to handle it, if not mask up areas that do not need painting.
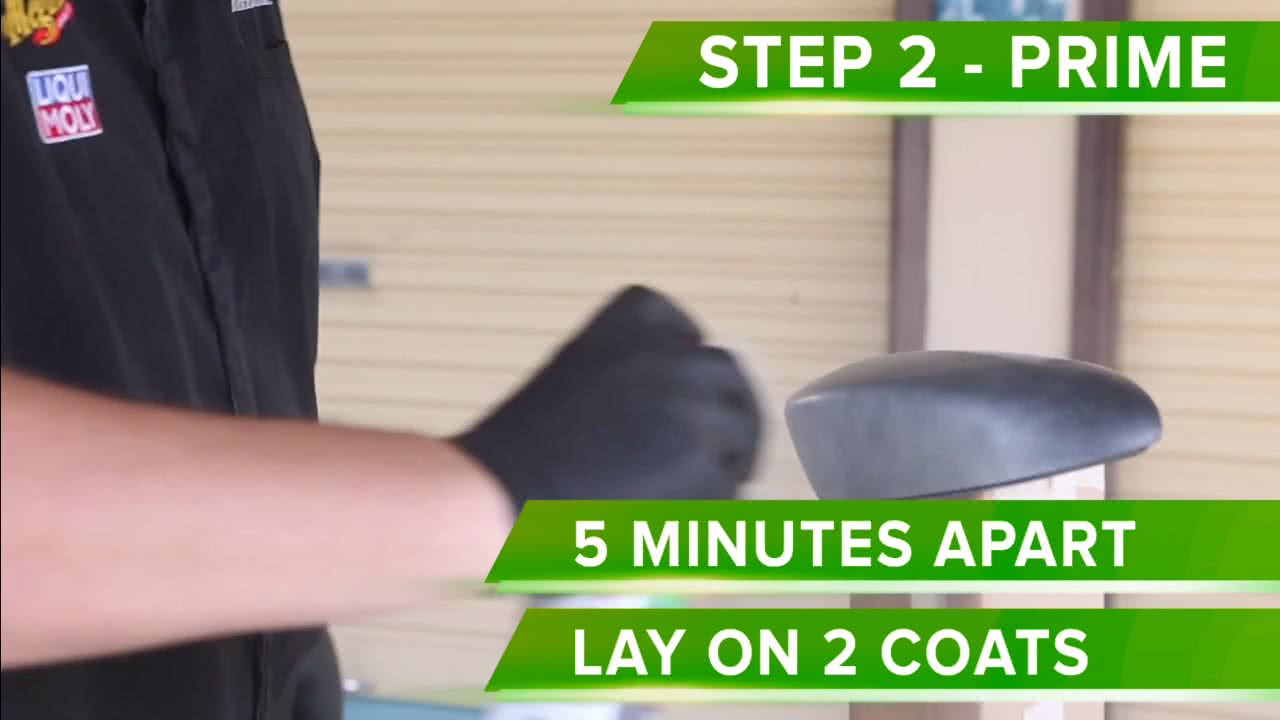
Shake plastic primer filler as per instructions, lay down 2 coats at 5 minutes apart.
After 40 minutes drying time, lightly sand surface with 800 grit sandpaper to smooth the shape of the part.
Paint
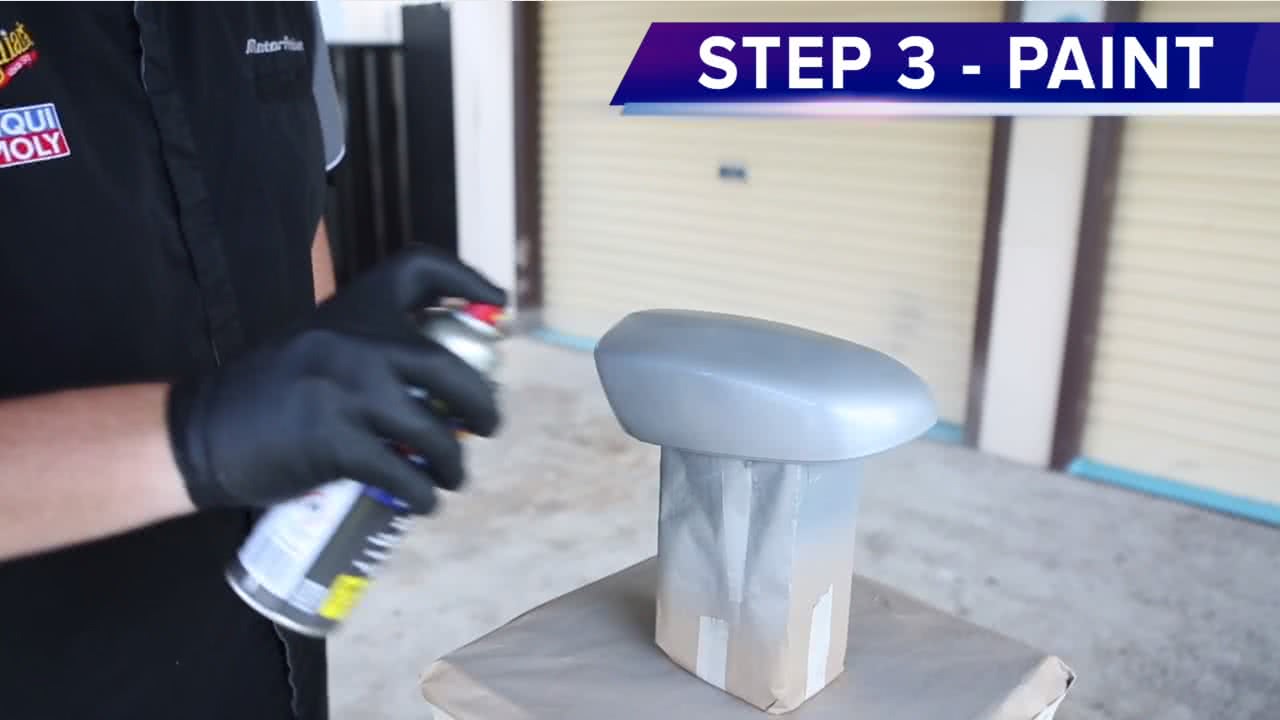
Wipe down the part with wax and grease remover using a lint free cloth, shake Basecoat spray can as per instructions. Test spray on paper to ensure even spray and no spiting.
Lightly spray base coat onto part no closer than 20cm away from part and use 50% overlay when painting to ensure best coverage results.
Lay down 3 medium coats with 15 minutes dry time between coats.
Clear
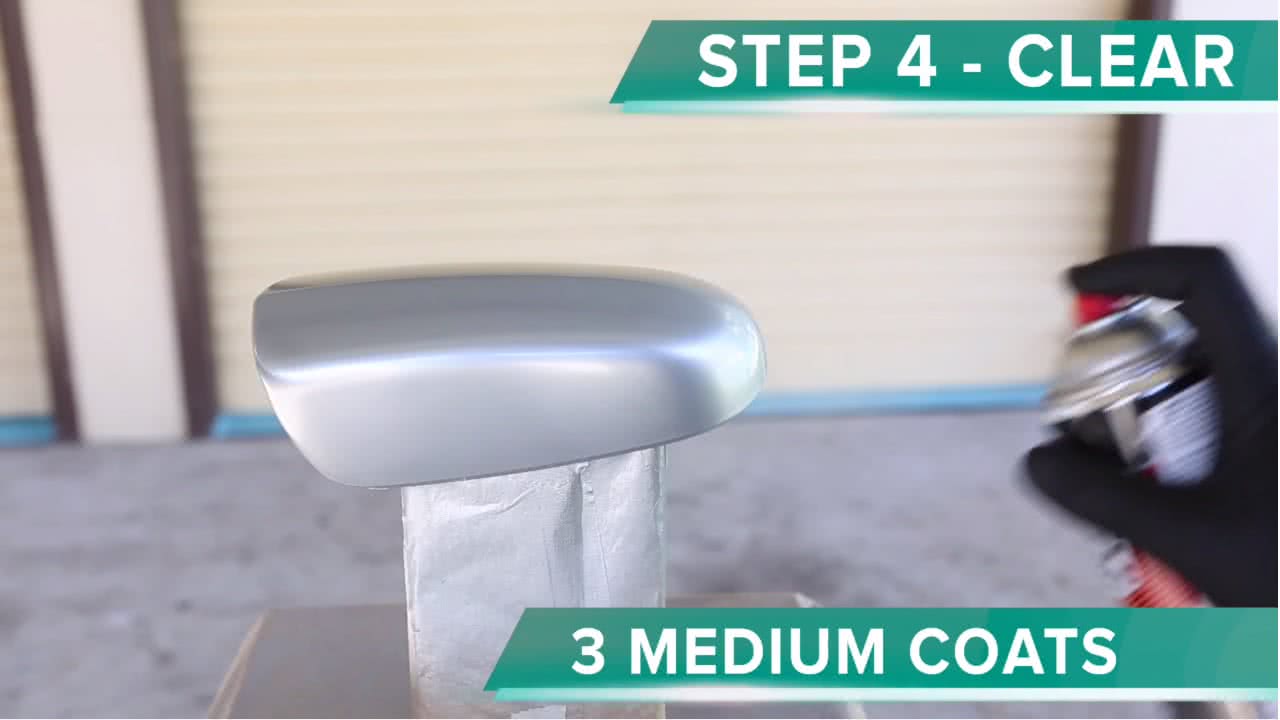
Shake Clear coat spray can as per instructions. Test spray on paper to ensure even spray and no spiting.
Lightly spray base coat onto part no closer than 20cm away from part, use 50% overlay when painting to ensure best coverage results.
Lay down 3 medium coats with 20 minutes dry time between coats.
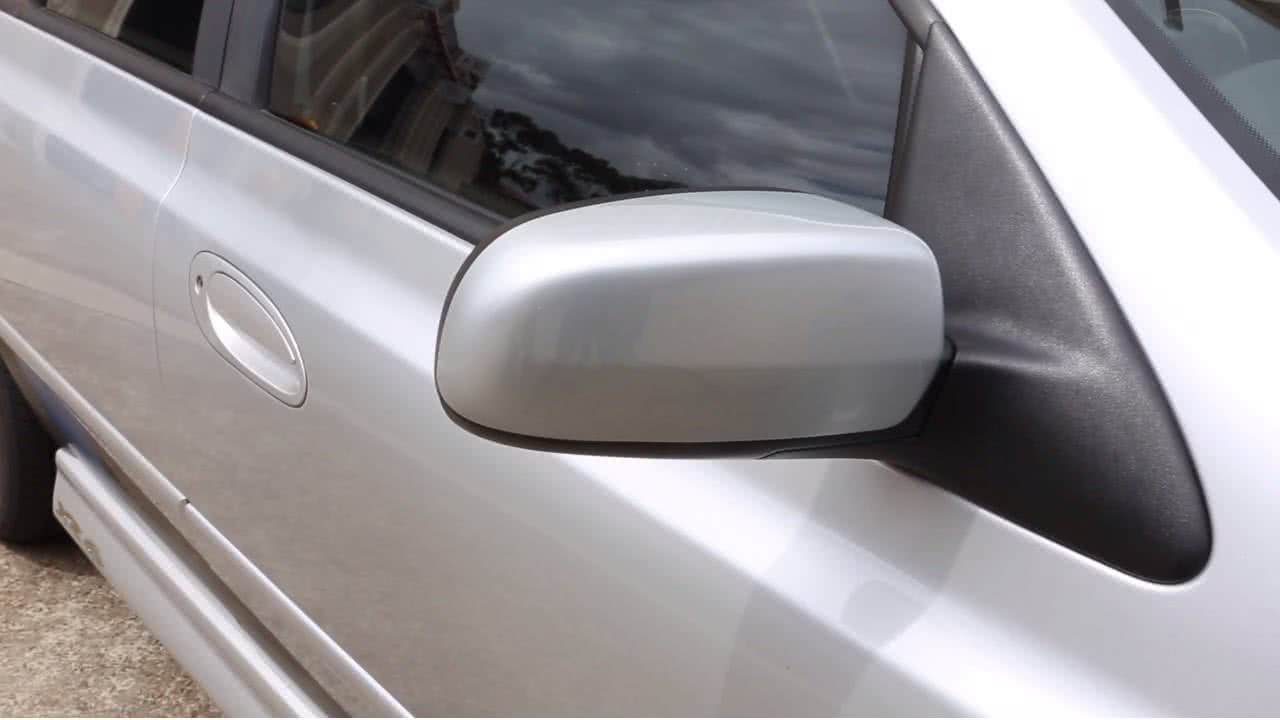
Give the clear coat a good 24 hours to dry completely.
NOTE: For superior high gloss results, you can use a cut a polish for desired effect.
*Important information* - Click here to read more about our DIY Advice Terms and Conditions.