Basic Body Repair - Nissan Patrol GU Barn Door Fix
Overview
This Article was brought to you by Home Built By Jeff and Eddy Cullen,
Check out Jeff's YouTube Channel Here for some great tips and guides for everything automotive!
Check out Eddy's YouTube Channel Here for more great How to, 4x4 Trips and Helpful tip videos!
Please refer to HOW TO TERMS & CONDITIONS and YOUTUBE Policies, Safety, and Reporting before following any advice given in this content.
Items
Materials
- Welding Gloves
- Clear Eye Protection
- Welding Helmet
- Ear Protection
- Face Mask
- ColorSpec Primer
- ColorSpec Base Coat Paint
- Wax & Grease Remover
- Masking Tape
- Plastic Sheets
- 80 & 240 Grit Sandpaper
- Body Filler
Tools
- Angle Grinder or Rotary Tool
- MIG Welder
Steps
Grind back
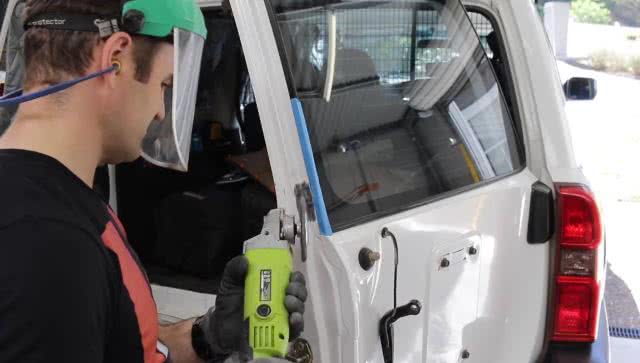
Take off all trim of the back of the door and tape up the edge of the glass if you have decided not to take it out. Put on the approprate safety gear then, using a rotary tool or grinder with a flappy disc or wire brush attachement, take off the paint in the affected area down to the metal. If there is rust inside the crack, you will need to treat this with rust converter before moving forward.
Weld it up and Grind back
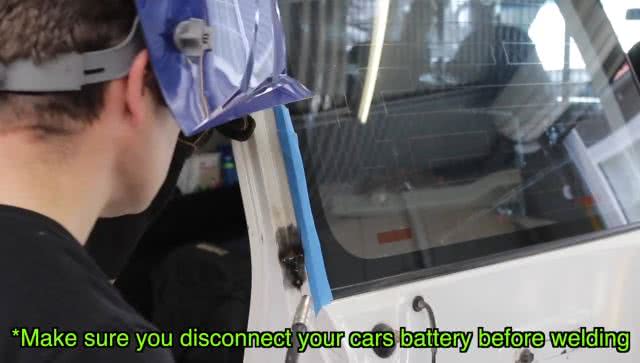
With the metal exposed, glass covered with a sheet or blanket, your battery discounnected, you can now fire up the MIG welder and start to fill the crack. Set up your welder to the setup you prefer and with the correct welding safety gear, start to fill the crack in short bursts and ensure you don't use long bursts as this may crack the glass.
Next is to grind back as before the welds so they are flush with the shape of the door.
Prep for Paint
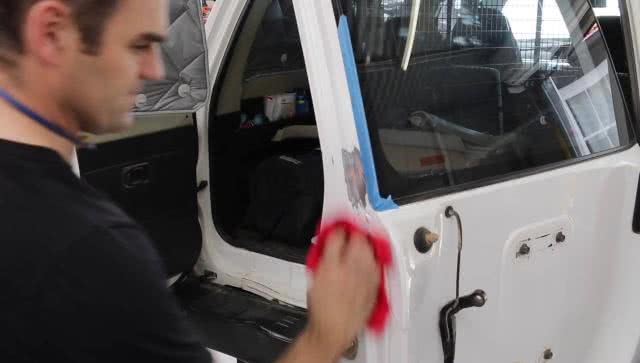
Now the door has it's strength back, it's time to clean it up and get it ready for paint. First you'll need to sand back any imperfections and hit it with Wax and Grease remover. Next is to get the body filler ready to apply, follow the instructions on your body filler and apply onto the affected area. After the filler is set, sand back the excess filler with 80 grit sandpaper, then 240 grit sandpaper till it's nice and smooth.
Next is to clean and mask the area, as seen here in this video a soft mask is a good way to avoid a hard line from the paint when applied. to create a soft mask, fold a quarter of the tape over it's self so when applied it doesn't have a line for the paint to follow. Once everything is covered, hit the area with Wax and Grease Remover.
Paint
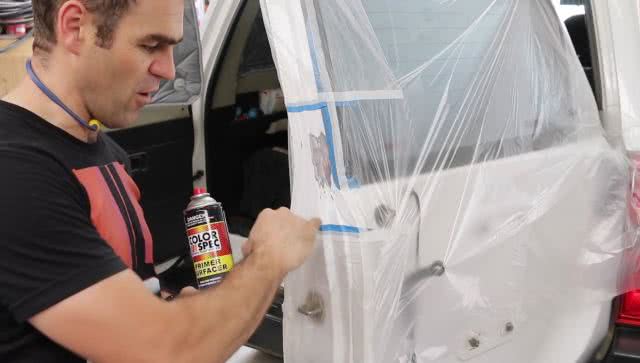
Now that the area have been cleaned and masked ready for paint, put on approprate safety gear. Prepare the Primer surfacer as per instructions, put on a very light coat to ensure there isn't a reaction to the filler and paint. Give it a few coats to ensure it has a good coverage over the area without painting near the masking tape.
Wet sand back the area to ensure it's nice and smooth. Next prepare the Base Coat paint can for painting and put on a very light coat to help the paint stick. once dry then apply 3 - 4 coats and try not to paint directly near the masking line.
Once the paint is dry, remove the masking tape and after 24-48 hours apply a cut & polish to bring up the shine.
*Important information* - Click here to read more about our How-To terms and conditions.

