How To Apply Tyre Stickers
Overview
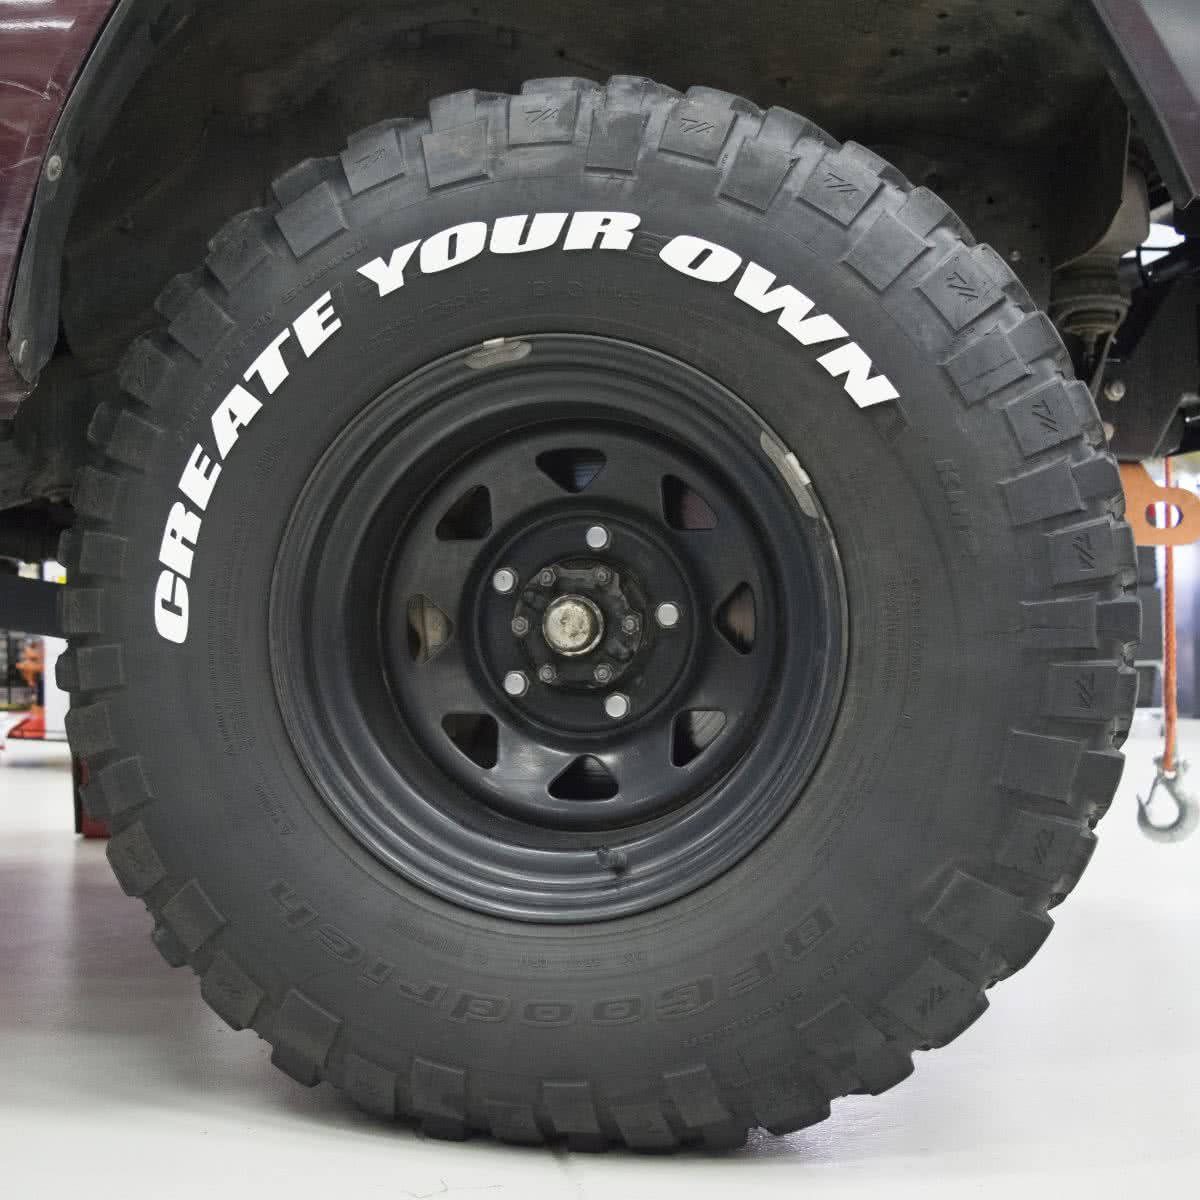
Tire Stickers Raised Rubber Lettering alows you to create your own unique look on any vehicle, It's easy to apply if you know how.
Here's a great step by step guide to apply them permanently.
Steps
Preparing
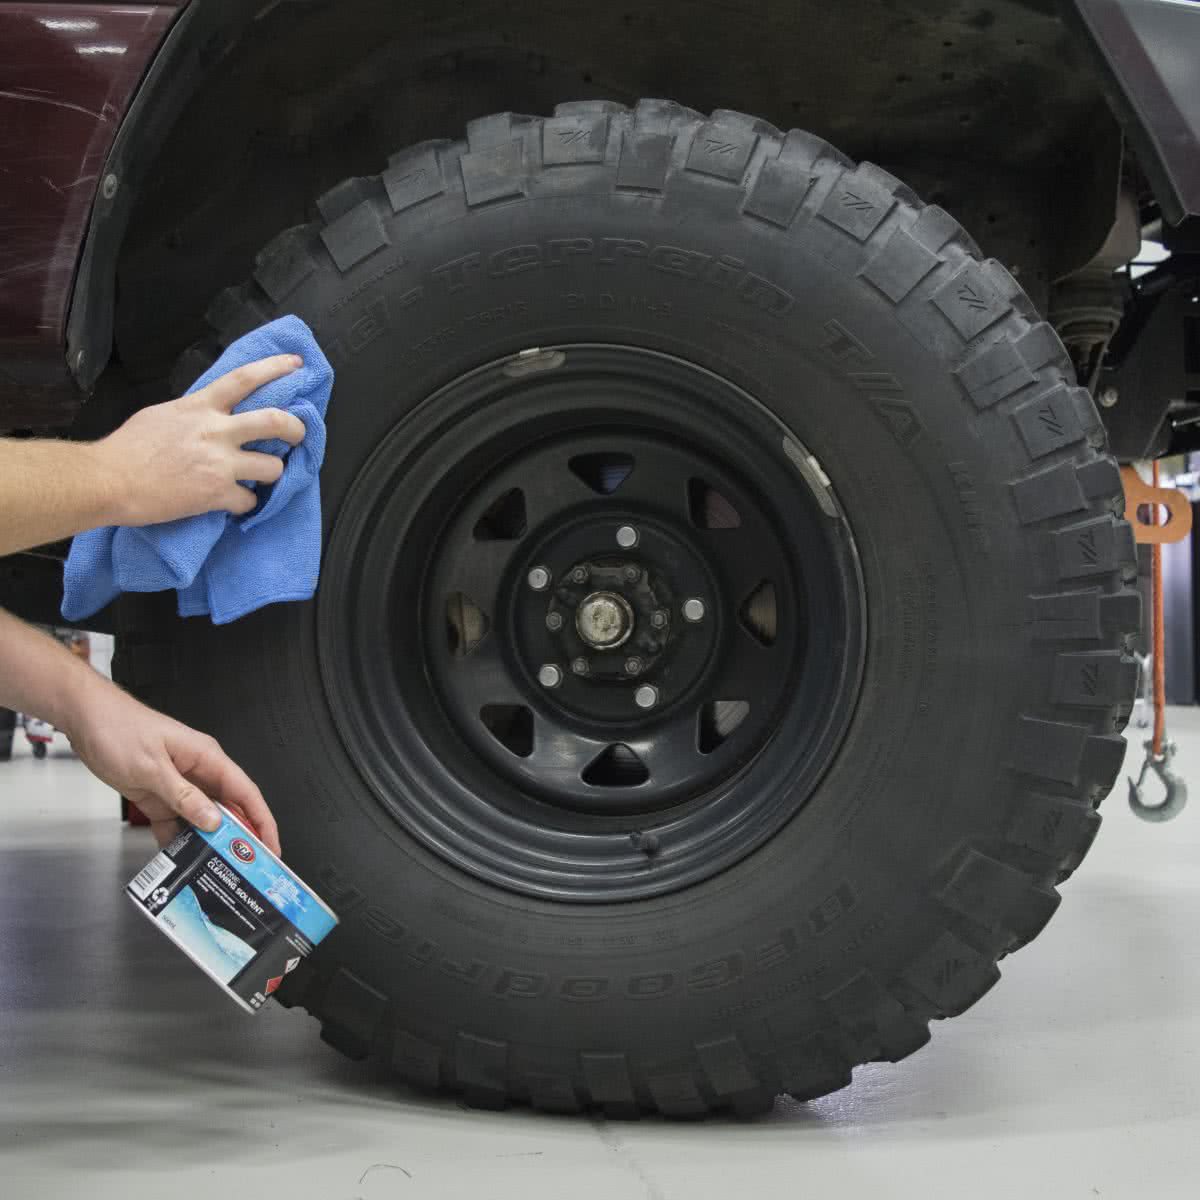
Start by using acetone to fully remove all oil and dust from the tyre. This will help the lettering to adhere to the tyres side wall and ensure your stickers stay on for longer.
Repeat this process as many times as you need to until there is no dirt or oil appearing on the rag.
Setup
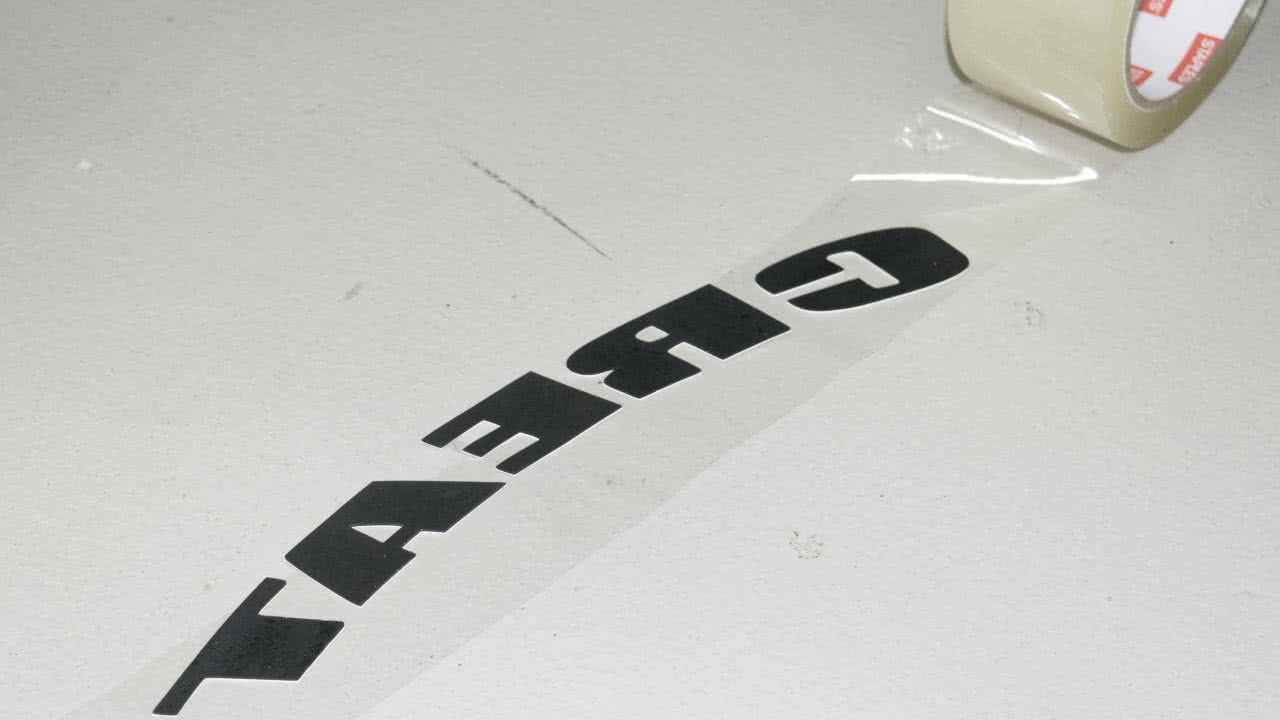
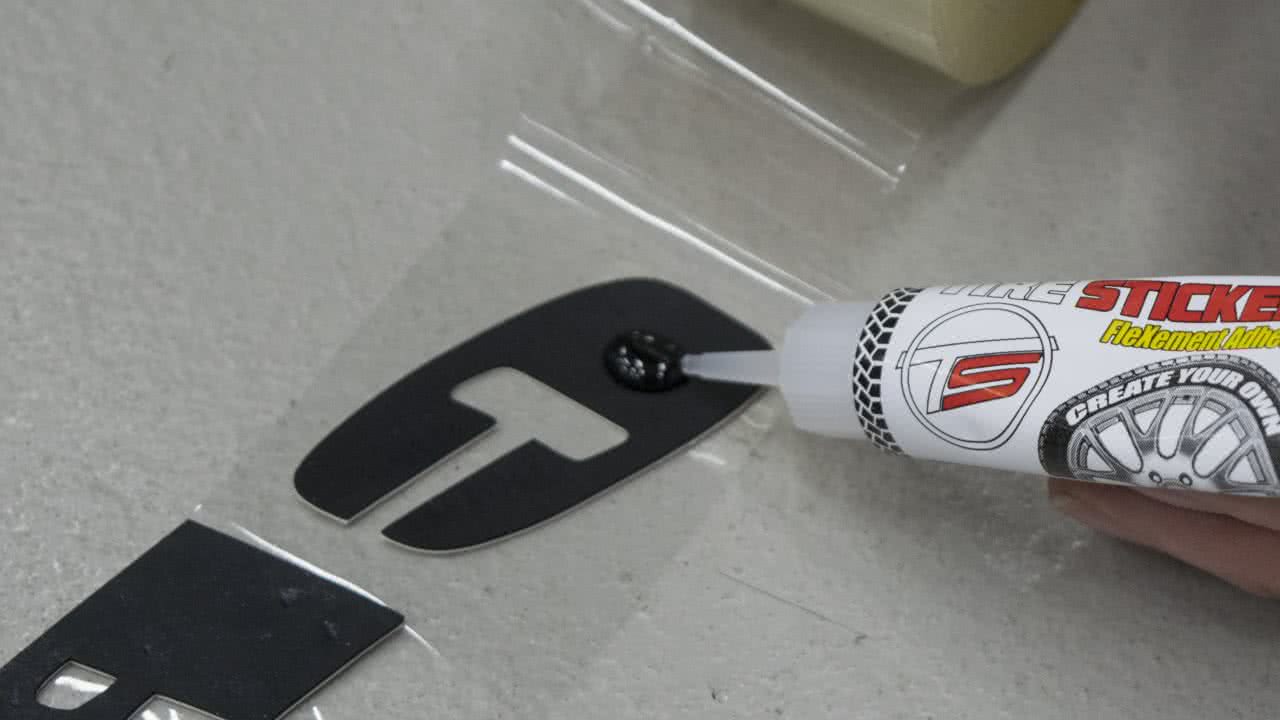
Place face of Raised Rubber Lettering onto tacky side of transfer film (clear sticky tape), moderately apply FleXement Adhesive evenly to the backside of each letter.
Excess adhesive will cause oozing and shortage of glue. One FleXement adhesive is good for 40-45 letters.
Application
Use finger tips to apply film pressure from the centre of each letter/shape outward for 45-60 seconds.
Take your time with this process to ensure the best results possible.
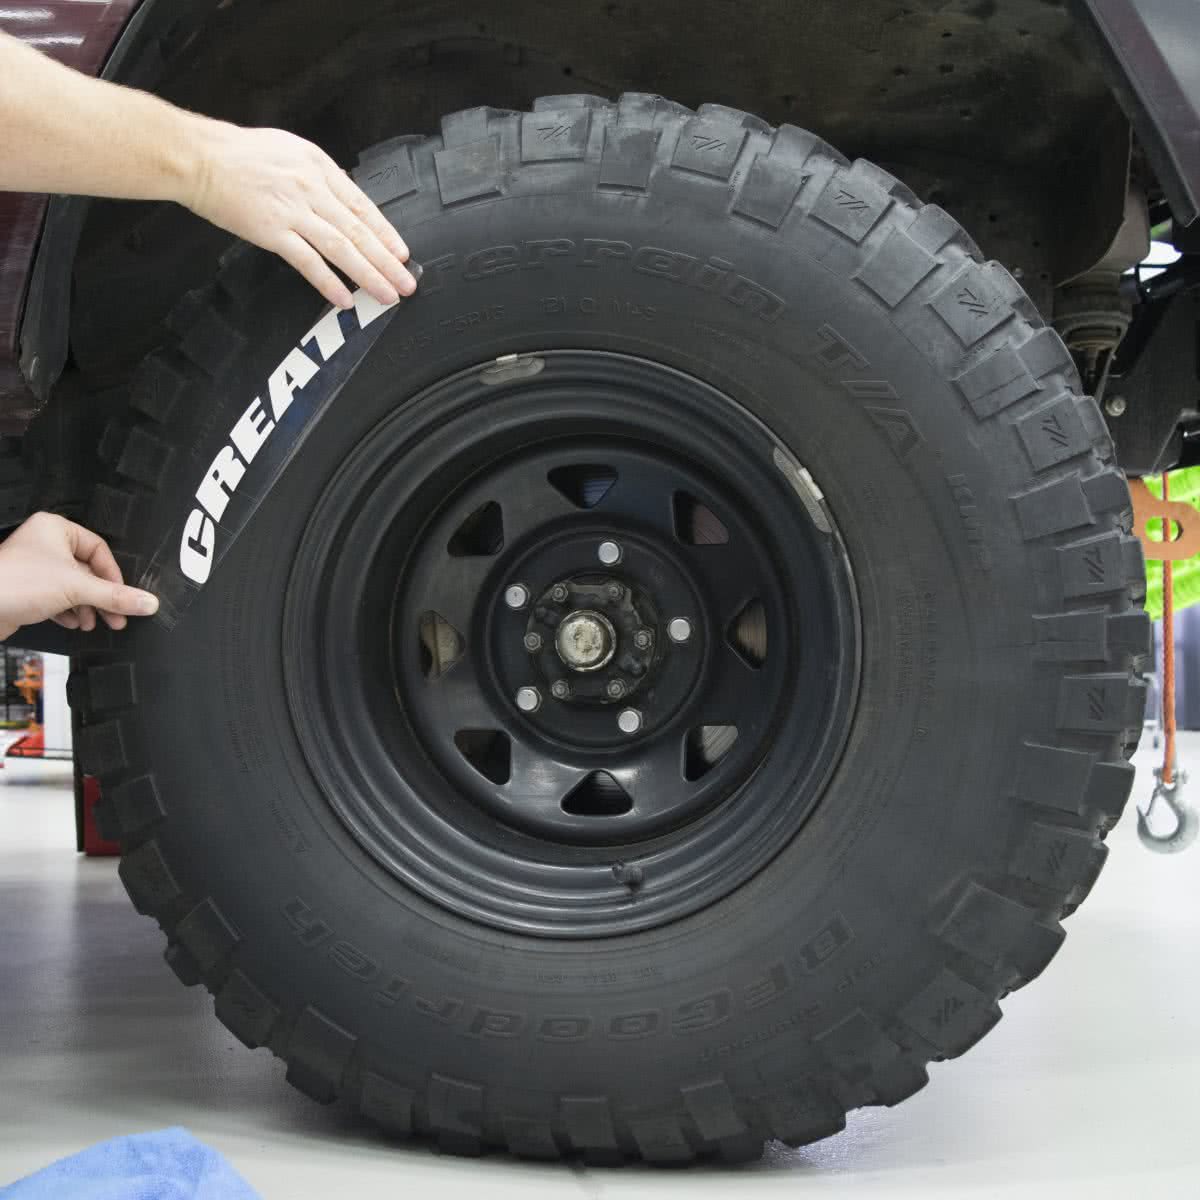
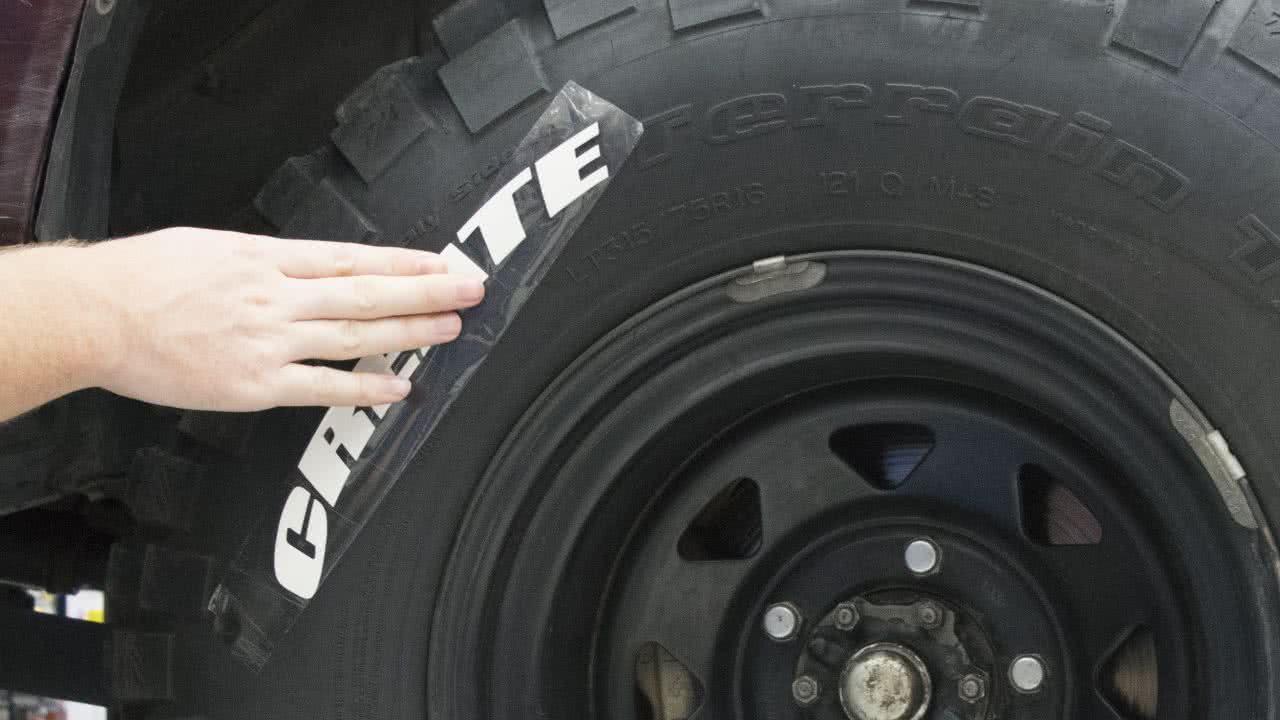
Removing Film
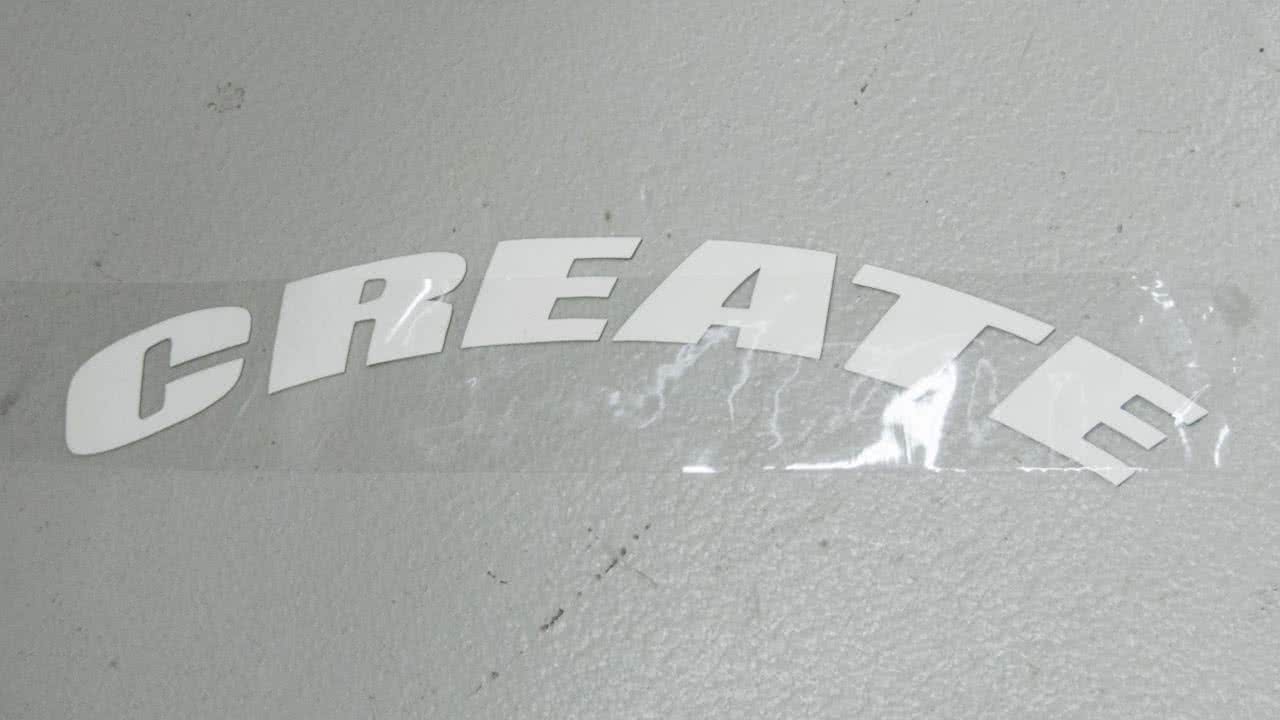
Carefully remove transfer film (clear sticky tape) without lifting the white lettering.
Add adhesive and reapply pressure to any lifting edges. Ensure to press hard for 45-60 seconds for glue to set.
Use FleXement to seal edges of each letter. Once all of the edges are sealed, allow decals to sit for a minimum of 1 hour before driving the vehicle.
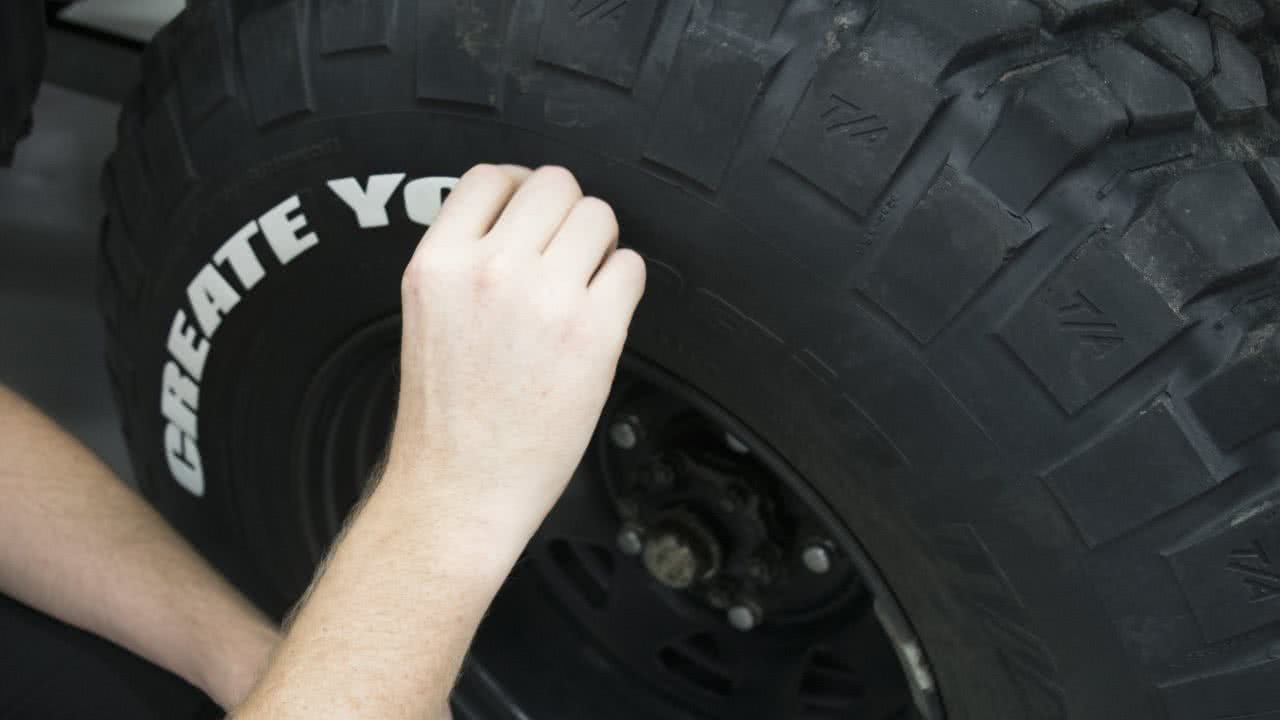
Repeat and Handy Tips
Repeat steps from 2 till 4 for all decals
Cleaning: Do not expose decals to tyre shine or simular chemicals. Decals can be cleaned to ‘like-new’ brightness using whitewall tyre cleaner.
Repair: If decals begin to show signs of peeling due to application problems, difficult sidewall surfaces or damage from abrasion, repeat application steps 2 – 4.
Removal: For each decal, peel up an edge and clamp with vice grips/pliers. Once removed, clean up the remaining adhesive with acetone and a light sanding pad (220 or similar).
*Important information* - Click here to read more about our How-To terms and conditions.