How To Check & Change Automotive Globes
Overview
A blown headlight, brake, or taillight is not only dangerous, but it could also land you in trouble with the law. Whether you're a seasoned DIY enthusiast or a beginner just getting your hands dirty, follow our three-step guide to check your globes and make automotive globe replacement a breeze.
Items
Tools won’t be required for every vehicle, but if they are; the following tools will come in handy:
Steps
STEP 1: CHECK YOUR GLOBES
INDICATORS
The best way to check your indicator globes is to press the hazard light button and walk around the vehicle. Keep in mind that the hazard light circuit functions separately to your indicator circuit, so if all the lights work with the hazards on, but not with the indicator; your problem is not with the globes.
BRAKE LIGHTS
This can be done with an assistant. Don’t forget to check the high mount brake light.
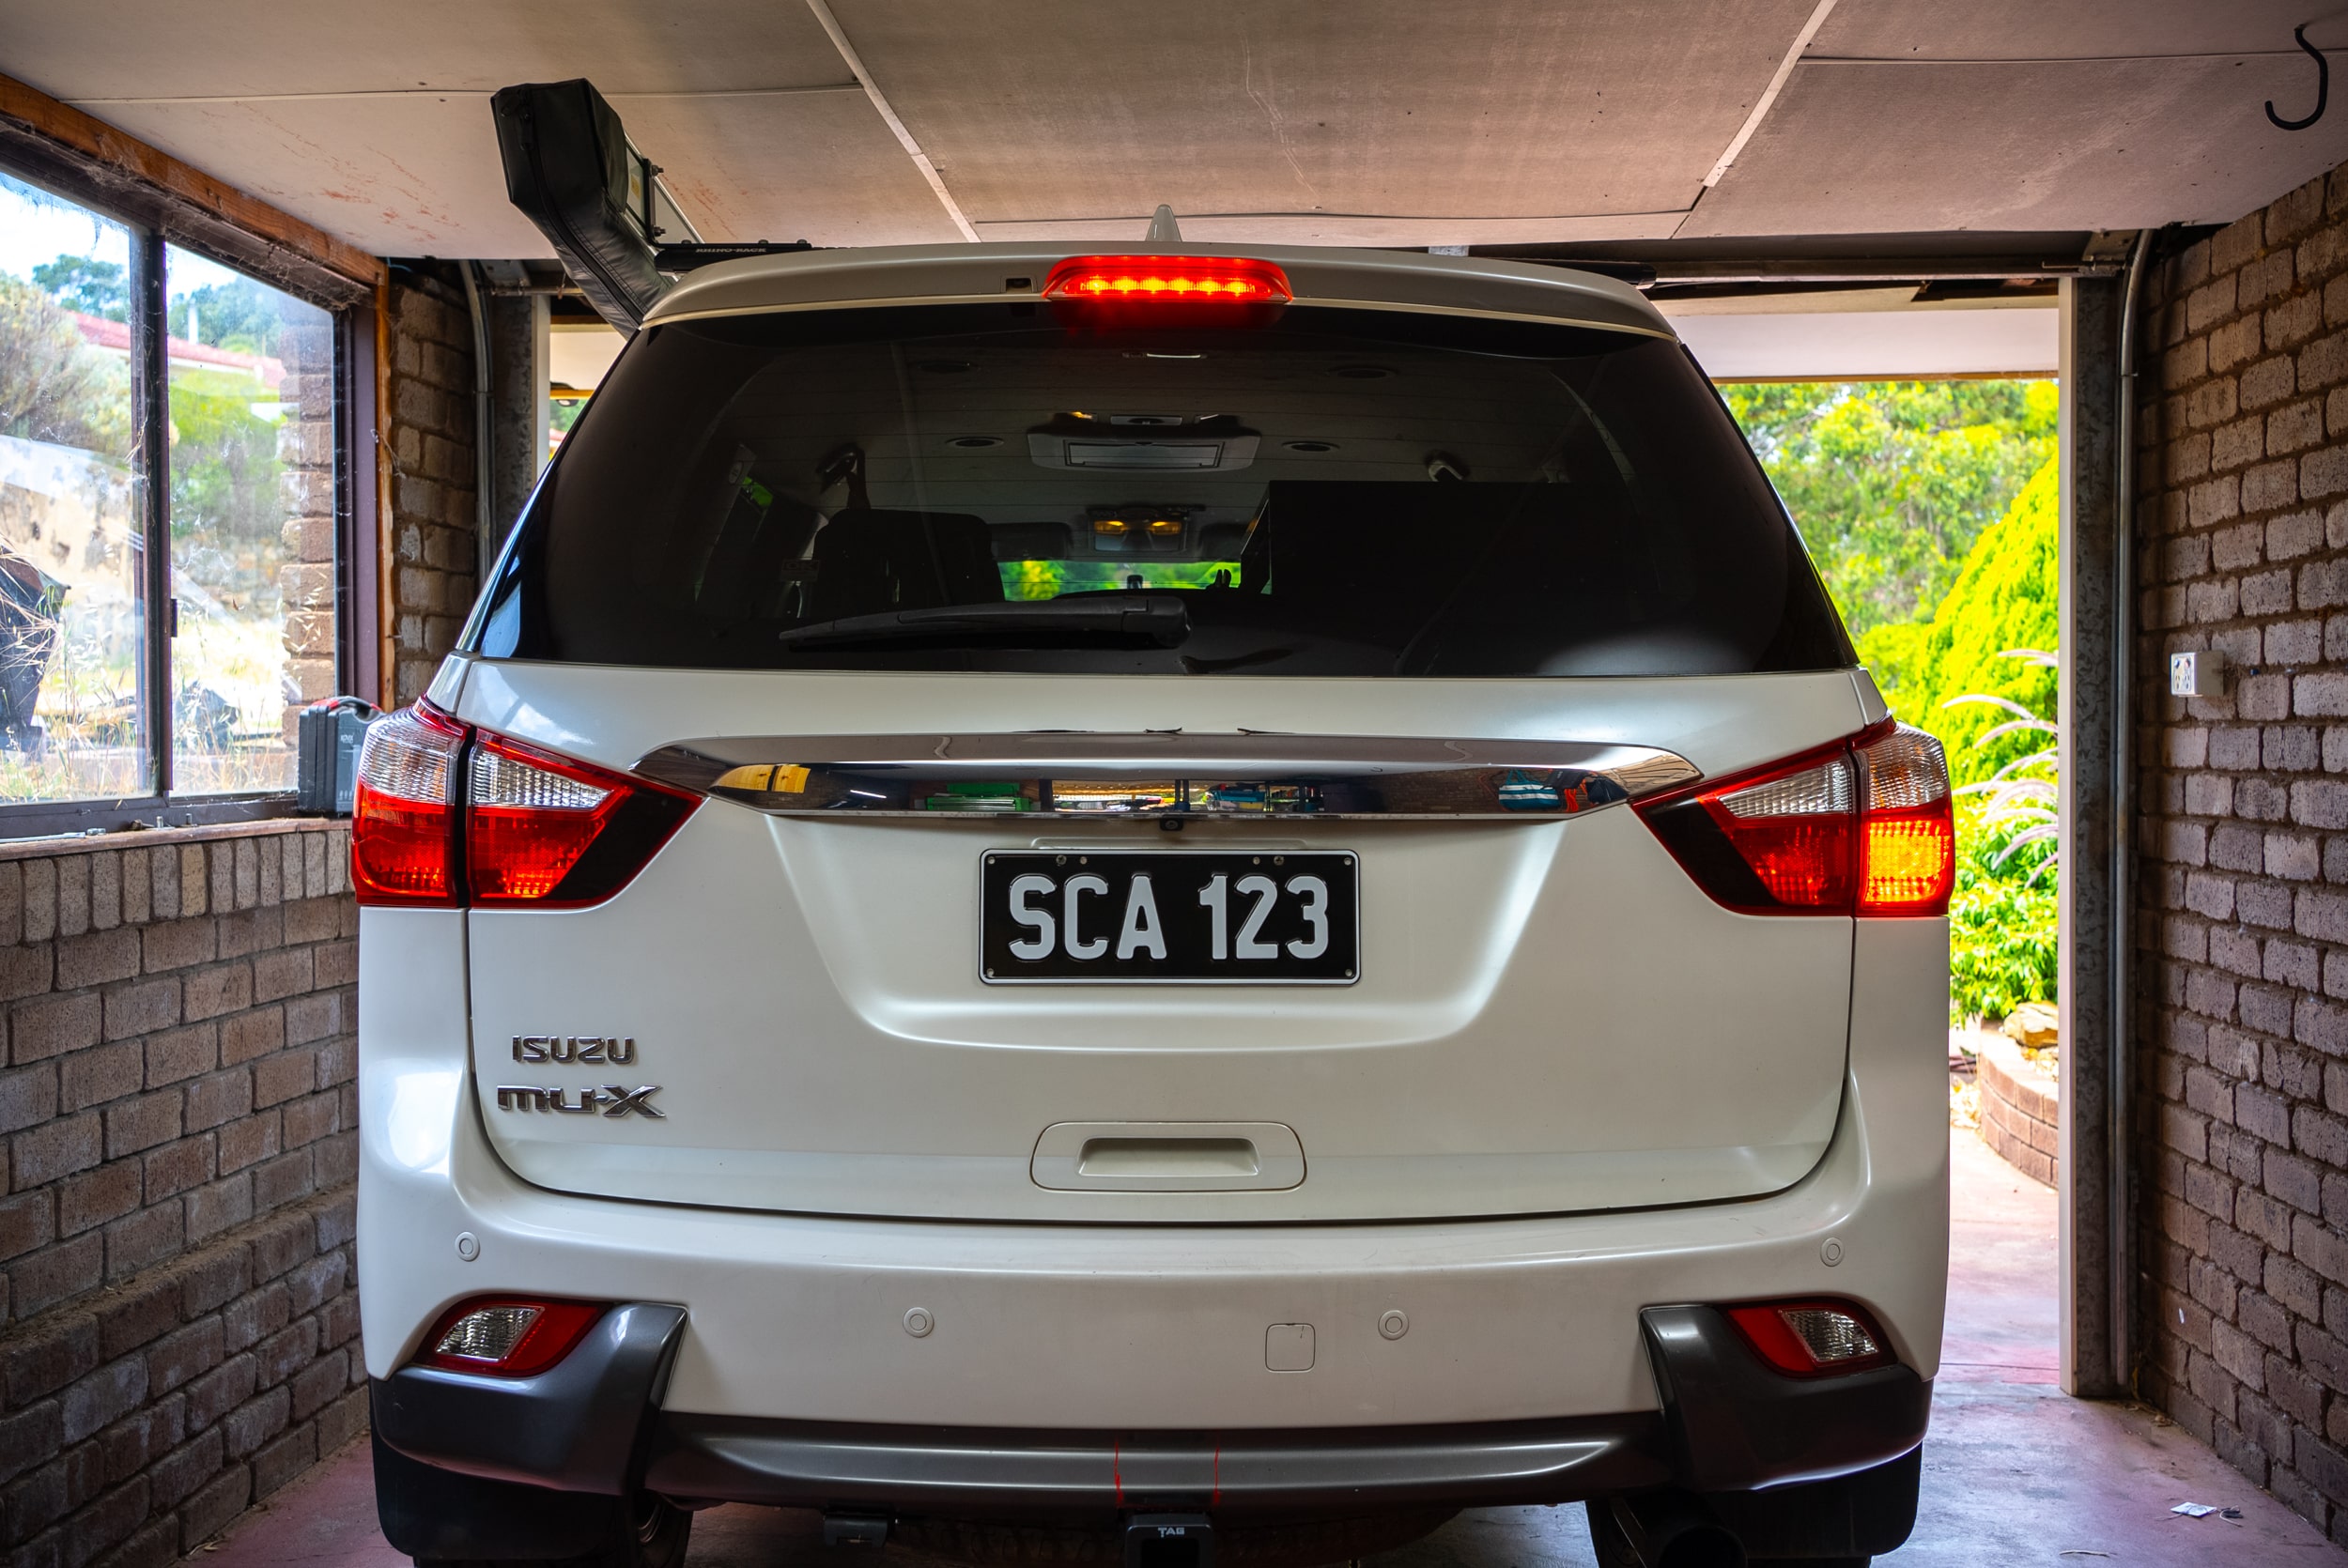
TAIL & NUMBER PLATE LIGHTS
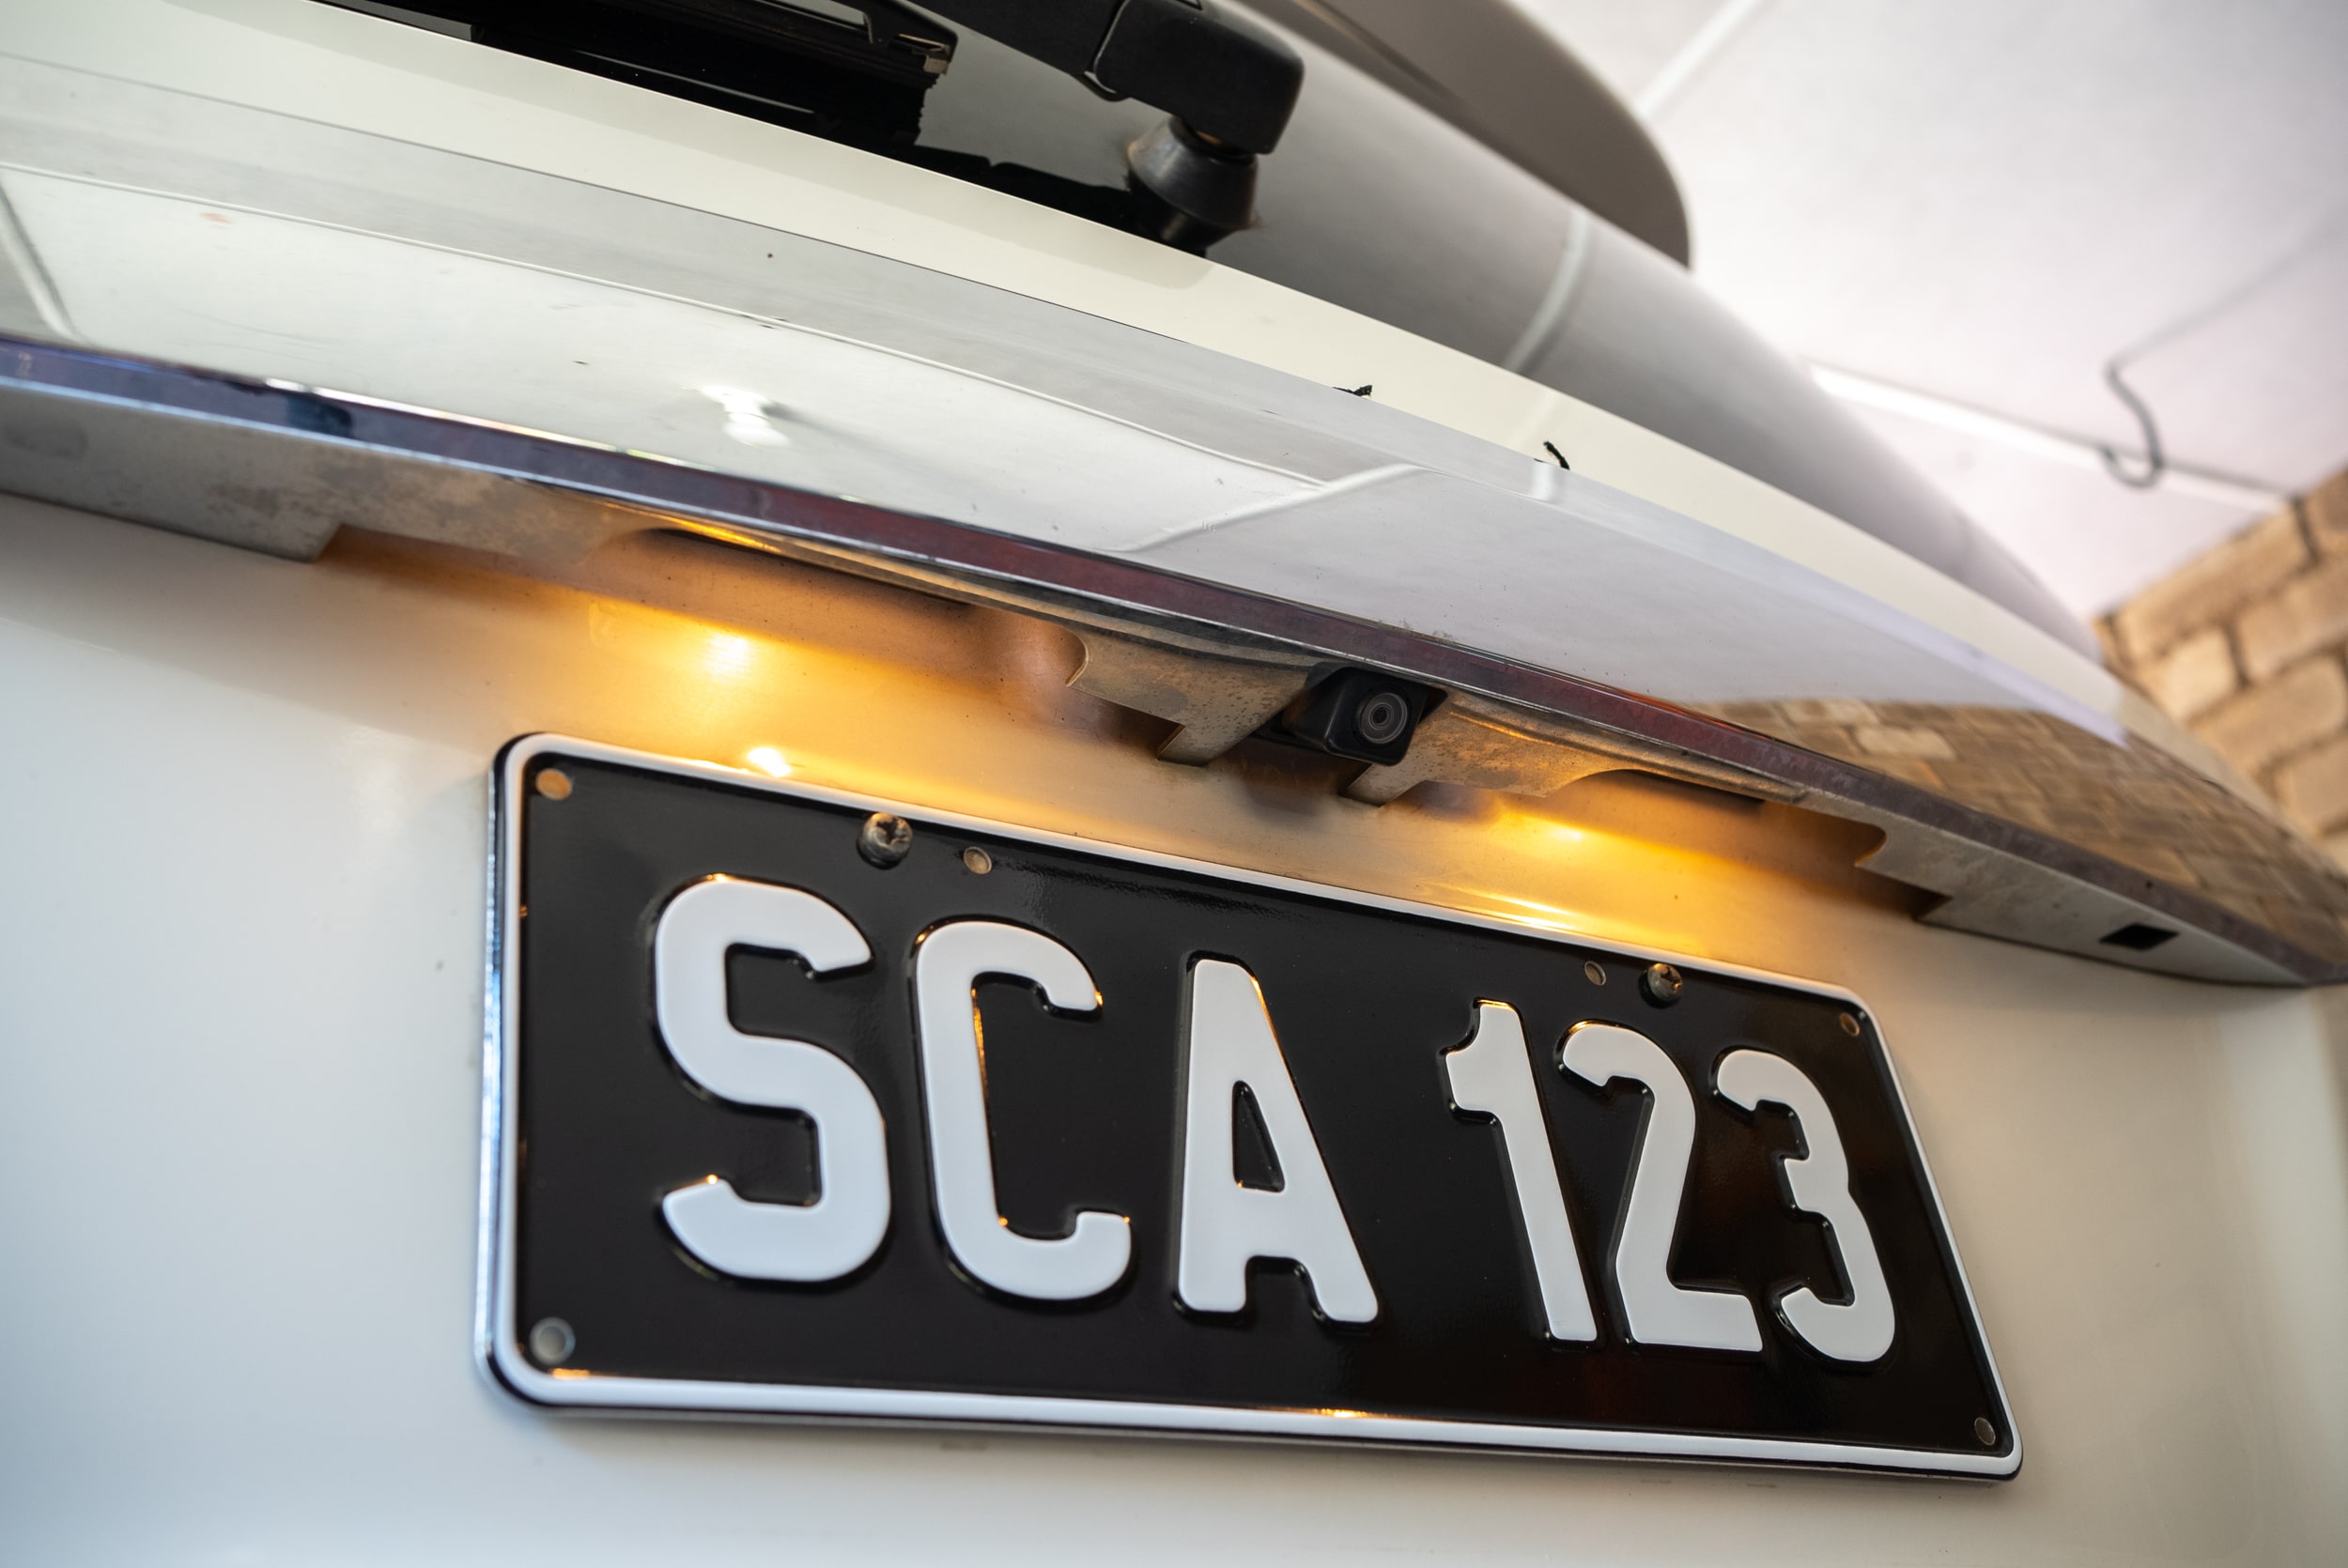
Flick the park lights on at your dash, then check your number plate and taillights. Ensure the brake lights are not activated when you check taillights. They often share the same globe and can make it difficult to spot a blown globe.
HEAD LIGHTS
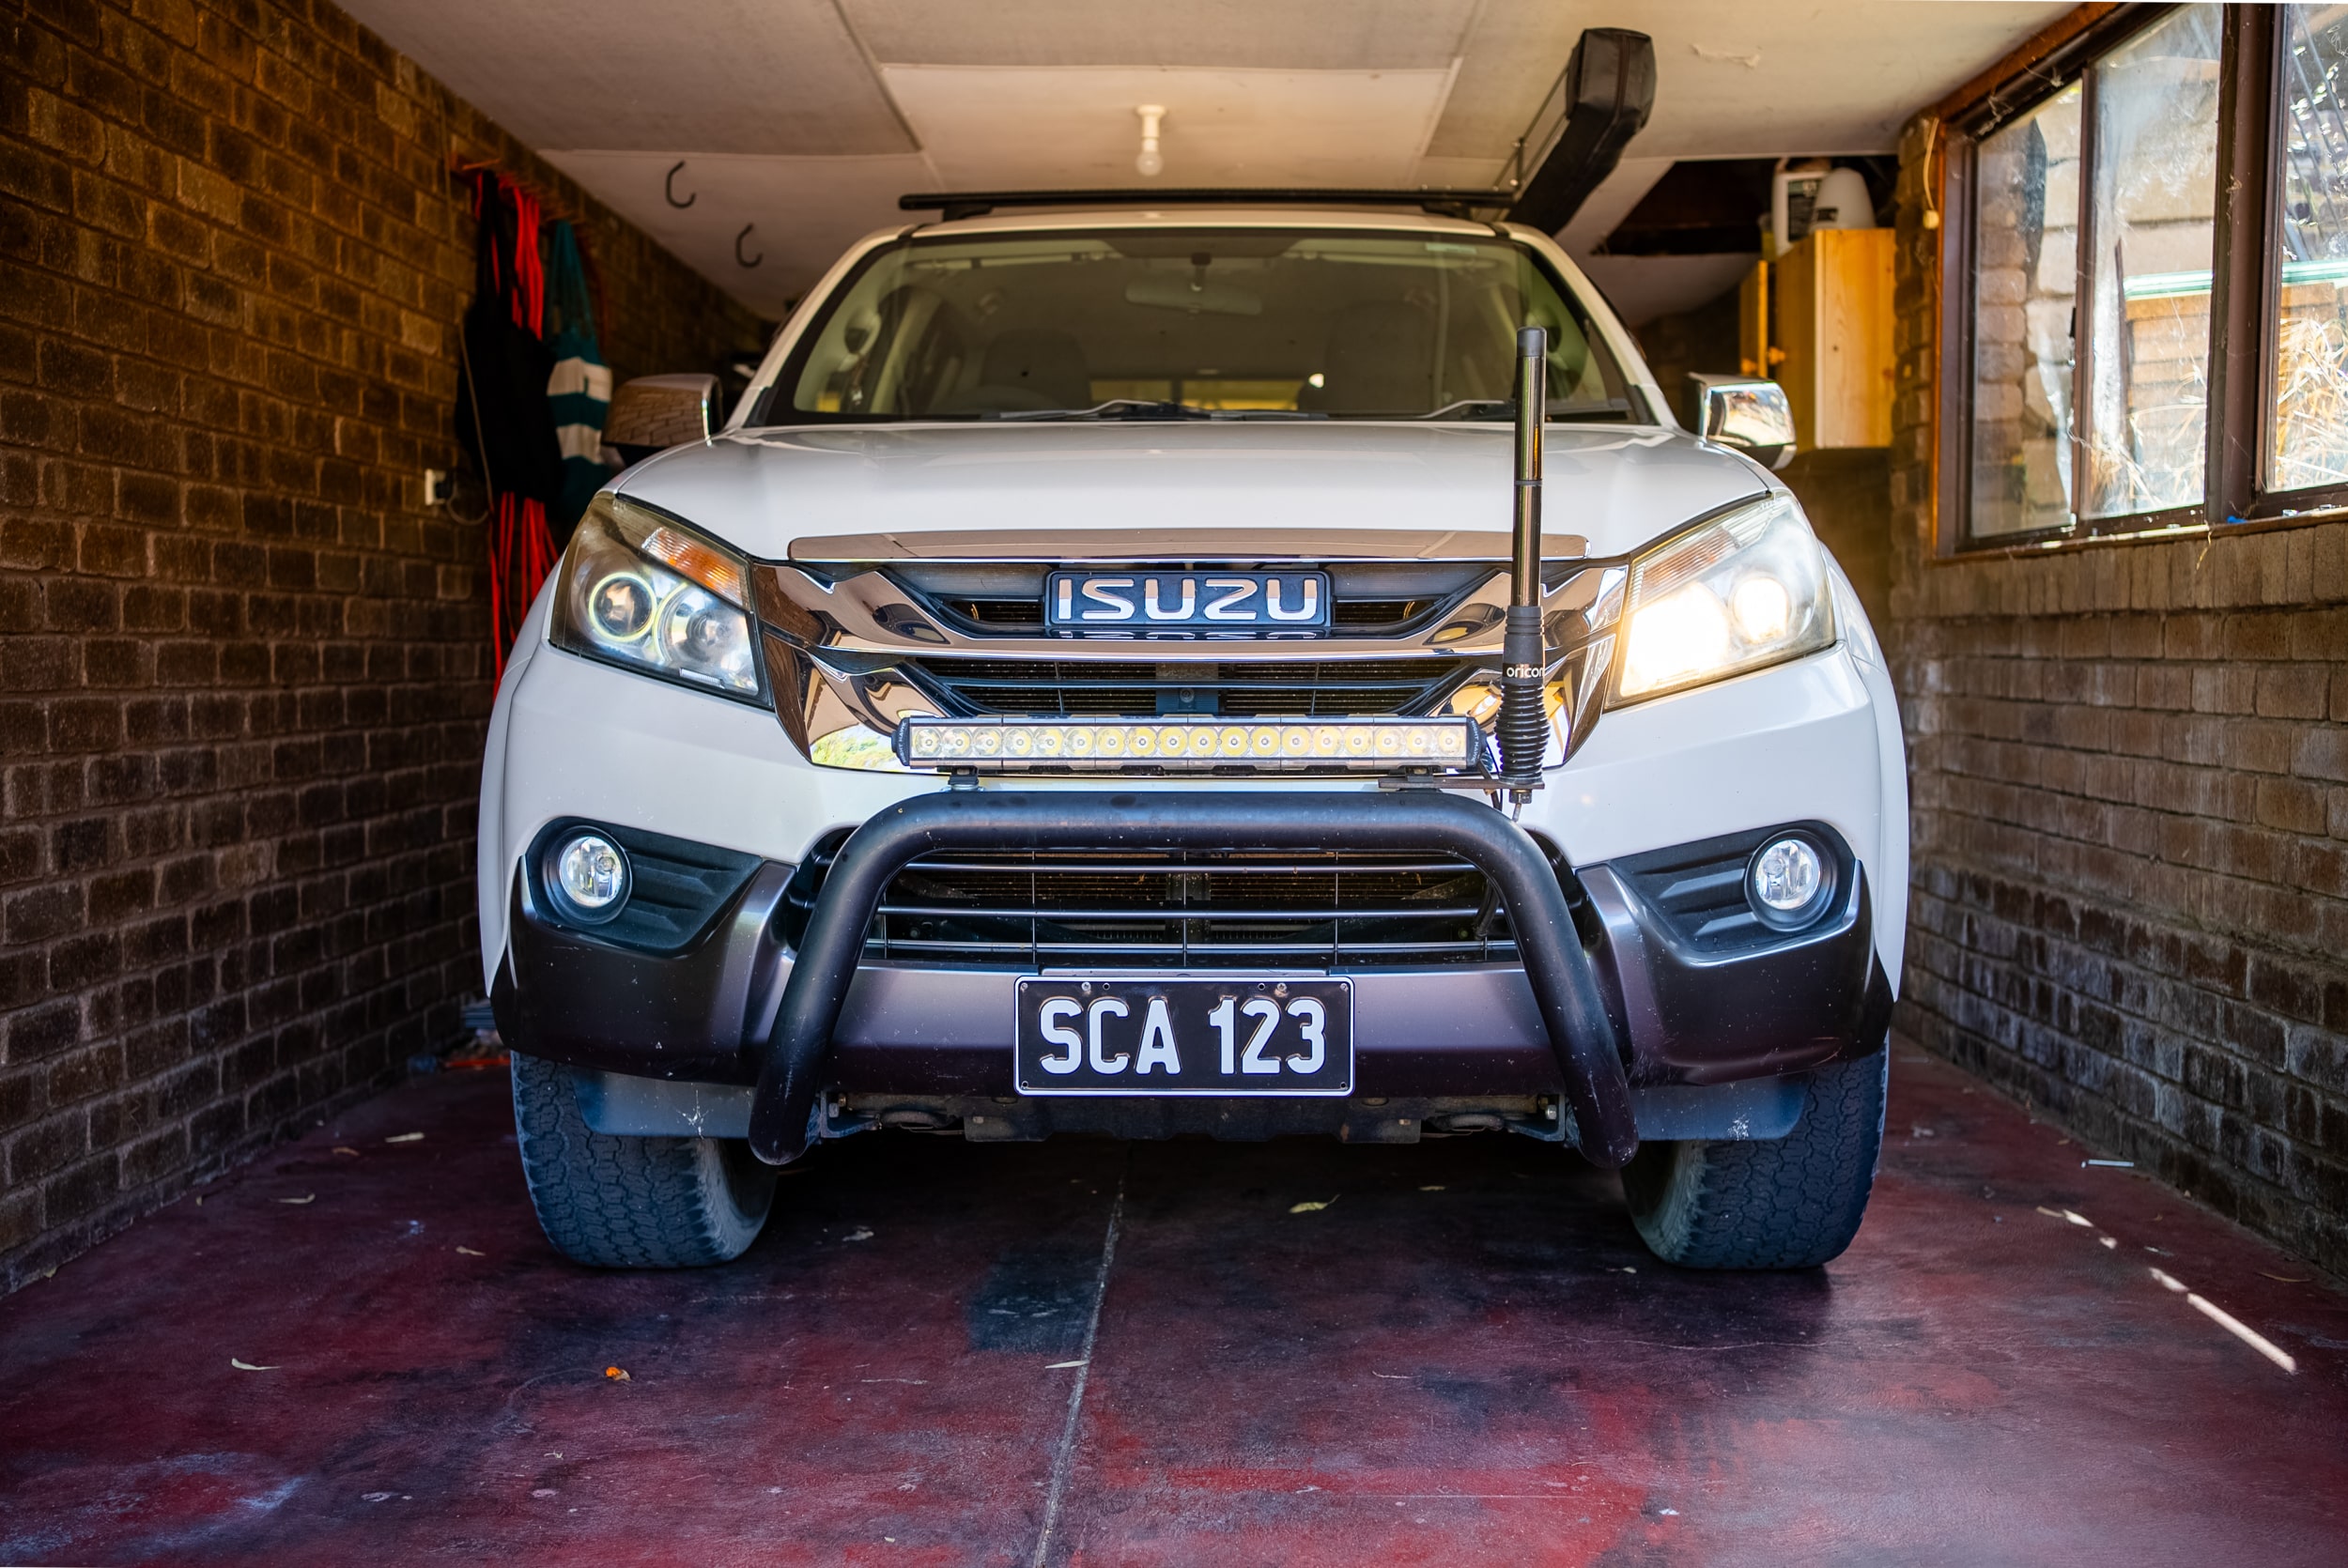
There are three separate light circuits to check for a blown headlight. Park, low beam, and high beam. Checking each one separately where possible will make it easier to identify any blown globes.
It is also worth noting that some vehicles will have separate globes for low and high beam, while others will contain the low and high beam circuits within the same globe.
STEP 2: PURCHASE YOUR GLOBES
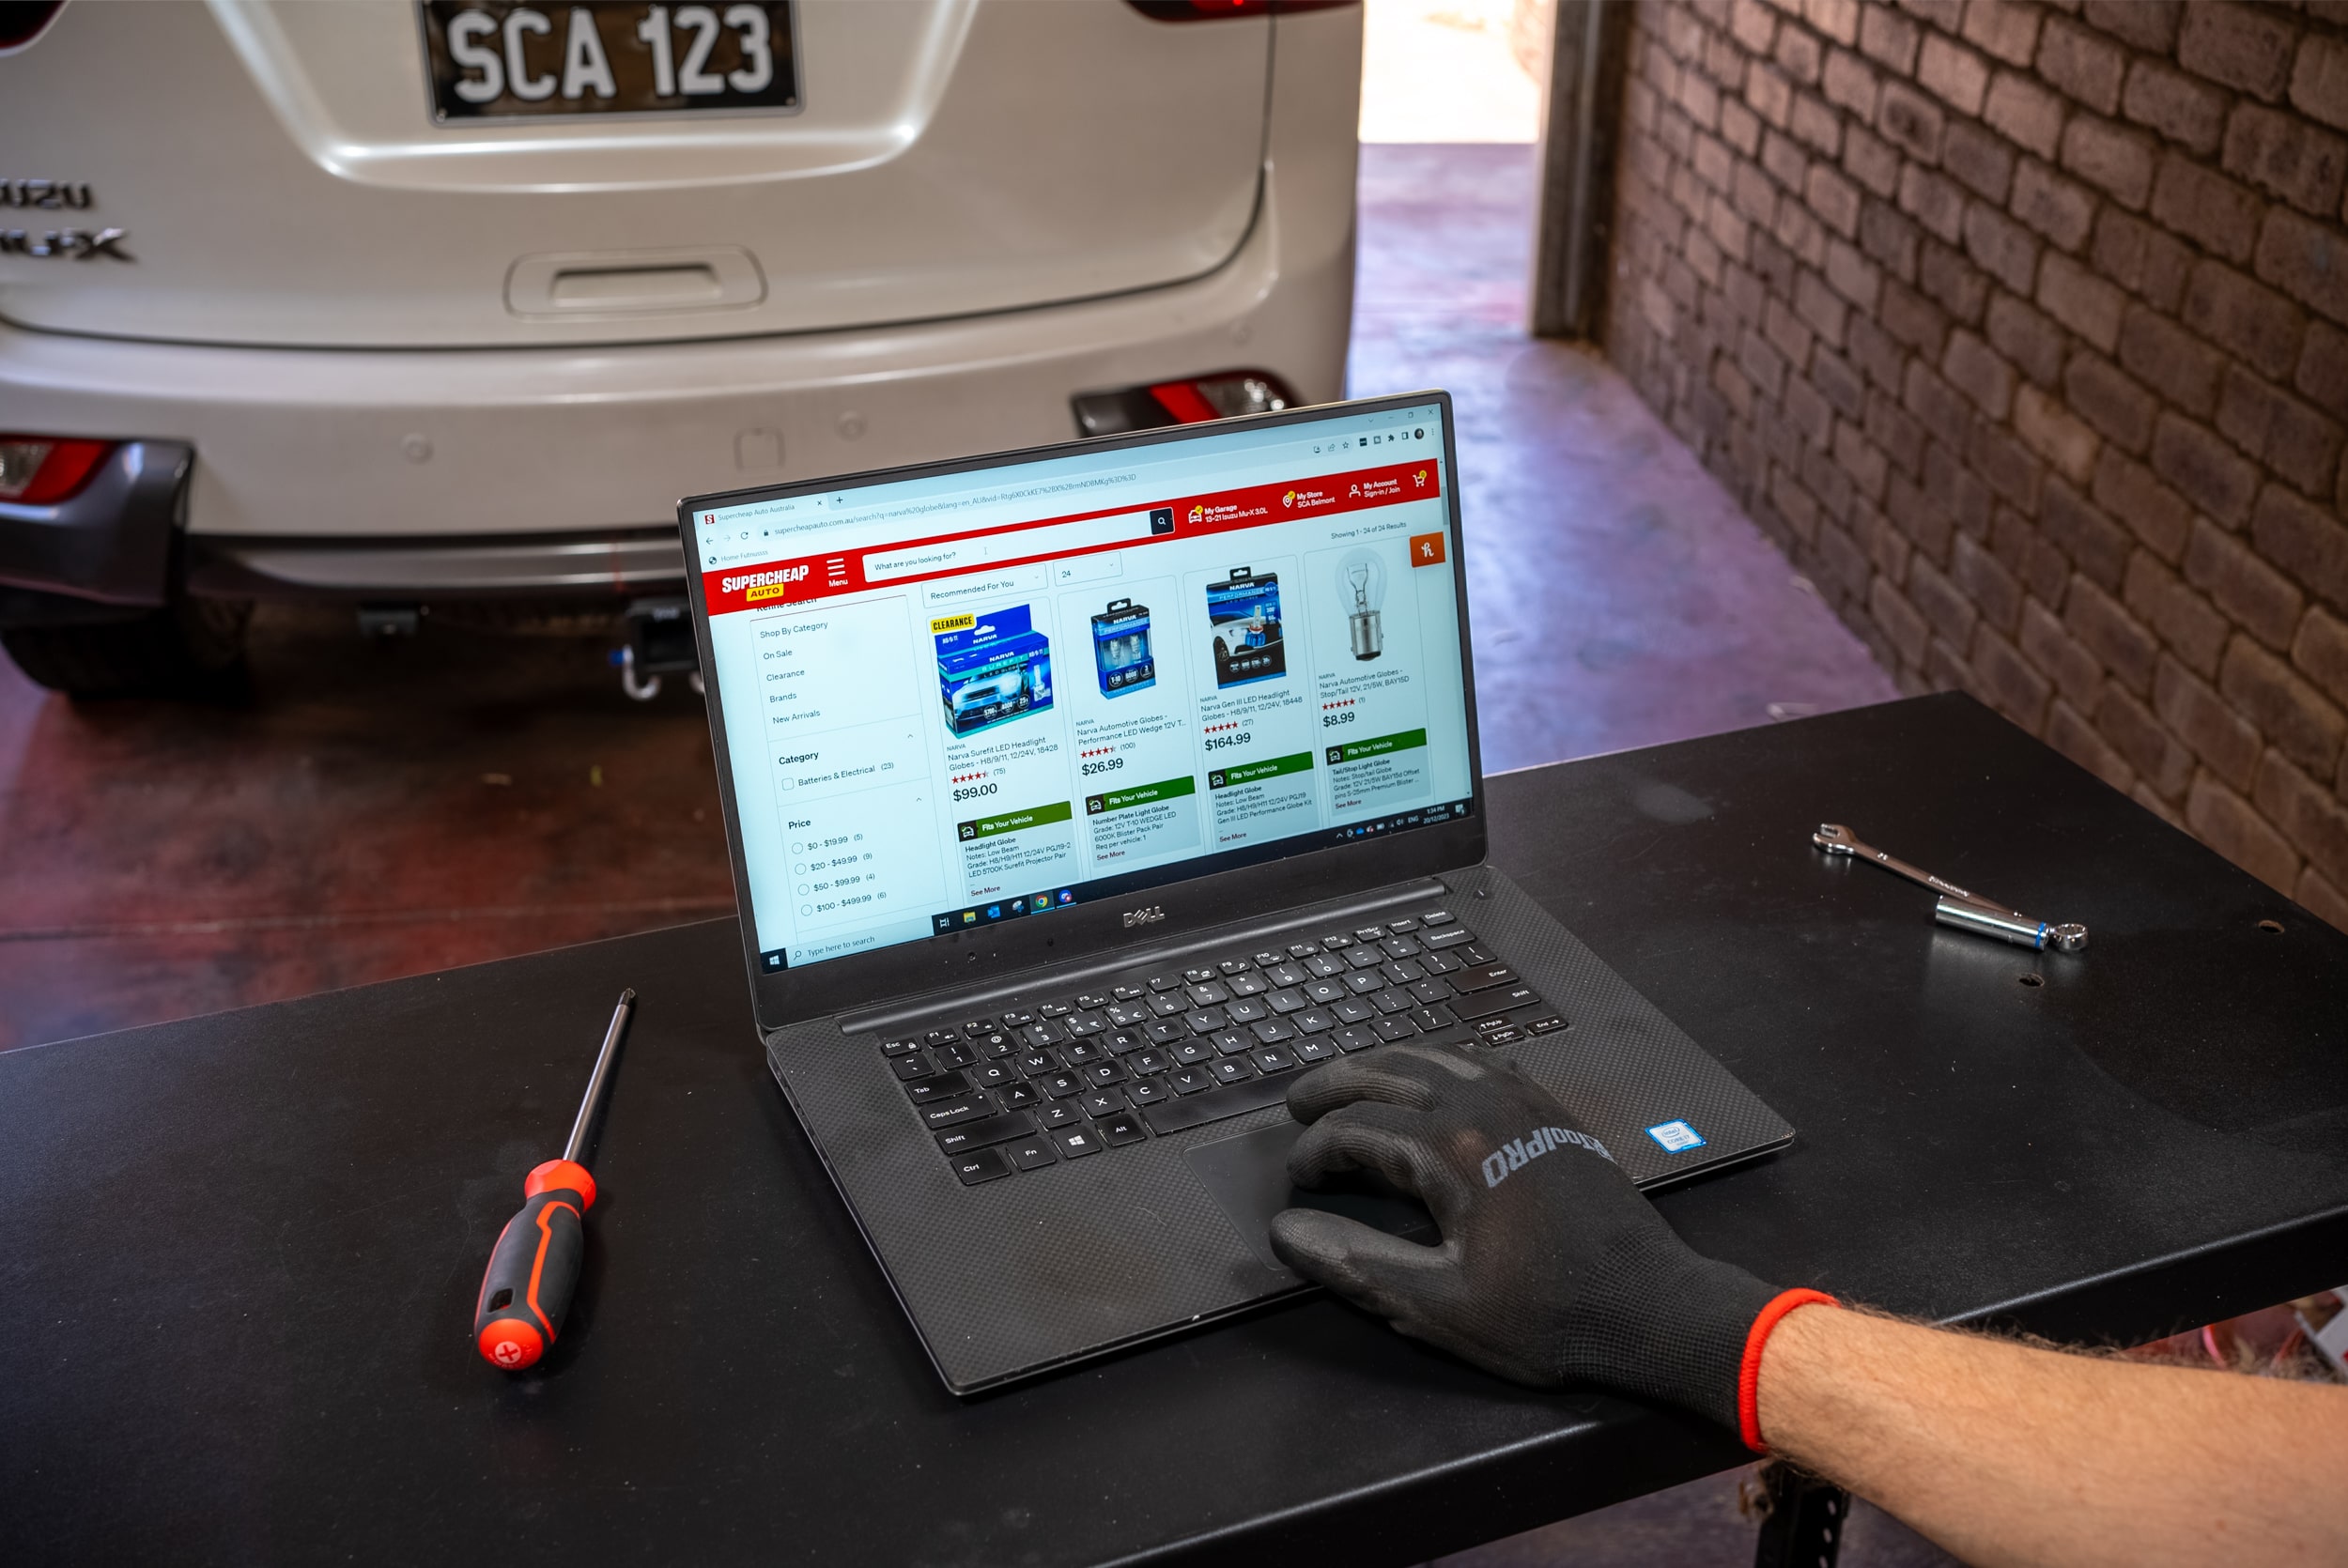
The easiest way to choose your automotive globe replacement is by using the Supercheap Auto My Garage feature. Simply enter your rego, and search for the globe you need to replace to be presented with a range of suitable options.
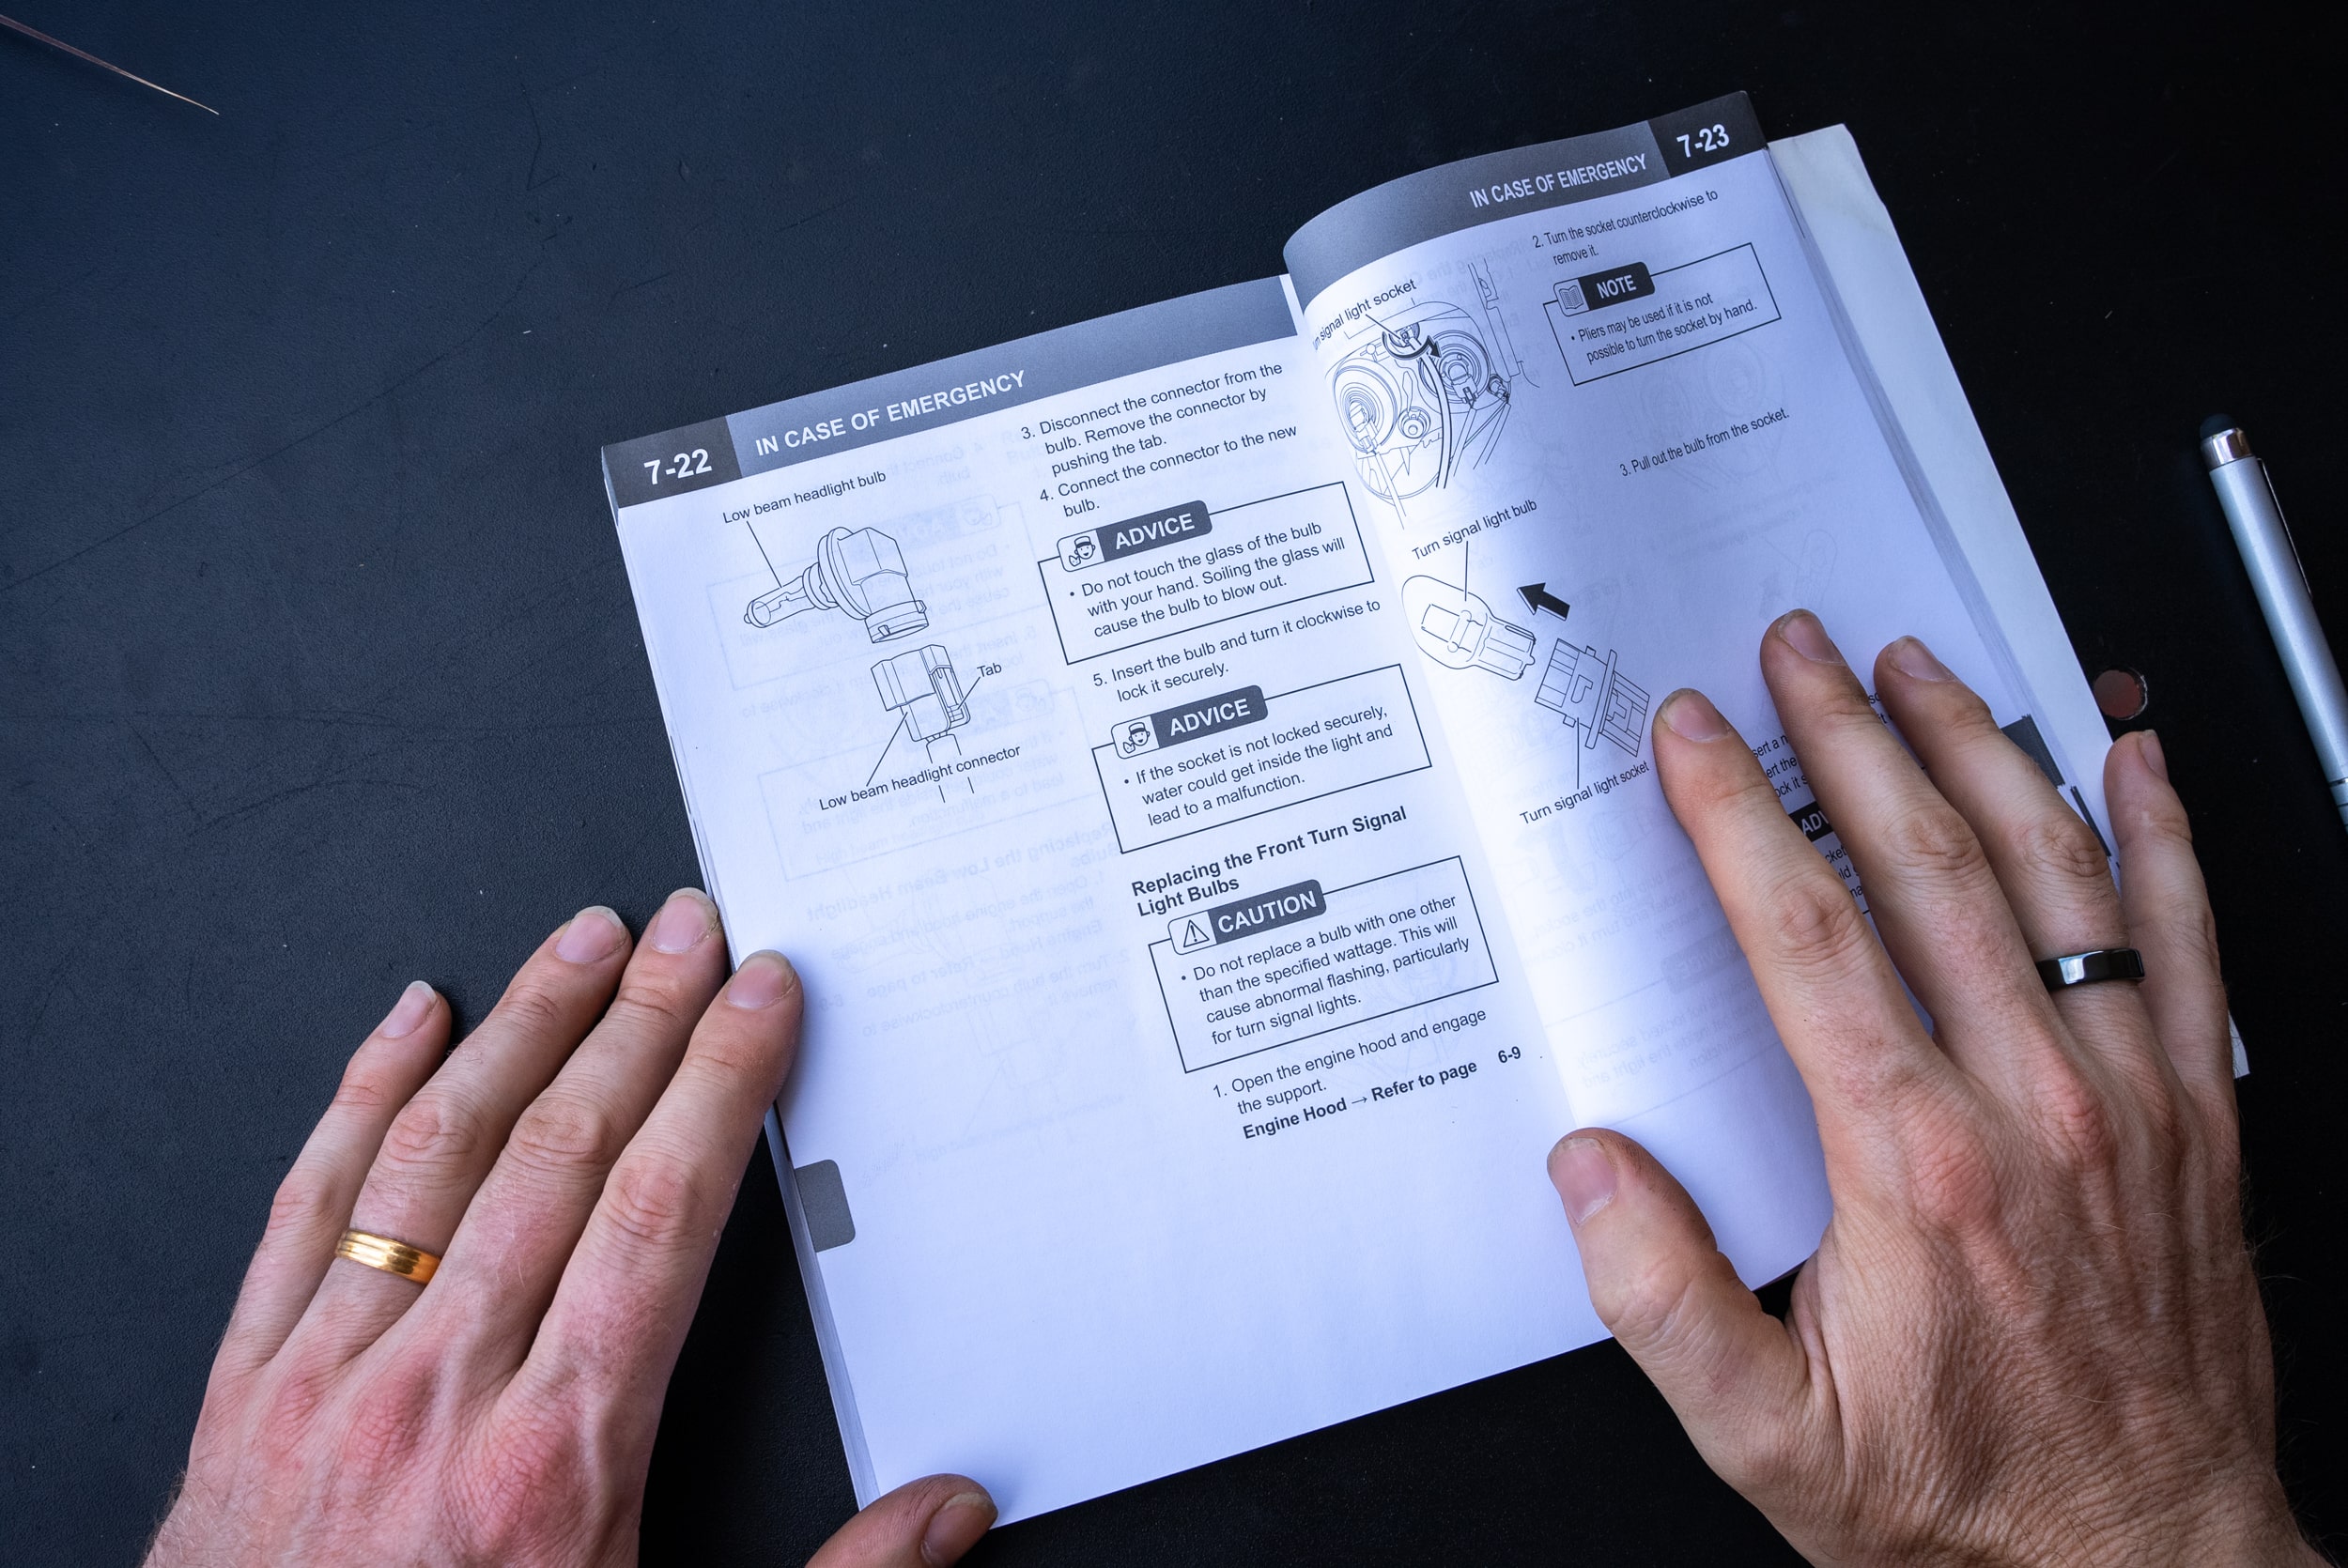
You can also look up the automotive globe replacement chapter in your owner’s manual. Here you will find globe numbers and specifications which you can match up on the shelves at Supercheap Auto.
STEP 3: AUTOMOTIVE GLOBE REPLACEMENT
Before you begin, ensure all lights are switched off.
HEADLIGHTS
Most headlight and park light globes can be replaced with the headlight in place. The method to replace a blown headlight will vary between vehicles. A spring clip will retain it on some cars, while others are twisted to lock and unlock them from position.

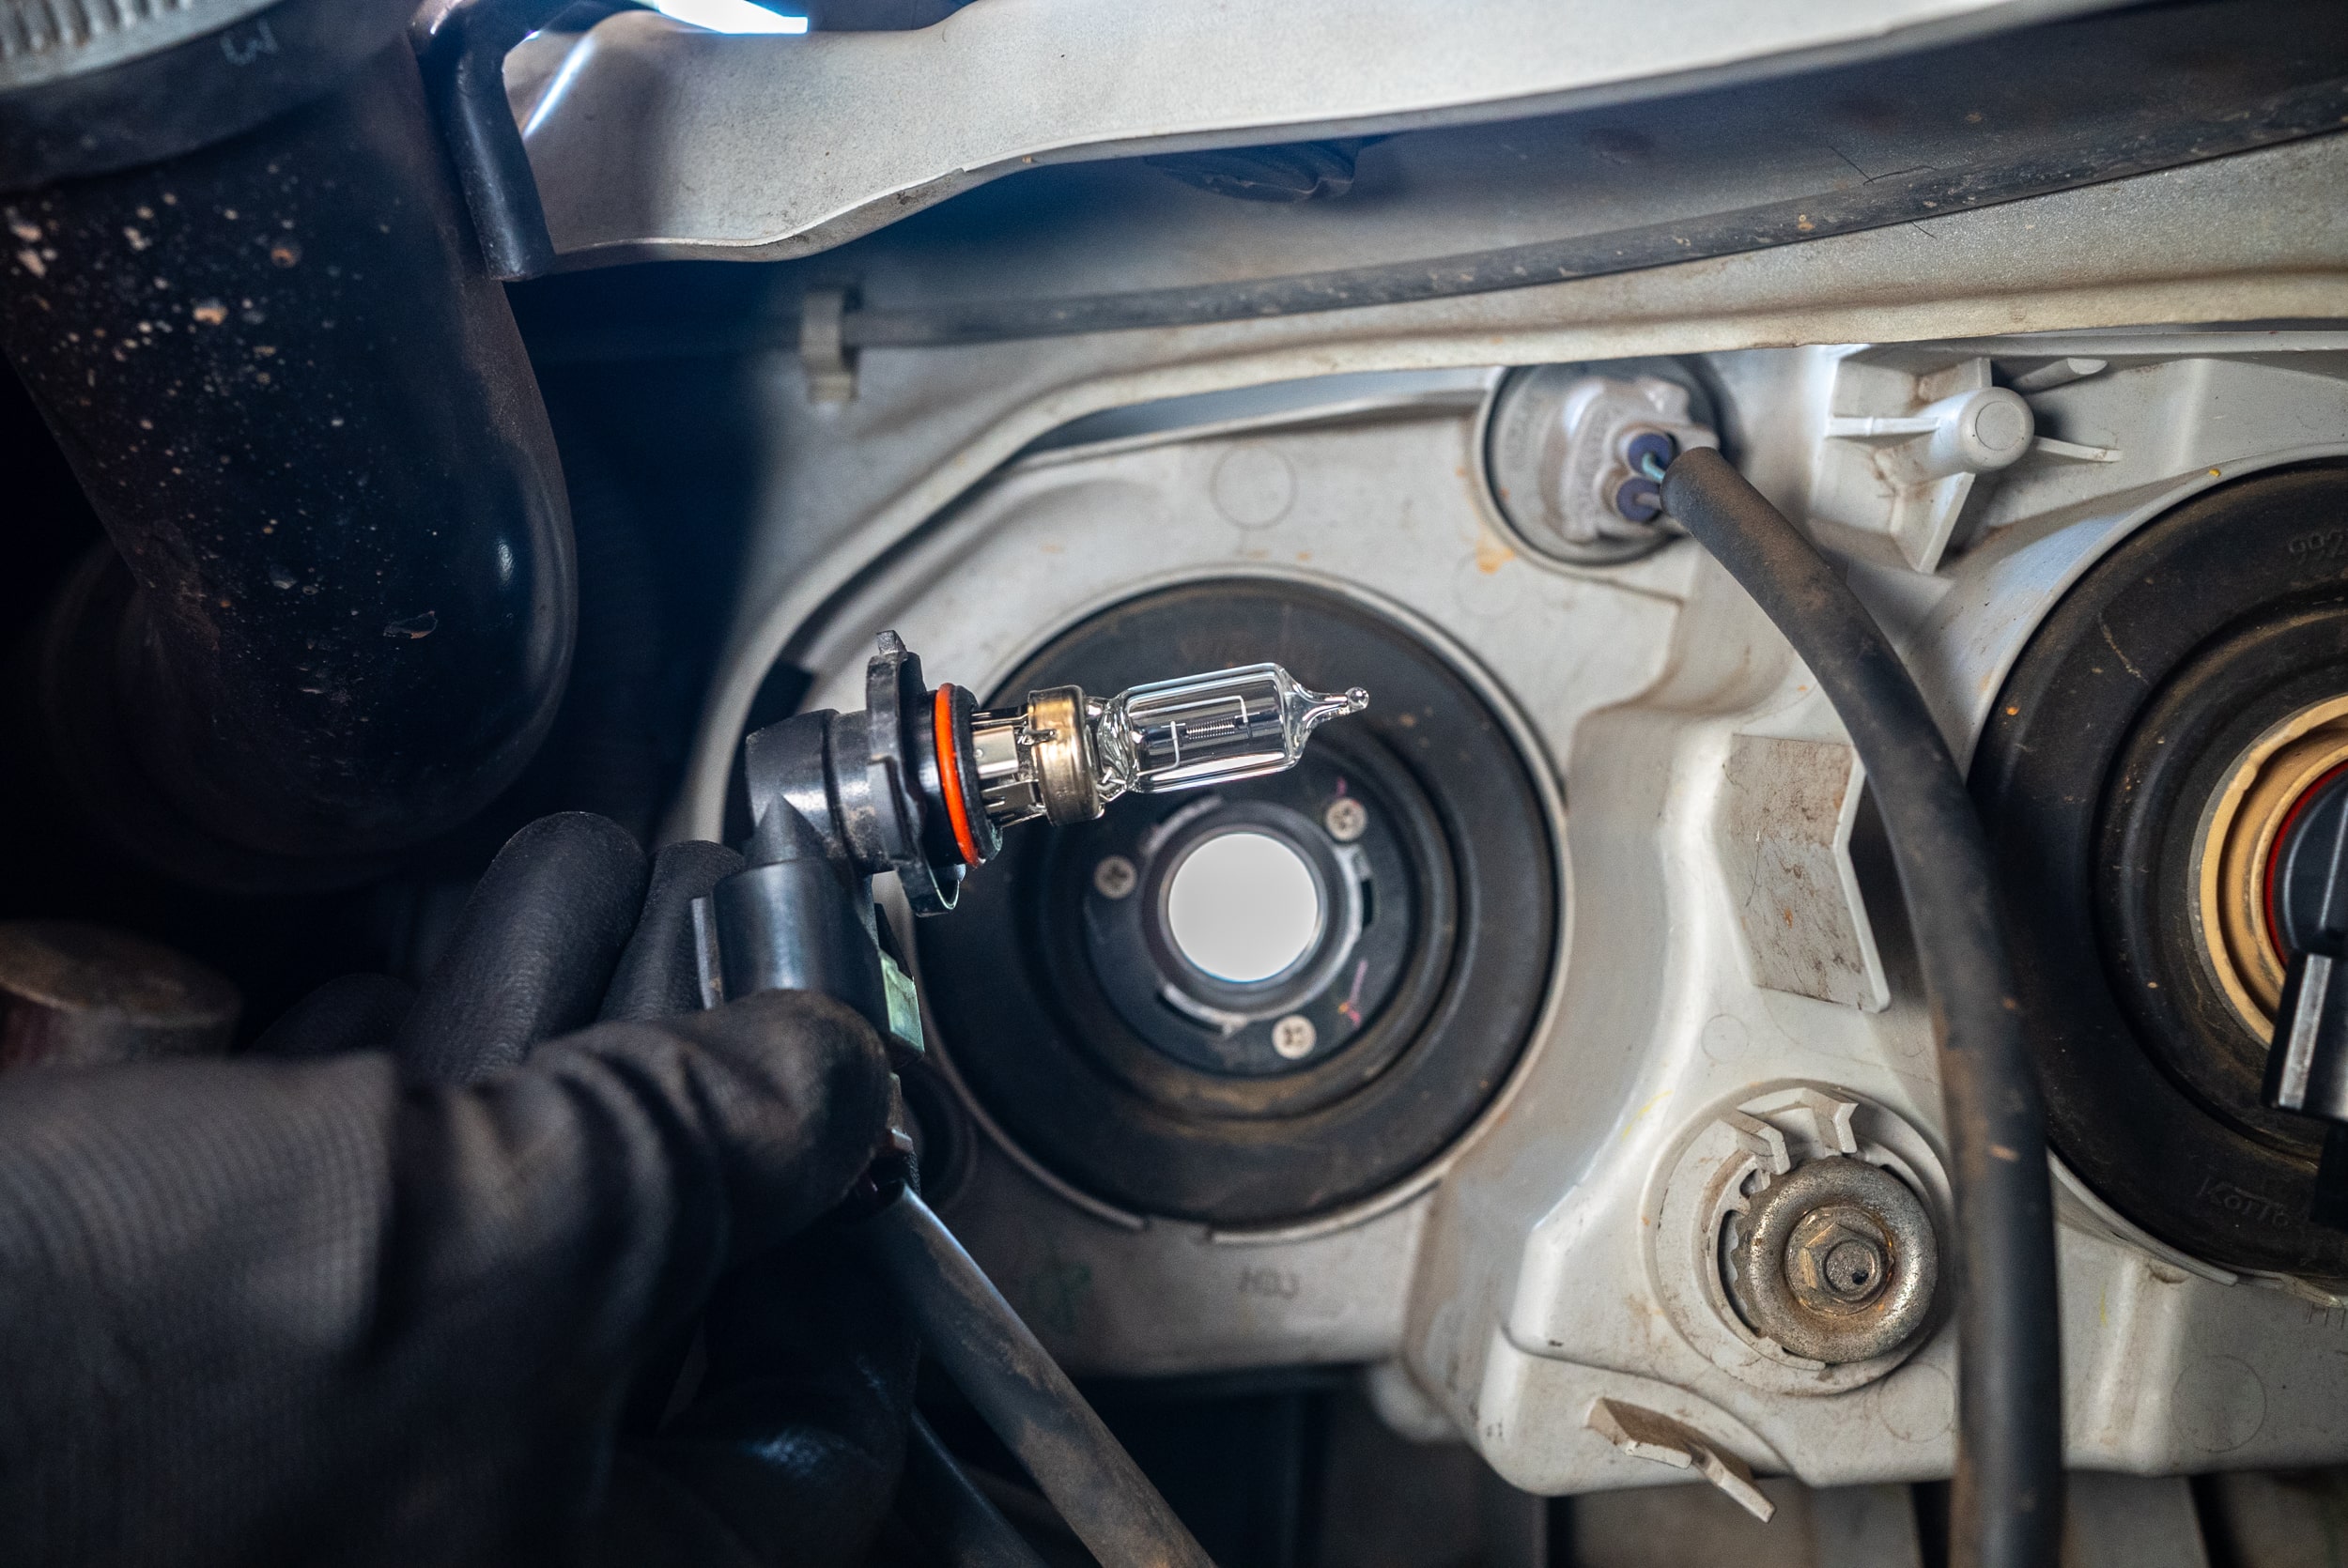
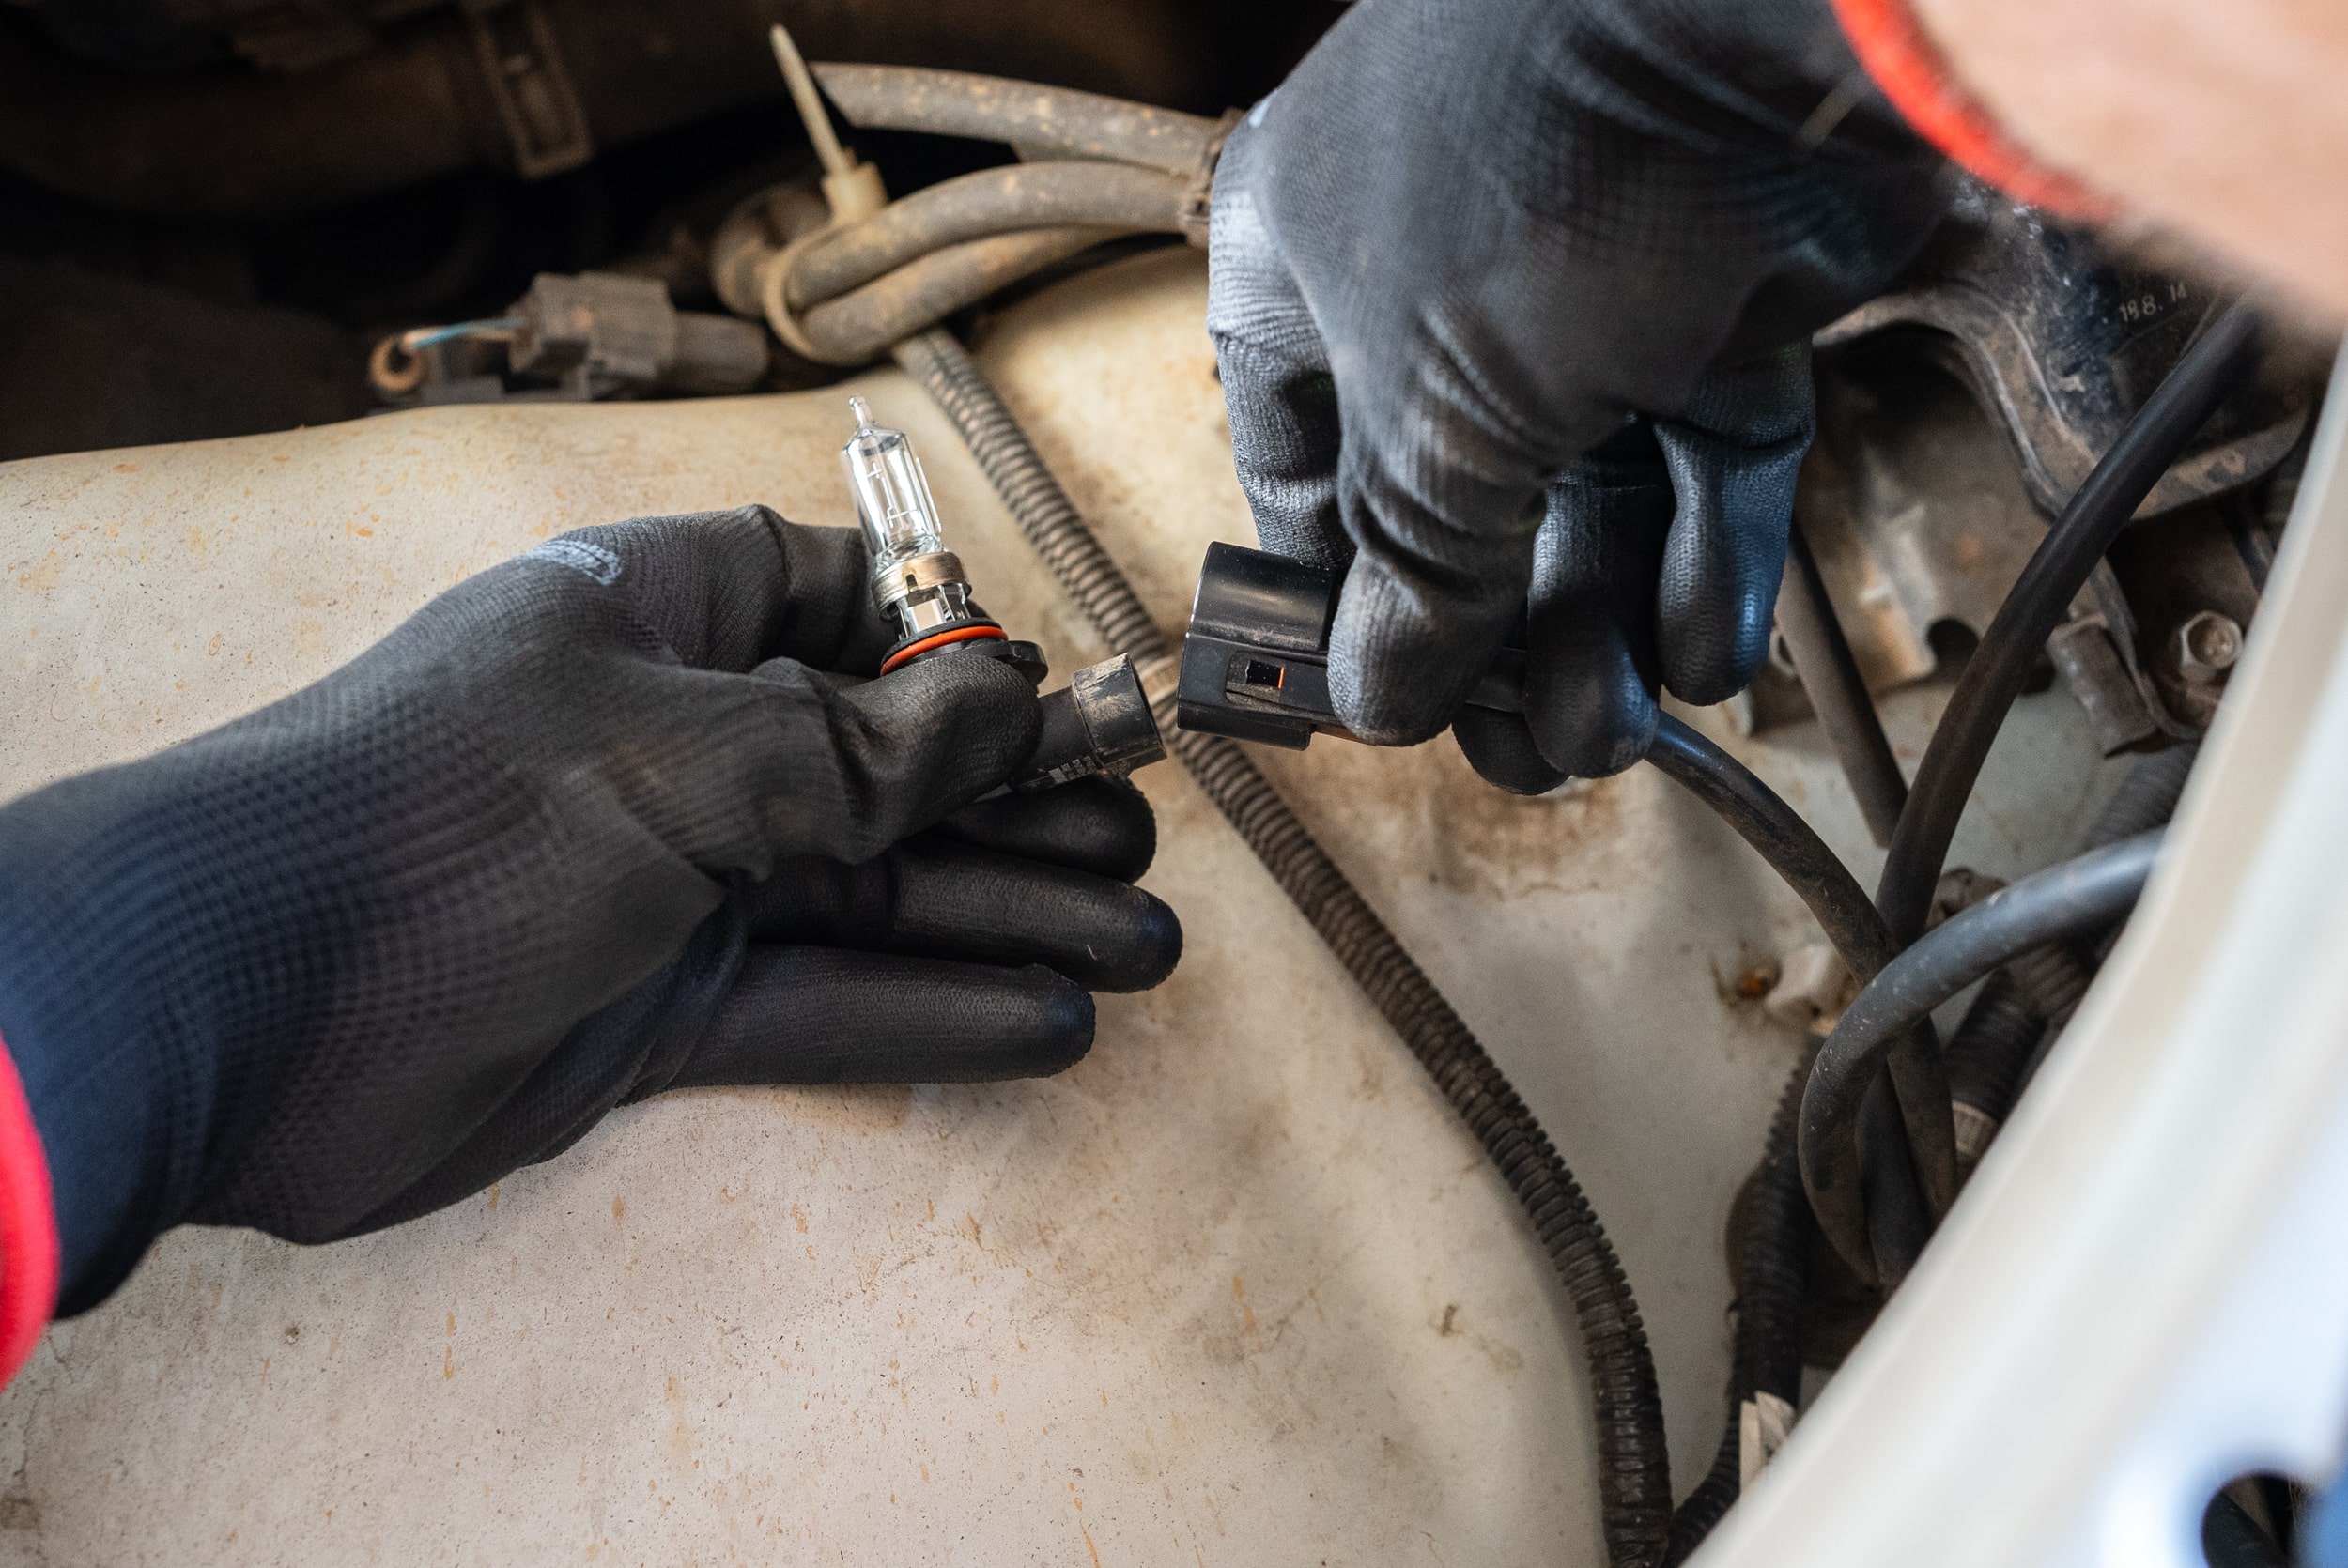
Often it is easier to remove the globe from the light, and then unplug it from the wiring harness. Be sure to wear gloves when you fit the new globe not only to protect your hands; but to protect the globe from the oils in your skin. These oils can cause hot spots on the globe and shorten its lifespan.
TAIL, INDICATOR & BRAKE LIGHTS
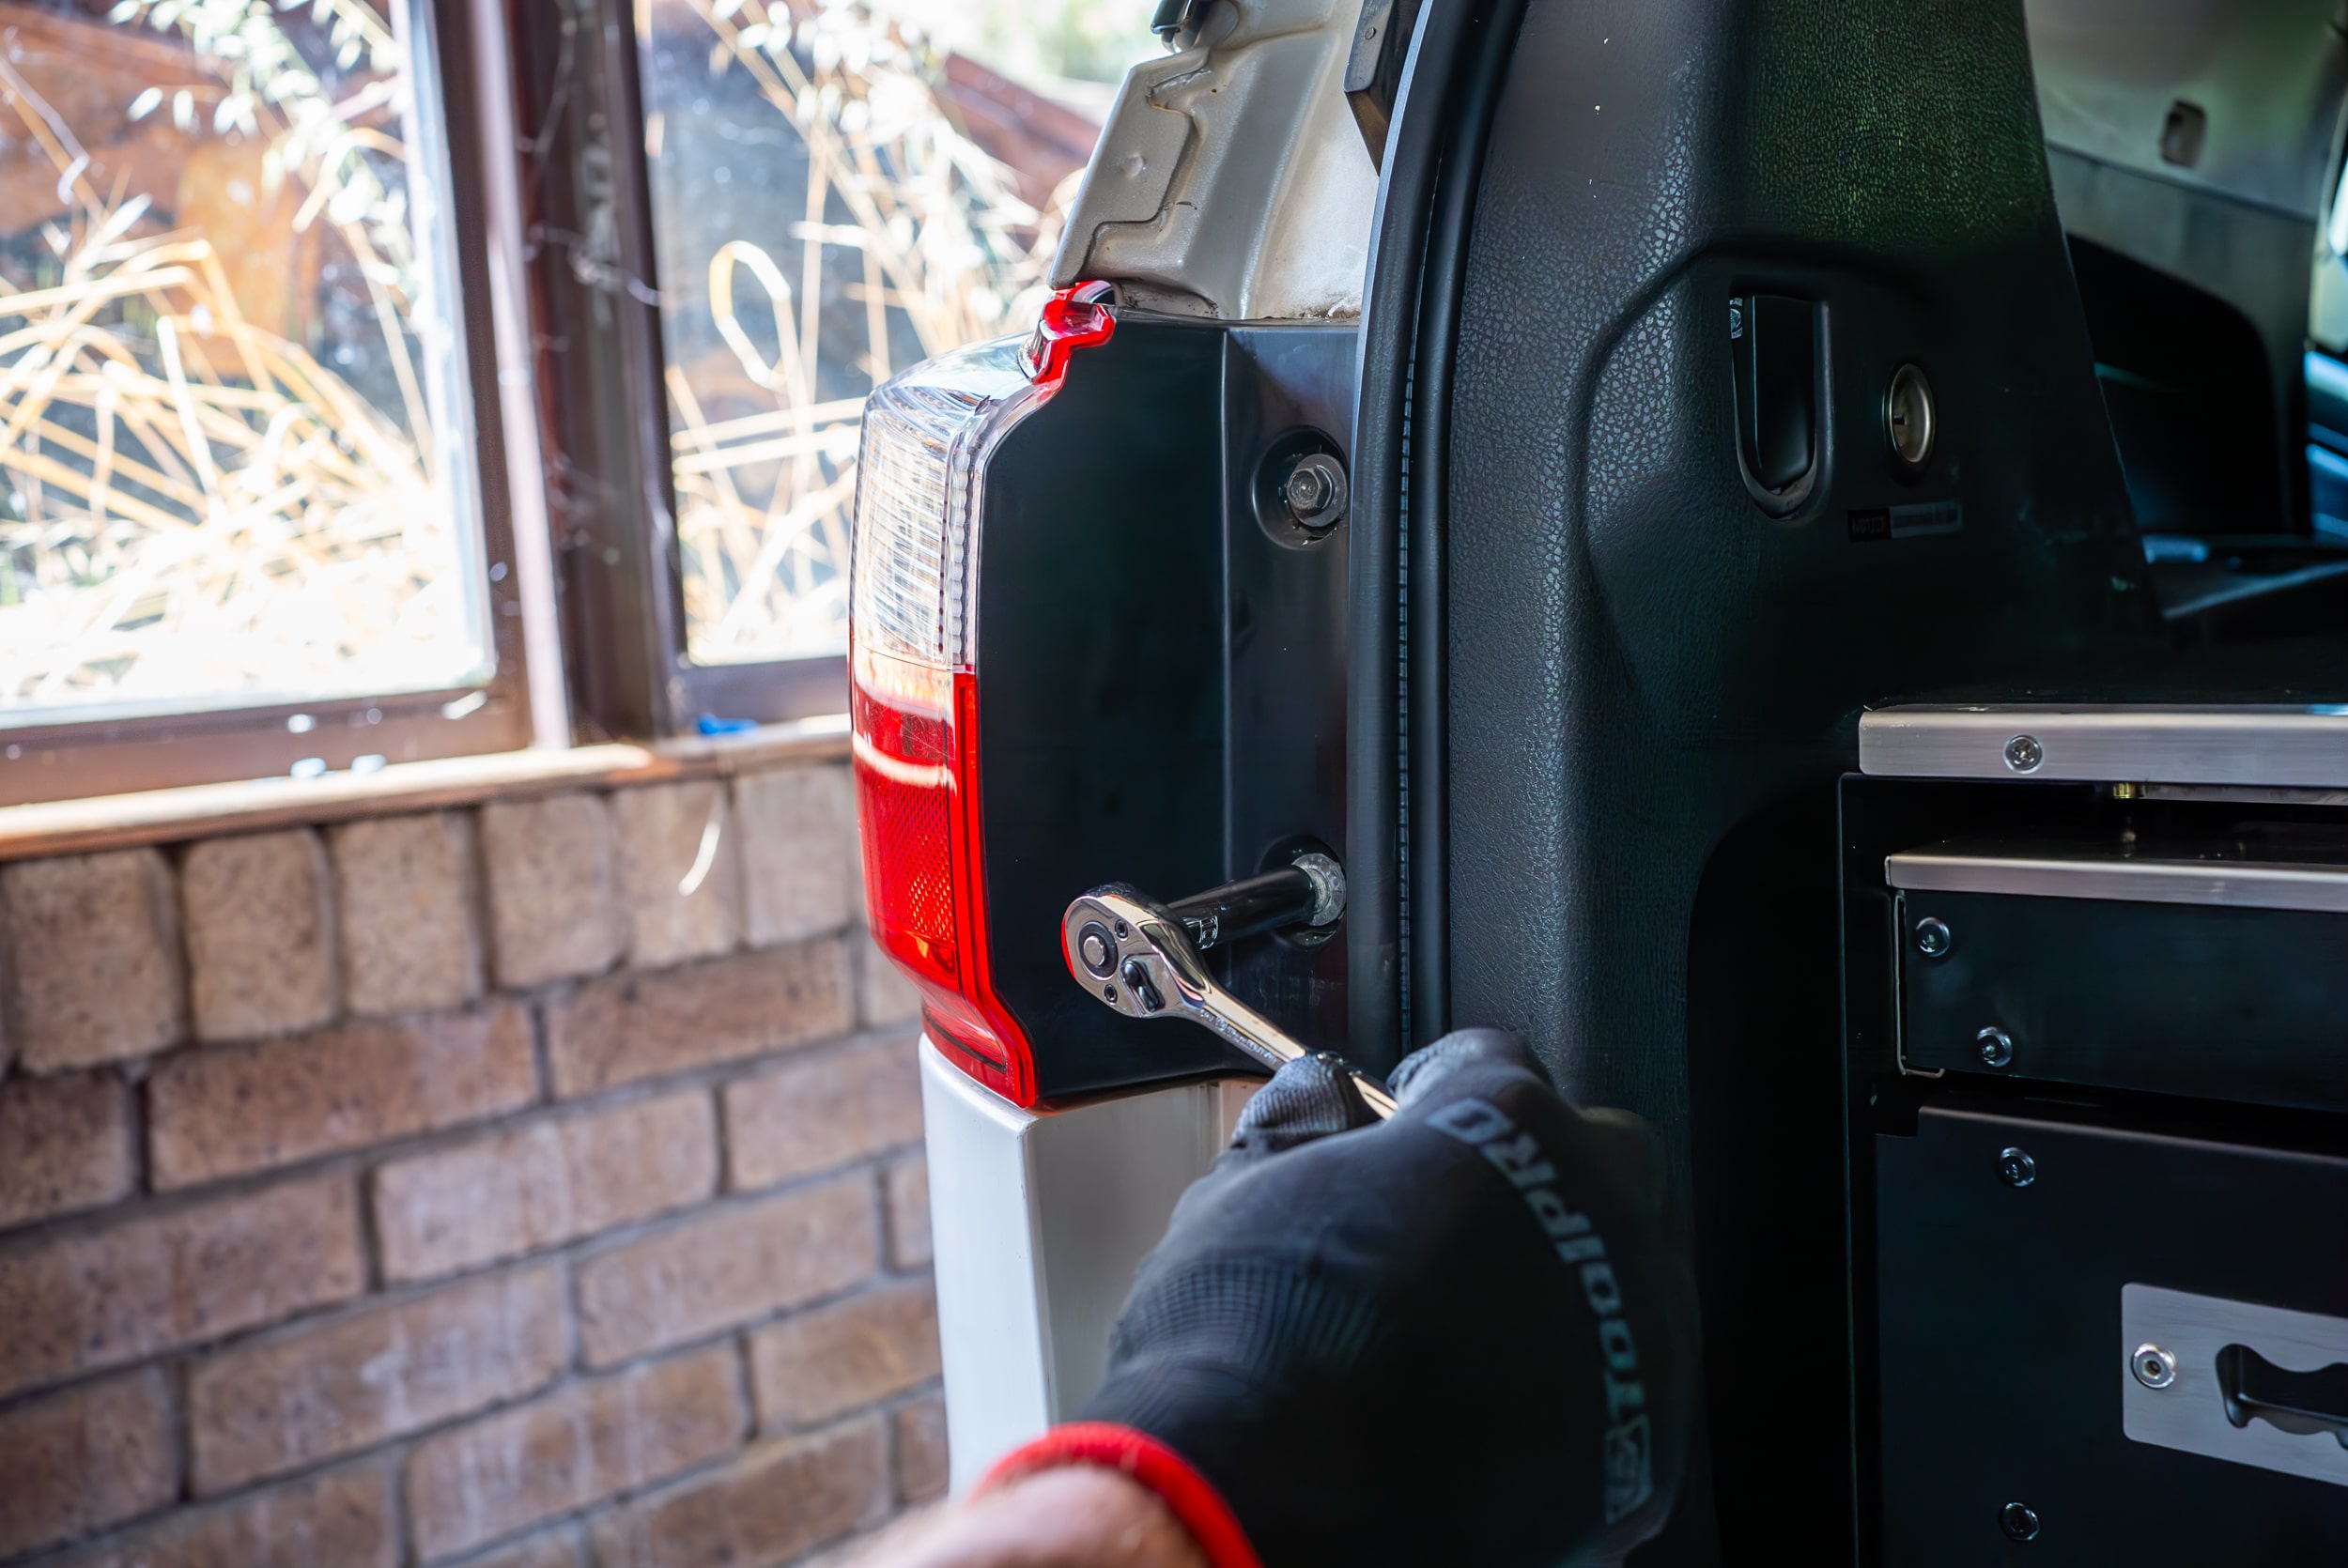
Down the back of the vehicle, you may find a service hatch in the boot or cargo area of your car specifically for automotive globe replacement. If not, you’ll need to remove the taillight assembly. Usually, the vehicle manufacturer has made this super easy, with just a few bolts or screws to be removed.
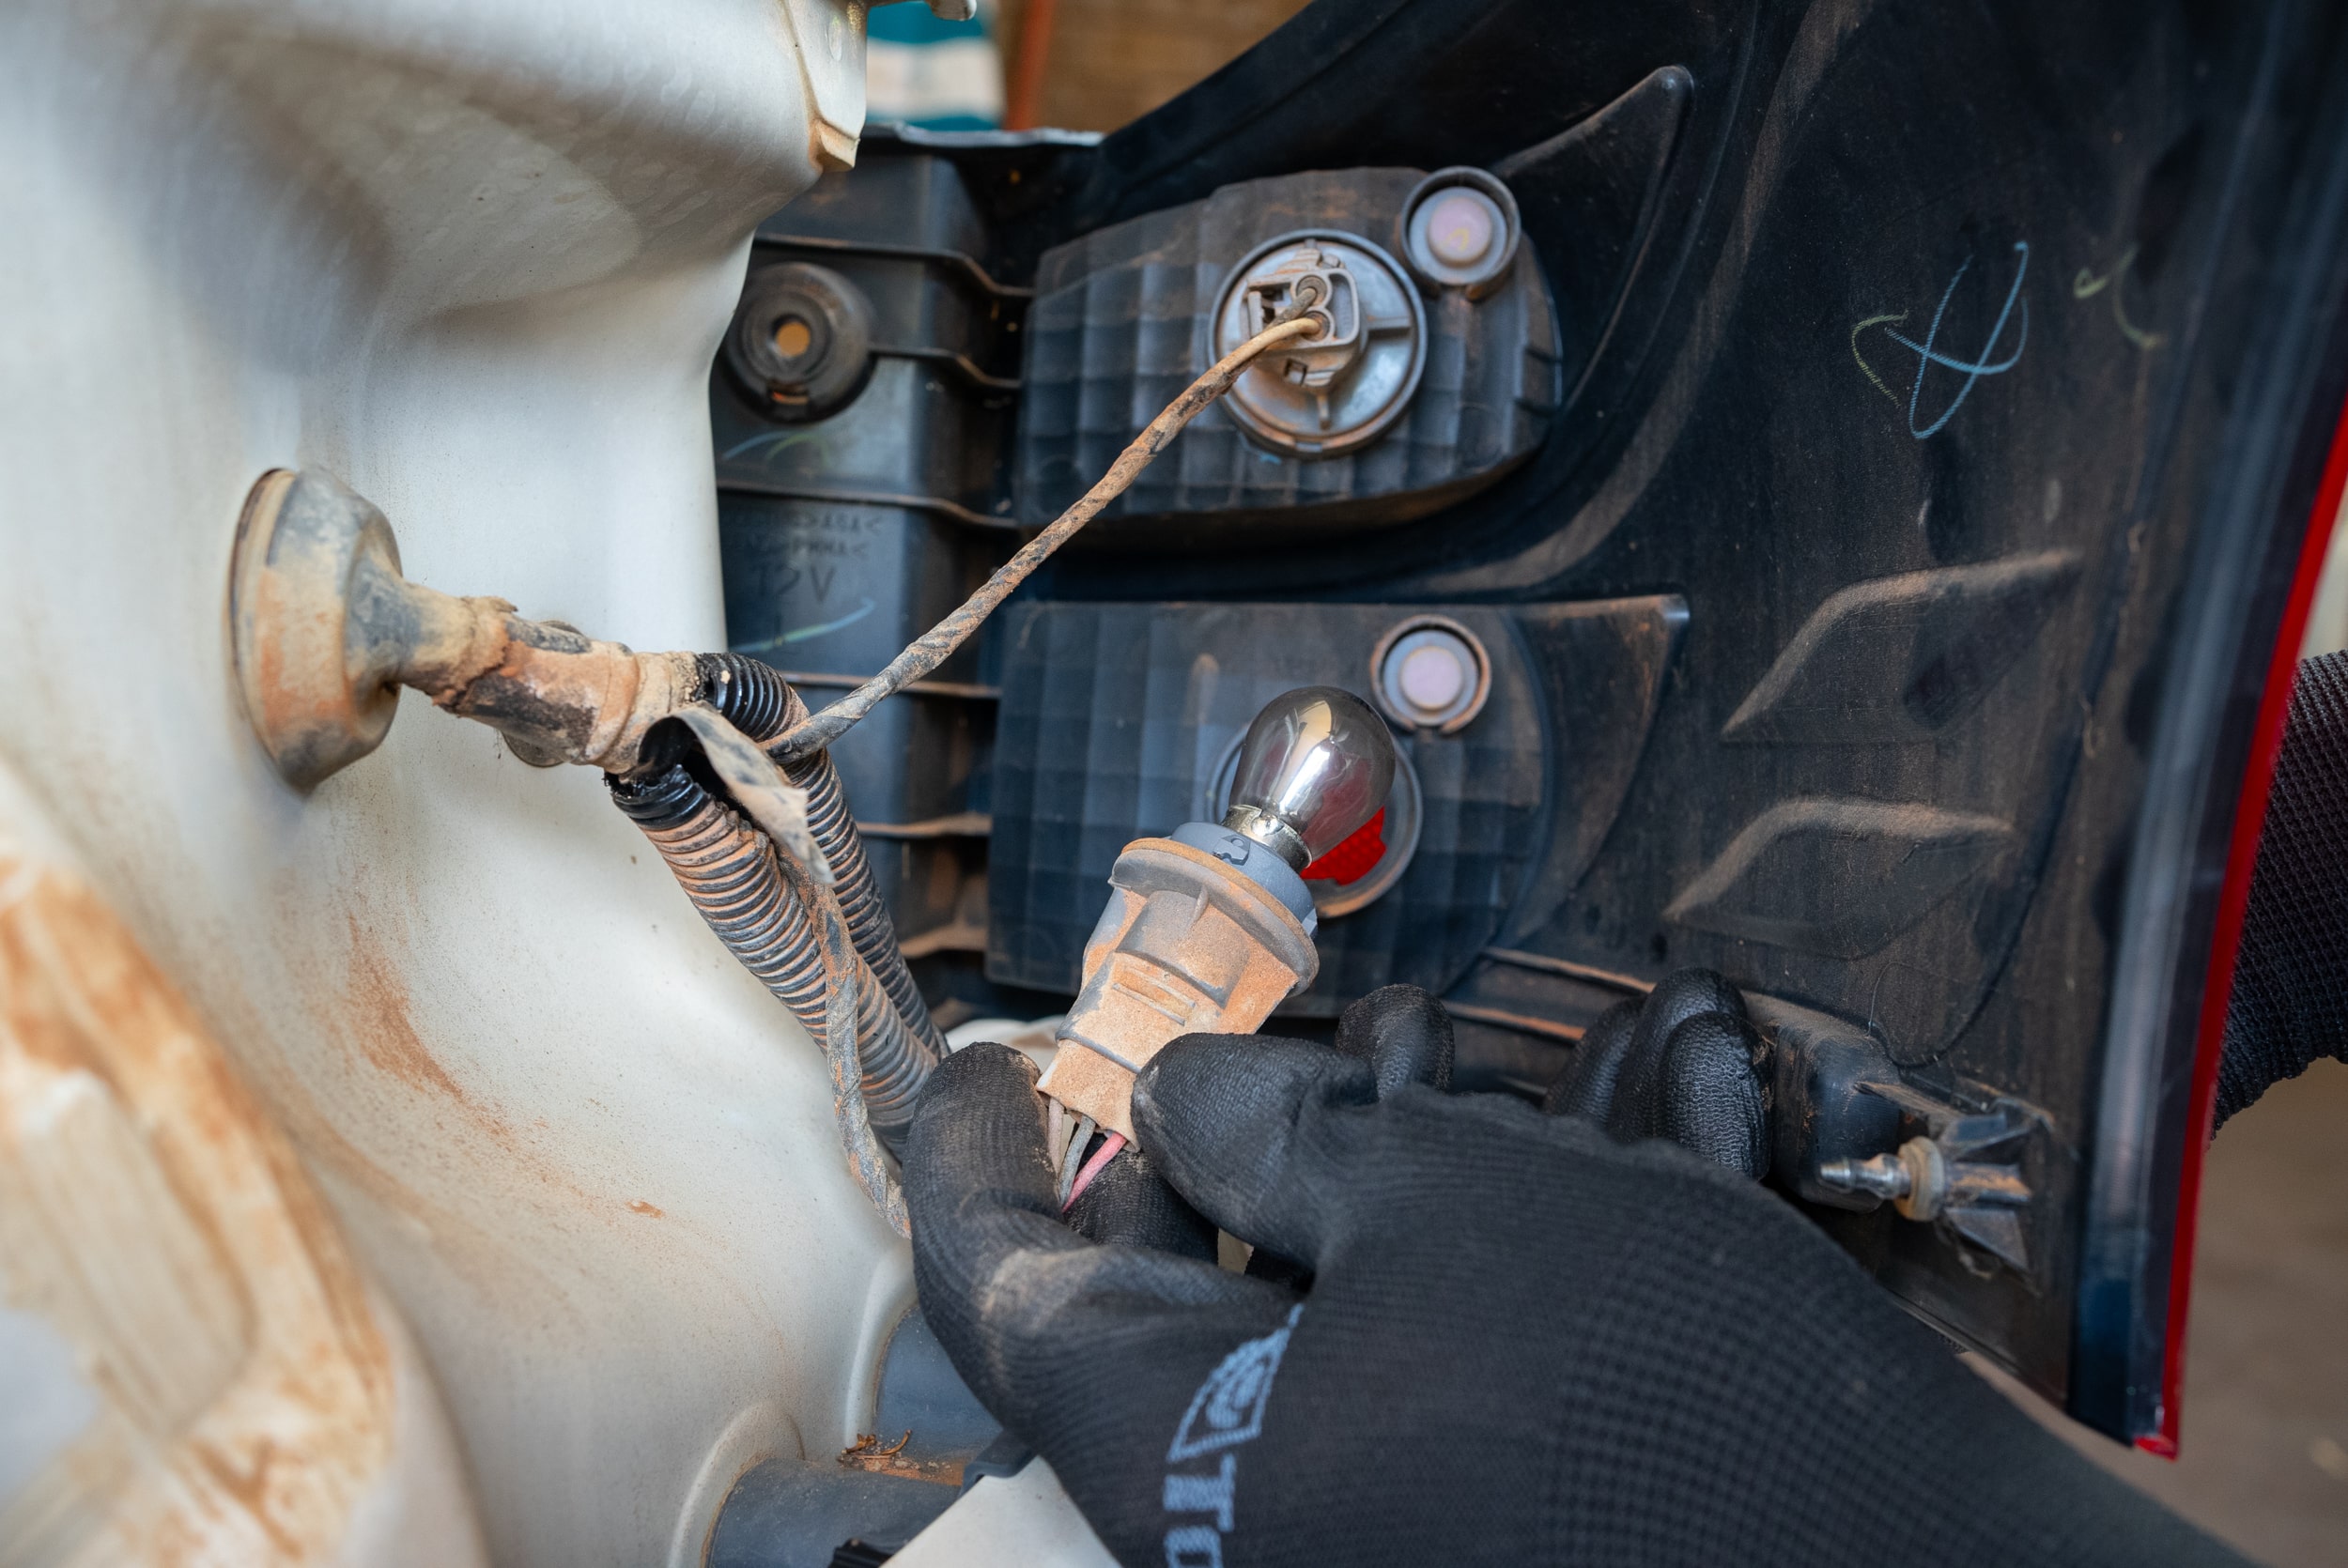
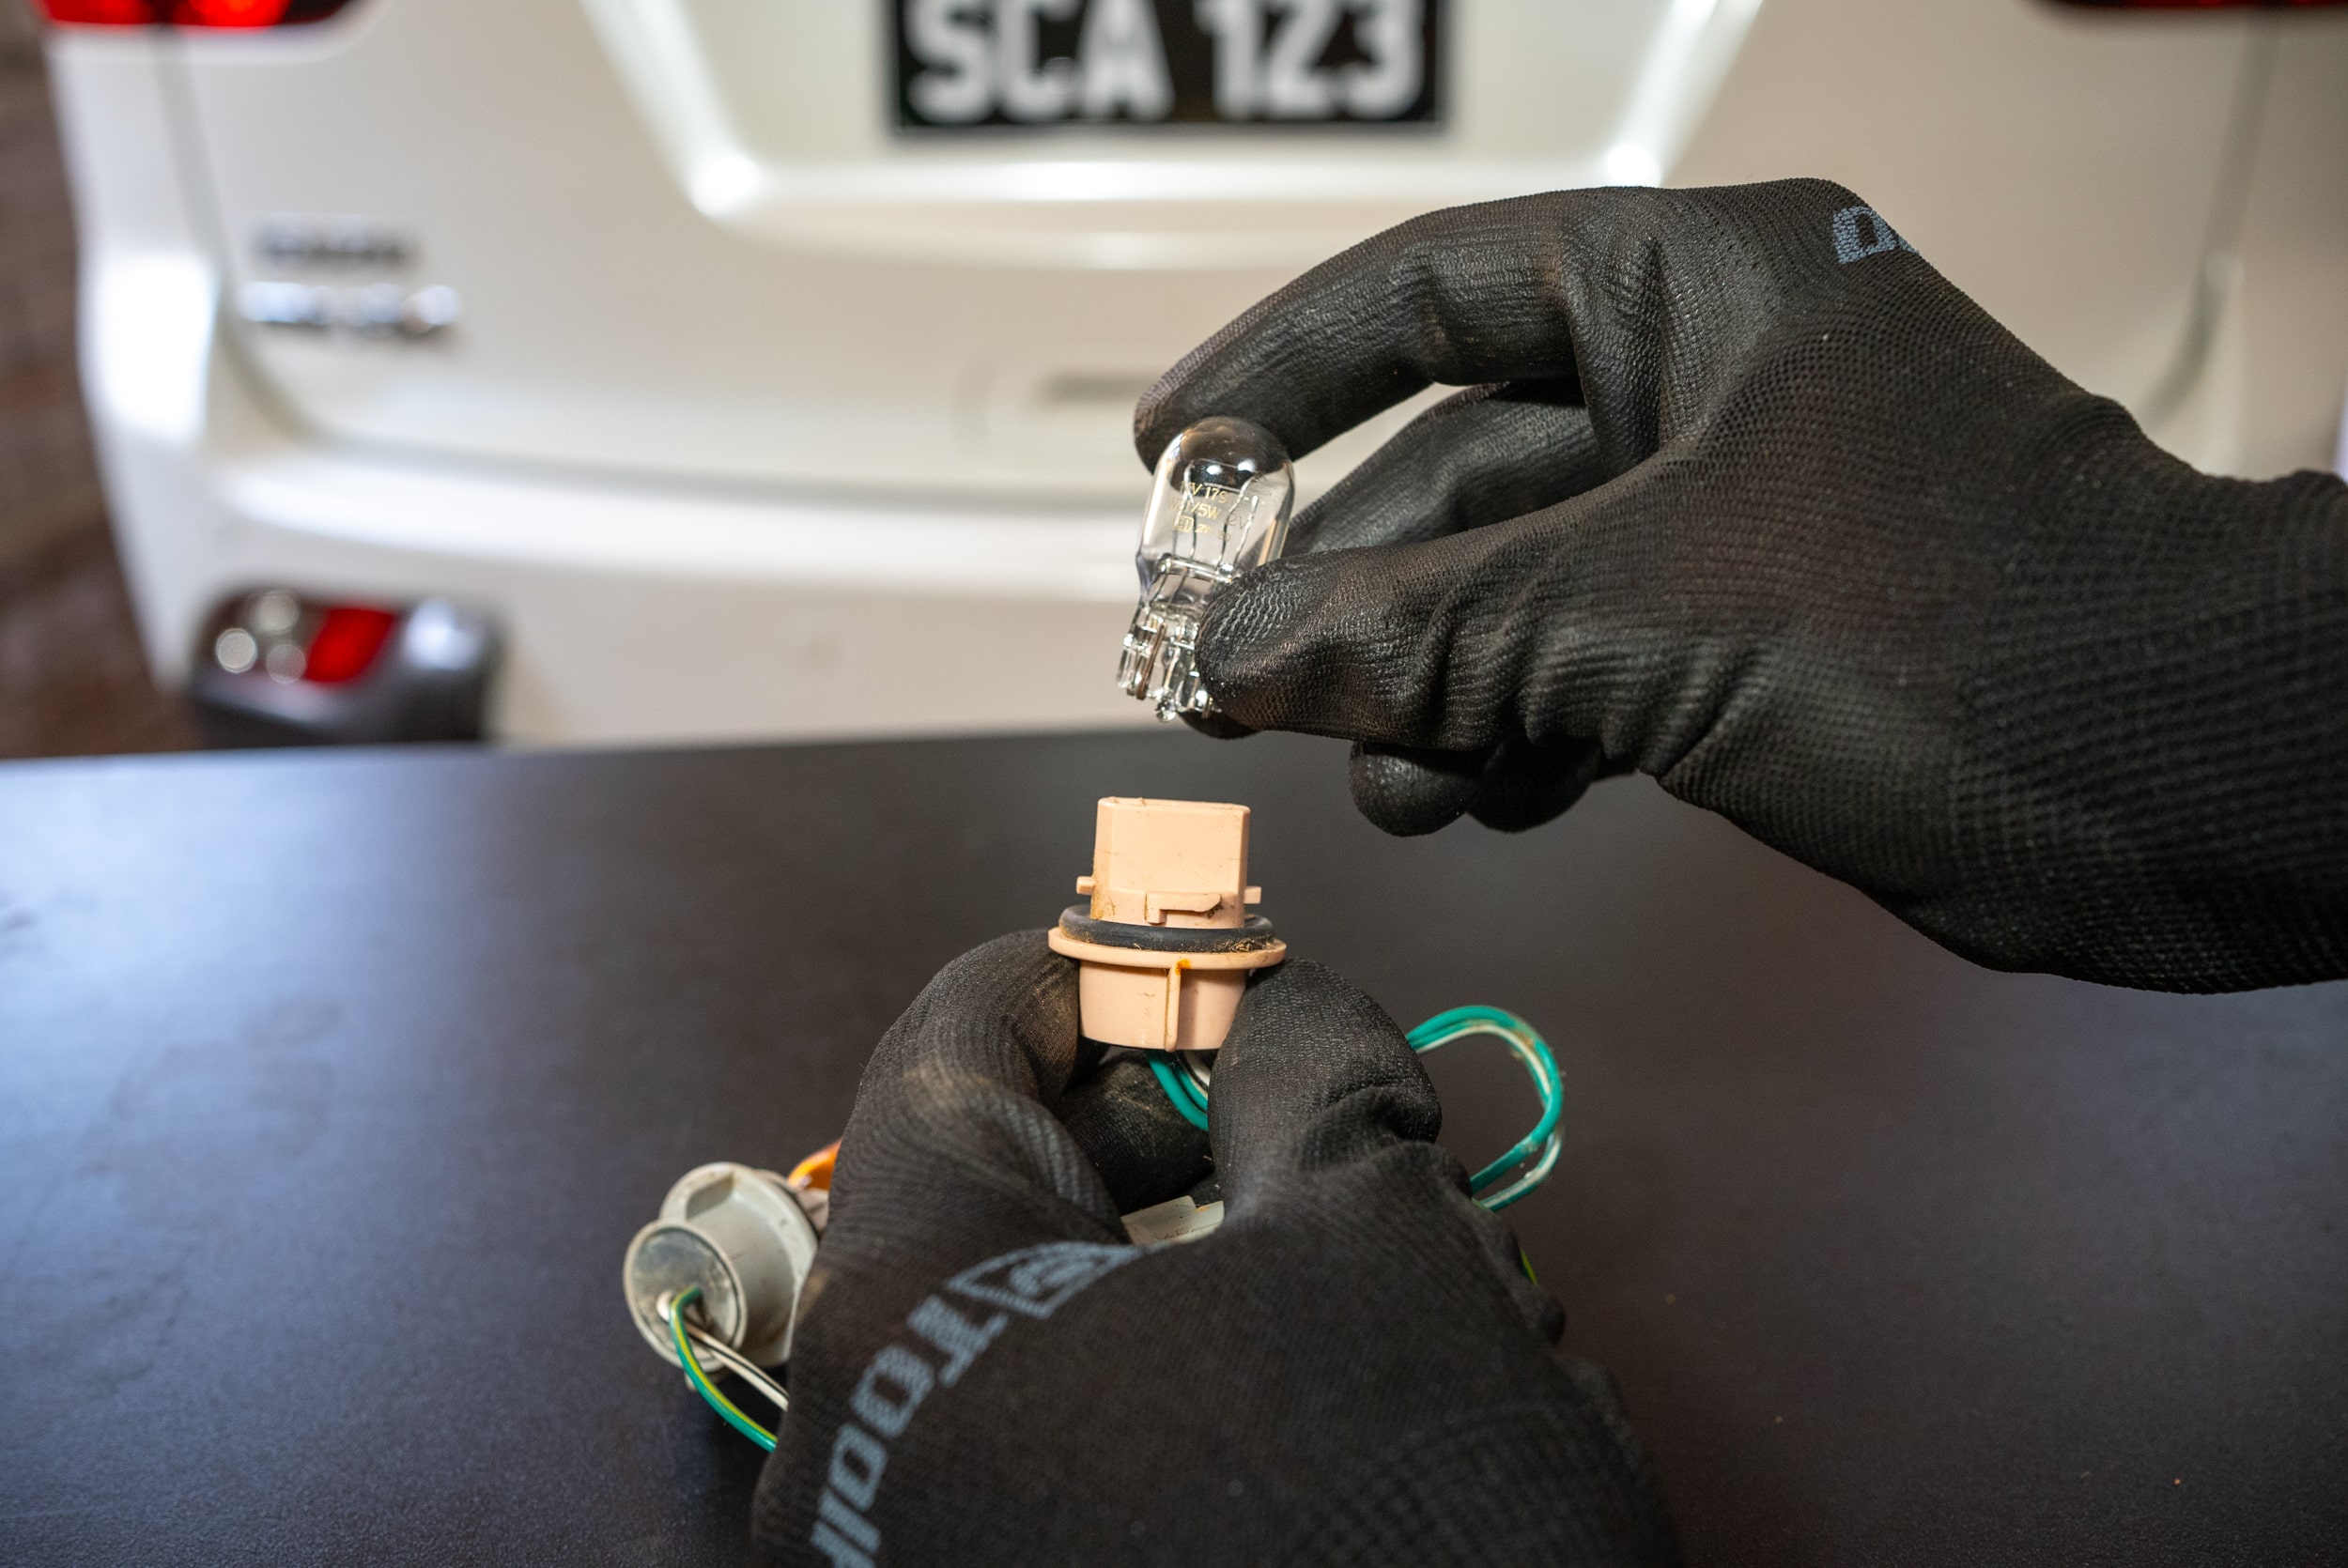
Now you just twist the globe holder to remove it from the taillight housing. If you have a bayonet type globe, give a gentle push and twist to remove and replace the globe. A wedge type globe simply pulls out and pushes in.
Tips
Take one last walk around the car to ensure that all your lights are working. If you still have lights out, some further investigation will be required. Checking for blown fuses is a good place to start. Otherwise, you’re ready to hit the road with confidence.
*Important information* - Click here to read more about our How-To terms and conditions.