How To Remove Scratches & Swirl Marks
Overview
No matter how much you care for them, cars get scratched. Thankfully, car scratch repair isn’t always difficult or expensive. With a little time and some elbow grease, you can remove scratches and swirl marks at home. Read on to learn just how easy car scratch repair and car paint repair can be.
Can I fix scratches in matte paint?
While scratches in matte paint can be repaired, it is trickier than repairing scratches in gloss paint. The method used in this article will not work on matt paint, vinyl wrap, ceramic coatings or protective films
What car scratches can be removed?
Not all scratches can be removed using the method shown here. To determine if you can perform a car scratch repair yourself, run a fingernail lightly over the scratch. If it catches, you’ll need a car paint repair specialist for this job. If it’s rather smooth, this method should serve you well.
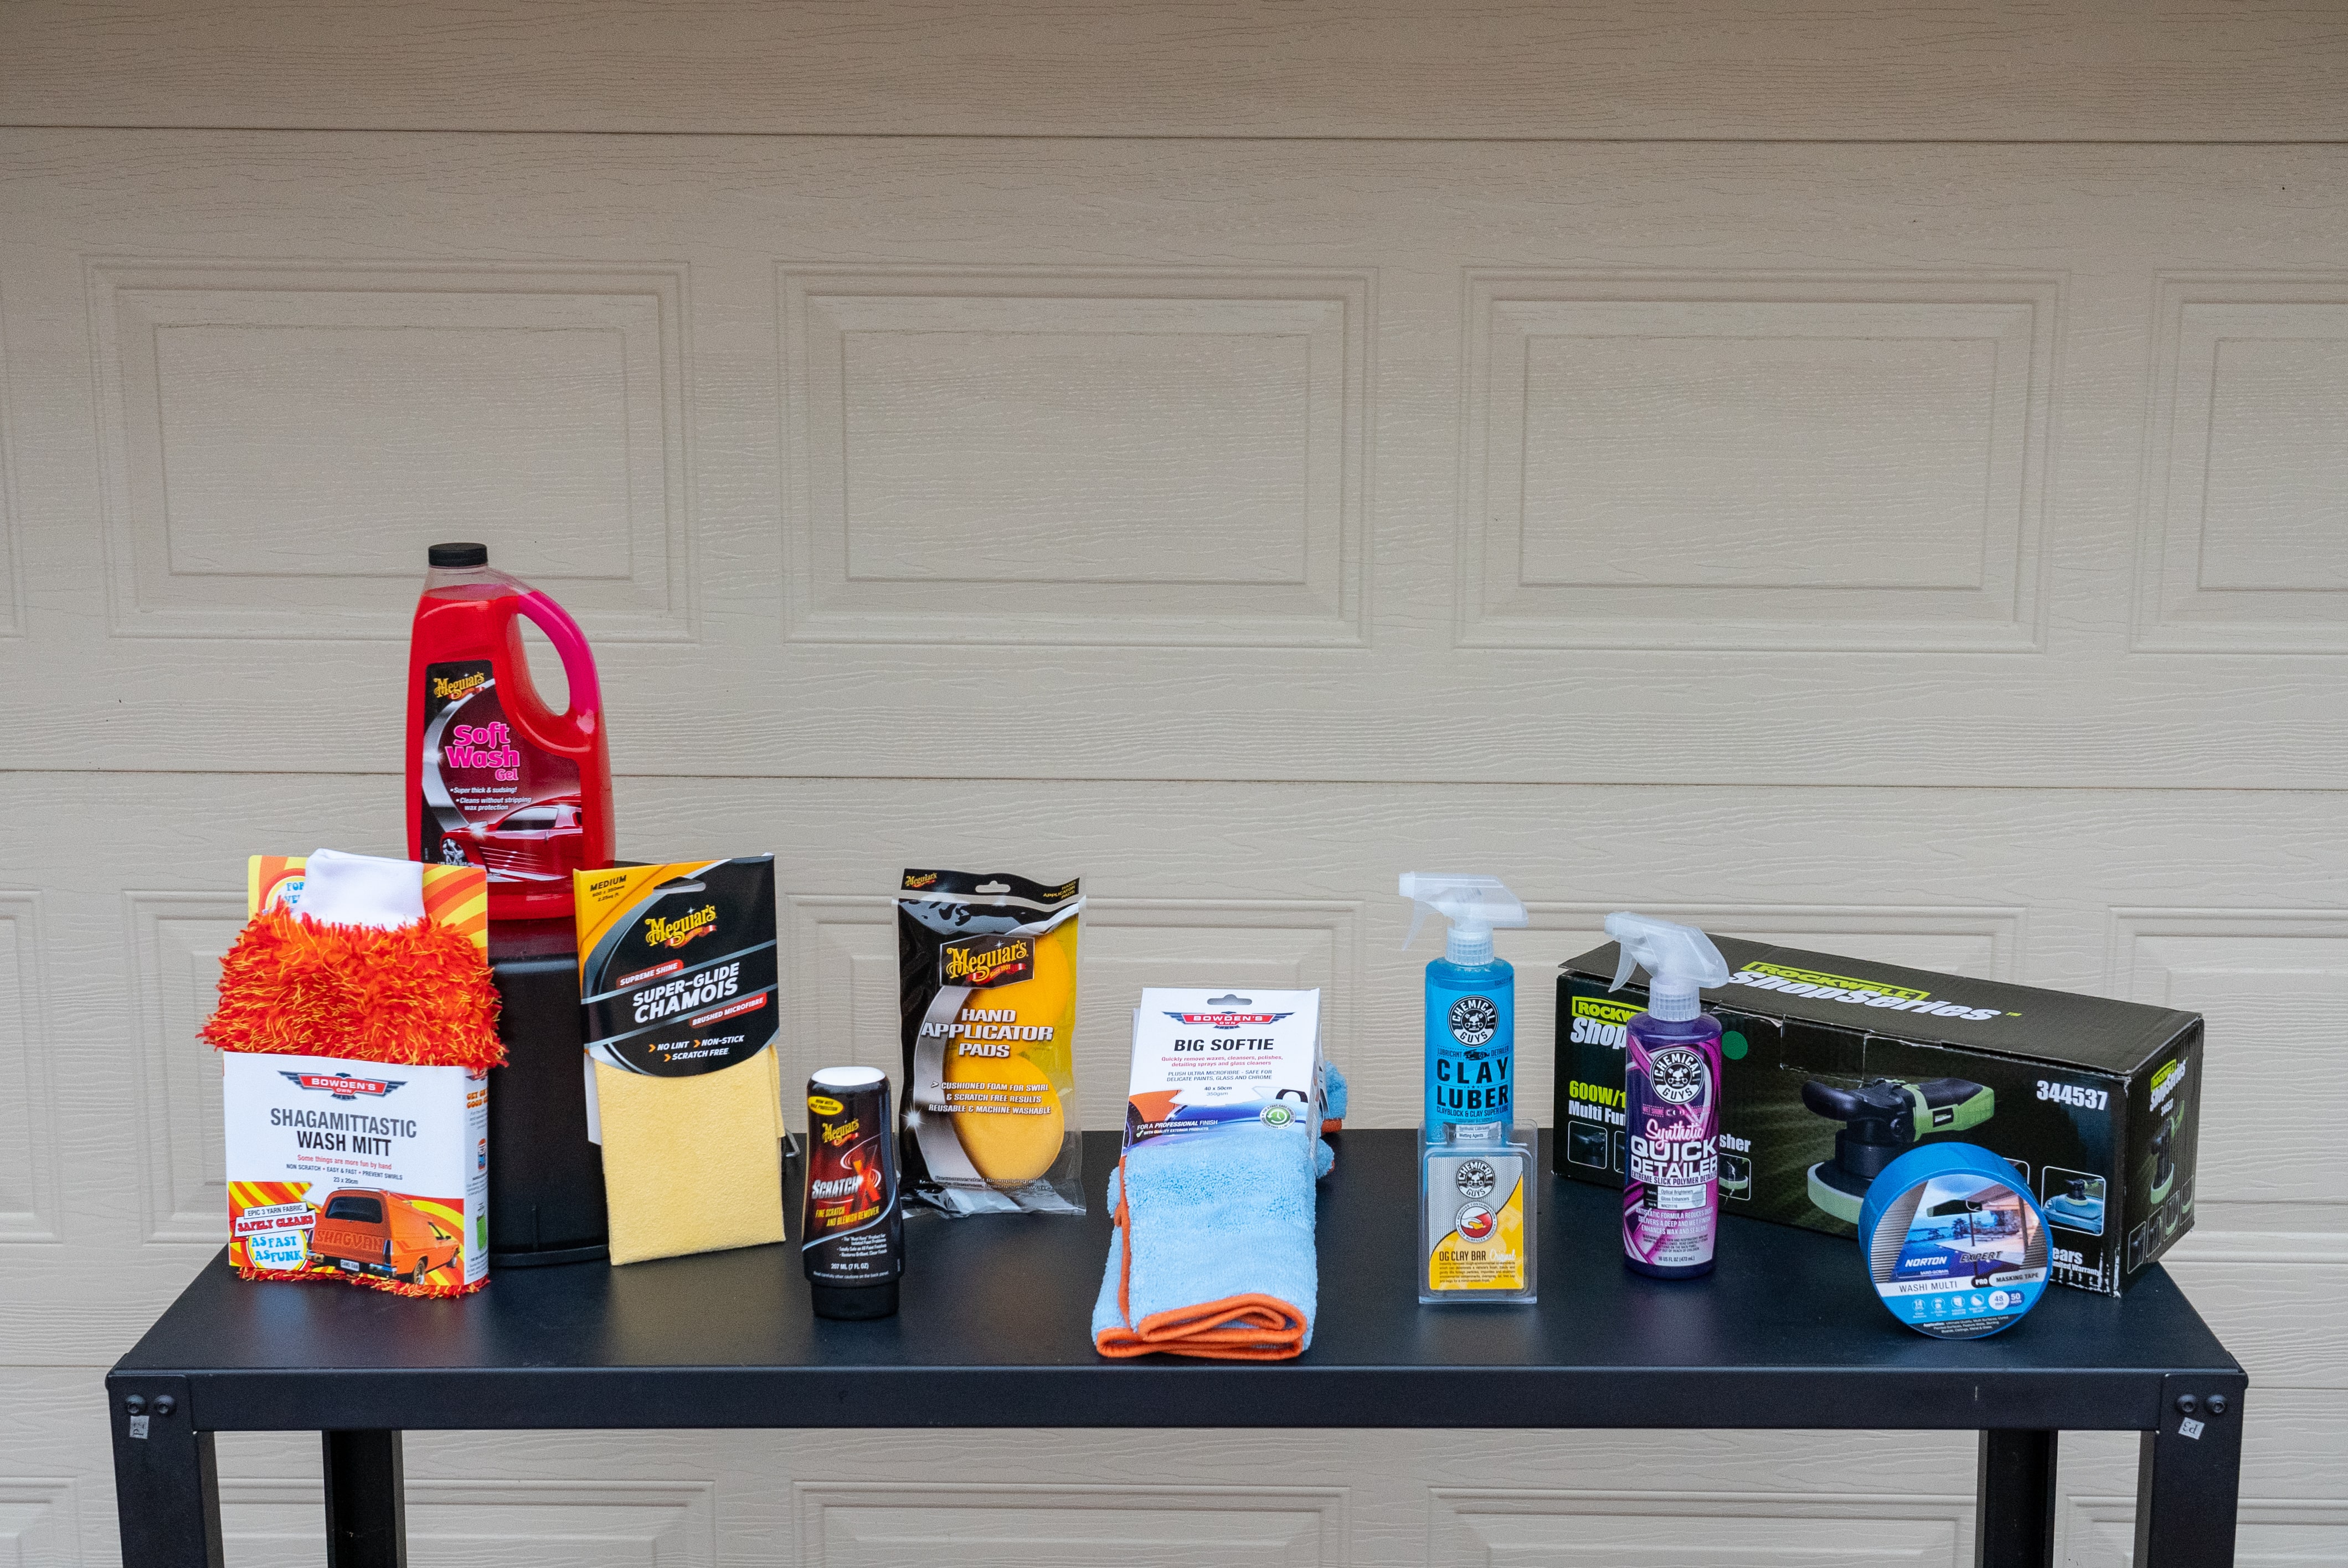
Items
Steps
Step 1: Prepare your paintwork
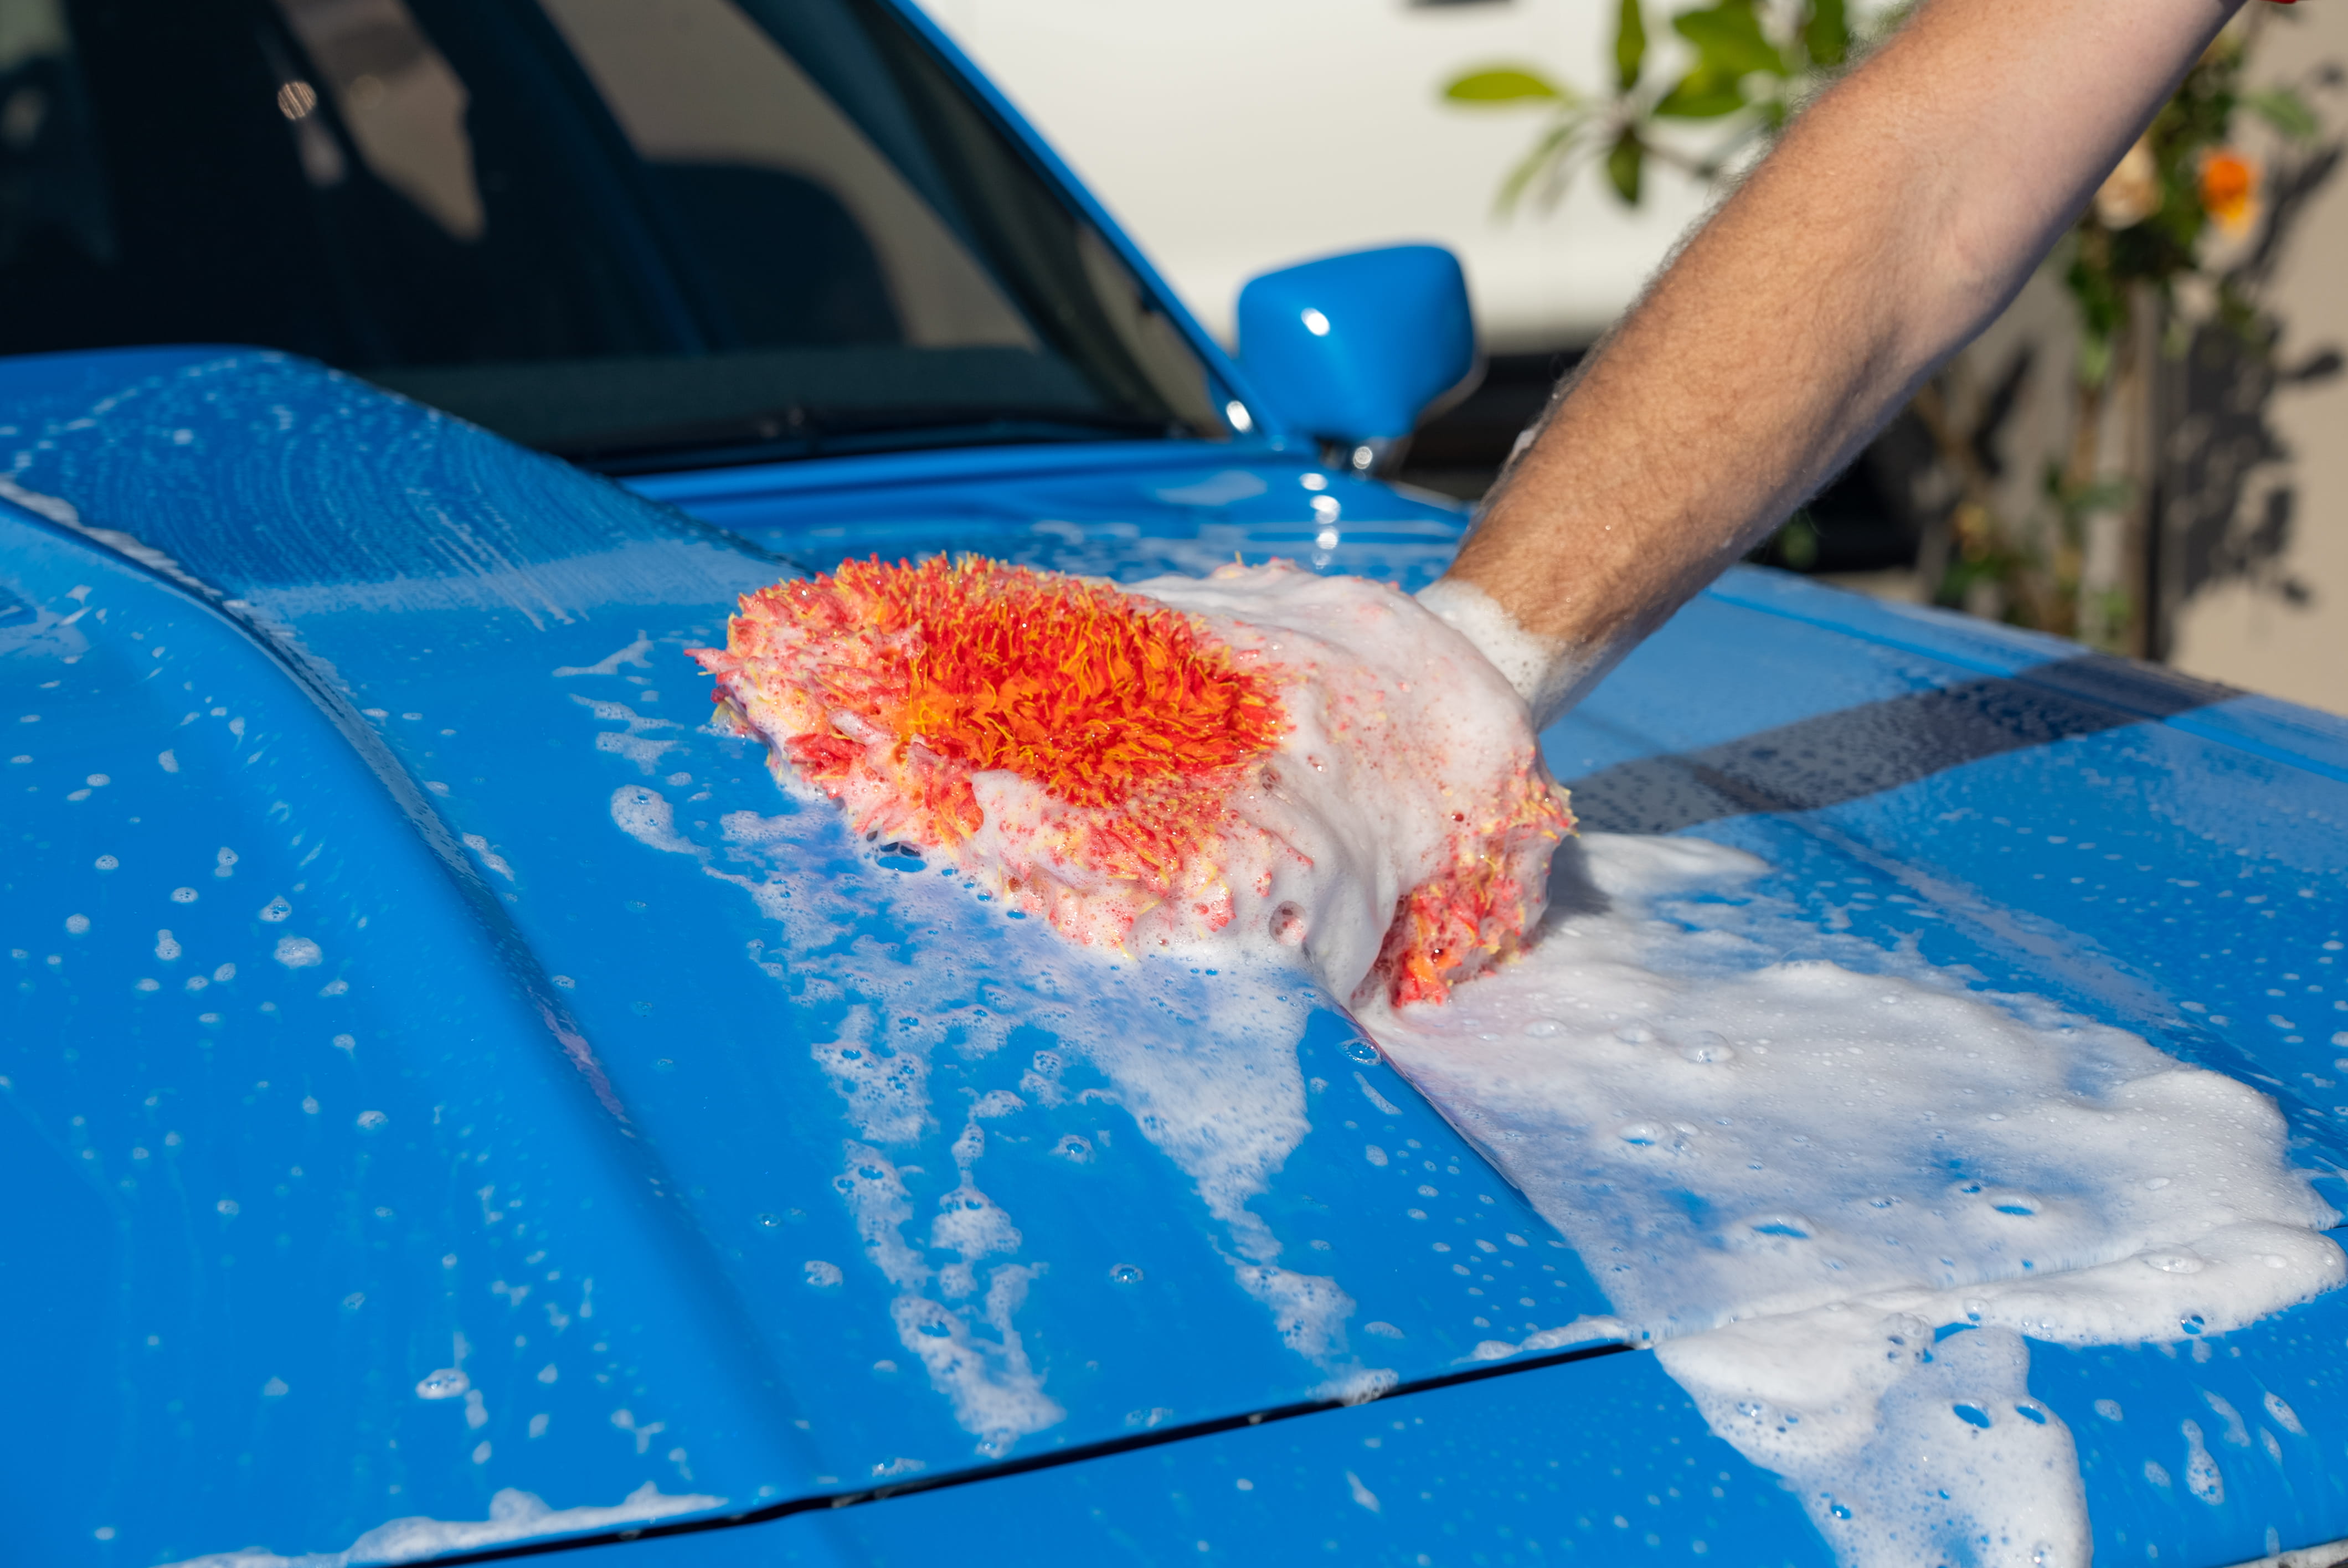
Move your car into the shade and ensure it stays shaded. Then give it a thorough rinse and hand wash. Use the two bucket method when you wash. That is one bucket for your suds, and another bucket to rinse your cloth in before dunking in the suds again. This is one of the best ways to avoid swirl marks in the future.
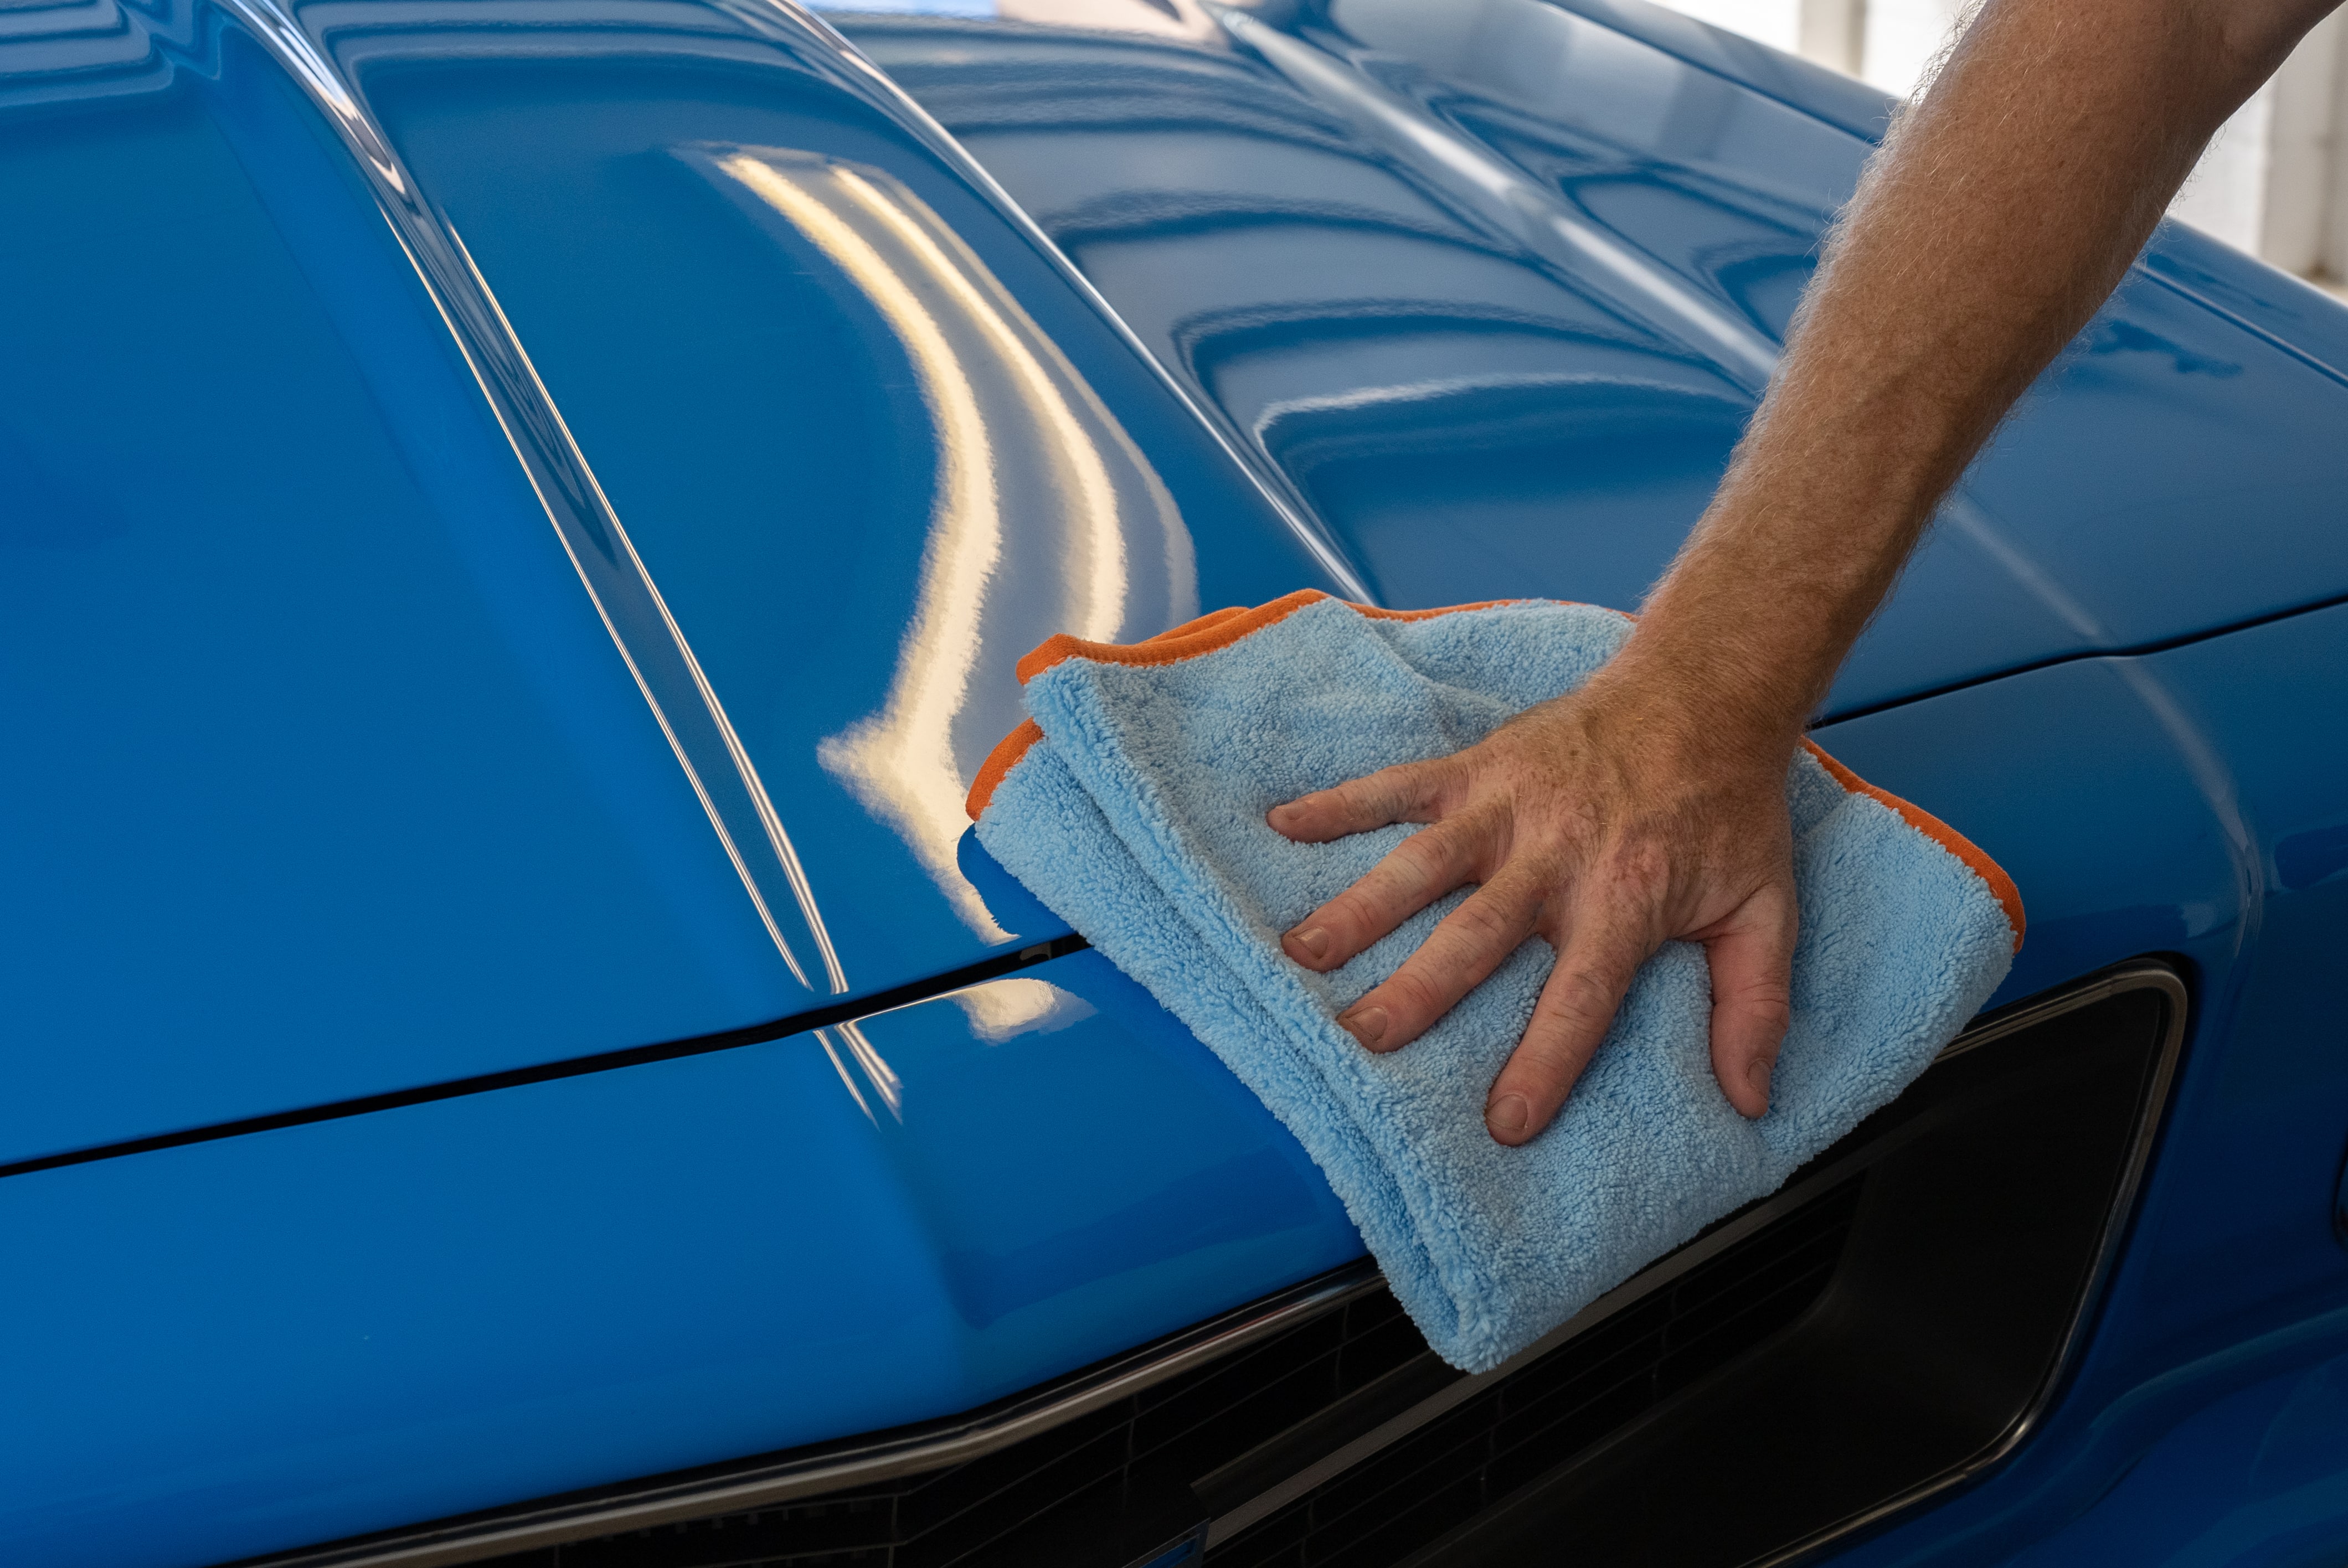
Dry your car with a quality chamois or a couple of microfibre towels. If you drop one, don’t re-use it. That’s another quick road to more swirl marks. We don’t want more car paint repair work before we’ve even started.
Step 2: Buff out scratches
Once your vehicle is dry, you can begin car scratch repair. If you’re just here for the swirl marks; you can skip to step 3.
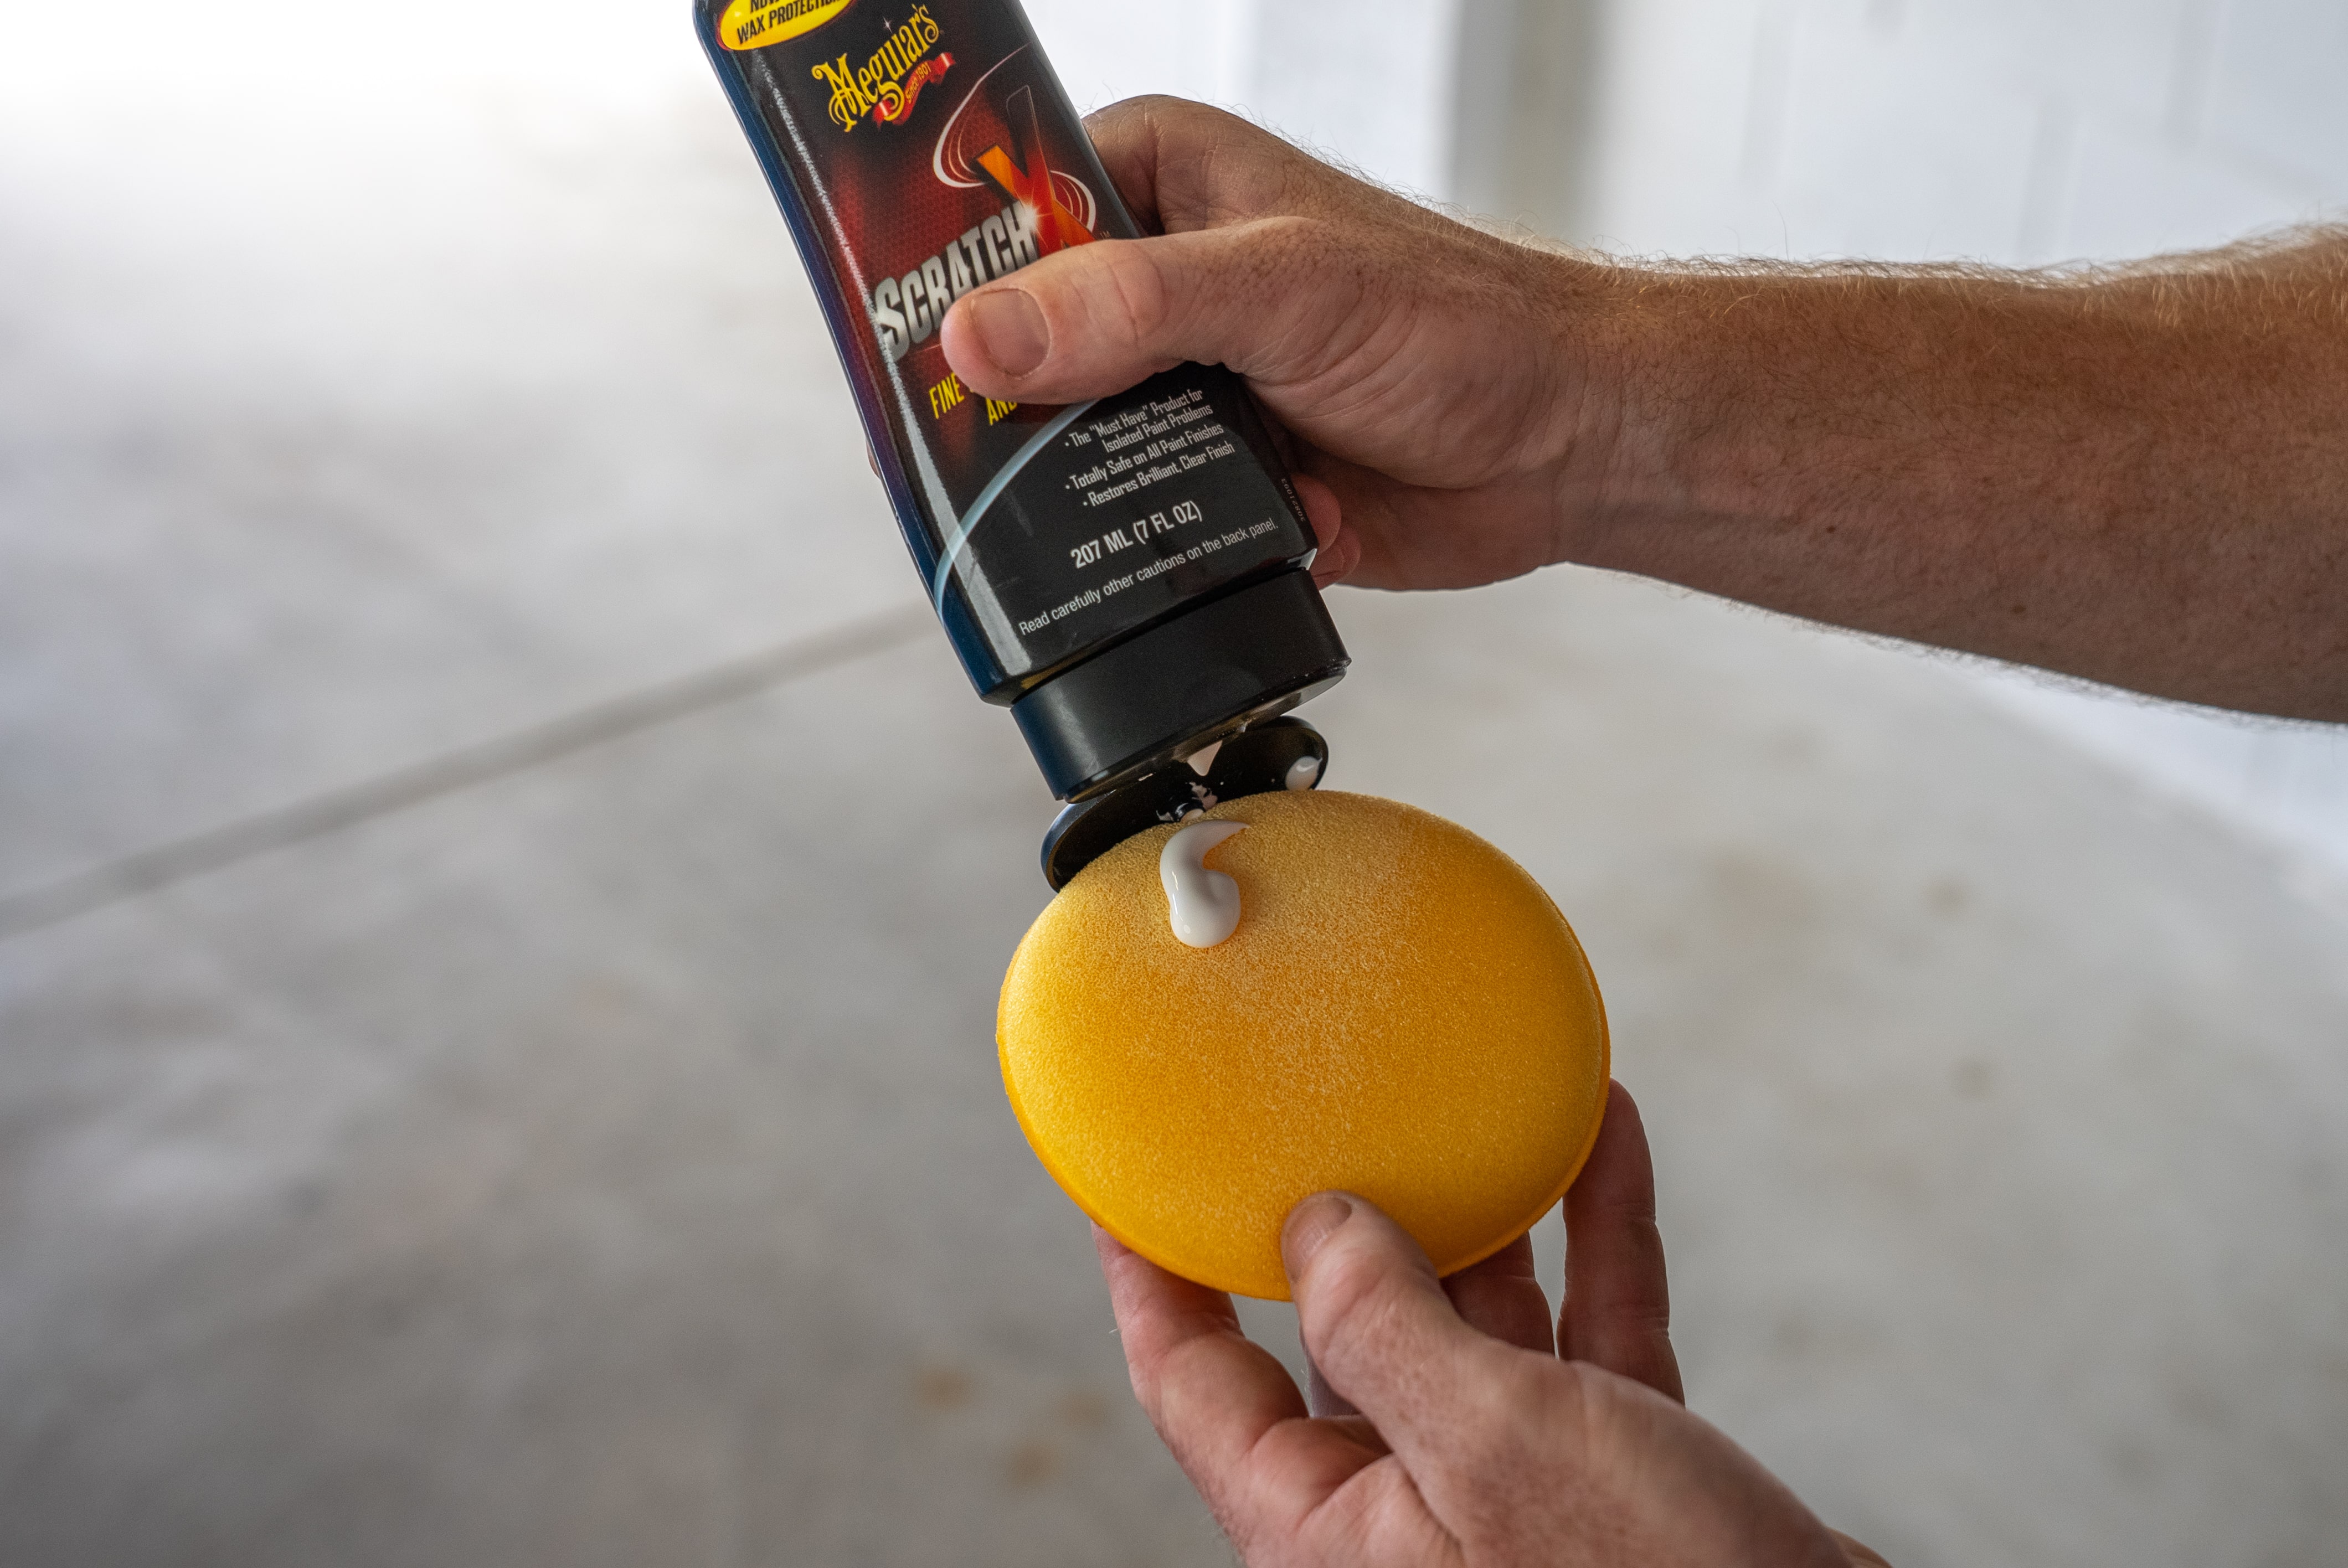
Pick out your first scratch and apply a dab of scratch remover to the buffing pad. Using a circular motion, work the buffing pad over the length of the scratch. Moderate pressure will do nicely. You’re not wiping away dust here, but you’re not sanding a table either.
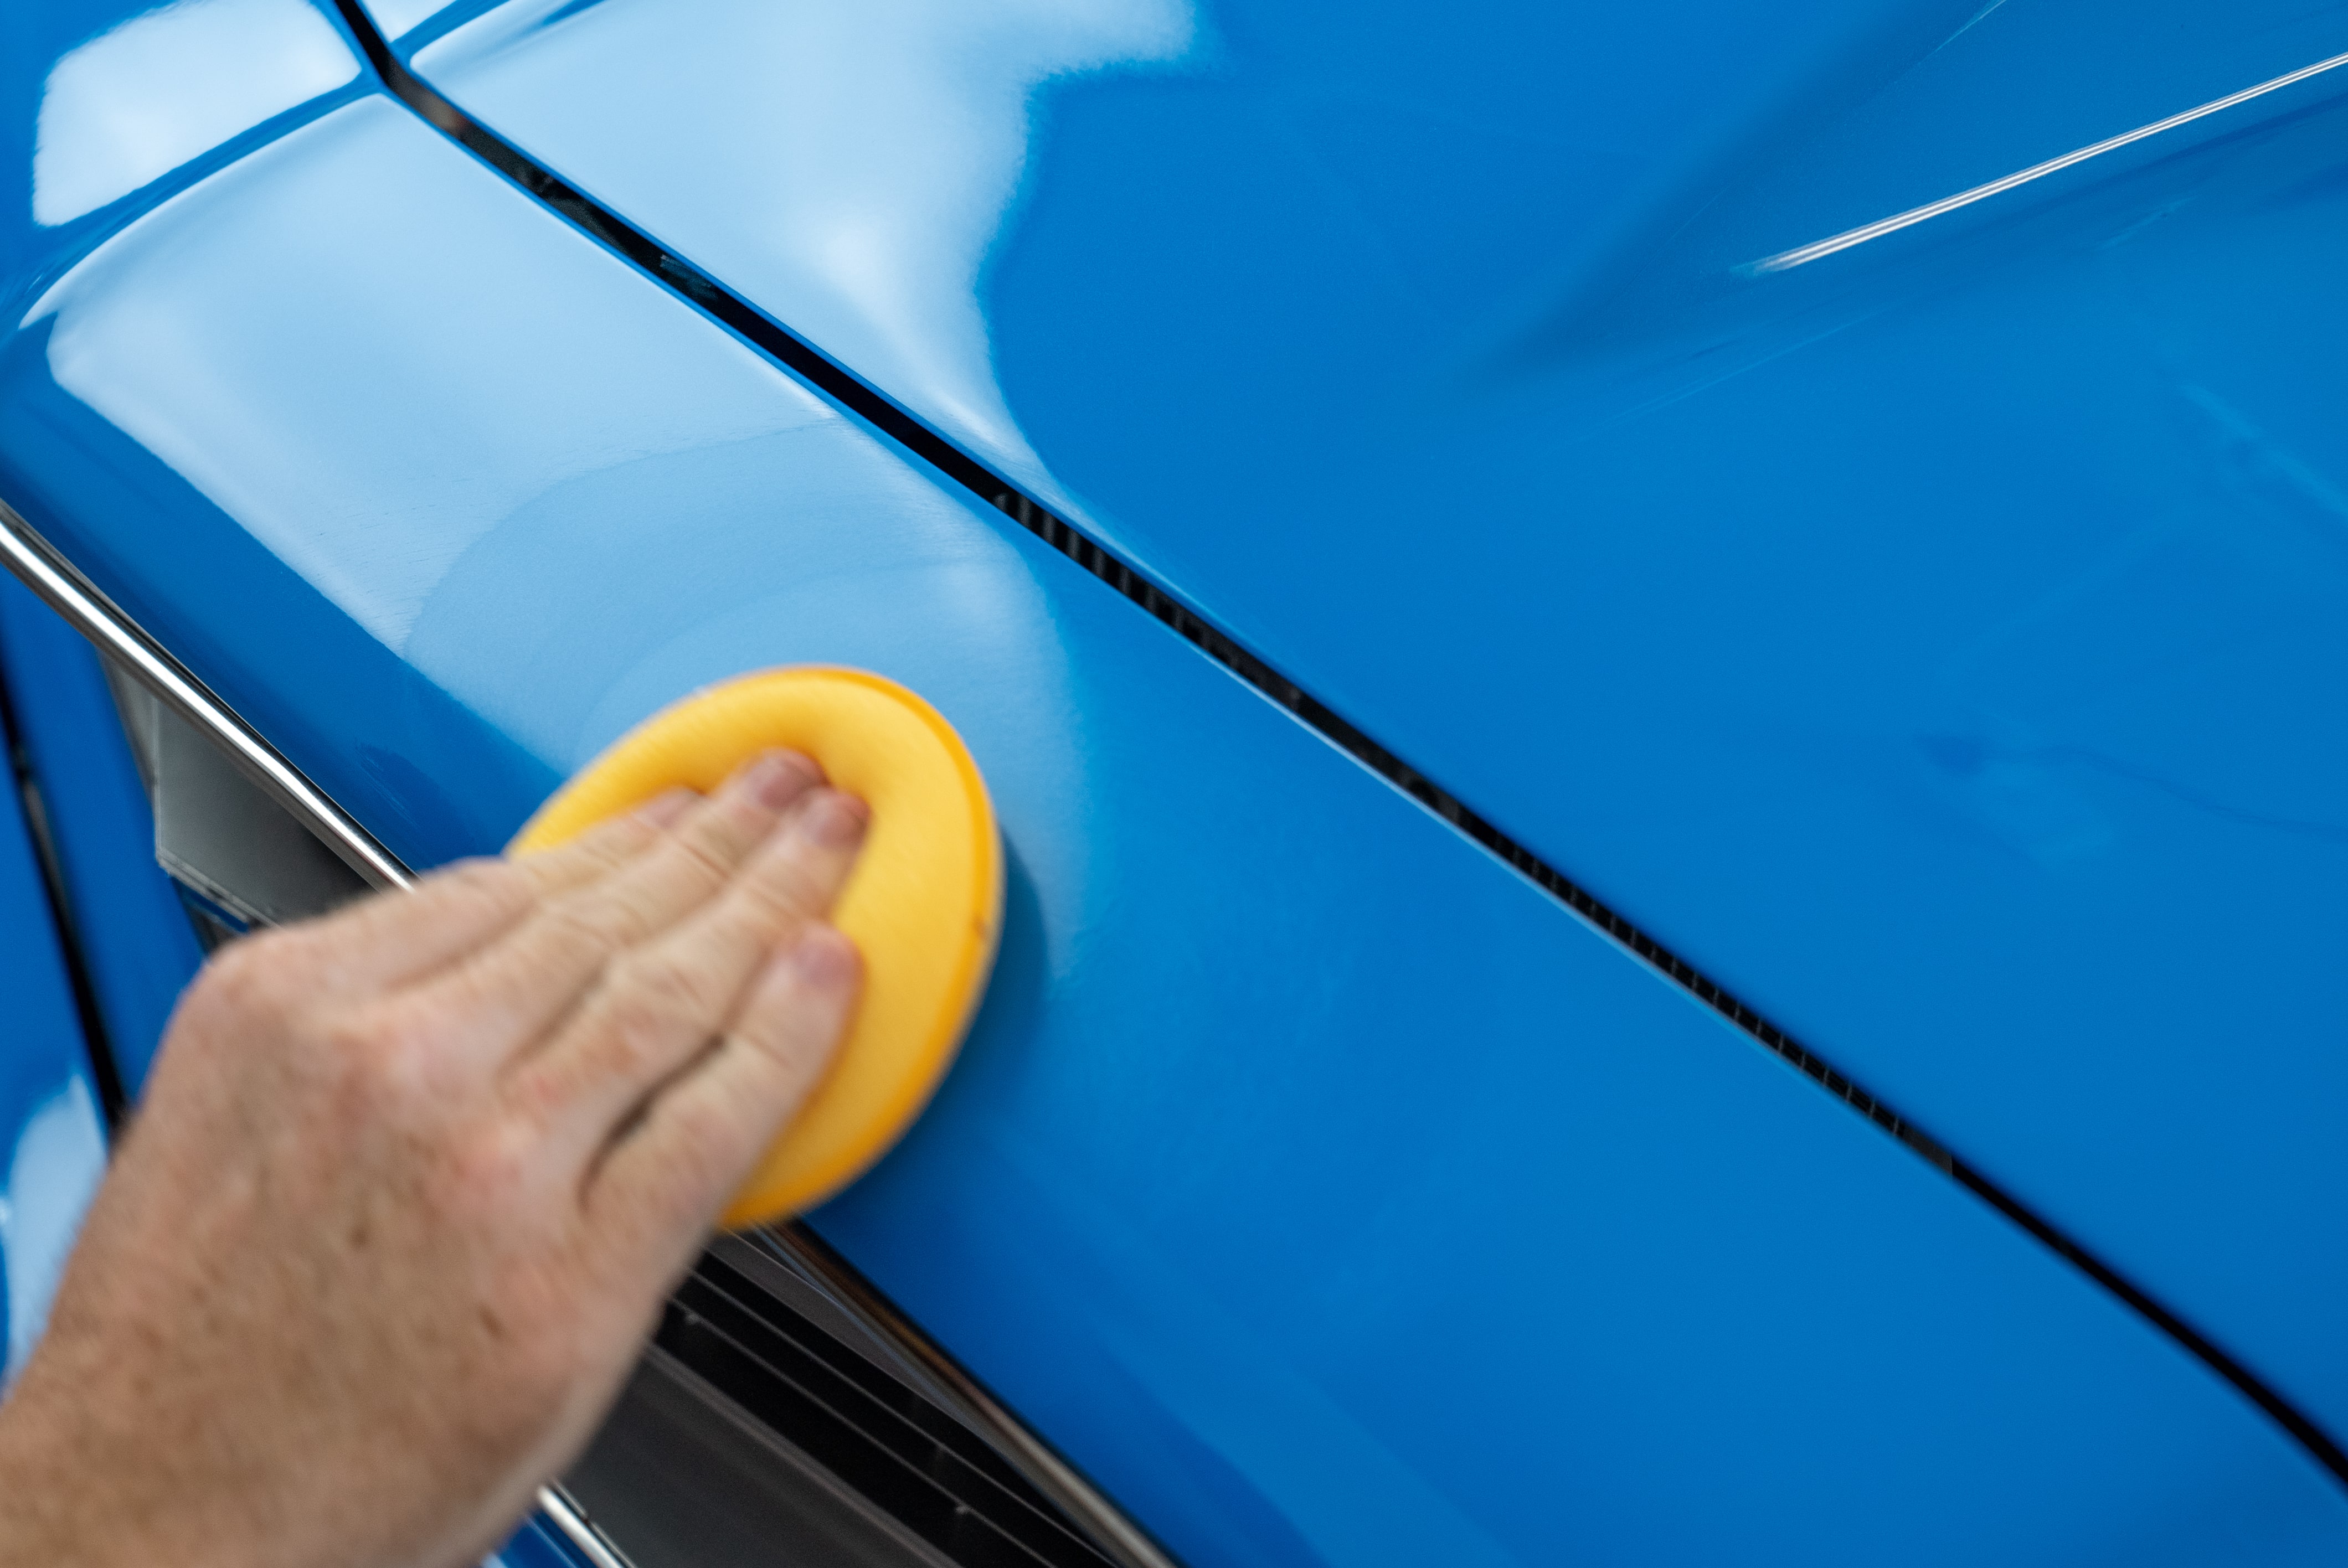
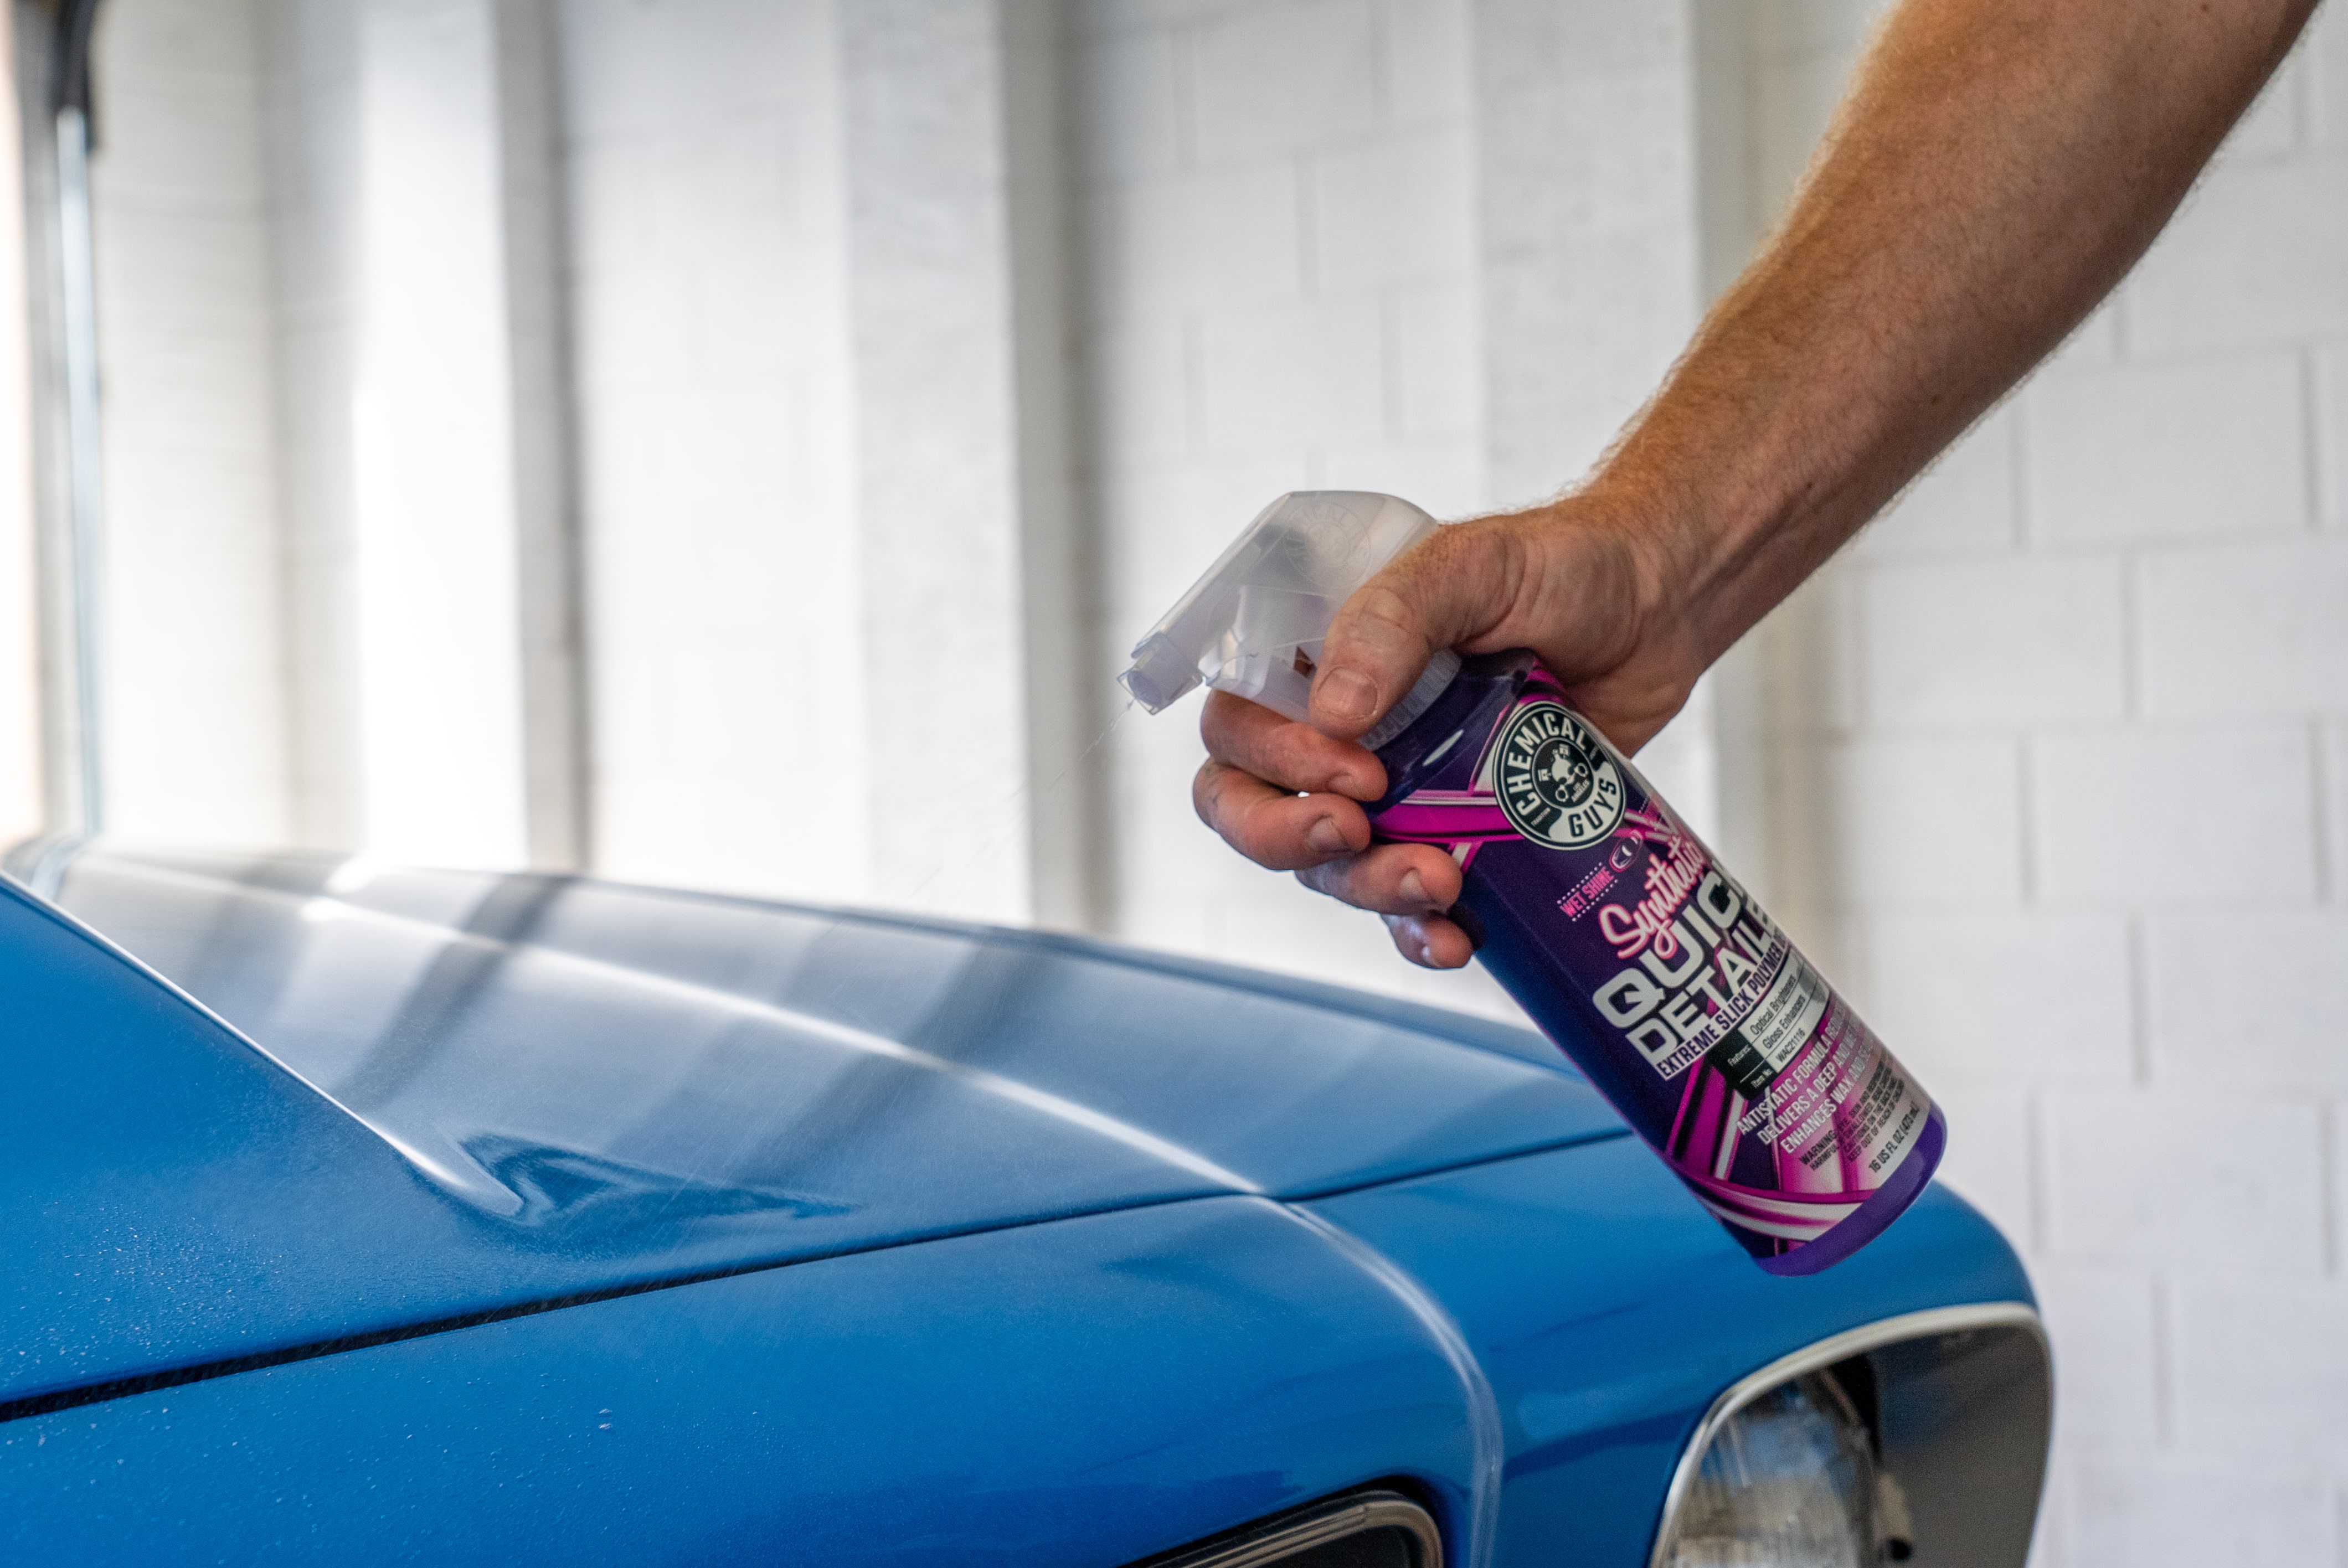
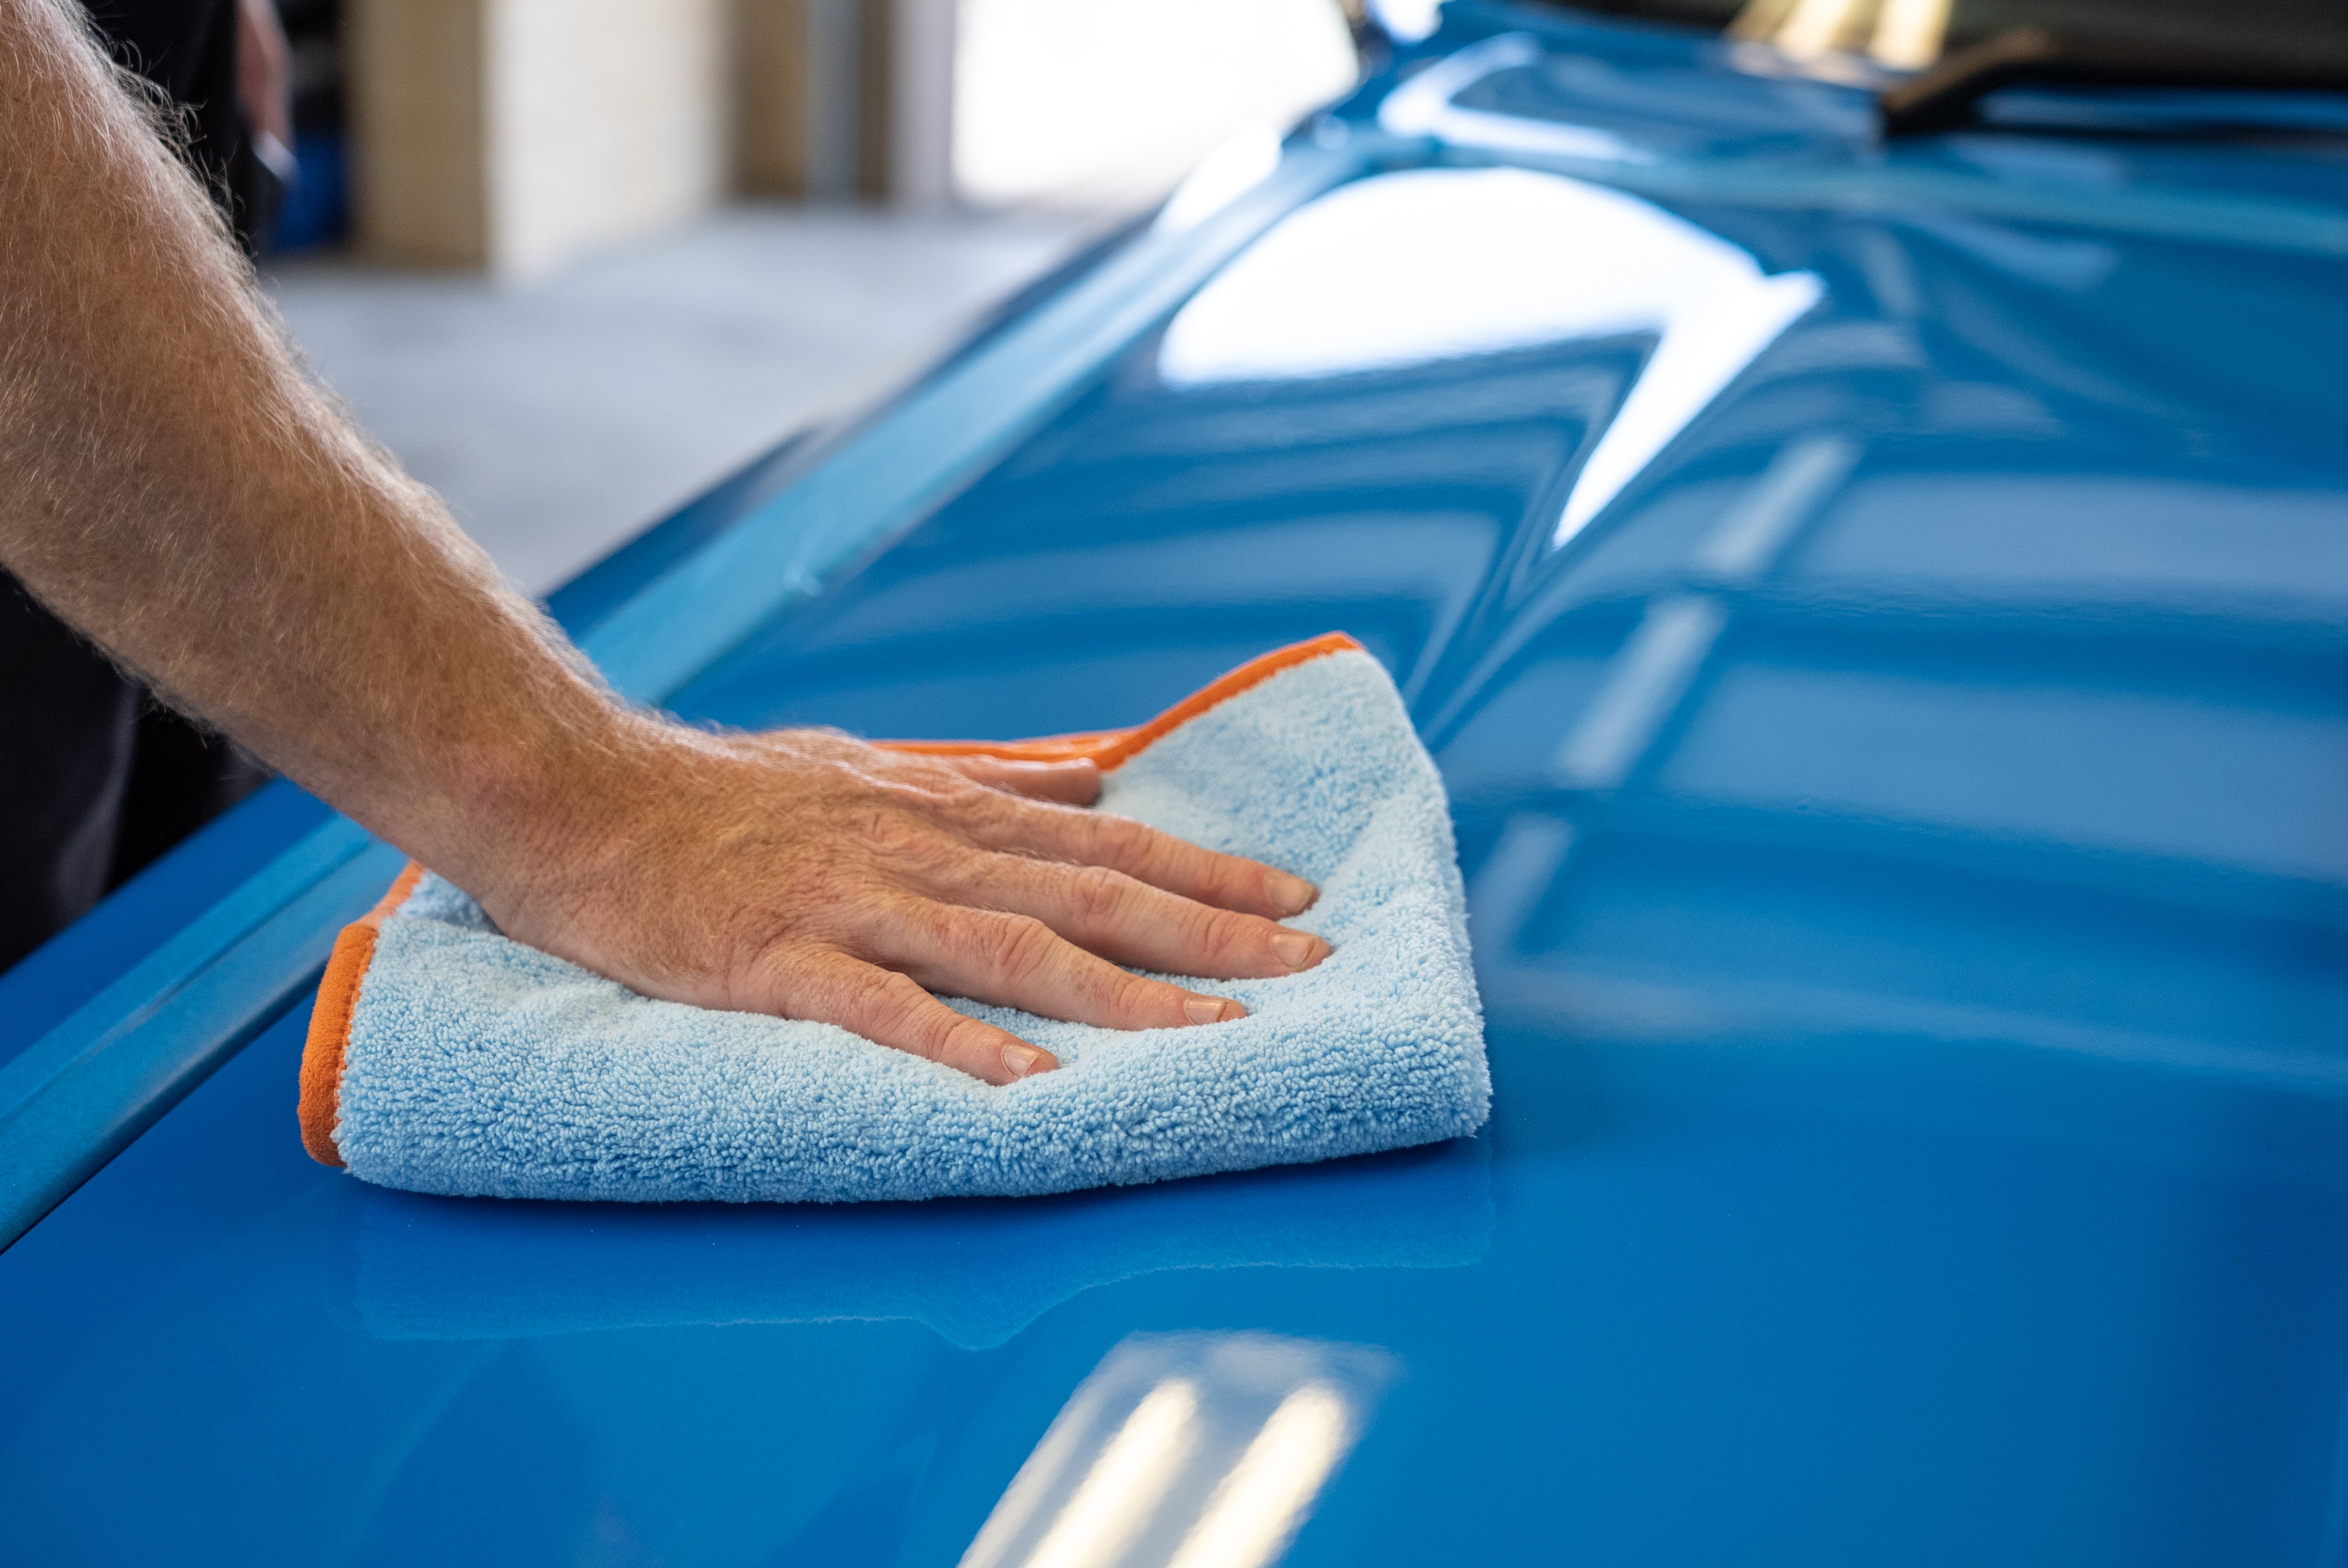
Take a break once a minute, add a squirt of detailer; and wipe the area with a microfibre towel. Carry on in this way until eventually the scratch is gone. Then put down the microfibre towel and give yourself a pat on the back.
Step 3: Buff out swirl marks
If you’ve got hulk arms you can use the same hand buffing approach. But you’ll be doing this over most of the car, so better make it easy on yourself and grab an electric buffer.
Avoid rotary buffers if you’re new to this, they can set you up for a bigger car paint repair problem in the wrong hands. Start with a random orbital model instead.
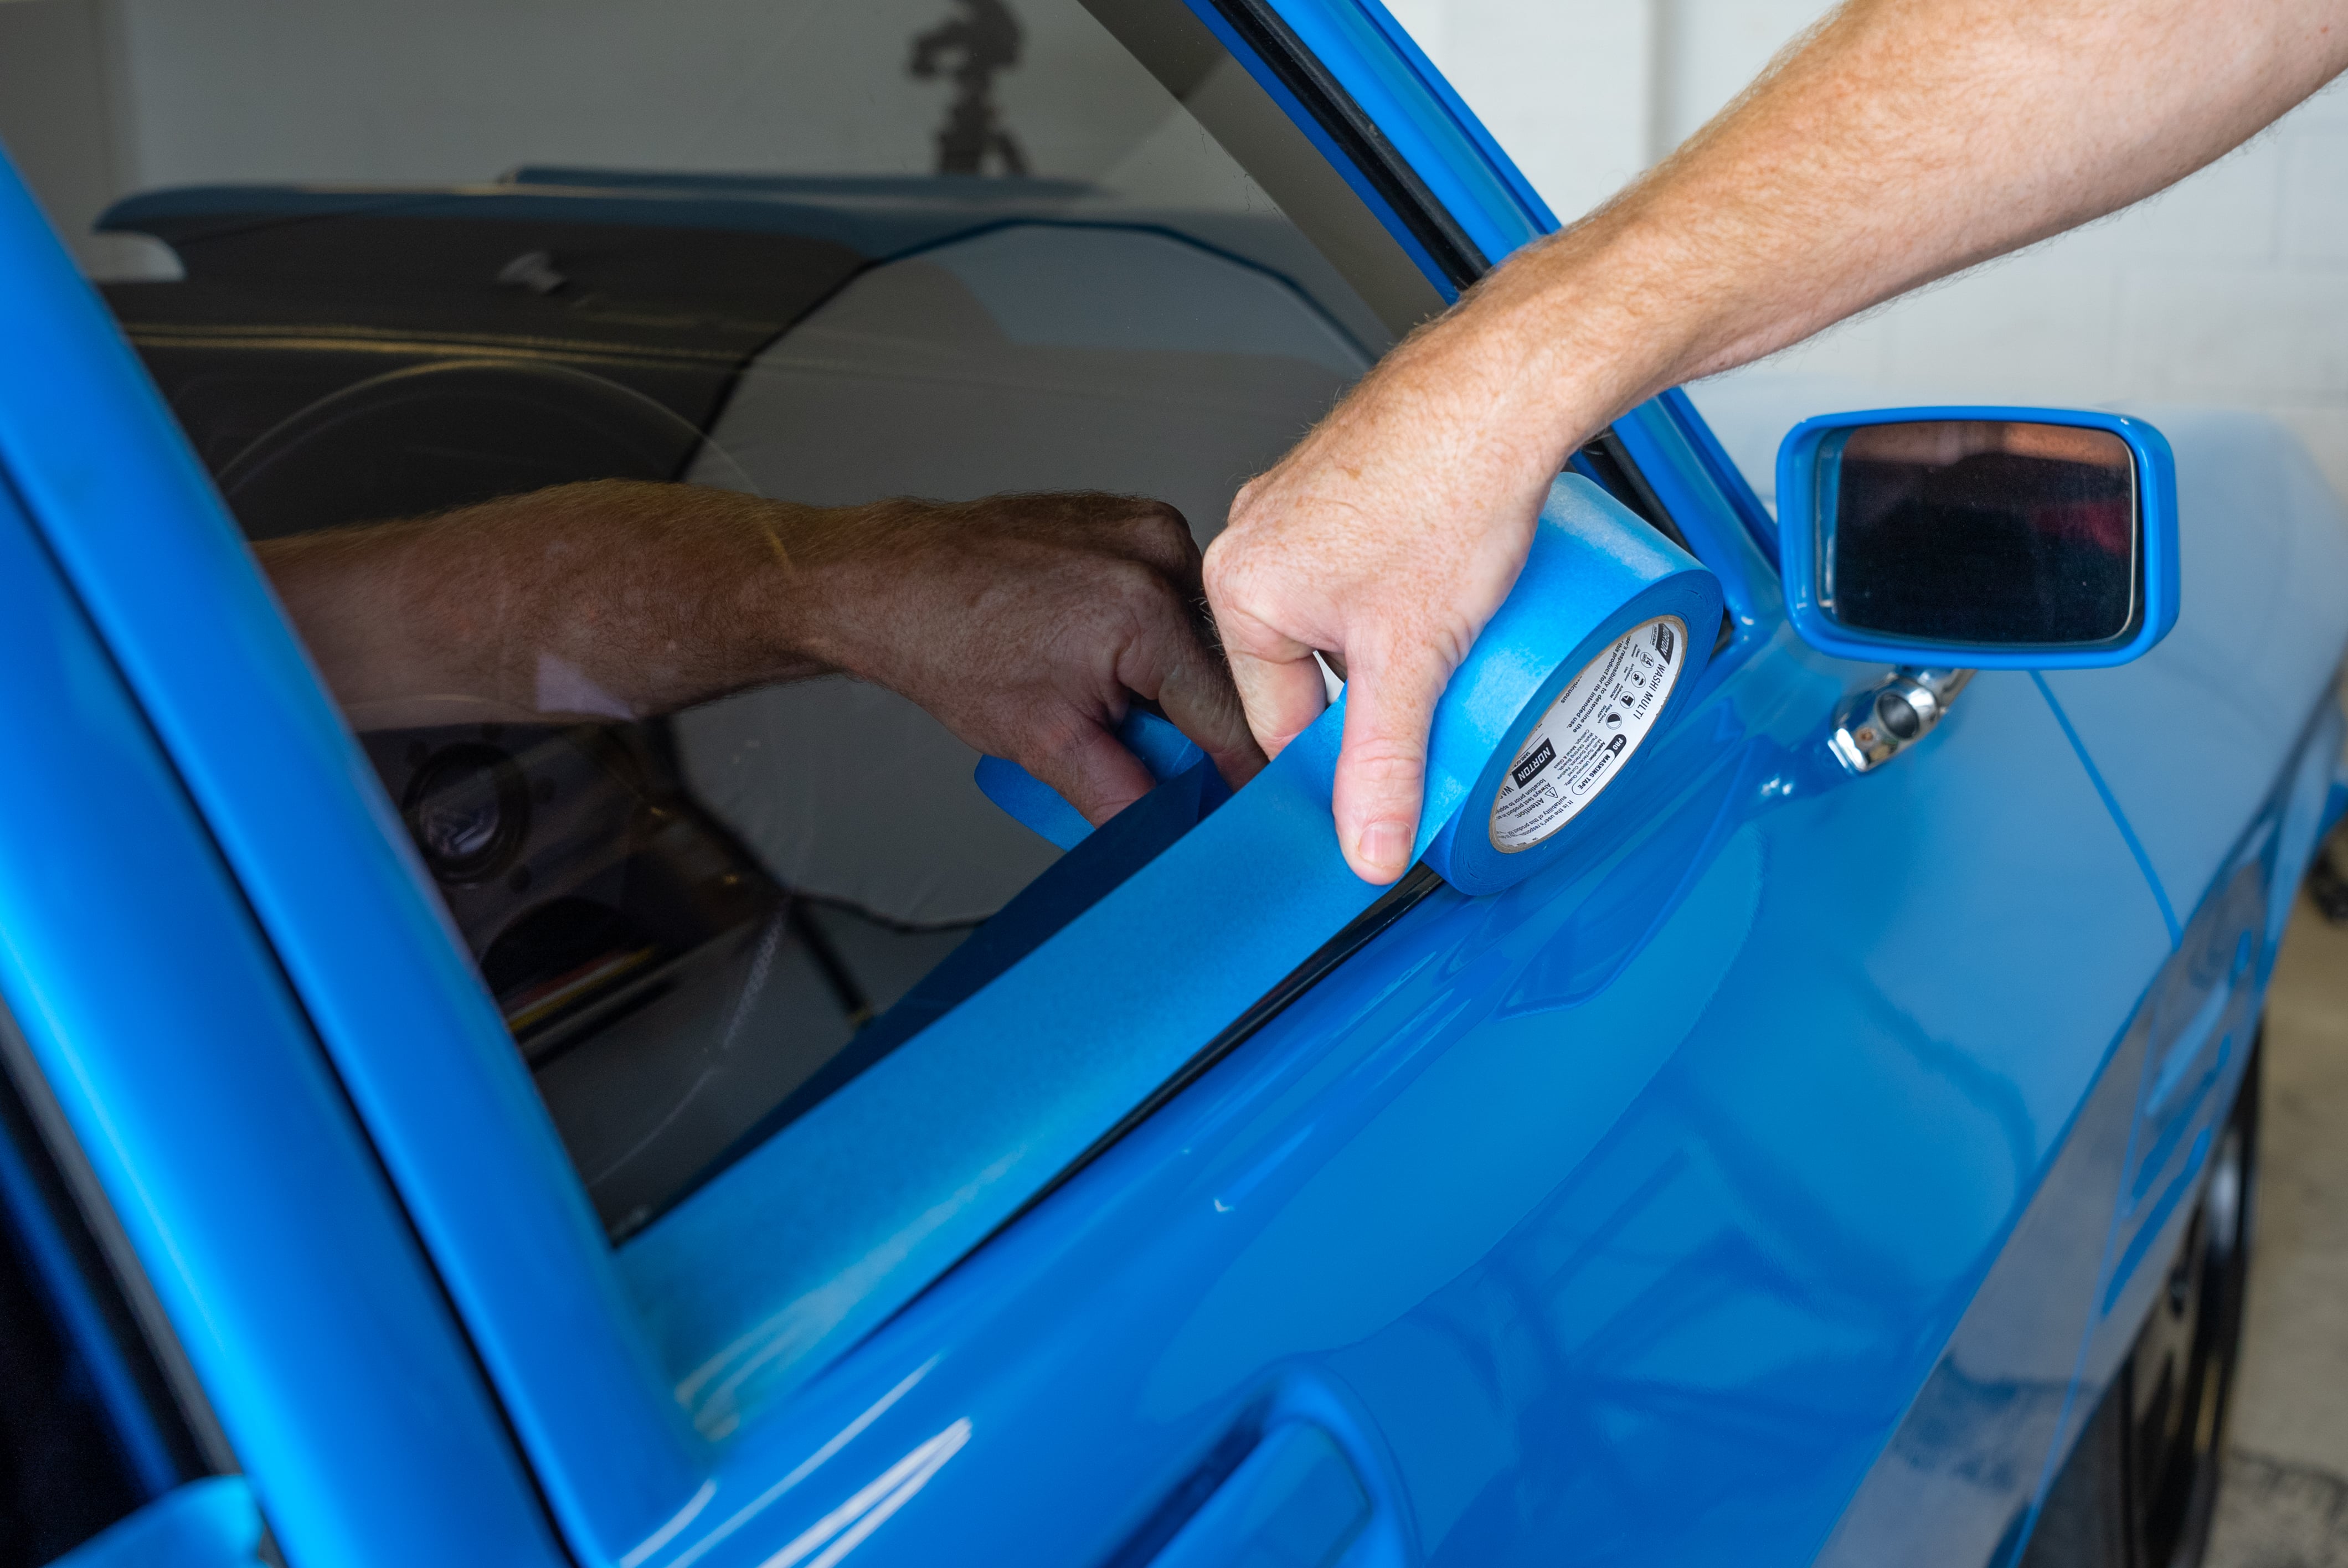
Pick a panel, and mask off any plastic, rubber, glass and unpainted areas.
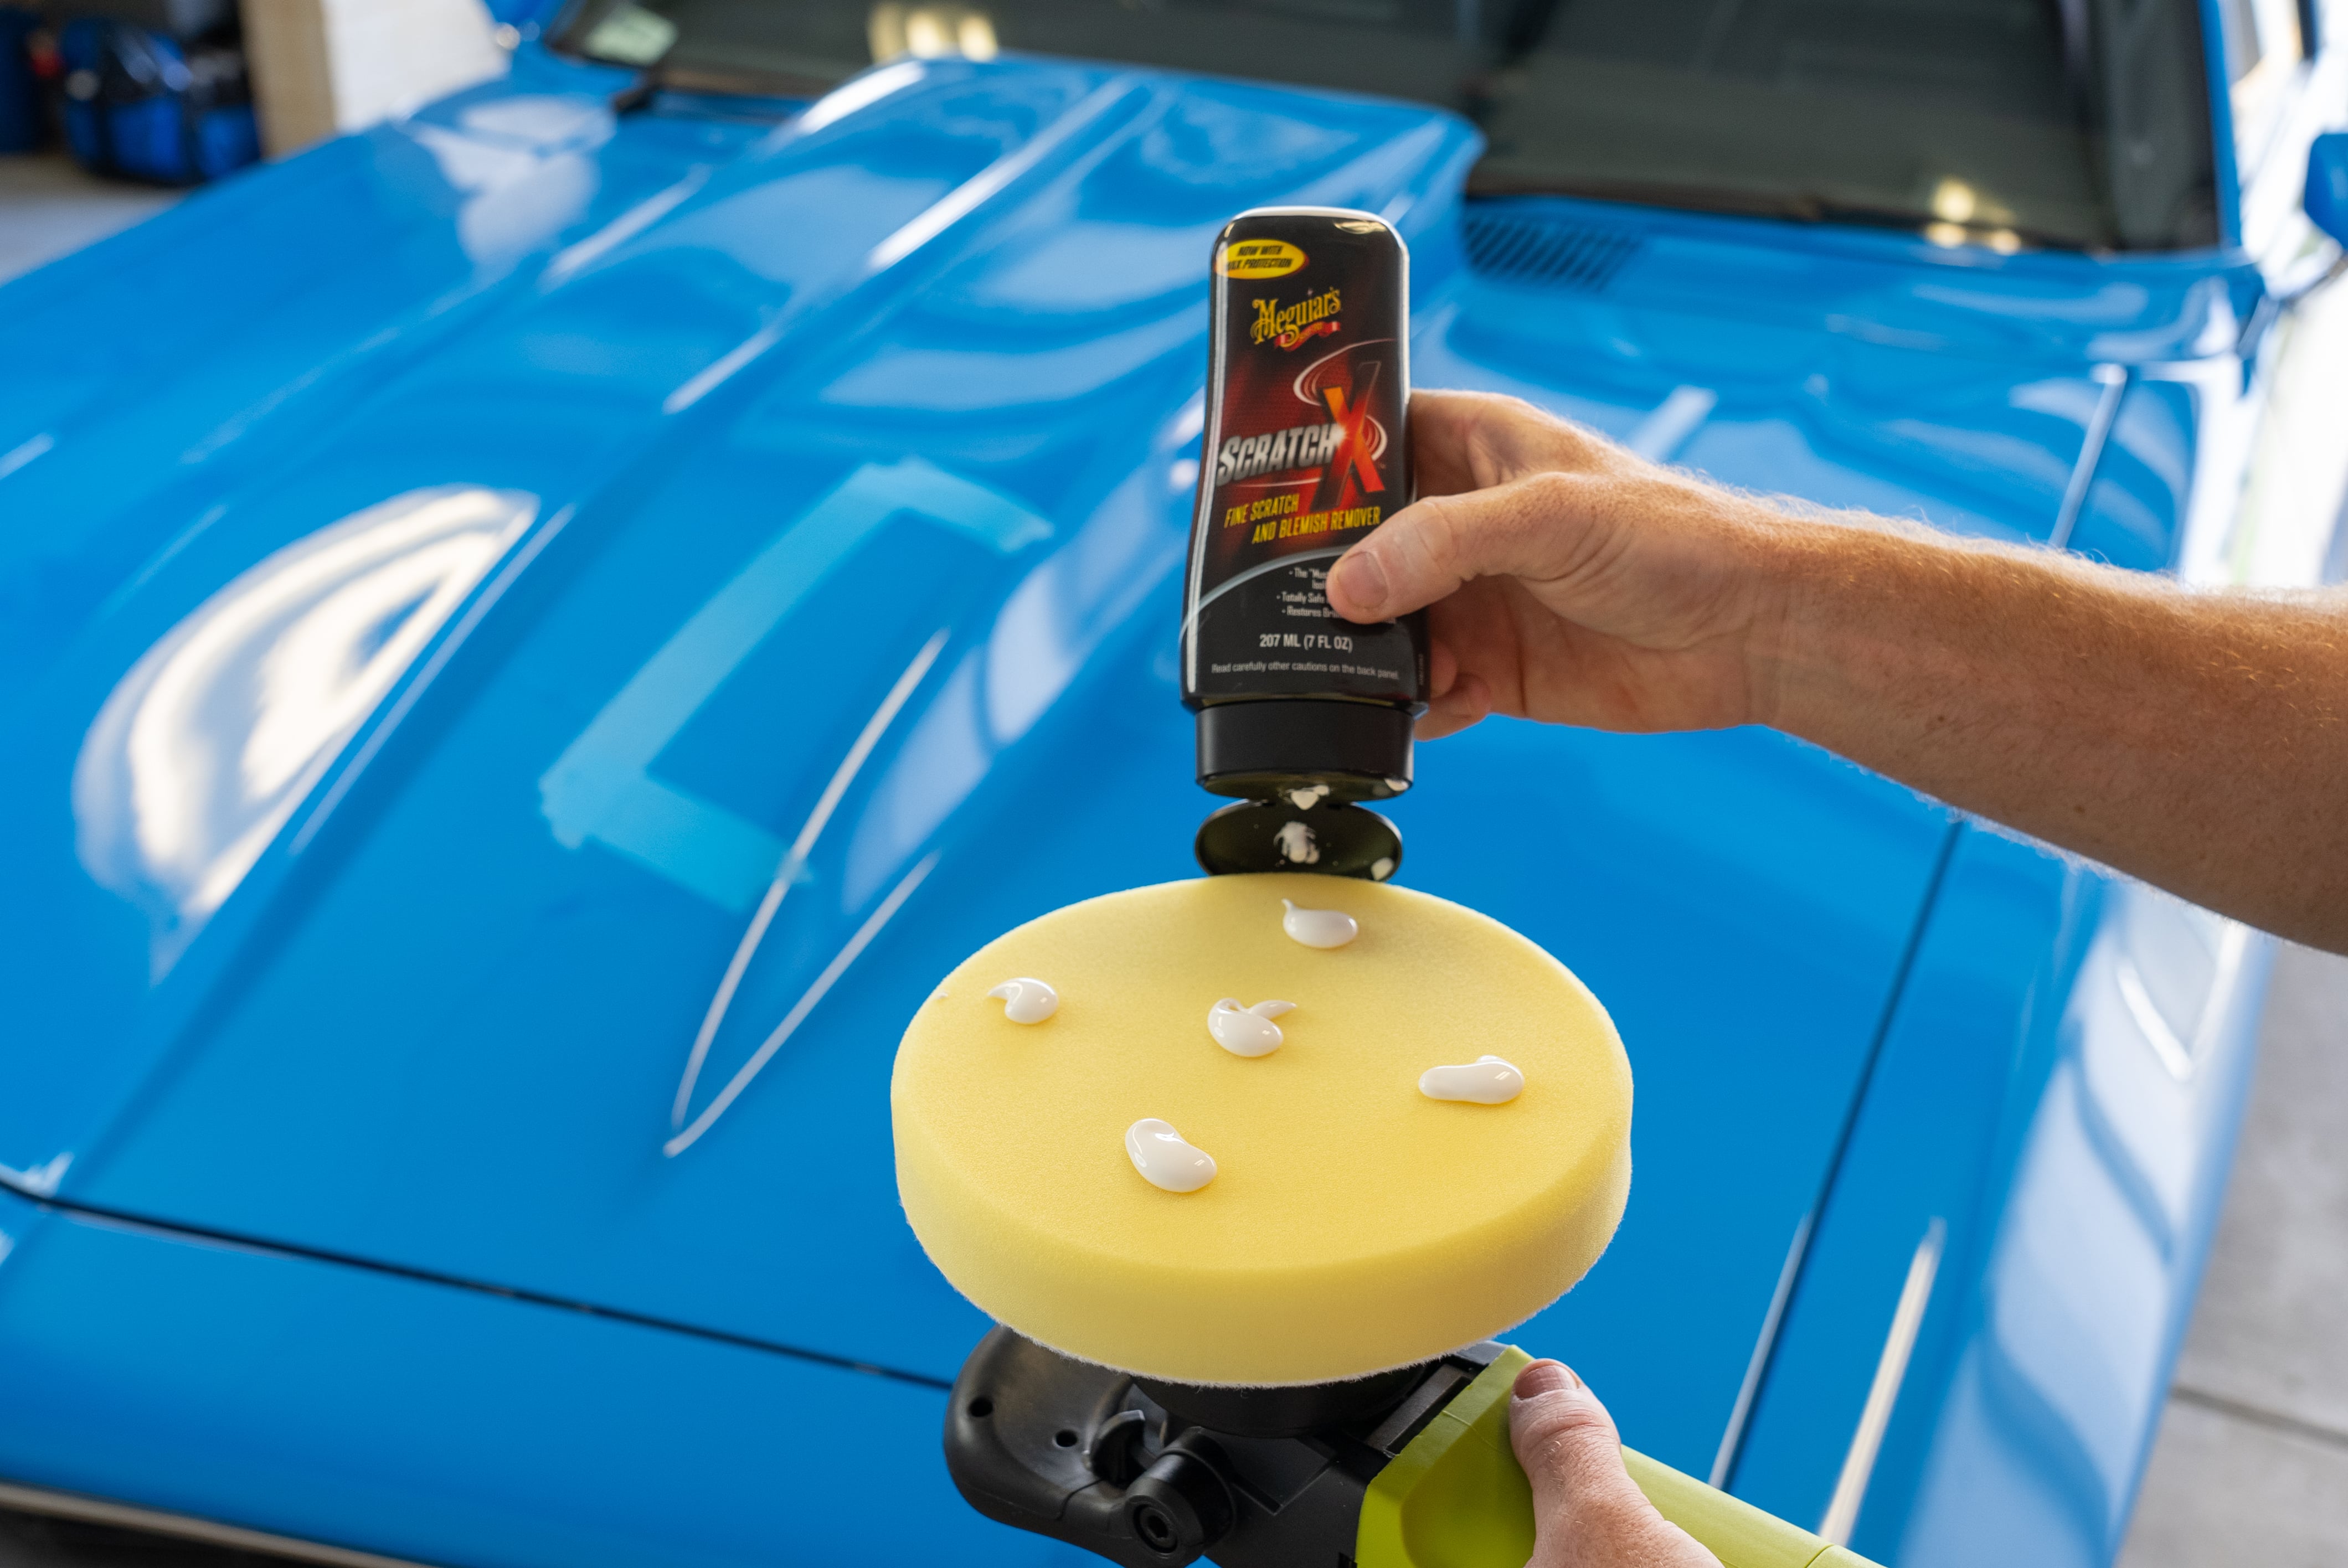
Apply a few dabs of the scratch remover to your buffing pad. Then a spray of detailer to help lubricate the buffing pad and lessen the risk of burning through your clear coat.
With the machine off, dab the pad around the panel to spread the product evenly. If you’d rather not cover everything with polish; wait until the pad contacts your paintwork before switching the buffer on.
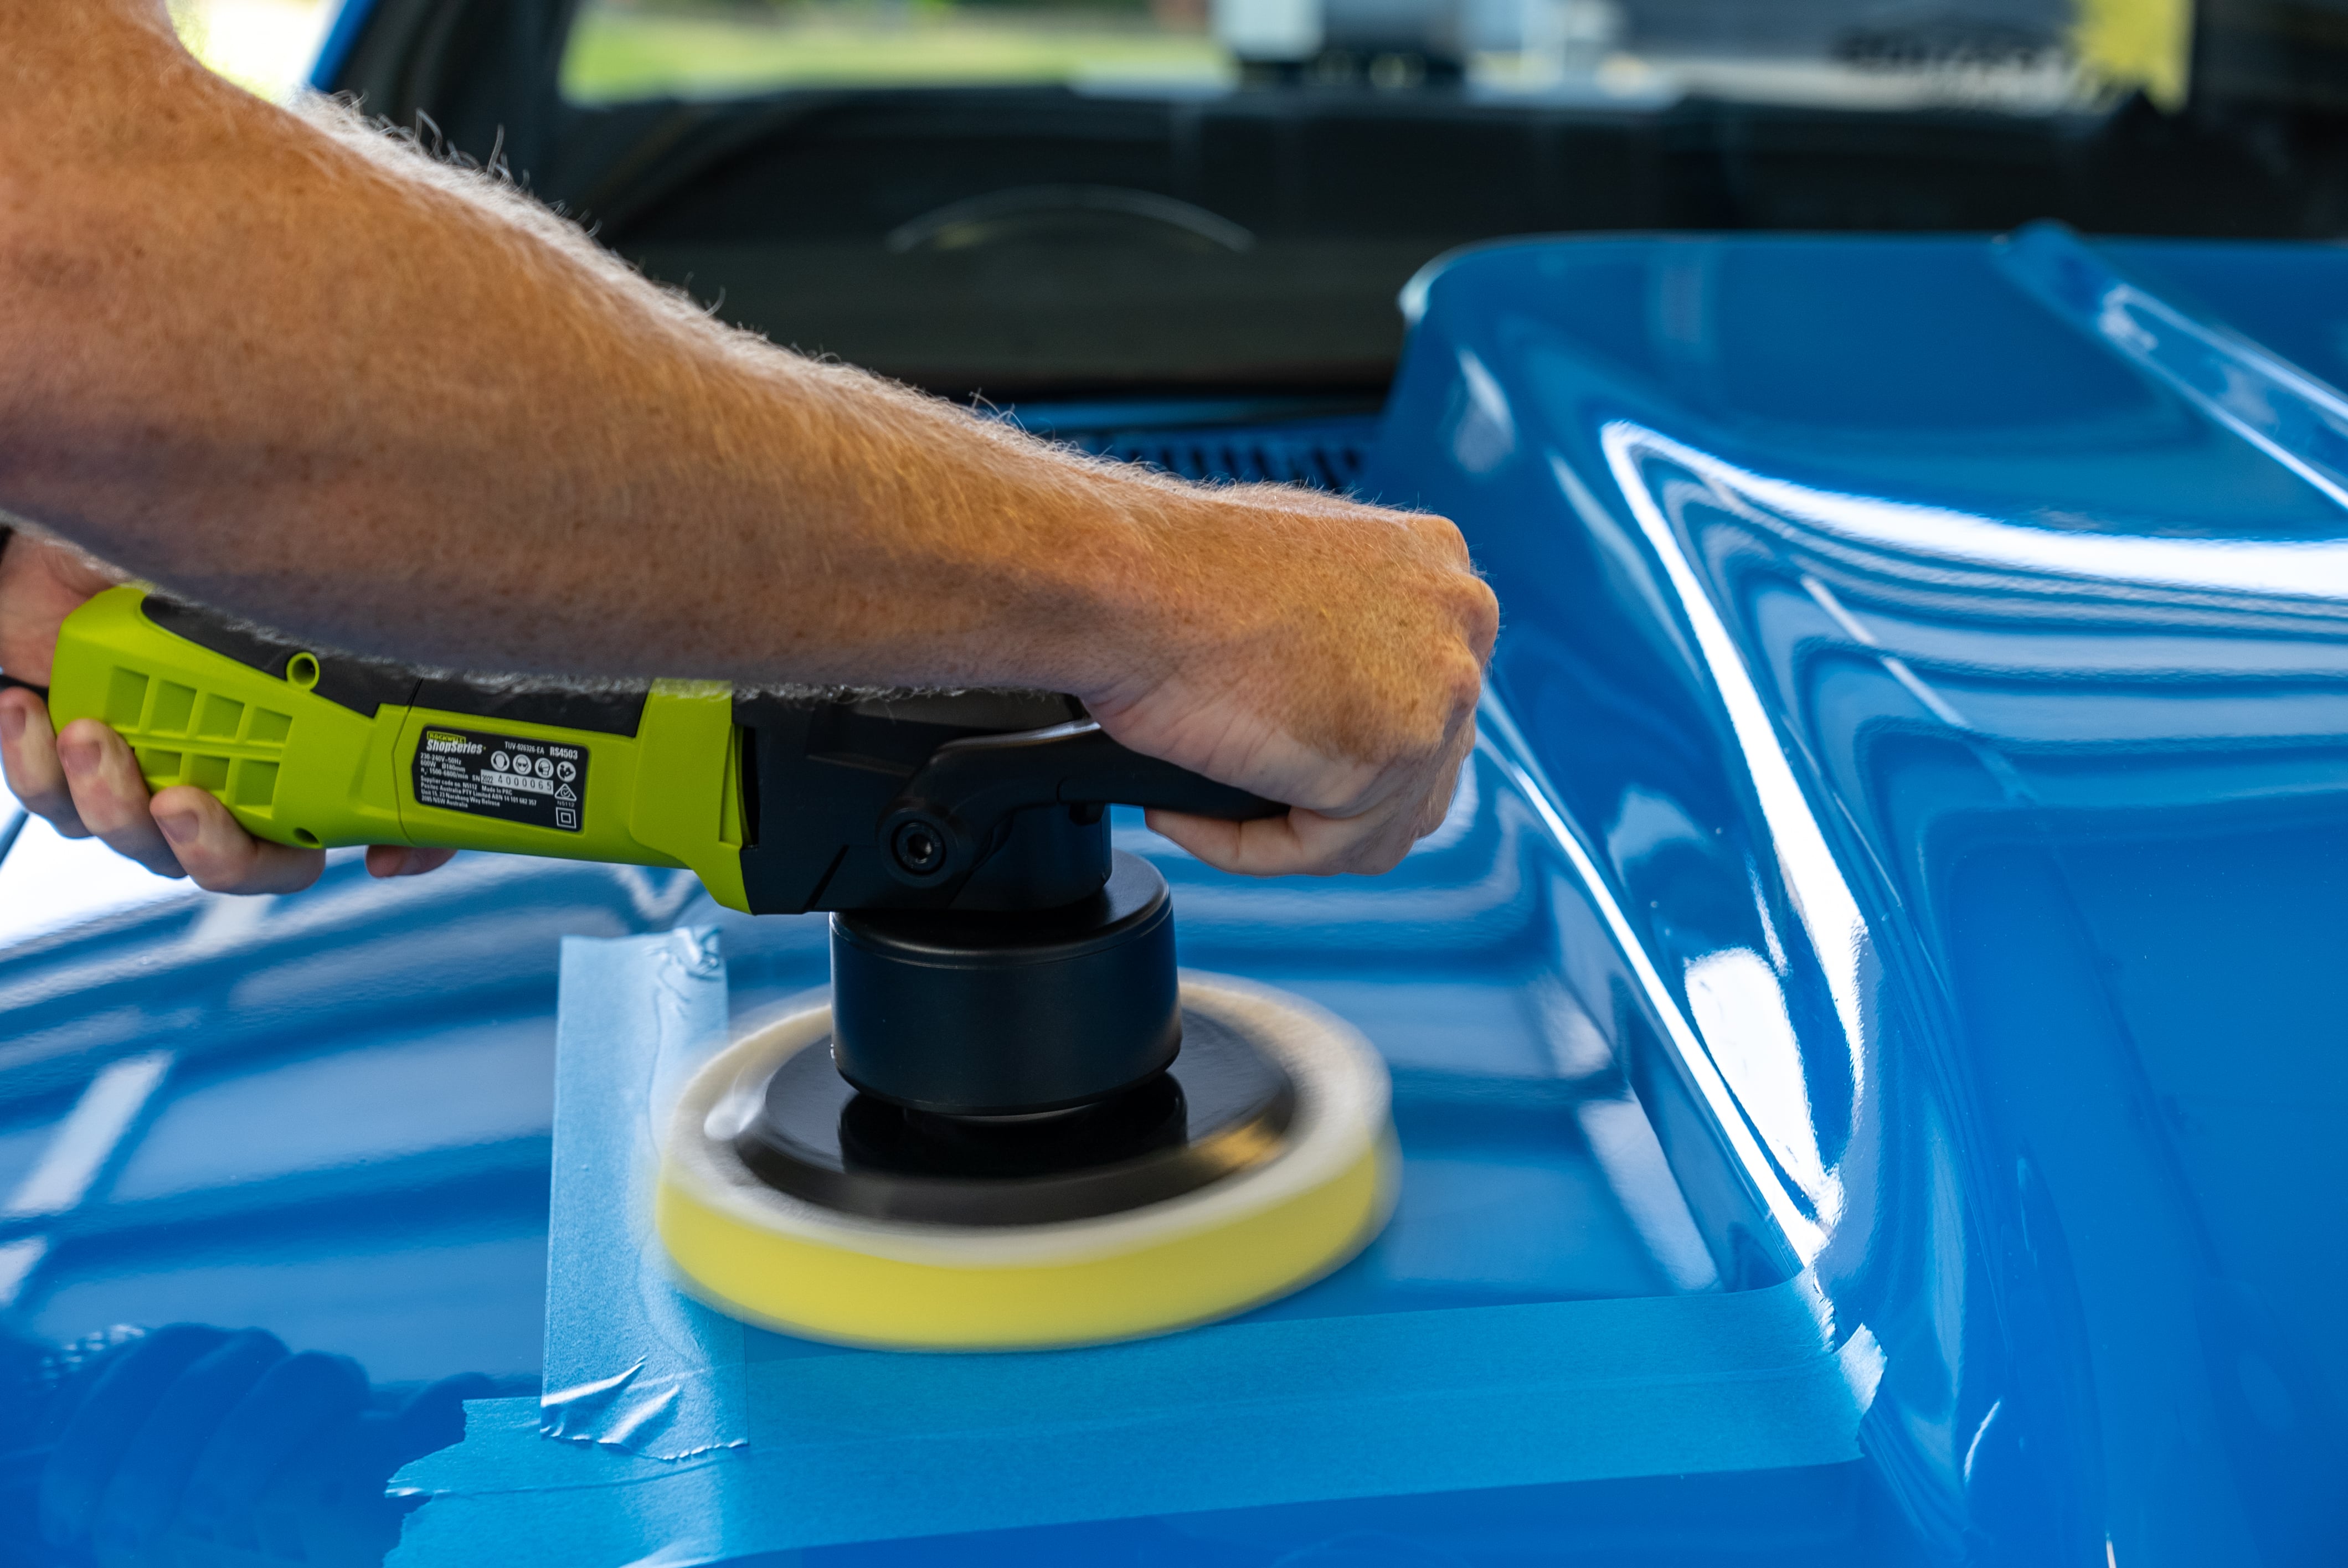
Move your buffer steadily along the panel while applying light pressure. If you have the correct amount of scratch remover applied; a nice thin, greasy, circular layer should appear behind the pad as you go.
Overlap each pass about fifty percent with the last until you’ve worked the whole area.
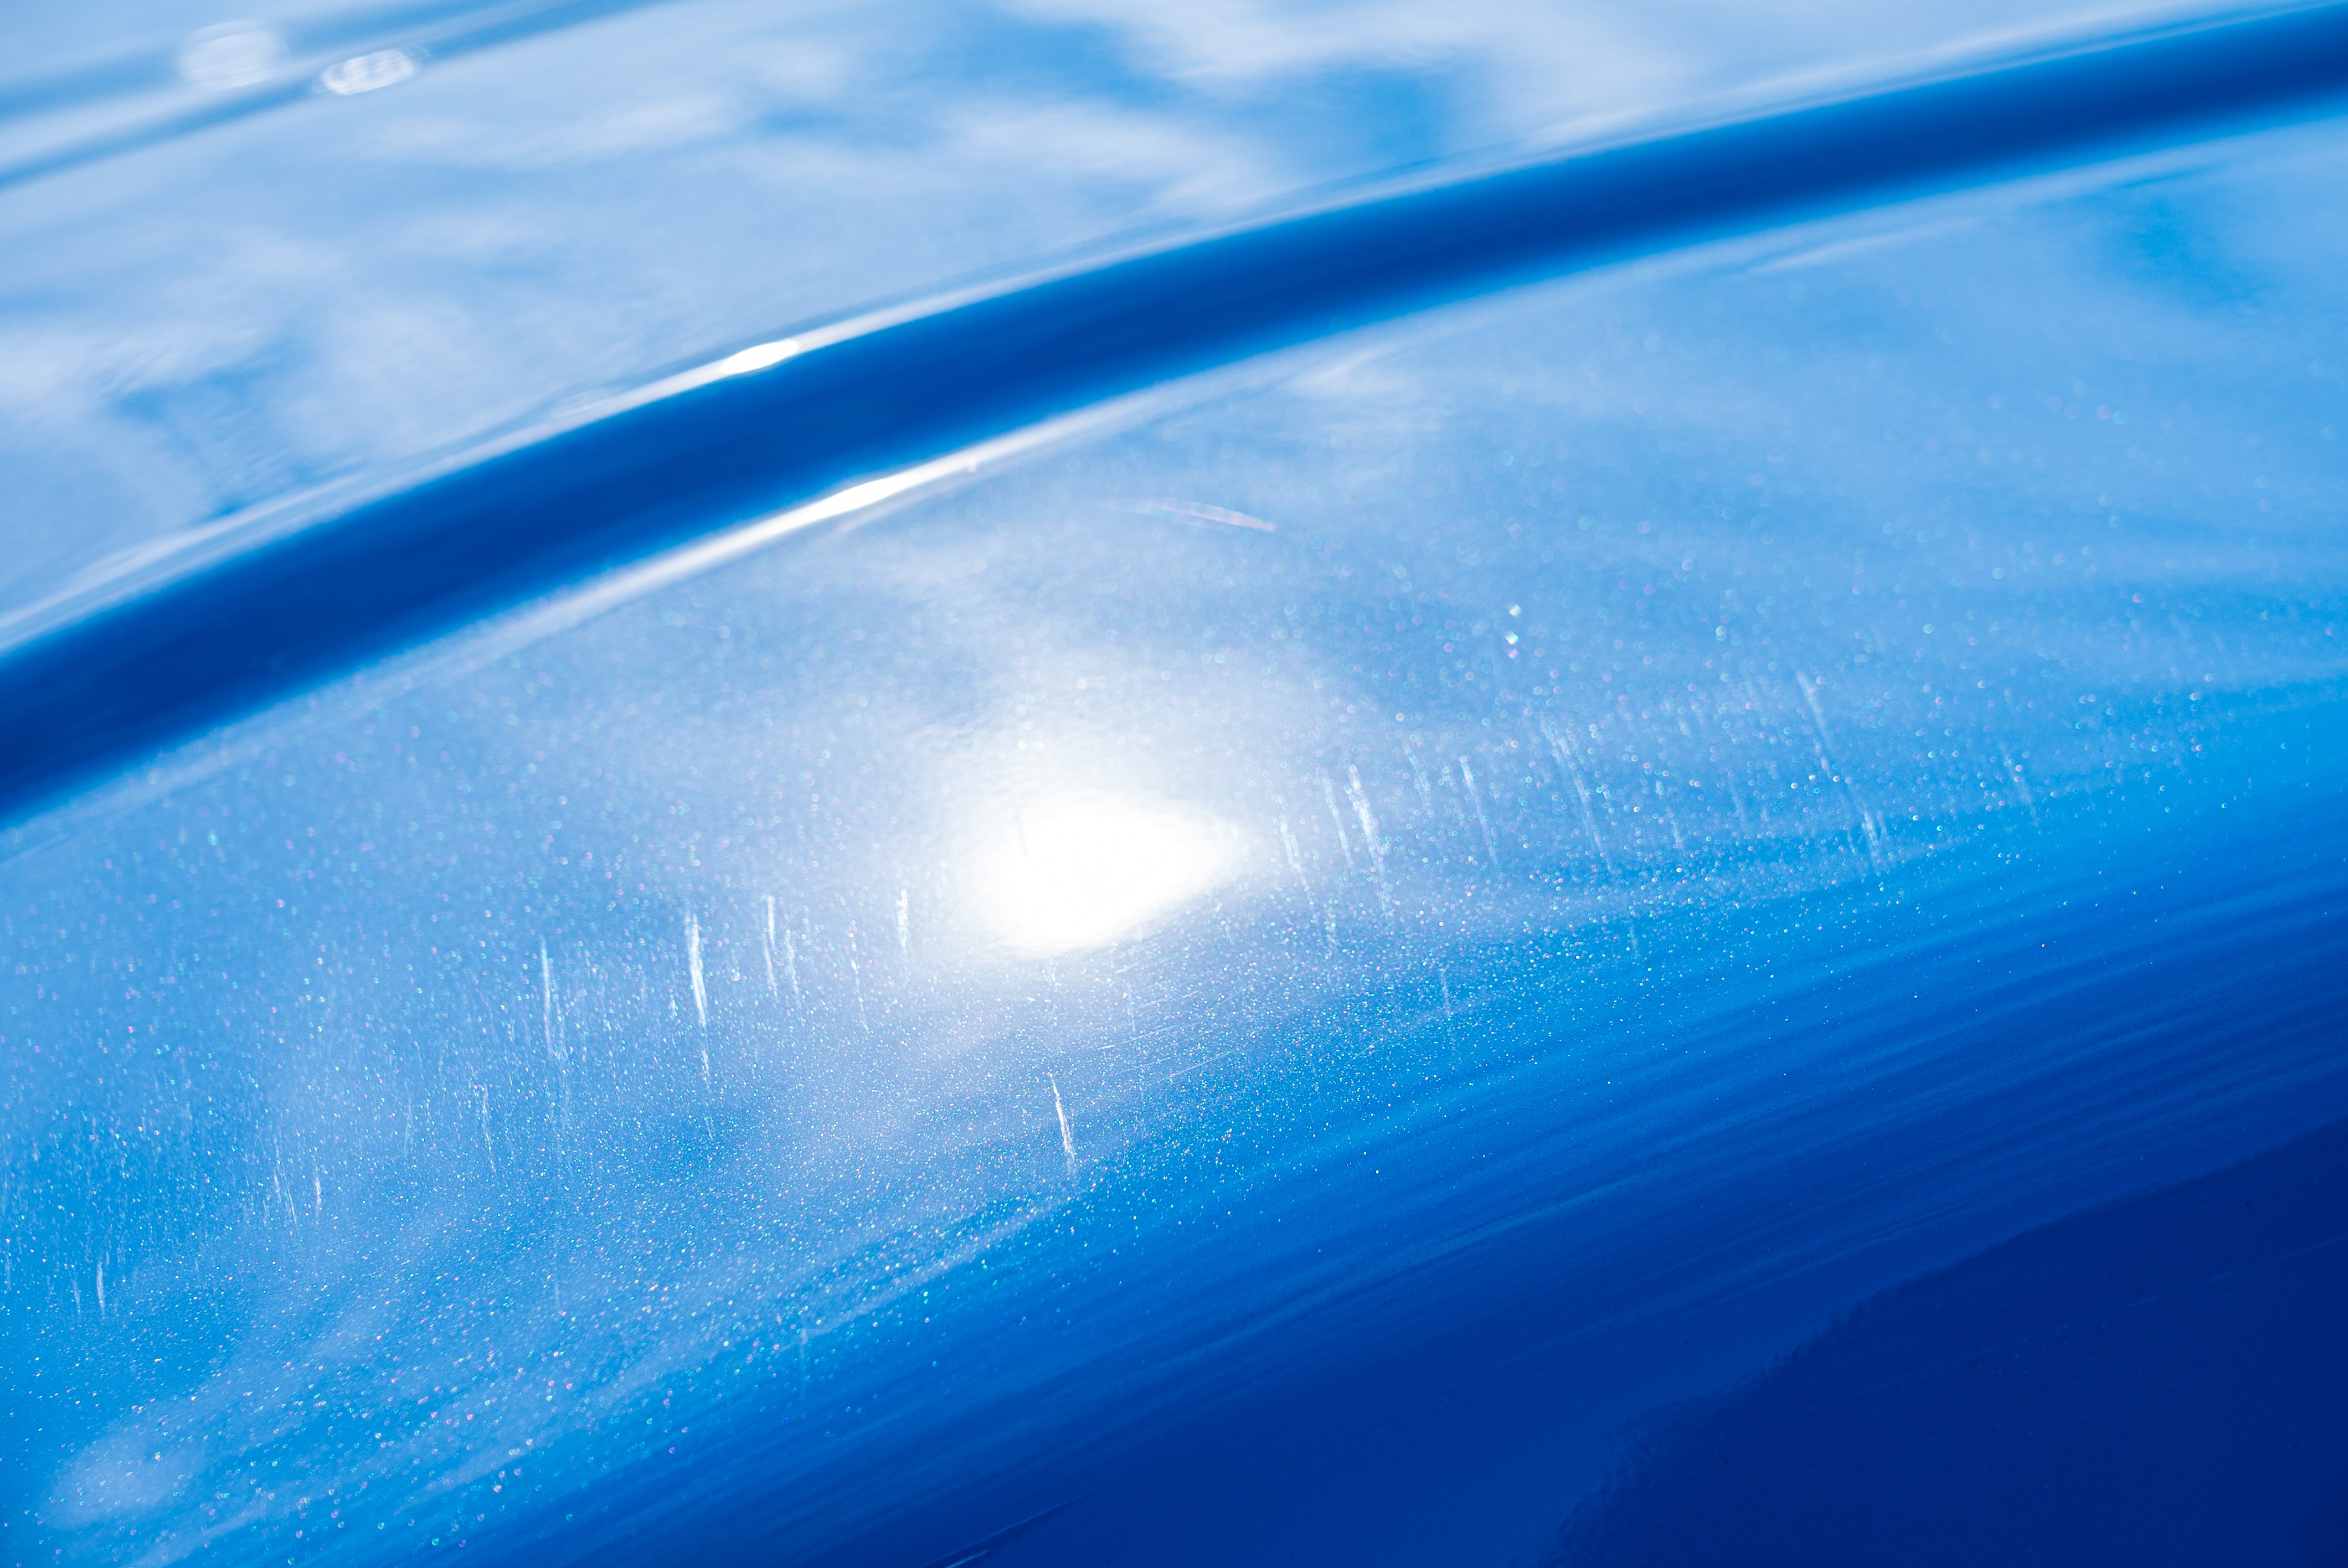
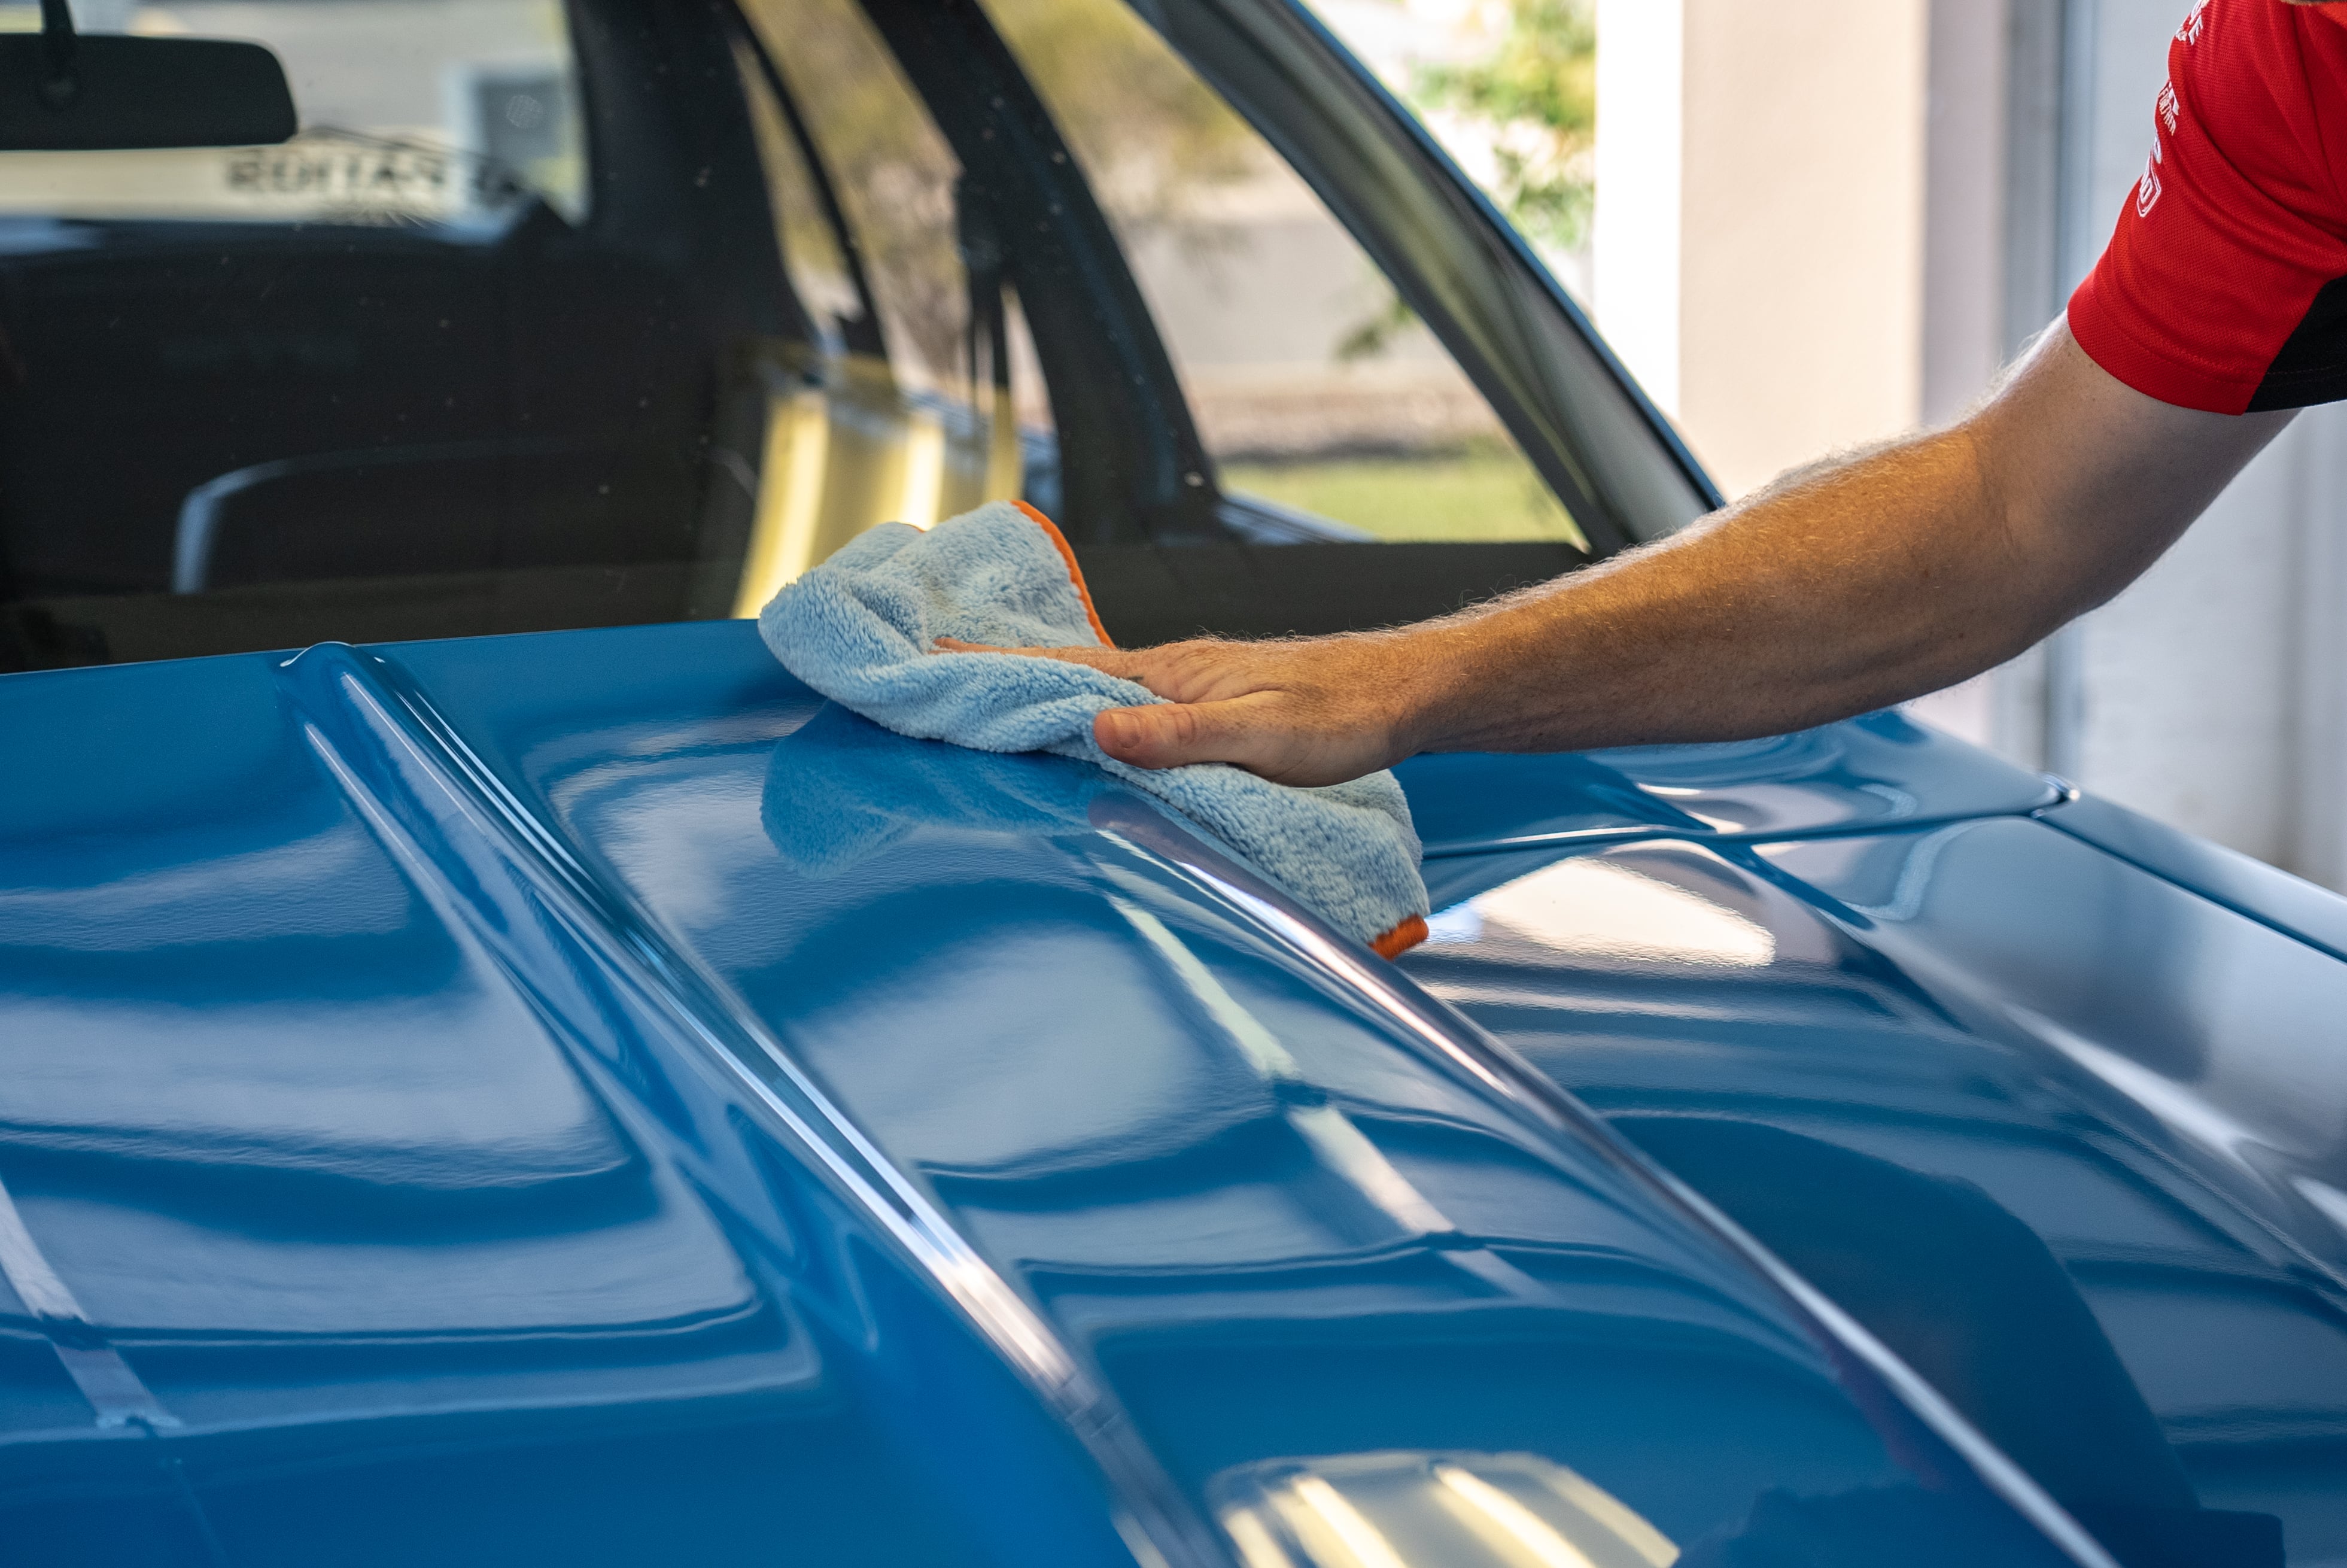
Give it a wipe over with a microfibre towel. If it reveals that the swirl marks are still there; simply repeat step four from the beginning.
Once the swirl marks are gone from your selected panel… you’ve only the rest to go! Sorry. there’s no sugar coating it; this IS the longest part of the process. But as you can see, your car scratch repair is beginning to pay off.
Step 4: Protect your paintwork
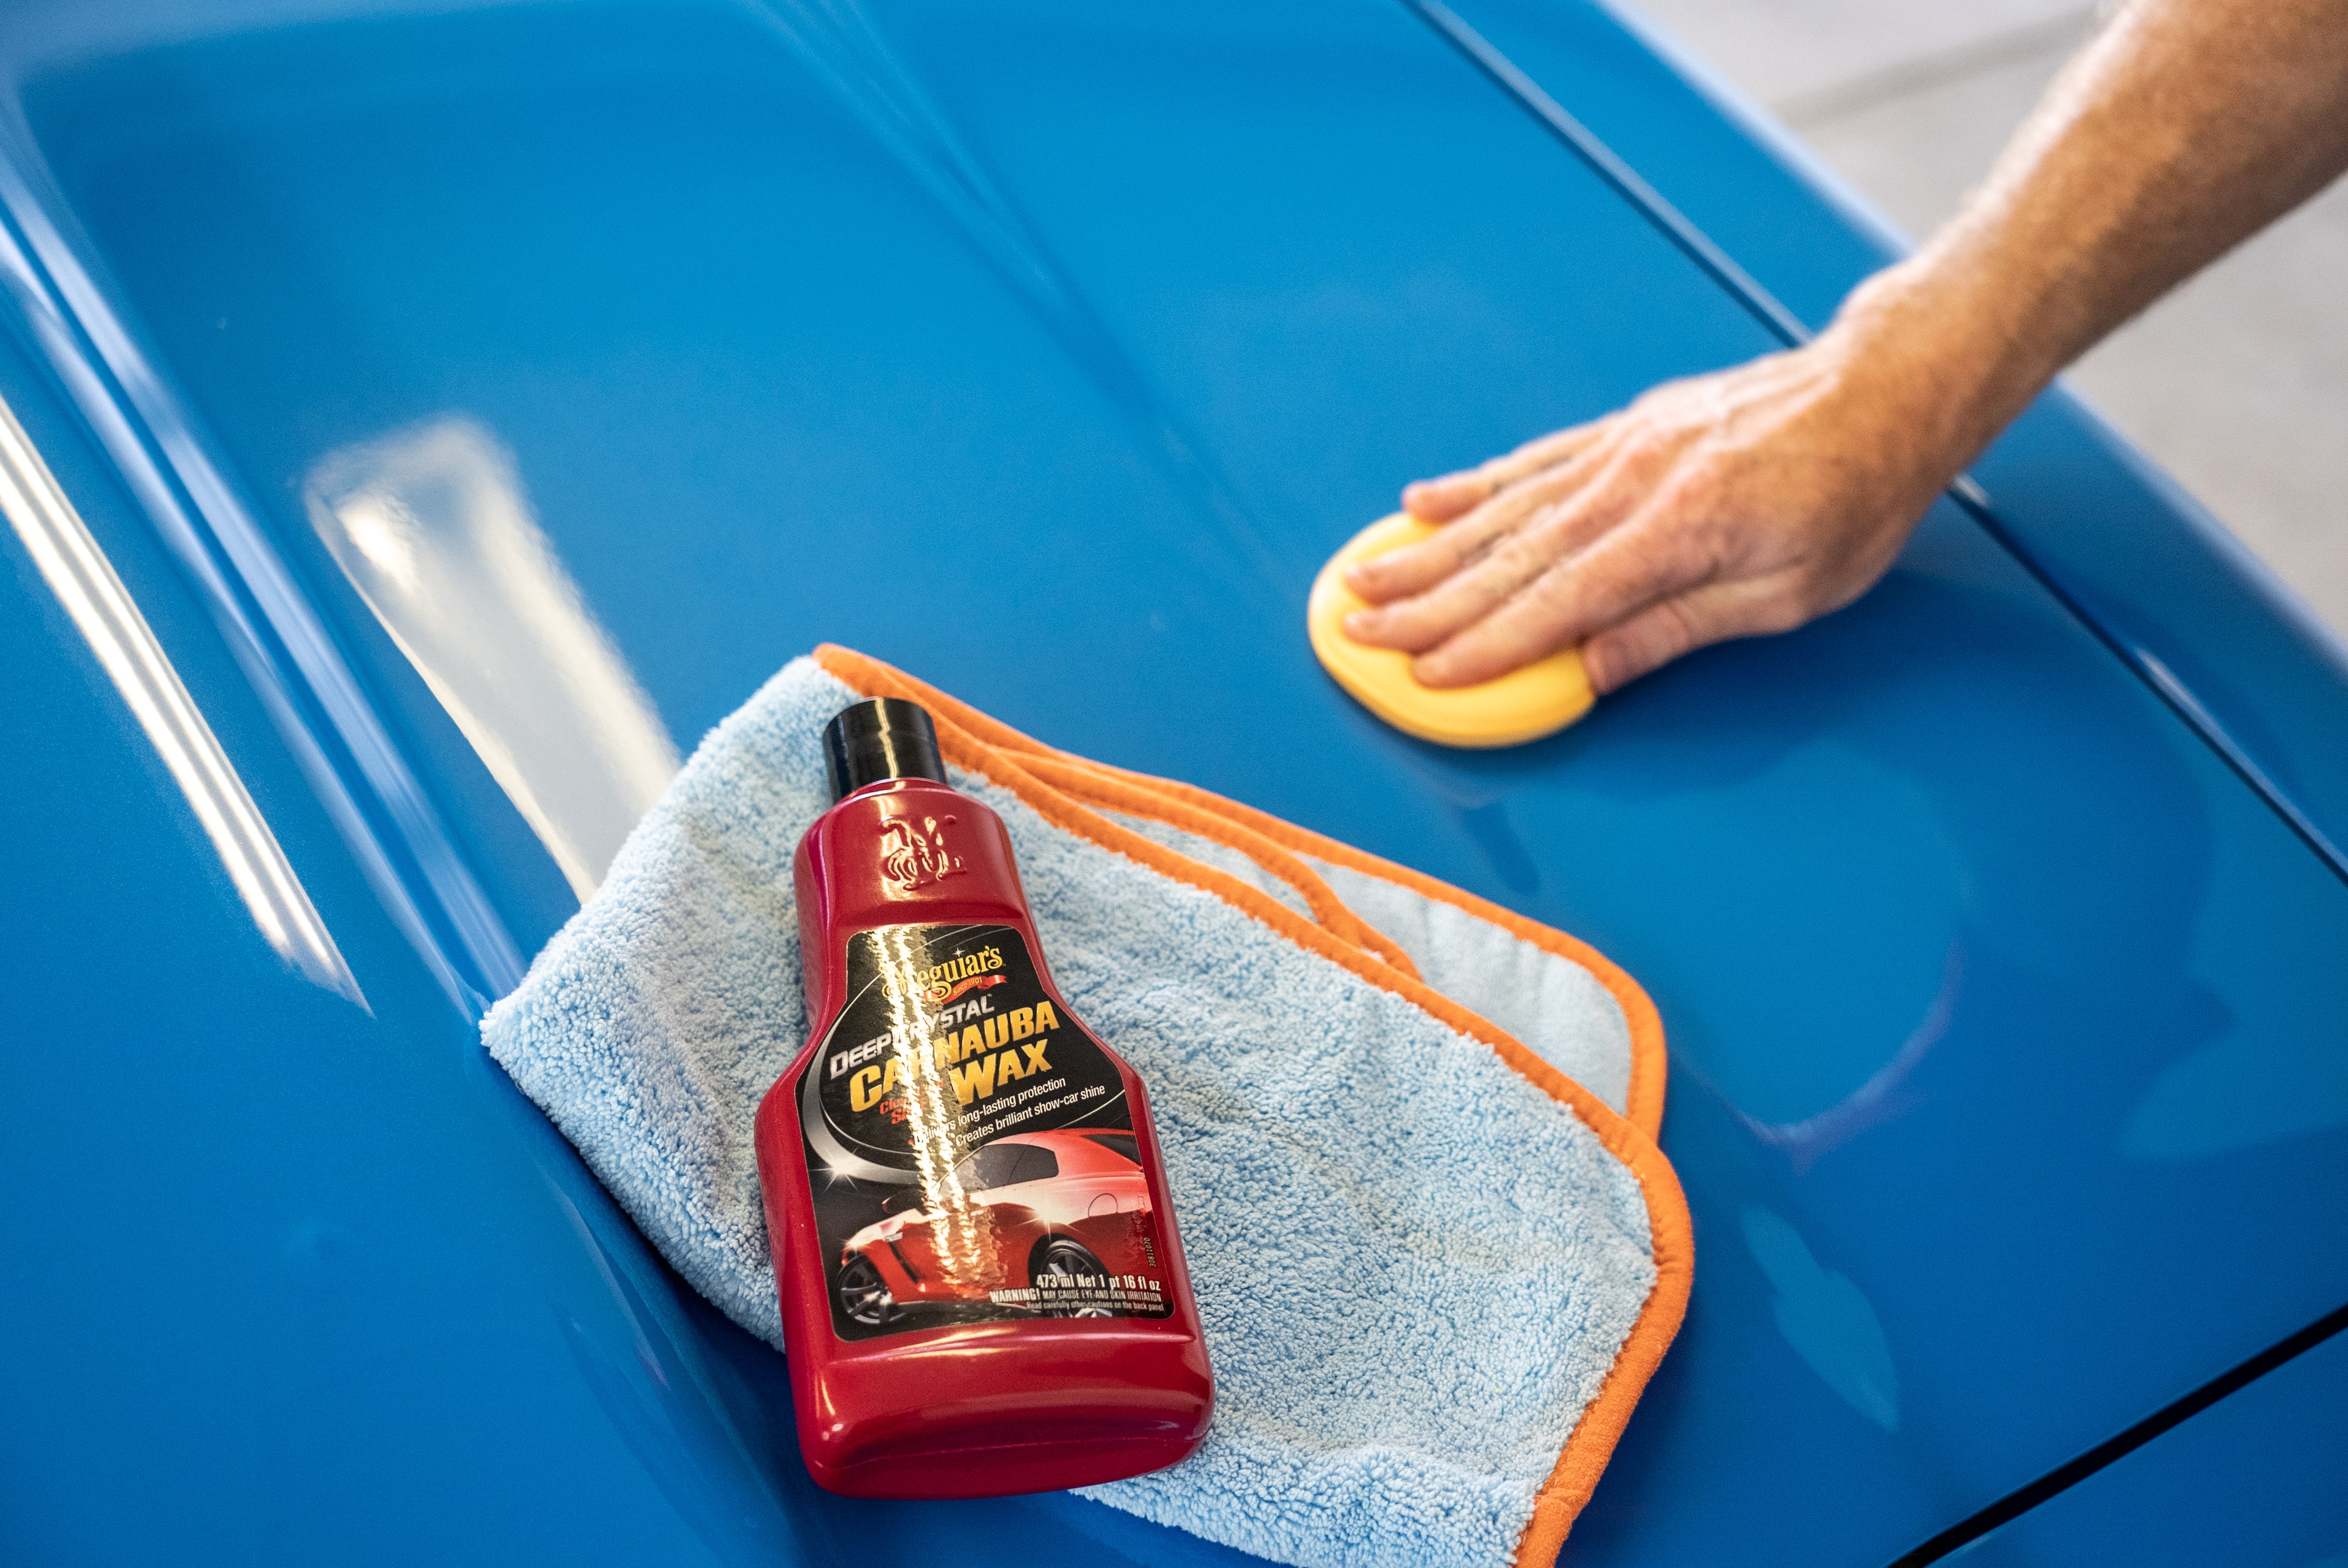
A quick wax coating will not only protect your hard work from the elements, it’ll add that extra glint to your vehicle.
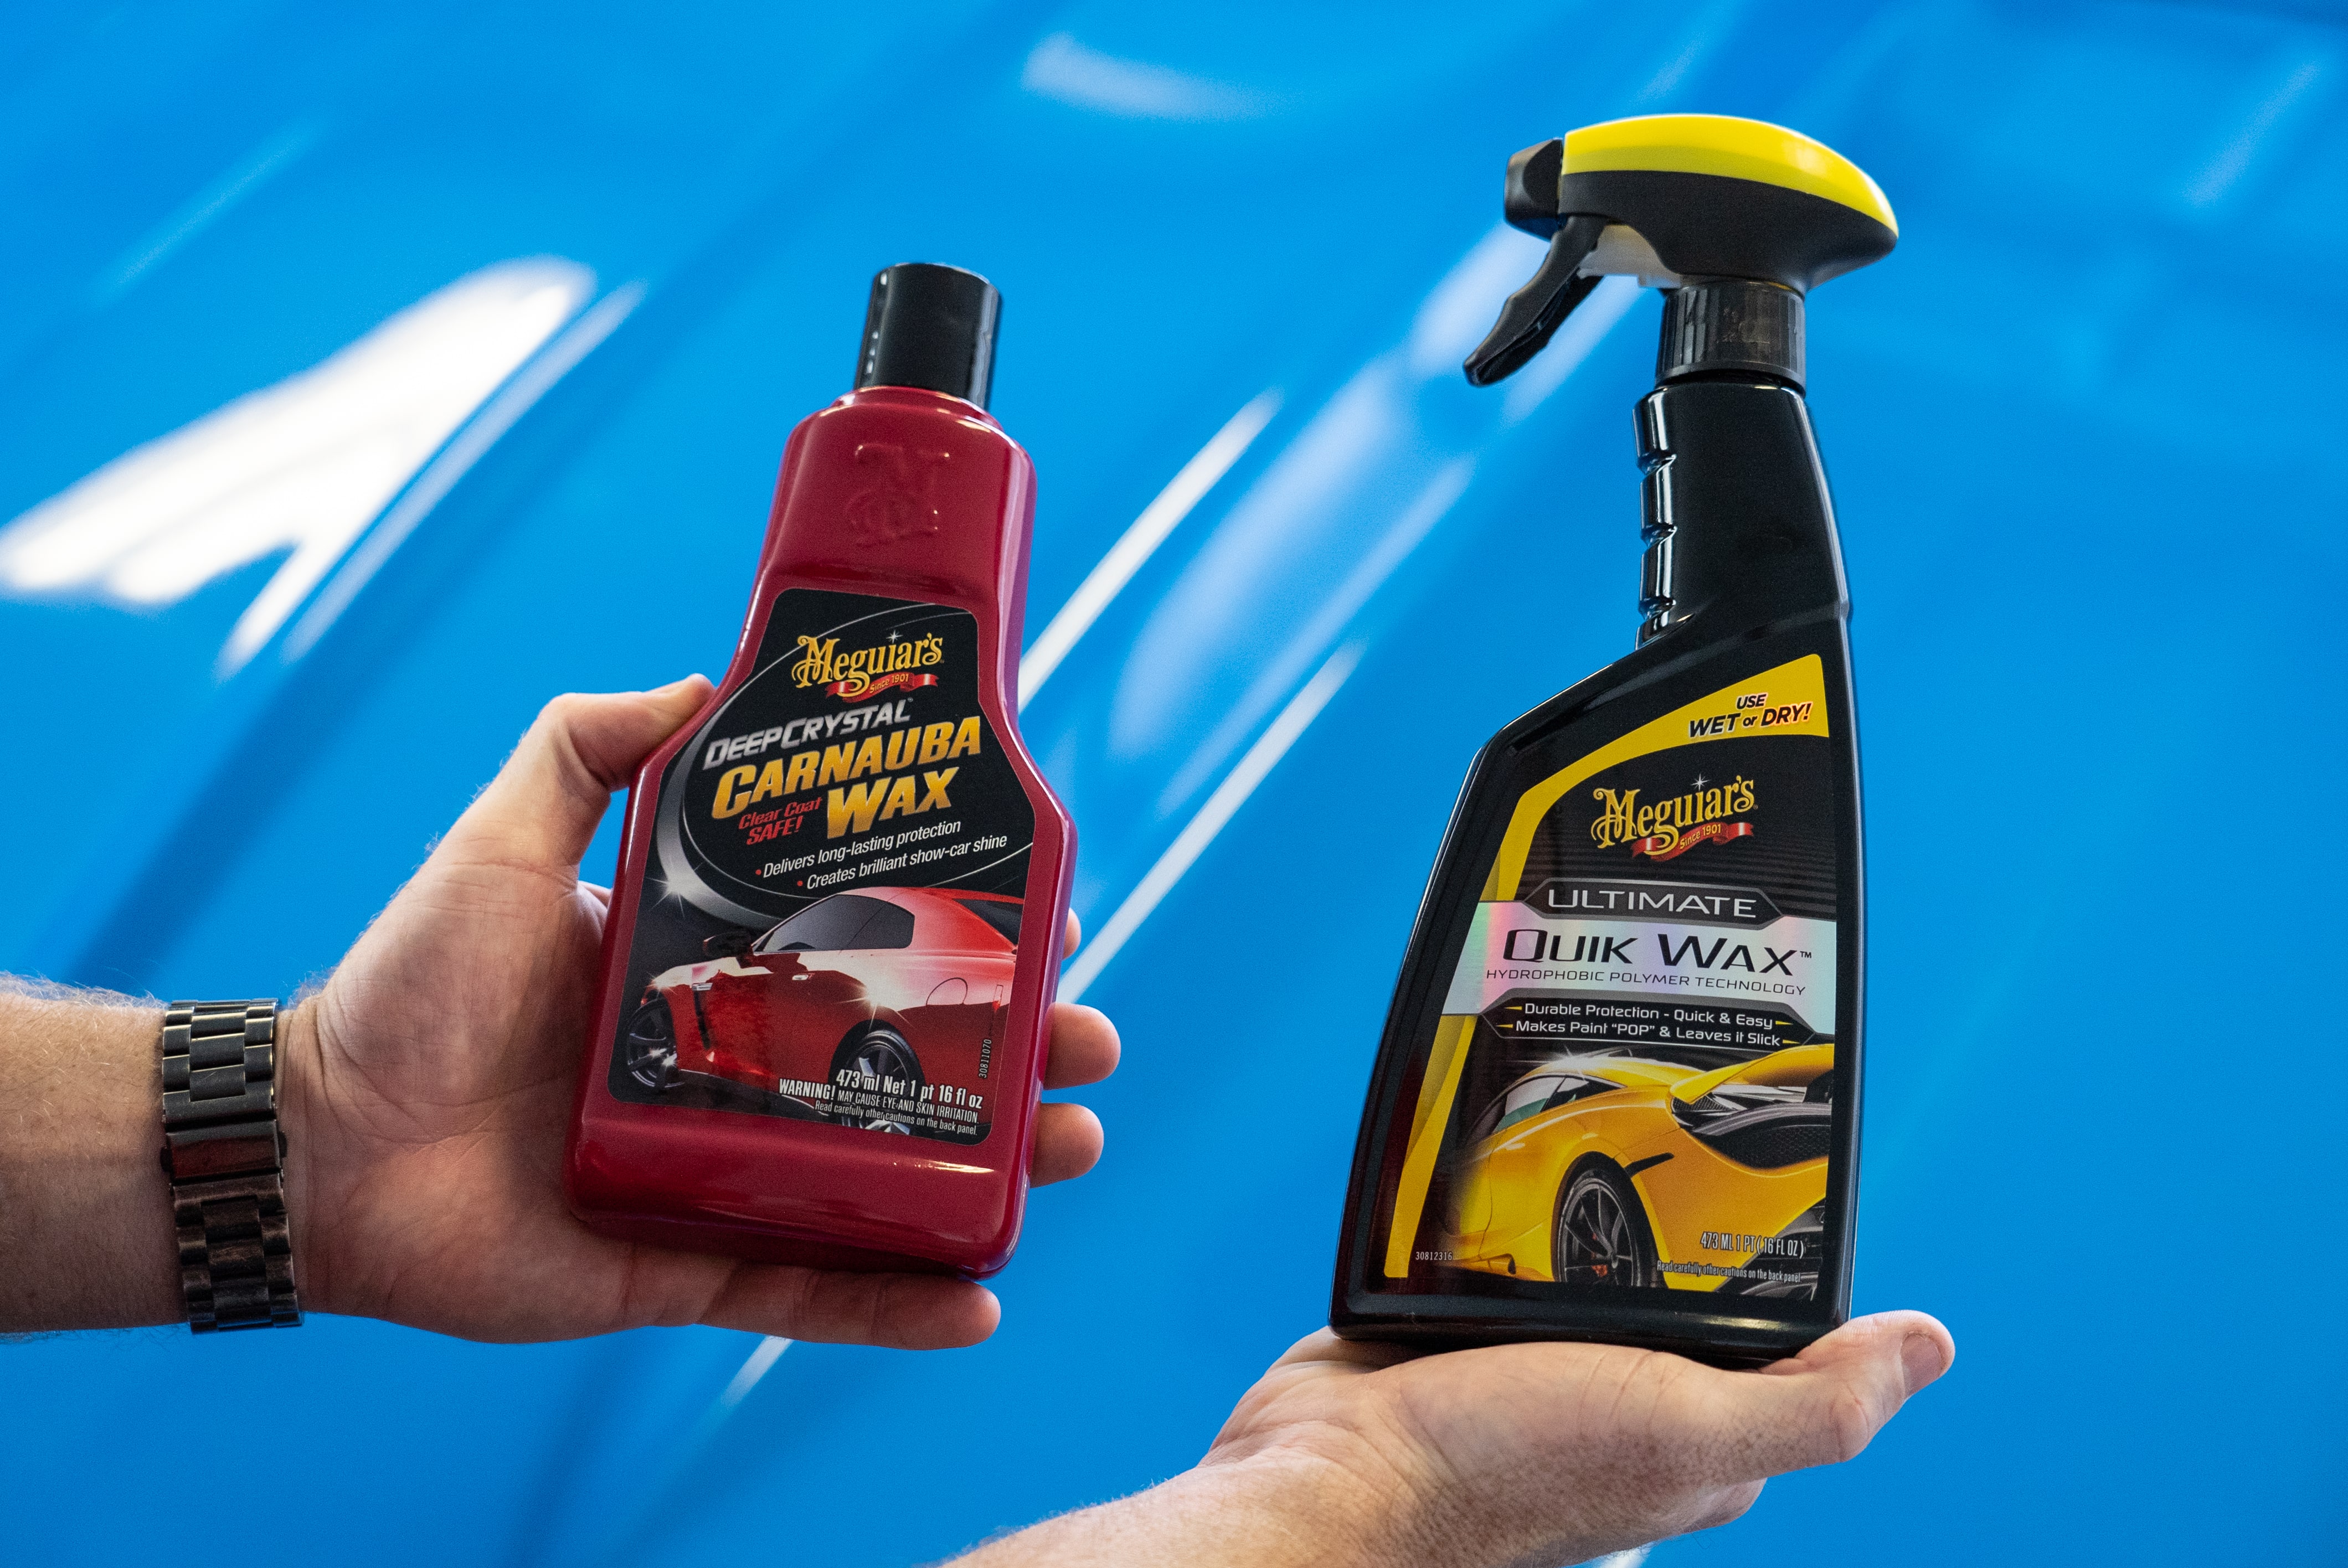
You can use a paste wax, or a spray. Paste tends to protect for longer, but spray is easier to apply.
With a paste wax, apply it with a clean hand-buffing pad in a circular motion using minimal pressure to get even coverage. Allow the wax to dry, then wipe it away with a clean microfibre towel.
For spray wax, simply spray it on, then wipe it over with one microfibre towel, and remove it with a second cleaner towel.
Tips
Scratch free, swirl free and protected. Ready for a bonus step? Throw a show car cover over it! That’ll keep your paint clean and protected until you’re ready to take it out and show it off.
*Important information* - Click here to read more about our How-To terms and conditions.
