How to Install a Dual Battery System
Overview
Relying on your car battery to charge a phone, run the stereo, or even a fridge is fine while you’re driving. But run them while you relax around camp overnight, and you may have trouble leaving the next day. A dual battery system is the best way to ensure enough camping power for your gadgets and have the engine kick over when it’s time to move on. Let’s get you fitted out. Continue reading to learn how to install a dual battery system.
Items
Parts
- A battery box to house your battery
- Anchor points to secure your battery
- A DC charger - The higher the amps, the faster it will charge
- A circuit breaker to match the amps of your charger
- A short power lead with twin 50 amp connectors
- Another 50 amp connector, a roll of split tubing, plenty of cable ties and heat shrink
- A roll of electrical tape
- A selection of cable lugs
- A roll of two millimetre wire
- Heavy duty power cable (more on how to choose this soon)
- A pack of 5 millimetre screws or bolts
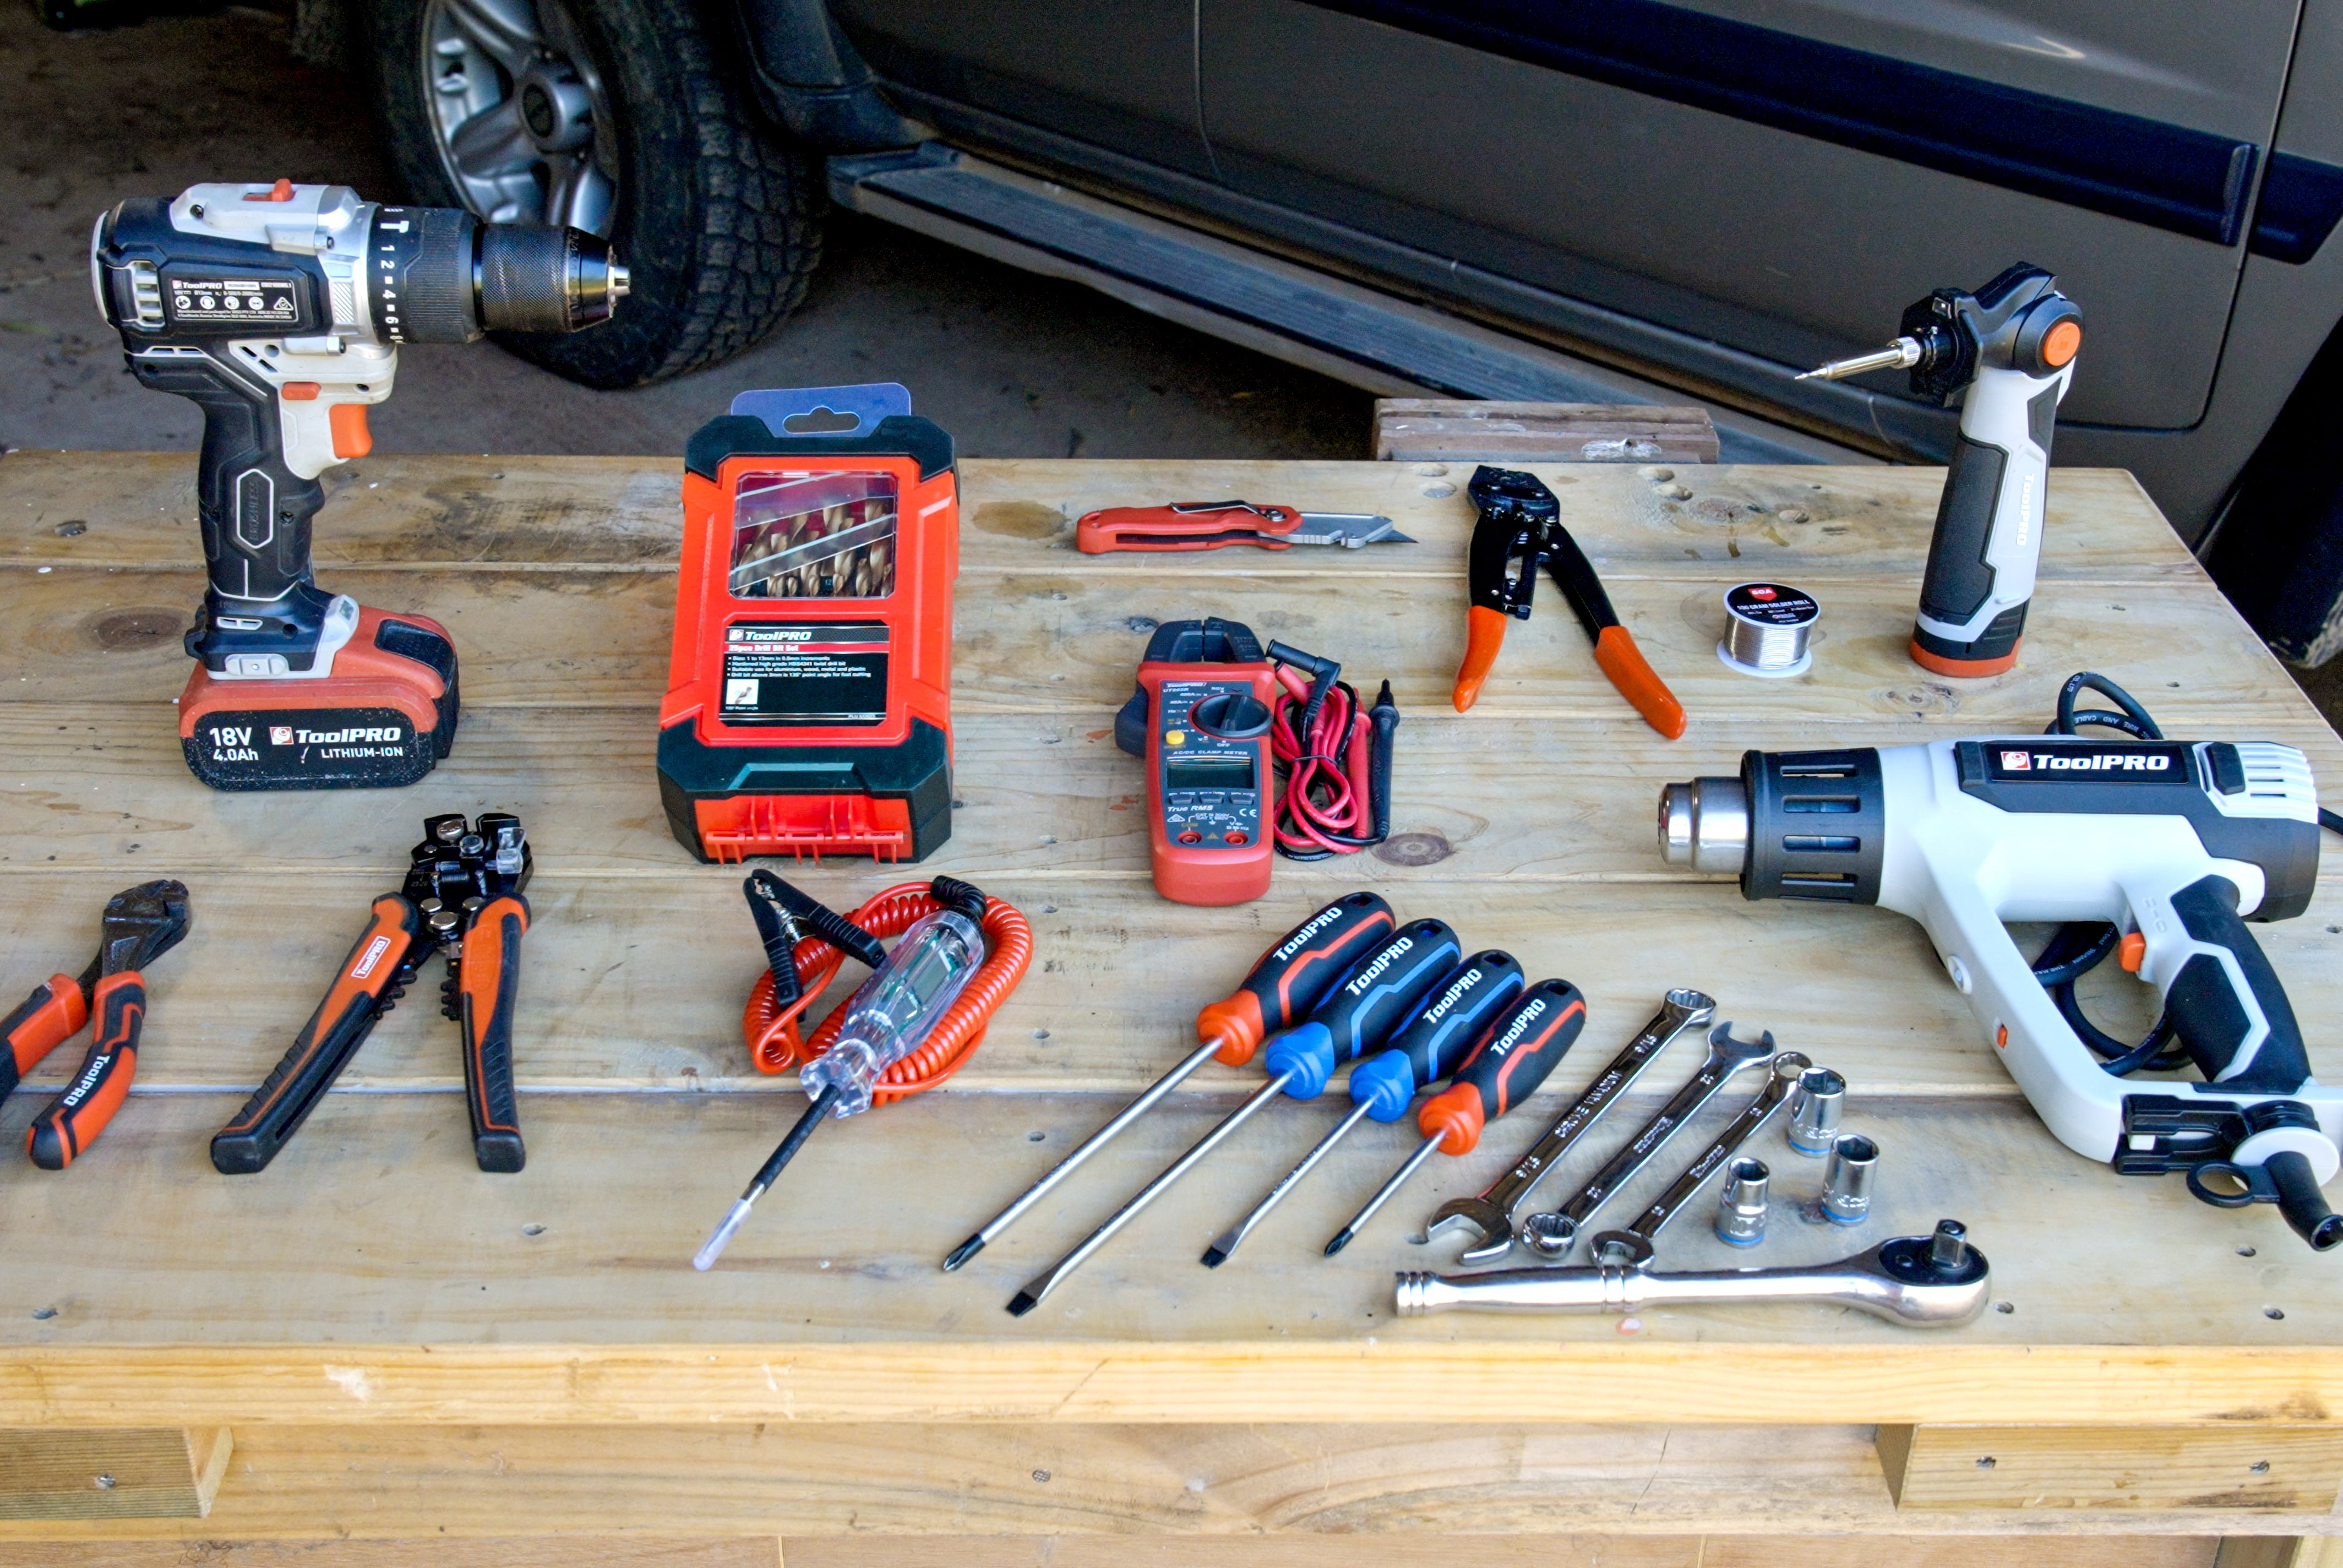
Tools
- Wire cutters
- Wire strippers
- A battery drill
- And drill bits to go with it
- Electrical test light
- Multimeter
- A basic socket, spanner, and screwdriver selection
- A heat gun
- A lug crimper
- A sharp knife
- And possibly some Allen keys
Steps
How to choose a dual battery
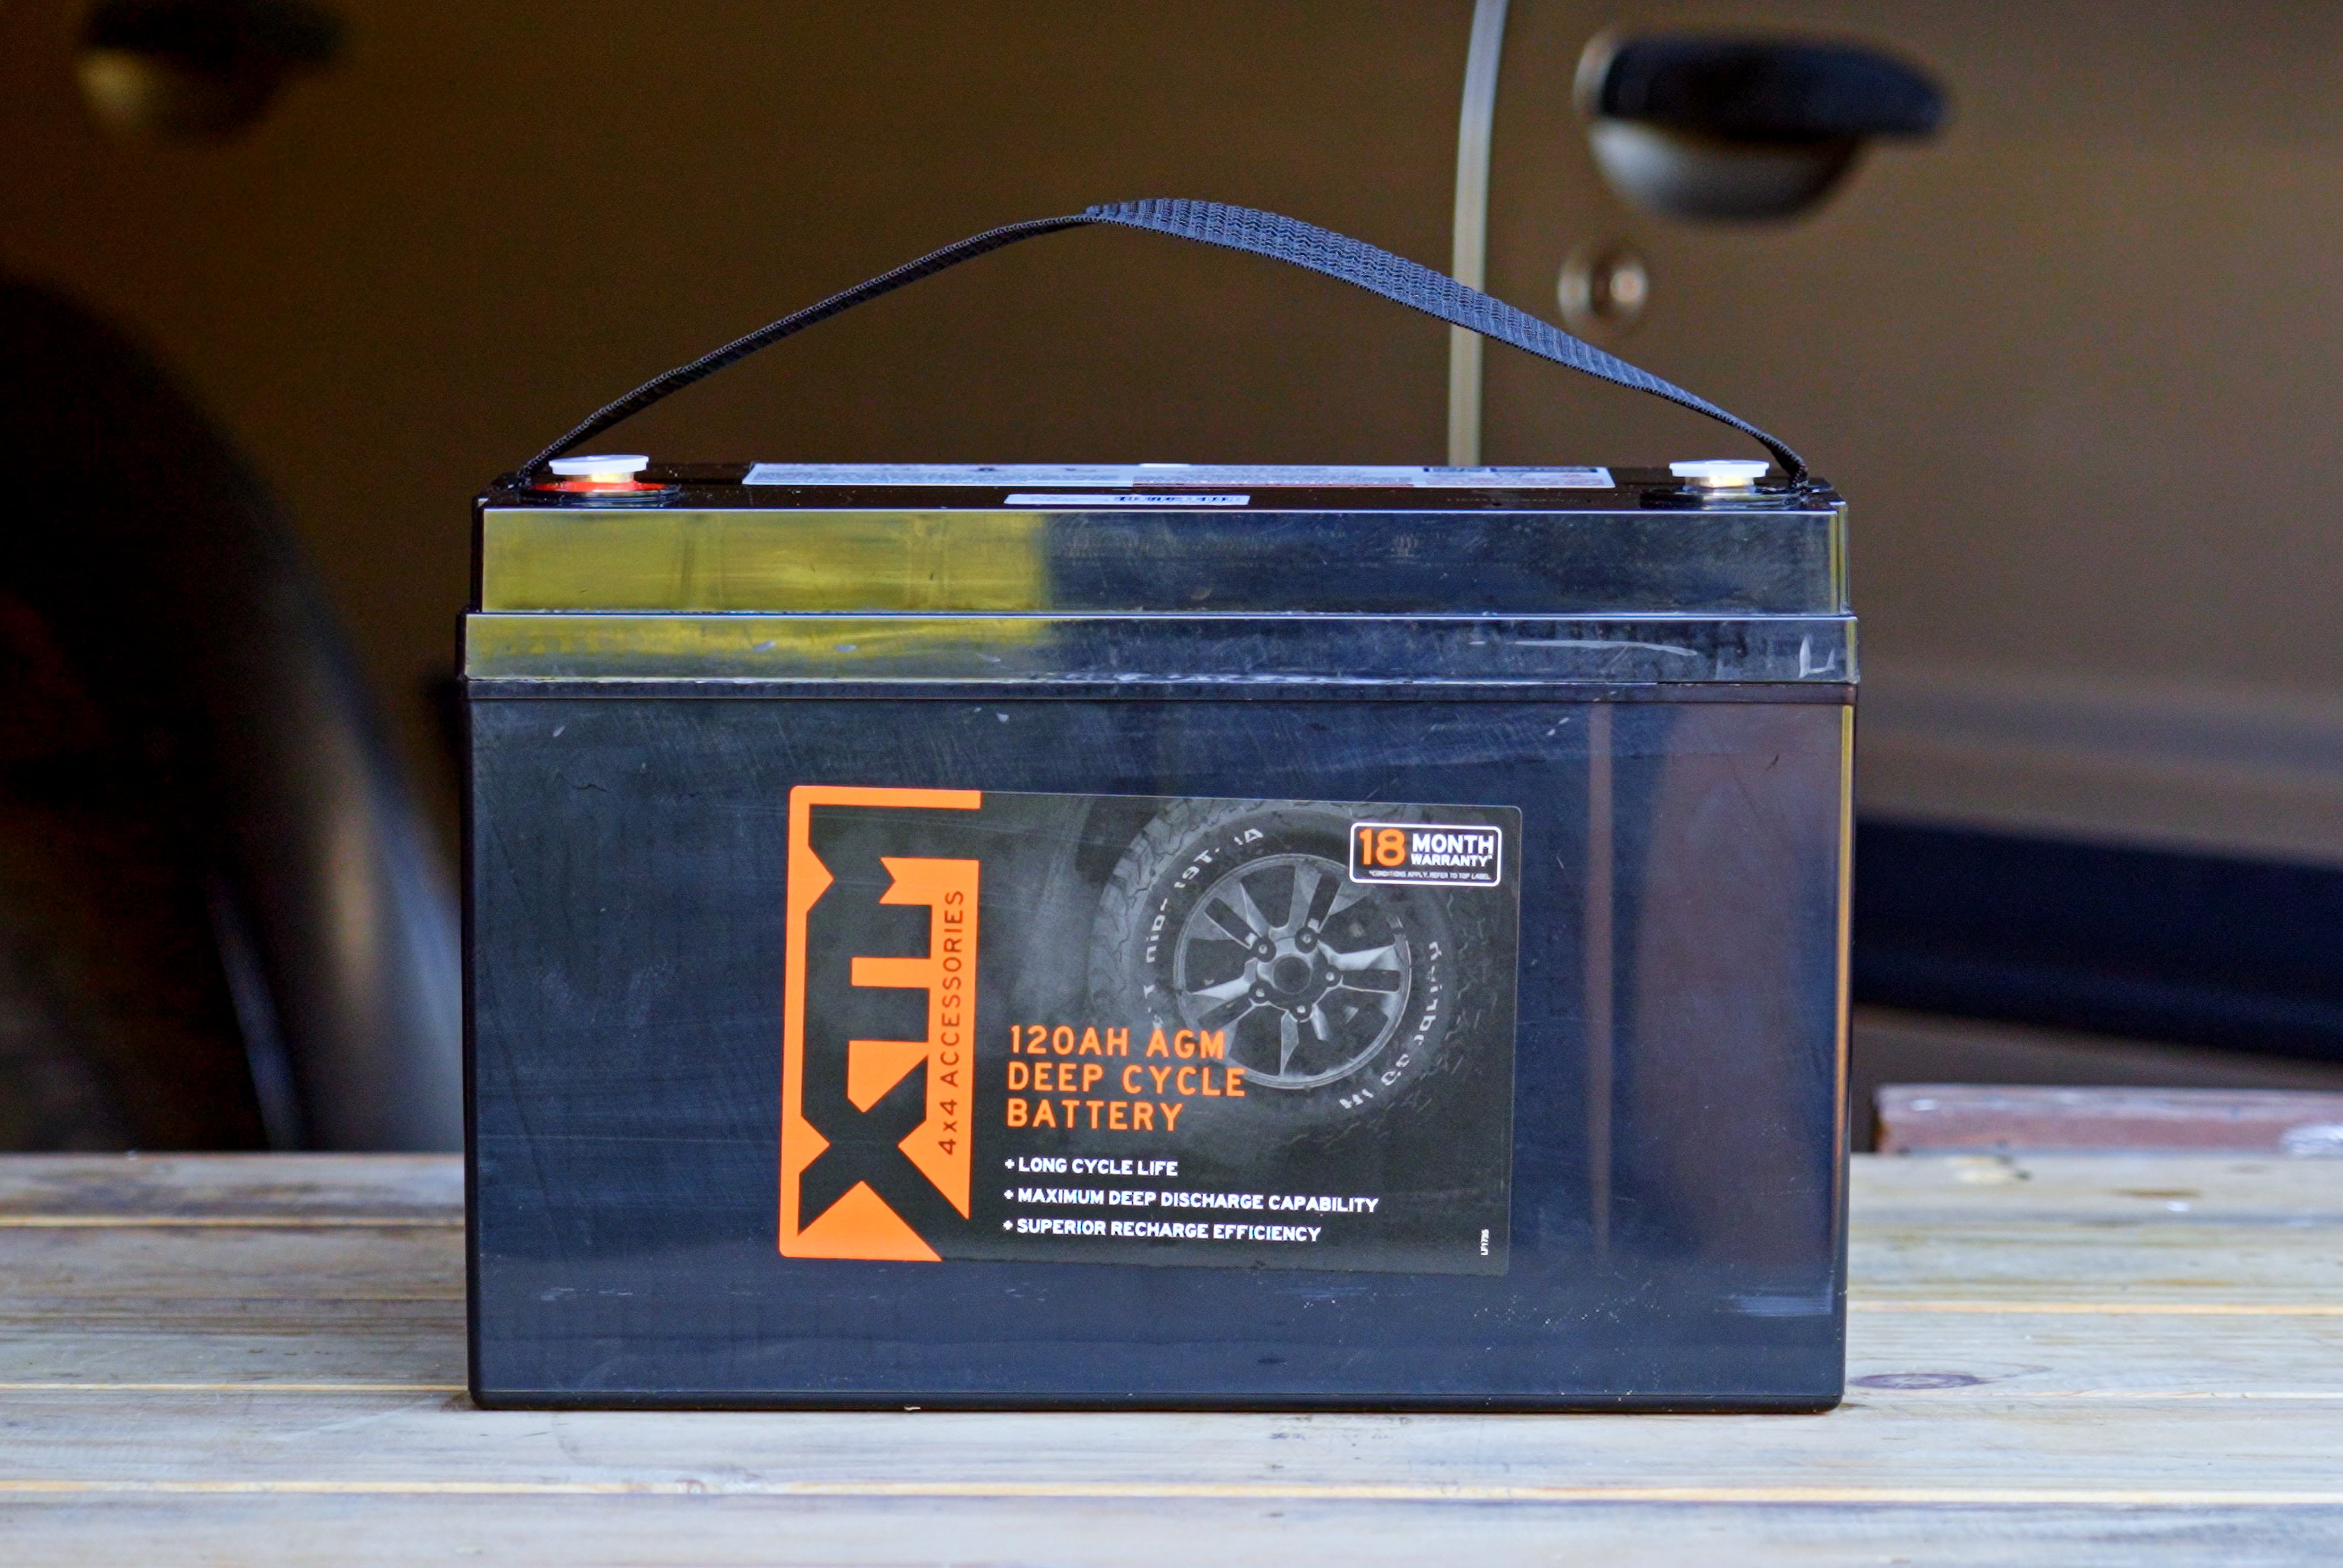
There are four main types of deep cycle battery suitable for a dual battery setup. Wet cell is of the same construction as your existing car battery, only designed a little differently to supply camping power for longer. These are suitable only for under bonnet installation.
Gel batteries are less commonly used today but are suitable for installation under the bonnet or in the cabin.
AGM batteries are similar to Gel batteries but must be installed away from the intense heat of the engine bay.
And lithium, the new battery technology is half the weight and double the power of ALL of these. They’re between three and four times more expensive, and you’ll need a lithium capable charger to use one.
In this case, we’ll be using AGM. Versatile, with a decent lifespan, safe to mount inside your vehicle; and reasonably priced.
How to choose the correct cable for a dual battery system
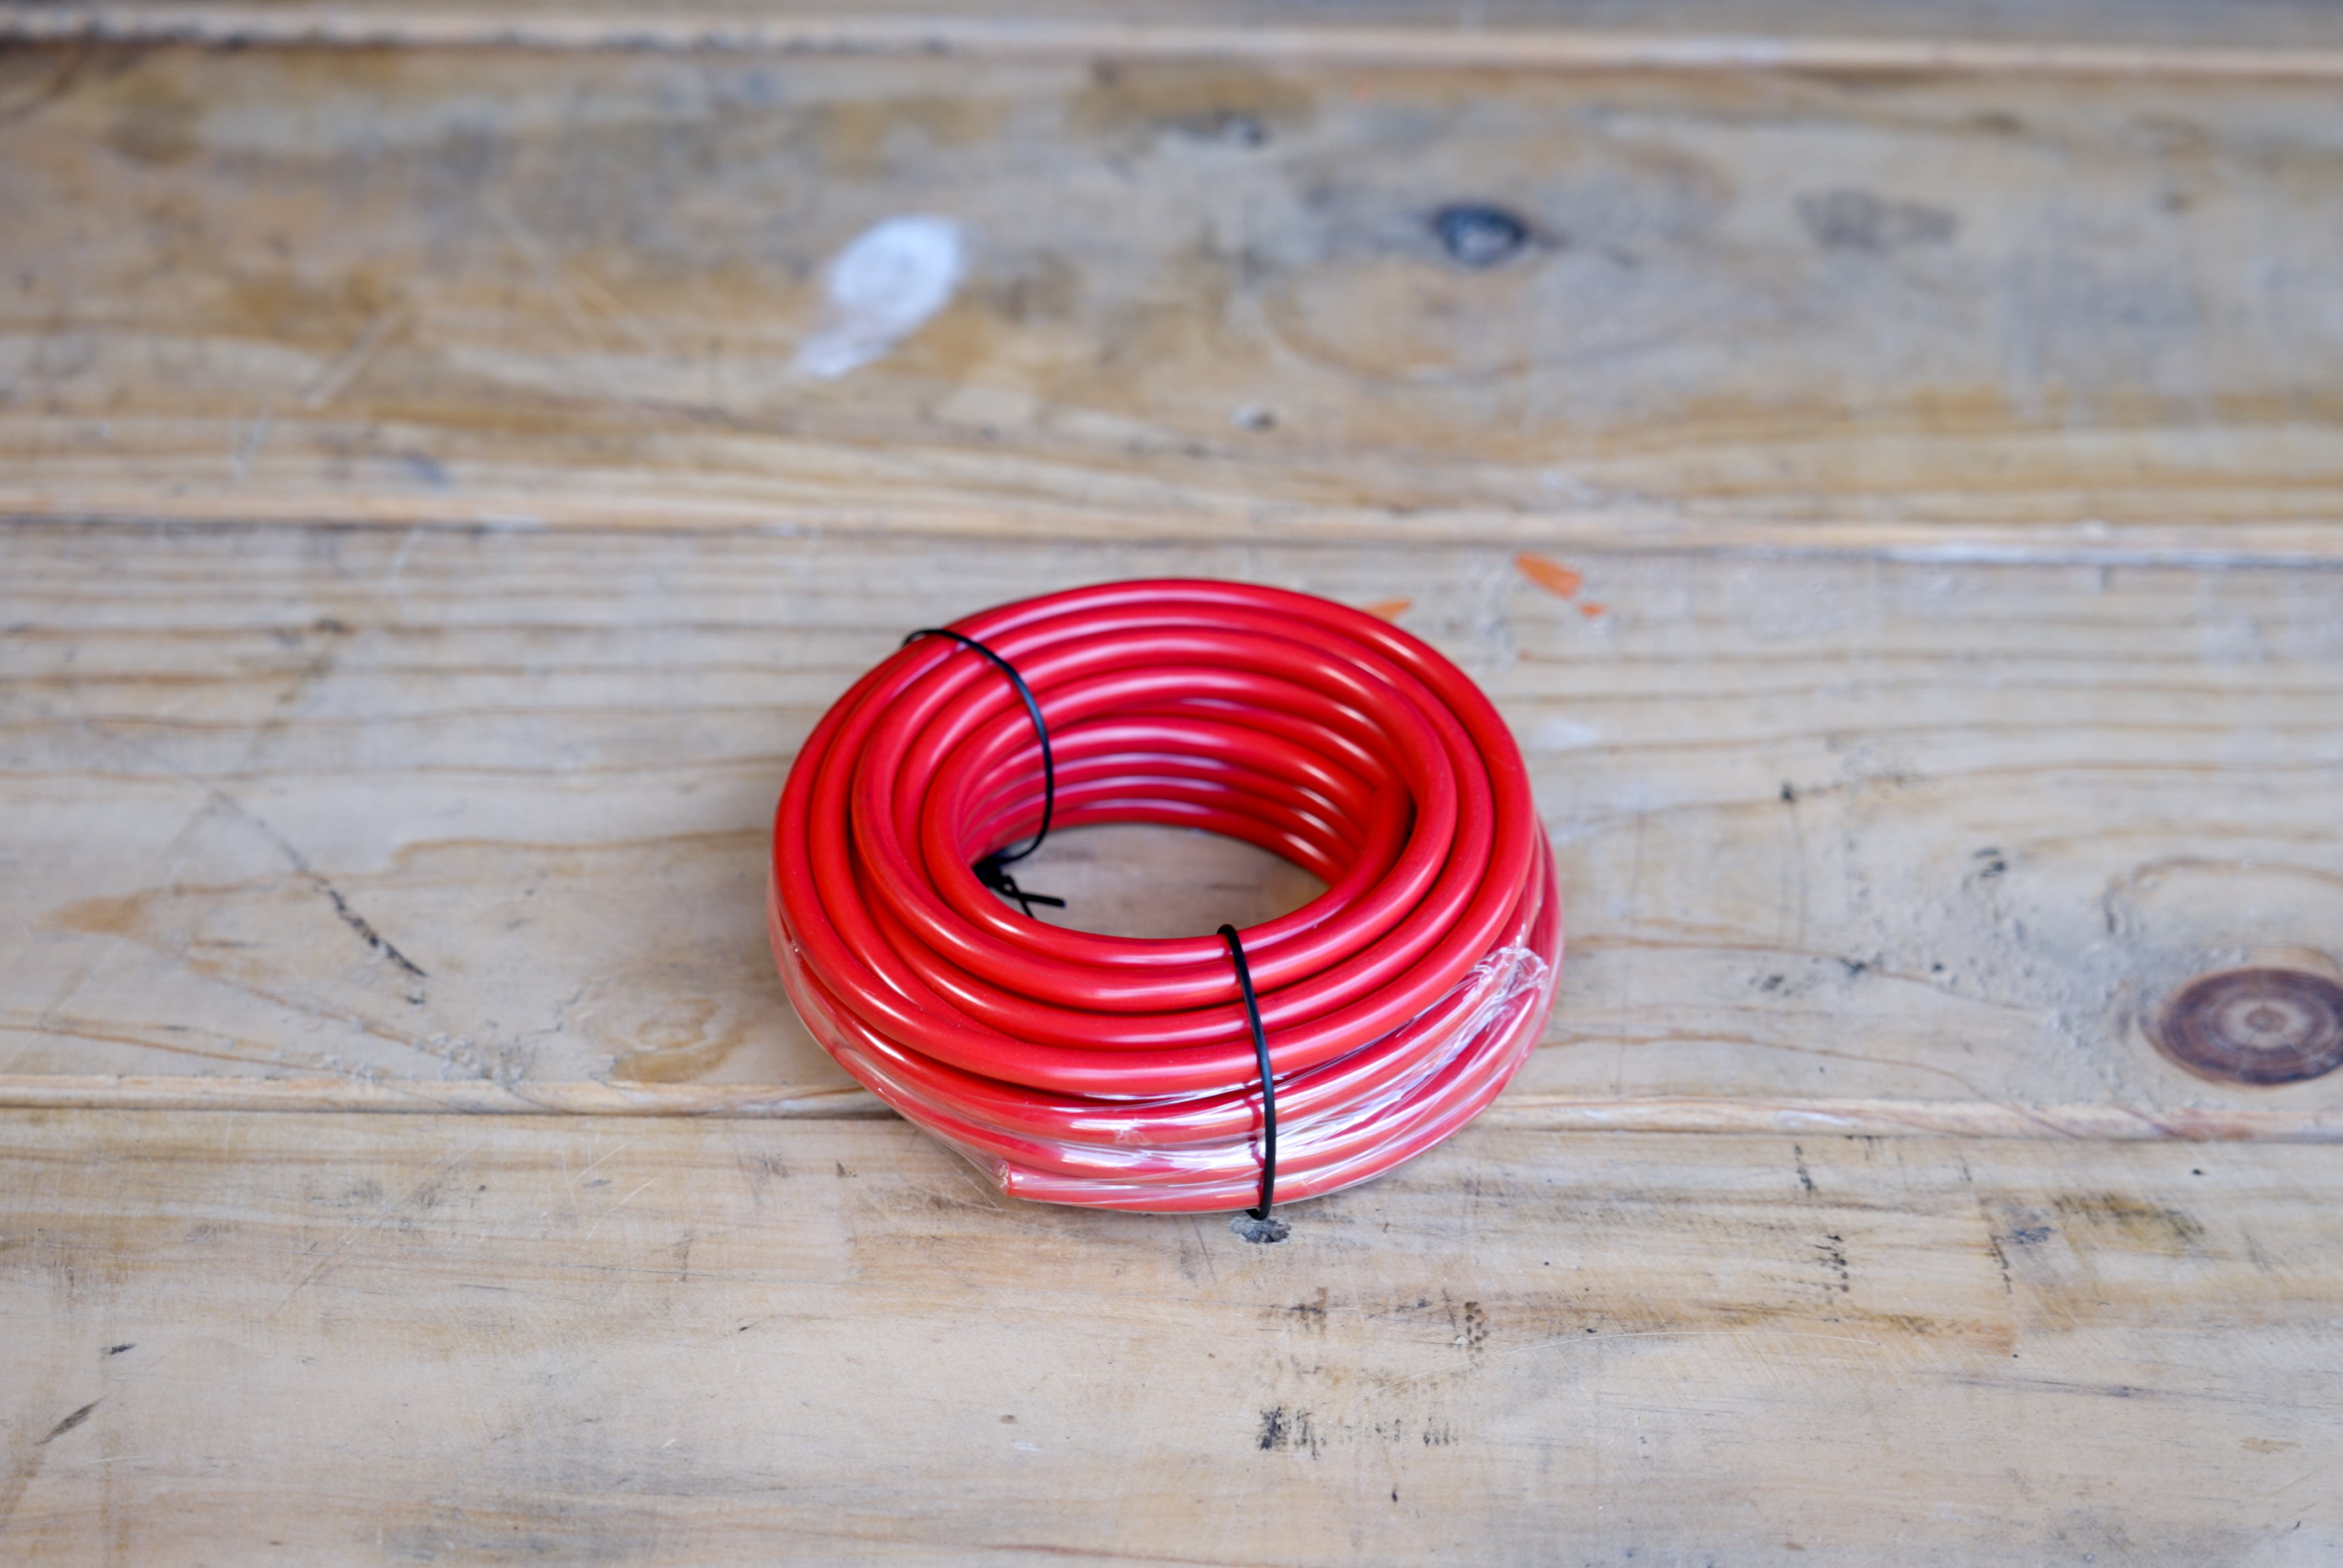
A DC battery charger draws a lot of power while the vehicle is running to top up your dual battery. A phenomenon known as ‘voltage drop’ means that the further you get from the main vehicle battery, the more power you lose. This will result in a severely underperforming charger, or one that doesn’t even work.
The way to combat this is with the correct thickness cable.
The thickness required depends on the amps of your DC charger, and the length of cable required. The instructions supplied with your charger will help you determine the cable diameter required. In our case, it’s a 5-metre length of 8 millimetre diameter wire.
Mounting a second battery
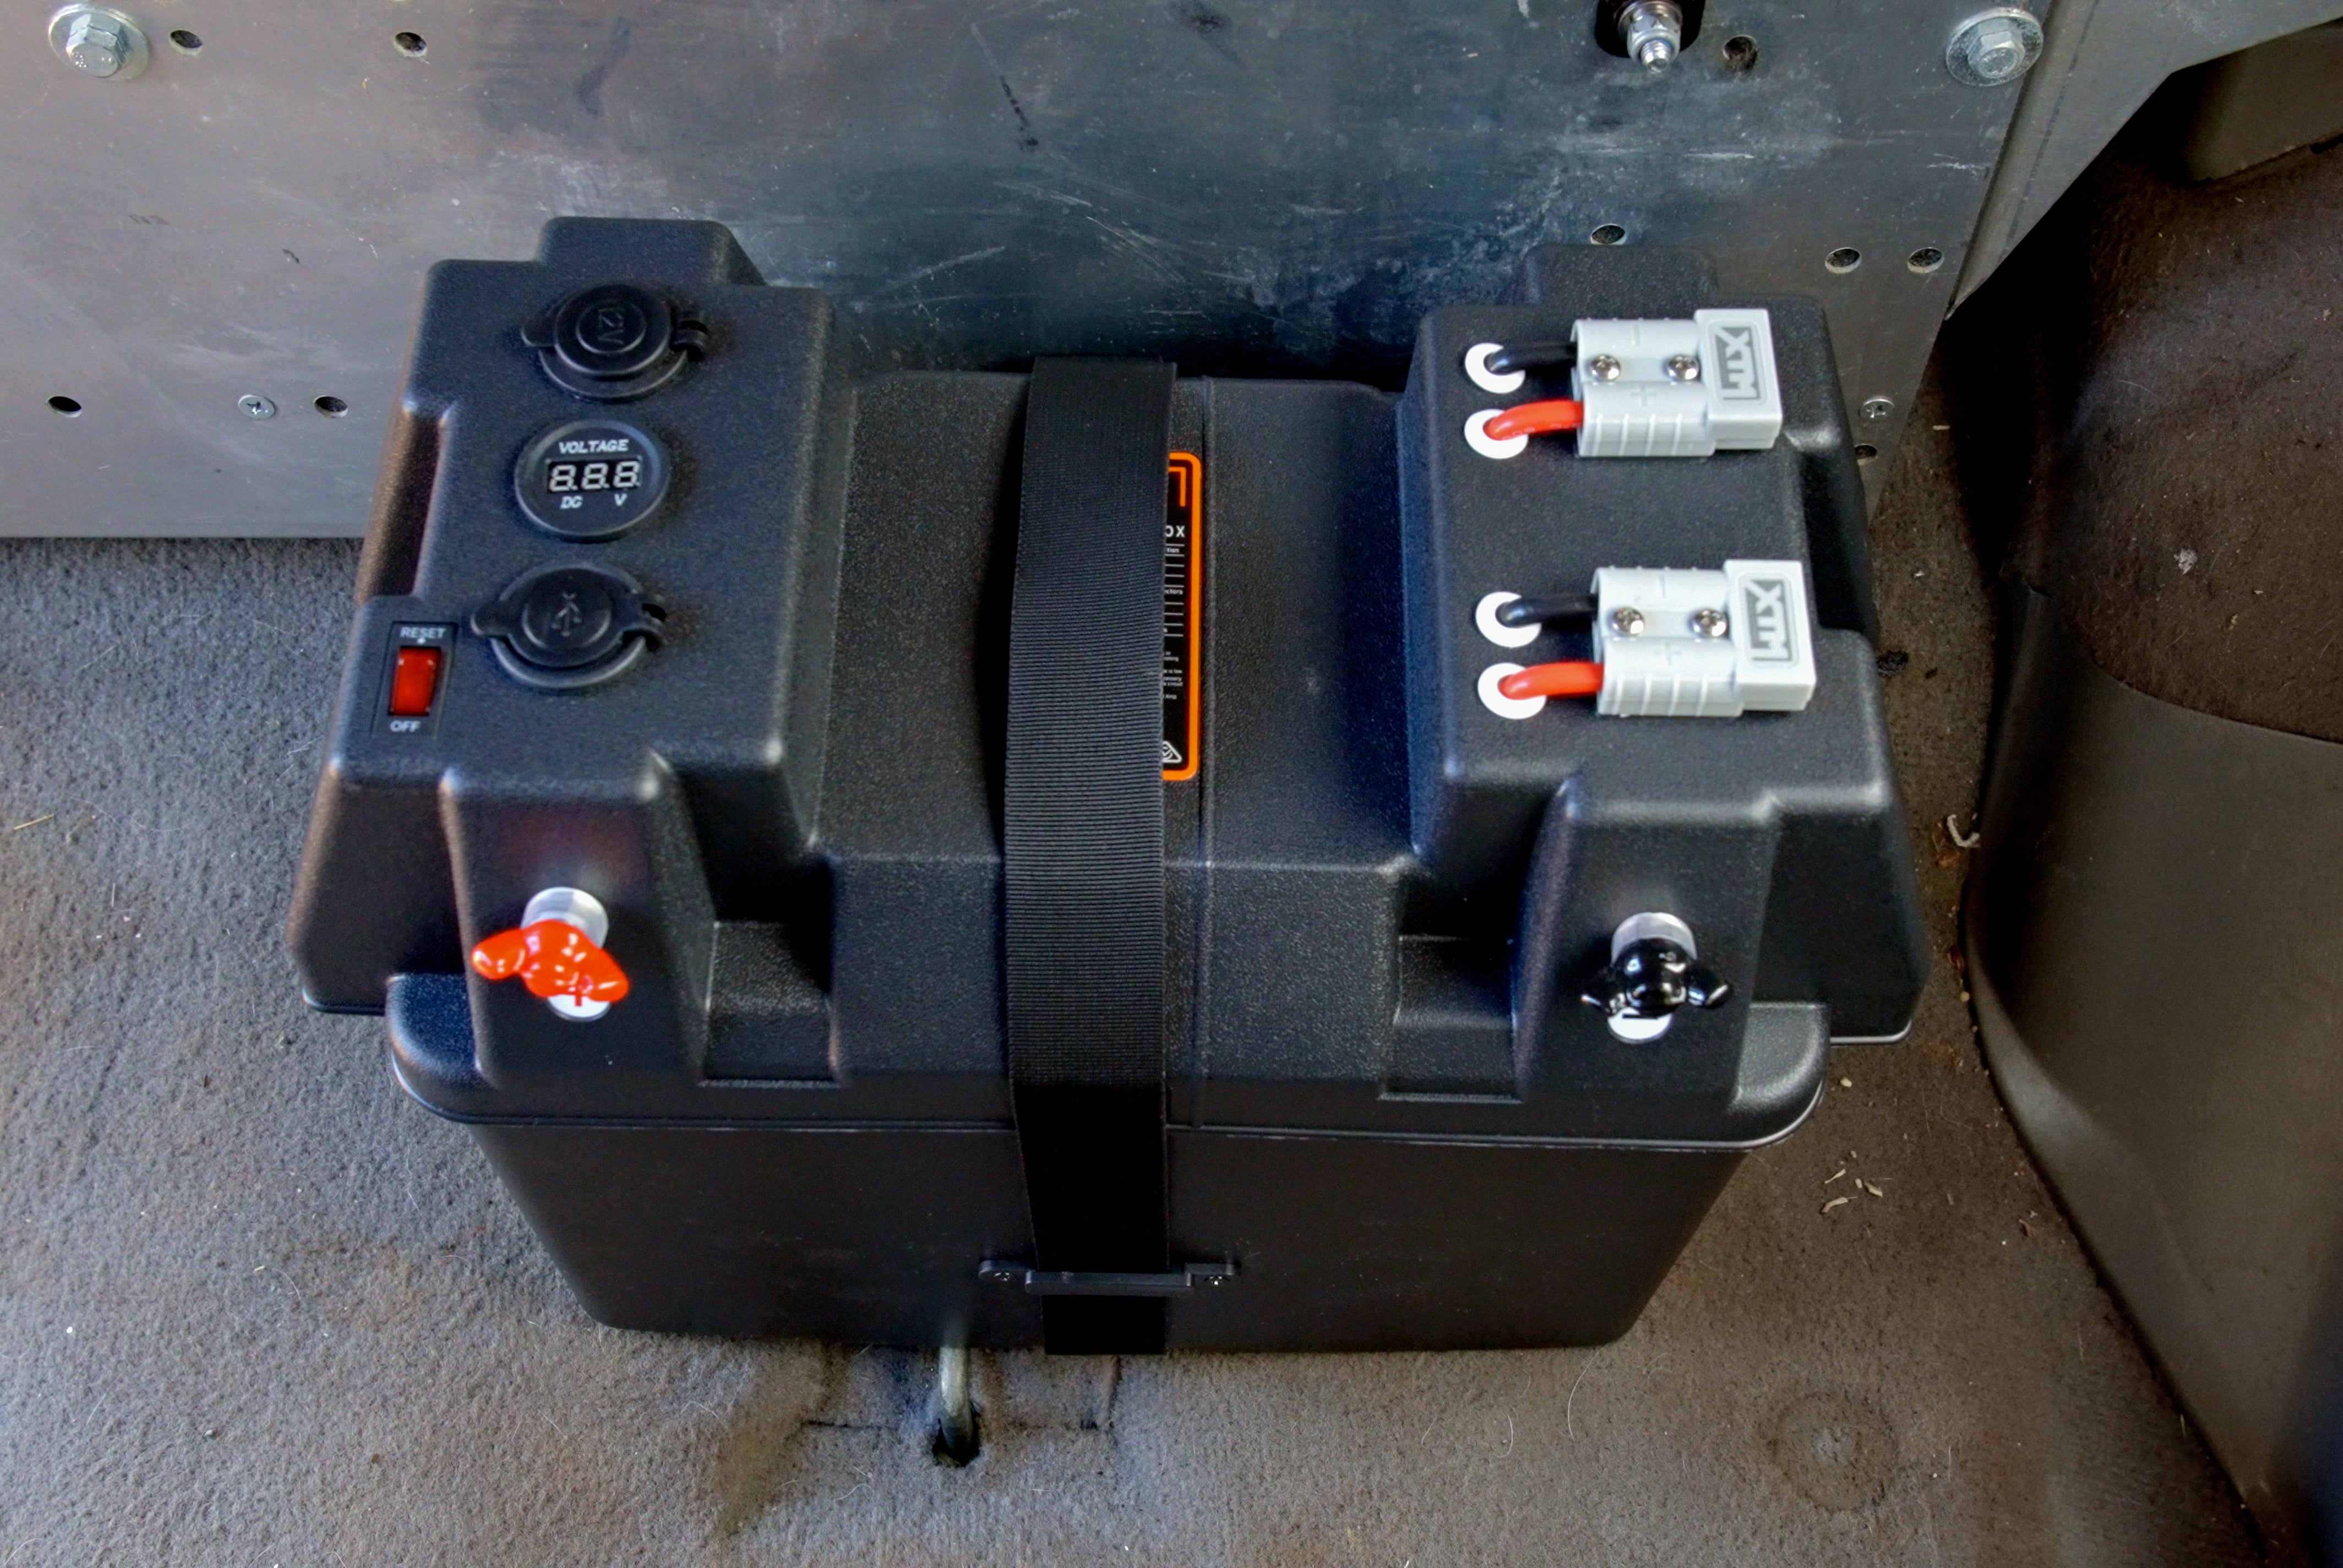
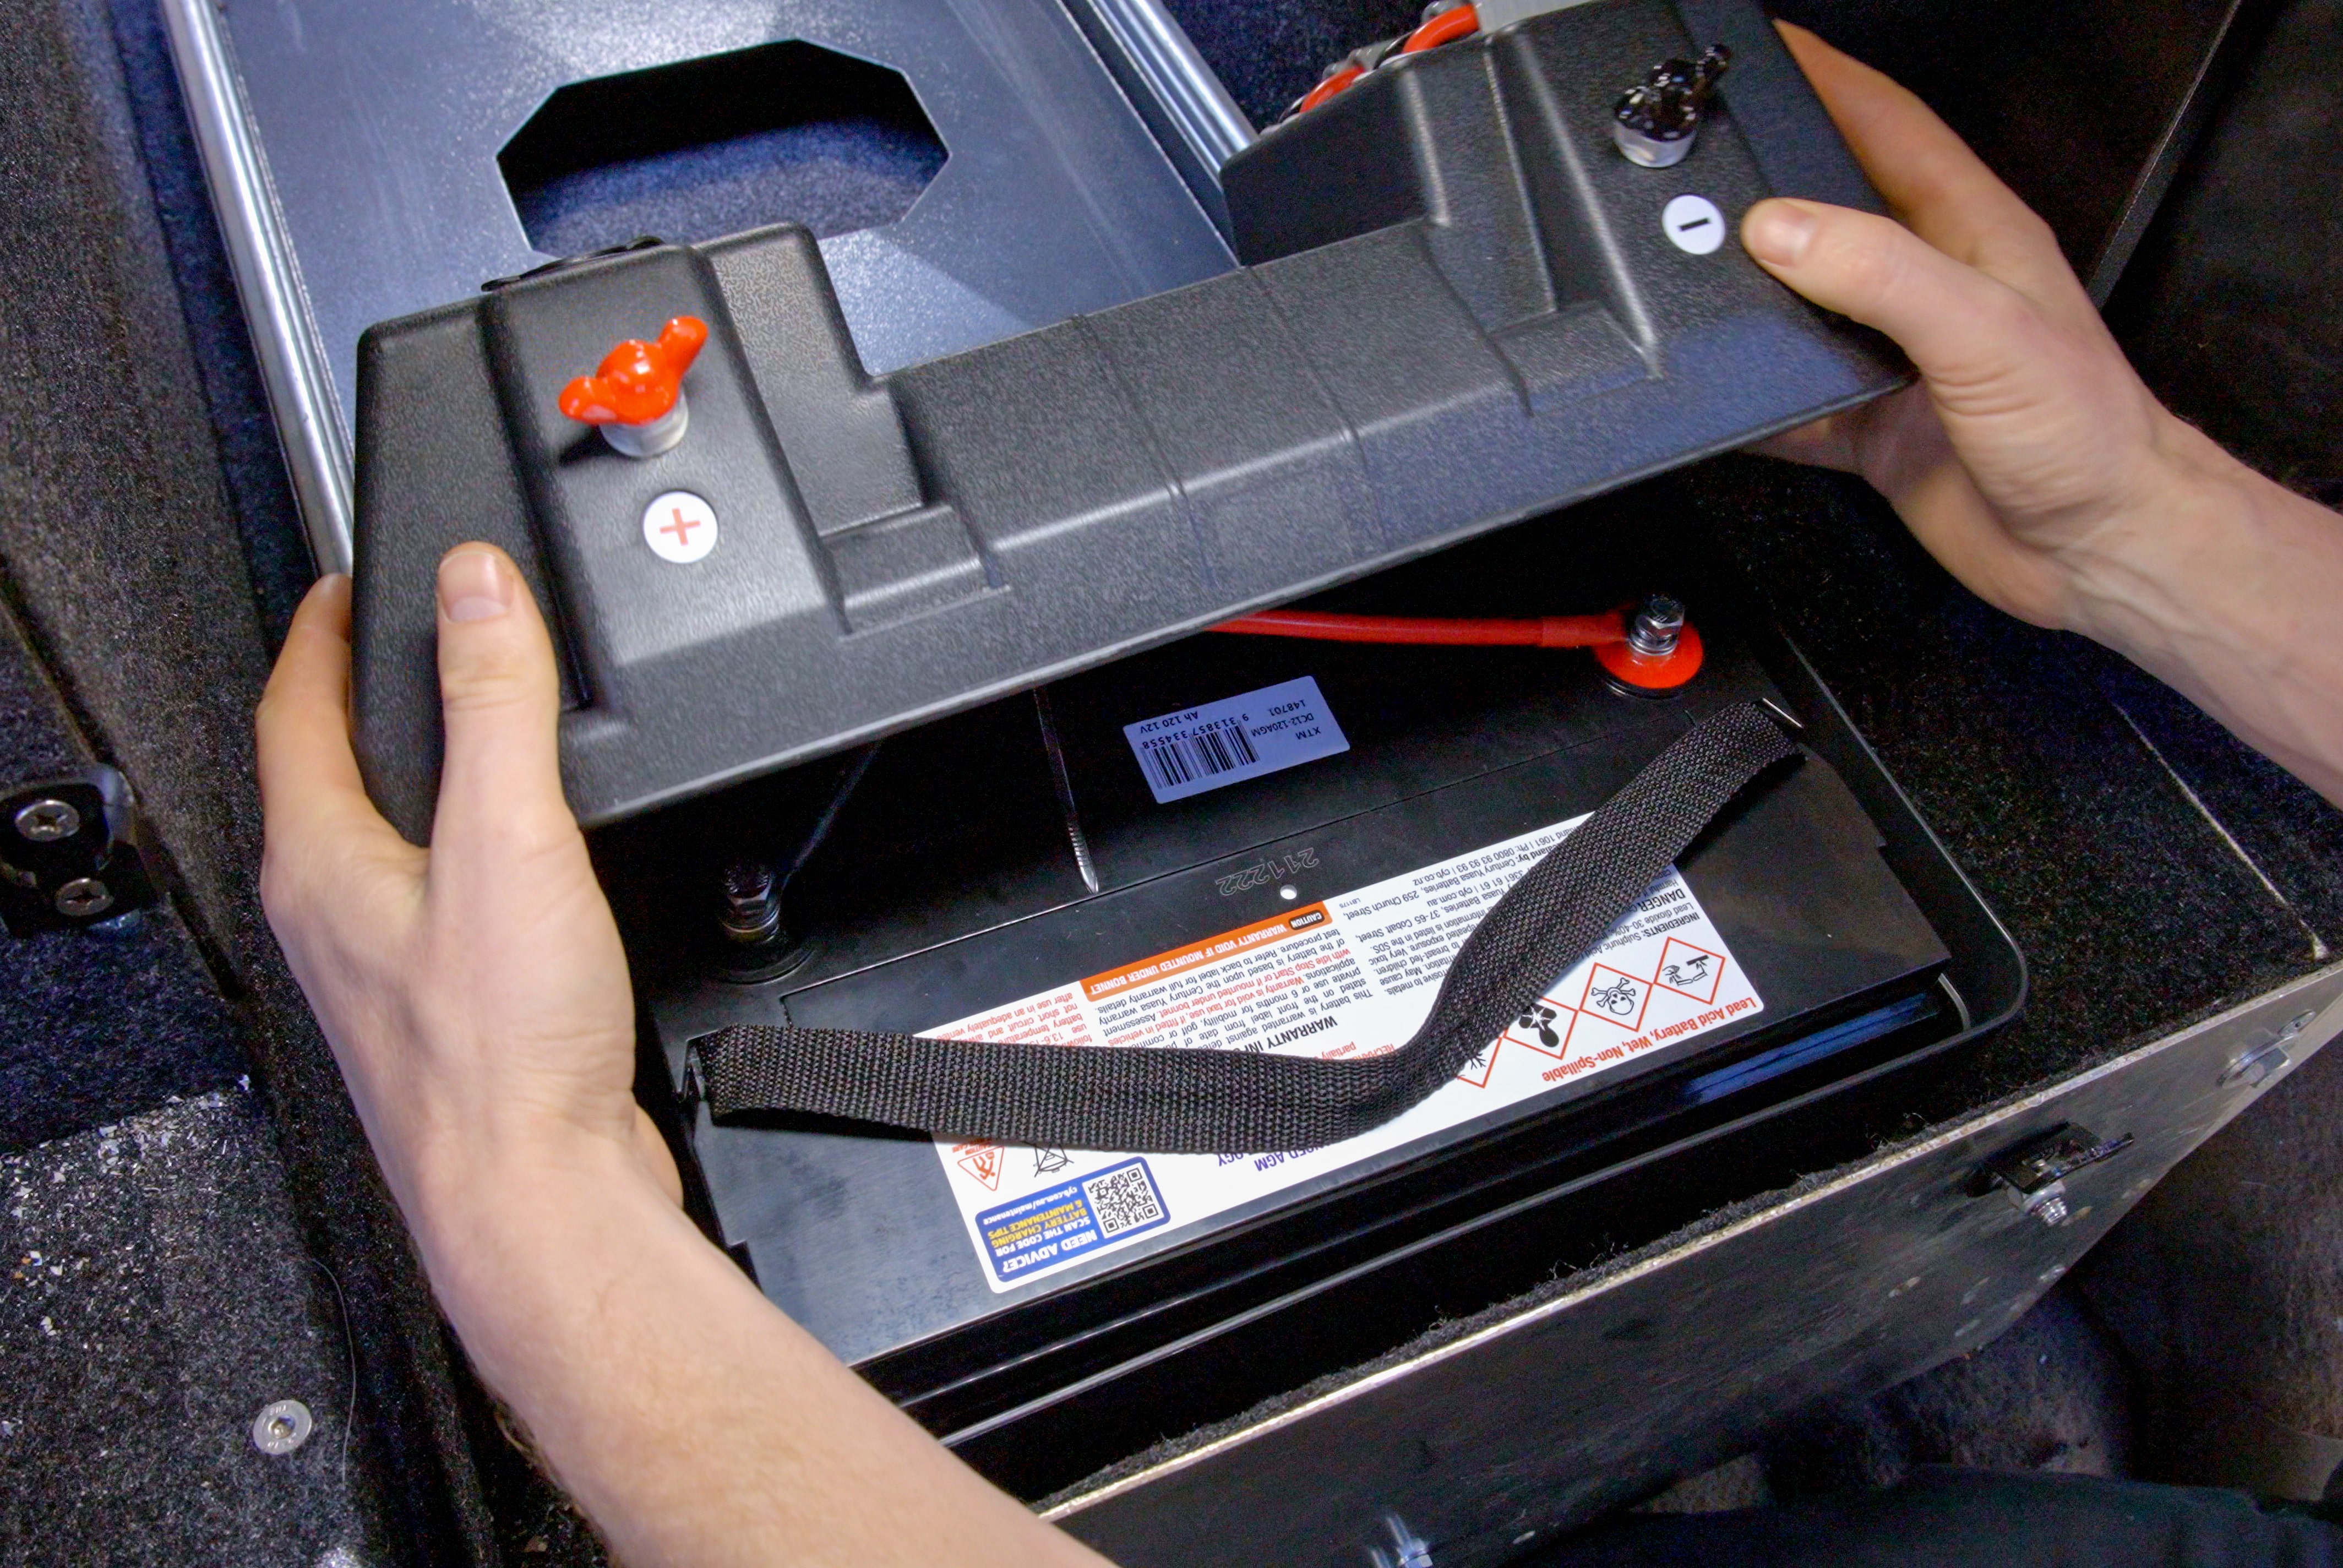
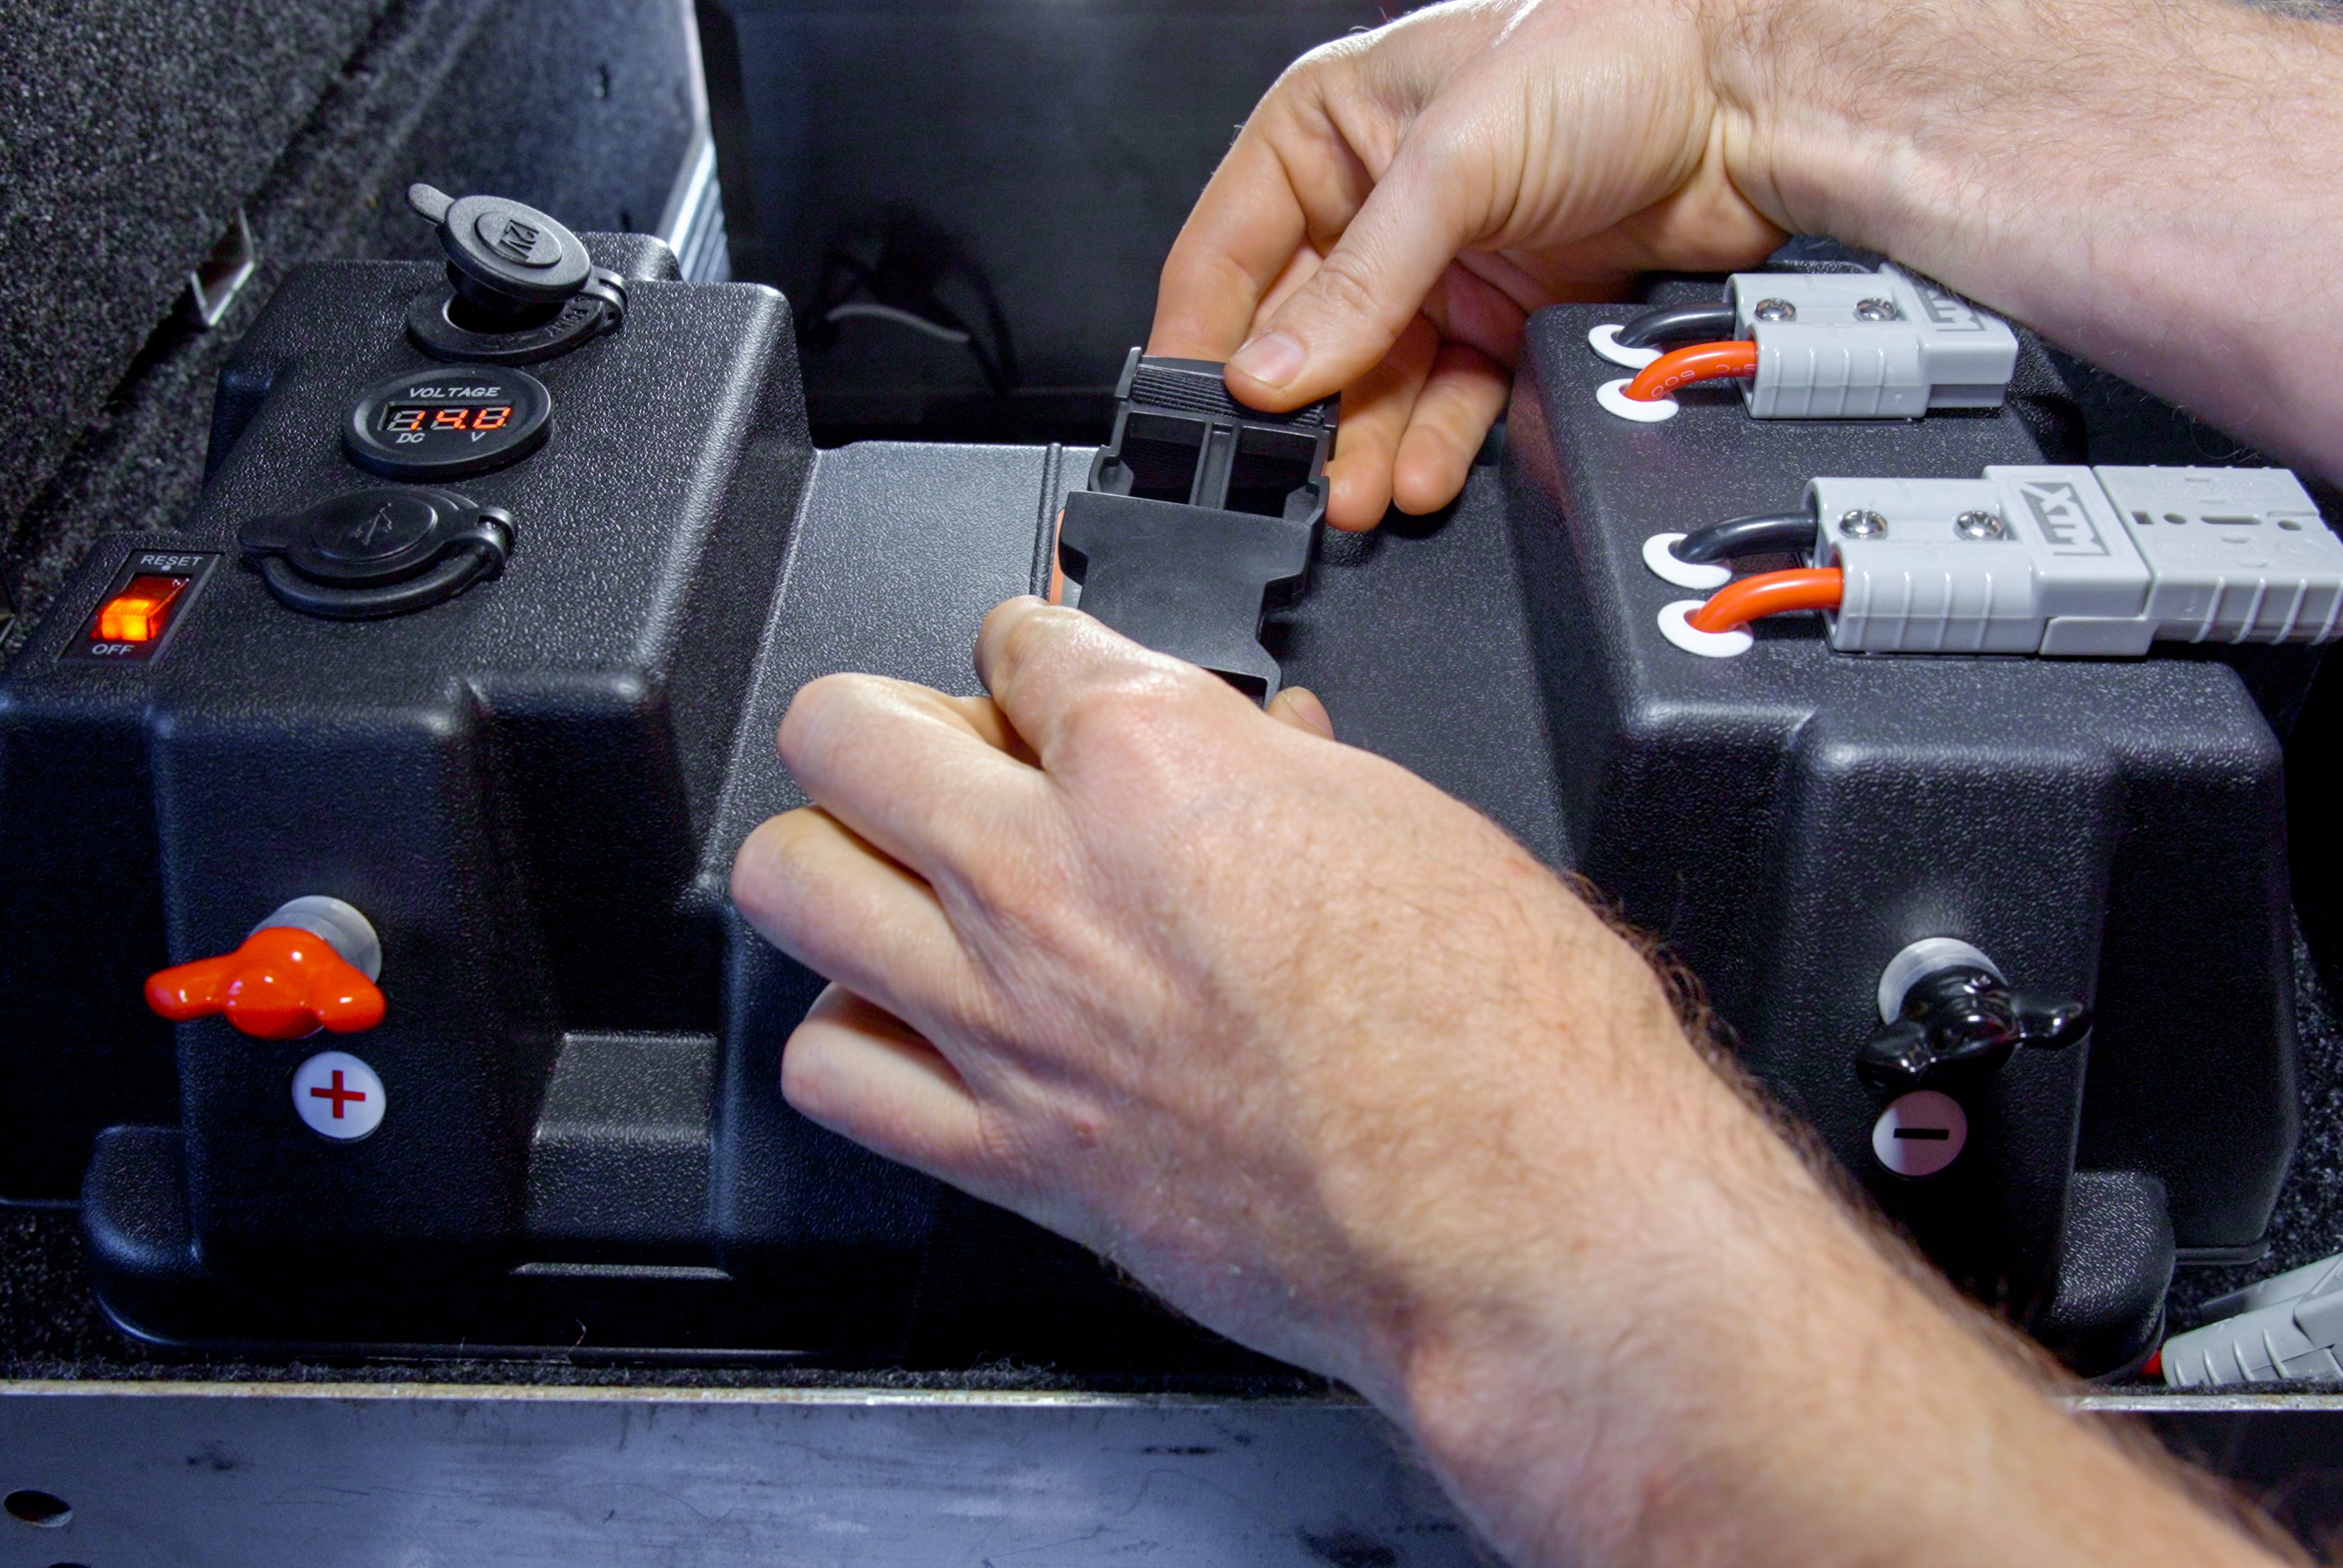
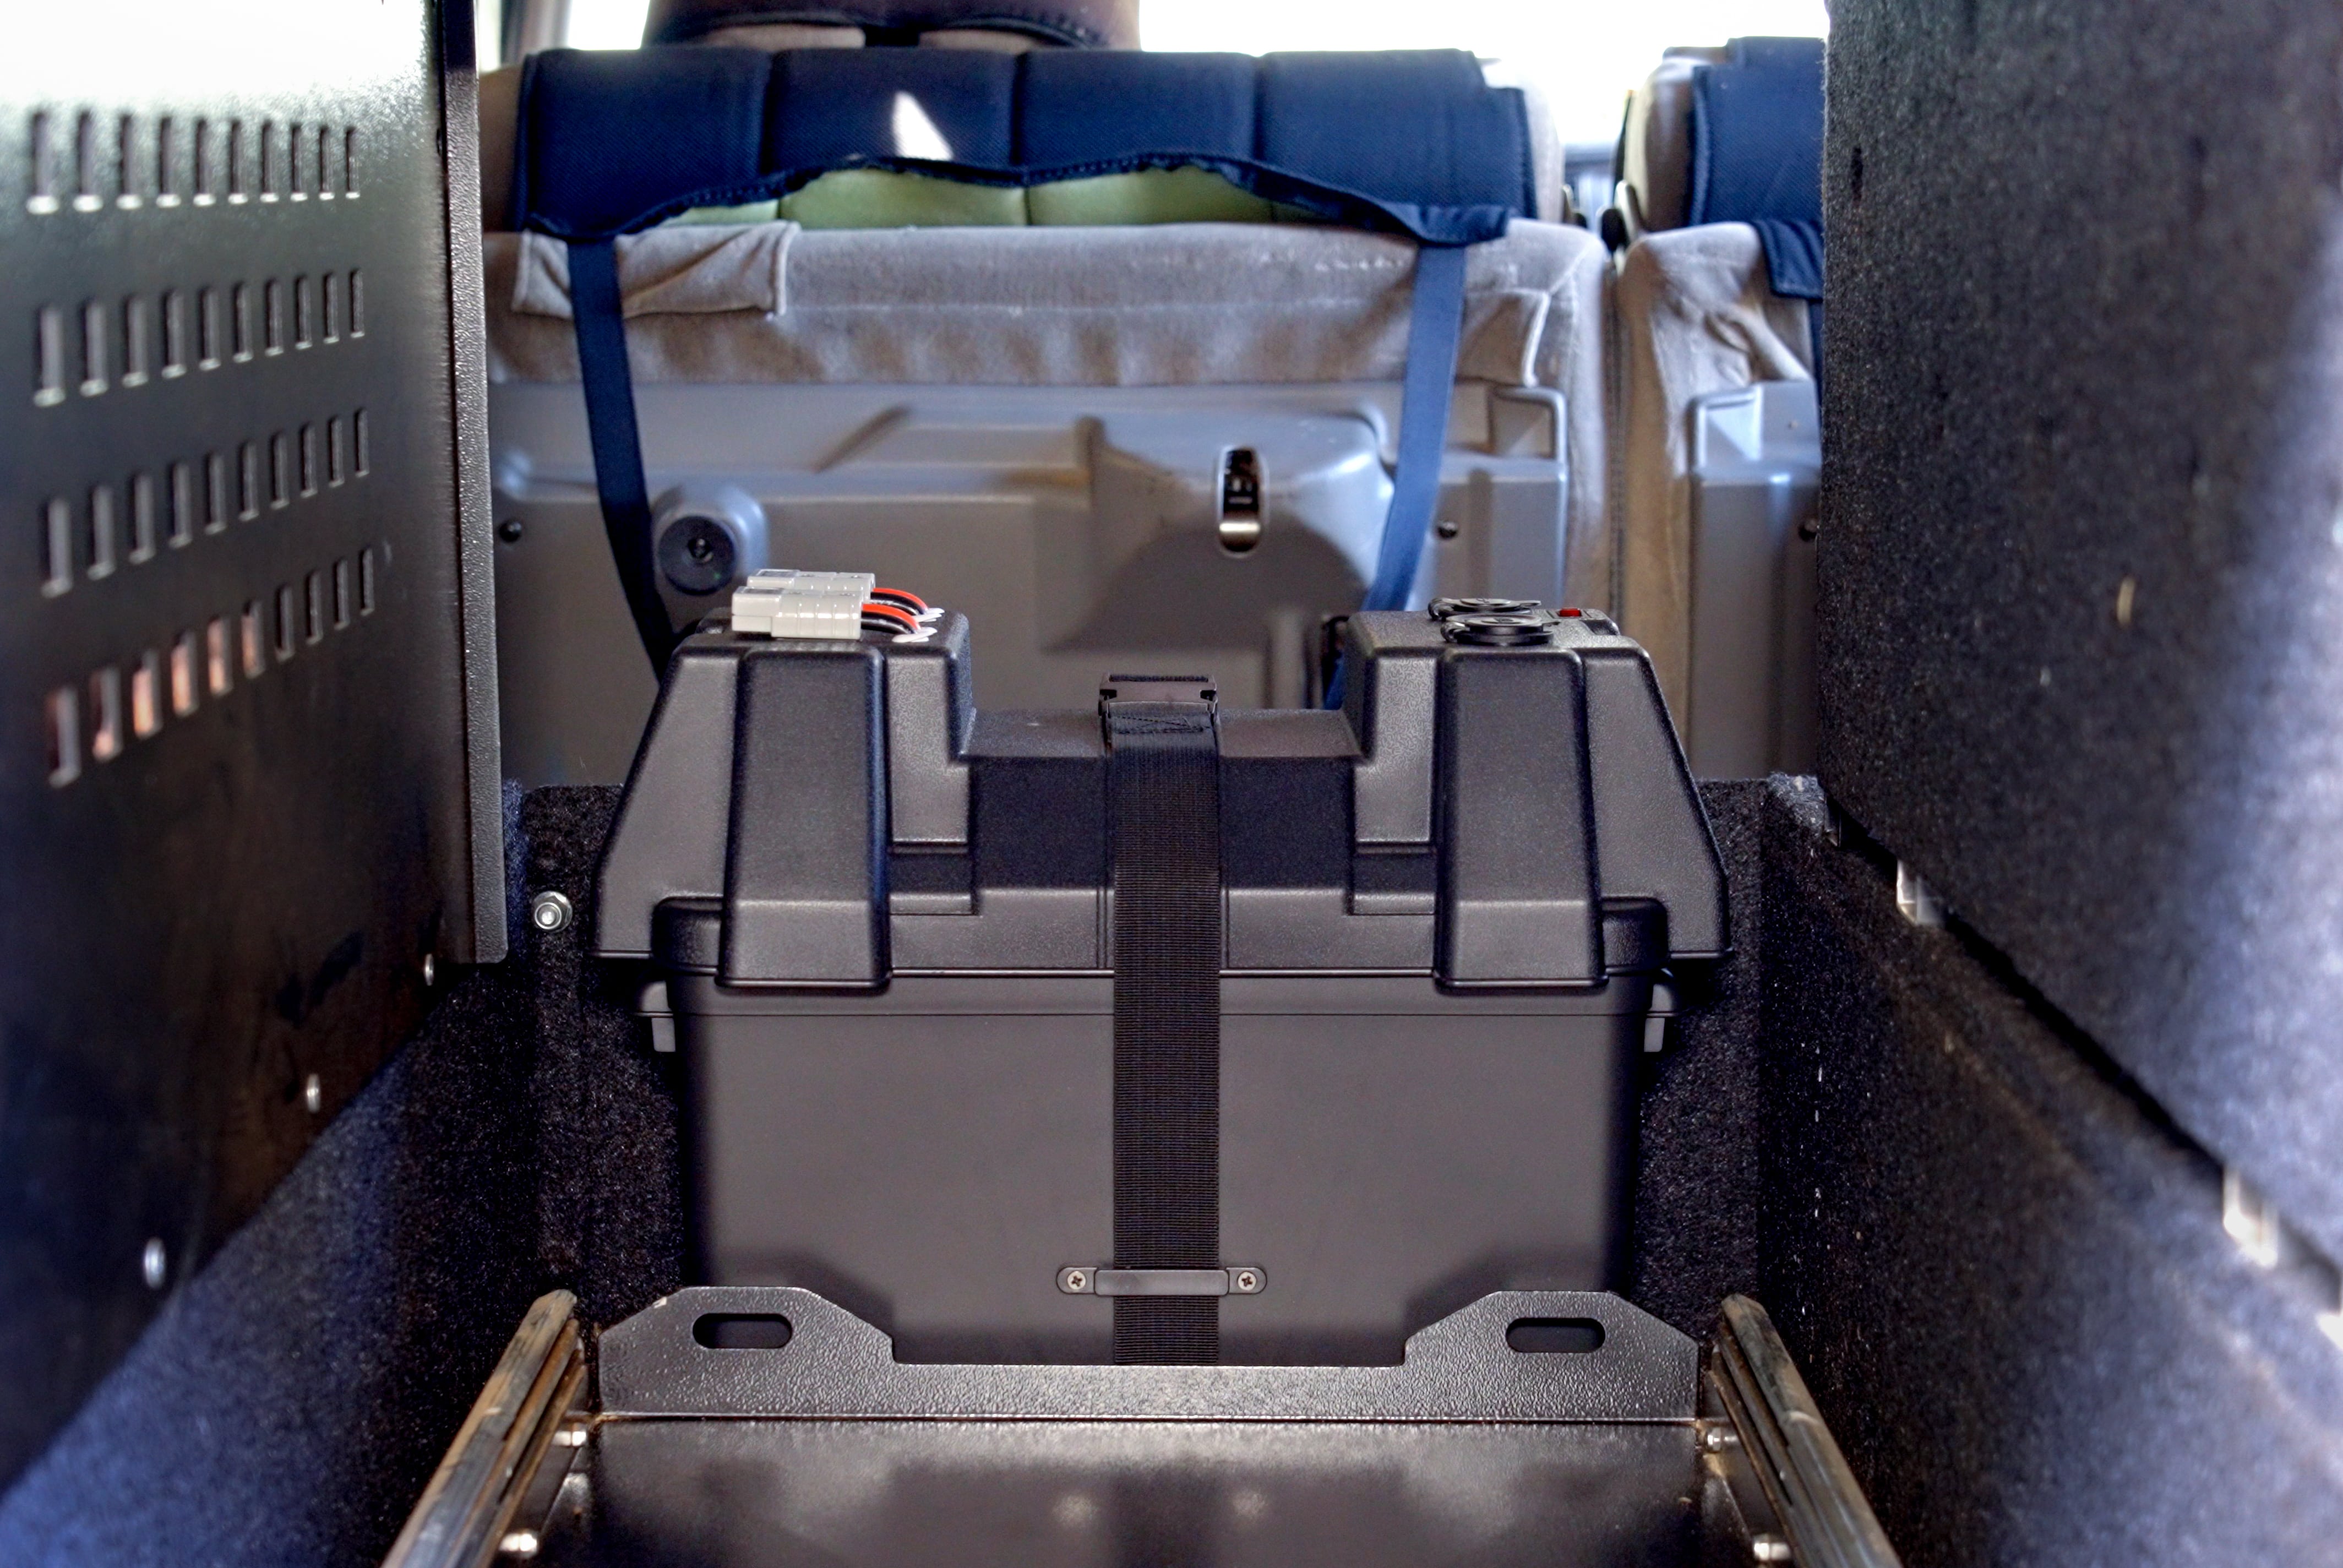
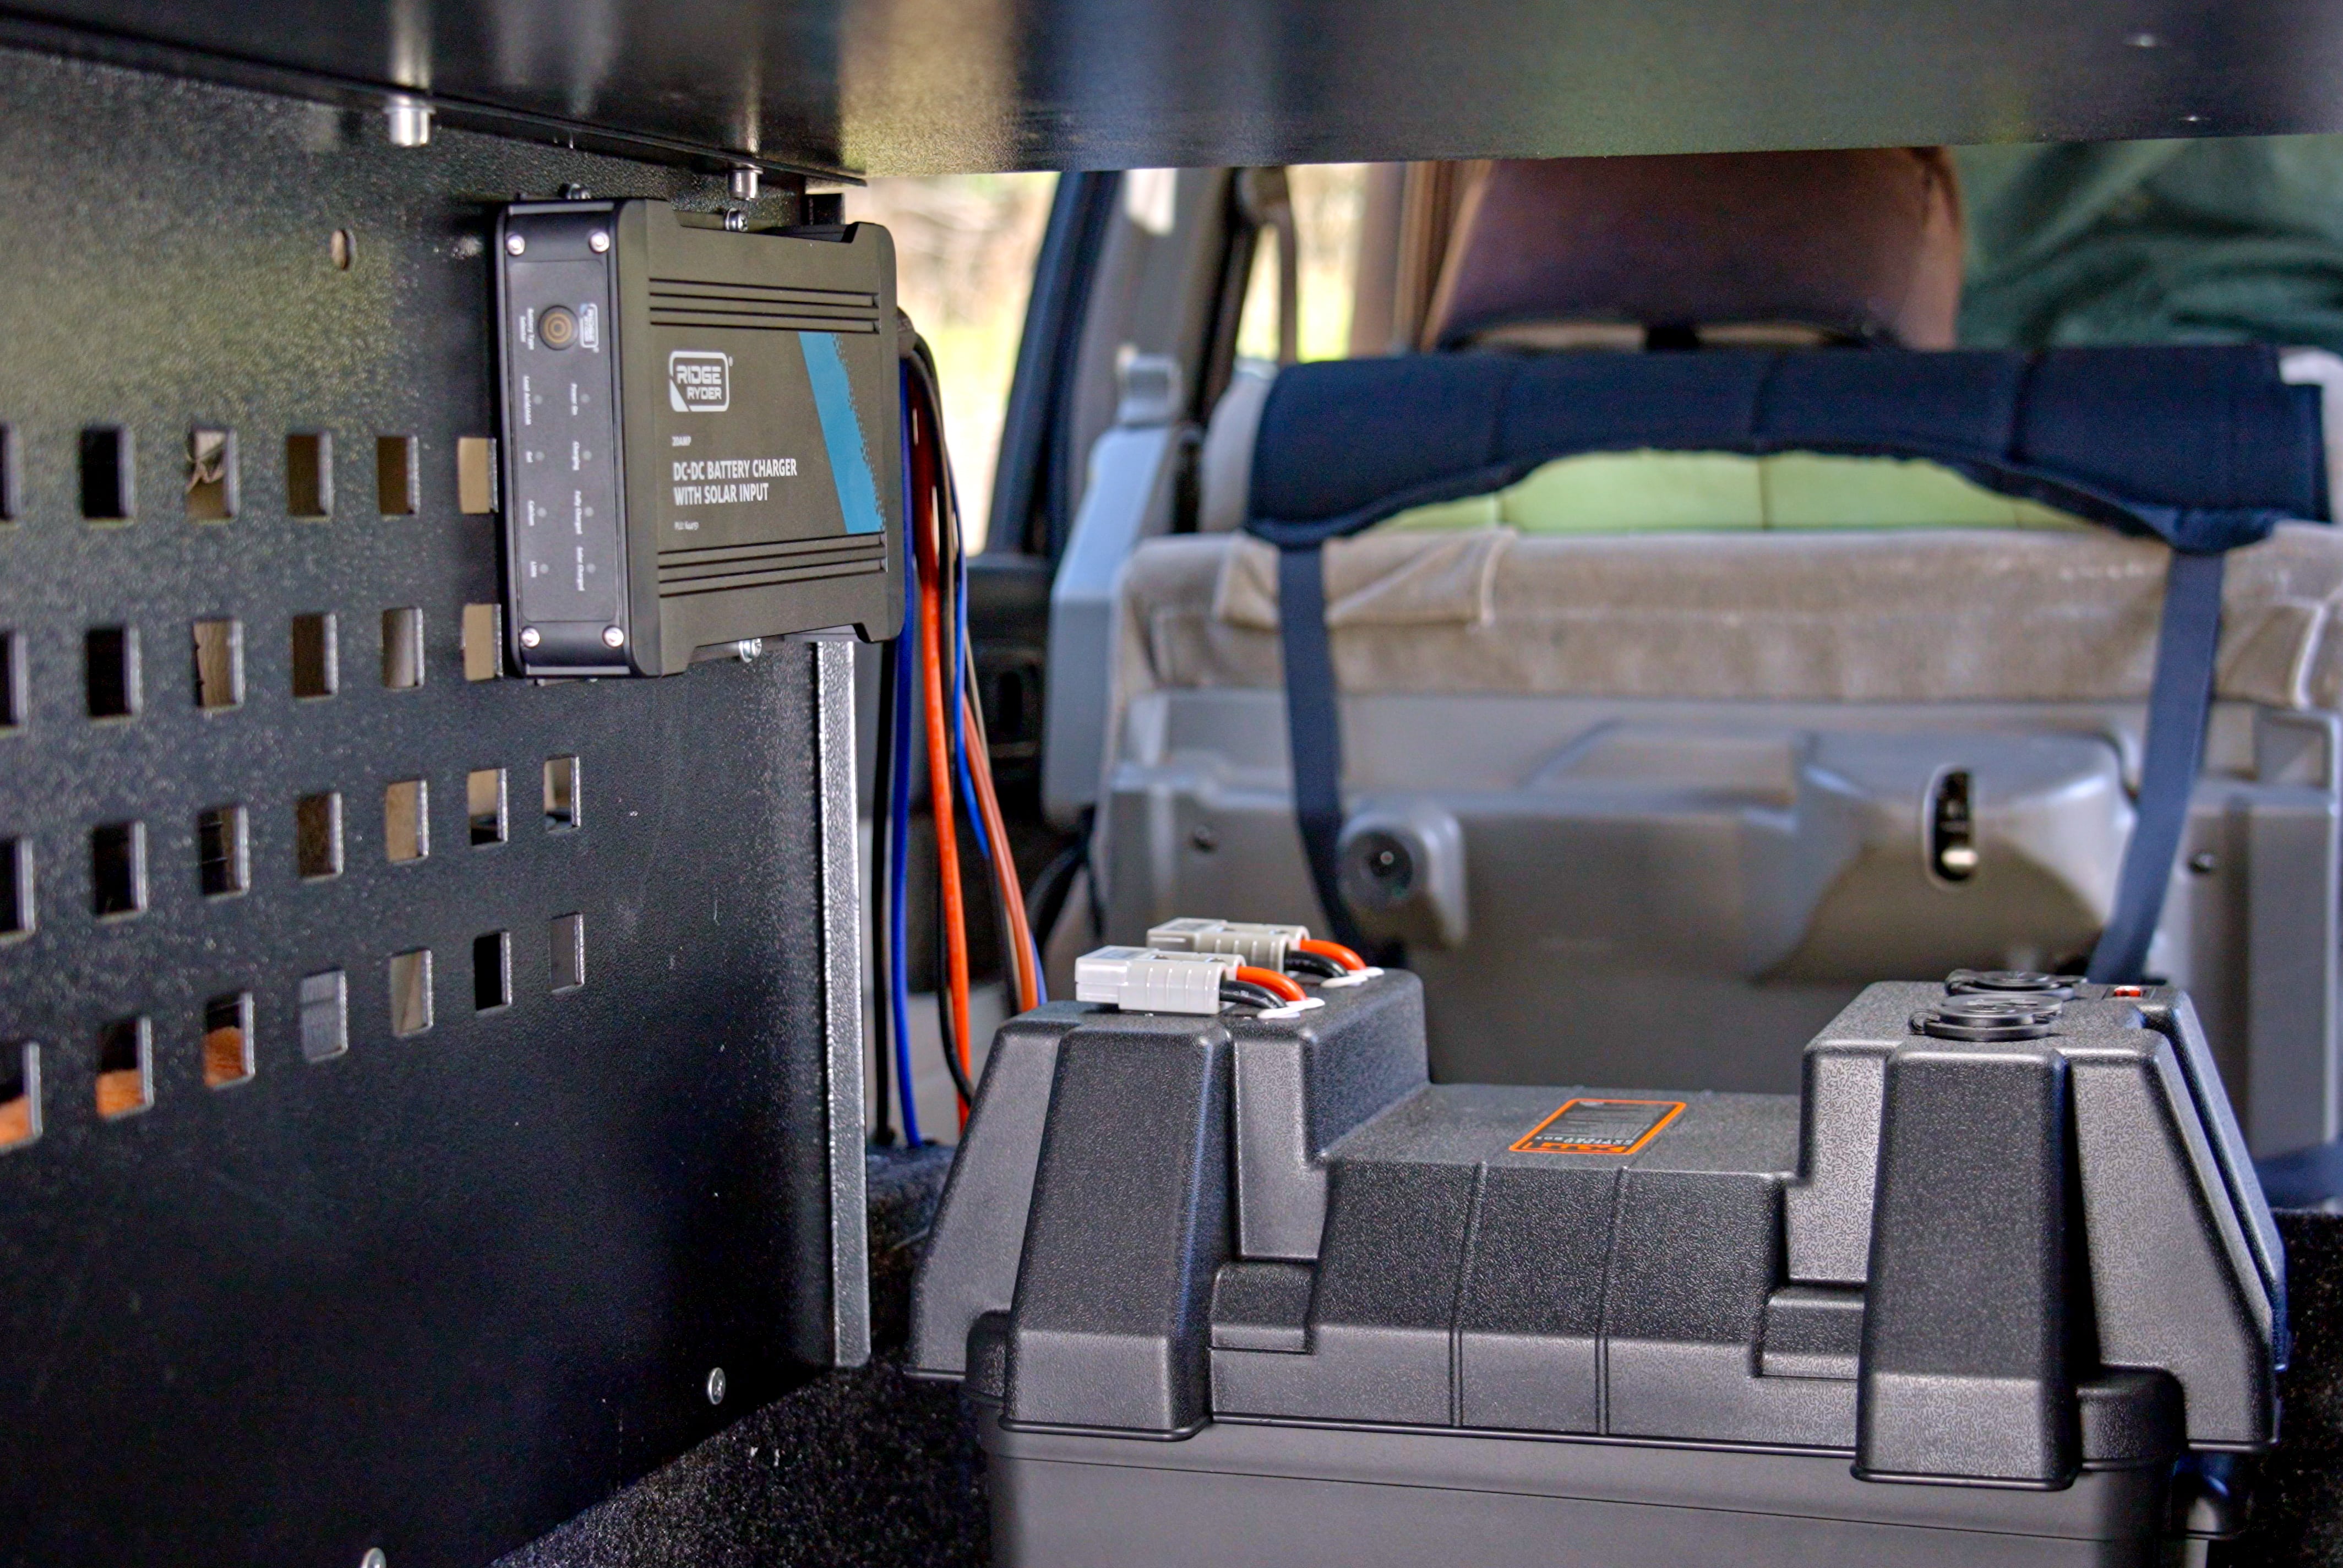
We choose to use a battery box to provide protection against bumps, scraps, and items shorting out on the terminals. You’ll also get handy power outlets ready to supply camping power straight out of the box. Still, you want your second battery to be out of the way and protected, with enough space to secure it firmly.
Once you’ve found a SUPER spot, place your battery box, mark up and drill some holes, then fix those tie down points nice and firmly.
Pop your battery in the box, connect the terminals inside the lid; then close the lid and strap your battery down.
Where to mount a DC charger
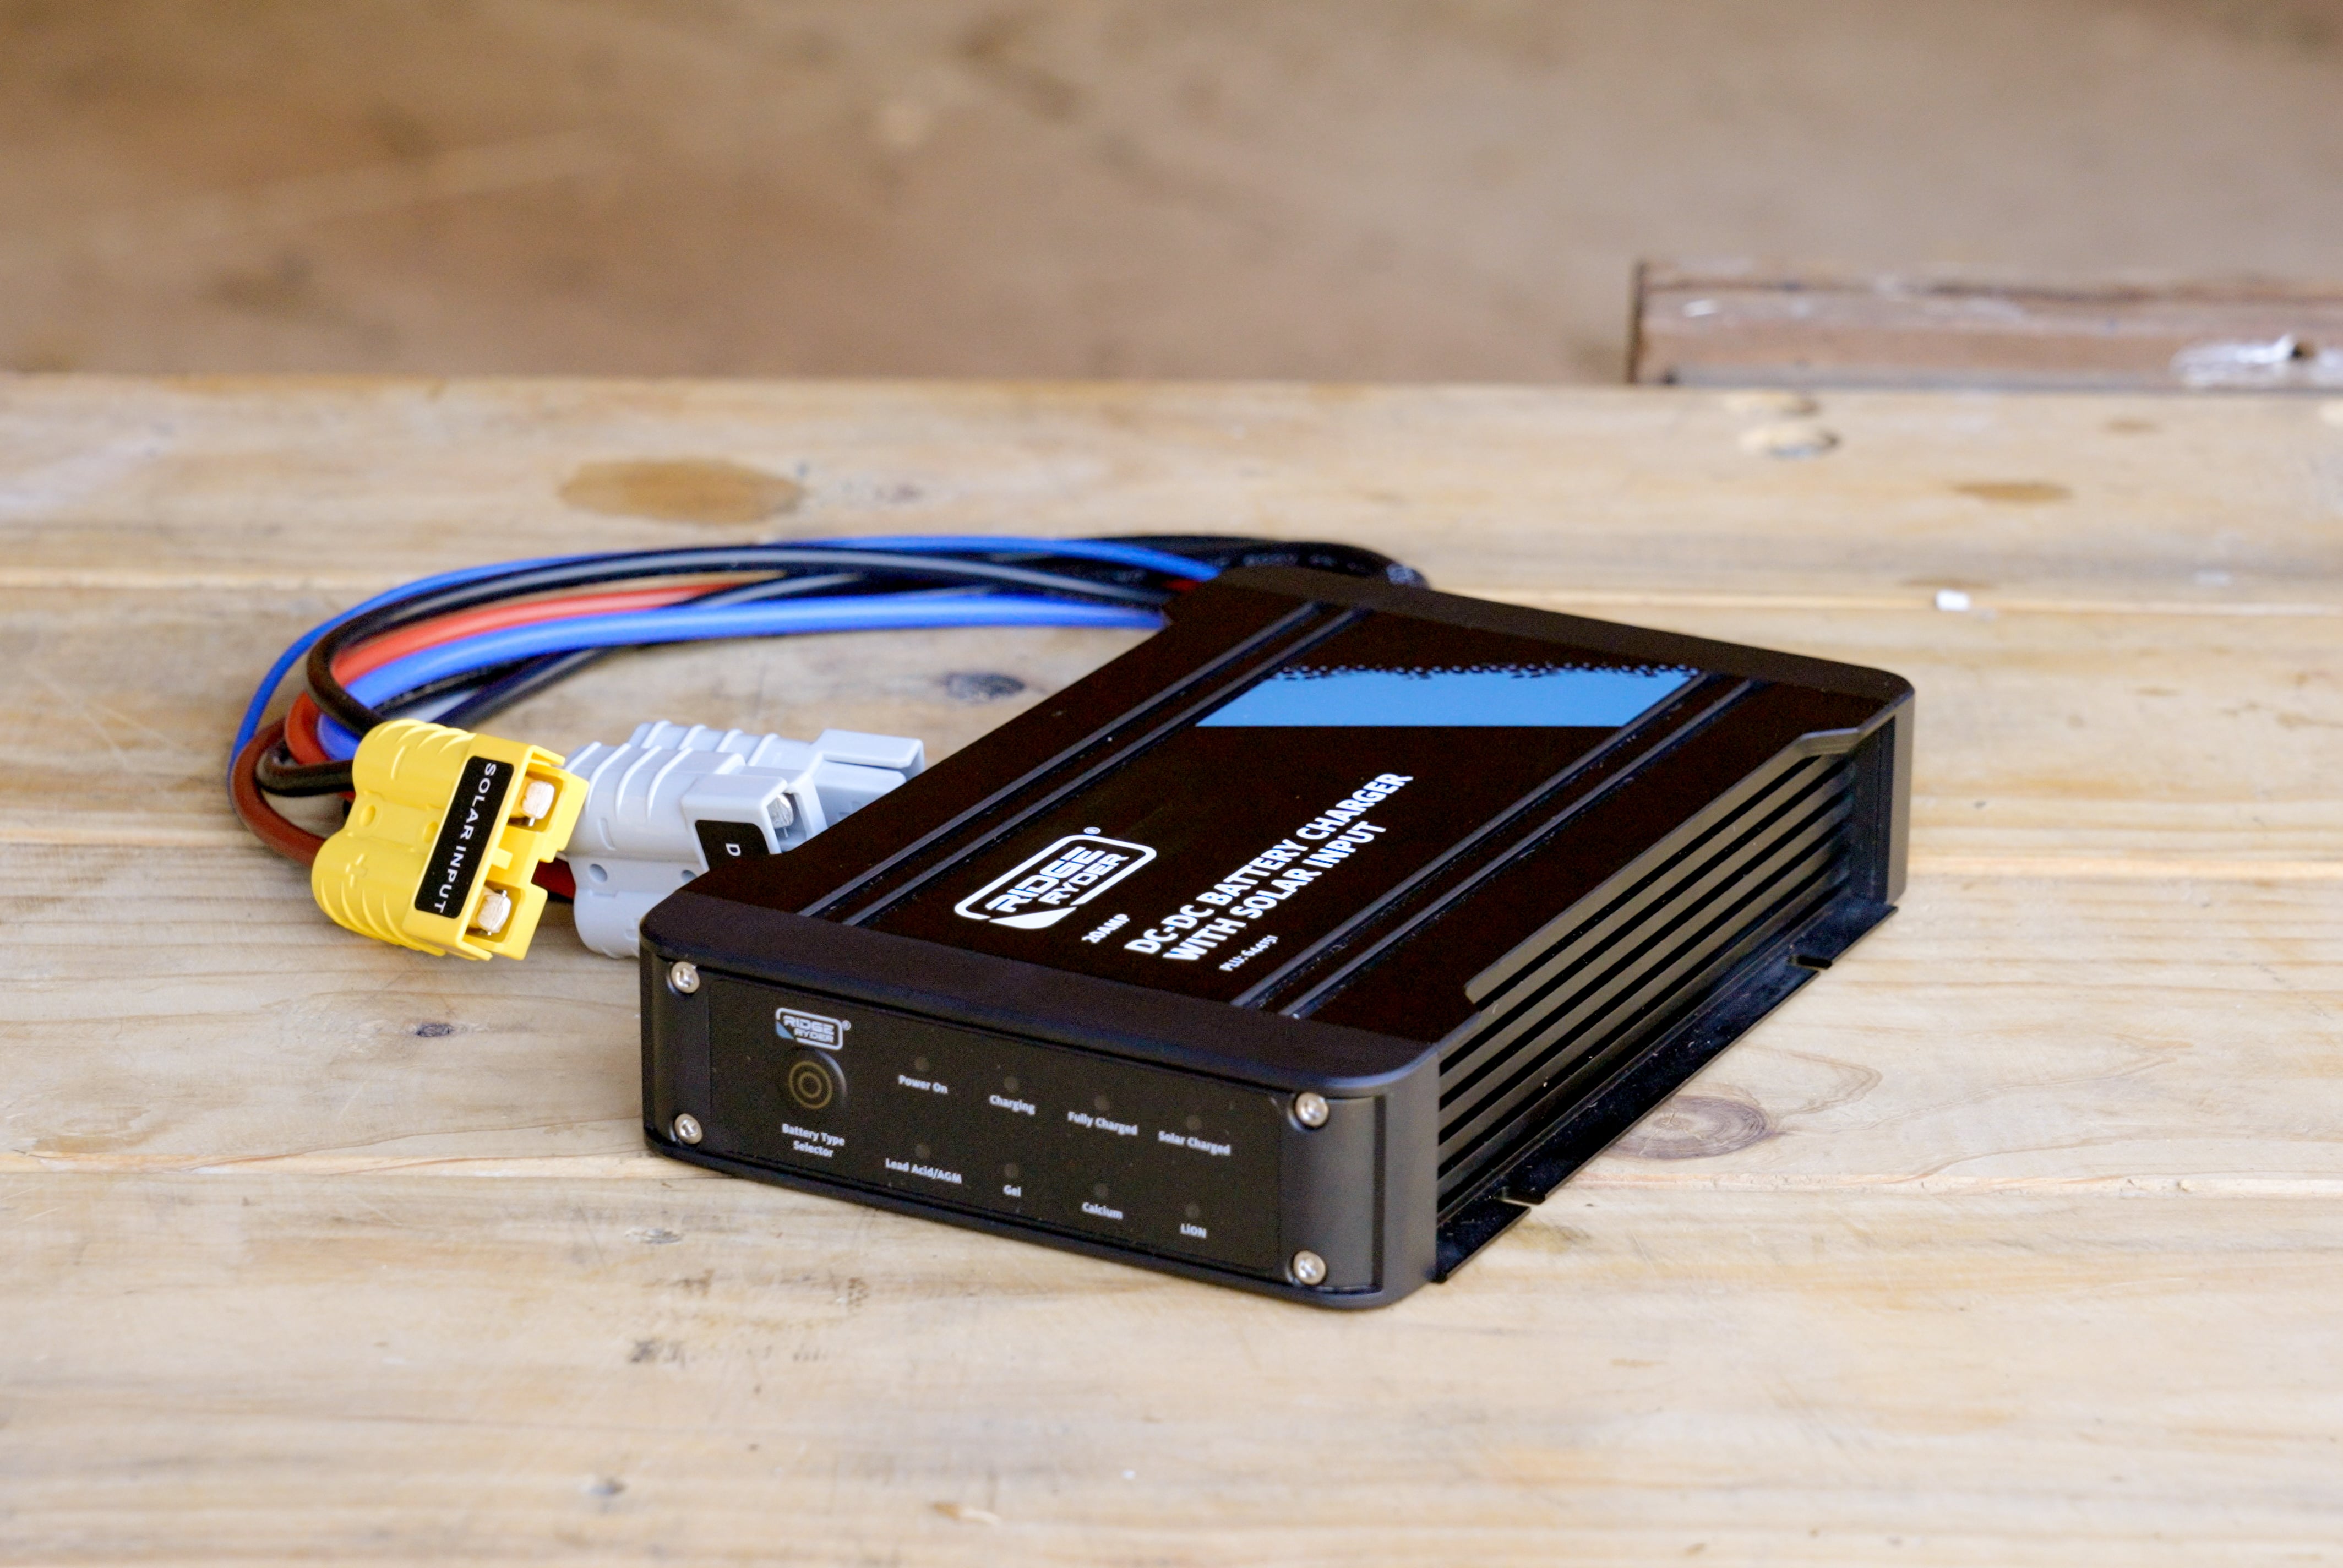
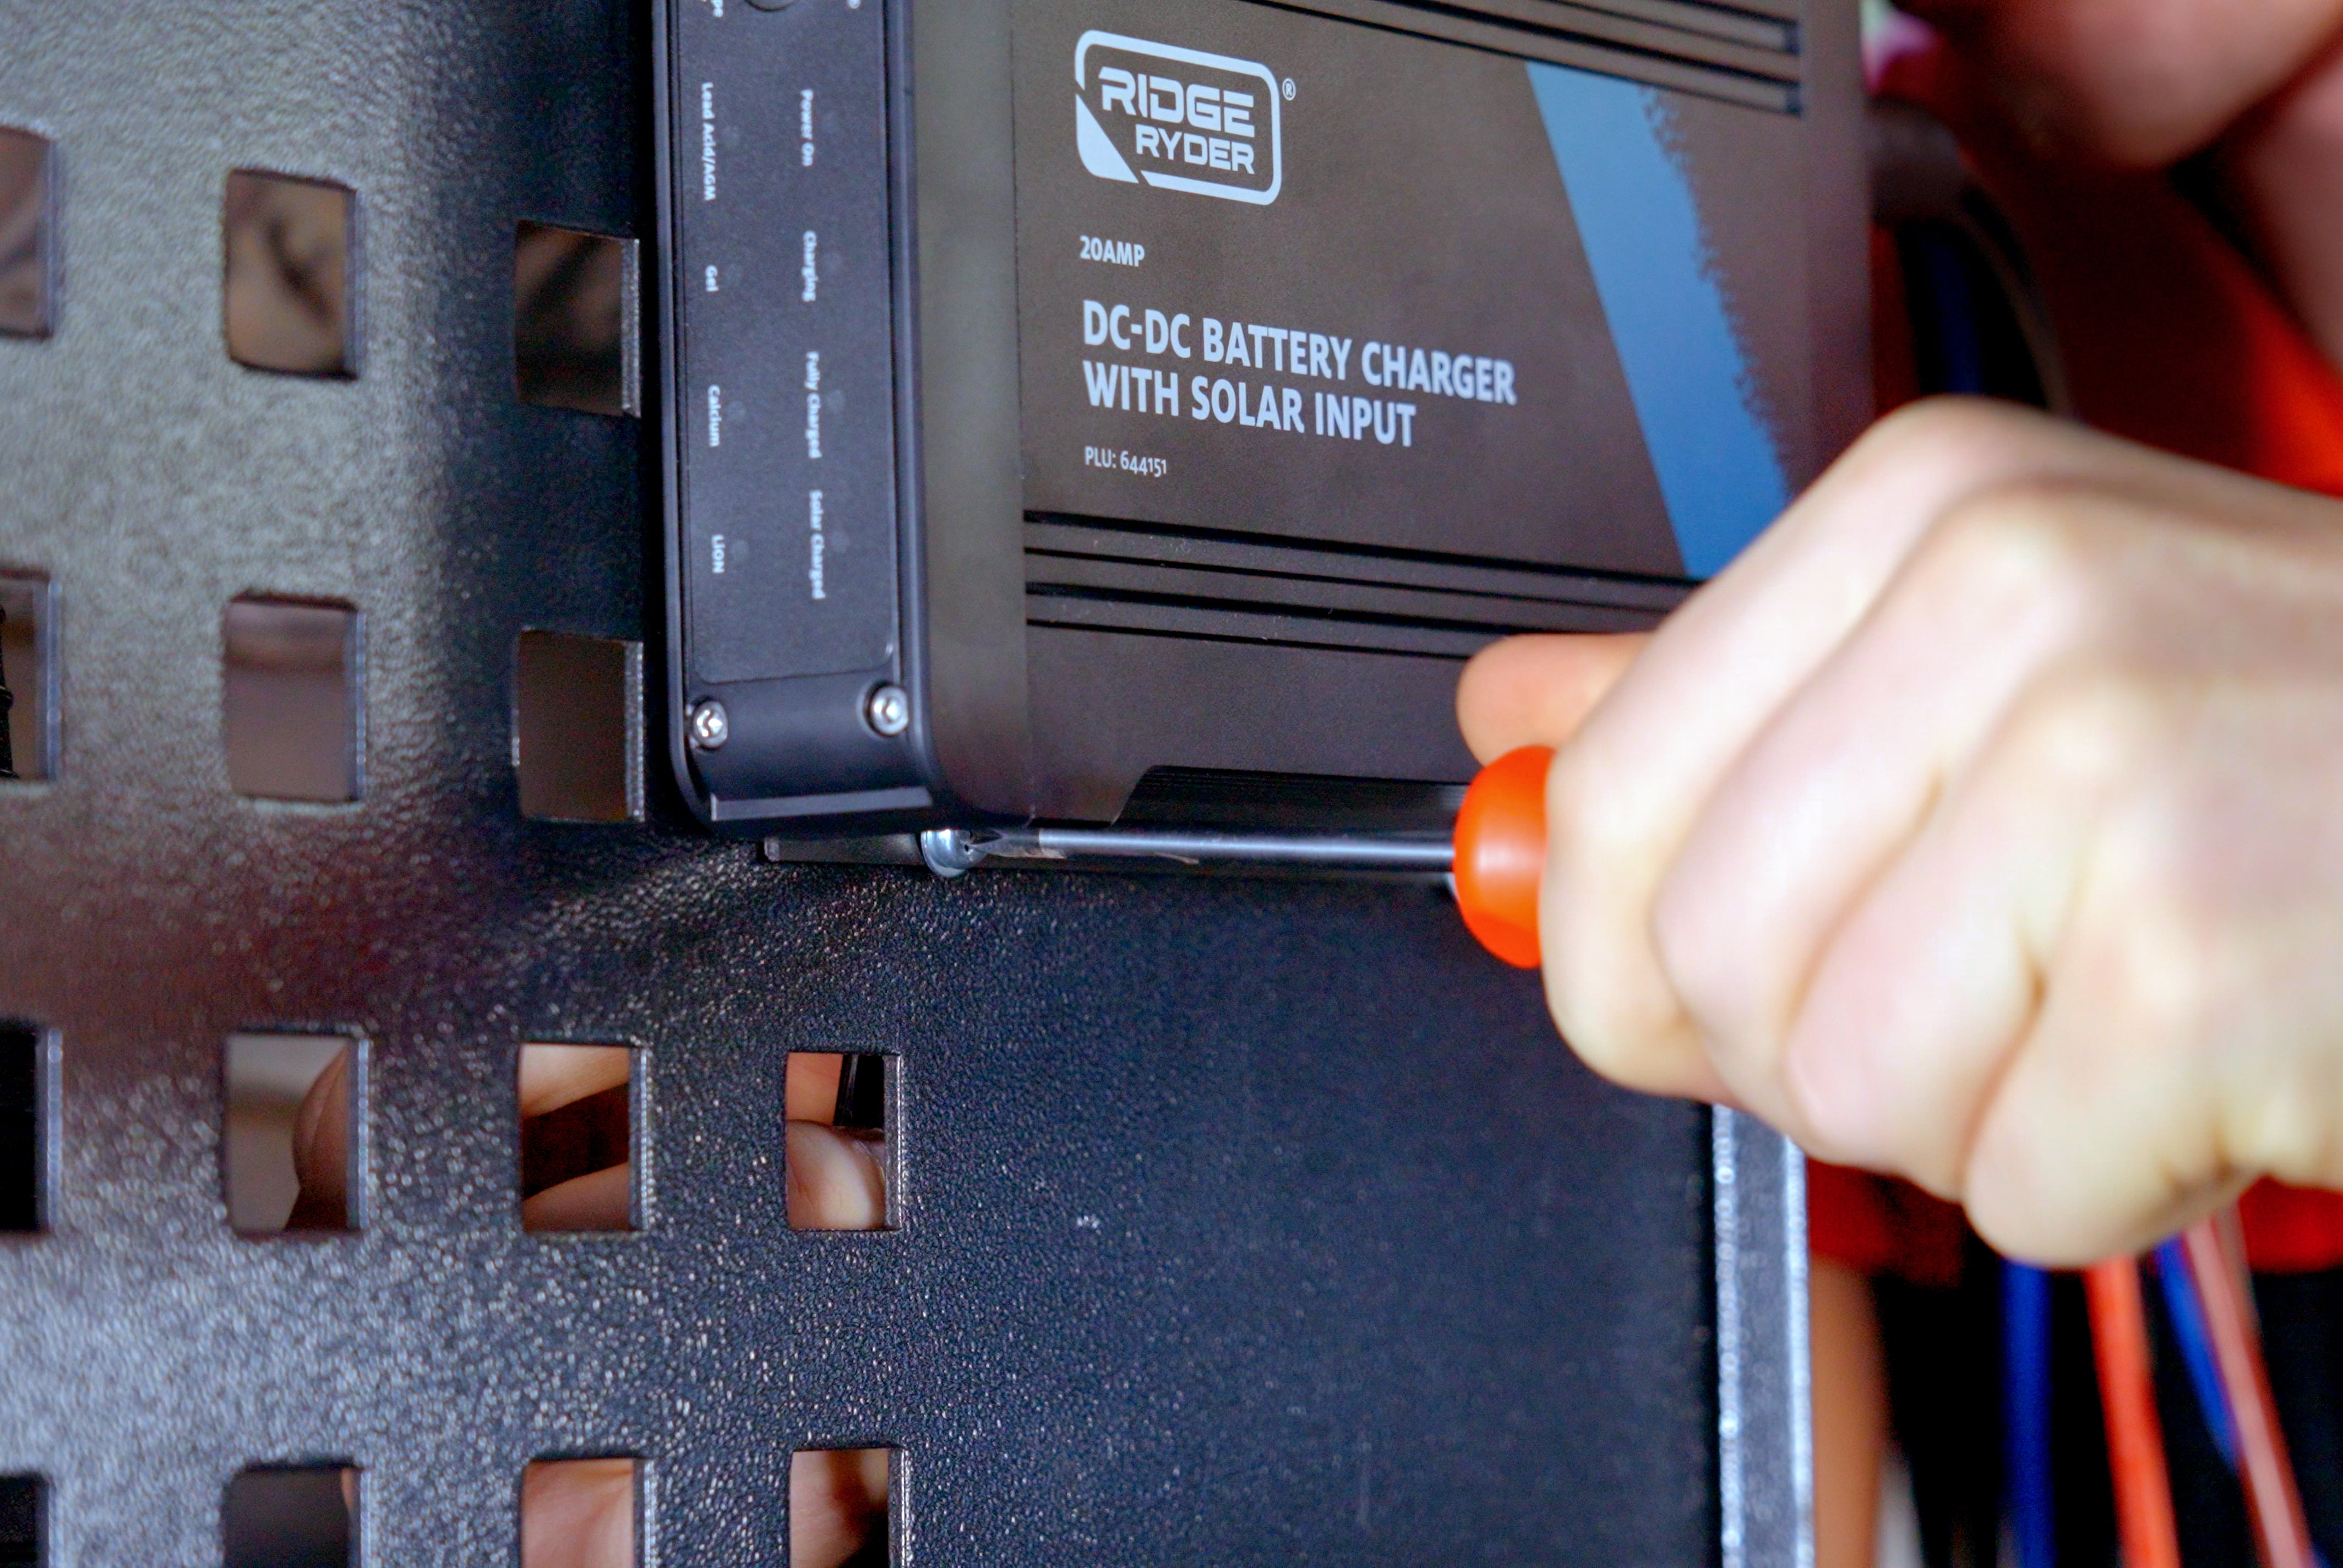
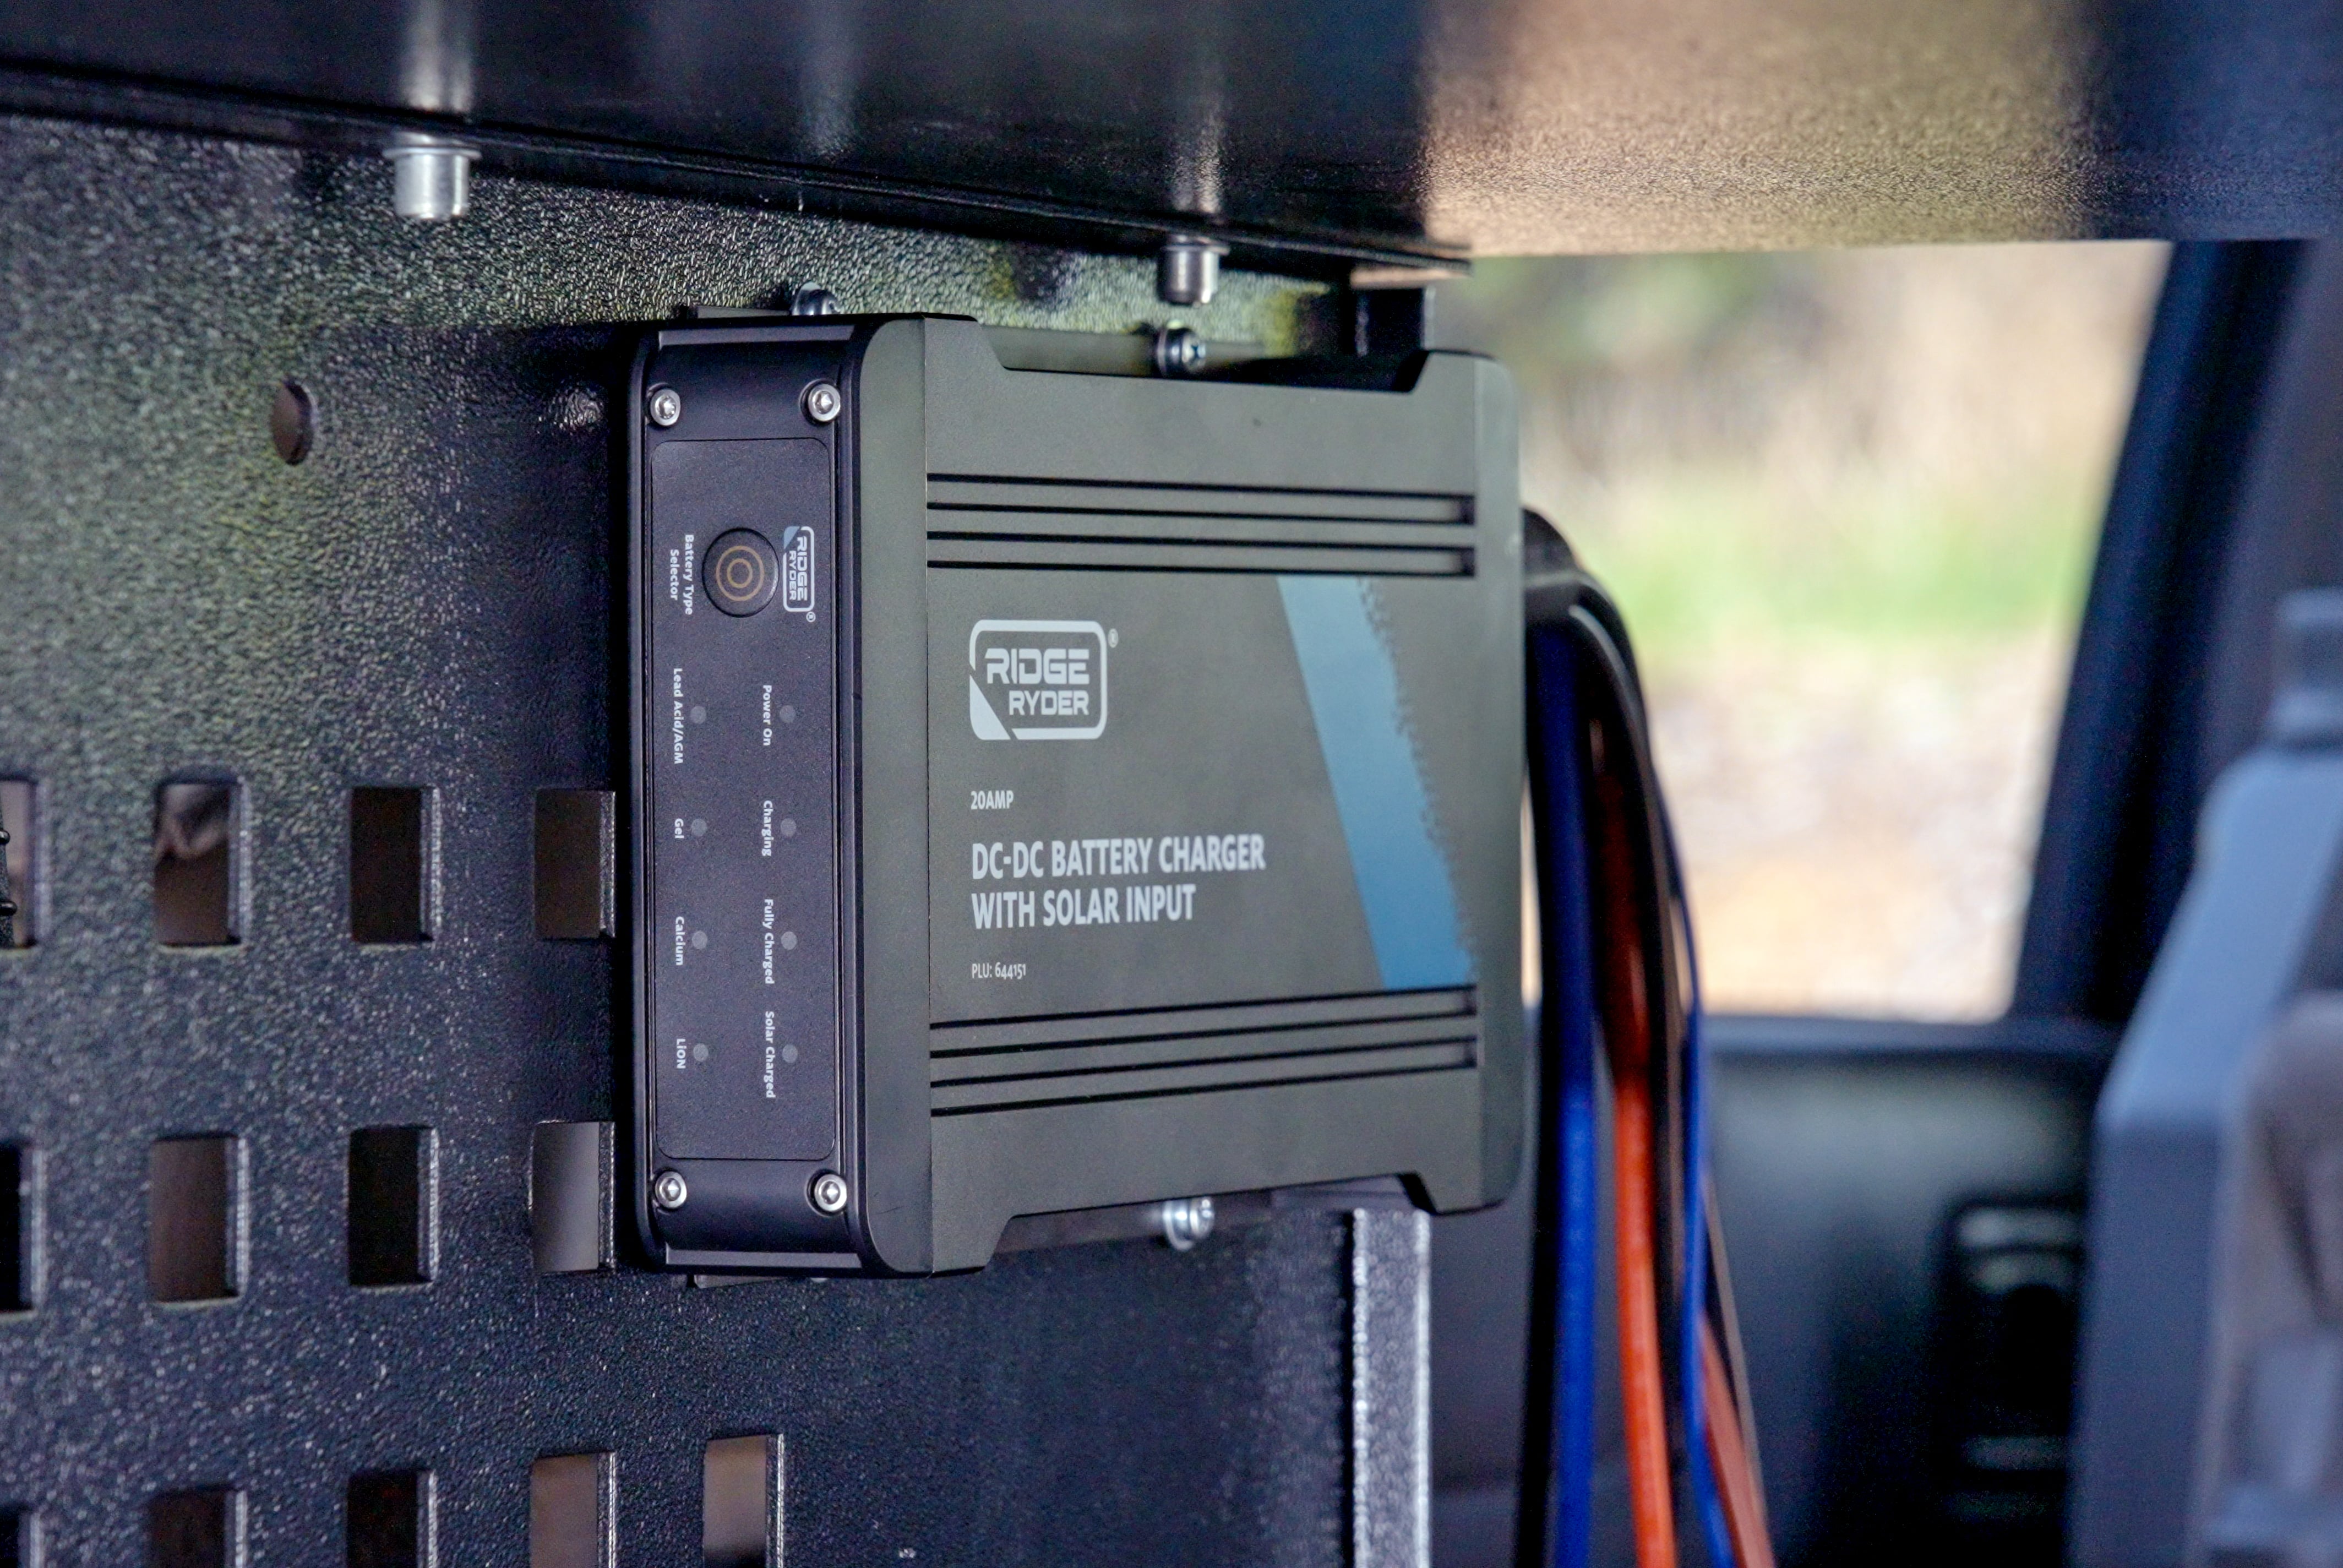
The number one consideration when mounting your DC charger is ventilation. It can get quite warm when it is charging. Find a nice flat mounting surface where it won’t be smothered or knocked about.
Furthermore, you want it as close to your dual battery as possible to lessen voltage drop between the charger and the dual battery.
Out comes the drill again. Fasten it firmly with bolts or screws; then we’re off to the engine bay to mount the last item.
Do I need circuit breakers for a dual battery?
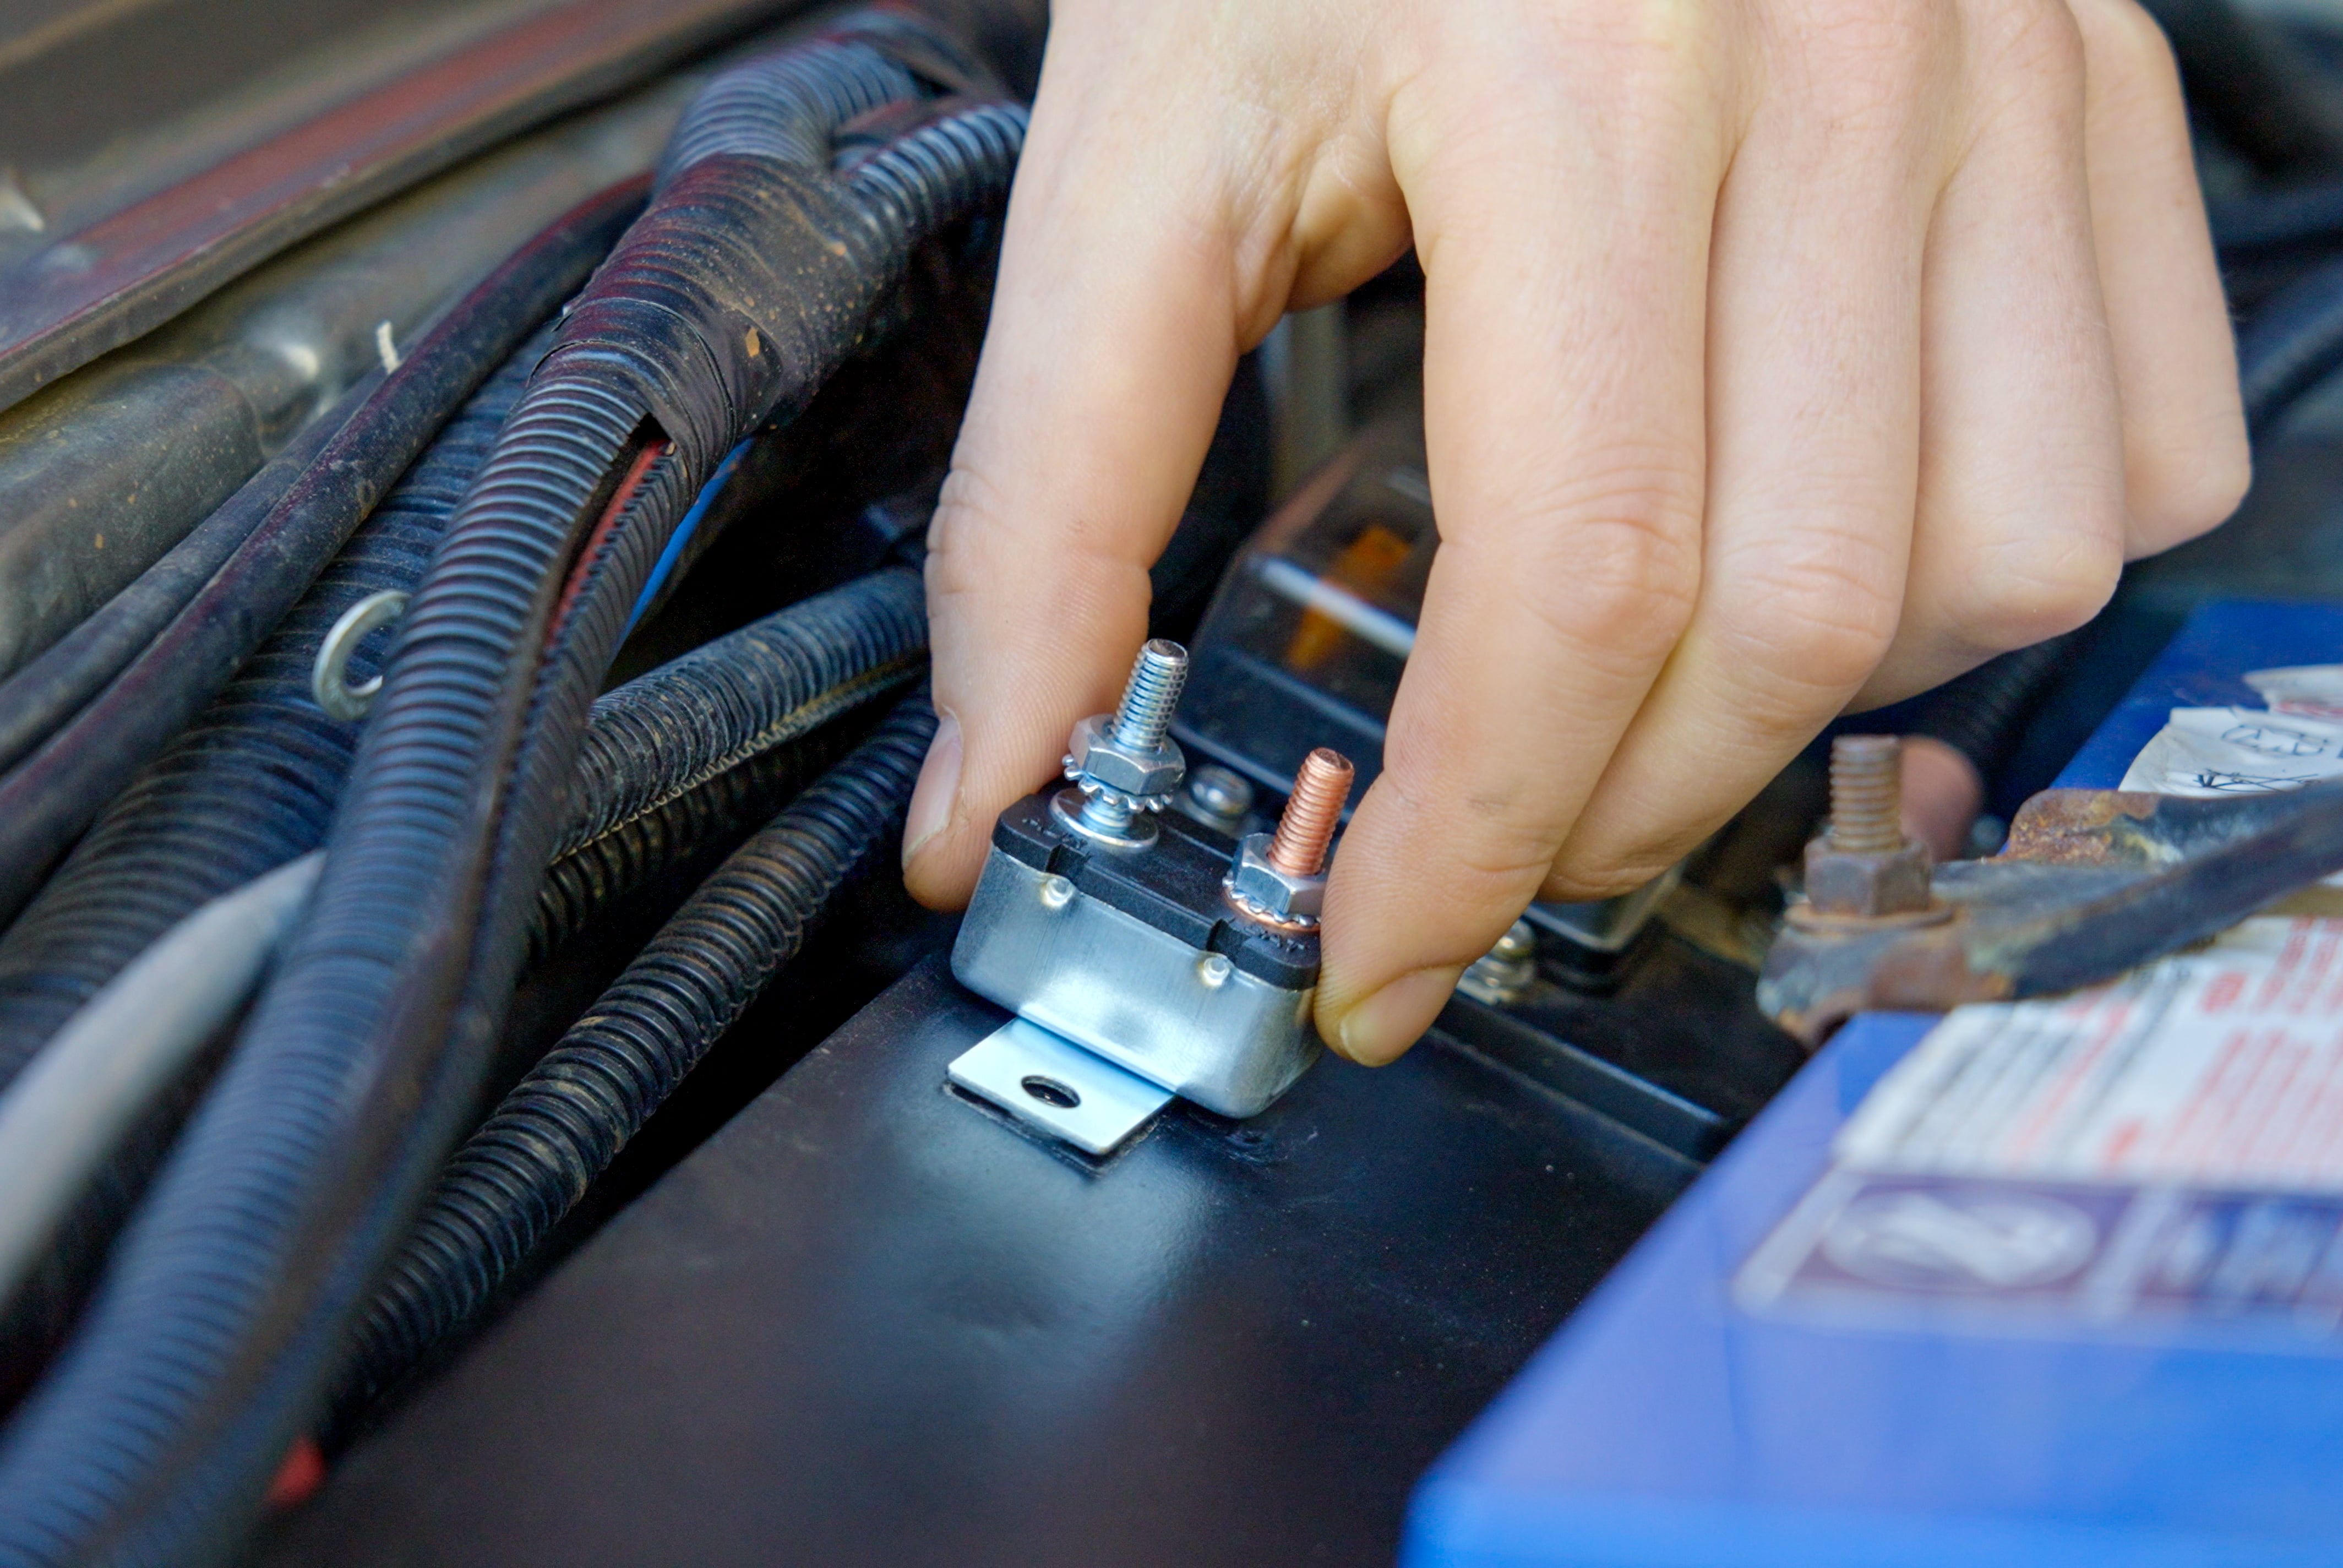
If anything should go wrong in your dual battery system, a circuit breaker will overload and cut the power before a fire can break out. So yes, we would say you DO need circuit breakers for a dual battery. One for each battery within 15cm.
In this case, the circuit breaker must be as close to the main battery as possible. Locate a flat, easy to access surface, and fix it in place with a couple of screws.
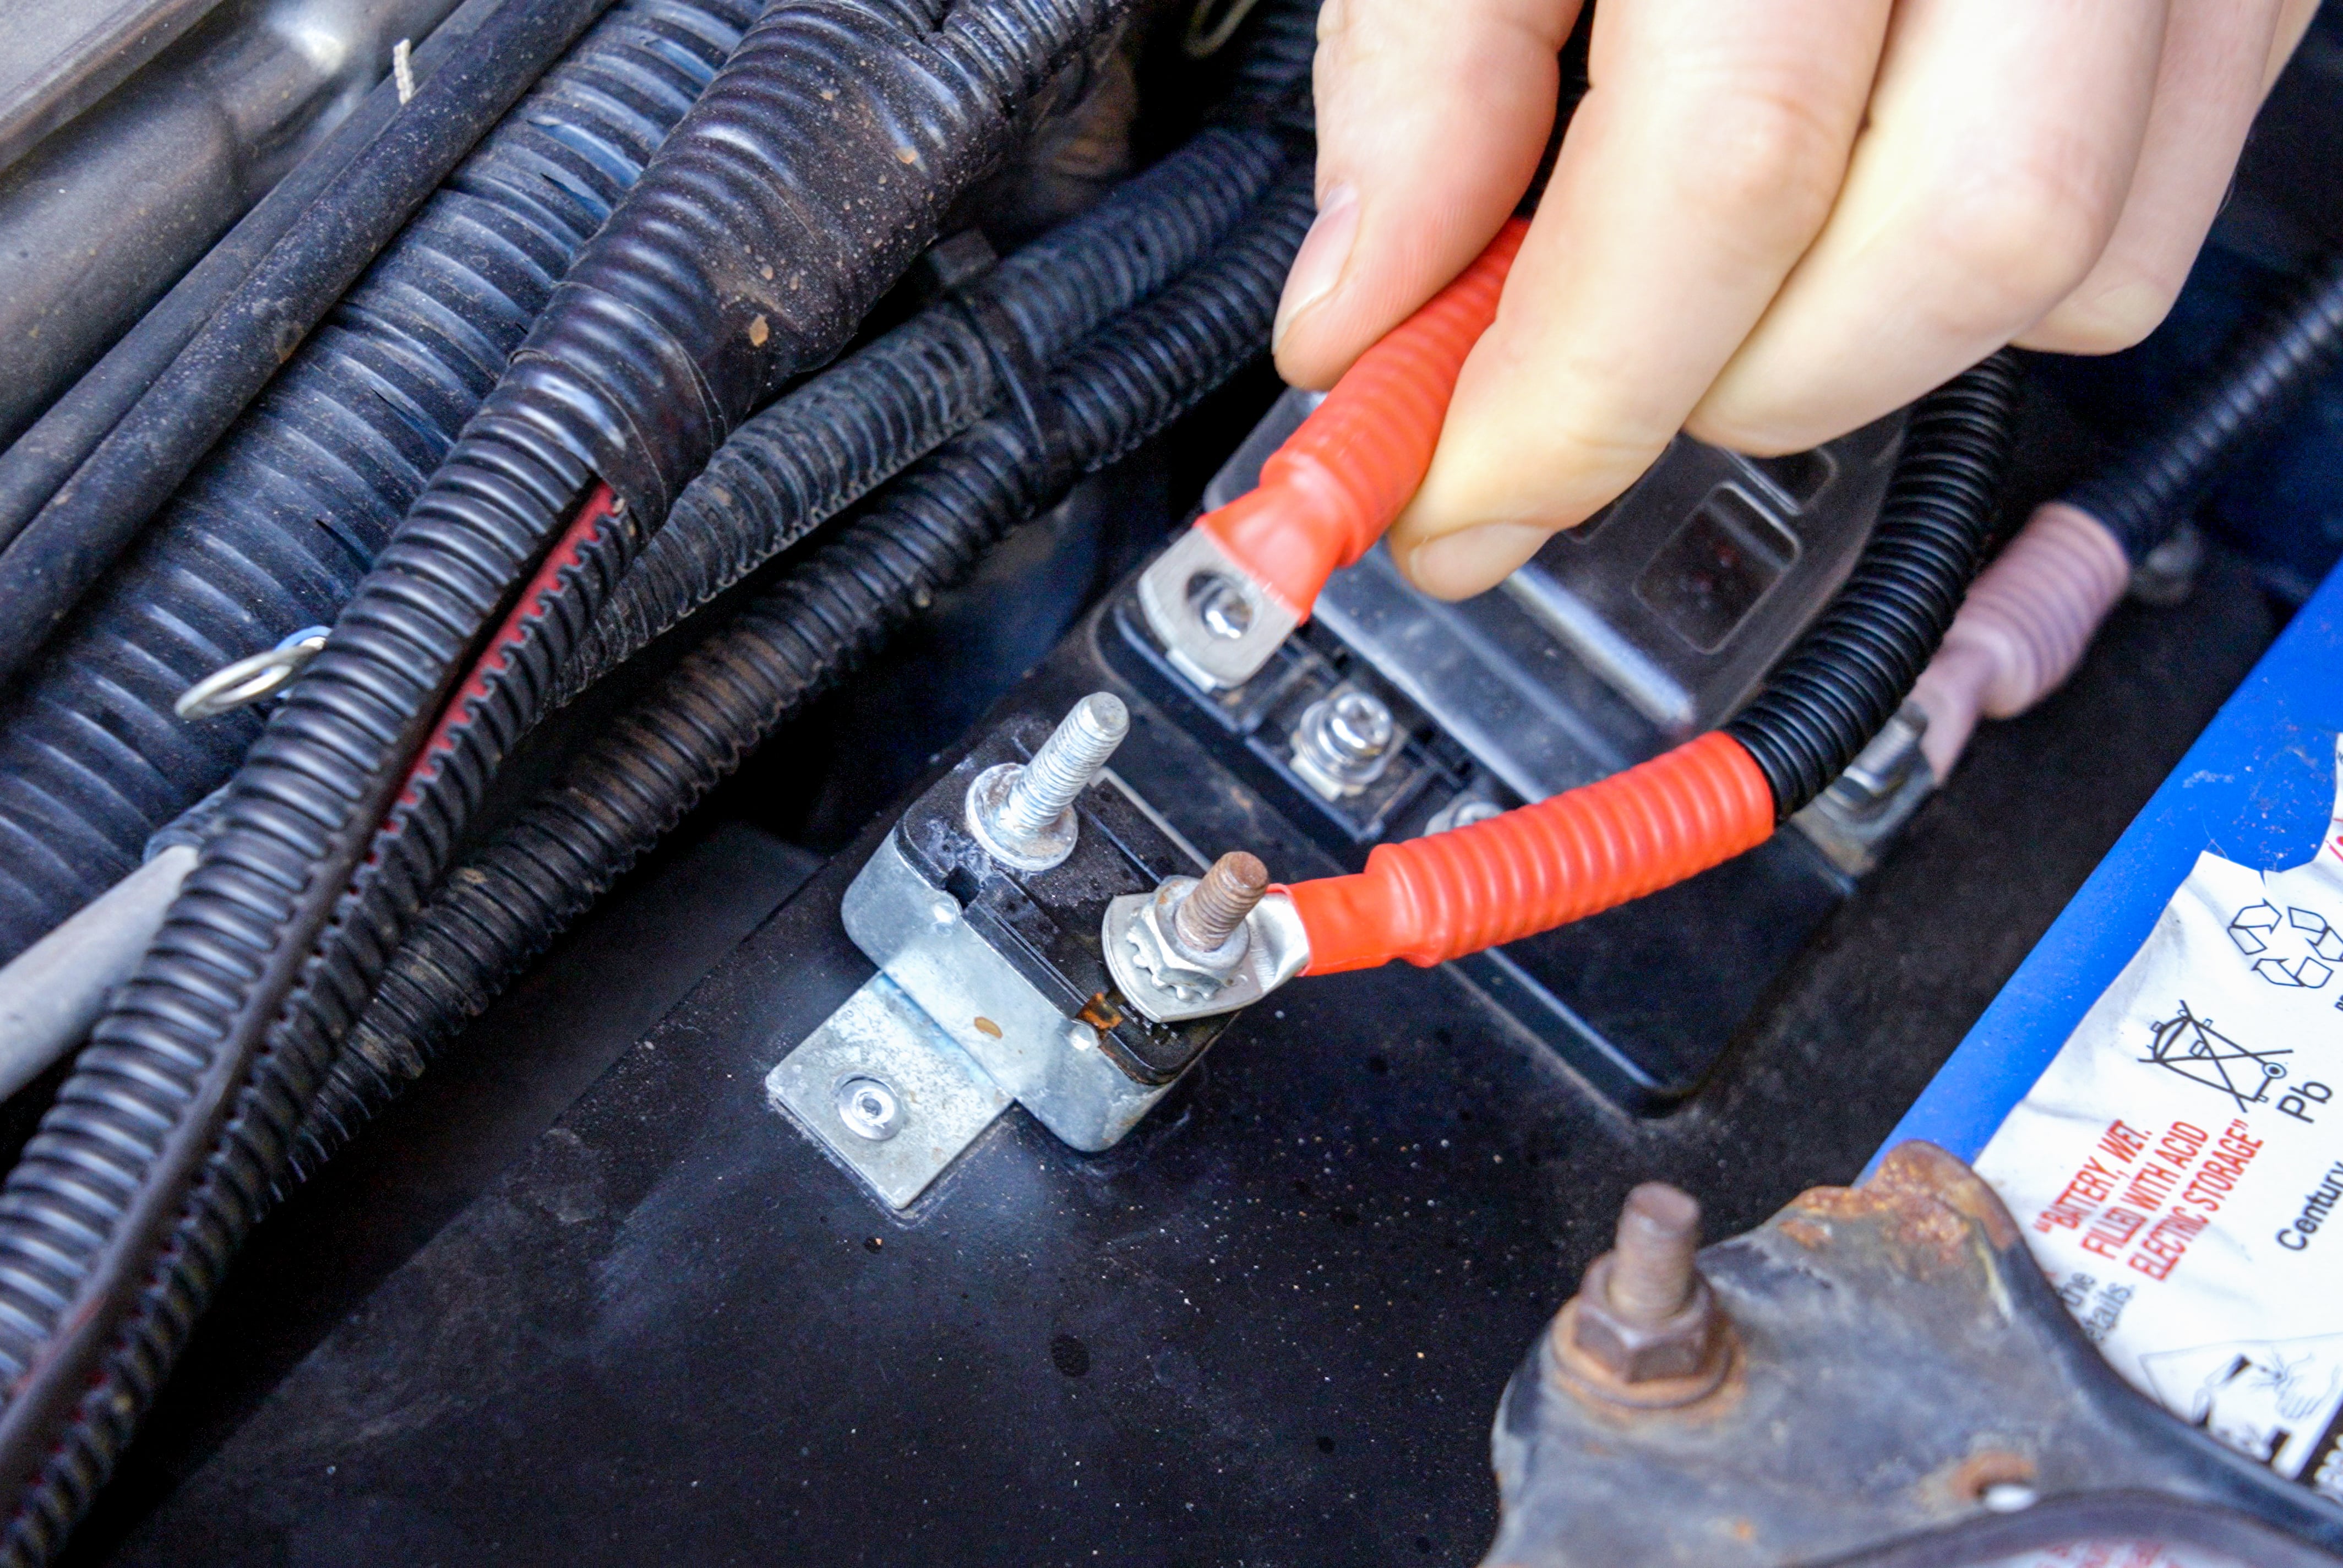
How to wire a dual battery system
Before you start playing around here, don’t forget to disconnect the negative terminal of your battery.
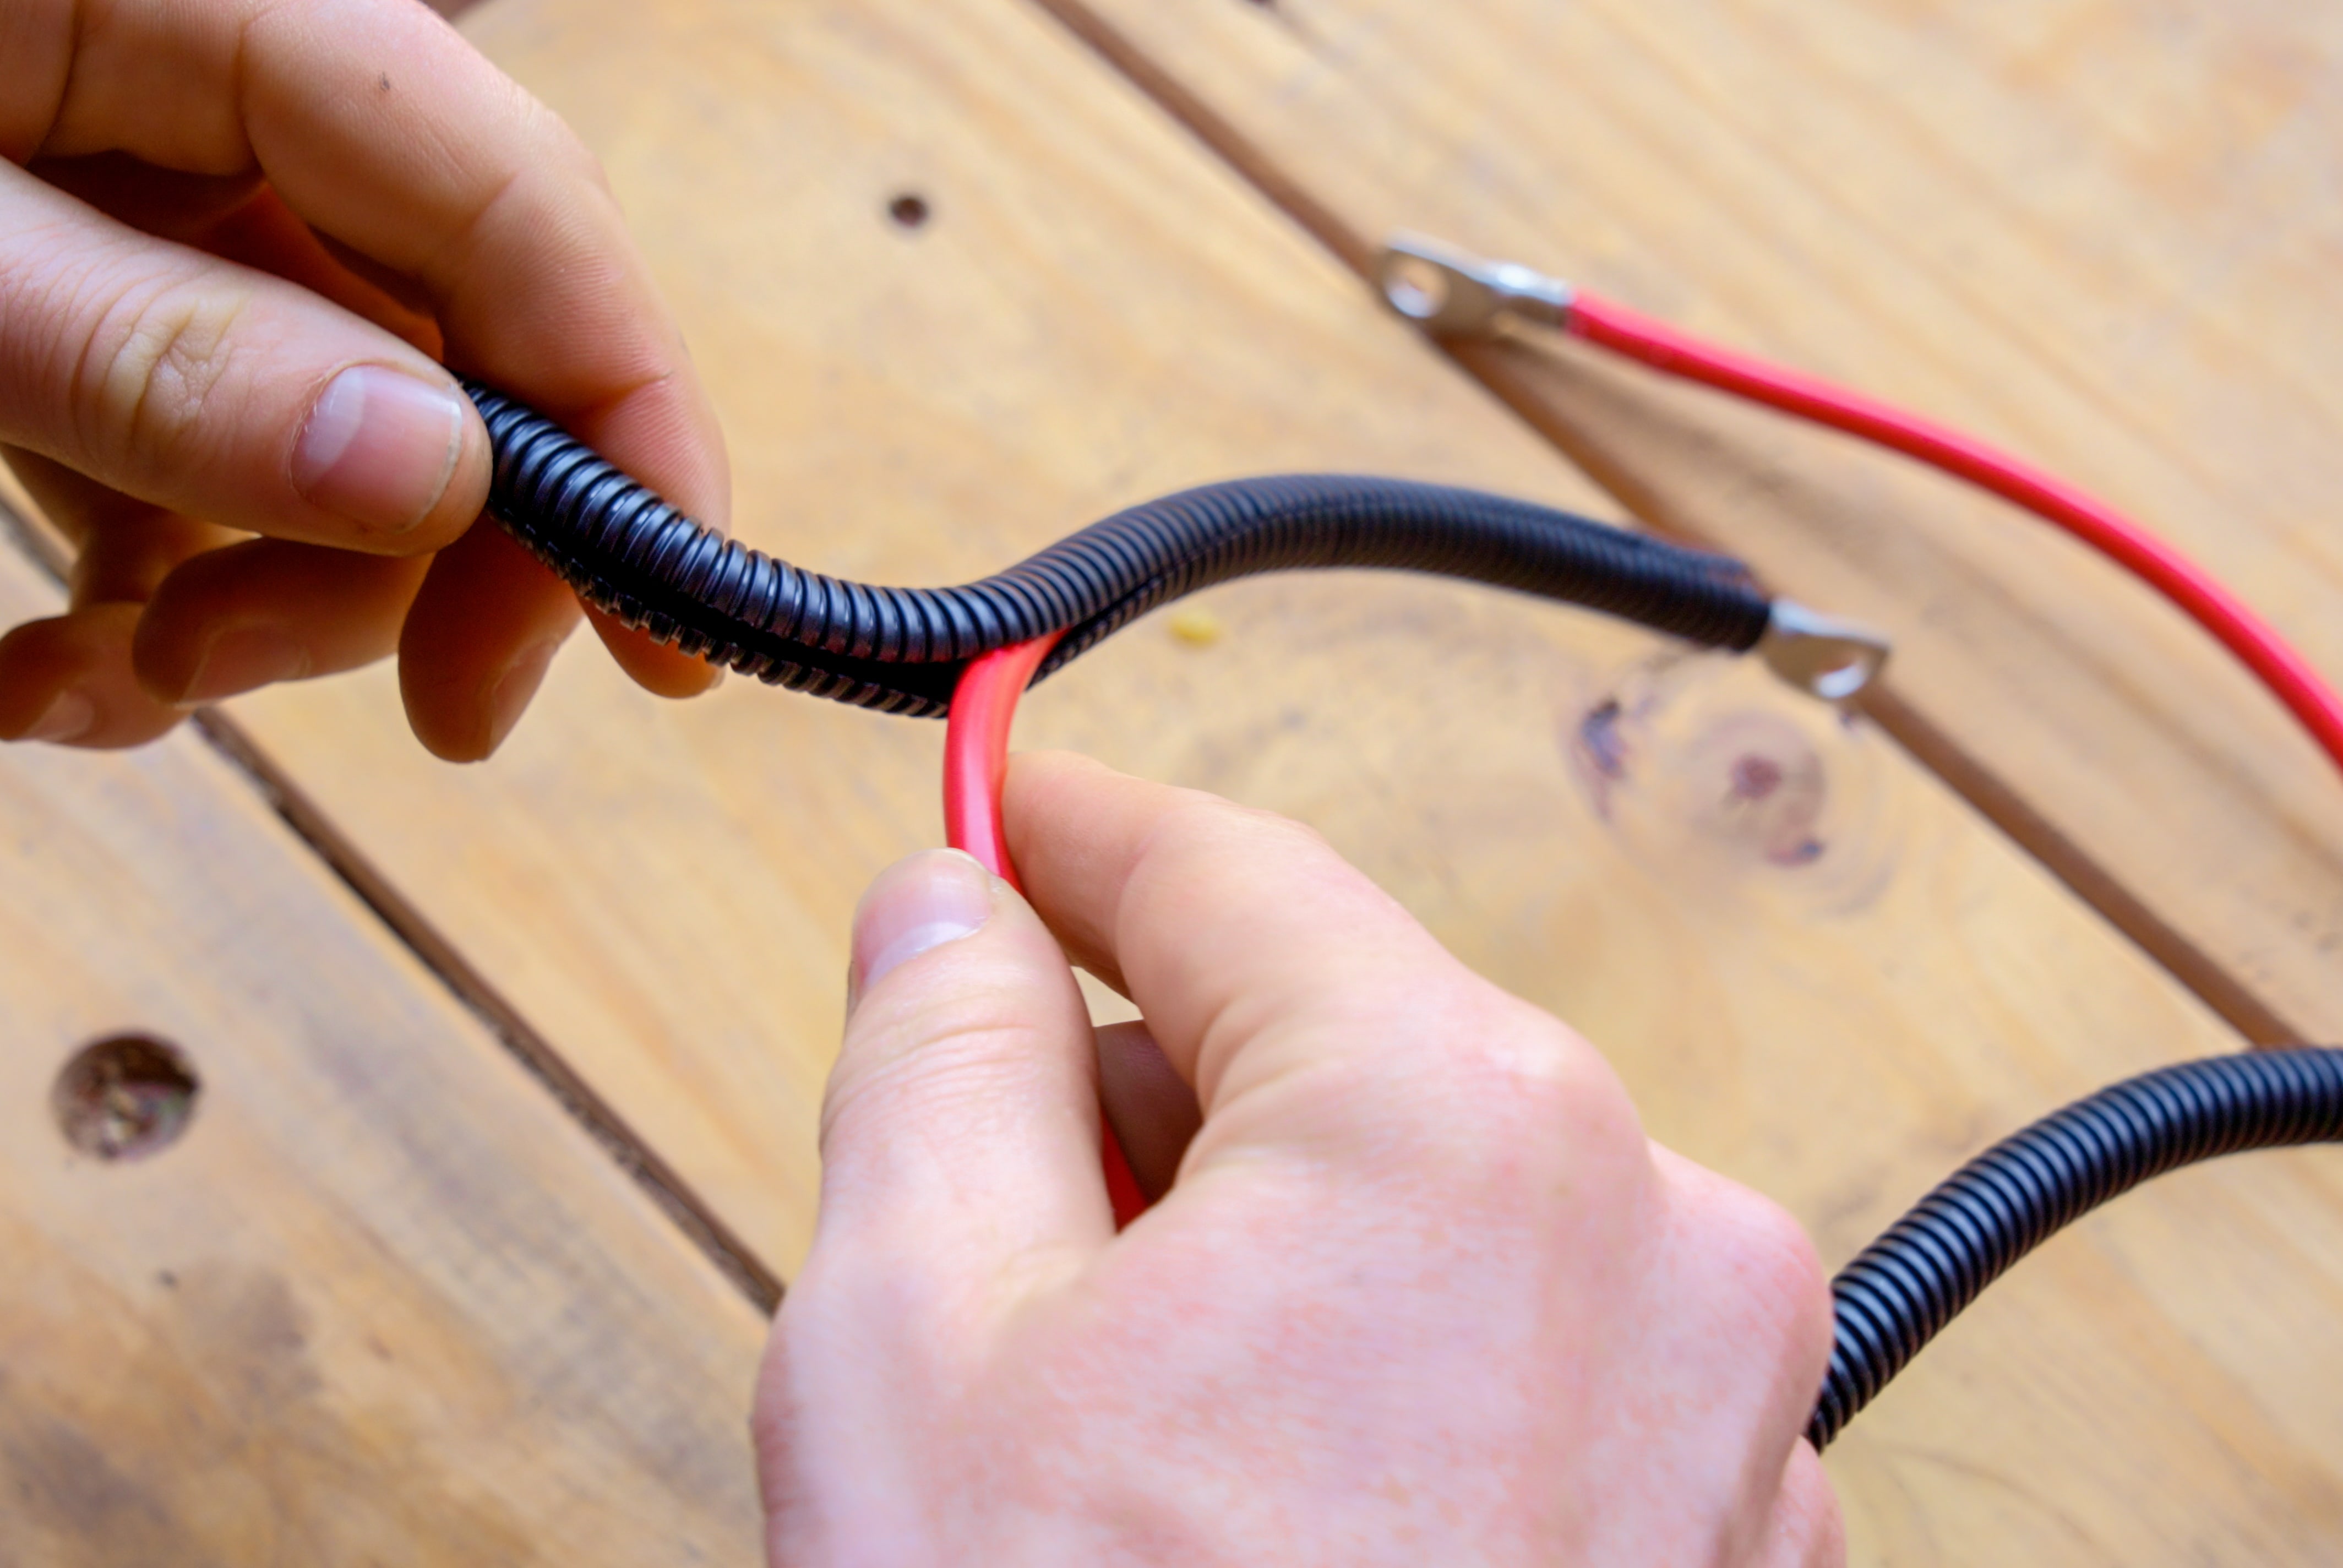
Measure and cut a length of your heavy-duty cable from the positive terminal to the circuit breaker. Use the lug crimper to firmly attach a lug to each end. Then fit a length of corrugated tube and finish it off with some heat shrink.
Leave this disconnected from your battery for now and use cable ties to run it neatly to the circuit breaker. Some circuit breakers have a specific direction of flow, so check this closely before fixing the terminal in place.
Fit a terminal, tubing, and heat shrink to the remaining cable and fix it to the circuit breaker. Continue slipping corrugated tube over this wire as you follow existing wiring looms towards the nearest firewall grommet. Use plenty of cable ties as you go.
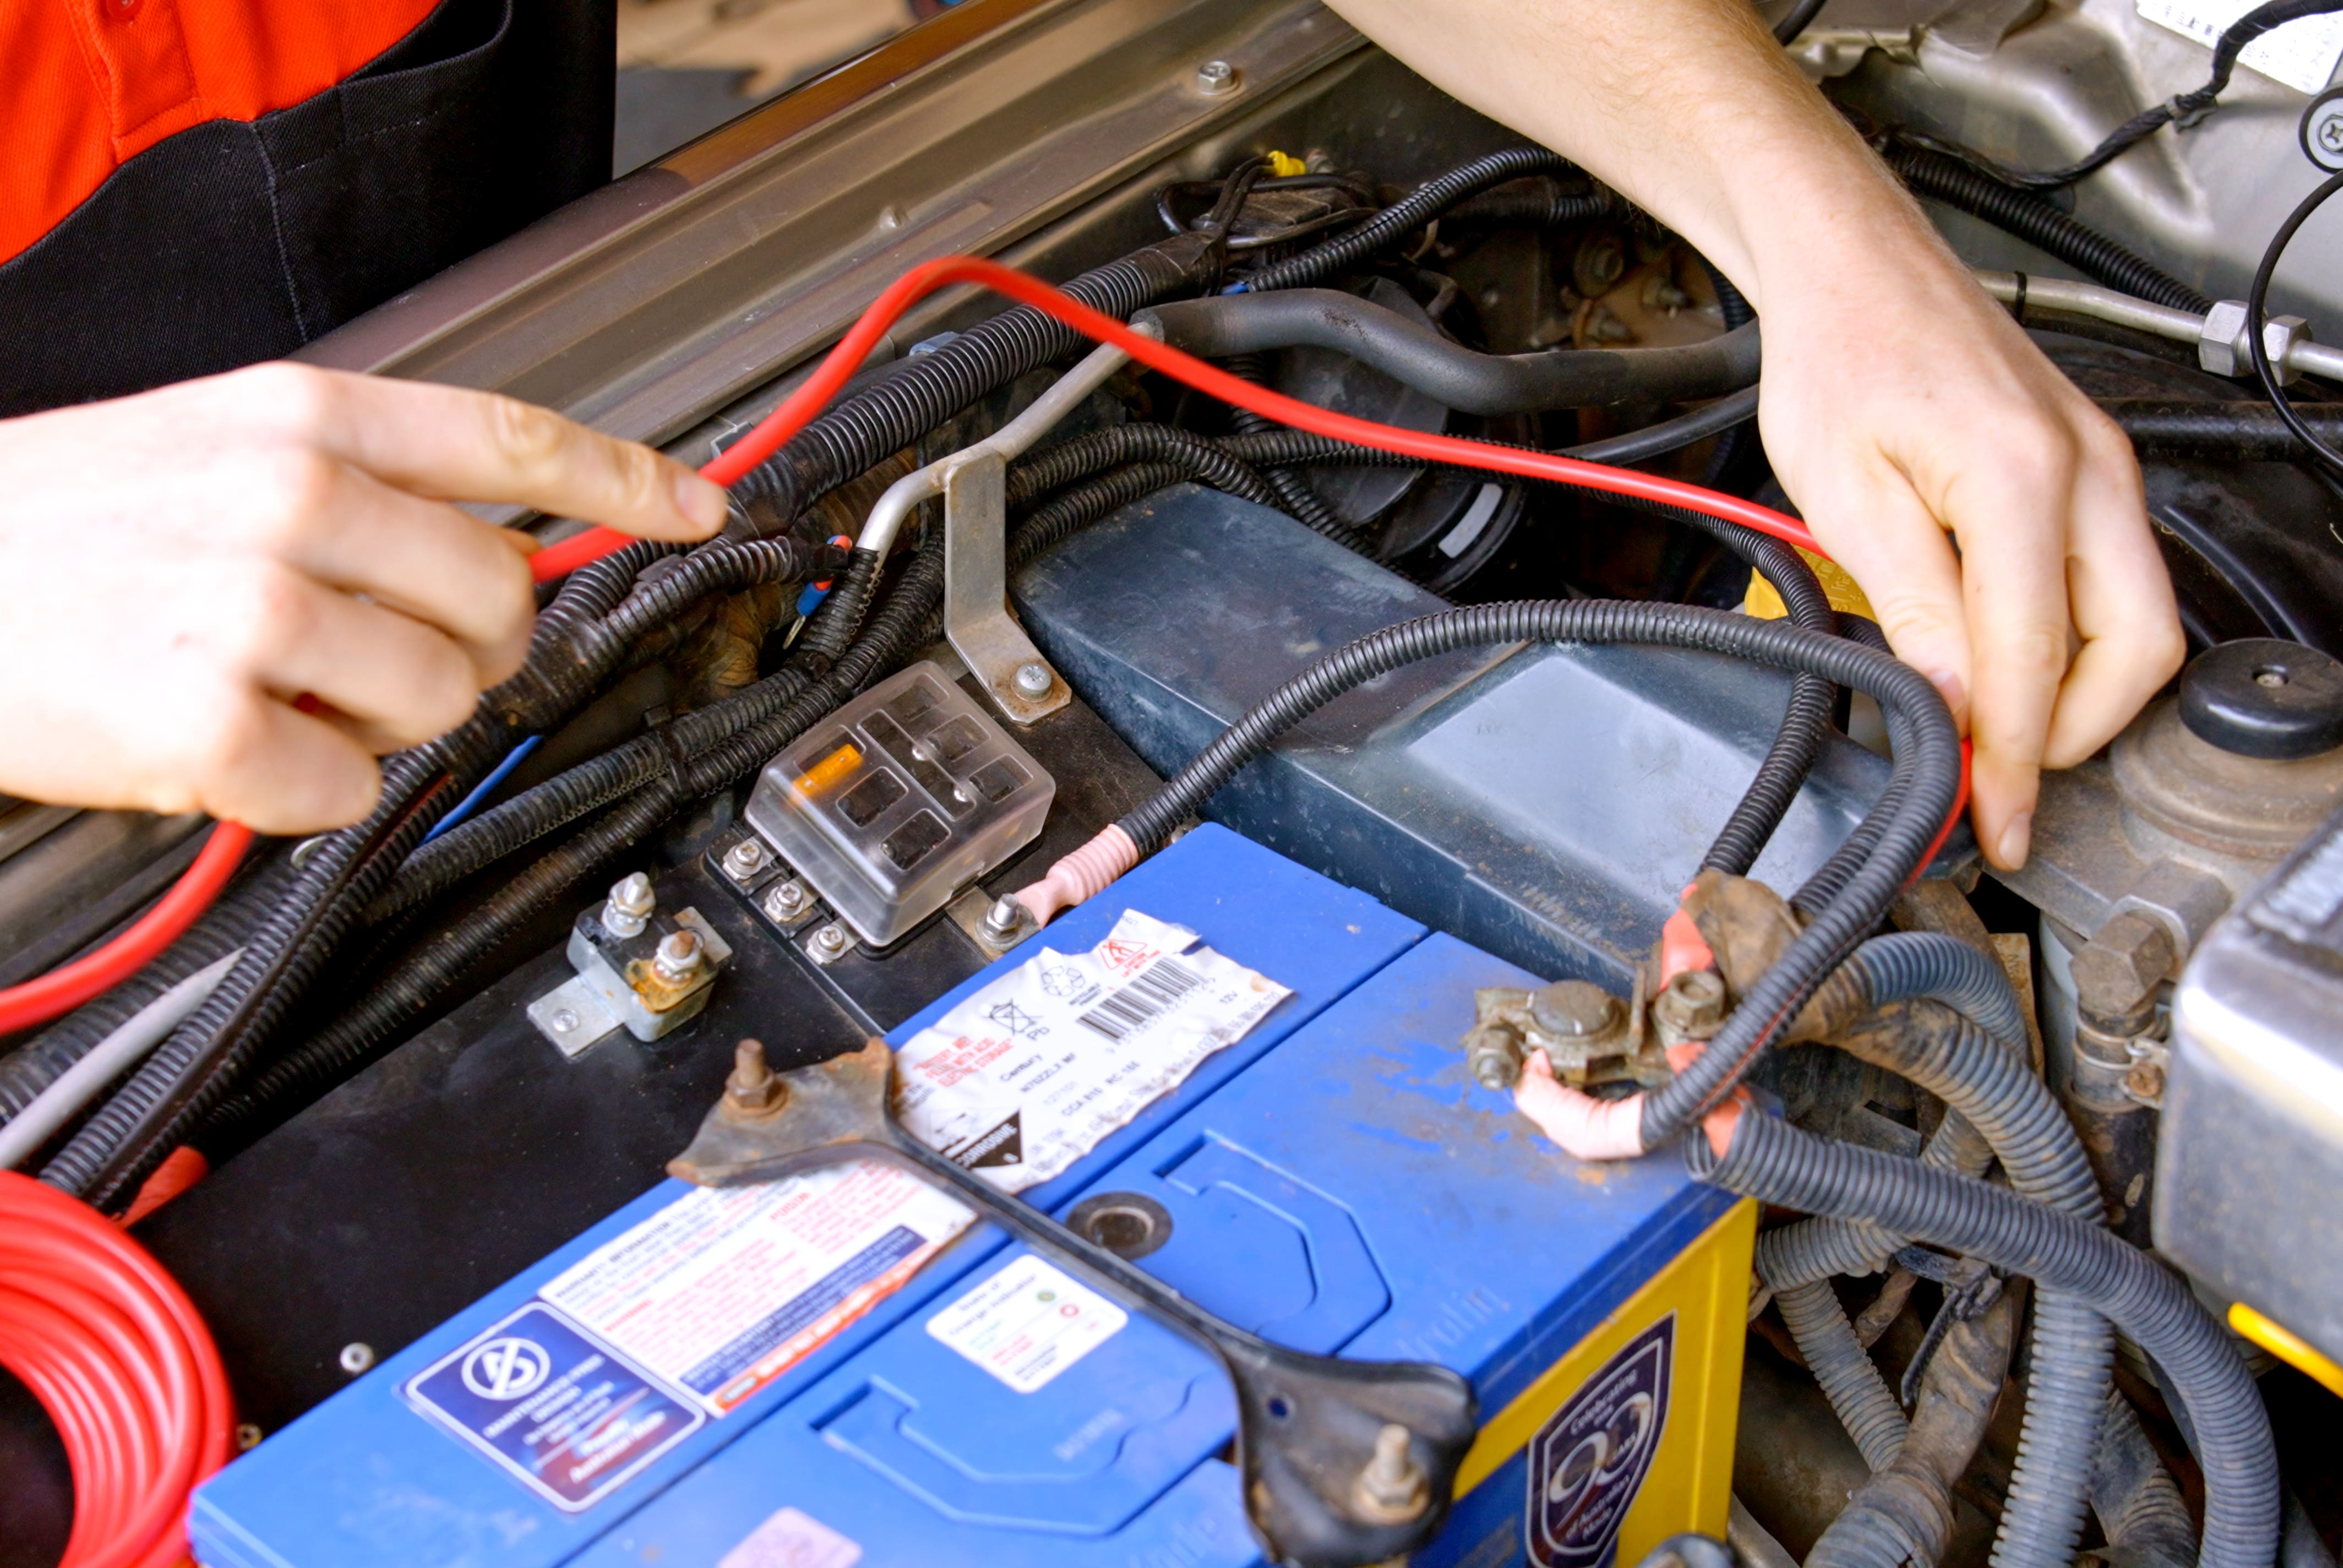
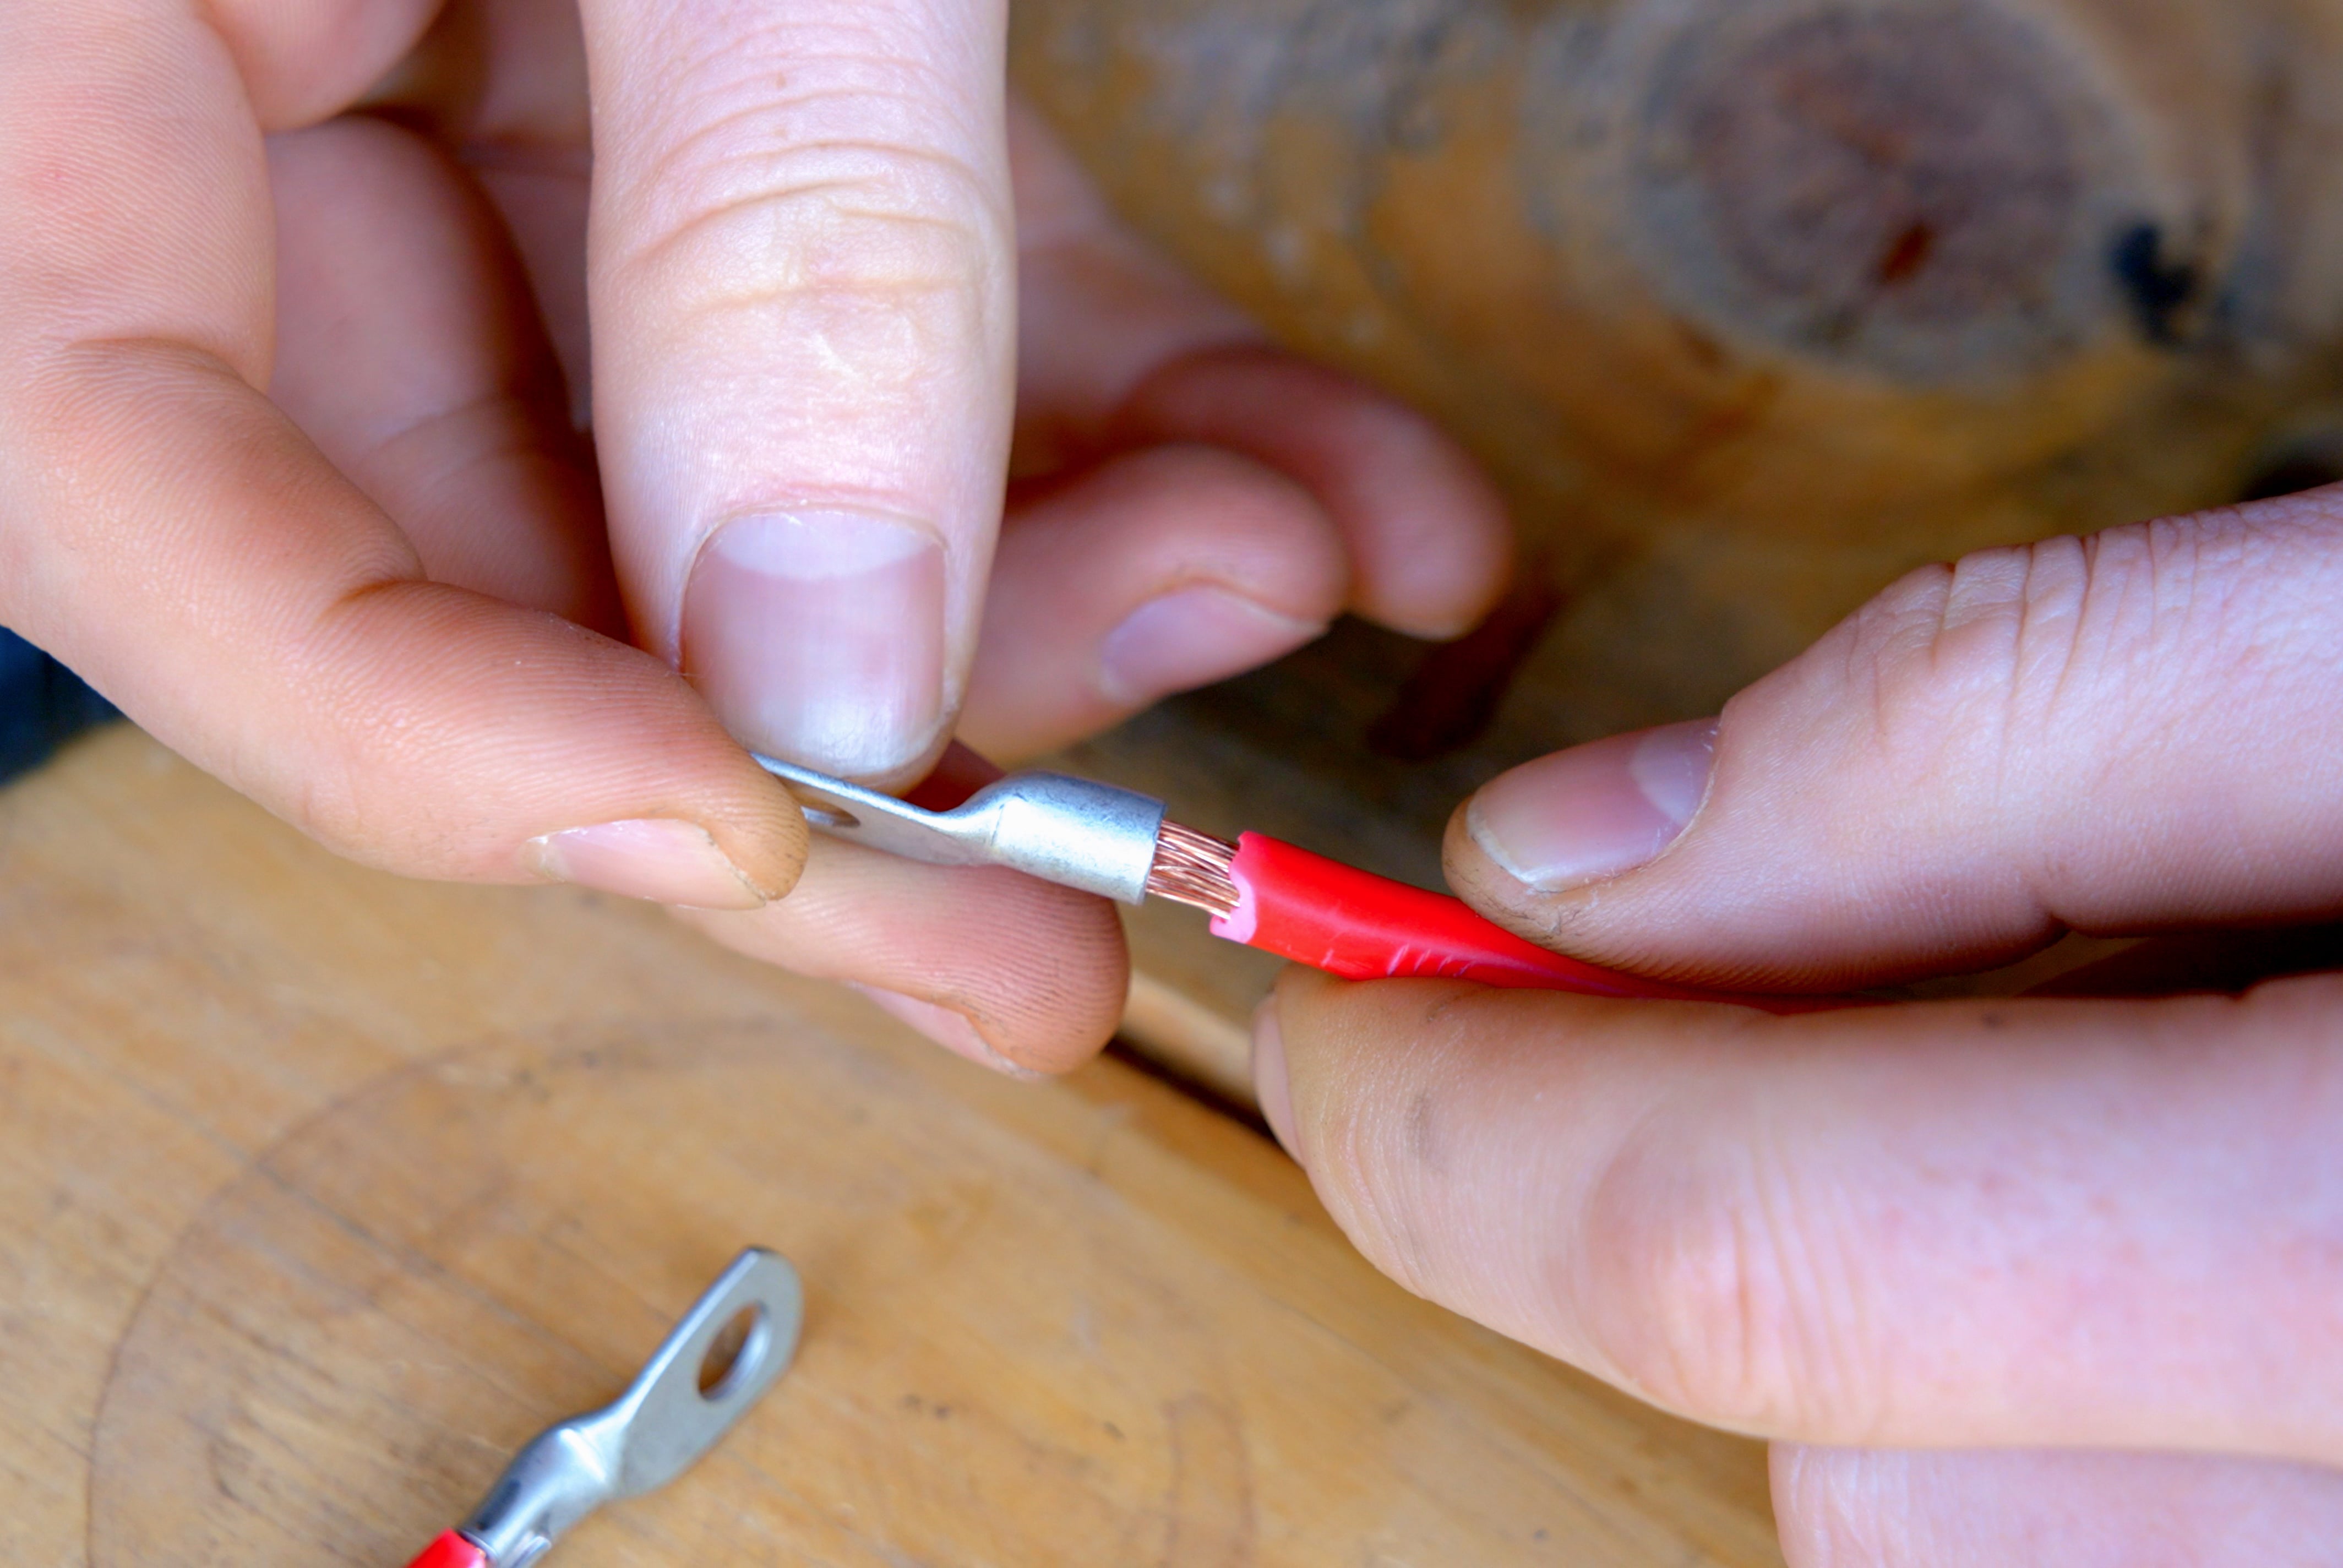
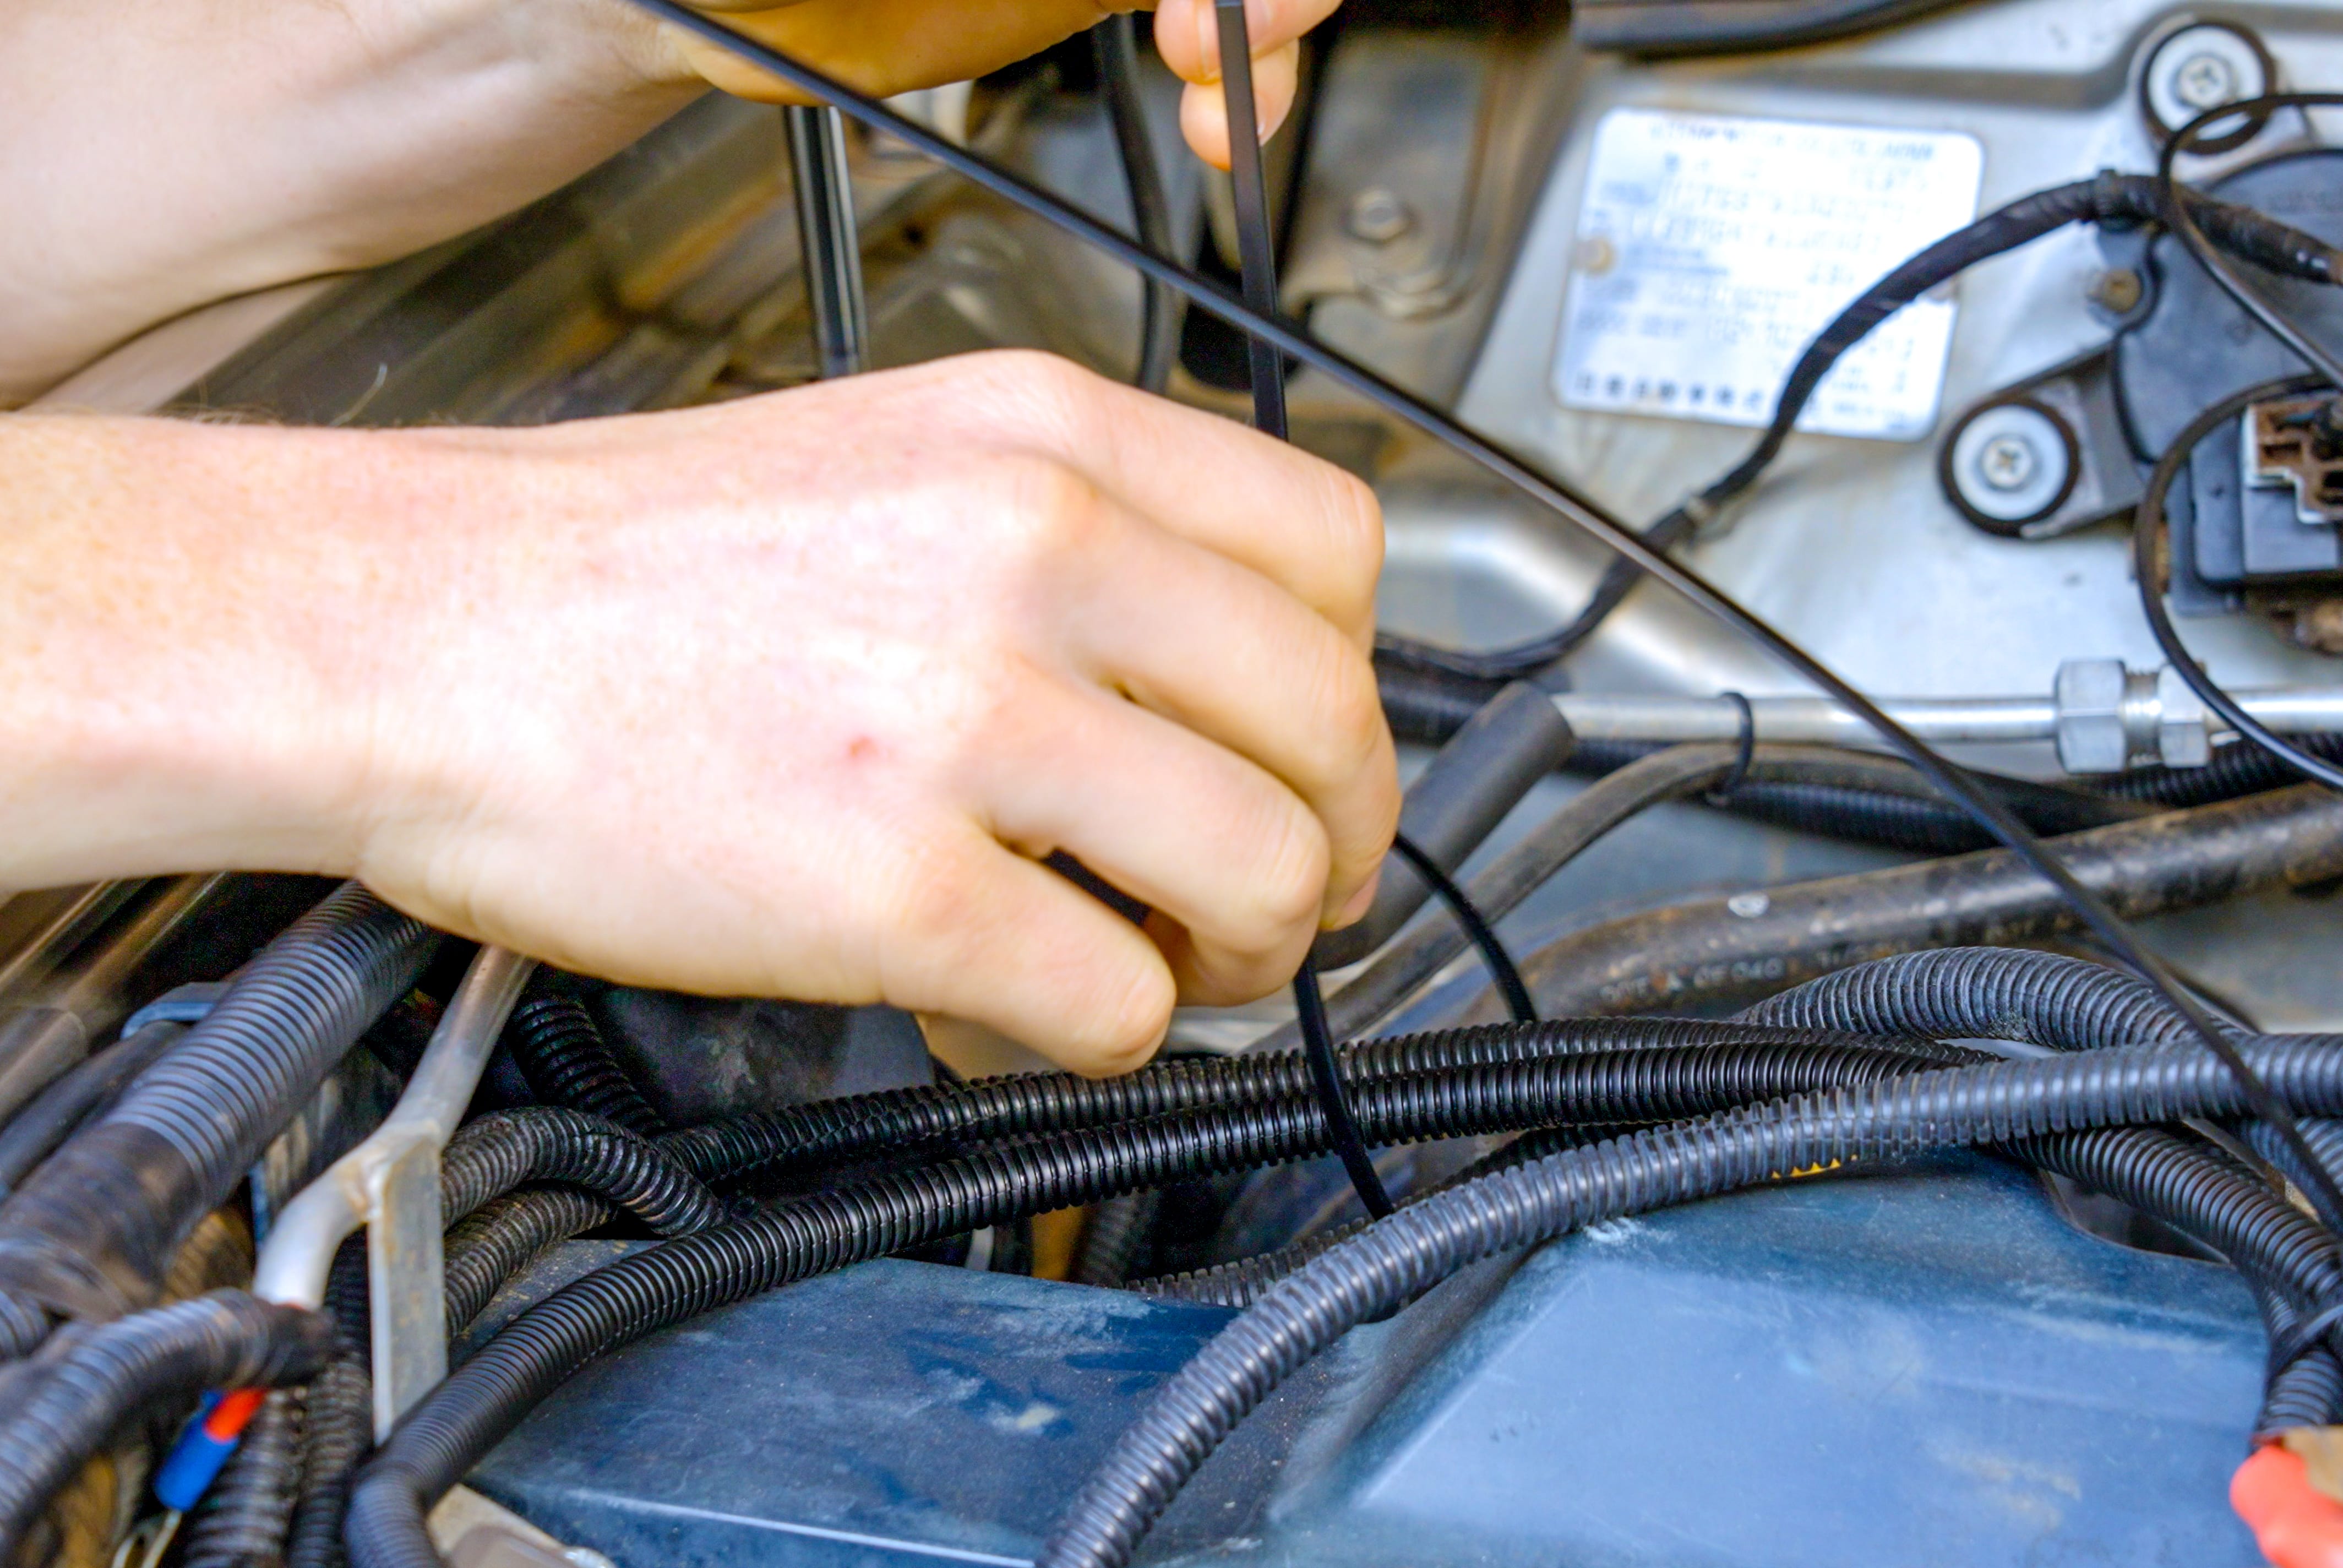
How to get a wire through a grommet
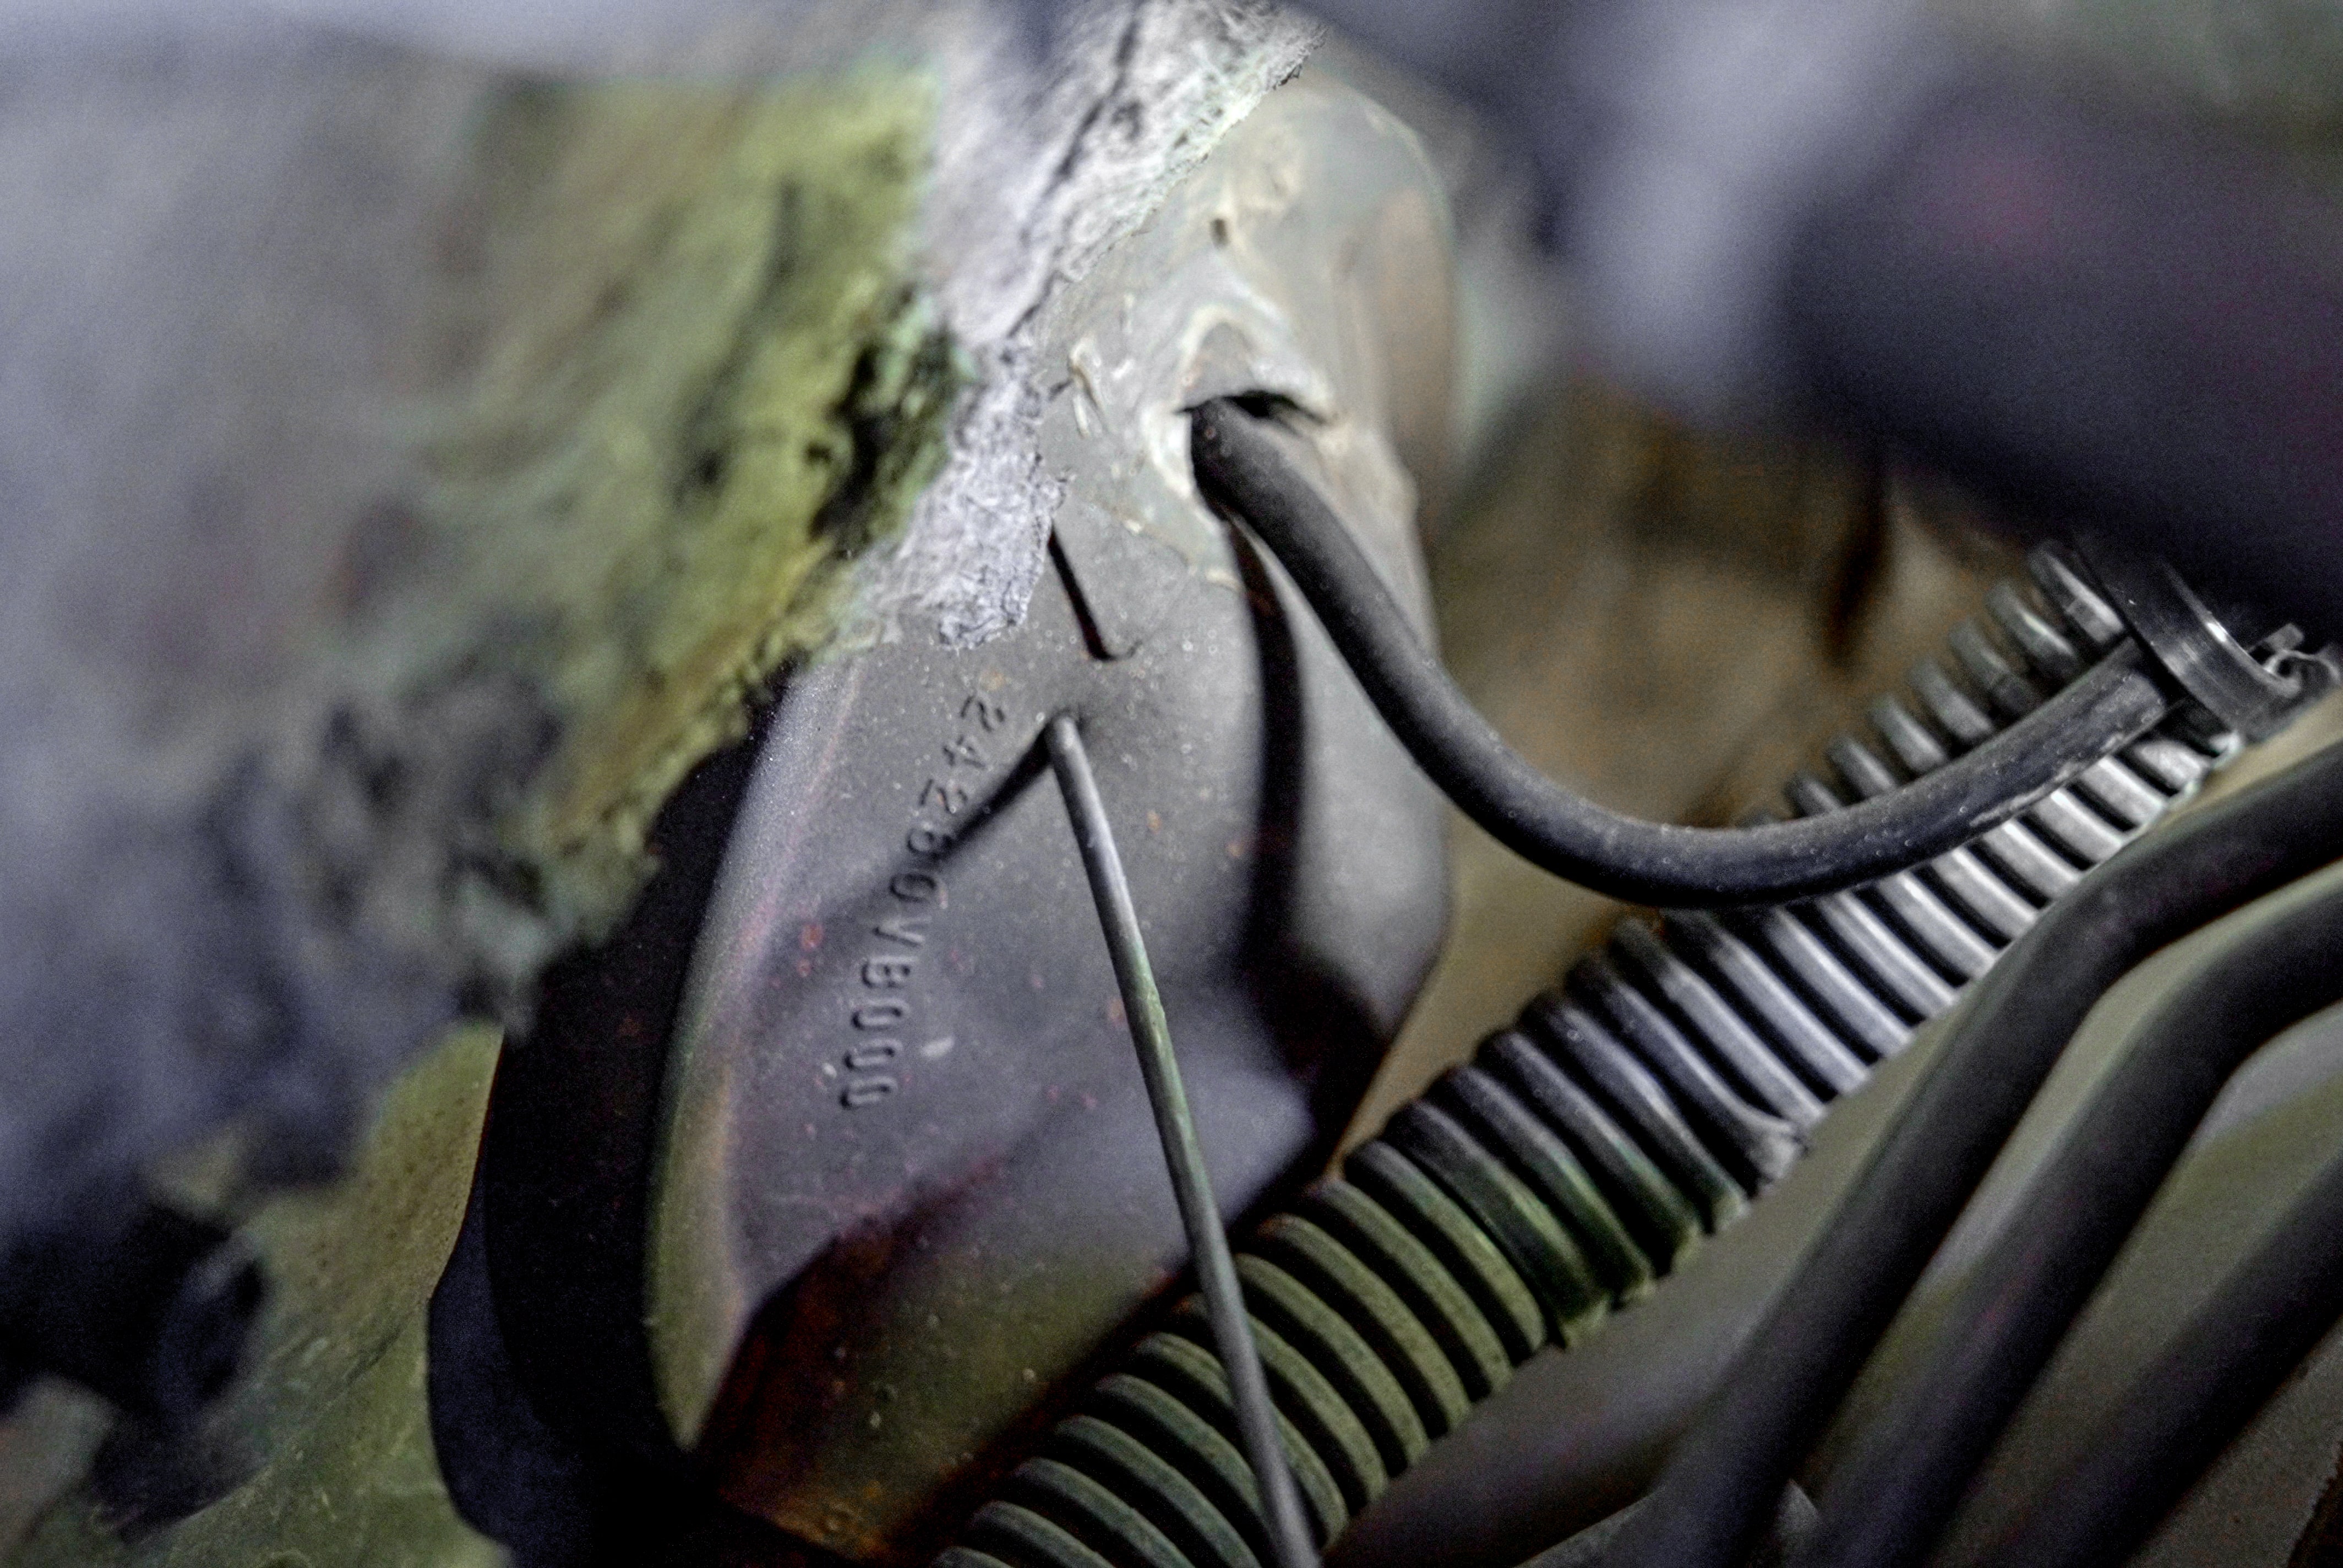
Pushing a wire through a firewall grommet can be very tricky. To make it easier, always go for the largest, most easily accessible one you can find. If it’s accessible enough, you might even be able to get a sharp knife in there and cut a small slit to poke the cable through.
If that doesn’t work, a stiff piece of wire like a coat hanger might come in handy.
Use LOTS of electrical tape to fasten a good length of your cable to the wire; then poke the wire through and pull this from the other side. A squirt of silicone spray will make this much easier.
Whichever method you choose, be super careful not to damage existing wires around the grommet, and leave a drip loop outside the grommet to prevent water entering the hole.
The work around for smart alternator dual battery systems
The advent of smart alternators means that charging a dual battery setup for your camping power is not as simple as it used to be. But with a few clever pieces of technology, there are now workarounds.
A smart alternator varies its voltage output to suit the conditions. This might be lowering the voltage when engine temperature is too high, or when the main battery is fully charged. Neither lend well to charging your second battery.
Your DC charger can compensate for this and boost the charge voltage at the second battery, without stressing the alternator. But to prevent your main battery being drained, you’ll need to connect a trigger wire to an ignition power source.
Not sure if you have a smart alternator or not? A quick google search or a call to the dealership will give you an answer.

How to find an ignition power source
The best place to look for ignition power is underneath the steering wheel around the pedals. With the ignition on, use a test light to back probe electrical plugs until the lamp illuminates. Turn the key on and off to confirm that this is the right one; then solder your 2-millimetre wire into this.
Wiring a DC Charger for camping power
Route the power cable and the ignition trigger wire where applicable to your DC charger. Corrugated tube is optional when running wires through the cab, cable ties are not required.
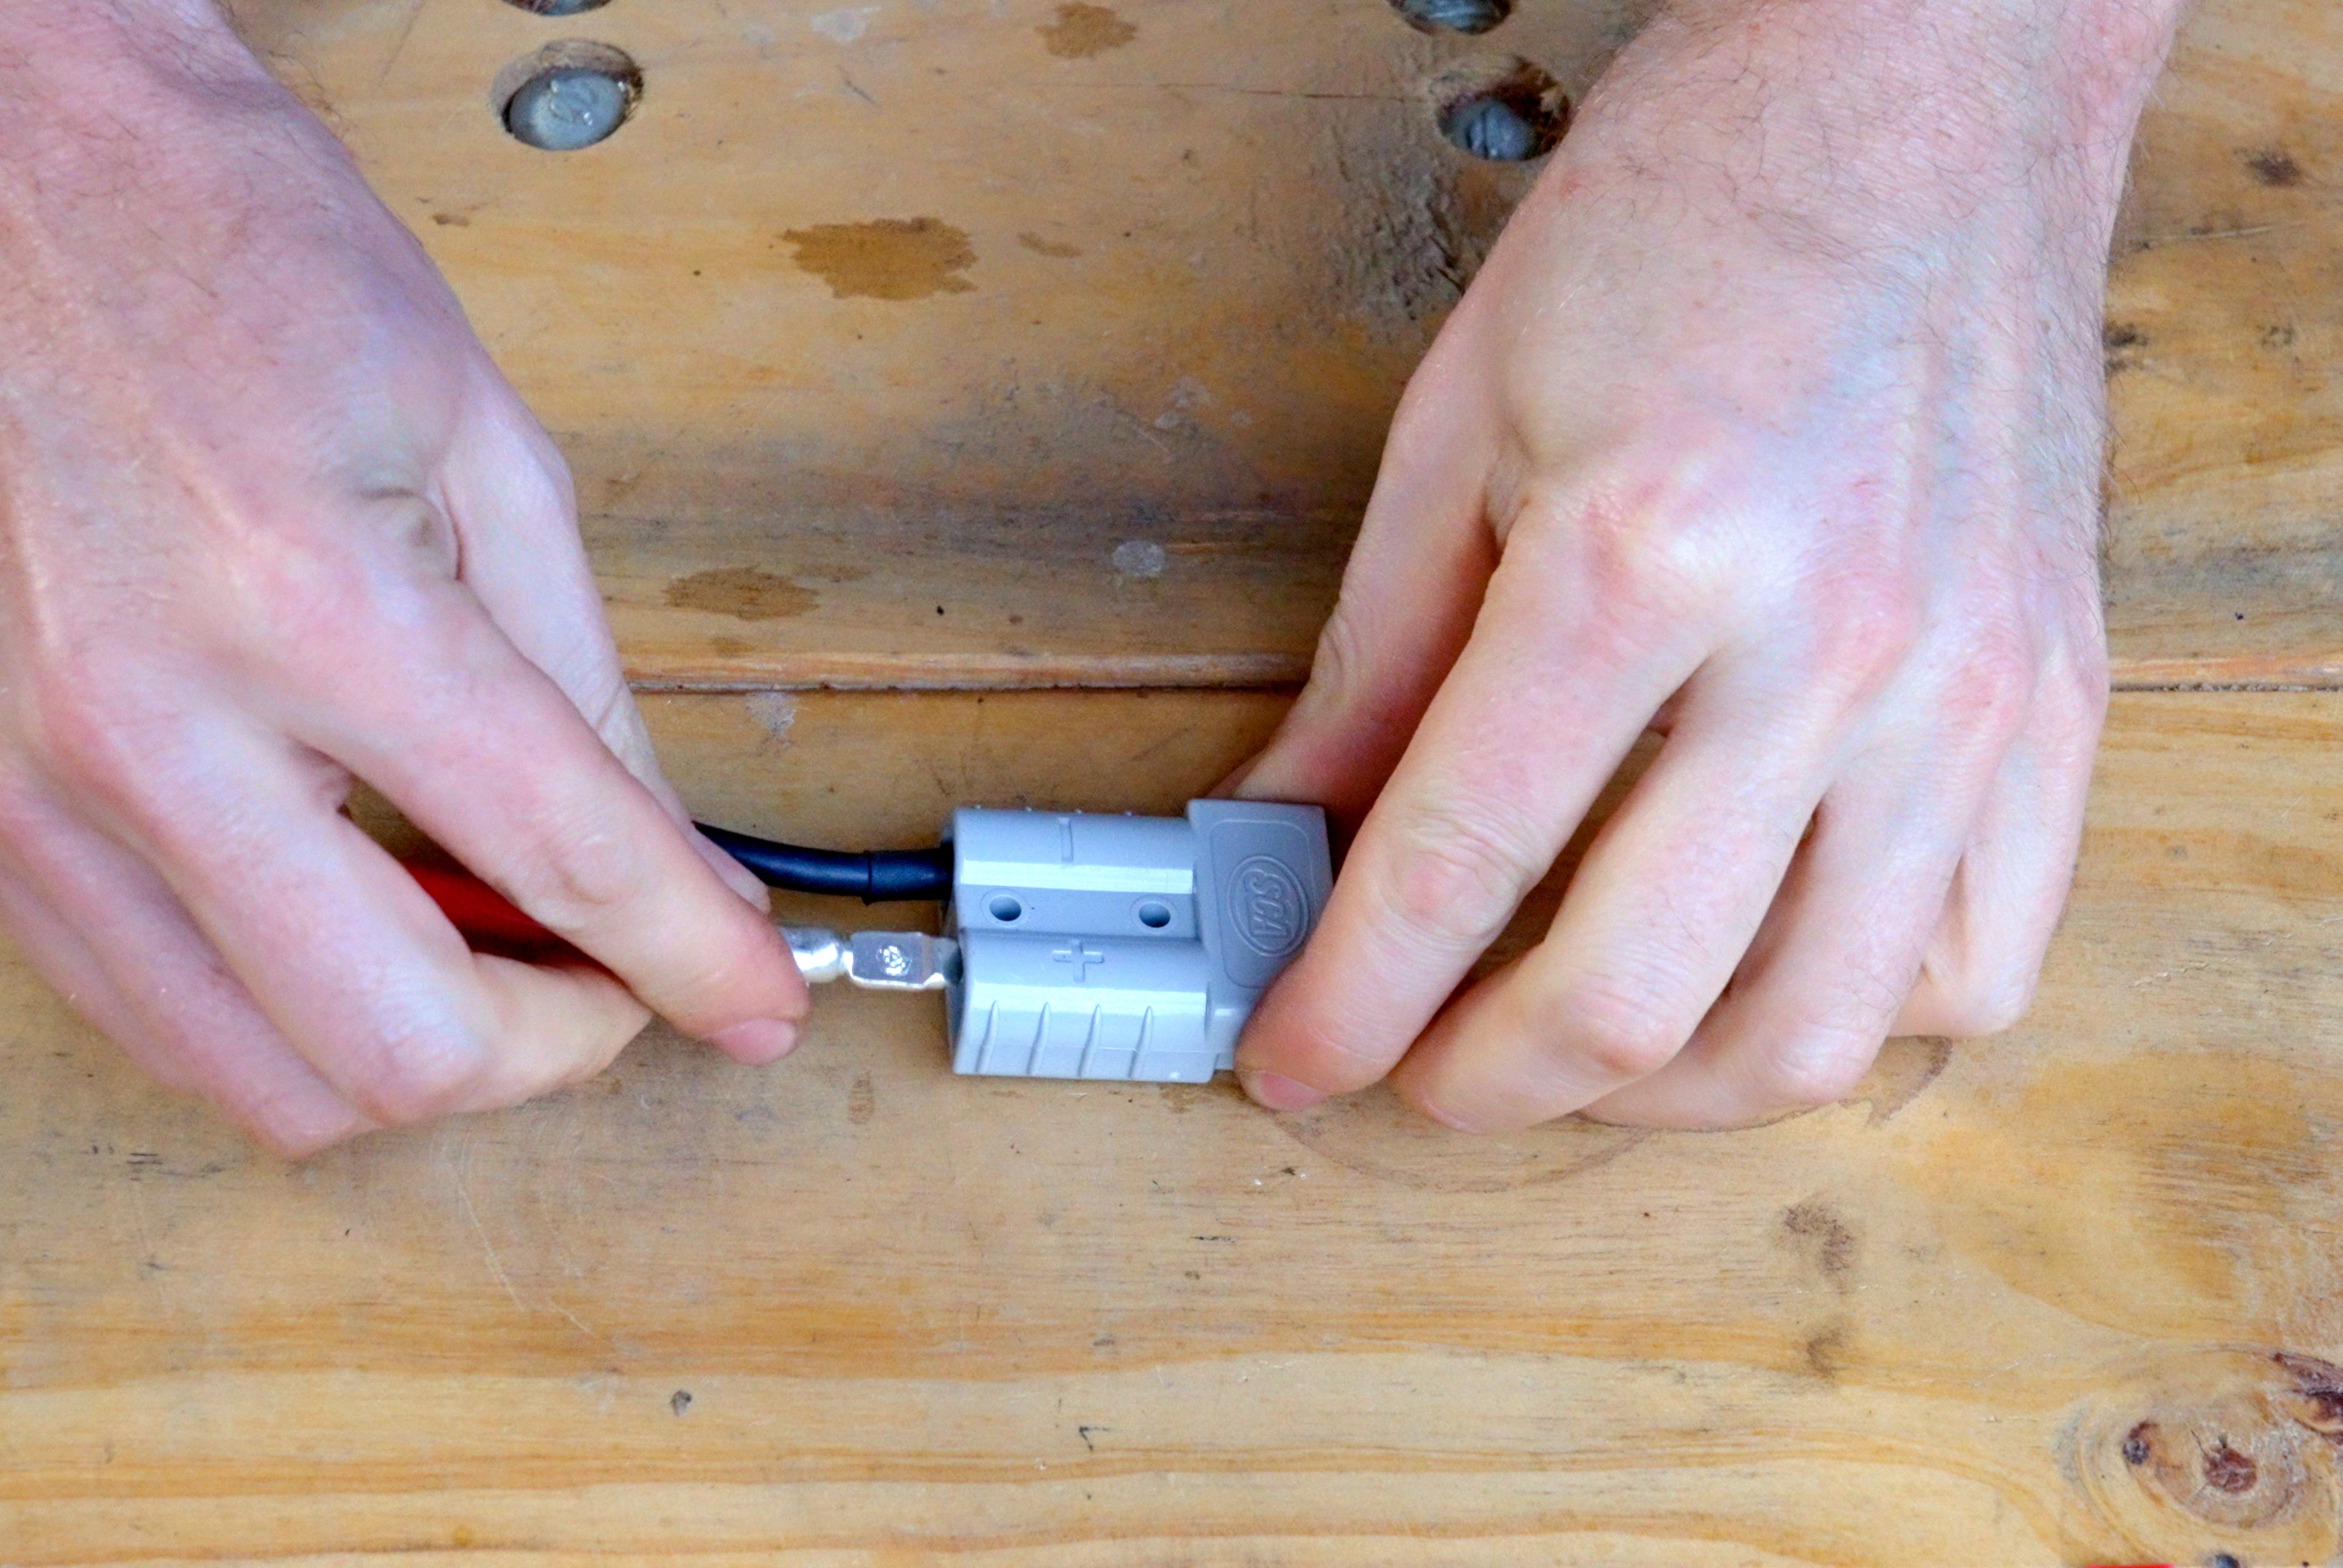
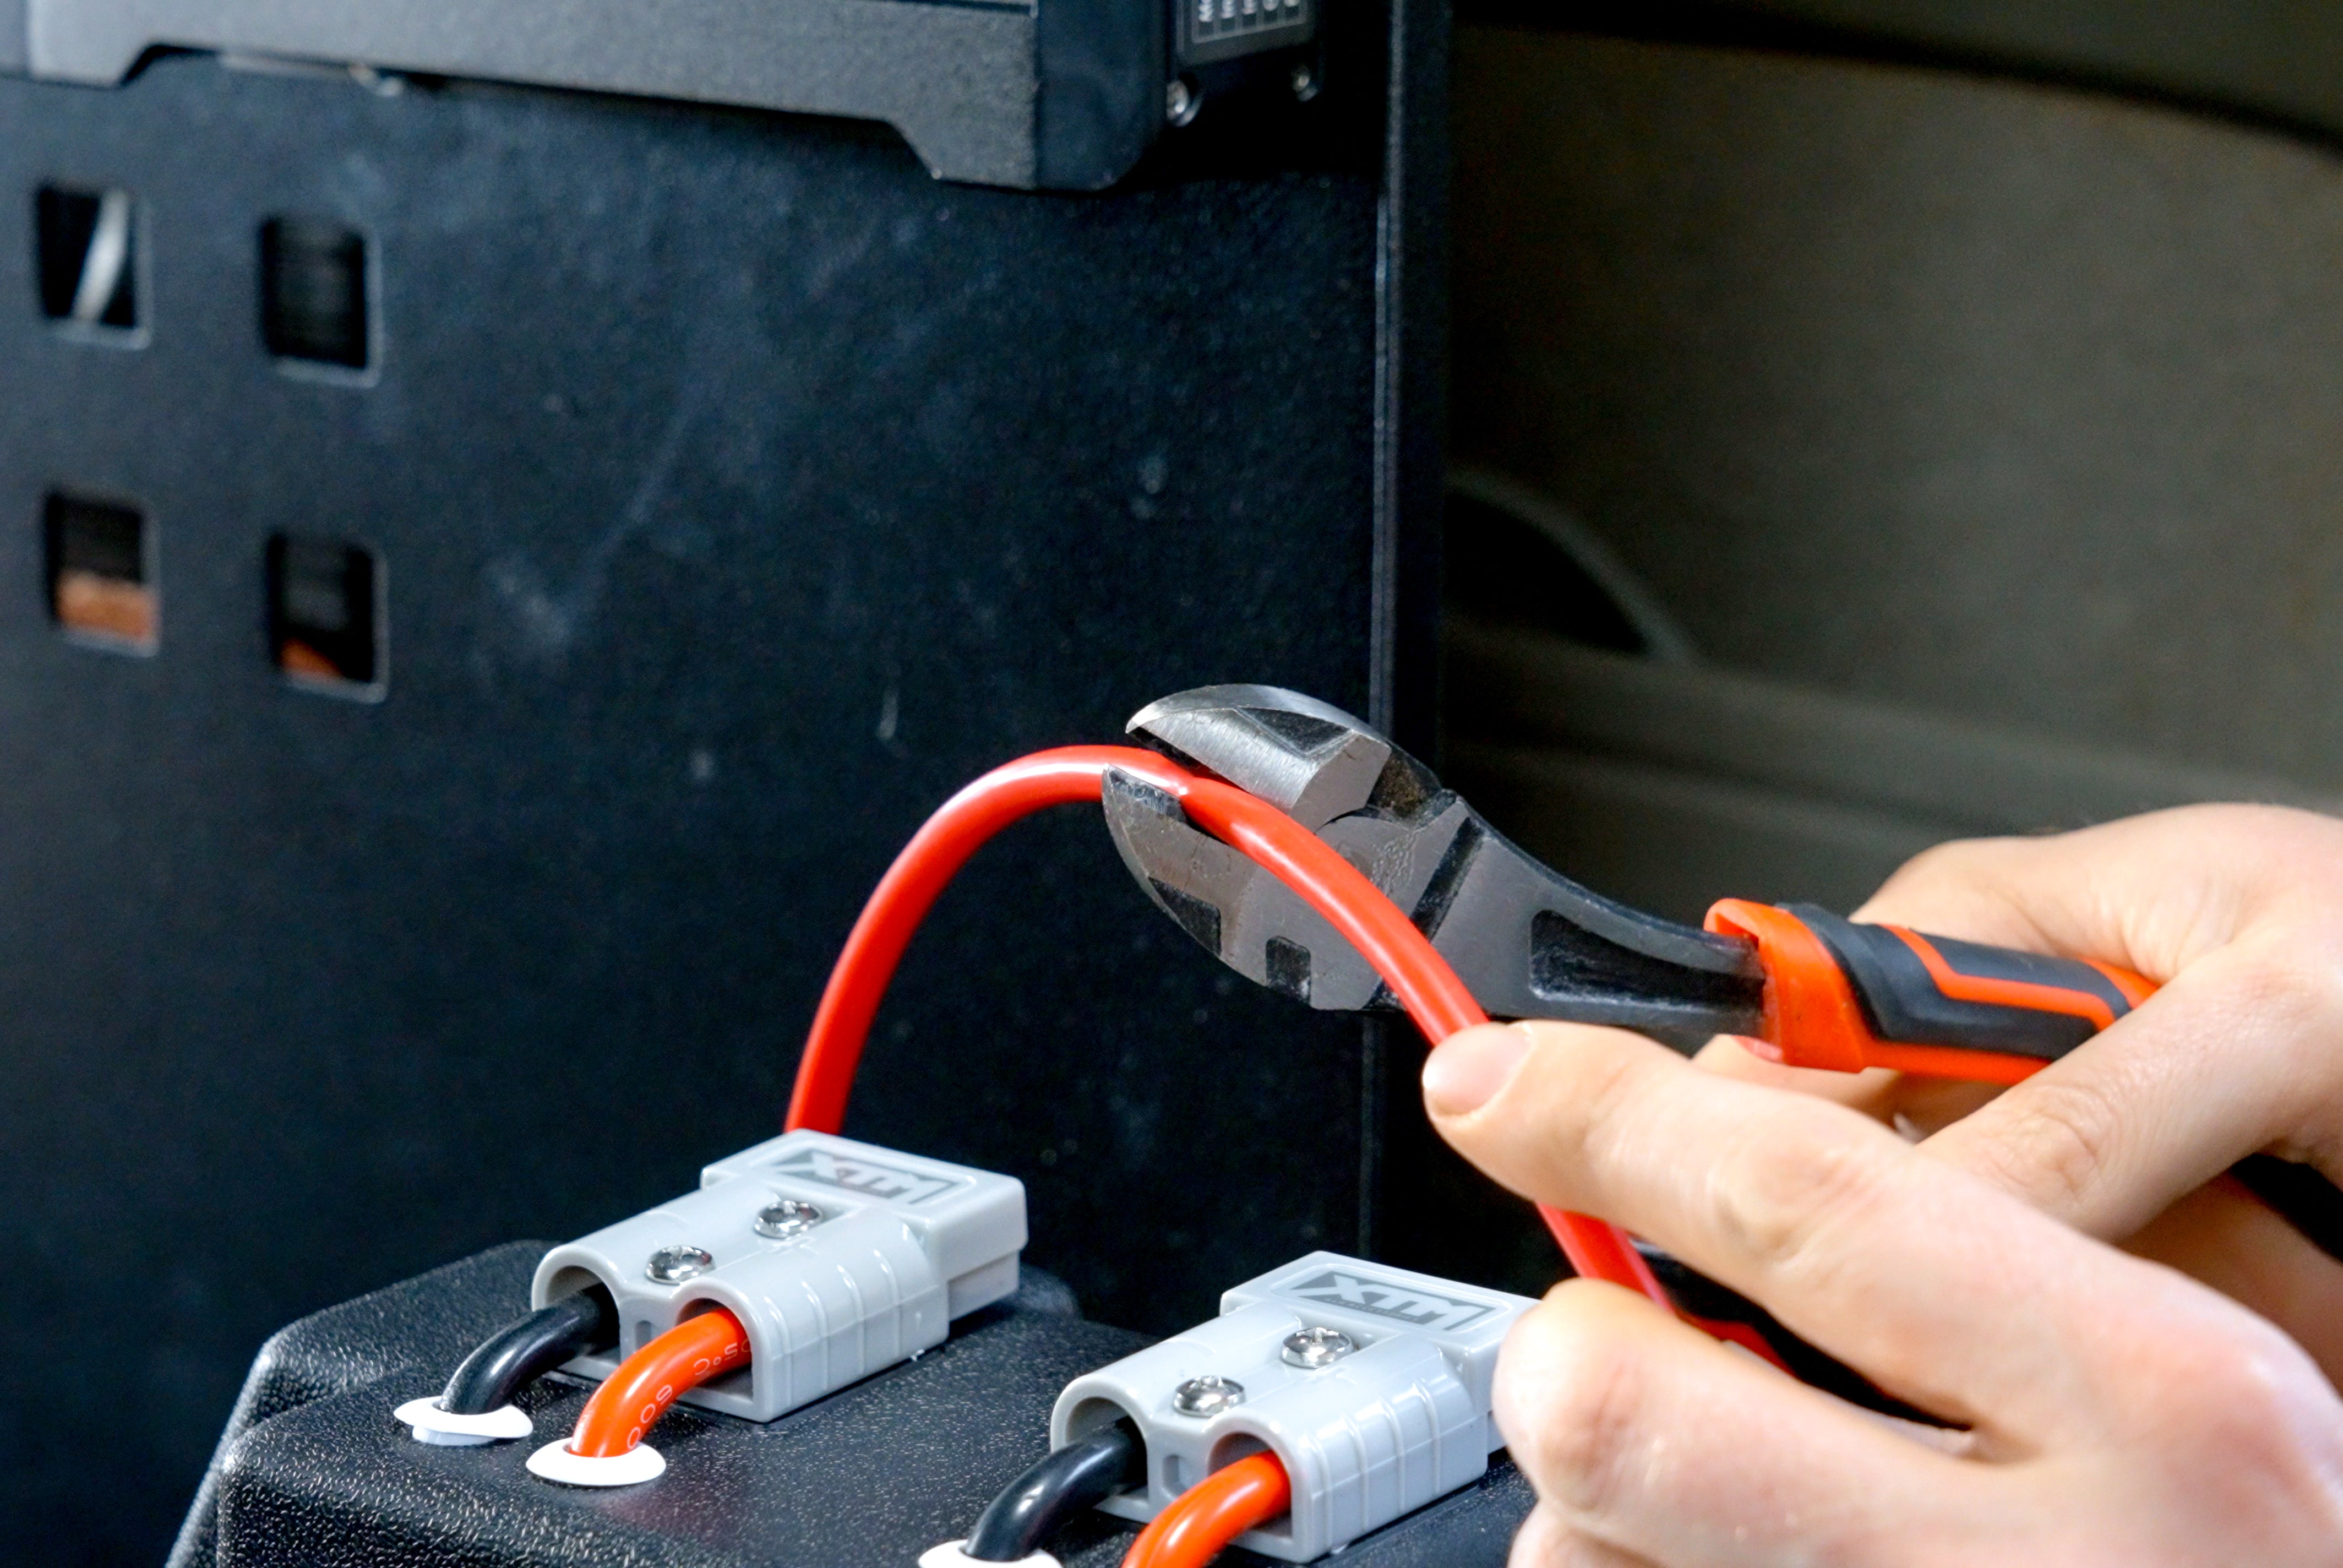
Once you’re at the DC charger you can cut off any excess. Finish this cable off with one of the crimp terminals supplied with your 50-amp connector.
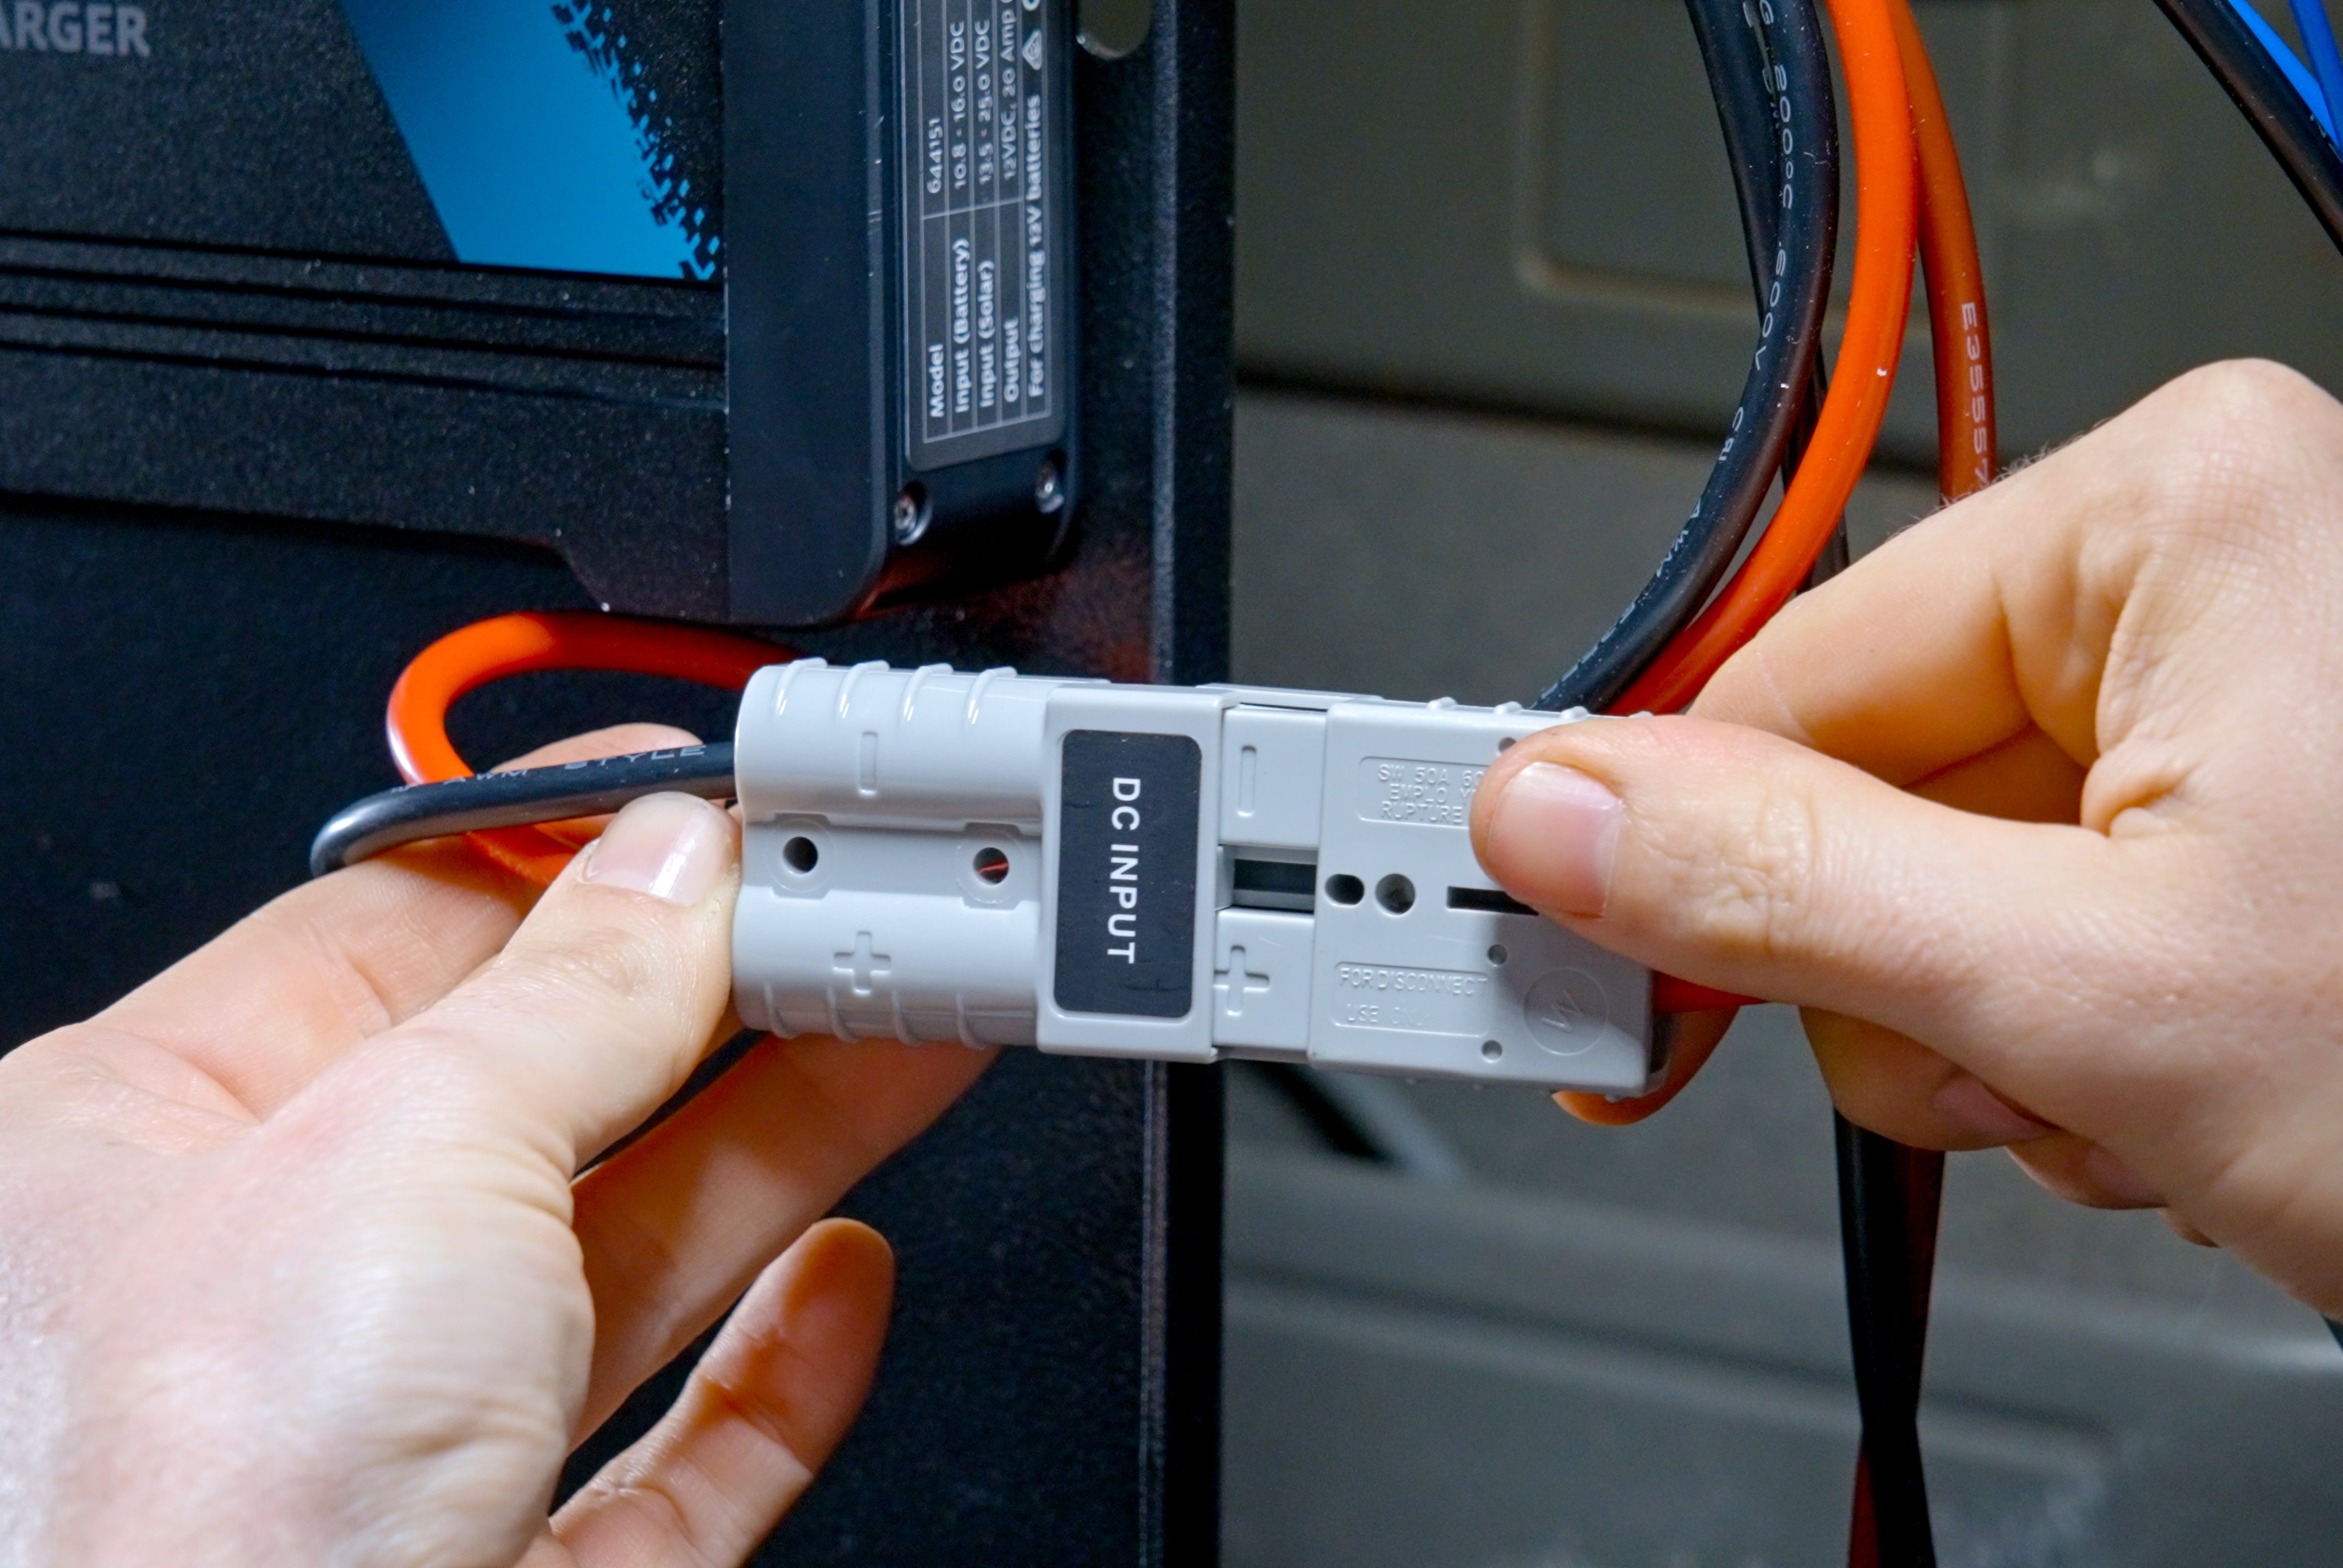
Now you need to grab that short length of black cable and fix the other crimp terminal to one end. Both this and the power cable can snap into the 50-amp connector and be joined to the DC input plug on your charger.
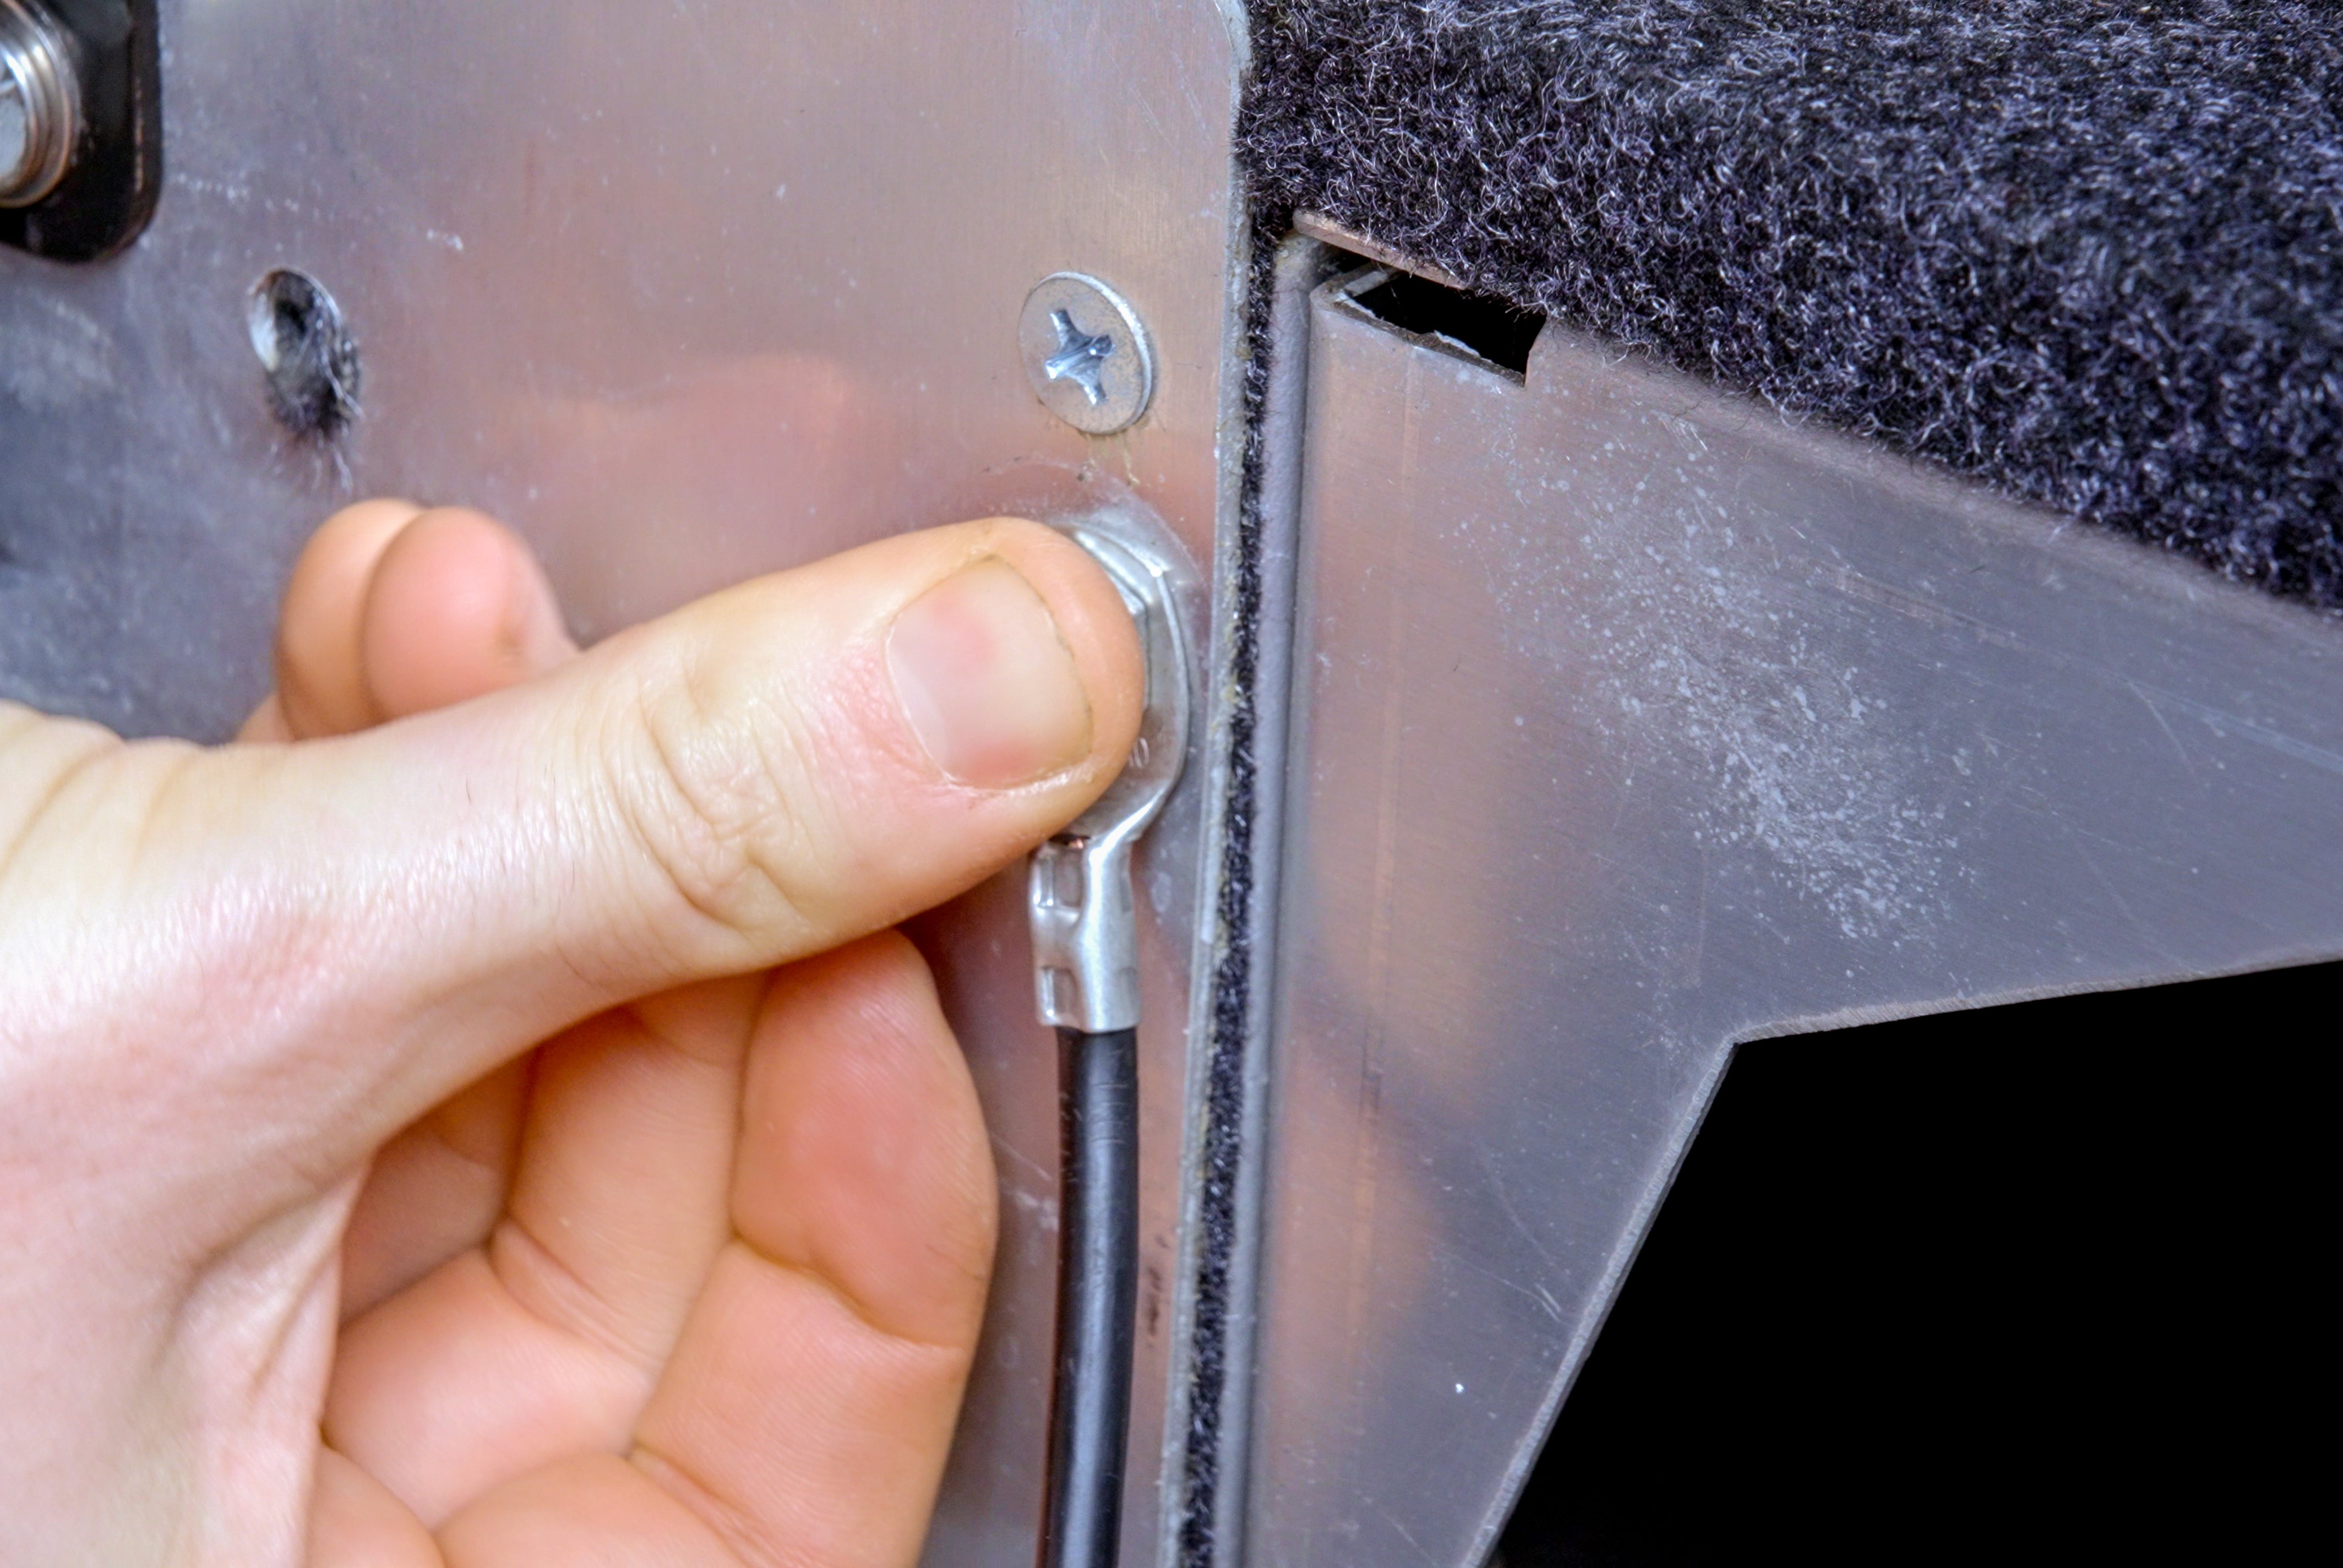
The other end of that black cable must be earthed to the car body or chassis. Locate a nearby bolt, route your black cable and cut it to length. Attach a ring terminal; and fasten this behind the bolt.
If you have an ignition wire, cut and solder this to the small trigger wire on your charger.
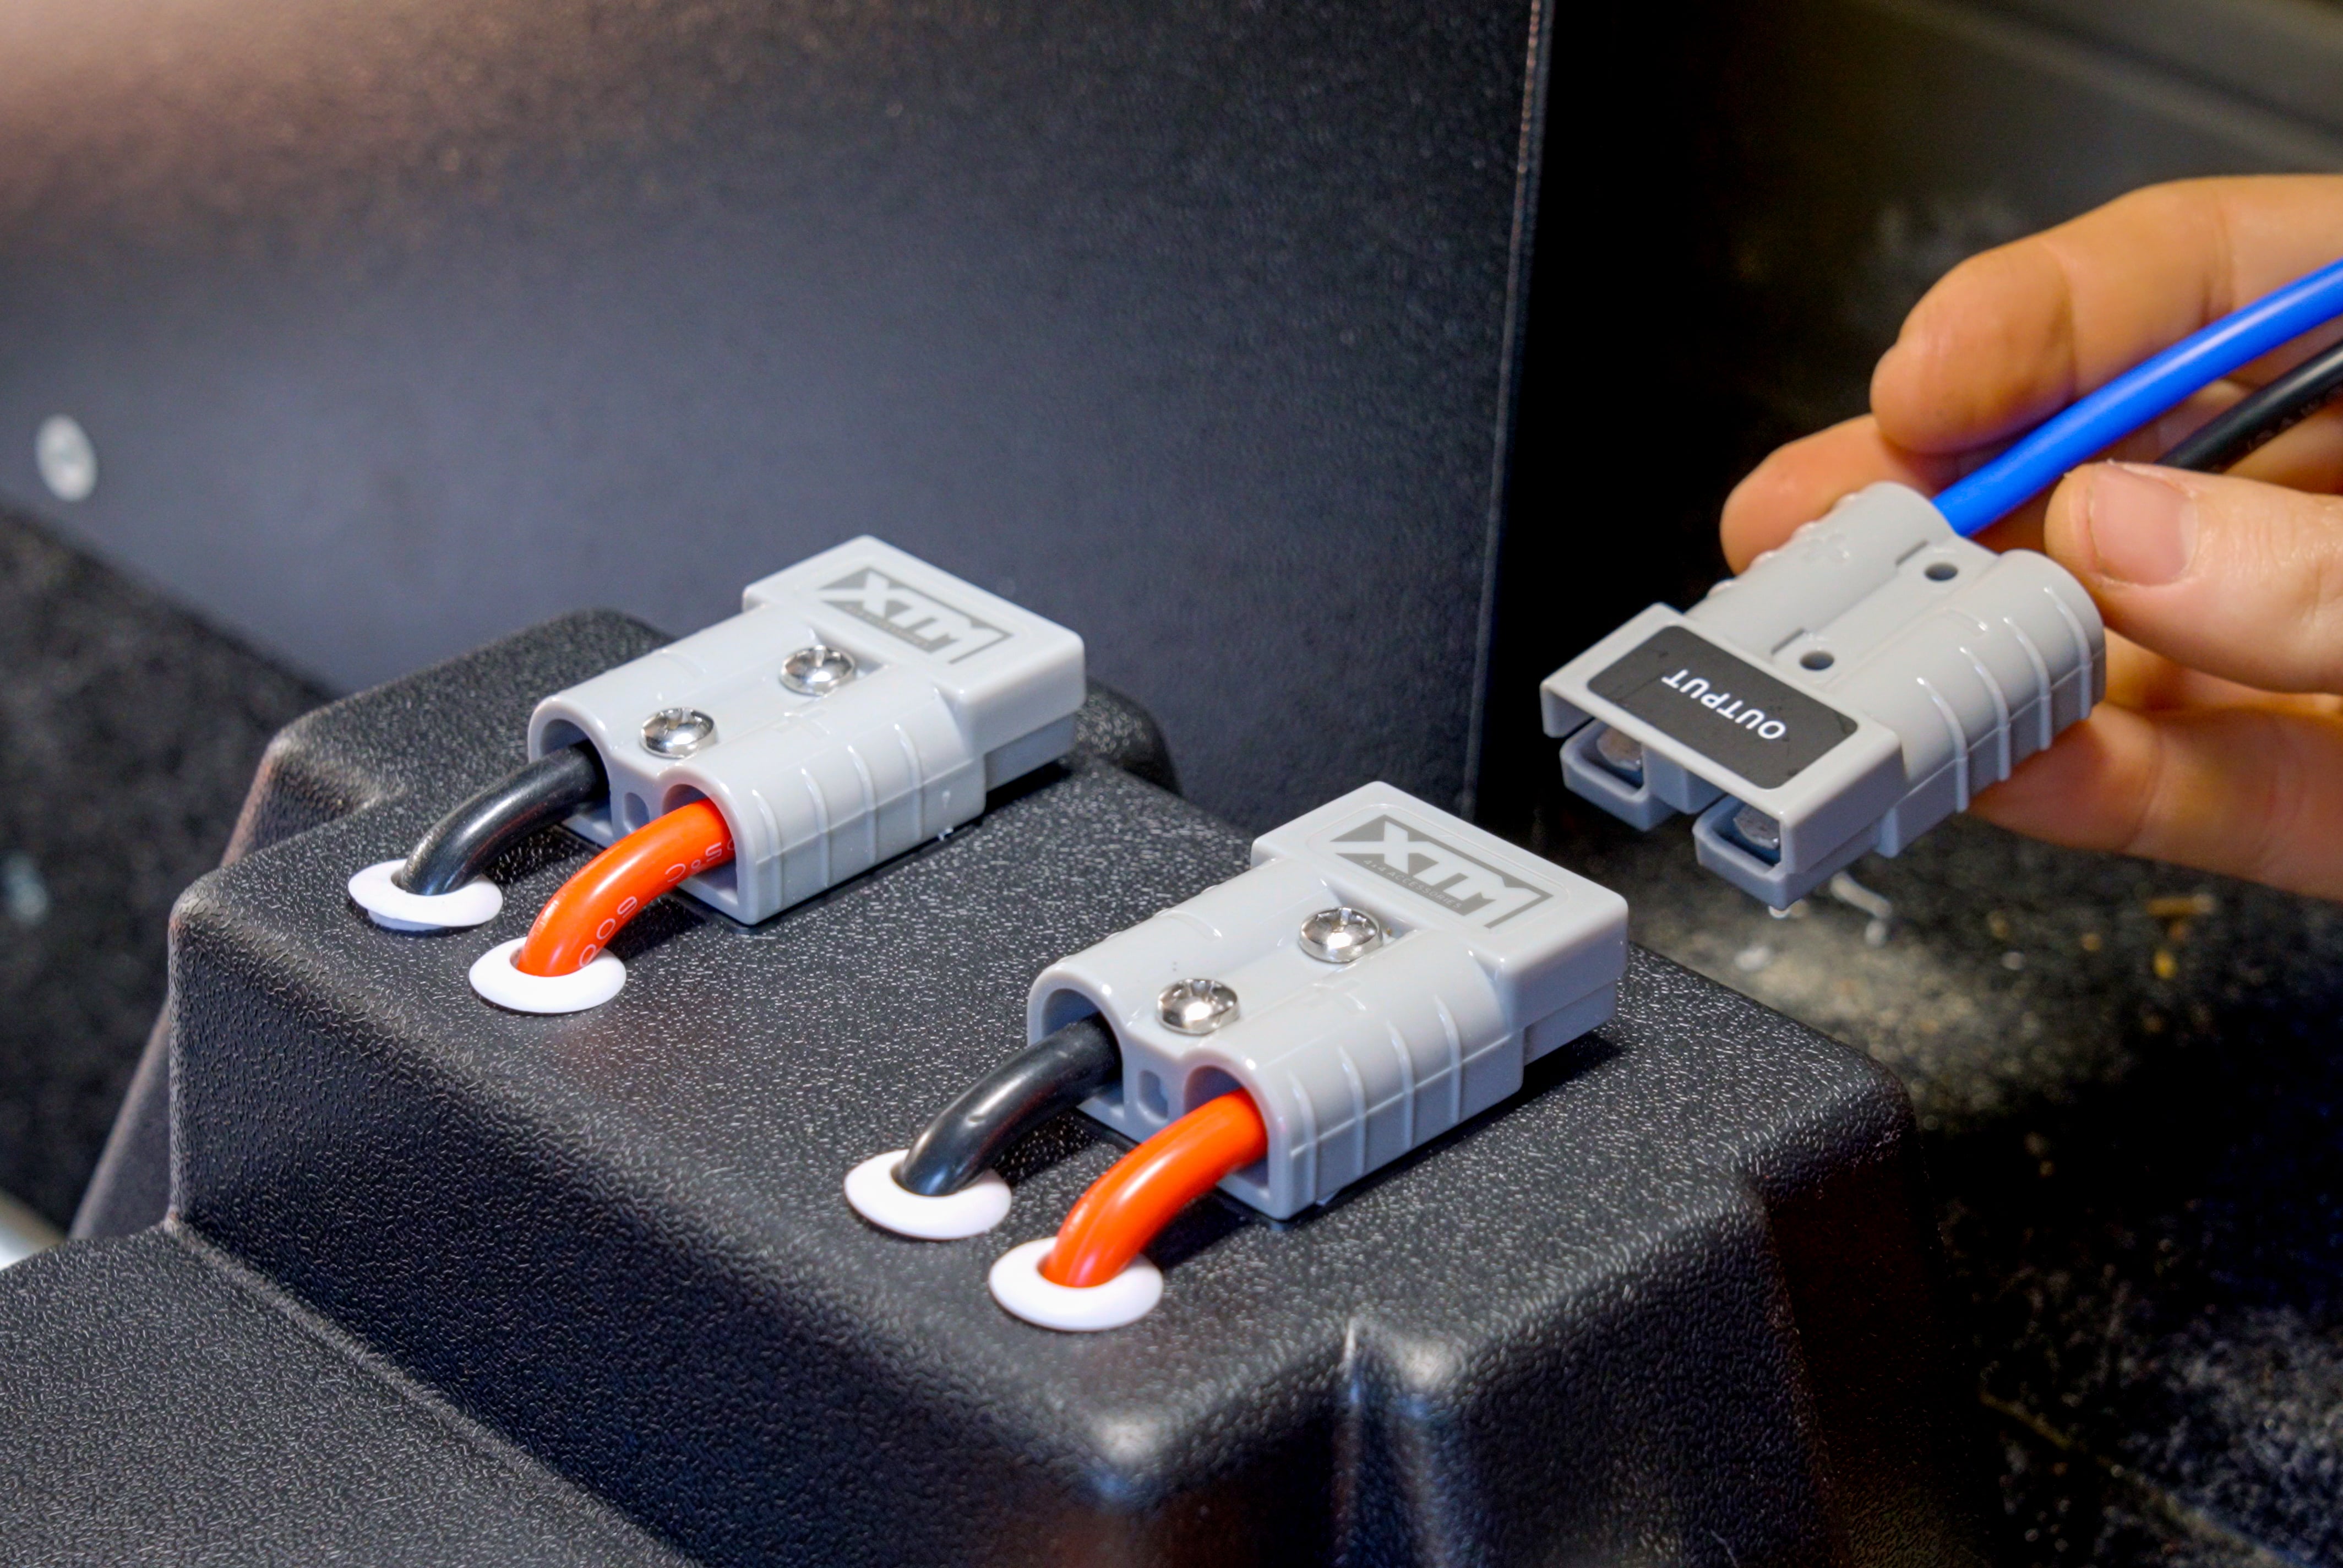
Finally, grab a short power lead with 50-amp connectors. One end to your battery box; the other end to the output from your DC charger.
On the Ridge Ryder DC charger you have one 50 amp connector remaining. This is for solar input. You can cable tie this out of the way for now until you are ready to attach a solar panel.
How to test a dual battery system
Before you can test anything, you’ll need to make the final connections under the bonnet. Attach the power cable to your positive terminal, and finish by reconnecting the negative terminal.
Now you can set the battery type on your charger. As stated earlier, we’re using AGM. To prevent discharging your starter battery, the charger will only operate when the engine is running. So go ahead and turn that key.
The charging lamp will illuminate on your DC charger. If you like, you can probe a power outlet with your multimeter to check that the charge voltage is as specified in the manual.
If you’d like to check the charging current; hold your clamp meter around either the positive, or the negative cable on your DC charger output cable.
Tips
Now, get out there and enjoy yourself. Your fridge, the lights, your phone…the pie oven. And even with all that camping power; you’ll still start your engine in the morning.
*Important information* - Click here to read more about our DIY Advice Terms and Conditions.