Whether it’s a brand new vehicle, or a pre-owned gem; any normal four wheel drive enthusiast will turn the wheels towards the first dirt road they find. You wanna see what this baby can do! If it’s your first time driving off road, you’ll have a lot of fun on the standard suspension. But eventually, every four wheel driver will need to upgrade. Here’s why!
Reason #1: Durability
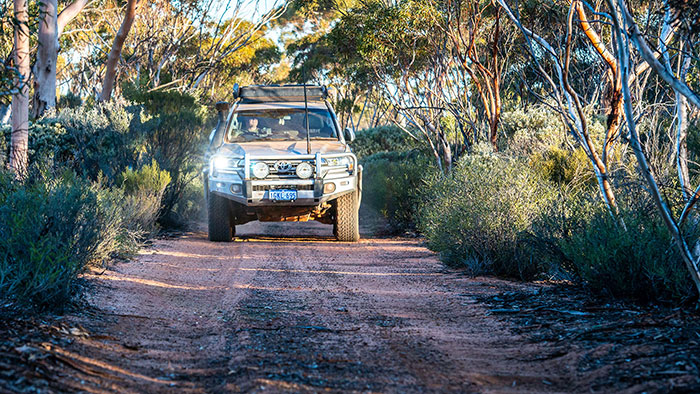
Vehicle manufacturers design their suspension for the best on-road comfort, with only a little off- roading in mind. And it’s built to a price point. An upgraded kit will often improve handling characteristics, and maintain the ride quality much longer over the rough stuff.
Reason #2: Load Carrying
Your four wheel drive has a Gross Vehicle Mass (GVM), which is the maximum loaded weight. In order to maintain comfort levels, manufacturers suspension is simply too soft for a fully loaded vehicle. Fitting a kit designed for heavier loads will fix the problem of sagging.
Reason #3: Increased Height
Increasing the height of your four wheel drive allows more clearance underneath, better approach, departure and ramp over angles; and allows for fitment of bigger tyres if you wish. Plus it just looks awesome!
Reason #4: Better Traction
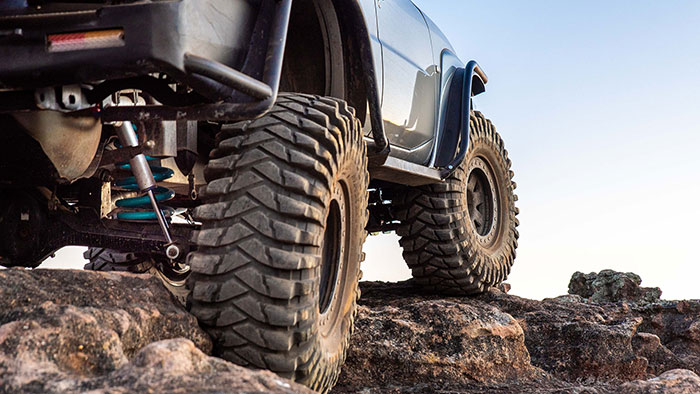
A suspension upgrade kit will often bring an increase in suspension ‘travel’. This is how far up and down the suspension can move within the wheel arches. If your wheel can move around more, it means less wheel lifts. More contact with the ground equals more traction!
So what kind of lift kit do I need for my 4x4?
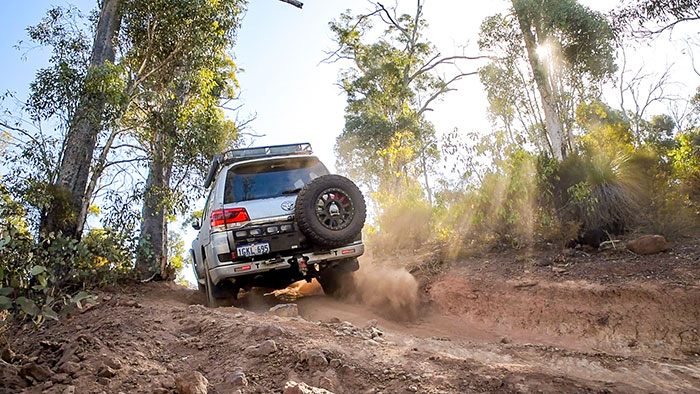
Well, first you’ve gotta figure out the type of suspension you have. Using the ‘My Garage’ feature on the Supercheap Auto website makes this super easy! Just input your vehicle registration; and the right parts will be recommended. Most newer vehicles will be at least independent front suspension, and solid axle rear with leaf or coil springs. Some will be independent rear as well. A few vehicles remain on the market with solid axles front and rear, one of those being the 70 series landcruisers.
Choosing your new kit
Now that you know what setup you have, it’s time to have a look at options. The following points should be considered with any of the suspension types we just looked at.
How high can I lift my 4x4?
Generally throughout Australia, the legal limit for lift is 50 millimetres, and in many cases that includes any increase in tyre size. To go higher, you’ll need to obtain an engineers certificate to keep it legal. Have a look at the following links where you’ll find your state regulations:
- Queensland
- New South Wales
- Victoria
- South Australia
- Northern Territory
- Western Australia
- Australian Capital Territory
- Tasmania - Call the transport department for more information
Will you need to change more than just shock absorbers and springs?
On certain vehicles the brake lines may need extending, others could require a tailshaft spacer, some might need swaybar extensions, and the need for diff drops or extended CV shafts is quite common. Try a google search along the lines of “what components will i need for my suspension lift”
What load rating will I need with my new suspension?
If you’re constantly carrying camping or 4WD & recovery equipment, it’s worth figuring out how much this all weighs. Got drawers? 70 kilograms. A fridge stays in the back? 15 kilos. A second spare wheel? 30 kilograms. It all adds up quickly, and purchasing a suspension kit to suit this extra constant load will net you the best performance.
Finally, unless you REALLY know what you’re doing, purchase your springs and shock absorbers from the same manufacturer in a kit. They have put a lot of engineering into making sure these two components are perfectly tuned to each other and the characteristics of your vehicle make and model
Where can I buy a suspension lift kit?
The right setup for your needs can be ordered in at Supercheap Auto. With your vehicle information, and knowing what you need for weight and height requirements; we can order the perfect kit for your needs.
Can I install a 4x4 suspension lift kit myself?
From here the instructions assume you have one of the most common setups; independent front suspension and live axle rear.
Before you start pulling the old setup apart, use a tape measure and note the old ride height. You’ll want to know how much lift you got out of the new setup, and it’s good to have for warranty purposes. This measurement should be taken from the centre of the wheel hub, up to the edge of the wheel arch.
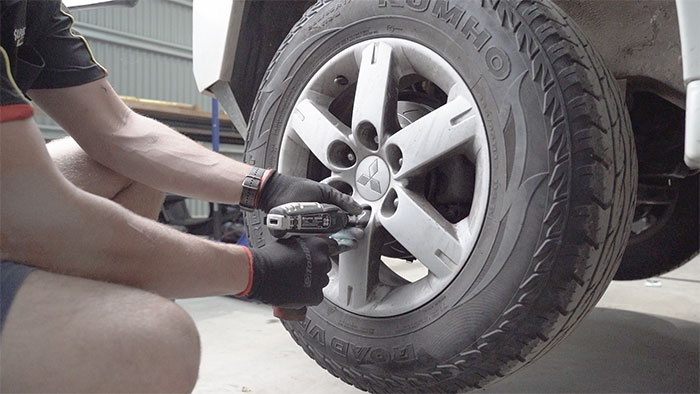
Now secure the vehicle in park or in gear with the handbrake on, and raise the vehicle. If you have access to a hoist, this job will be much easier as you’ll need complete free movement within all suspension components.
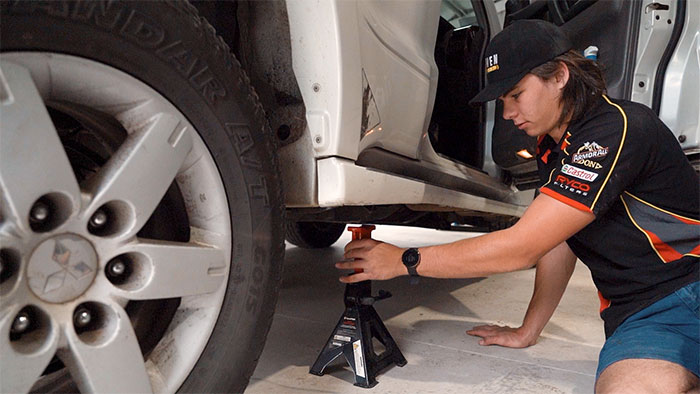
After taking the wheels off you must disconnect the sway bars front and rear. Starting at the front, you may need to disconnect the brake lines, or at least loosen them so that they don’t get stretched or damaged. To remove the suspension strut, begin by jacking up the lower control up until its near standard ride height. Mark the position of the wheel alignment bolts on the lower control arm, then loosen these bolts. The marks will help you achieve a ballpark wheel alignment later on.
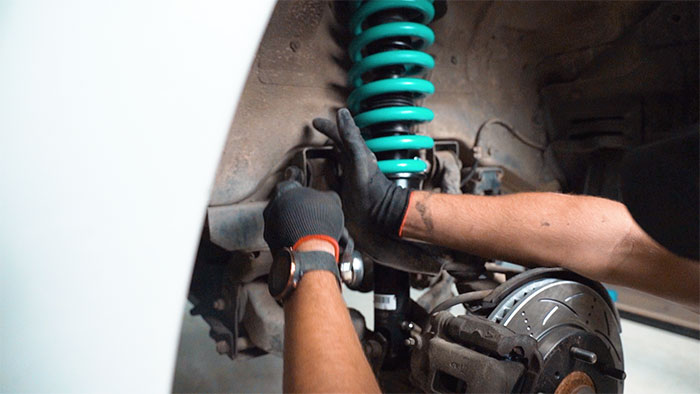
Loosen the three nuts holding the top of the strut in place, and loosen the single bolt fastening it to the bottom. Keep an eye on the tension, and raise or lower the jack as necessary. Once you’re sure the assembly won’t fly apart on you, remove all three nuts from the strut top, and lower the jack until the strut comes free. There may be binding points which need disconnecting in order for you to completely remove the strut. This might be the upper control arm or even limitations in the driveshaft and CV, so it’s worth checking specific instructions for your vehicle.
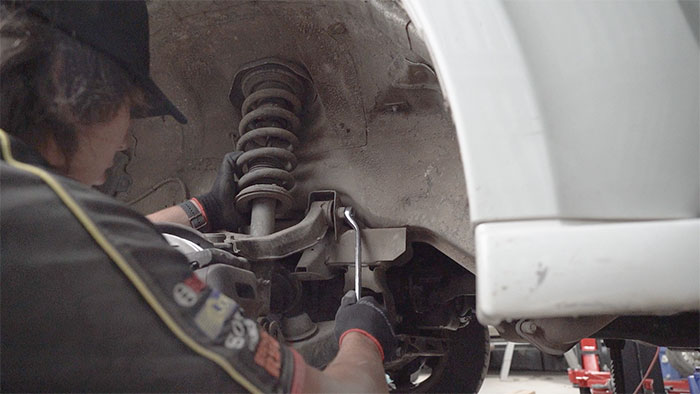
If your new strut came pre-assembled, you’re good to go putting it all back together. If yours needs assembly, the spring will need to be compressed as it is assembled which is a job best left to the professionals.
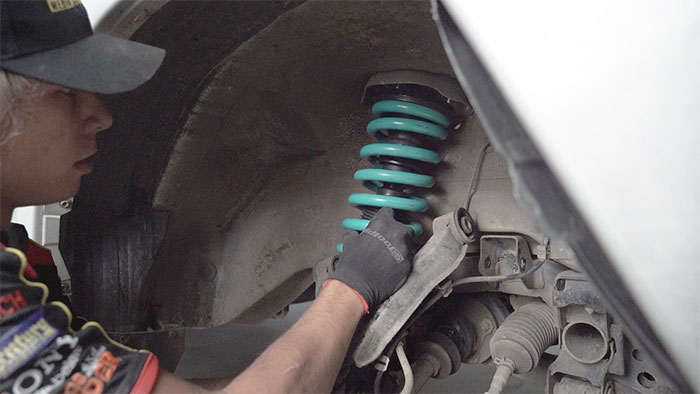
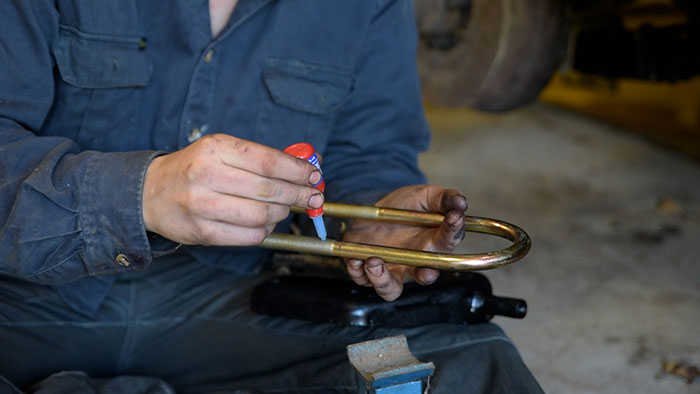
As you finish off the front suspension, ensure you’re using a torque wrench on all fasteners. Apply anti seize to ball joints and bolt shafts; and use thread locker on threads where appropriate.
Now down to the rear suspension!
Rear suspension will tend to have the spring and shock absorber separate, and the spring could be either coil or leaf. In both cases, the rear axle must be supported at ride height just like the front, at which point the shock absorbers can be removed.
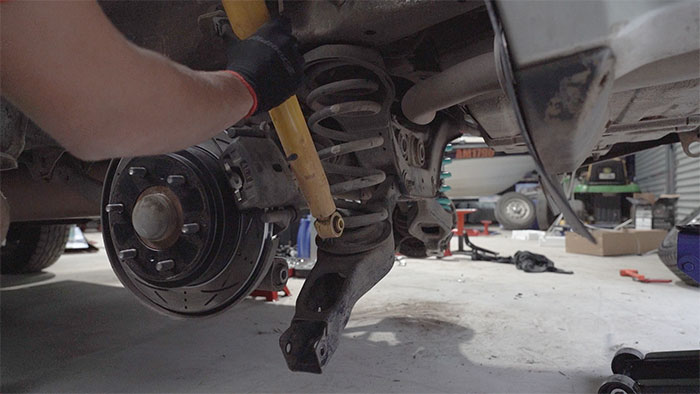
If it’s leaf springs you’re replacing; you’ll also need to support the front of the diff. Loosen the bolts at either end of the leaf spring, and the U bolts securing it to the axle. Once you’re sure the axle is steady - you can remove the U bolts. Pop the front and rear bolts out and the leaf spring will come free. With a coil spring, the best method is to apply a coil spring compressor, then lower the axle. The spring will be unable to expand and is easily removed.
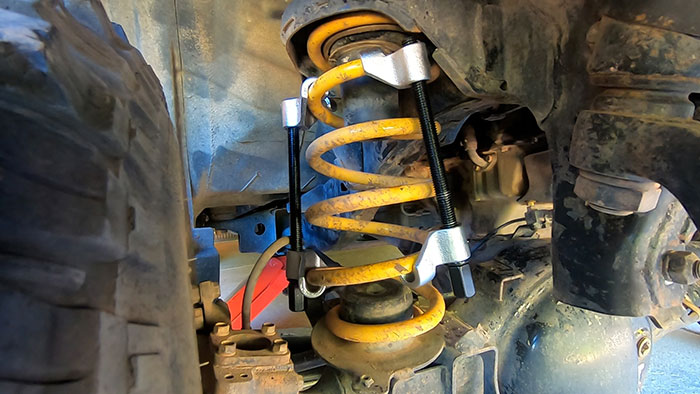
When putting a new leaf spring in, be sure to replace the U bolts, bushes and shackle pins as well. Apply rubber grease to these parts as you put it all back together and rotate the axle housing until it locates correctly on the spring. Again use thread locker but don’t fasten any components to full tension just yet.
Popping a new coil spring in is simple too. You may need to squash them down with a spring compressor to get them in, then ensure they are seated properly as you release the tension.
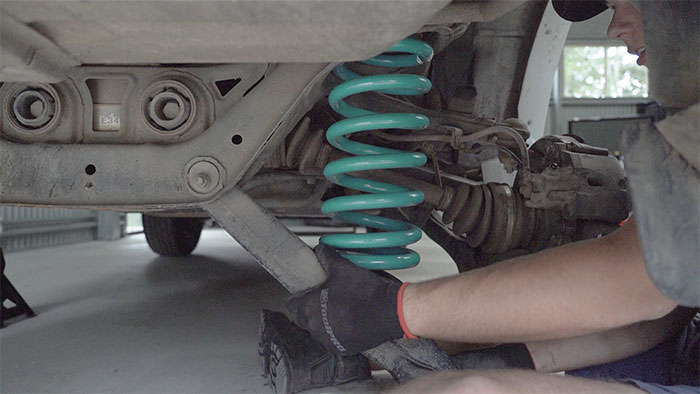
Slip the new shock absorbers into place and fasten them up, but again not tight just yet.
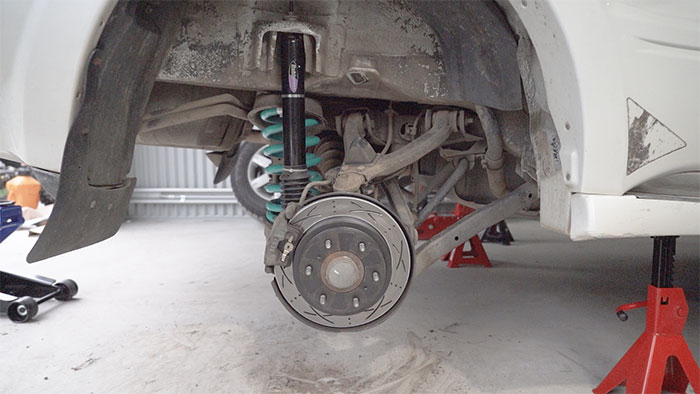
Once it’s back on the ground, you can tighten up all your fasteners. This prevents suspension components from binding up. The very first drive you take should be straight down to the tyre shop for a wheel alignment. After that everything should be settled enough to take your after measurements.
Before
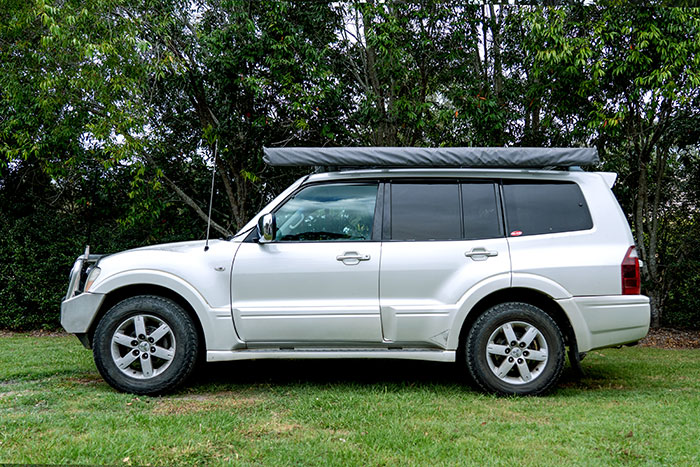
After
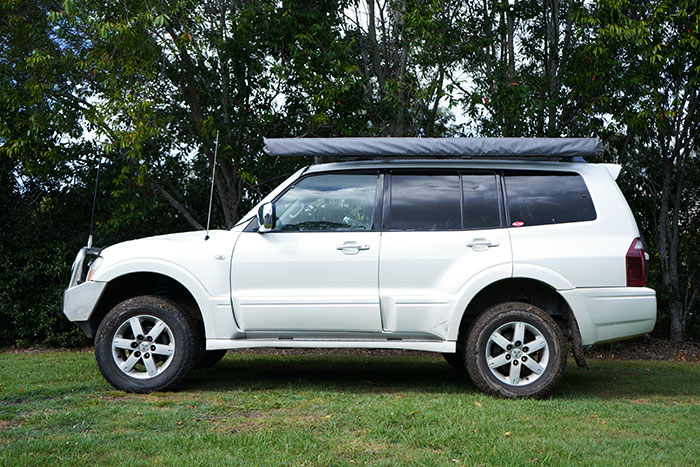
Any four wheel drive enthusiast will agree, a suspension upgrade is one of the first modifications to be made when some serious adventuring is in order. Use the information in this article, and order the perfect suspension lift kit for your needs at Supercheap Auto.


*Important information* - Click here to read more about our How-To terms and conditions.